
 12-15-14, 01:10 PM
Last edit by: IB Advertising
See related guides and technical advice from our community experts:
Browse all: Interior
- How do I Install Aftermarket Amplifier power wire
Step by step instructions for do-it-yourself repairs
Browse all: Interior

DIY aftermarket amp power wire install step by step with pictures
02-10-11, 06:20 AM
#91
Driver School Candidate

Join Date: Jan 2011
Location: GA
Posts: 15
Likes: 0
Received 0 Likes
on
0 Posts
It was a fuse that blew, which of course is what I suspected right off the bat. But there is a third fuse panel that I failed to check, under the passenger door, and it had a blown fuse. So it's all good. Amp/sub installed, plus USA Spec TOY adapter for iPhone and bluetooth hack.
 02-20-11, 01:48 PM
#92
Driver School Candidate
Join Date: Feb 2011
Location: Ga
Posts: 38
Likes: 0
Received 0 Likes
on
0 Posts
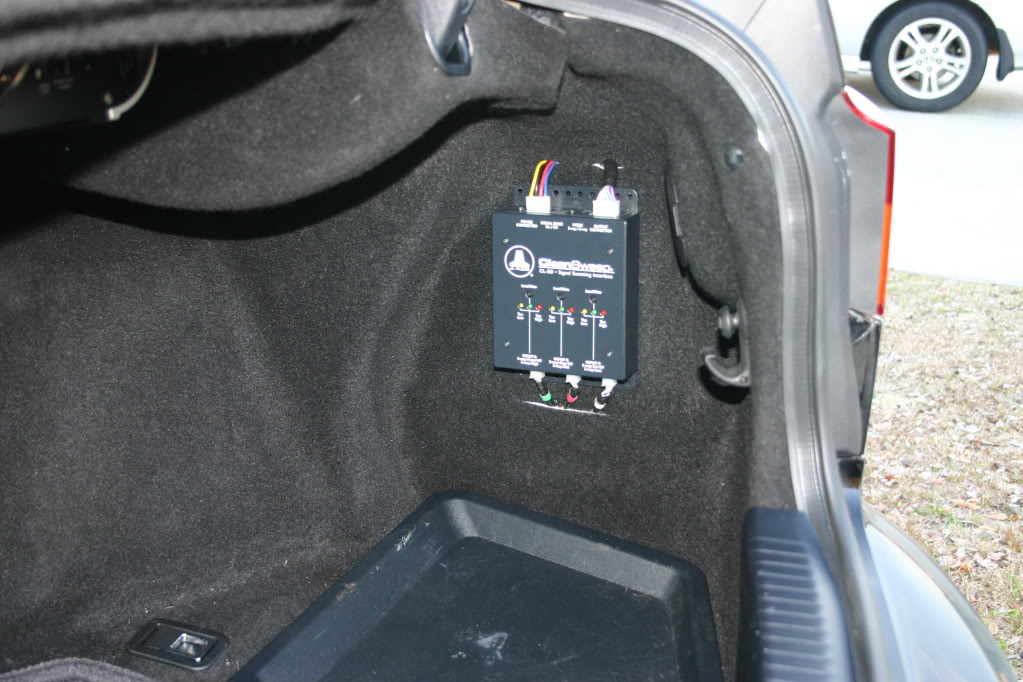
Hey first time doing this so sorry if I did something wrong when posting. Just put in a 4 channel amp with a mono Jl amp plus bass **** to my Stock Nav unit (IS250 2007). Used Jl clean sweep/ summing device which might have been a little much for the price but was worth it. Worked perfect and sounds great before after market speakers and even better after I swithced them out. Was wondering if anyone put in after marker midrange speakers I cant find any that will work? These will blow soon with the way im playing them..
02-20-11, 03:22 PM
#93
Lexus Test Driver
The mids in the doors are roughly 2.8" speakers. I am not aware of anyone who makes them aftermarket. When I changed mine, I used component speakers, with adapters that allowed me to mount my tweeters in the opening that used to hold the mids. The factory tweeters are still in thier mounts at the tops of the doors, but are not connected and do not play.
02-20-11, 06:48 PM
#94
Driver School Candidate
Join Date: Feb 2011
Location: Ga
Posts: 38
Likes: 0
Received 0 Likes
on
0 Posts
Thanks ya I put in new Tweeters in all the doors but wanted to keep all the speakers some how. I saw someone put in 3-1/2in Focals in the mid spot. Looked great but to get those I would have to buy the 3 speaker set which is over a grand a pair. So looking at cheaper 3.5in speakers now not sure if someone did this yet..
03-17-11, 08:02 PM
#96
Driver School Candidate
iTrader: (1)

Join Date: Mar 2010
Location: CA
Posts: 8
Likes: 0
Received 0 Likes
on
0 Posts
anyone set their gain using a 50hz 0db test tone? if so, how did you avoid running the 0db test tone through your factory speakers while trying to set the gain for the subwoofer? i know its bad to send a 0db test tone through speakers, but if the amp is connected to the factory ML system's signal, how did you avoid letting the 0db tone go to the other speakers?
 04-06-11, 06:02 AM
#100
Driver School Candidate
Join Date: Jan 2011
Location: GA
Posts: 15
Likes: 0
Received 0 Likes
on
0 Posts
I will say this: access the wires as they leave the amp, in the trunk, rather than trying to remove them from the sub itself and then running them to your LOC. I did that and it is a huge pain in the *** trying to access the sub under the rear deck. Just leave it there, leave it connected to the wires, but cut the wires at the amp site. That way it's just a quick splice if you ever want to go back to stock.

 04-25-11, 11:52 PM
#103
Driver School Candidate

Join Date: Apr 2011
Location: ca
Posts: 5
Likes: 0
Received 0 Likes
on
0 Posts
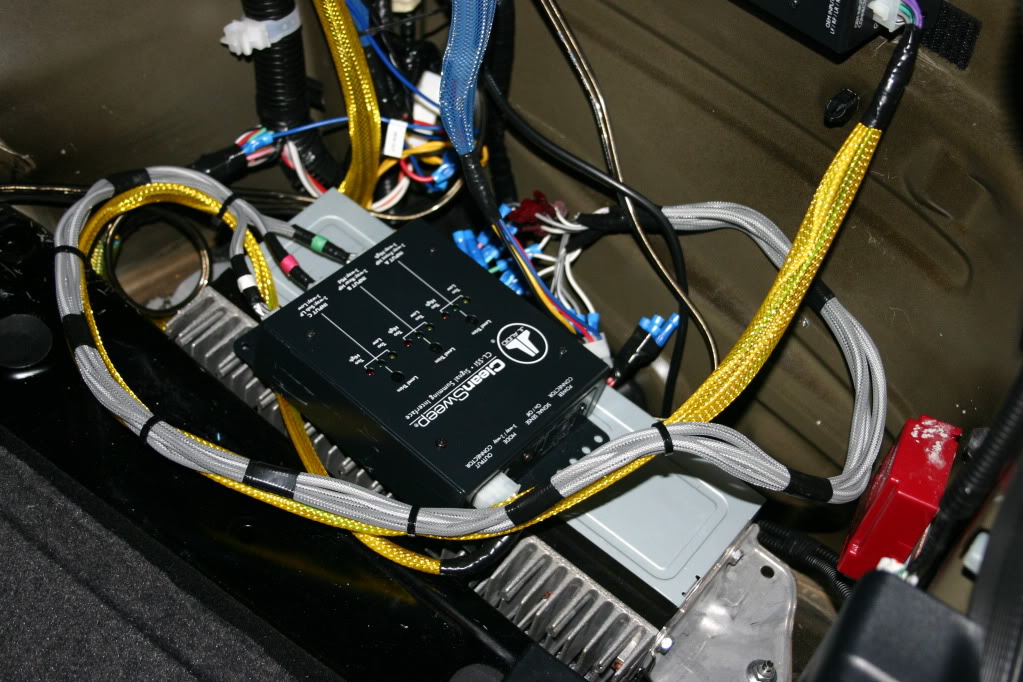
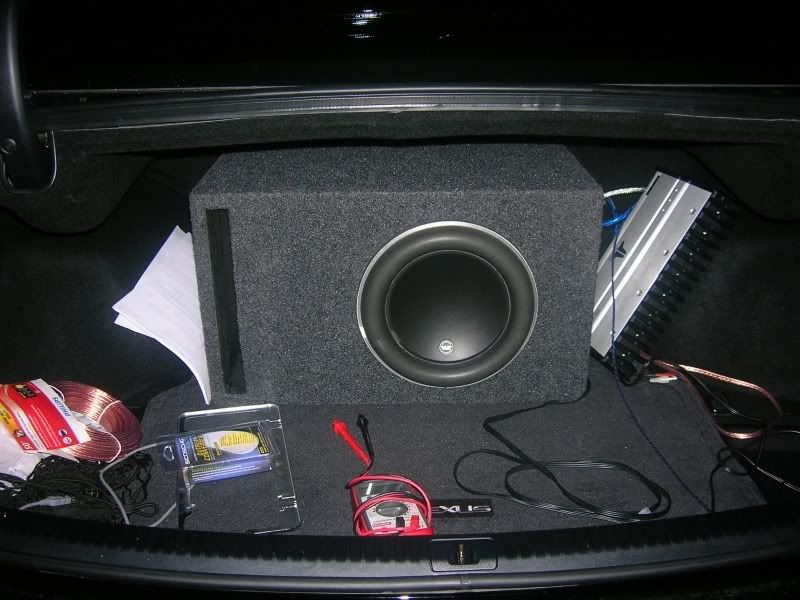
here are the pictures
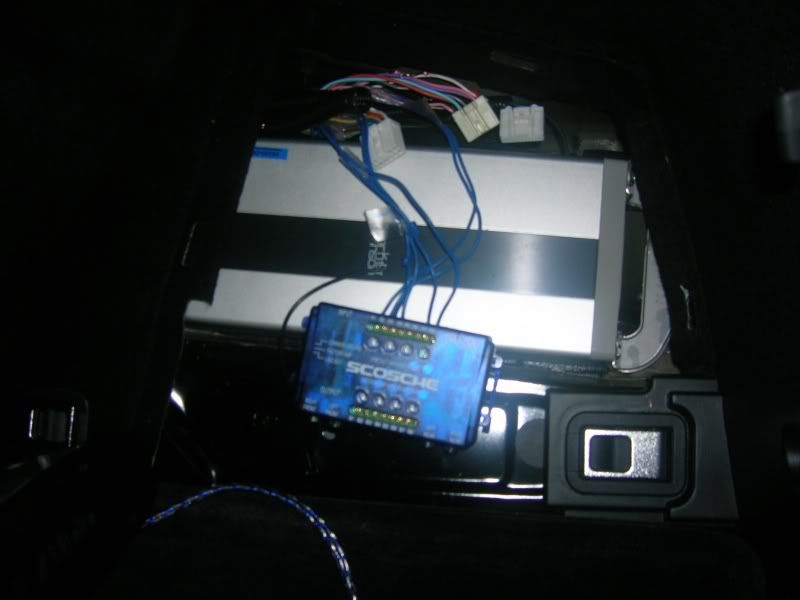
the Scosche LOC I used, got it from Wally World for $17.99, with 90 return policy LOL

the ML location, rear corner on passenger side
subwoofer wires to tap from, BROWN(+) and LIME GREEN(-), the NON ML version has two pairs, BROWN & LIME GREEN and PINK(+) SKY BLUE(-)
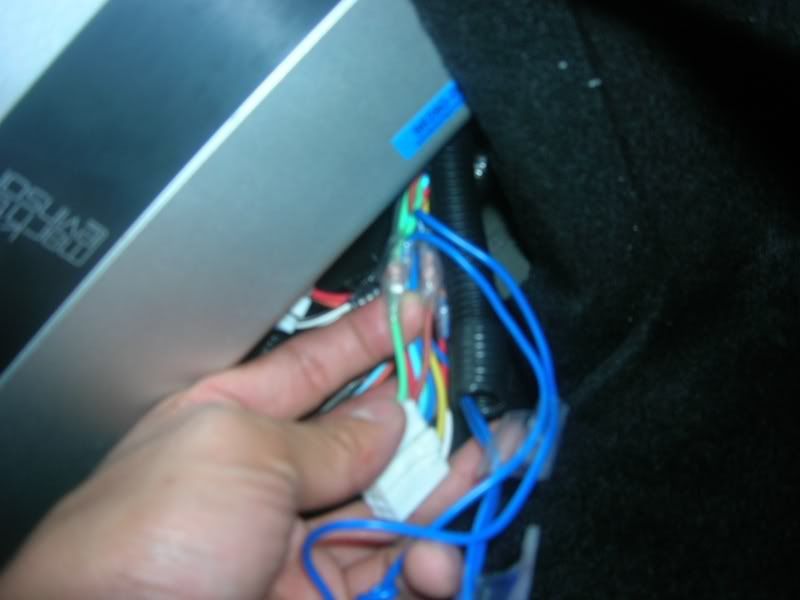
right front woofer, PINK(-) and BROWN(+)
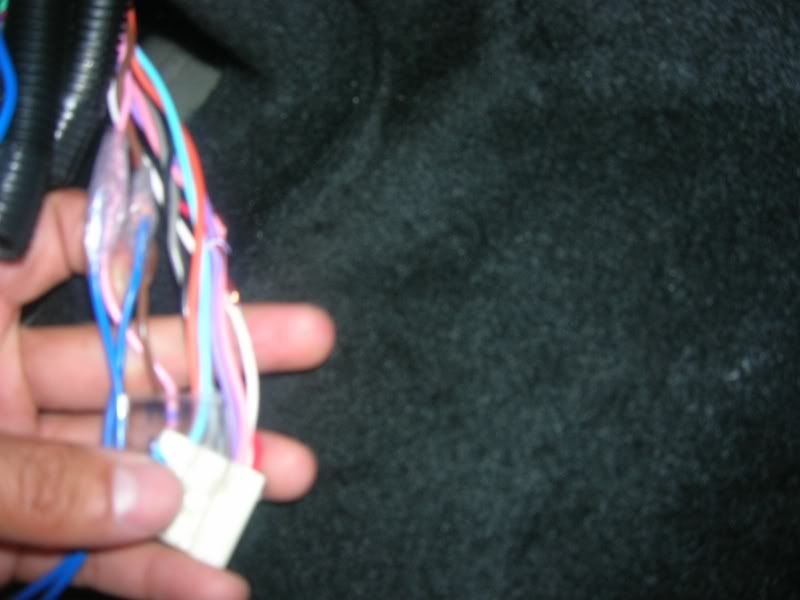
left front woofer, RED(-)and WHITE(+)
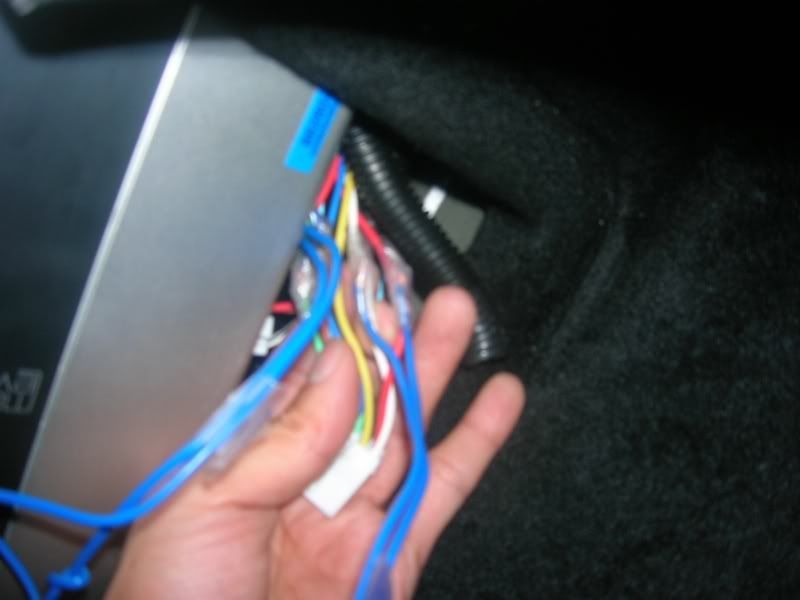
remote wire, it's the last PINK wire farthest to the back
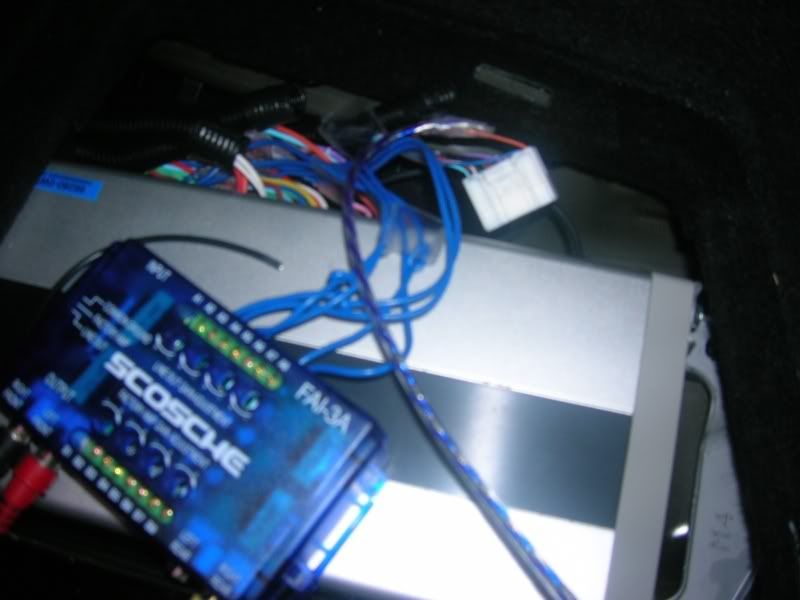
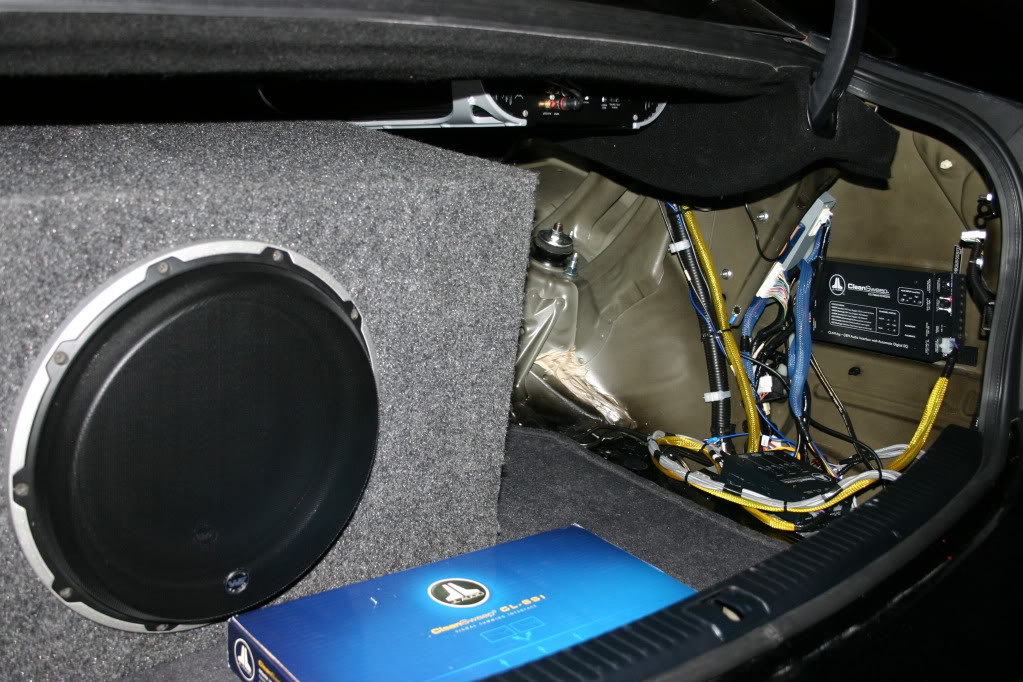
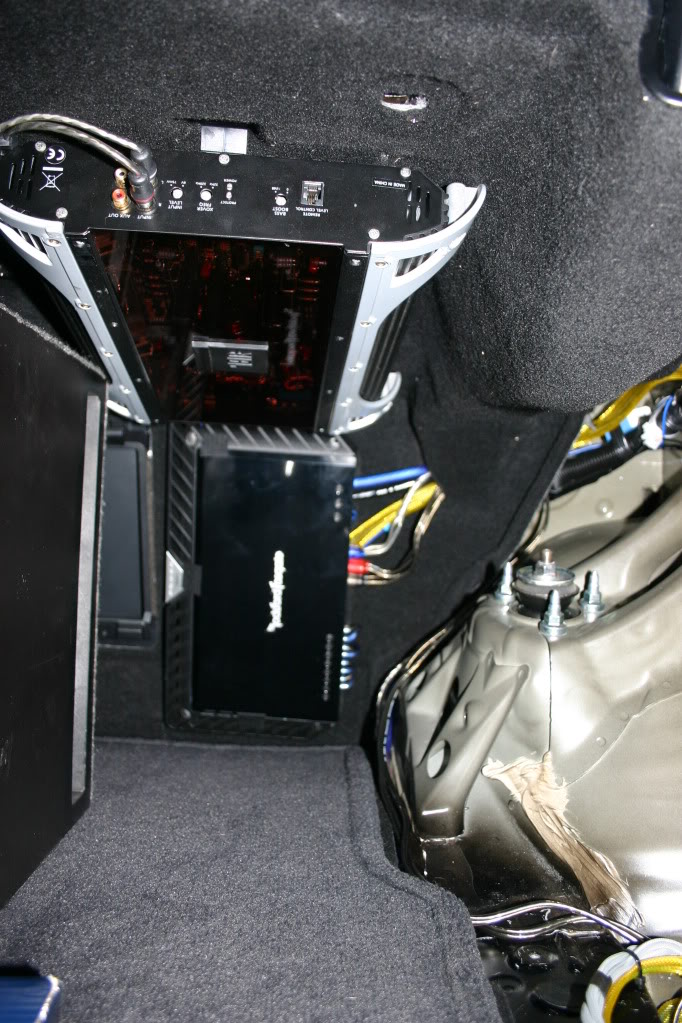
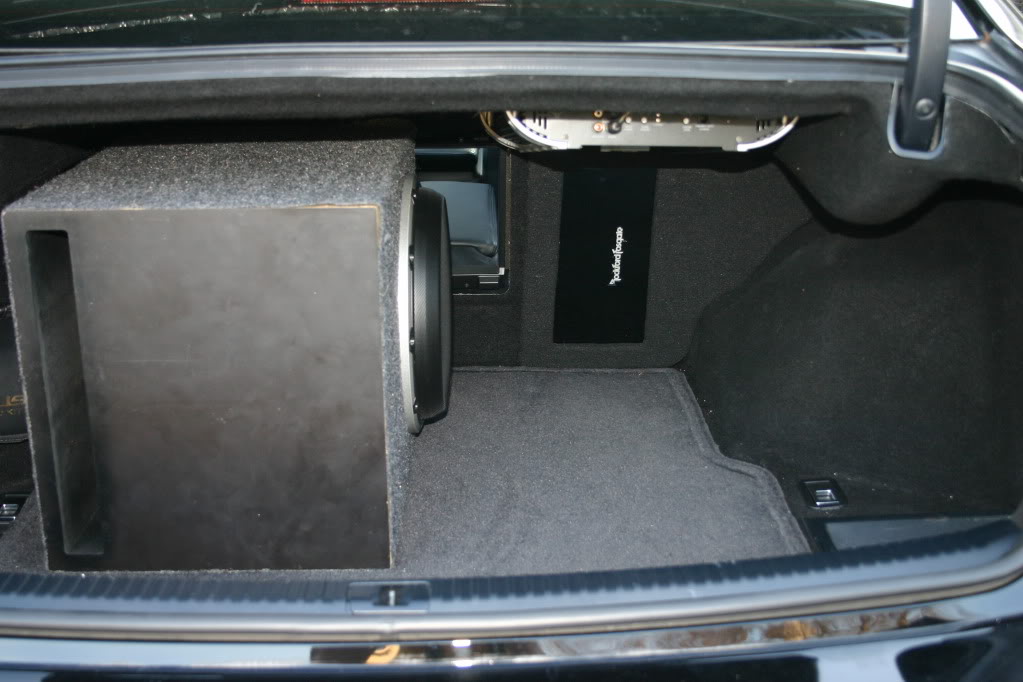
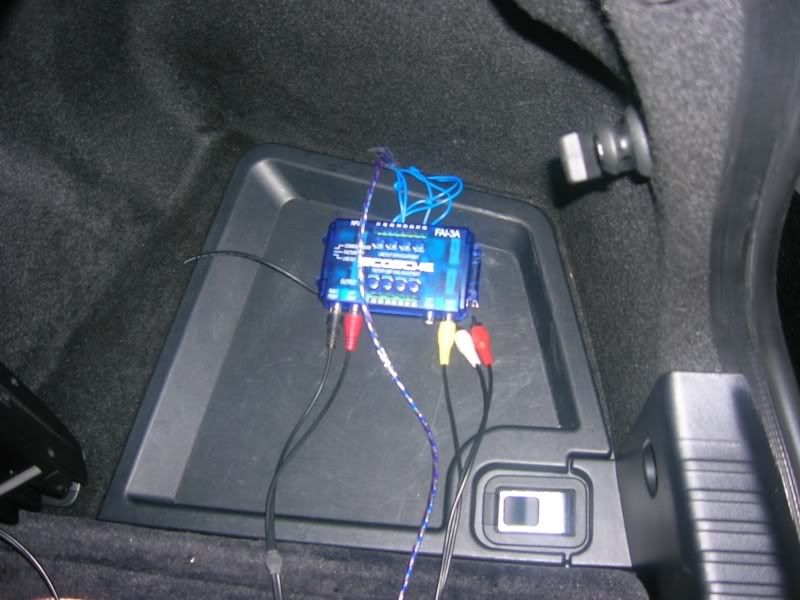
after everything is in place
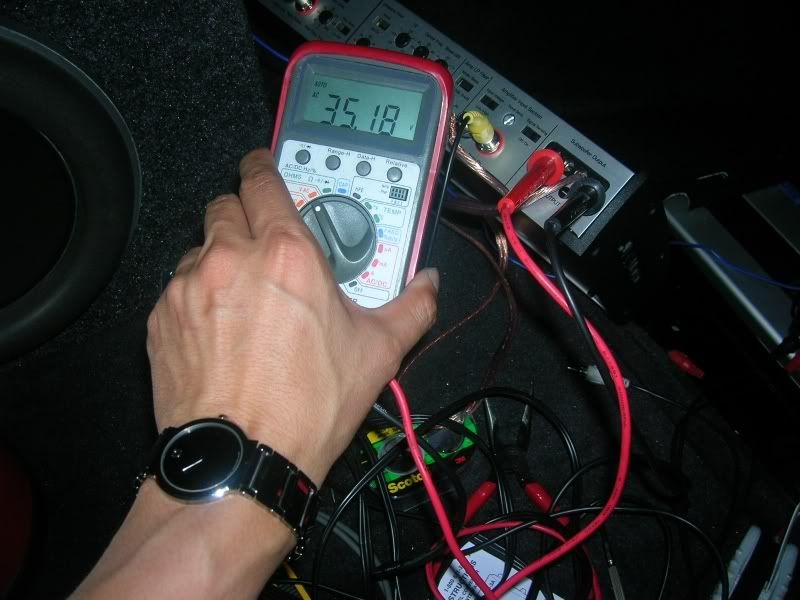
time to set the gain, I went below the JL recommendation, around 35v. They recommened 38v for best result, no clipping. Here's the link to the instruction http://mobile.jlaudio.com/support_pages.php?page_id=143
and DONE!
the Scosche LOC I used, got it from Wally World for $17.99, with 90 return policy LOL
the ML location, rear corner on passenger side
subwoofer wires to tap from, BROWN(+) and LIME GREEN(-), the NON ML version has two pairs, BROWN & LIME GREEN and PINK(+) SKY BLUE(-)
right front woofer, PINK(-) and BROWN(+)
left front woofer, RED(-)and WHITE(+)
remote wire, it's the last PINK wire farthest to the back
after everything is in place
time to set the gain, I went below the JL recommendation, around 35v. They recommened 38v for best result, no clipping. Here's the link to the instruction http://mobile.jlaudio.com/support_pages.php?page_id=143
and DONE!
Last edited by doghouse; 04-25-11 at 11:54 PM. Reason: miss some words
