
Aftermarket HID Installation WITH PICTURES

 12-18-05, 09:59 PM
#3
Driver
Thread Starter

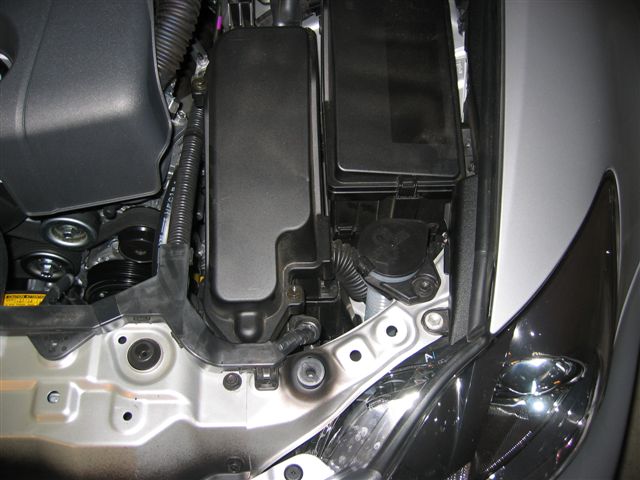
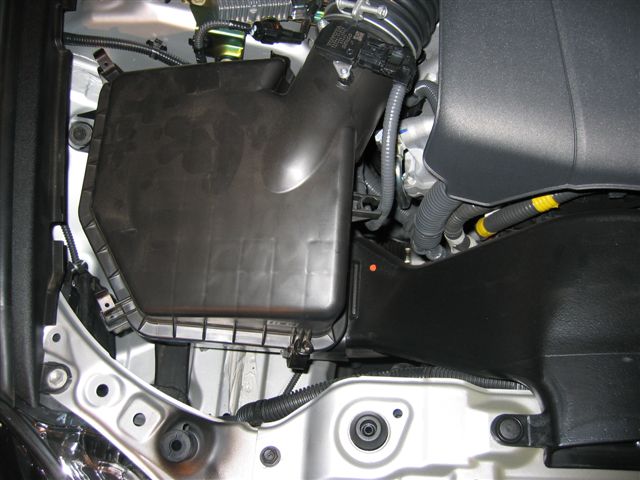
Removal of the airbox below. Two 10mm bolts hold down the box, but the mass airflow sensor and wire loom must be disconnected from it. Also the front air intake 10mm bolt and clip must be removed, the throttle body clamp must be loosened as well.
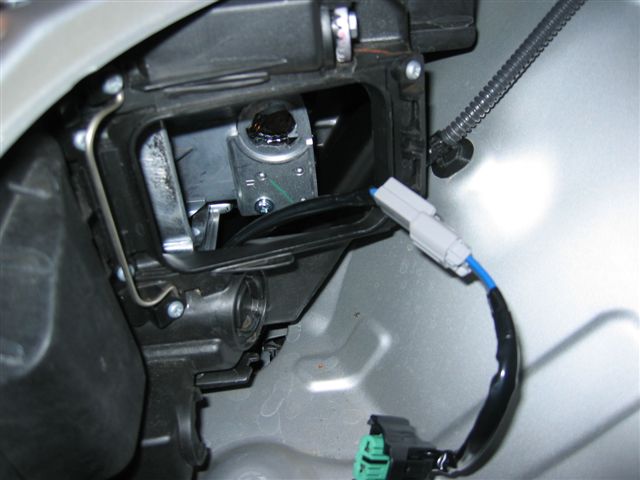
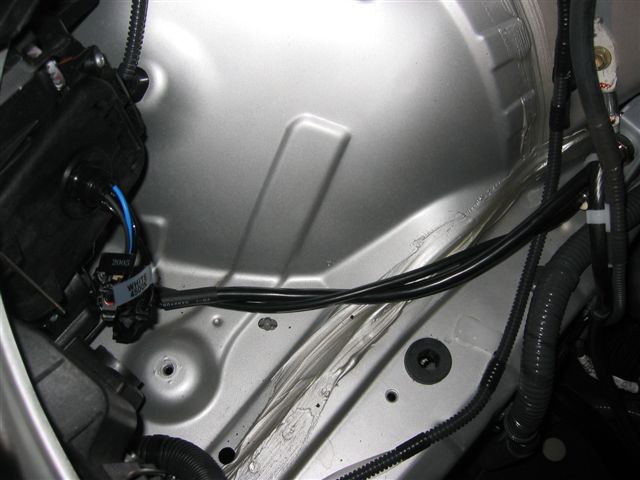
This is what the passenger side light fixture looks like after removing the cover and bulb.
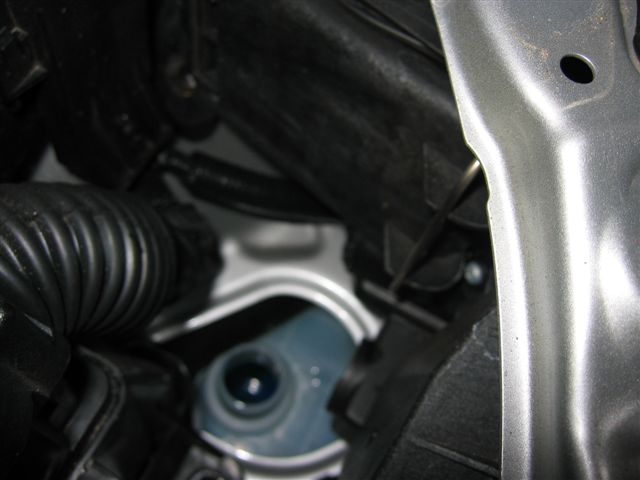
Driver side after 10mm bolt removes washer fluid fill tube
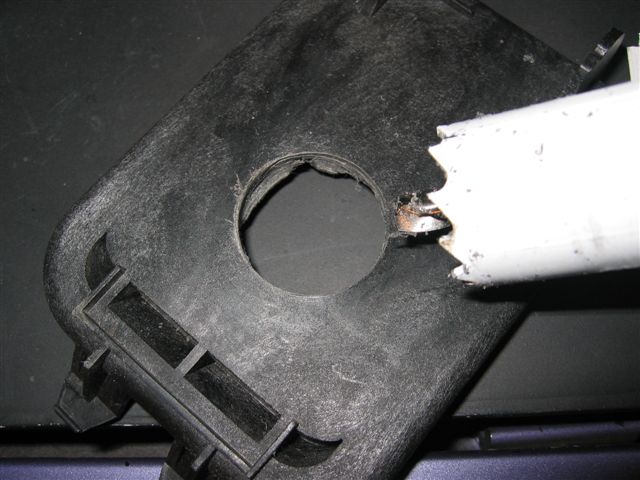
1" hole in light fixture cover to allow for new wire installation
This is what the passenger side light fixture looks like after removing the cover and bulb.
Driver side after 10mm bolt removes washer fluid fill tube
1" hole in light fixture cover to allow for new wire installation
12-18-05, 10:00 PM
#4
Driver
Thread Starter
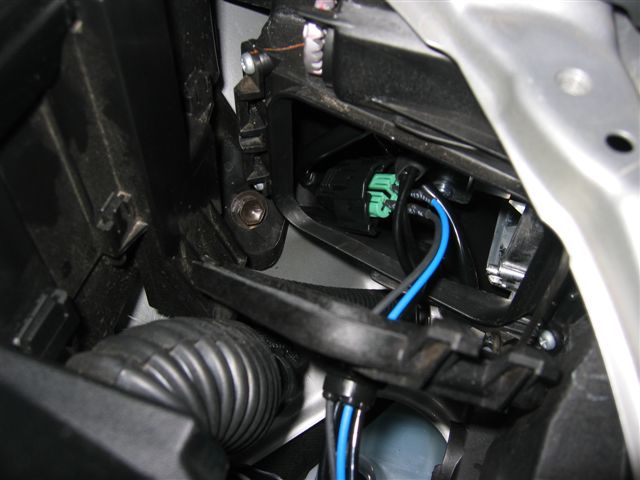
Rubber Grommet to seal out moisture
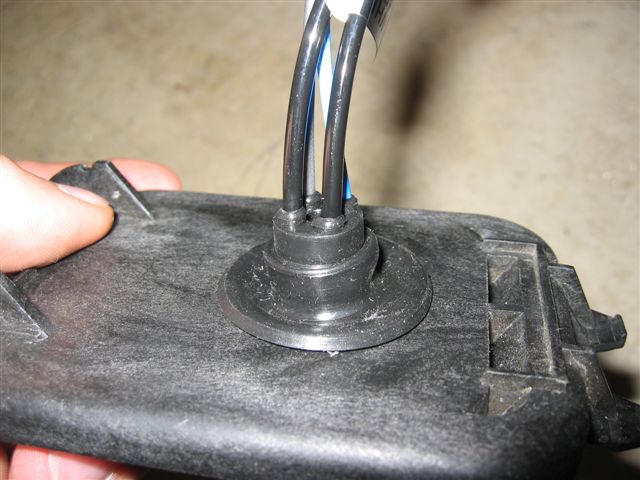
Fixture Side
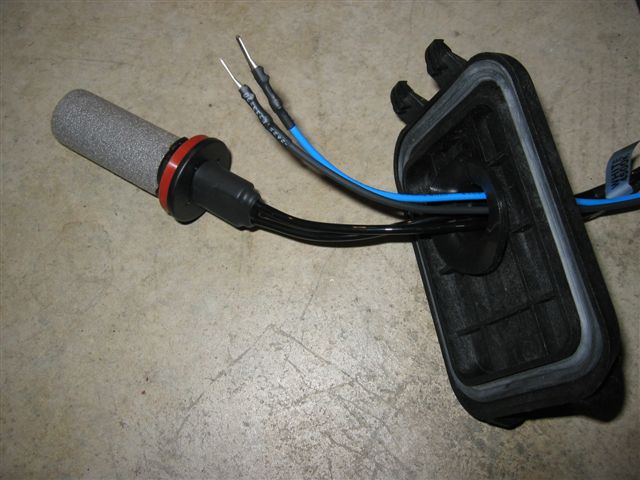
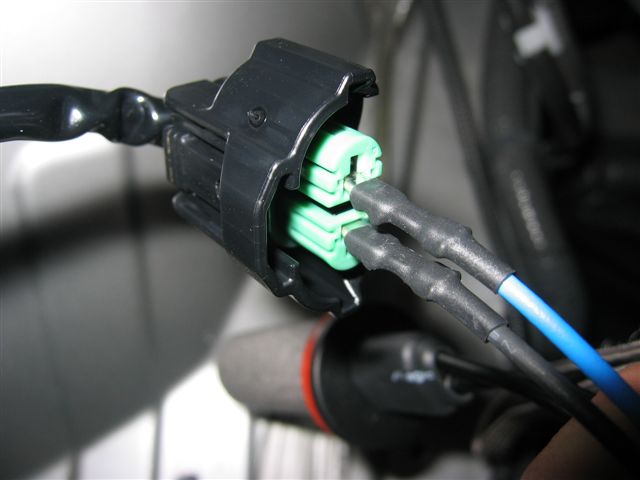
Kit plugs directly into stock loom (Blue is Positive) I tested with a volt meter to be sure
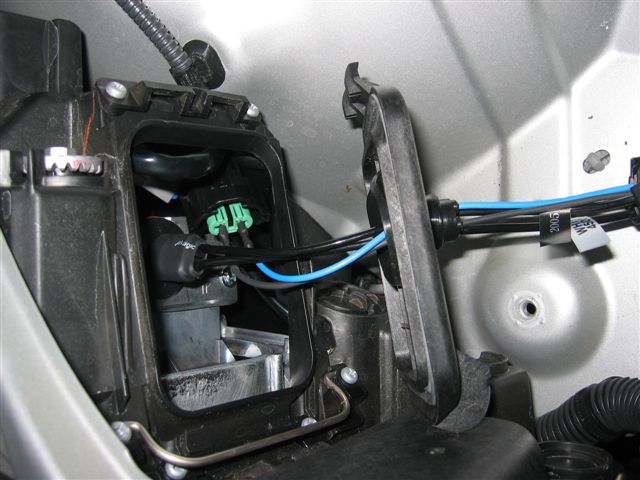
Passenger side before cover re-installation
Fixture Side
Kit plugs directly into stock loom (Blue is Positive) I tested with a volt meter to be sure
Passenger side before cover re-installation
12-18-05, 10:02 PM
#5
Driver
Thread Starter
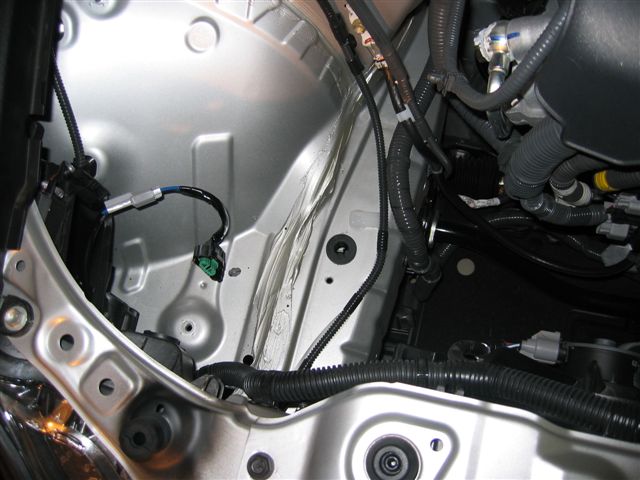
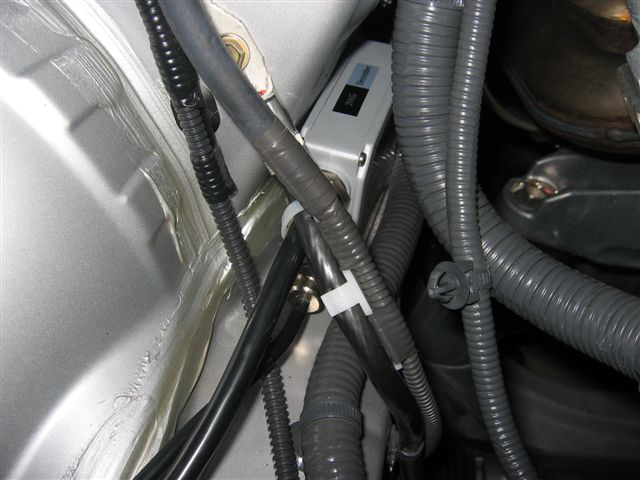
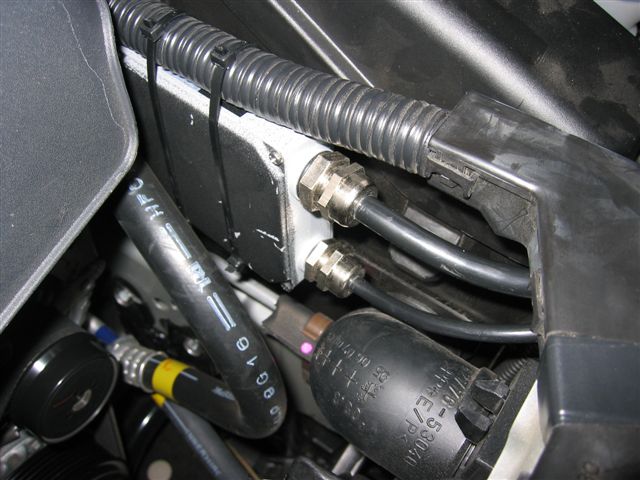
I parked the balast on the frame rail on the passenger side then zip-tied it to the existing wire loom
Driver's side cover
This is the driver's side balast, I sprayed it flat black to make it more inconspicuous, (then i scratched it) installed it next to the ECU and tied it to the wire loom
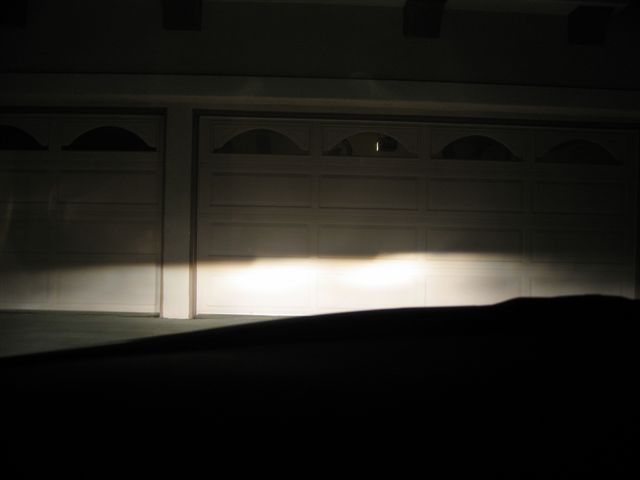
Garage door after the install
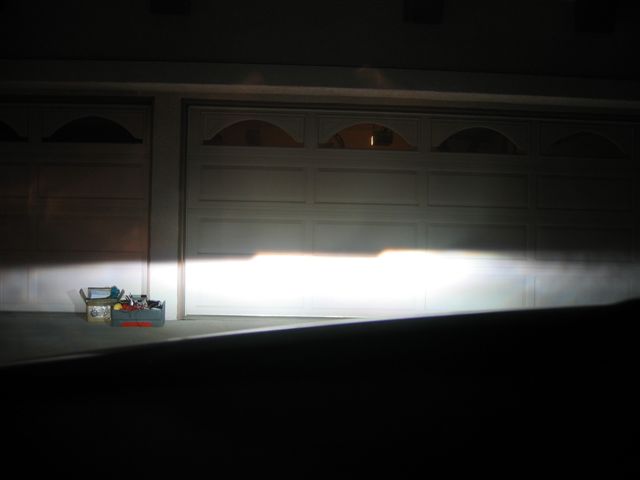
The install took less then an hour. The lights are 4500K. I chose this color temp because I wanted to preserve the stock appearance. The light illuminate the road exactly as well as my IS300...same color same intesity. The Kit was a "proxenon" It was $278 with a 2yr warranty. And claim that they provide "Hella" ballasts. The sales guy was "joe" very helpful in helping me decide exactly what kit I wanted. I bought them on Ebay (Sorry about the multi postings, but after having created the whole single post the website restricted the # of images)
 12-18-05, 10:09 PM
#7
Driver
Thread Starter
Originally Posted by mofogasm
nice guide, did the rubber grommet come with the HID Kit?
Trending Topics
 12-18-05, 10:22 PM
#9
Driver
Thread Starter
Originally Posted by koolaidman
err not liking how u had 2 terminals going str8 into the connector. ive seen on a few occations where they pulled out and caused a fire
otherwise nice setup
otherwise nice setup
 12-19-05, 08:49 AM
#12
Damn, I wish my kit came with those Rubber Grommet . Mine i just snap the dust cover back in and leave the wires stick out on the bottom. I didn't show any gap from the top of the dust cap but if u use ur finger to feel, there's gap on the bottom. I think a lot of people here are doing like that. Not sure that will cause any condensation.
12-21-05, 10:07 AM
#14
Driver
Thread Starter
Originally Posted by shaolin
does the stock HID has auto level adjusting??
im not sure I understand the question so i will answer it "both" ways....
The OEM HID does have an auto-leveling feature, and adaptive lighting, so the light follow the sterring wheel
The halogen version of the IS lights are NOT auto-leveling....so no the pictures you see above are my lights and they are stationary
12-21-05, 11:05 AM
#15
Originally Posted by muzzman1
im not sure I understand the question so i will answer it "both" ways....
The OEM HID does have an auto-leveling feature, and adaptive lighting, so the light follow the sterring wheel
The halogen version of the IS lights are NOT auto-leveling....so no the pictures you see above are my lights and they are stationary
The OEM HID does have an auto-leveling feature, and adaptive lighting, so the light follow the sterring wheel
The halogen version of the IS lights are NOT auto-leveling....so no the pictures you see above are my lights and they are stationary
