
My IS200 Supercharged Toy


 01-04-11, 08:19 PM
#37
Pole Position
Join Date: Dec 2010
Location: Hawaii
Posts: 250
Likes: 0
Received 0 Likes
on
0 Posts
 Your Project looking great and damn you have some crazy wiring skills. Questions: Did you do all the wiring and engine mods by yourself? If it is gosh damn you one of a crazy car enthusiast... more specifically JDM Cars Ha Ha.. You welcome to come in HAWAII anytime just hit me up Bro..
Last edited by AAHawaii07; 01-04-11 at 08:21 PM. Reason: yoo
01-09-11, 04:45 AM
#38

What do you do for a job ?
Do you work? Lol, I wouldn't have time to do any of these mods with how much time it looks like it takes. Forget the fact that you must be using a LOT more of your brain than I do of mine!
Do you work? Lol, I wouldn't have time to do any of these mods with how much time it looks like it takes. Forget the fact that you must be using a LOT more of your brain than I do of mine!
01-10-11, 01:51 AM
#39
Driver School Candidate
Thread Starter

Join Date: Apr 2009
Location: UK
Posts: 23
Likes: 0
Received 0 Likes
on
0 Posts
HI Guys thanks for all the comments, I work as a sound and lighting installer and im not always in the uk so al ot of these projects are conducted under the cover of darkness lol,
I have done all the work except the install of the Turbo that was done by others due to the oil feed return being welded to the sump i can do most things but welding isnt a strong point yet!!!
Its got built in wifi on the laptop so i pick up unsecured networks normally for the net but i willbe fitting a GPRS modem in the car when it gets a full re wire around april time i think.
As you can see i love the work on my car there are more details on my car and others that have copied me etc here
Rabs
 02-07-11, 01:08 AM
#43
Driver School Candidate
Thread Starter
Join Date: Apr 2009
Location: UK
Posts: 23
Likes: 0
Received 0 Likes
on
0 Posts
As discussed a lot of you would like to see this system in the flesh and know how easy it is to install, so i went ahead and got 2 kits, to be experimented on 2 different types of set ups
So here is the good news
they are here in my flat ready to rock and roll


If i get a chance this weekend i will get the push start part of the system installed so you can all see that running the proximity bit needs a bit of research as i have an after market alarm.
If i can however Fit this into mine then all those with After market alarms on any vehicle will be able to do the same.
I will do a full write up and picture install thread on this kit once it has been evaluated.
So here is the good news
they are here in my flat ready to rock and roll
If i get a chance this weekend i will get the push start part of the system installed so you can all see that running the proximity bit needs a bit of research as i have an after market alarm.
If i can however Fit this into mine then all those with After market alarms on any vehicle will be able to do the same.
I will do a full write up and picture install thread on this kit once it has been evaluated.
Last edited by DaveGS4; 02-17-11 at 07:13 PM. Reason: please read forum rules on group buy discussions
02-07-11, 01:09 AM
#44
Driver School Candidate
Thread Starter
Join Date: Apr 2009
Location: UK
Posts: 23
Likes: 0
Received 0 Likes
on
0 Posts
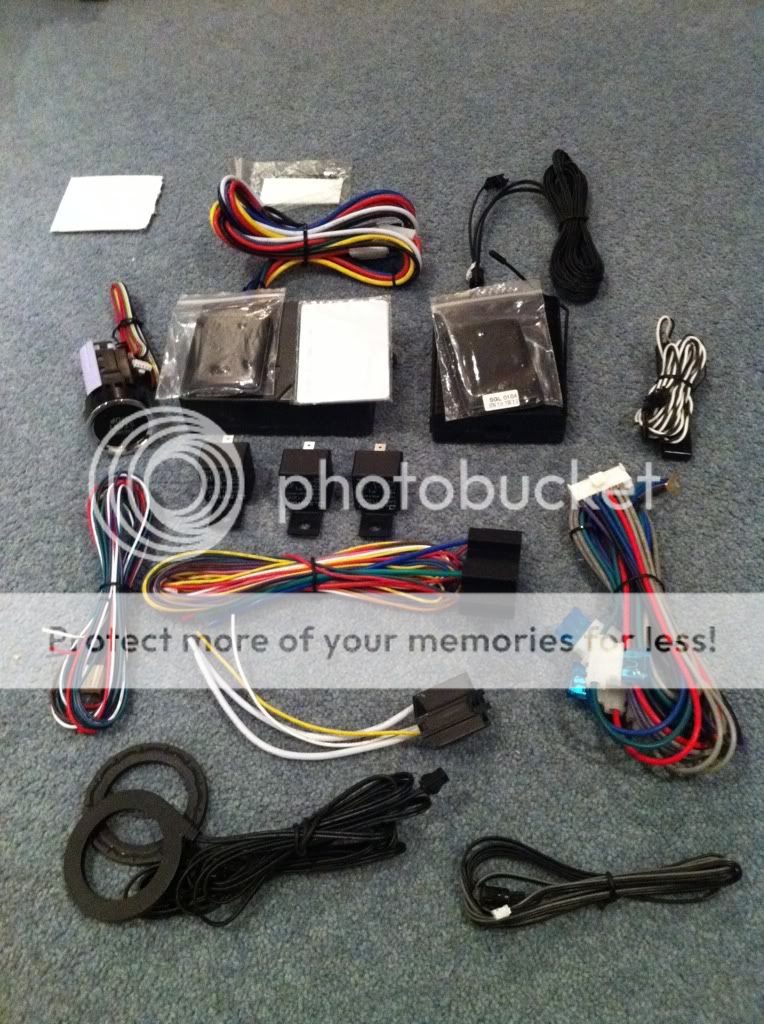
Here we go i picked up a Push button and proximity entrance kit
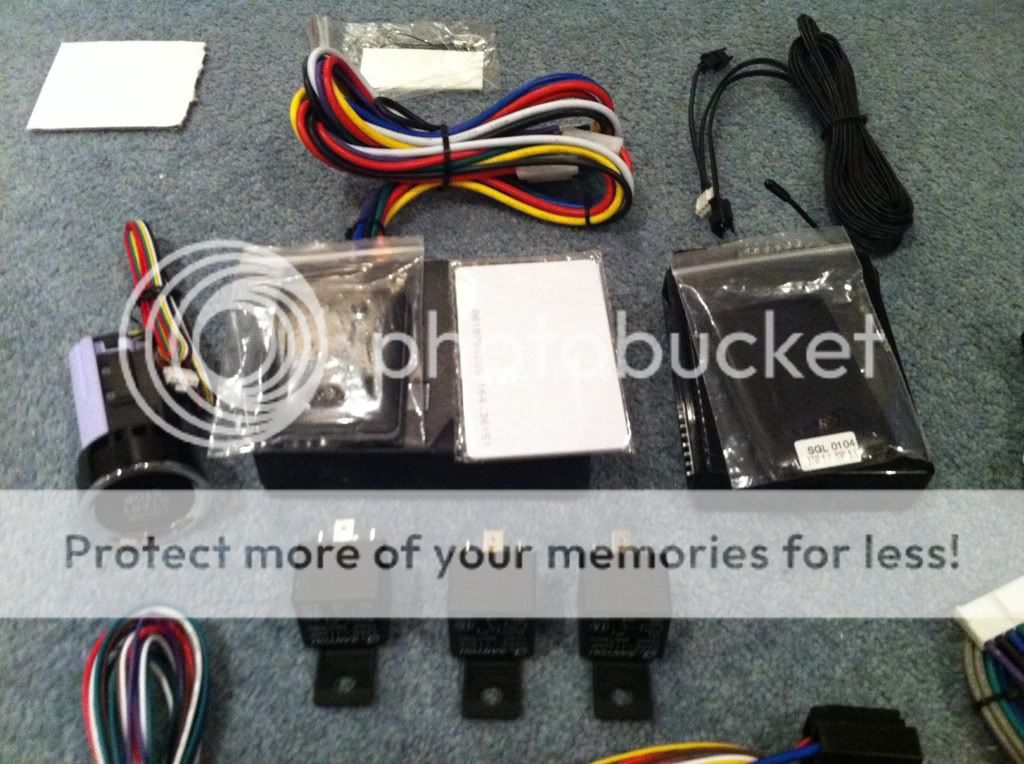
OK so we start of with the System i removed all the wires that i didnt need from the proximity circuit that left me with a total of 7 Cables to terminate as shown below

i then moved on to narrowing these down for install purpose due to the fcat i have a after-market alarm on the car it makes it interesting to install.
With a after-market alarm i need to be able to activate and de active the alarm in doing so this will unlock the doors and turn off the immobiliser.
so my way of doing this was to mimic the operation of the lock and unlock on a G5 remote i disabled all other buttons PERMANENTLY and here is the result of that

so once i had tested this by shorting the 2 wires together the car locked and unlocked accordingly.
now with this in mind i worked out the best way to take the lock and unlock signals from the proximity unit and have them bboth trigger the clifford alarm.
THis was done by taking a relay adding 2 diodes to one side of the coil
then the lock wire went to one diode the Unlock wire went to the other give a constant 12v to the other side of the coil on the relay.

in doing this it stopped the circuit getting any feedback into the main Brain whilst allowing both Lock and unlock to trigger the same switch.
i then made this a little neater and dressed the cables

so now onto the fitting of the unit
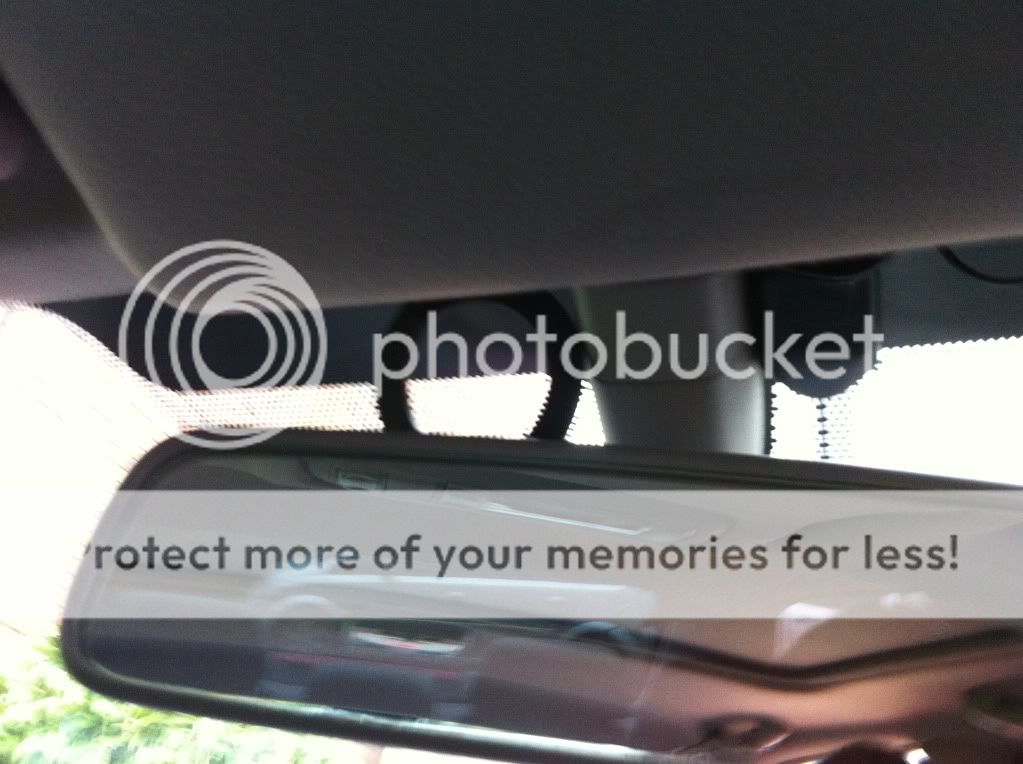
Rear mounted antenna position

Front mounted antenna Position
I also put the by pass unit in here as well so everything is nice and hidden
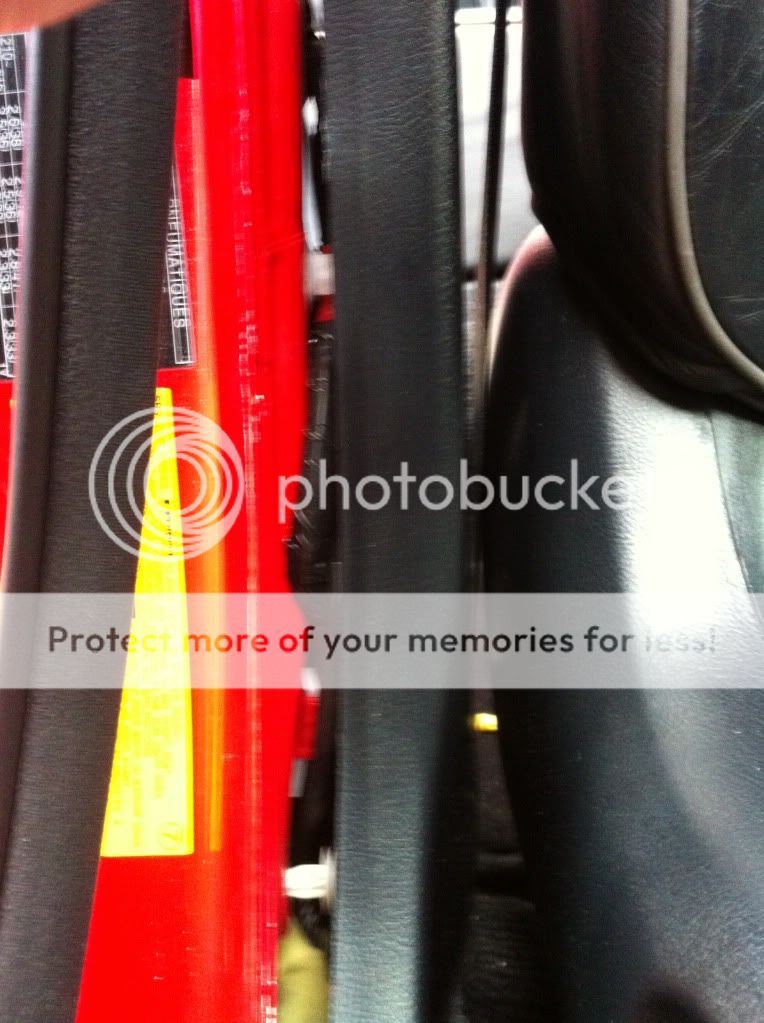
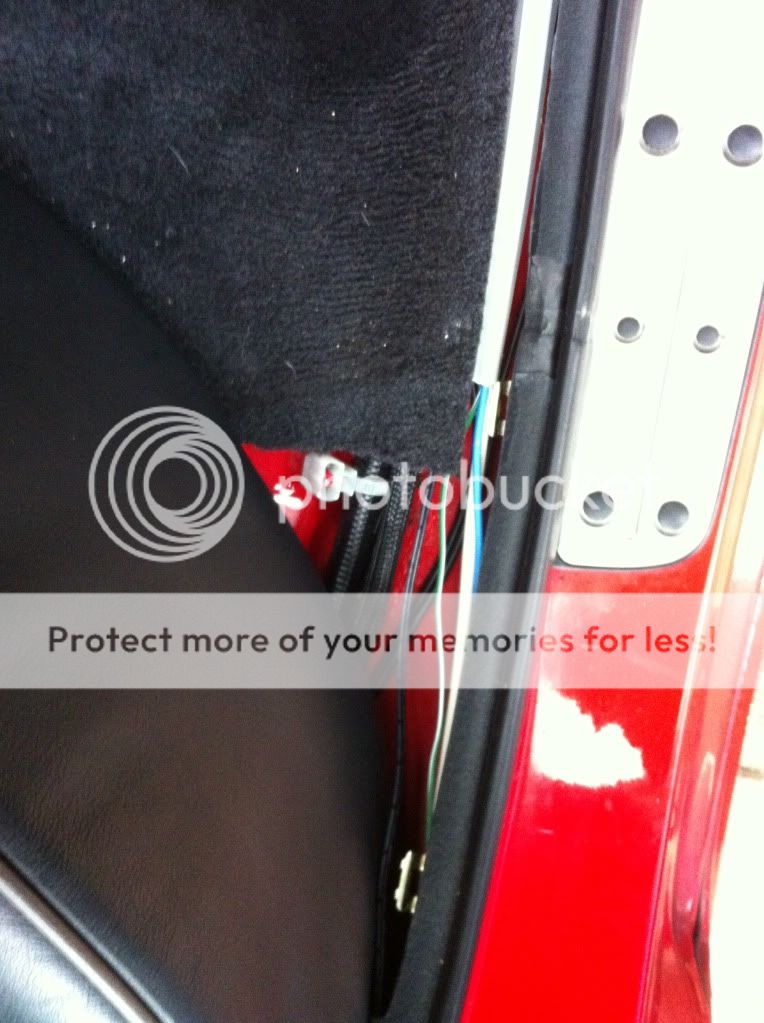
i ran the cables from the front to the rear of the car under the carpet as shown here


Once all the cables were routed through it was time to connect up all the connections you need are located by the steering column
Constant 12v (red) 18AWG
ACC 12v (Small Red) 18AWG
Ground (Black) 22AWG
to trigger the lock and unlock
Lock (Green) 18AWG
unlock (Blue) 18AWG

OK so we start of with the System i removed all the wires that i didnt need from the proximity circuit that left me with a total of 7 Cables to terminate as shown below
i then moved on to narrowing these down for install purpose due to the fcat i have a after-market alarm on the car it makes it interesting to install.
With a after-market alarm i need to be able to activate and de active the alarm in doing so this will unlock the doors and turn off the immobiliser.
so my way of doing this was to mimic the operation of the lock and unlock on a G5 remote i disabled all other buttons PERMANENTLY and here is the result of that
so once i had tested this by shorting the 2 wires together the car locked and unlocked accordingly.
now with this in mind i worked out the best way to take the lock and unlock signals from the proximity unit and have them bboth trigger the clifford alarm.
THis was done by taking a relay adding 2 diodes to one side of the coil
then the lock wire went to one diode the Unlock wire went to the other give a constant 12v to the other side of the coil on the relay.
in doing this it stopped the circuit getting any feedback into the main Brain whilst allowing both Lock and unlock to trigger the same switch.
i then made this a little neater and dressed the cables
so now onto the fitting of the unit
Rear mounted antenna position
Front mounted antenna Position
I also put the by pass unit in here as well so everything is nice and hidden
i ran the cables from the front to the rear of the car under the carpet as shown here
Once all the cables were routed through it was time to connect up all the connections you need are located by the steering column
Constant 12v (red) 18AWG
ACC 12v (Small Red) 18AWG
Ground (Black) 22AWG
to trigger the lock and unlock
Lock (Green) 18AWG
unlock (Blue) 18AWG
Last edited by DaveGS4; 02-17-11 at 07:14 PM.
02-07-11, 01:10 AM
#45
Driver School Candidate
Thread Starter
Join Date: Apr 2009
Location: UK
Posts: 23
Likes: 0
Received 0 Likes
on
0 Posts
Scarlatti Red Is200 sport With Full Factory Body kit
(bumper and kit re-sprayed in 2007)
Colour Coded Sport Grill
Suspension and Wheels
TTE Anti Roll Bars
TTE Coil over�s 45mm
19" vermiri Wheels
Engine/Turbo
Bigger intercooler
Uprated Earthing kit
HKS Camp 2
Boost sensor
OIL Temp Sensor
EGT Sensor
OBD Reading
IKE engineering Turbo Manifold
Ike Engineering Down Pipe 3�
IKE Engineering Centre Pipe
AEM FIC (fuel and Ignition Controller)
550cc Injectors
Supra Fuel Pump
Stainless stel fuel Lines with Aeroquip fittings
GT30 Roller bearing Turbo
Tial Waste gate 50mm
100mm Custom Induction with Apexi Filter
Custom Intercooler Piping 60mm
UPrated Helix Clutch
Apexi Back Box
Iridium 7 Spark Plugs
Standard Fuel Regulator
Cosmetic Inside / Outside
blue Silicone Hoses
Red Cable Tubing
Painted Callipers
Stainless Steel Radiator Panel
Stainless Steel Suspension Tops
Relocated Front Horns
Stainless Steel Aircon Rings
Smoked Rear Lights
Arches Rolled
Stainless Steel Lexus badge
Stainless steel Kanji badge
Lighting Internal/External
6000k HID Dipped Beam
6400k Main Beam
8000k Fog lights
LED Eye brow Side lights
PACE car strobes
Intercooler Lights
Blue foot well Lights
Blue Ignition Ring
Fog to Brake Conversion
In Car Toys
Reverse Camera
Reverse Dip mirror
Front mounted camera
Custom Dash Pc system (full Touchscreen)
7" touch screen in Nav Housing (HKS Camp 2)
Auto Window roll up on arming
One Touch on all Windows
Clifford Avant Guard 5.5
Clifford Call Guard
Push Start Ignition
Blue Instrument Cluster
remote start
Leather Arm rest
Full Leather Interior
Custom Touchscreen Radio system
HD radio
Carnetix PSU2410
Acer Aspire Revo
Car Pc/sat Nav
USb Video Input
Proximity lock/unlock