"Blue Steel" GX470 expedition build

 09-16-14, 12:10 PM
#32
Pole Position
Thread Starter
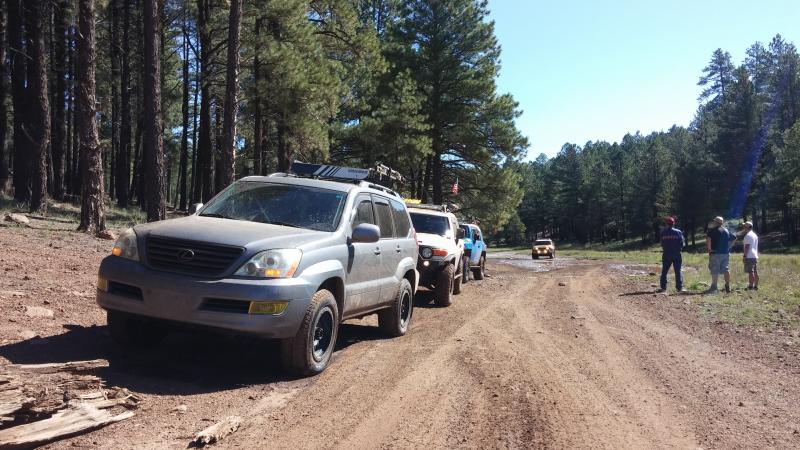
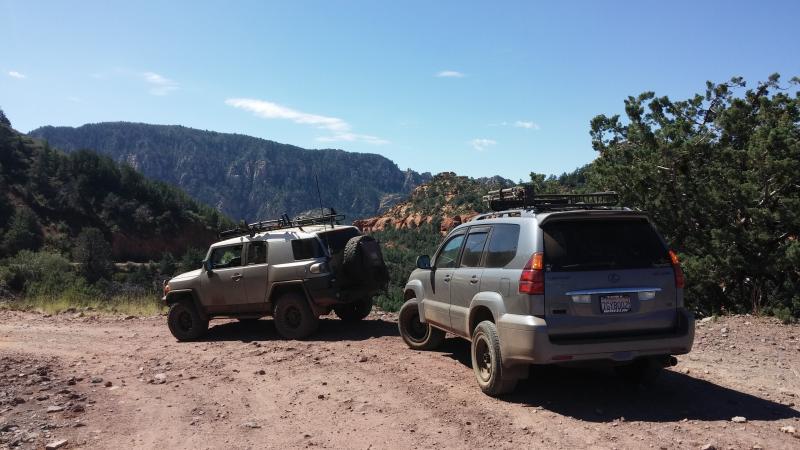
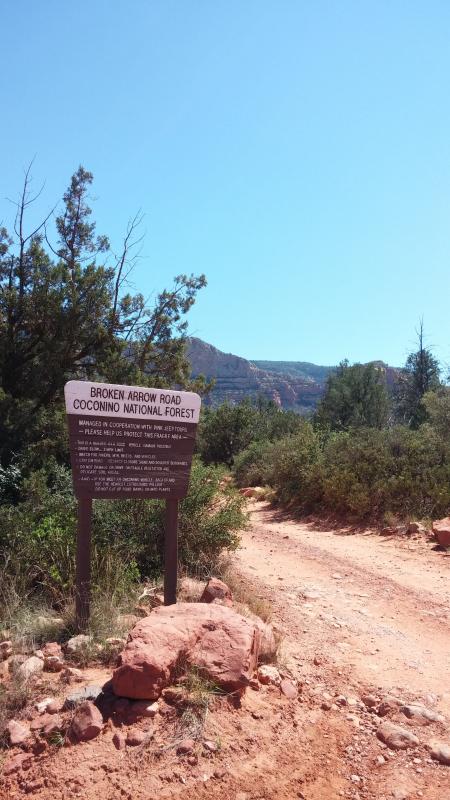
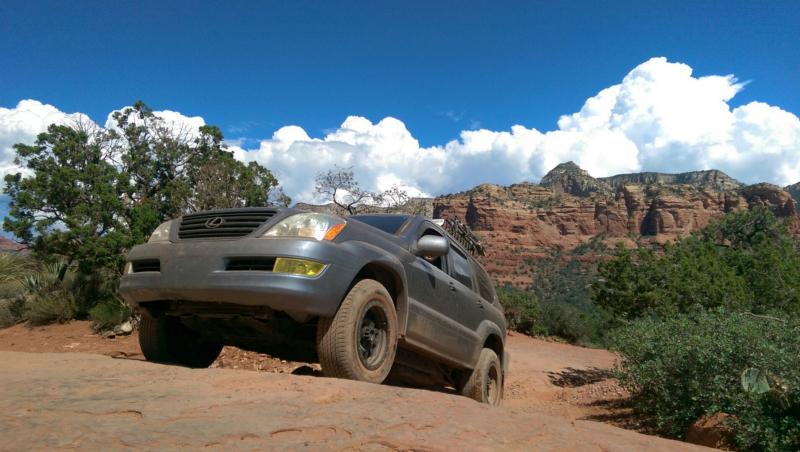
Here's some recent pics from my trip to the Off Camber event in Mormon Lake and Sedona, AZ. last weekend. So beautiful out there, the GX successfully did the Broken Arrow trail minus some scrapes and front bumper bruises, great and fun trail!


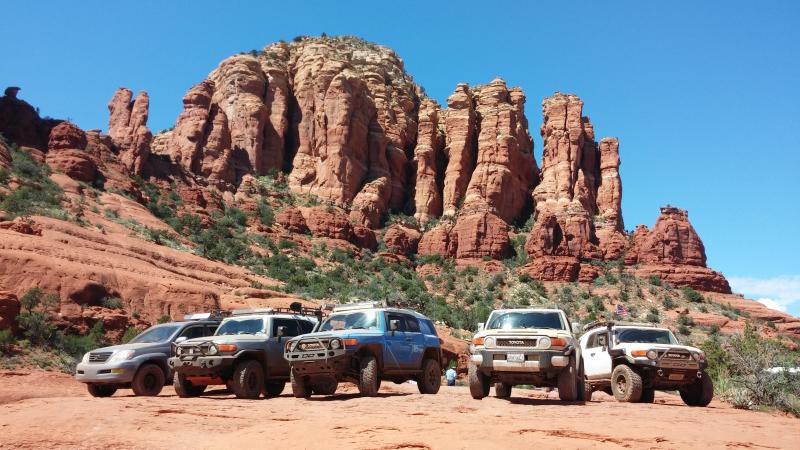

About to go down Devil's Staircase, not for the weak hearted, way steeper than the pictures show
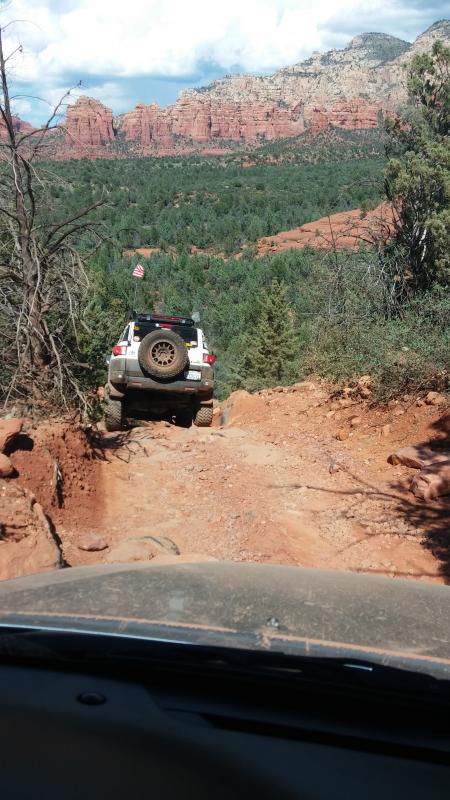
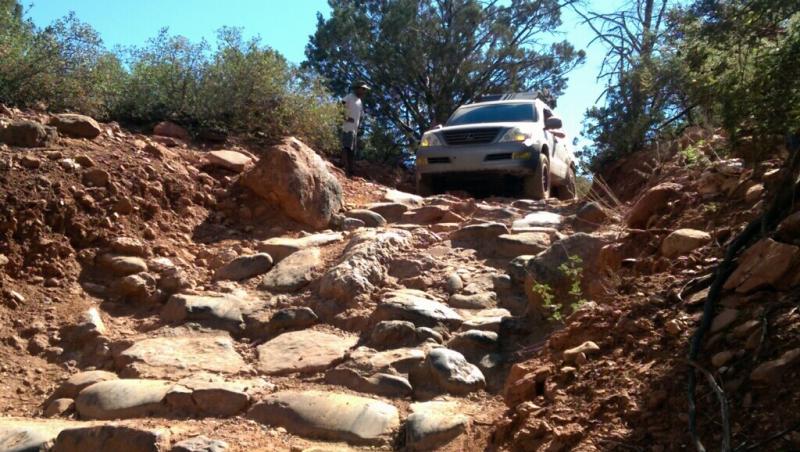


About to go down Devil's Staircase, not for the weak hearted, way steeper than the pictures show


 09-16-14, 02:06 PM
#33
Driver School Candidate

Join Date: Feb 2014
Location: Georgia
Posts: 13
Likes: 0
Received 0 Likes
on
0 Posts
This is fantastic! Thank you so much for the pictures!
Let us know which direction you go with the exhaust. I'm looking into something that grunts but doesn't drone at idle or cruise. I've heard good reports on both the Borla and the Gibson. I believe the 4runner parts will fit us fine.
Let us know which direction you go with the exhaust. I'm looking into something that grunts but doesn't drone at idle or cruise. I've heard good reports on both the Borla and the Gibson. I believe the 4runner parts will fit us fine.
09-17-14, 07:01 AM
#34
Pole Position

If you replace the rear bumper, you should get one of the sand dune flags for it.
Chip H.
Chip H.


 10-03-14, 01:57 PM
#37
Pole Position
Thread Starter
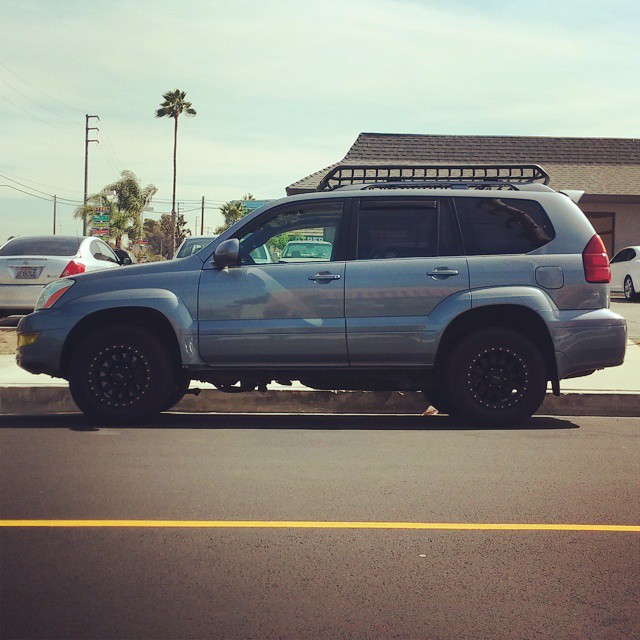
After wheeling with the Yakima Loadwarrior, it moved around and made too much noise for my liking. I ended up selling it and getting a Rola Rack basket with extension. It is beefy, sturdy as hell, and way more low profile, happy with the switch:
 10-07-14, 07:20 PM
#38
Rookie

Join Date: Apr 2013
Location: CA
Posts: 82
Likes: 0
Received 0 Likes
on
0 Posts
Glad to see another member using the truck as it should! I went with Rola roof rack myself because of the low profile look.
Let me know how the gearing changes when you change your tires to 33". I went with 32" BFG AT but I'm tempted to size up with 33". The only concern I have is the taller gear ratio could negatively affect the daily driveability on the road. I'm seriously thinking about changing the ring gear and maybe adding a locker in the back differential.
Also, can you tell me where you got the wheels? I'm interested in the same Method rim.
Keep it coming!
Last edited by NR04; 10-08-14 at 08:20 PM.
10-08-14, 08:52 AM
#39
Pole Position
Thread Starter
When I had my FJ, I ran 285s with stock gearing without a problem but I also had intake/exhaust/y pipe installed so that made up for the power loss a bit. I plan on going 285s again, but have been thinking about 255/75/17s just for clearance/rubbing sake. I got the Methods off some guy on craigslist actually.
10-08-14, 08:19 PM
#40
Rookie
Join Date: Apr 2013
Location: CA
Posts: 82
Likes: 0
Received 0 Likes
on
0 Posts
Thanks for the information! I think GX has the same gear ratio (3.73) as the FJ so it's good to know that I might not need to re-gear after going 285s.
I know Lexwoody (when he had his GX) went with the skinnier but taller tires to avoid rubbing, but the Trailex had 285s with 4.5" back spacing rims without any rubbing with a 3" lift. I have mine at 2" lift but I plan on raising it to 3" and ditching the rear airbags with iCON springs in the back. I thought about OME springs but some people have complained about the harshness of the ride. It looks like ICON springs are softer than the lowest spring rate OMEs.
I also live in Orange County and I plan on visiting Demello guys in Riverside. I have this crazy notion that they might be able to modify their 4runner bumper (I like the look) to fit our trucks. I also need them to fabricate custom sliders for my KDSS and possibly spare tire mount for the rear. I'll keep an eye out for your truck on our crowded freeways. Your truck is looking great.
10-09-14, 09:08 AM
#41
Pole Position
Thread Starter
Nice, we gotta go wheeling sometime NR04! So my setup is pretty much waiting to be put on right now due to the front coilovers needing rebuild but so far I have for my setup:
-Icon 2.5 extended travel coilovers with remote reservoirs
-All Pro 1.25" uniball UCAs
-All Pro HD adjustable sway bar links
-Icon rear 2" lift springs
and I just scored a set of Icon 2.5 piggy back reservoir rear shocks:
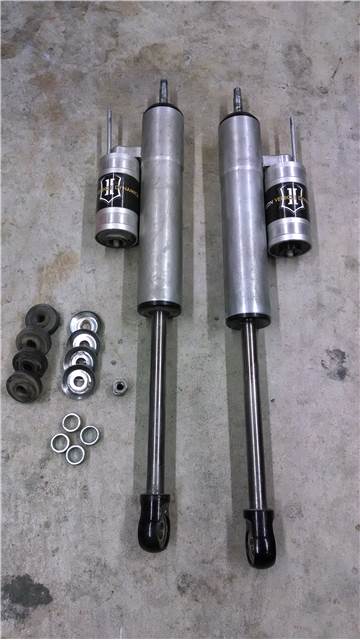
I still need to order the Metaltech rear spring conversion kit and get everything rebuilt before everythings installed, should be within this month hopefully. Also planning on 285/70/17 Falken Rocky Mountain ATs, had them on the FJ and loved them so I will go with them again.
BTW the Methods come in backspacing size for 17" with our bolt pattern and it is perfect for the GX, 4.75" backspacing and it brings the wheels out in line with the fenders, no need for wheel spacers.
10-20-14, 12:19 PM
#42
Pole Position
Thread Starter
Finally got around to dropping off the coilovers to Icon for warranty of the top plates and full seal rebuild as well as replacing the lower mount bearings. Met up with Jeremy last Saturday for a mini mod day since he needed to work on his gas tank issue (Thanks Jeremy).
After a long tiring day, we got the All Pro tubular upper control arms, Icon 2.5 extended travel coilovers with reservoirs, Wheelers SuperBumps, and rear Icon 2.5 piggyback shocks installed. It took a bit to figure out how to get the electronic dampening control stuff for the front/rear shocks off so we could remove the stock coilover assembly and some trimming on the passenger side plastics for the wiper fluid reservoir and resi clearance.
As for the rear lift, I used a trick the GX guys found out, and put spacers between the frame and right height sensor brackets to trick the truck into thinking it is lower than it really is, and thus having the pump slightly overinflate the bags to give the rear a 1.5" lift. This is temporary to fit the 285 Cooper tires coming mid week, since I already have the rear Icon coils, just haven't ordered the airbag to coil conversion kit from MetalTech yet. So far happy with the outcome, it sits level with the front lift and has the clearance for the new tires.
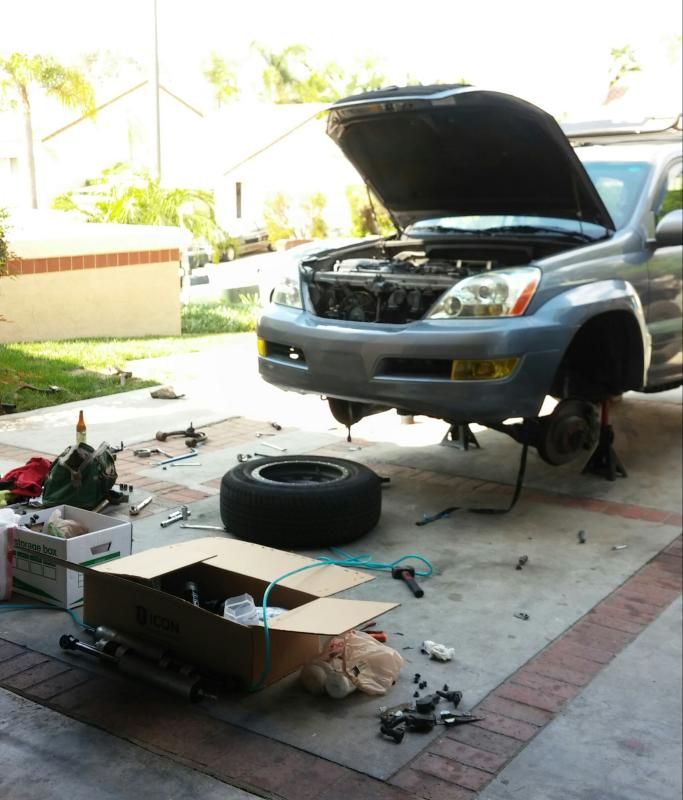
Parts and tools everywhere:
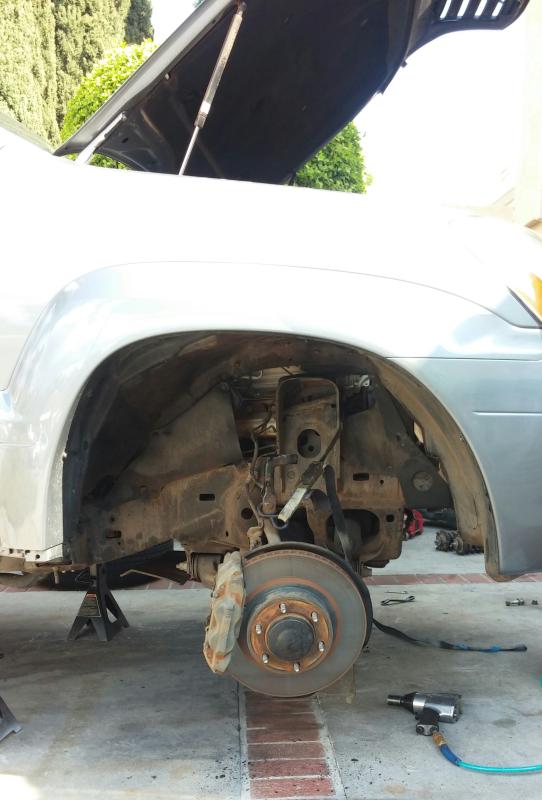
All stock front suspension removed:
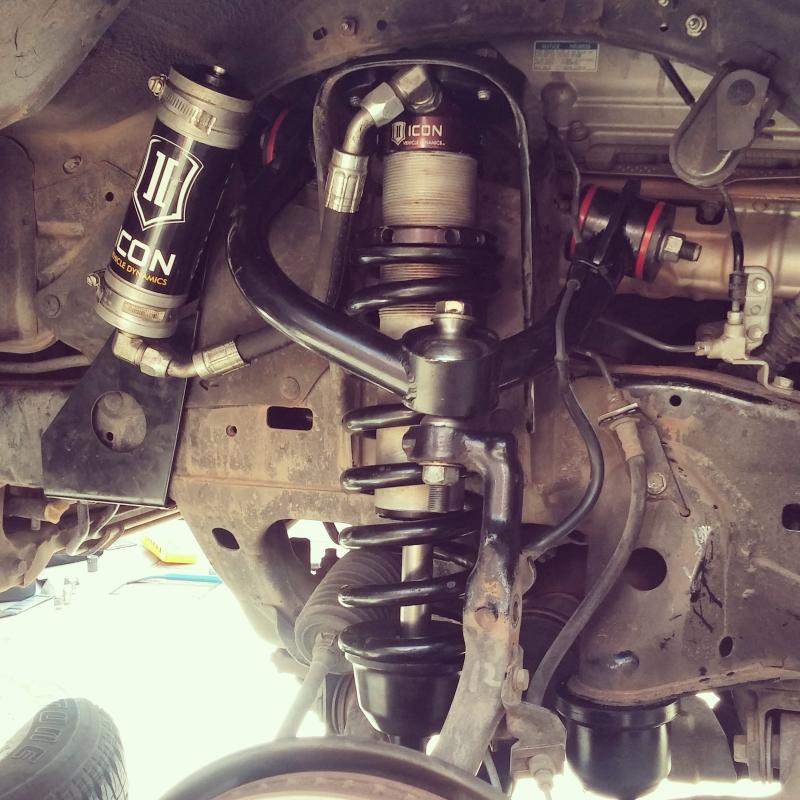
All Pro UCAs/Icon 2.5 extended travel coilovers w resis/Wheelers Superbumps installed with no more front sway bar:
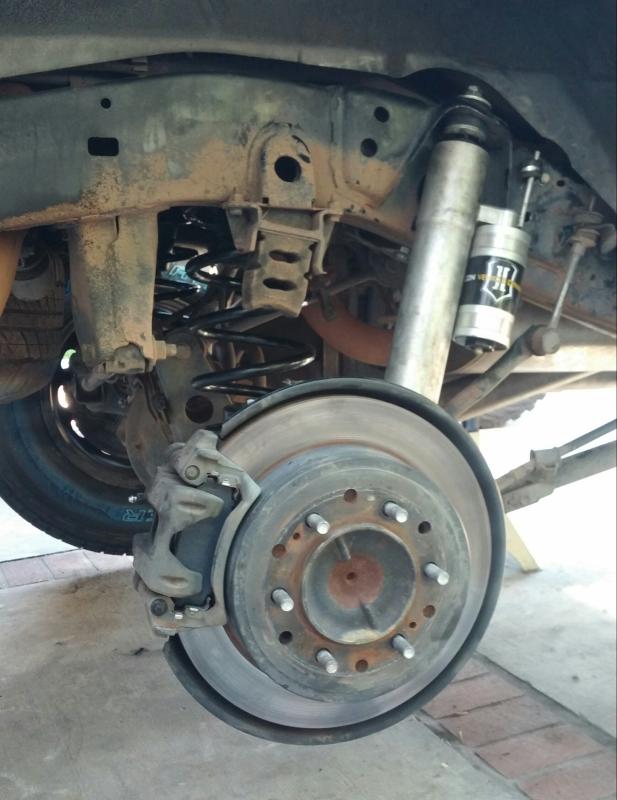
Rear Icon 2.5 piggyback rear shocks with ride height sensor trick done:

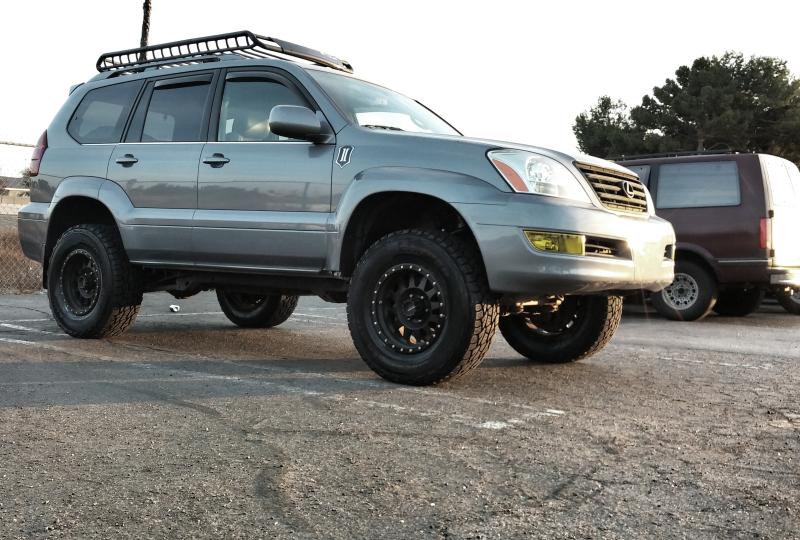
As she sits after the front coilovers settled and the rear leveled out, 285 Cooper Discoverer ATPs arrive midweek to Discount Tire so it wont look as funny with the tiny 265 tires now:
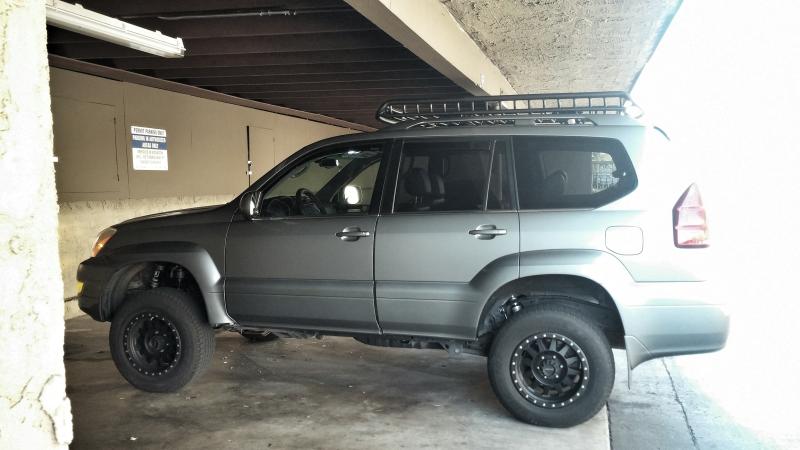
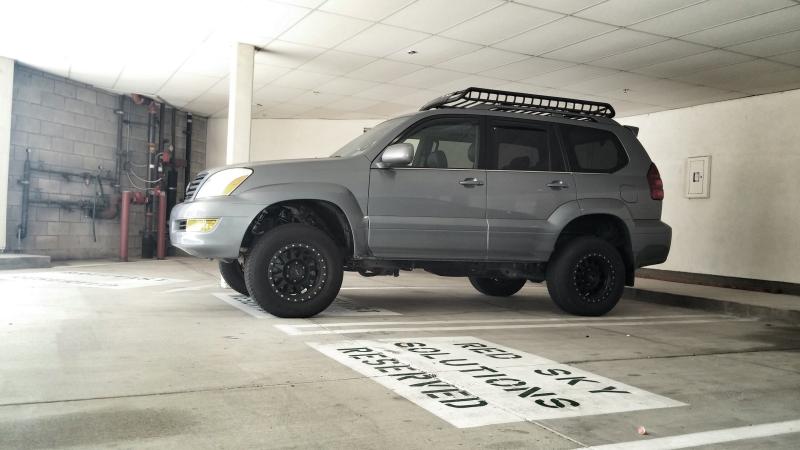
Super happy with the lift, even more so when the rear conversion kit and tires are on, ready for Pismo!
After a long tiring day, we got the All Pro tubular upper control arms, Icon 2.5 extended travel coilovers with reservoirs, Wheelers SuperBumps, and rear Icon 2.5 piggyback shocks installed. It took a bit to figure out how to get the electronic dampening control stuff for the front/rear shocks off so we could remove the stock coilover assembly and some trimming on the passenger side plastics for the wiper fluid reservoir and resi clearance.
As for the rear lift, I used a trick the GX guys found out, and put spacers between the frame and right height sensor brackets to trick the truck into thinking it is lower than it really is, and thus having the pump slightly overinflate the bags to give the rear a 1.5" lift. This is temporary to fit the 285 Cooper tires coming mid week, since I already have the rear Icon coils, just haven't ordered the airbag to coil conversion kit from MetalTech yet. So far happy with the outcome, it sits level with the front lift and has the clearance for the new tires.
Parts and tools everywhere:

All stock front suspension removed:

All Pro UCAs/Icon 2.5 extended travel coilovers w resis/Wheelers Superbumps installed with no more front sway bar:

Rear Icon 2.5 piggyback rear shocks with ride height sensor trick done:

As she sits after the front coilovers settled and the rear leveled out, 285 Cooper Discoverer ATPs arrive midweek to Discount Tire so it wont look as funny with the tiny 265 tires now:


Super happy with the lift, even more so when the rear conversion kit and tires are on, ready for Pismo!
10-23-14, 07:46 AM
#43
Pole Position
Thread Starter
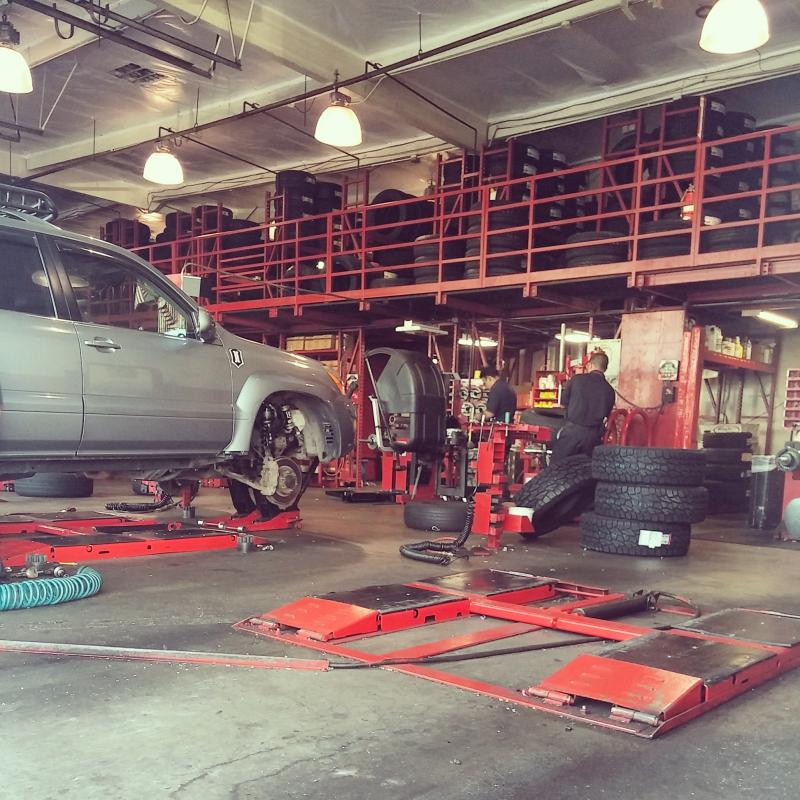
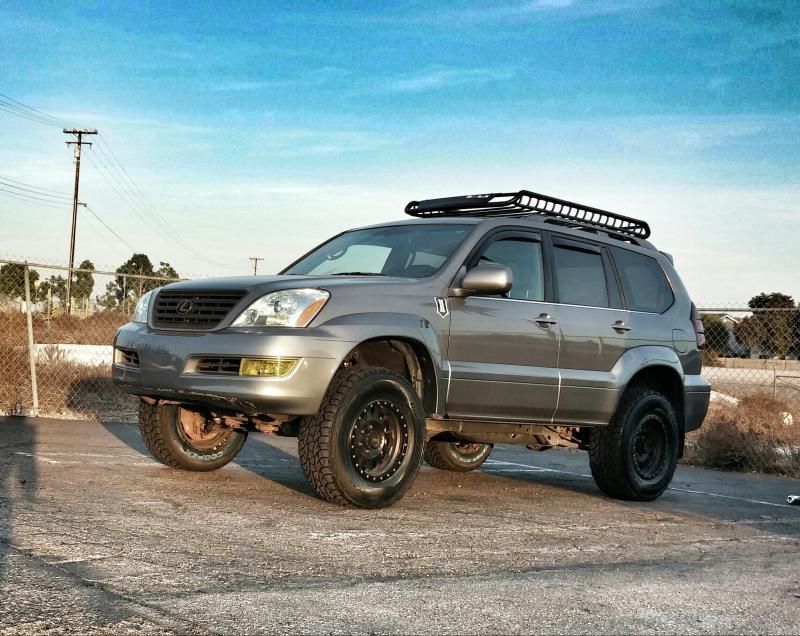
My 285/70/17 Cooper Discoverer ATPs finally came in yesterday, so quick trip to America's Tire and they are mounted! First impressions are these are a very aggressive all terrain, way more so than my old Falkens and they are pretty tall for a 285. Right now as she sits, the top of the seat base comes up to me mid chest and I'm 6'-0" tall. Very smooth on the road with little noise, and a little minor rubbing at the front of the wheel on the fender lining which will get trimmed. About an inch or two of clearance at the body mount so that worked out perfect, no body mount chop for me! Overall, super stoked on the way it looks, Bud Builts and sliders next!


 10-27-14, 09:14 AM
#44
Pole Position
Thread Starter
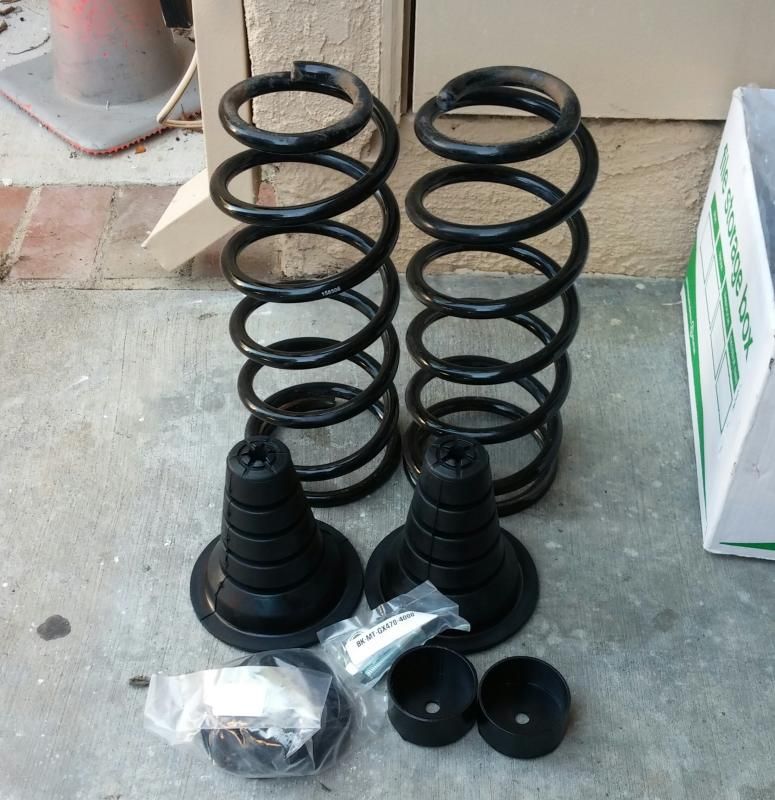
Finally, the Metaltech rear airbag to coil conversion kit came in, picked up FJ rear rubber spring isolators from my buddy at Toyota of Orange, and installed the conversion kit along with Icon rear coils on Saturday morning. The process was pretty quick not too long, maybe a couple of hours. After we figured out how to access the airbag top retaining clips and removing the air lines, the rest of the install was very similar to a typical FJ rear spring install. Since the GX rear axle is pretty much a FJ/4runner axle minus the spring perches, the conversion kit comes with metal bolt on perches to where the airbag mounts to the axle, as well as a rubber spring stop for the bottom of the spring to sit on. All in all, an easy kit although Metaltech included some kind of tool which was a copper spring with no instructions on how to use it or where its used for which I thought odd.
Ready to install:
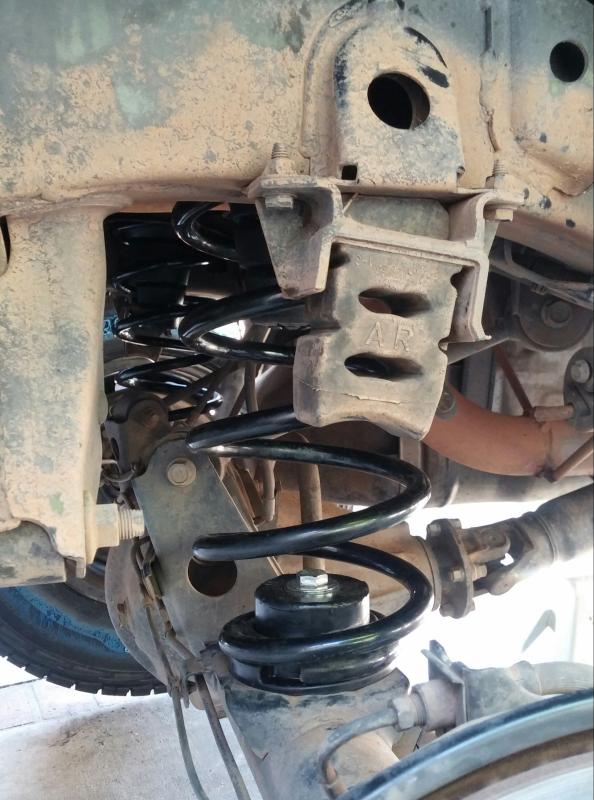
All mounted up:
Better view of the conversion kit at axle:
All in all, a way better and smoother ride than the overinflated airbag trick I was using to lift the rear, now she's ready to hit some dirt!
Ready to install:

All mounted up:

Better view of the conversion kit at axle:

All in all, a way better and smoother ride than the overinflated airbag trick I was using to lift the rear, now she's ready to hit some dirt!
10-27-14, 09:43 AM
#45
Pole Position
Thread Starter
A little write up on the rear Metaltech conversion kit and coil spring install for you GX guys, since I haven't found one:
1)Loosen lugs on rear wheels
2)Get the tallest jack and jack stands you can
3)Jack up by center rear axle diff pumpkin as high as you can and set jack stands on frame rails in front of rear lower link mounts and take off wheels
4)Undo top and lower shock bolts/unclip dampening control plug on shock, and top sway bar link bolts (both sides)
5)Easier to take off rear shock completely IMO but you can leave it on with the bottom mount bolt still attached
6)Near where the top shock bolt mounts, take a flashlight and look between the frame rail and the fenderwell metal, at the top of the airbag mount area, you will see a metal clip with a L tab. Take a long screwdriver and mallet and hit at the tab part, this will dislodge the airbag retainer clip (do for both sides)
7)This is the tricky part, at the top of the airbag mount, you will see the air lines going into a 90 degree elbow at the top of the airbag. First is a protective cover which you just engage the tabs to slide off. Next, you will see the metal 90 degree elbow and the air line, in the metal elbow there are two tiny holes on either side of the air line, where you can use long nose pliers to engage both tabs to release the air line. If you don't plan on going back to stock, you can just cut the air lines and delete them all the way back to the compressor.
8)The airbag will deflate once the air lines are off, deflate them all the way and they should pop out of the lower mount.
9)The axle should be fully drooped, take jack to opposite side lower shock mount and jack up till the axle is fully articulated to one side
10)Start with the side with more clearance, take top rubber spring isolator, slip into top of spring coil, and take just the rubber spring collar from the conversion kit and fit it to the bottom of the coil.
11)Slide in the whole coil assembly with rubber pieces onto axle. Take the metal bolt on spring perch from the conversion kit and slide it within the coil to mount, fit bolt and nut and tighten down.
12)Do vice versa on opposite side
13)Once coils and mounts are in, remount rear shocks and upper sway bar mount bolt
Just like that, you're done, its easily doable if you've wrenched on anything before.