When you click on links to various merchants on this site and make a purchase, this can result in this site earning a commission. Affiliate programs and affiliations include, but are not limited to, the eBay Partner Network.
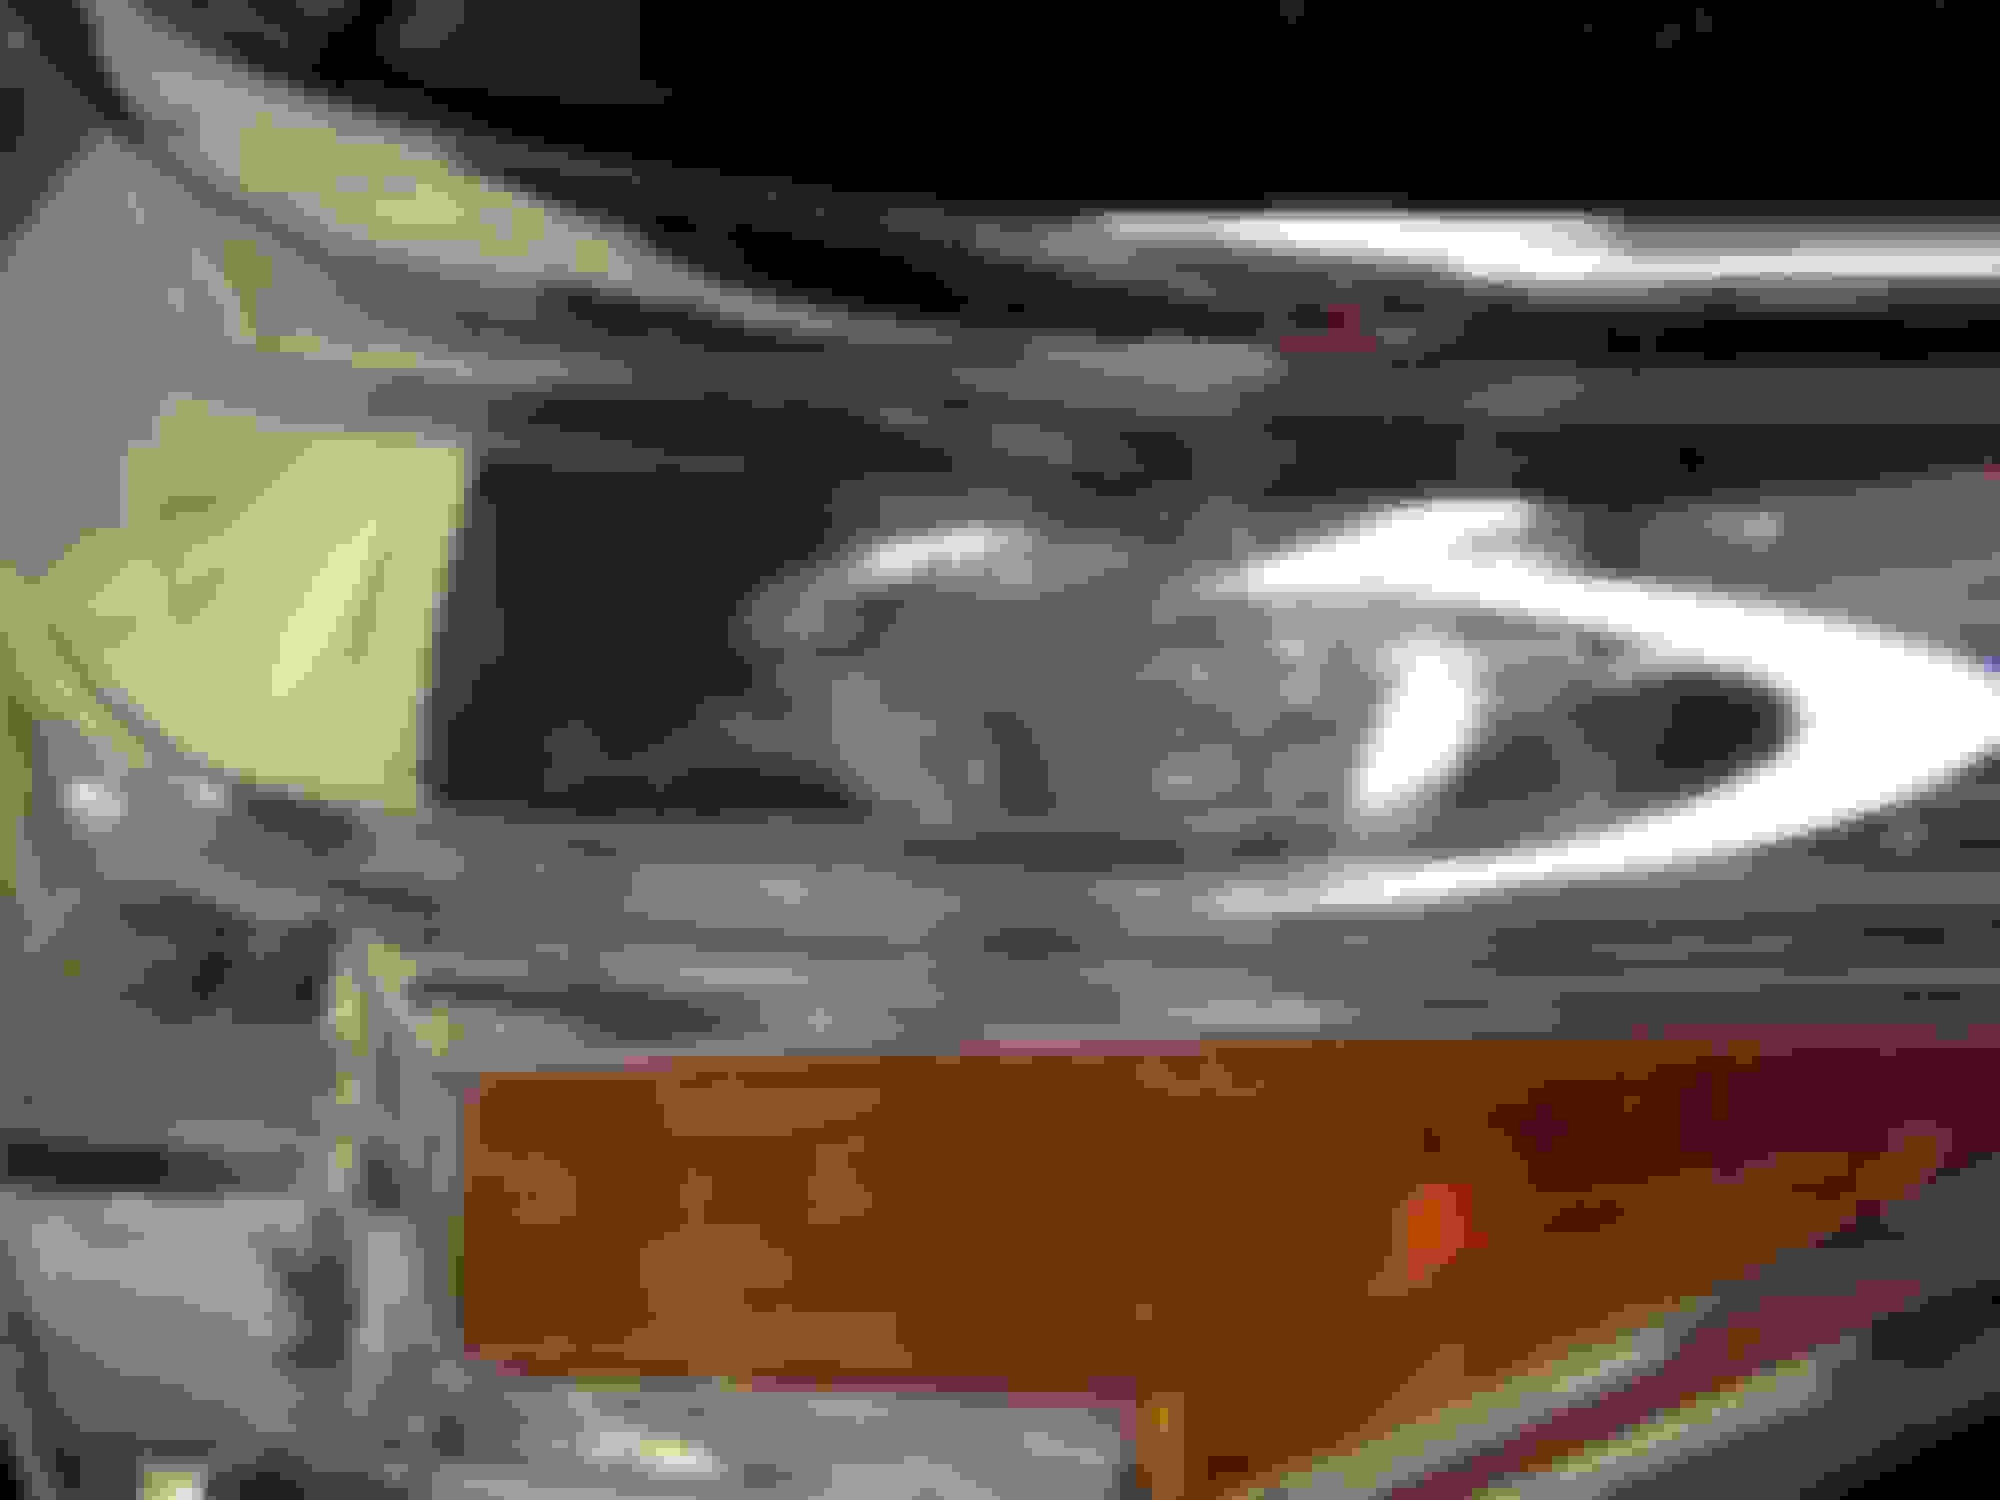
I noticed a small yellow discoloration area on my headlight and decided to get on it. I had to polish the headlights on my MDX every few weeks so I wanted to prevent this on my GX.
Looking at reviews online, it seems that you get what you pay for and I found the Xpel $48.95 product had high reviews so I ordered a set.
We have a large wrap around headlight so they made it in 2 pieces.
I forgot that I have the chrome headlight bezels. I modified the modification due to my previous modification.... wait what did I just type . I think this was my first mistake, the professional installed the Invisiblemask and trimed it(details ahead).
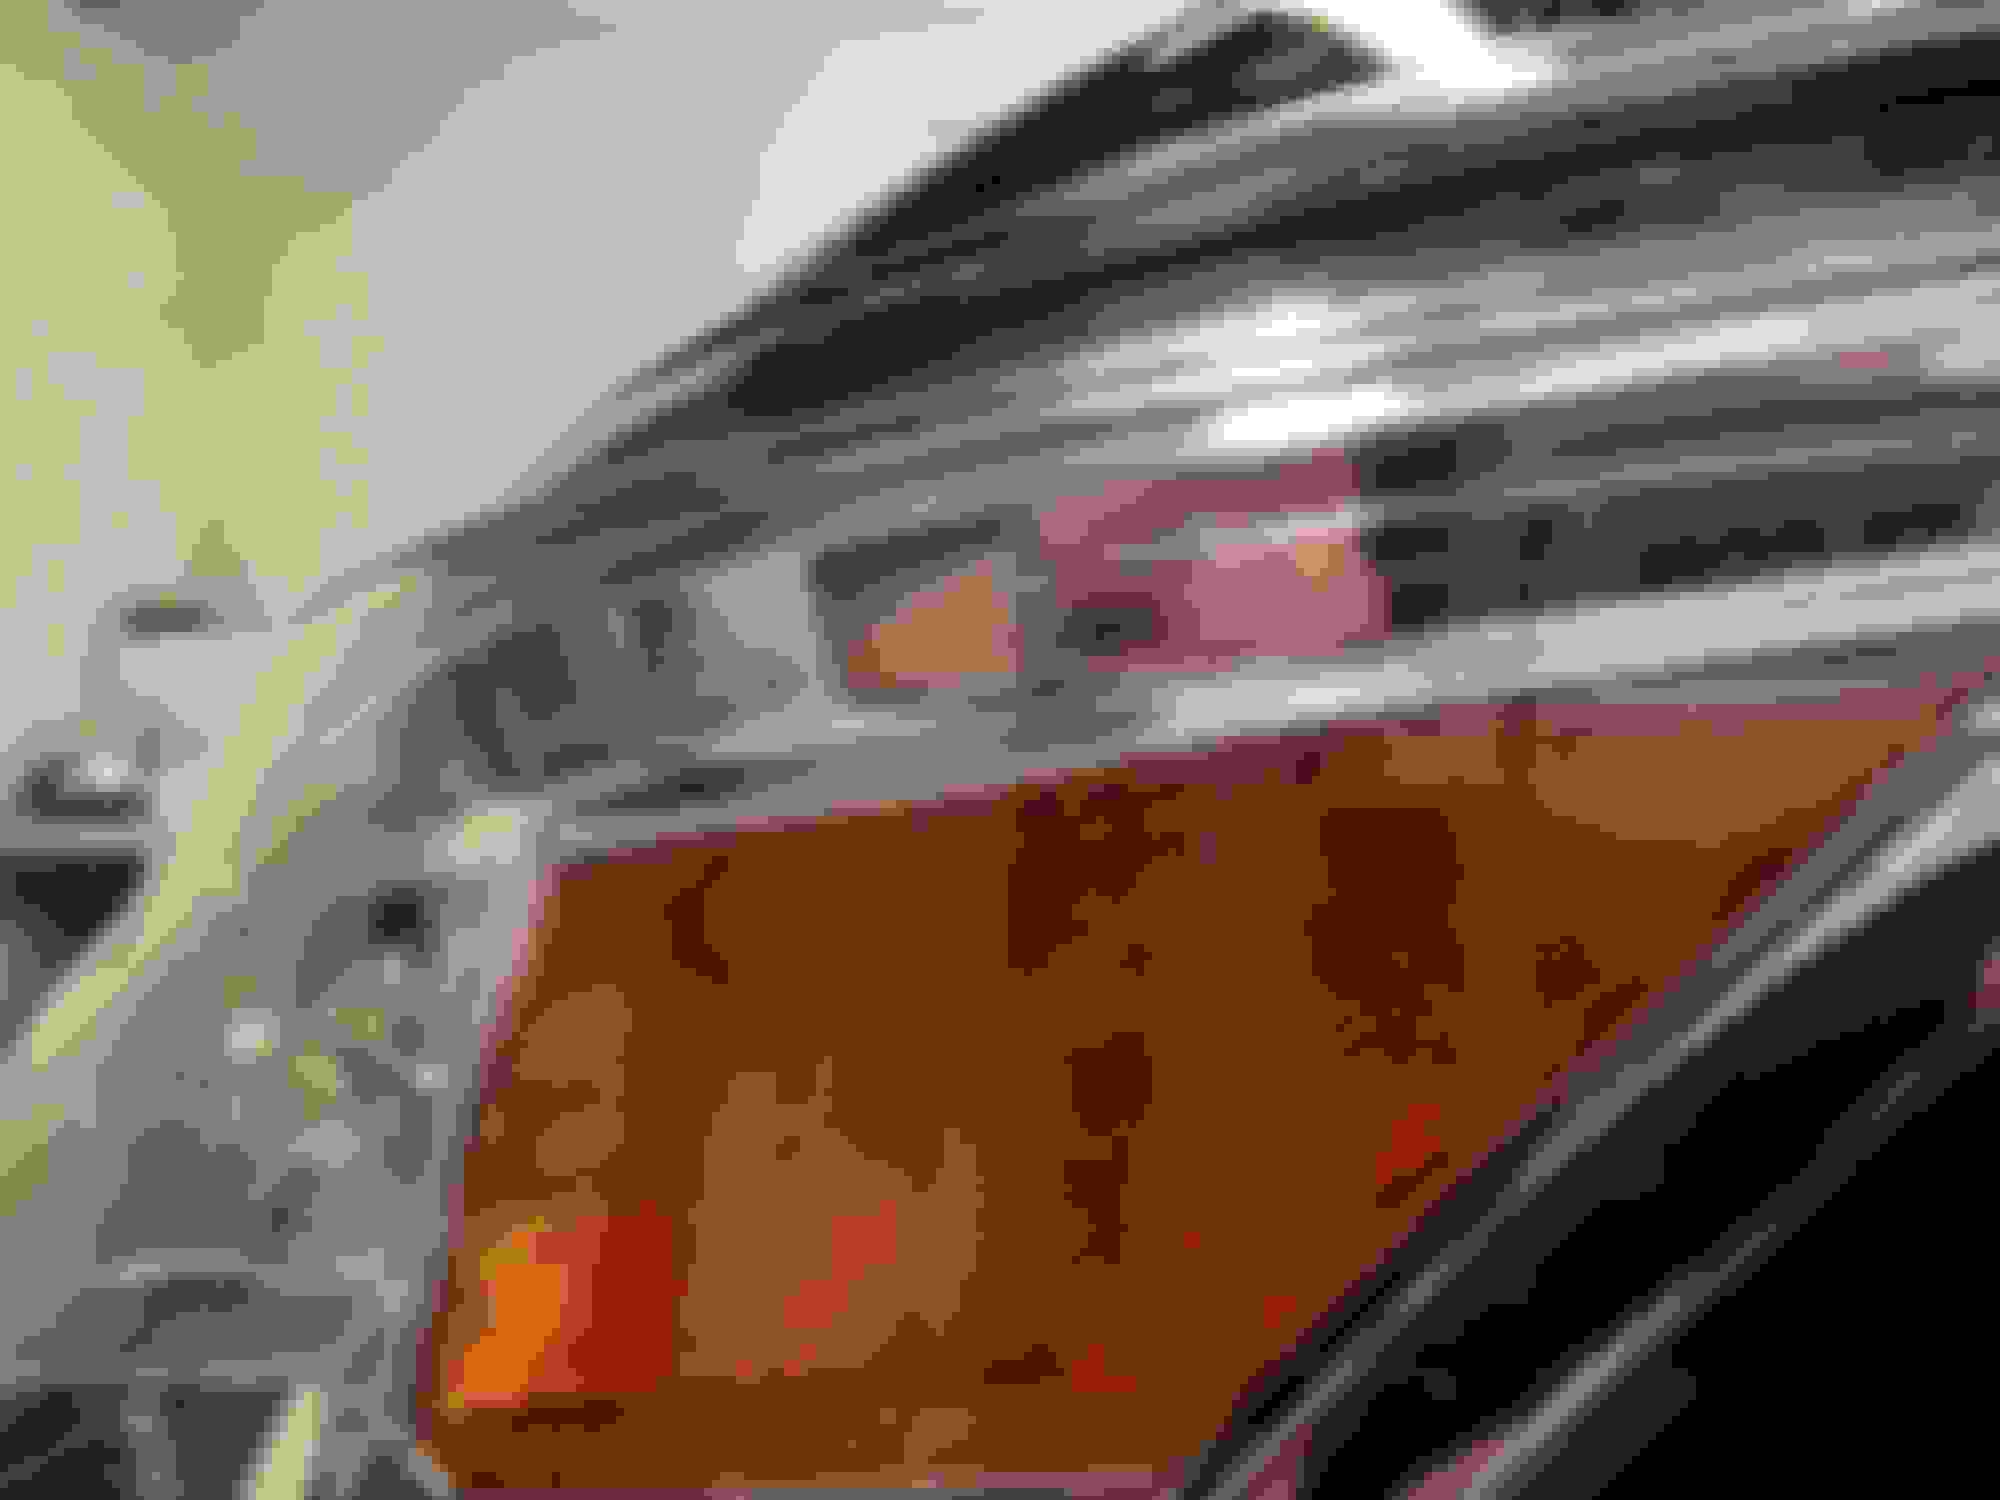
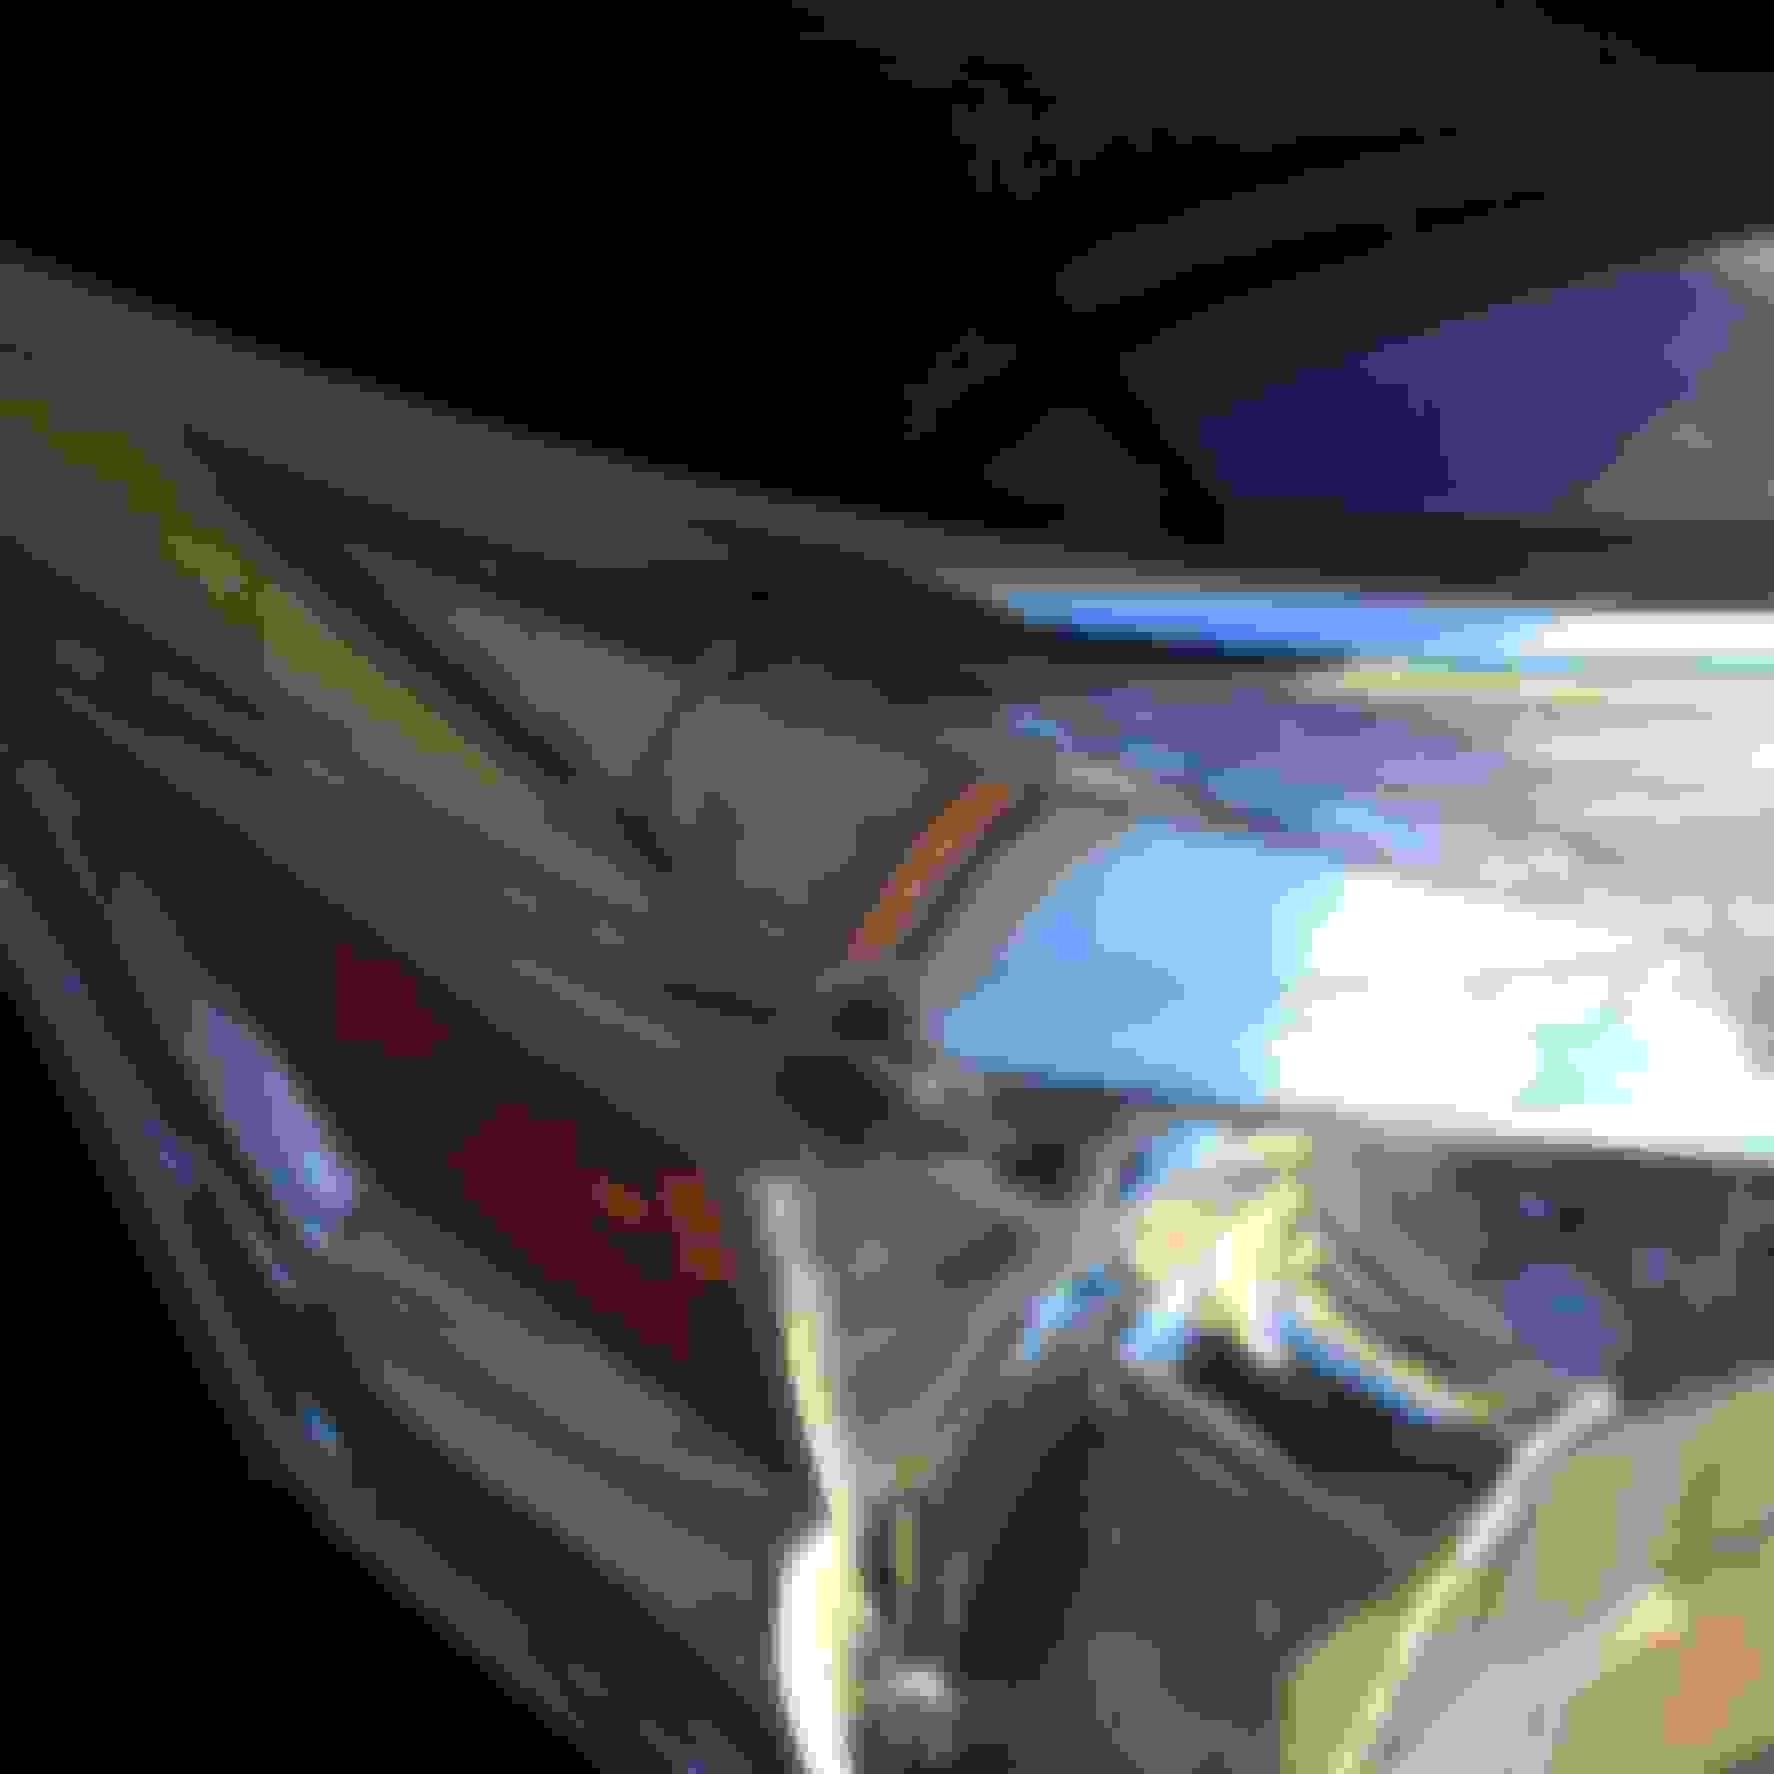
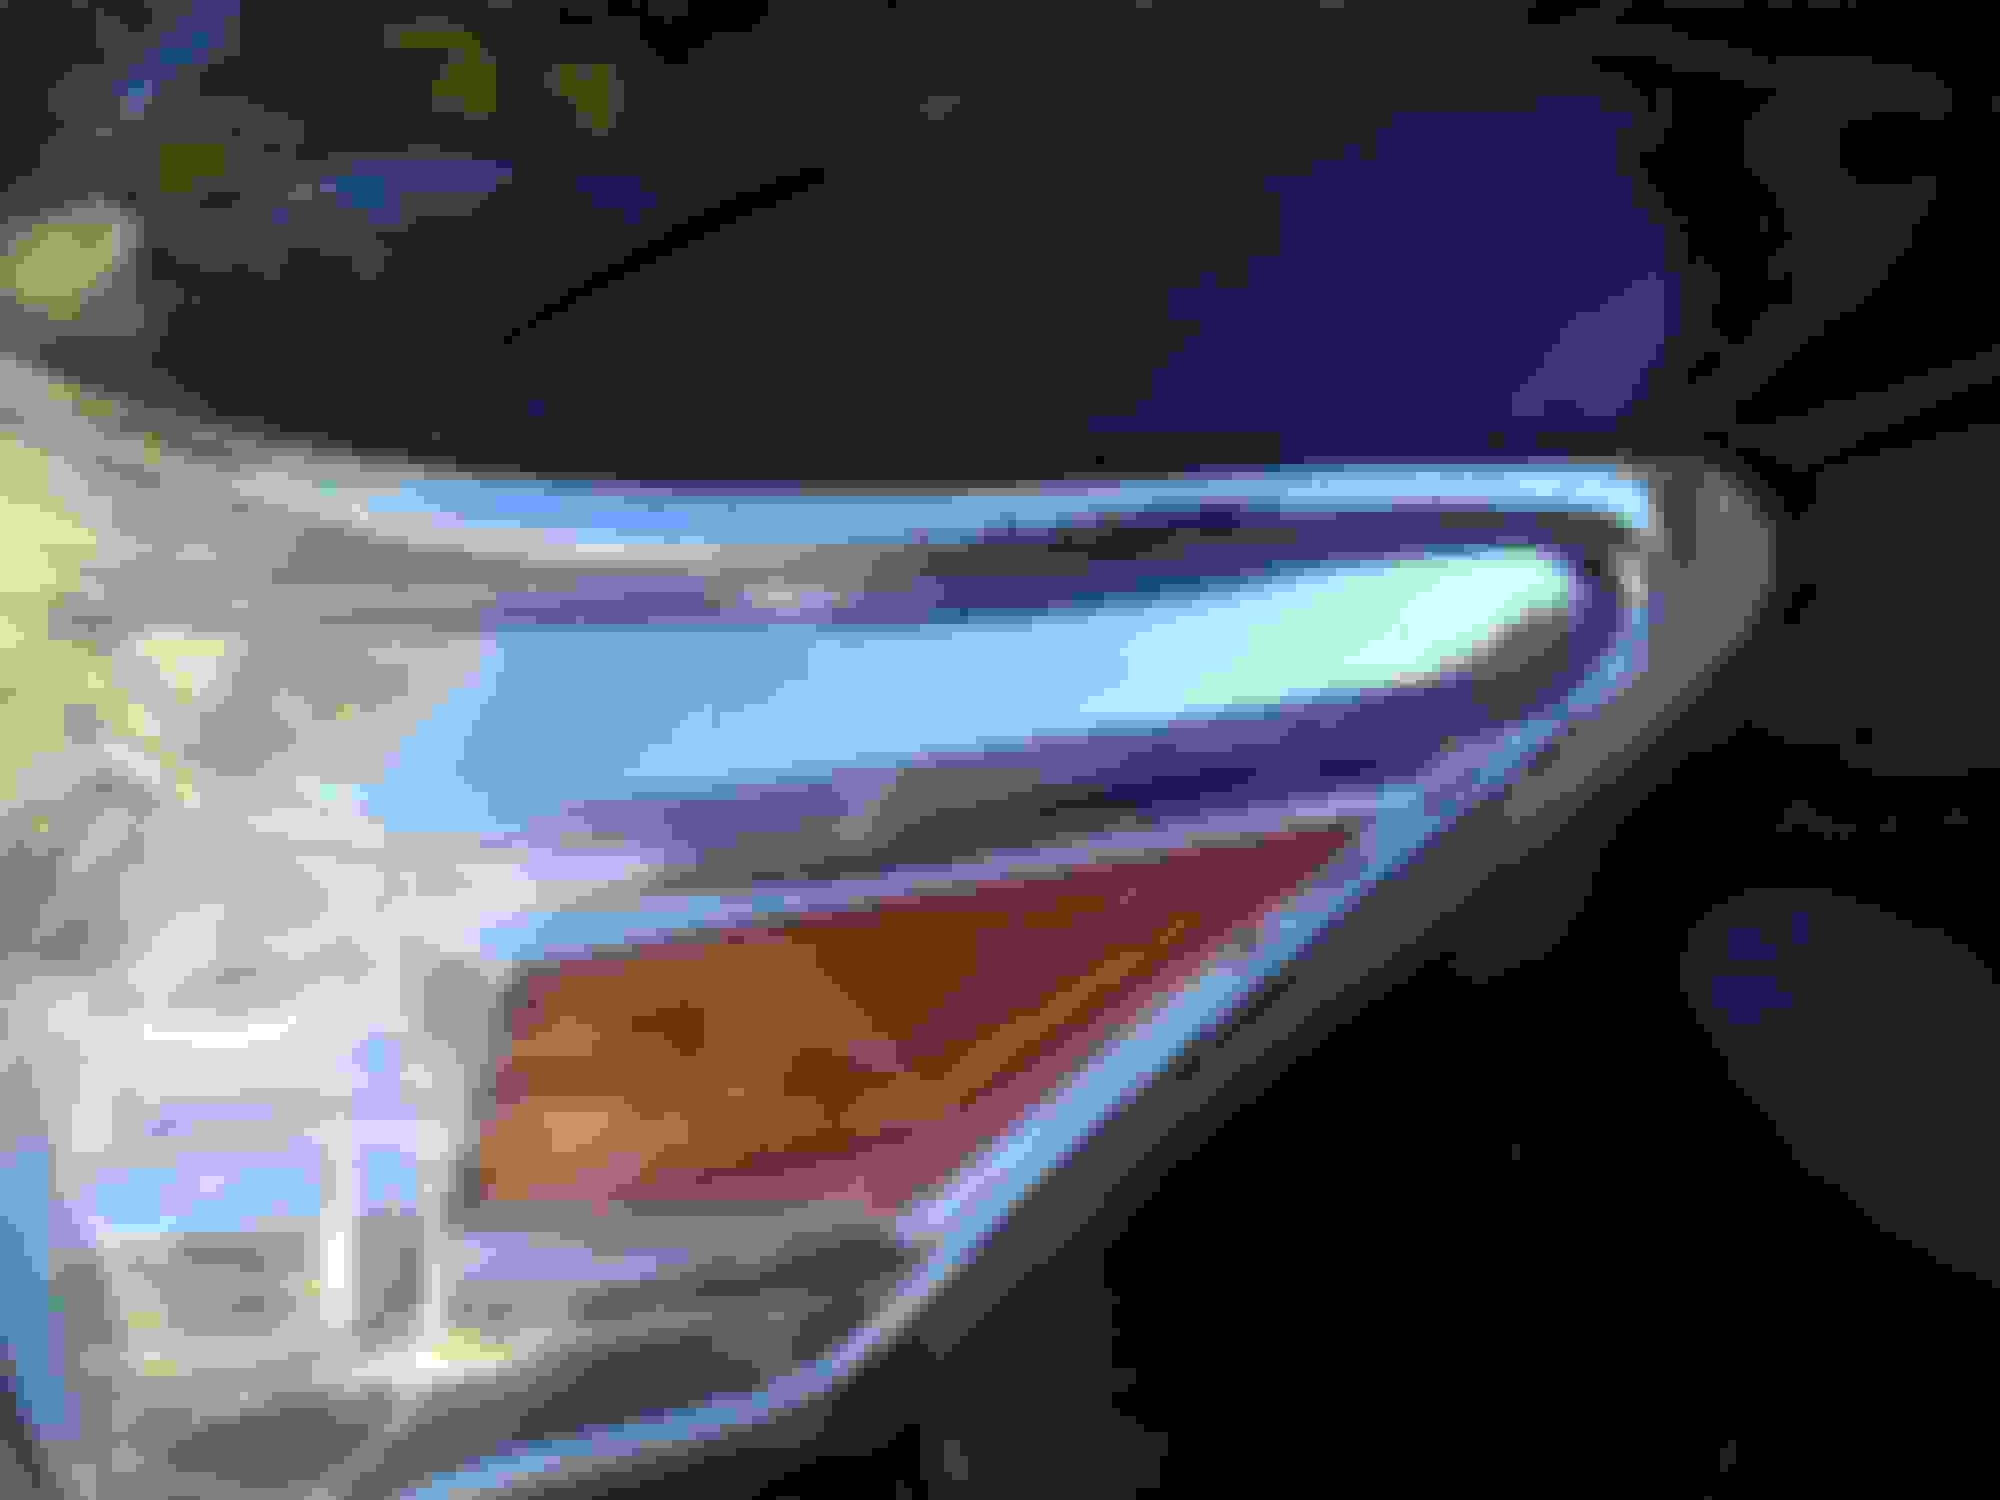
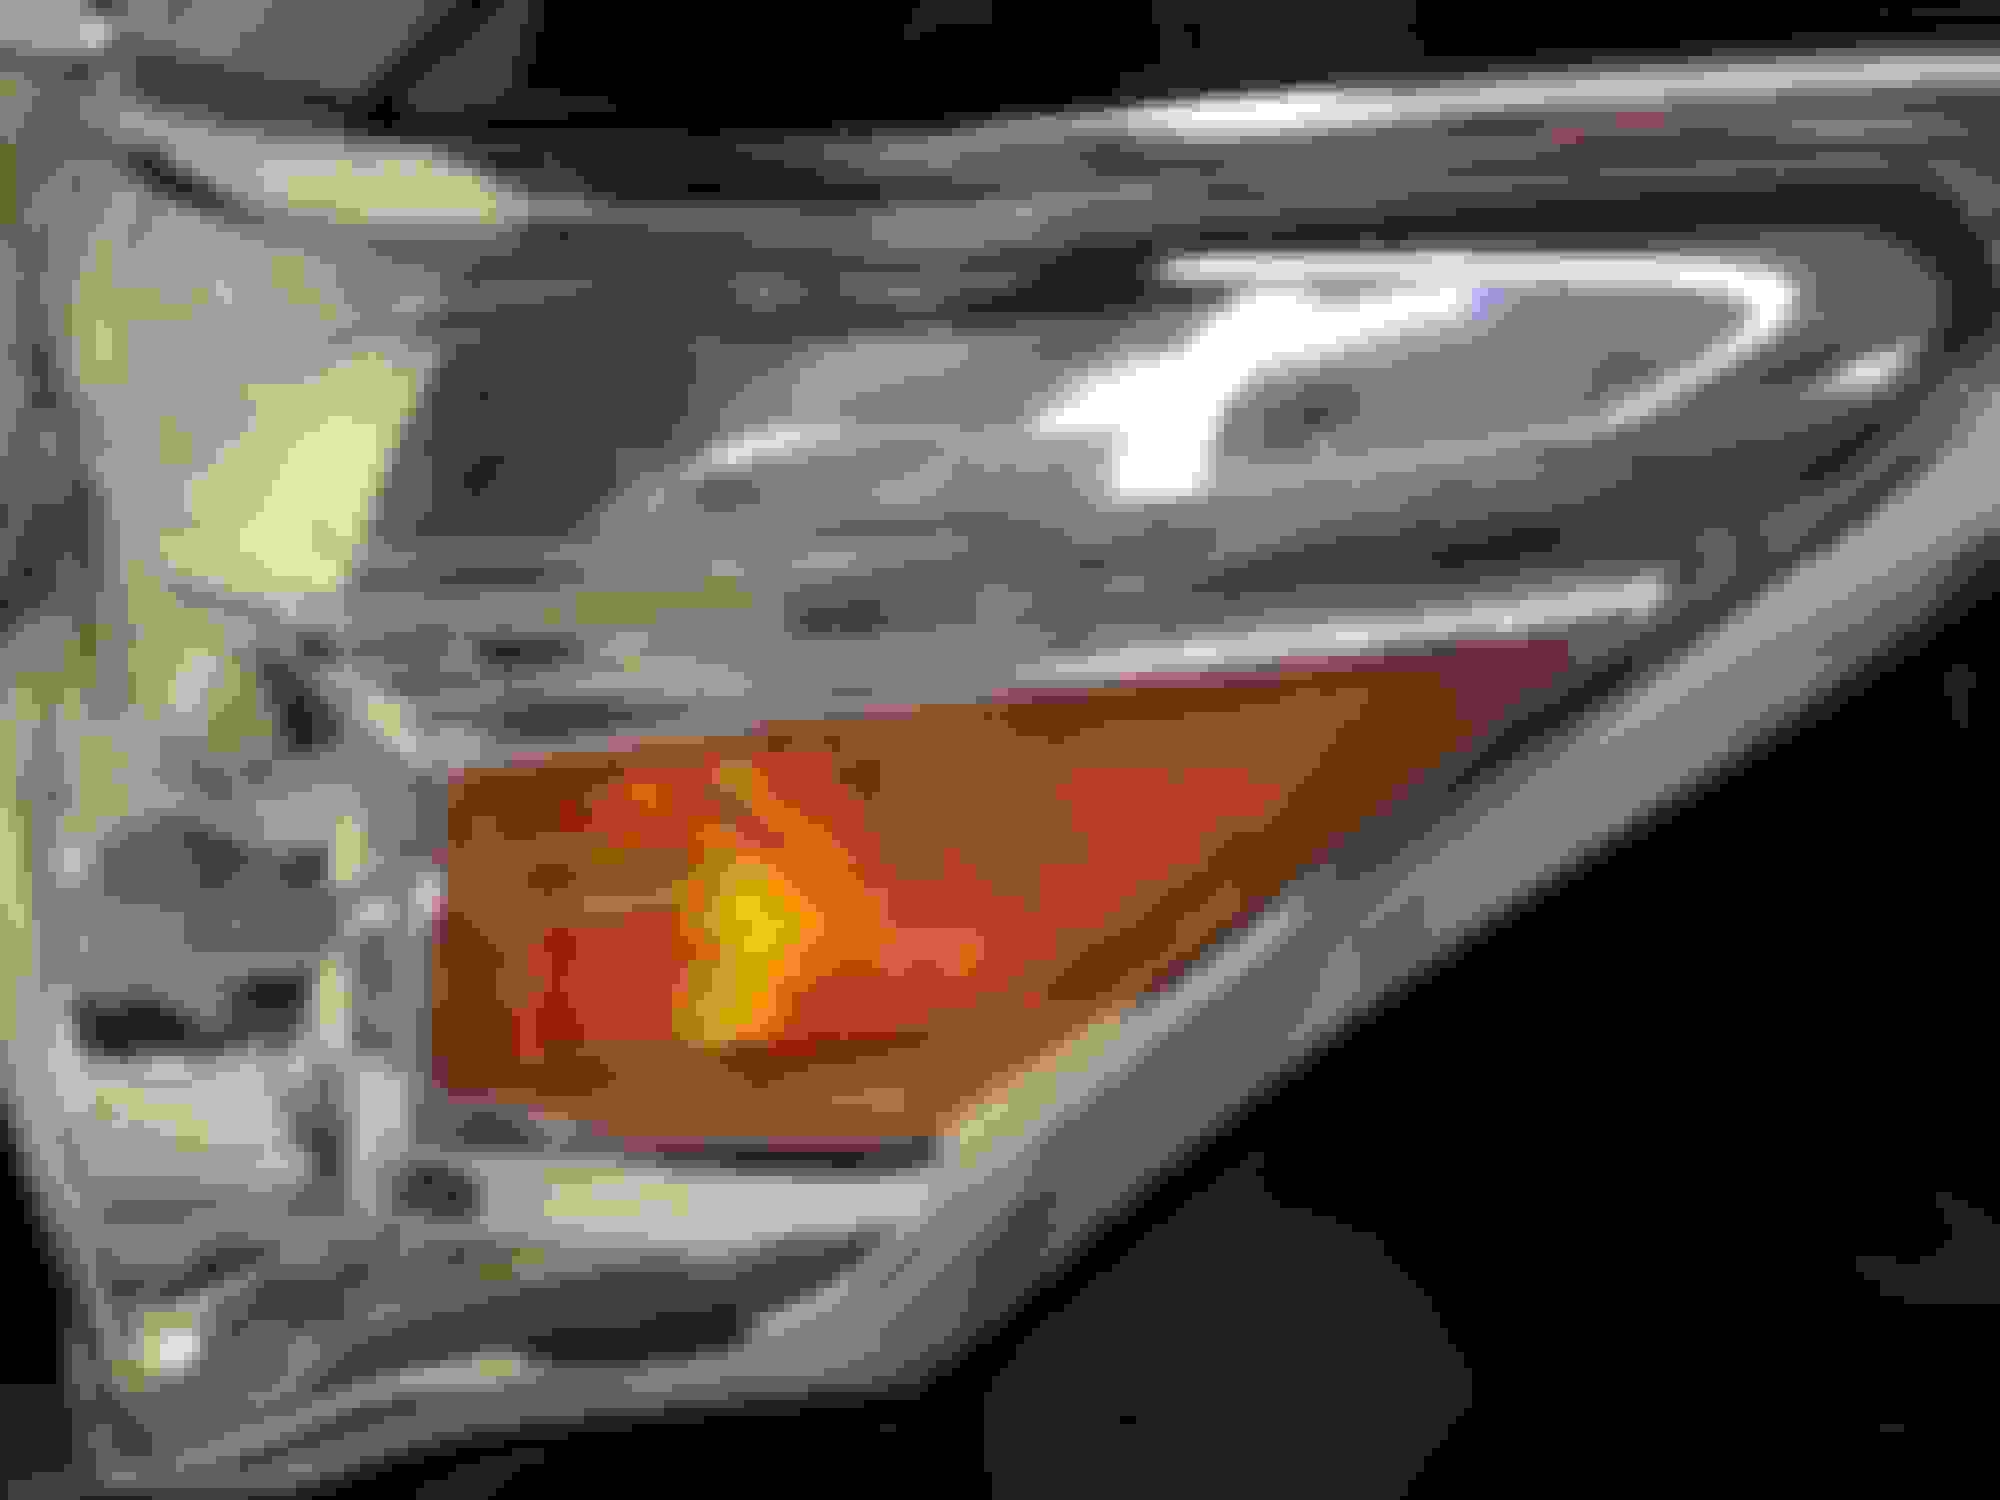
The instructions said to use a heat gun to contour it. I used the crap out of the heat gun and probably did some damage in the process. This is the result several weeks later.
The seam gap is too obvious to me and and I have some discoloration at the seam gap, probably due to the heat gun
Alright� I have had enough of looking at my poor installation fail. I removed it and moved on to the next product.
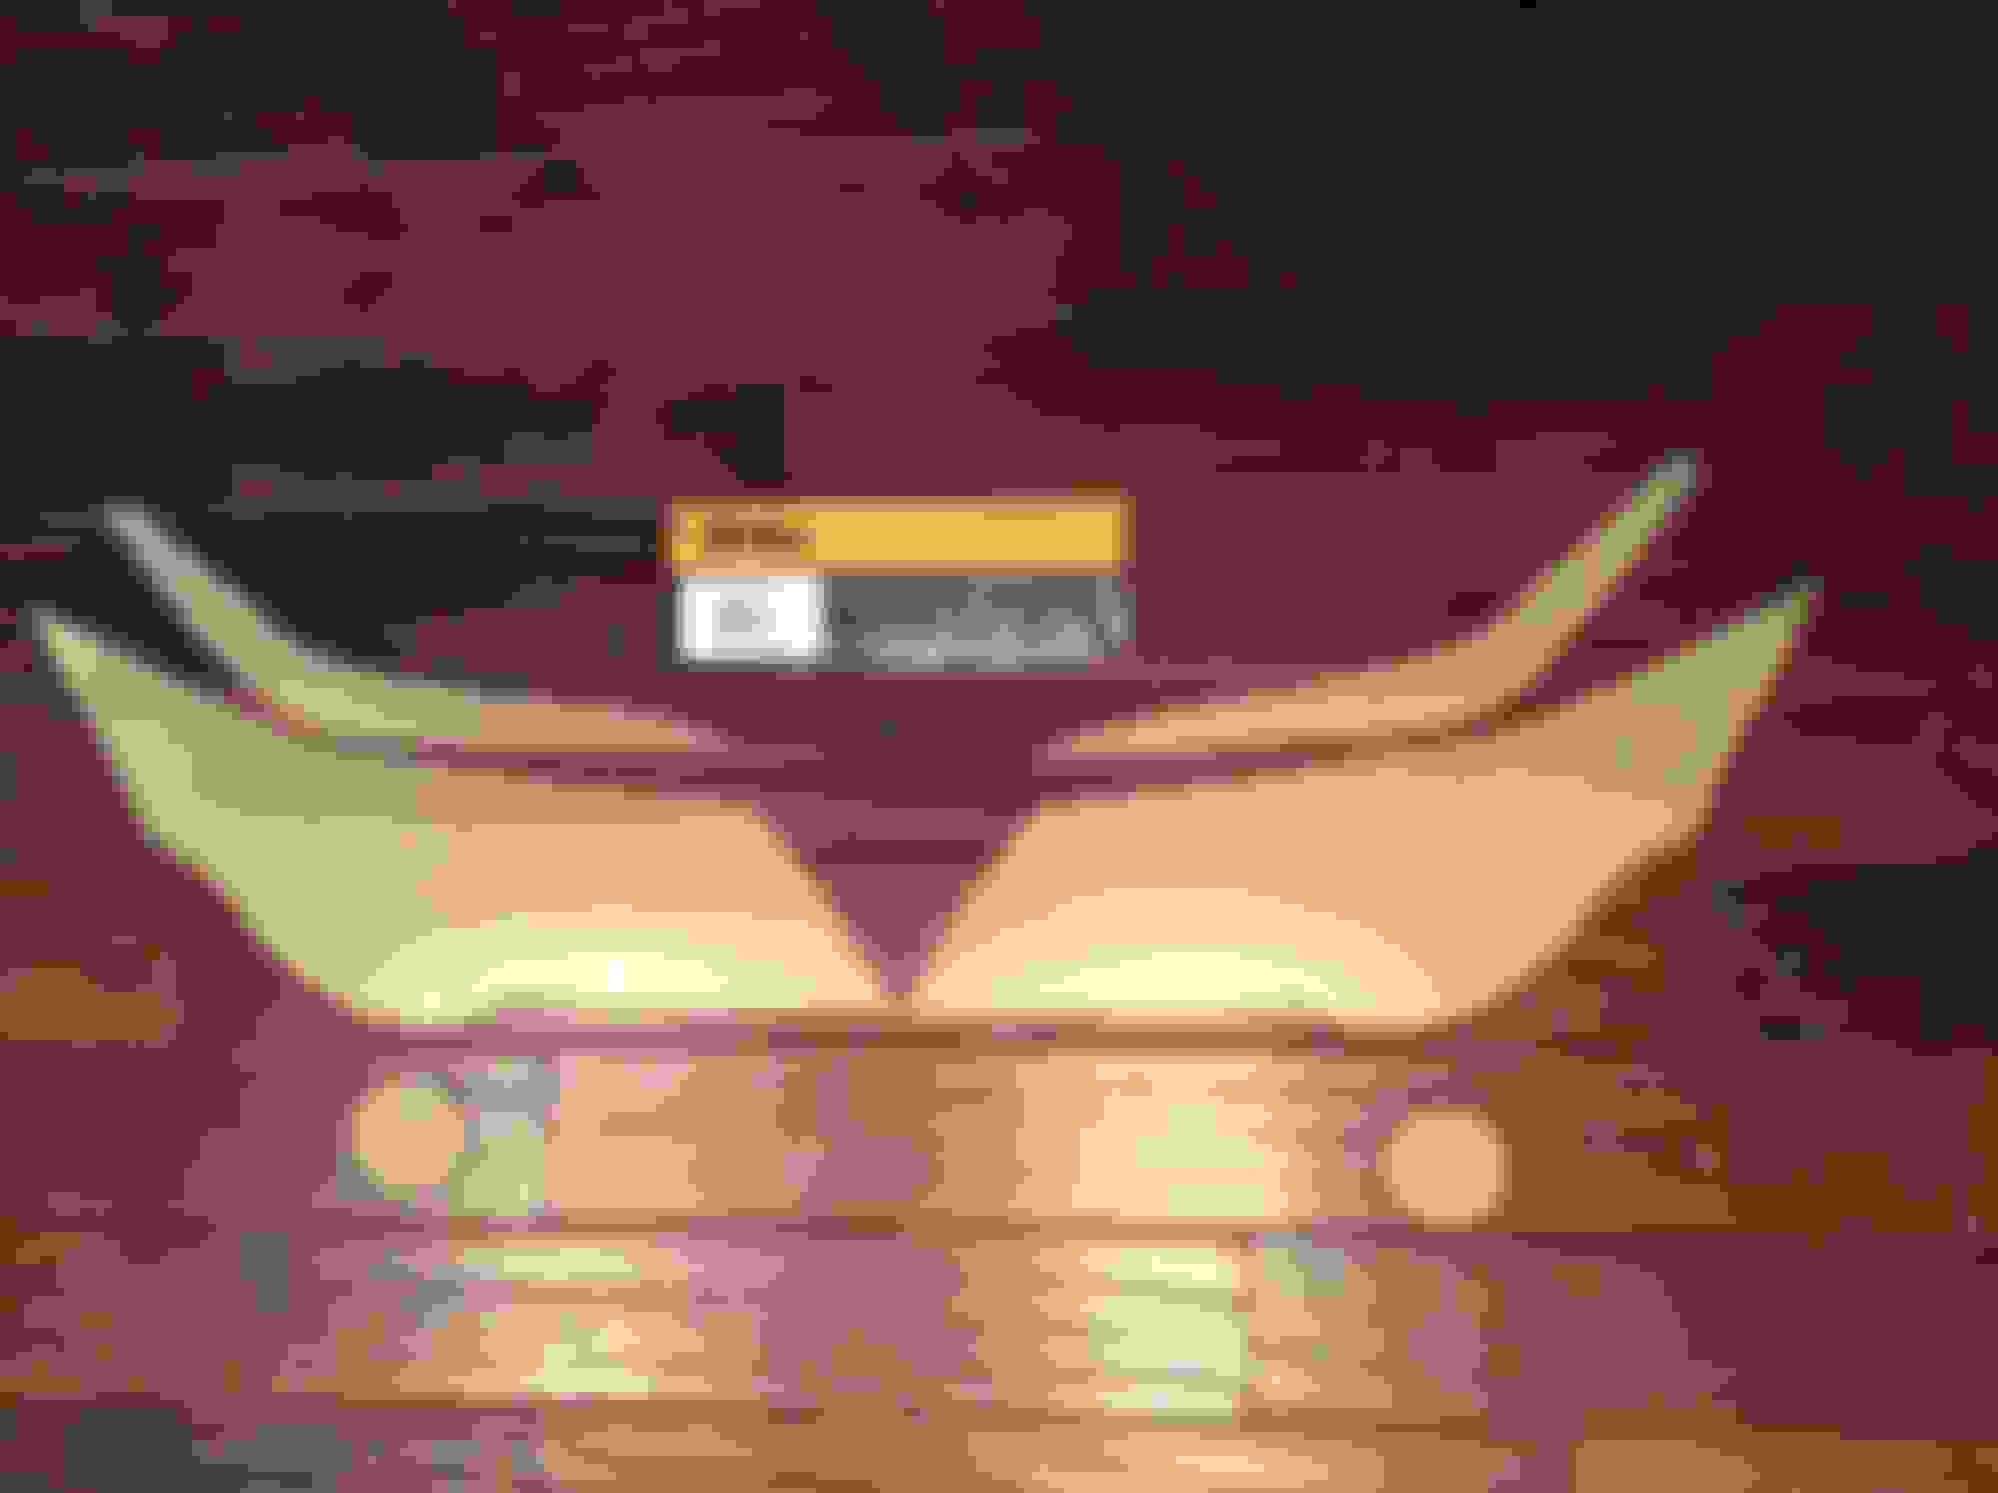
Invisiblemask $74.31 they have three levels of quality and this is their best.
Not sure if you can make out the lines, but this is a one piece with a separated wing that wraps around the side. $74.31 I think they may have a bit of a profit margin here
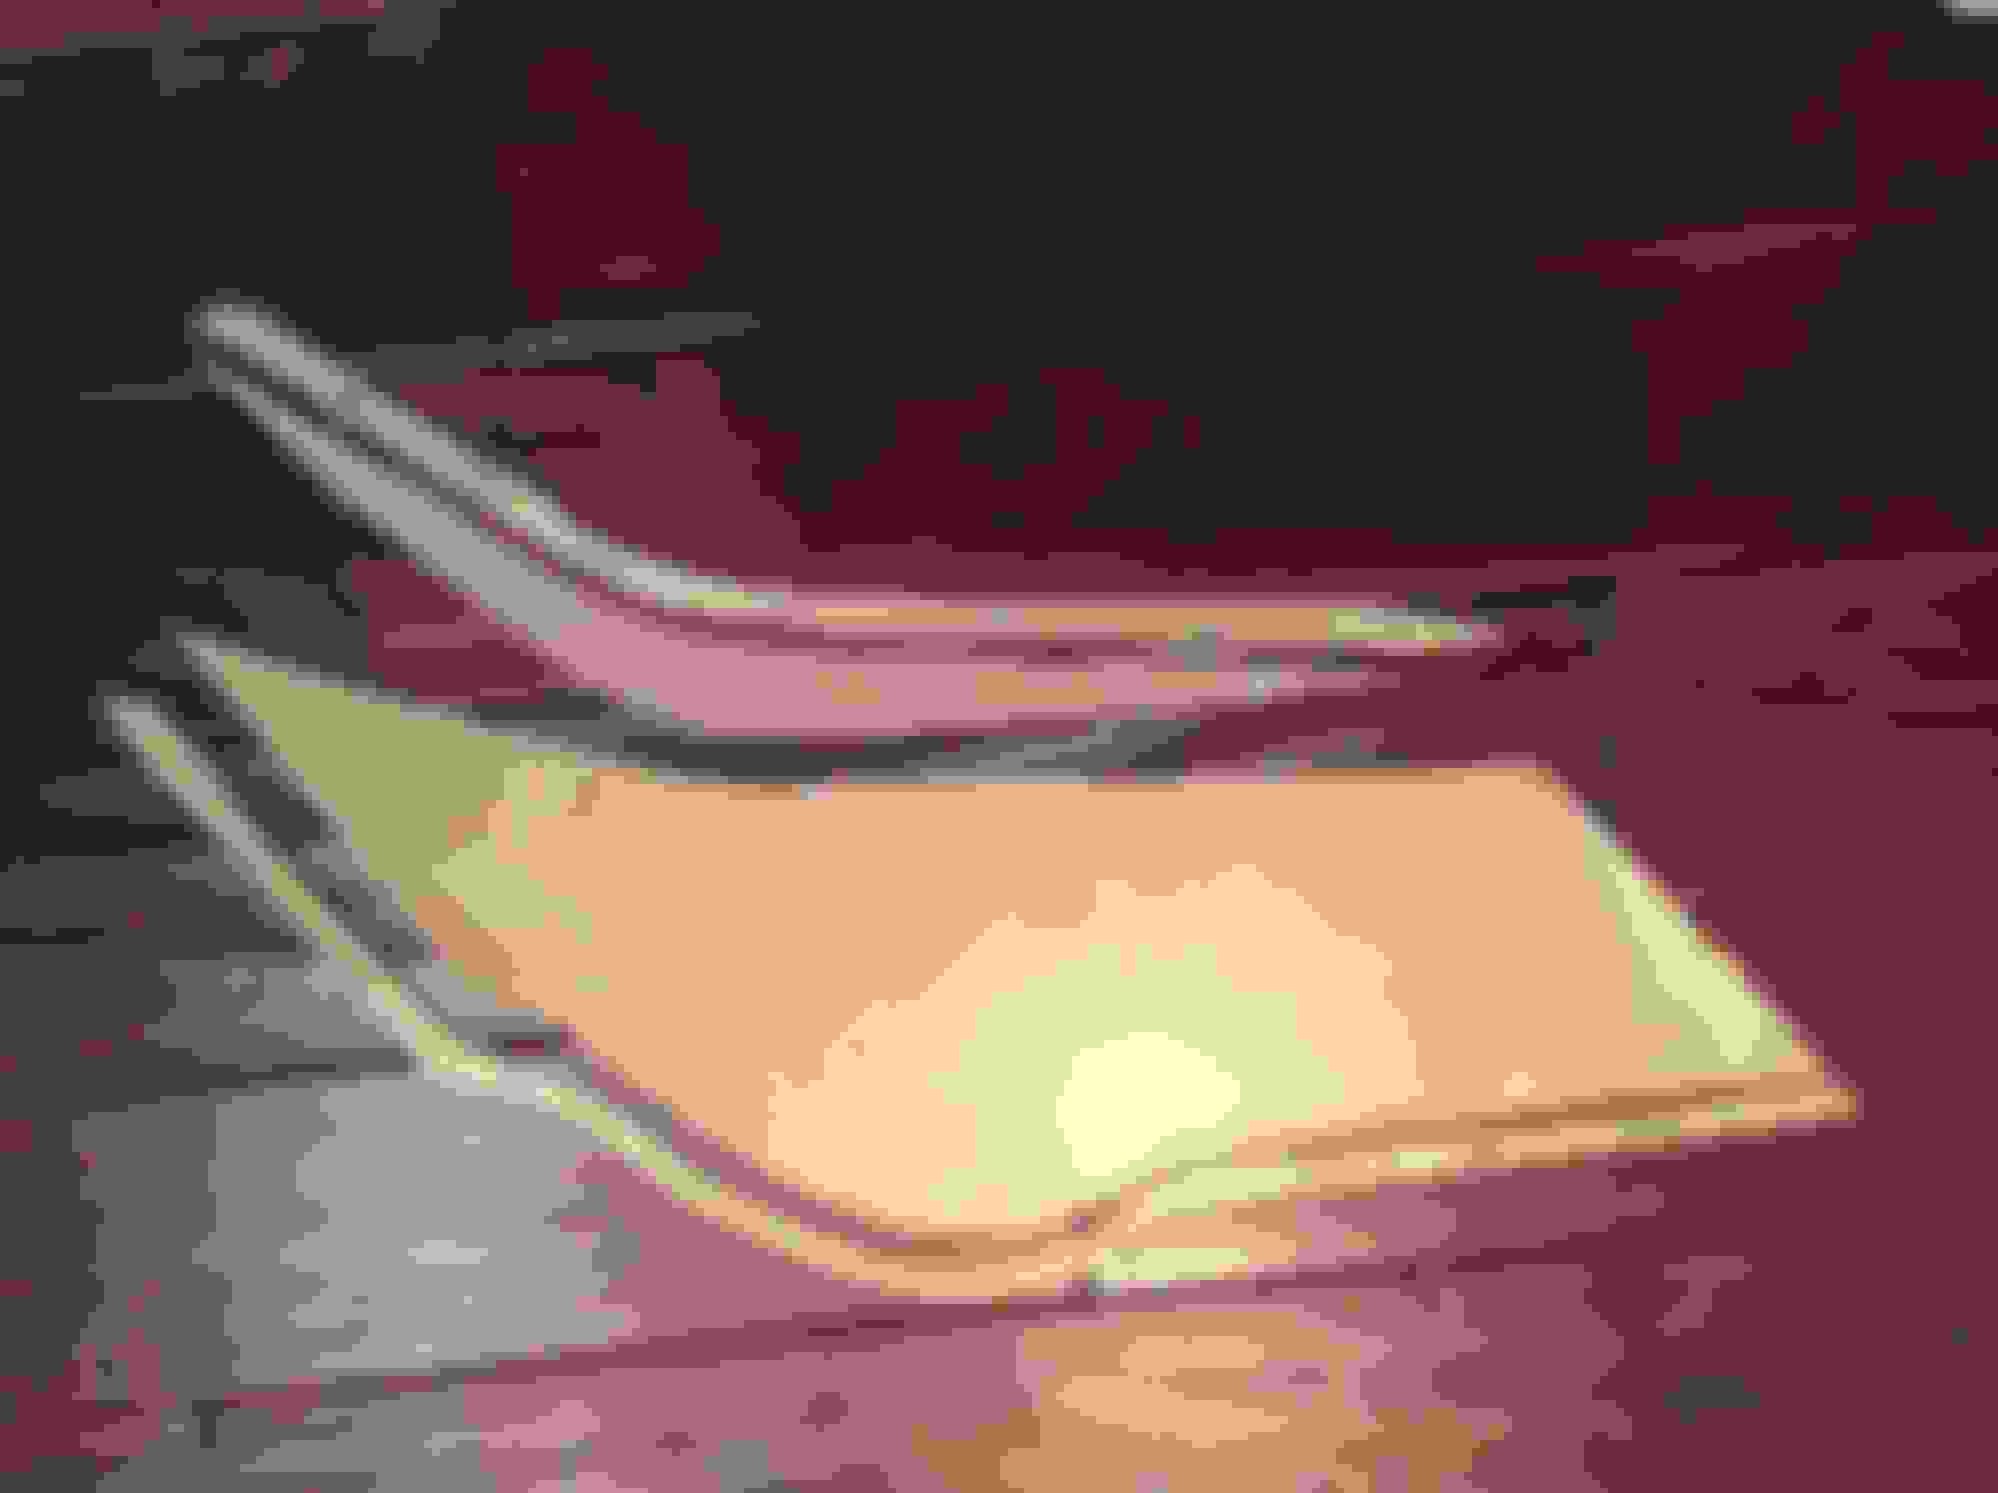
Okay this product is not going all the way around the headlight and I did not cut it before the install.
I aborted the install and called the company to let them know this does not cover my headlight. I was informed that they guarantee the product fit if a certified 3M installer does the installation. I was told by the phone representative that there is no guarantee if I install it myself, I let the lady on the phone know that I would dispute it on my credit card. I got an email later indicating that they would send me a new set and again I would be on my own or they would guarantee the fit if a professional installed it.
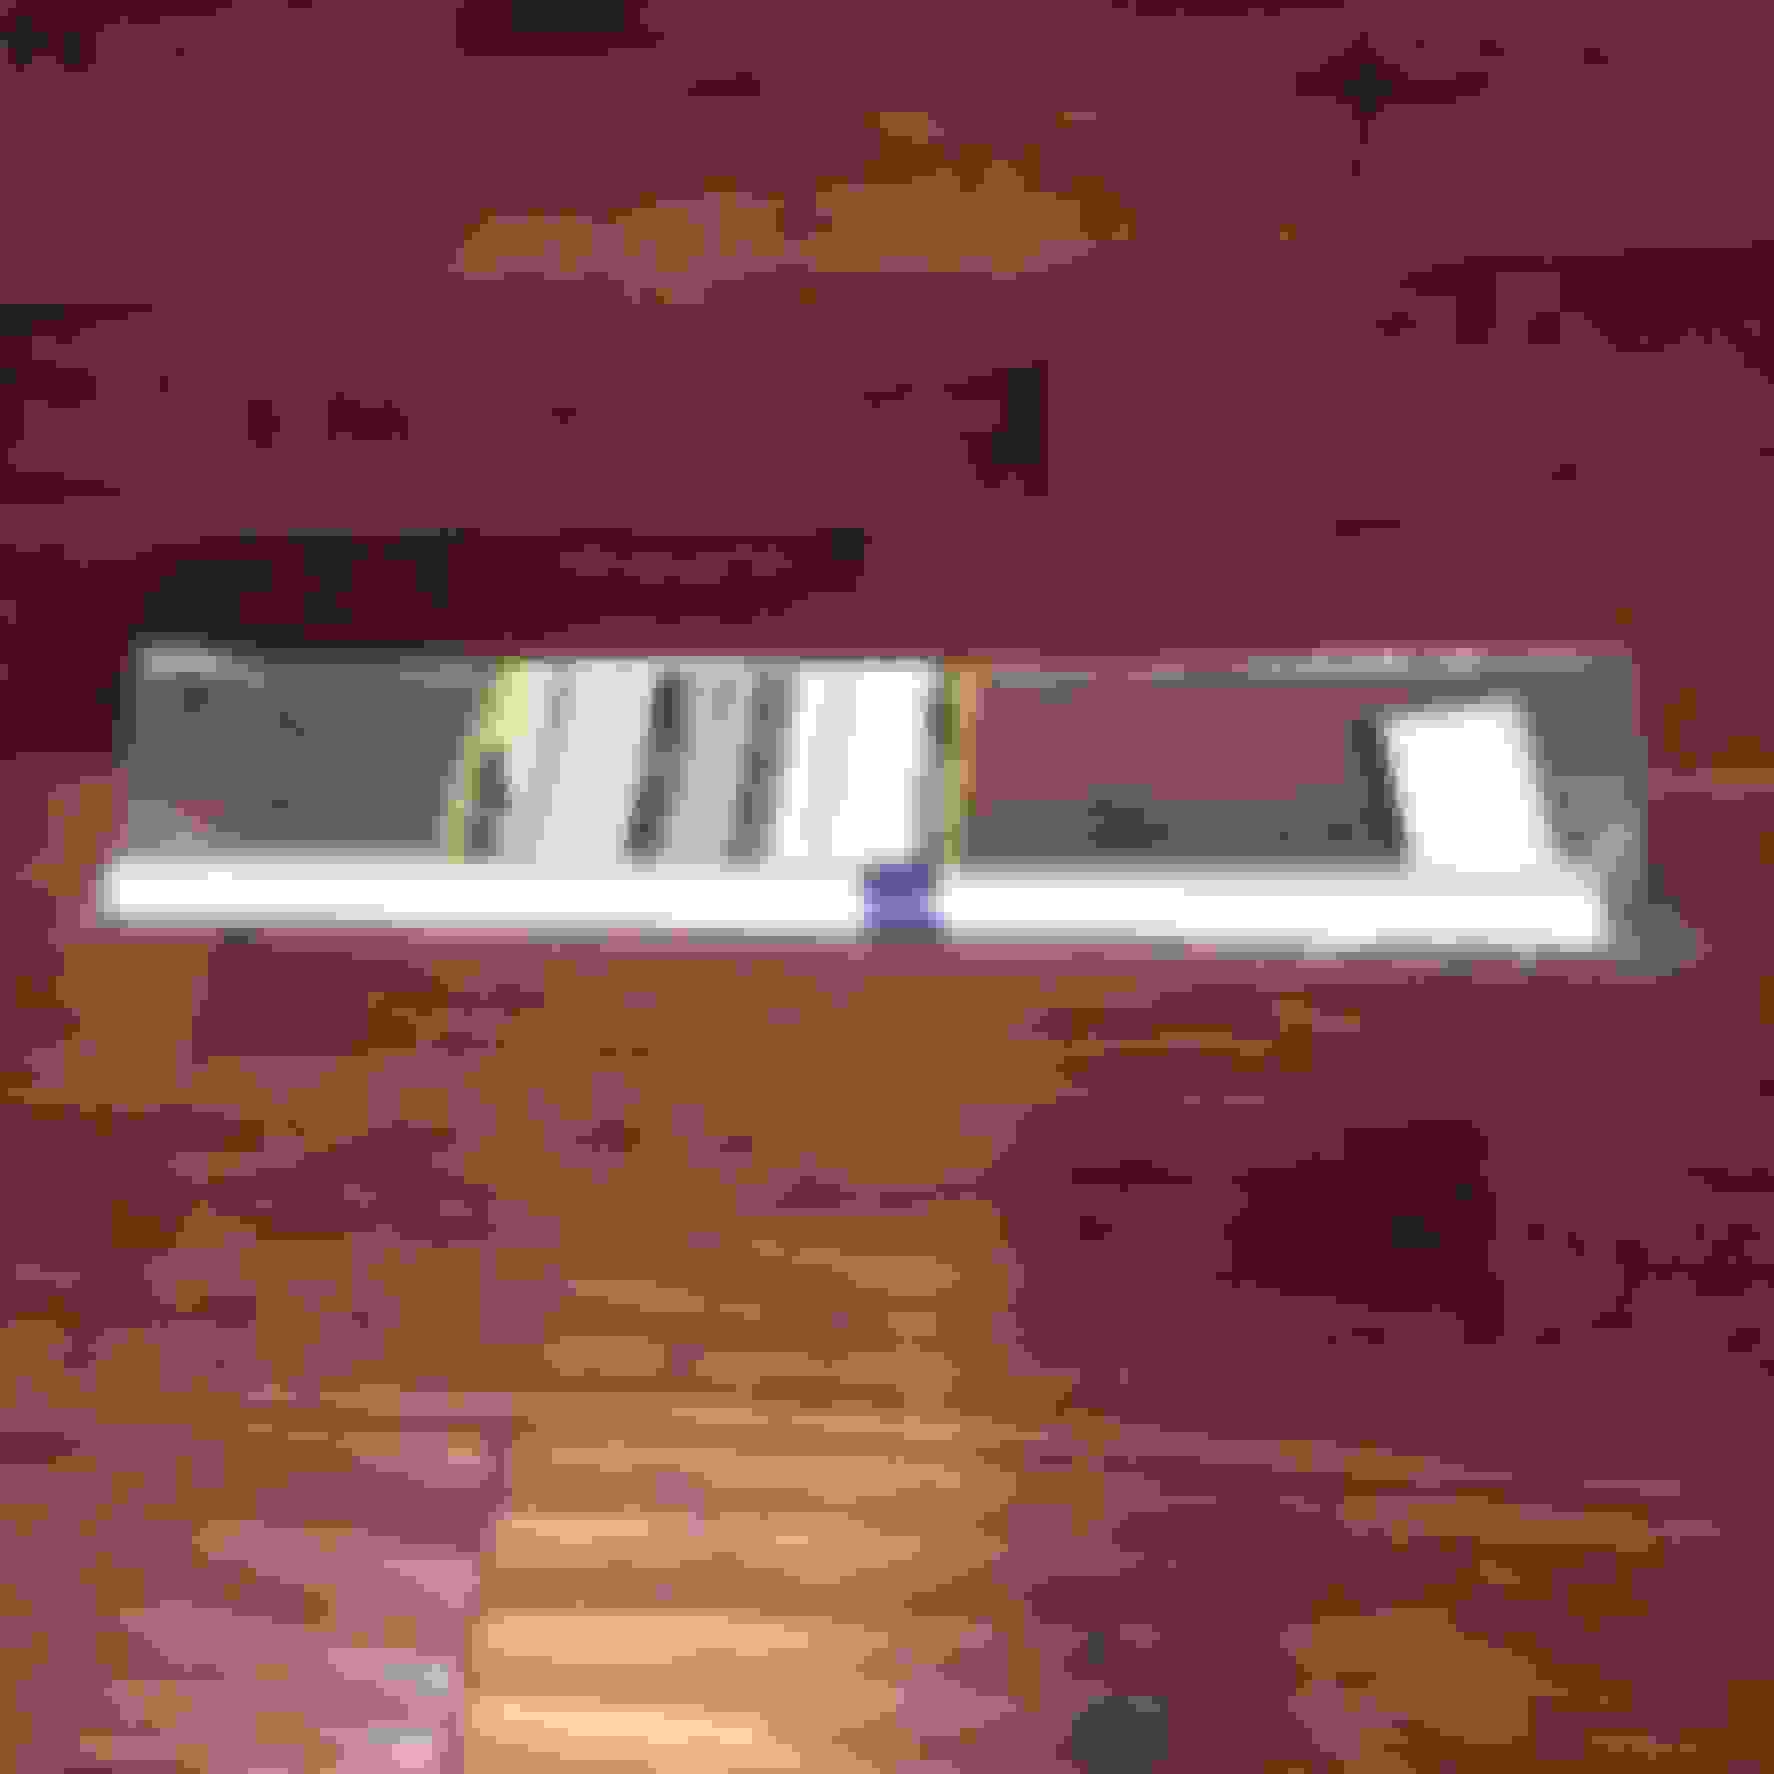
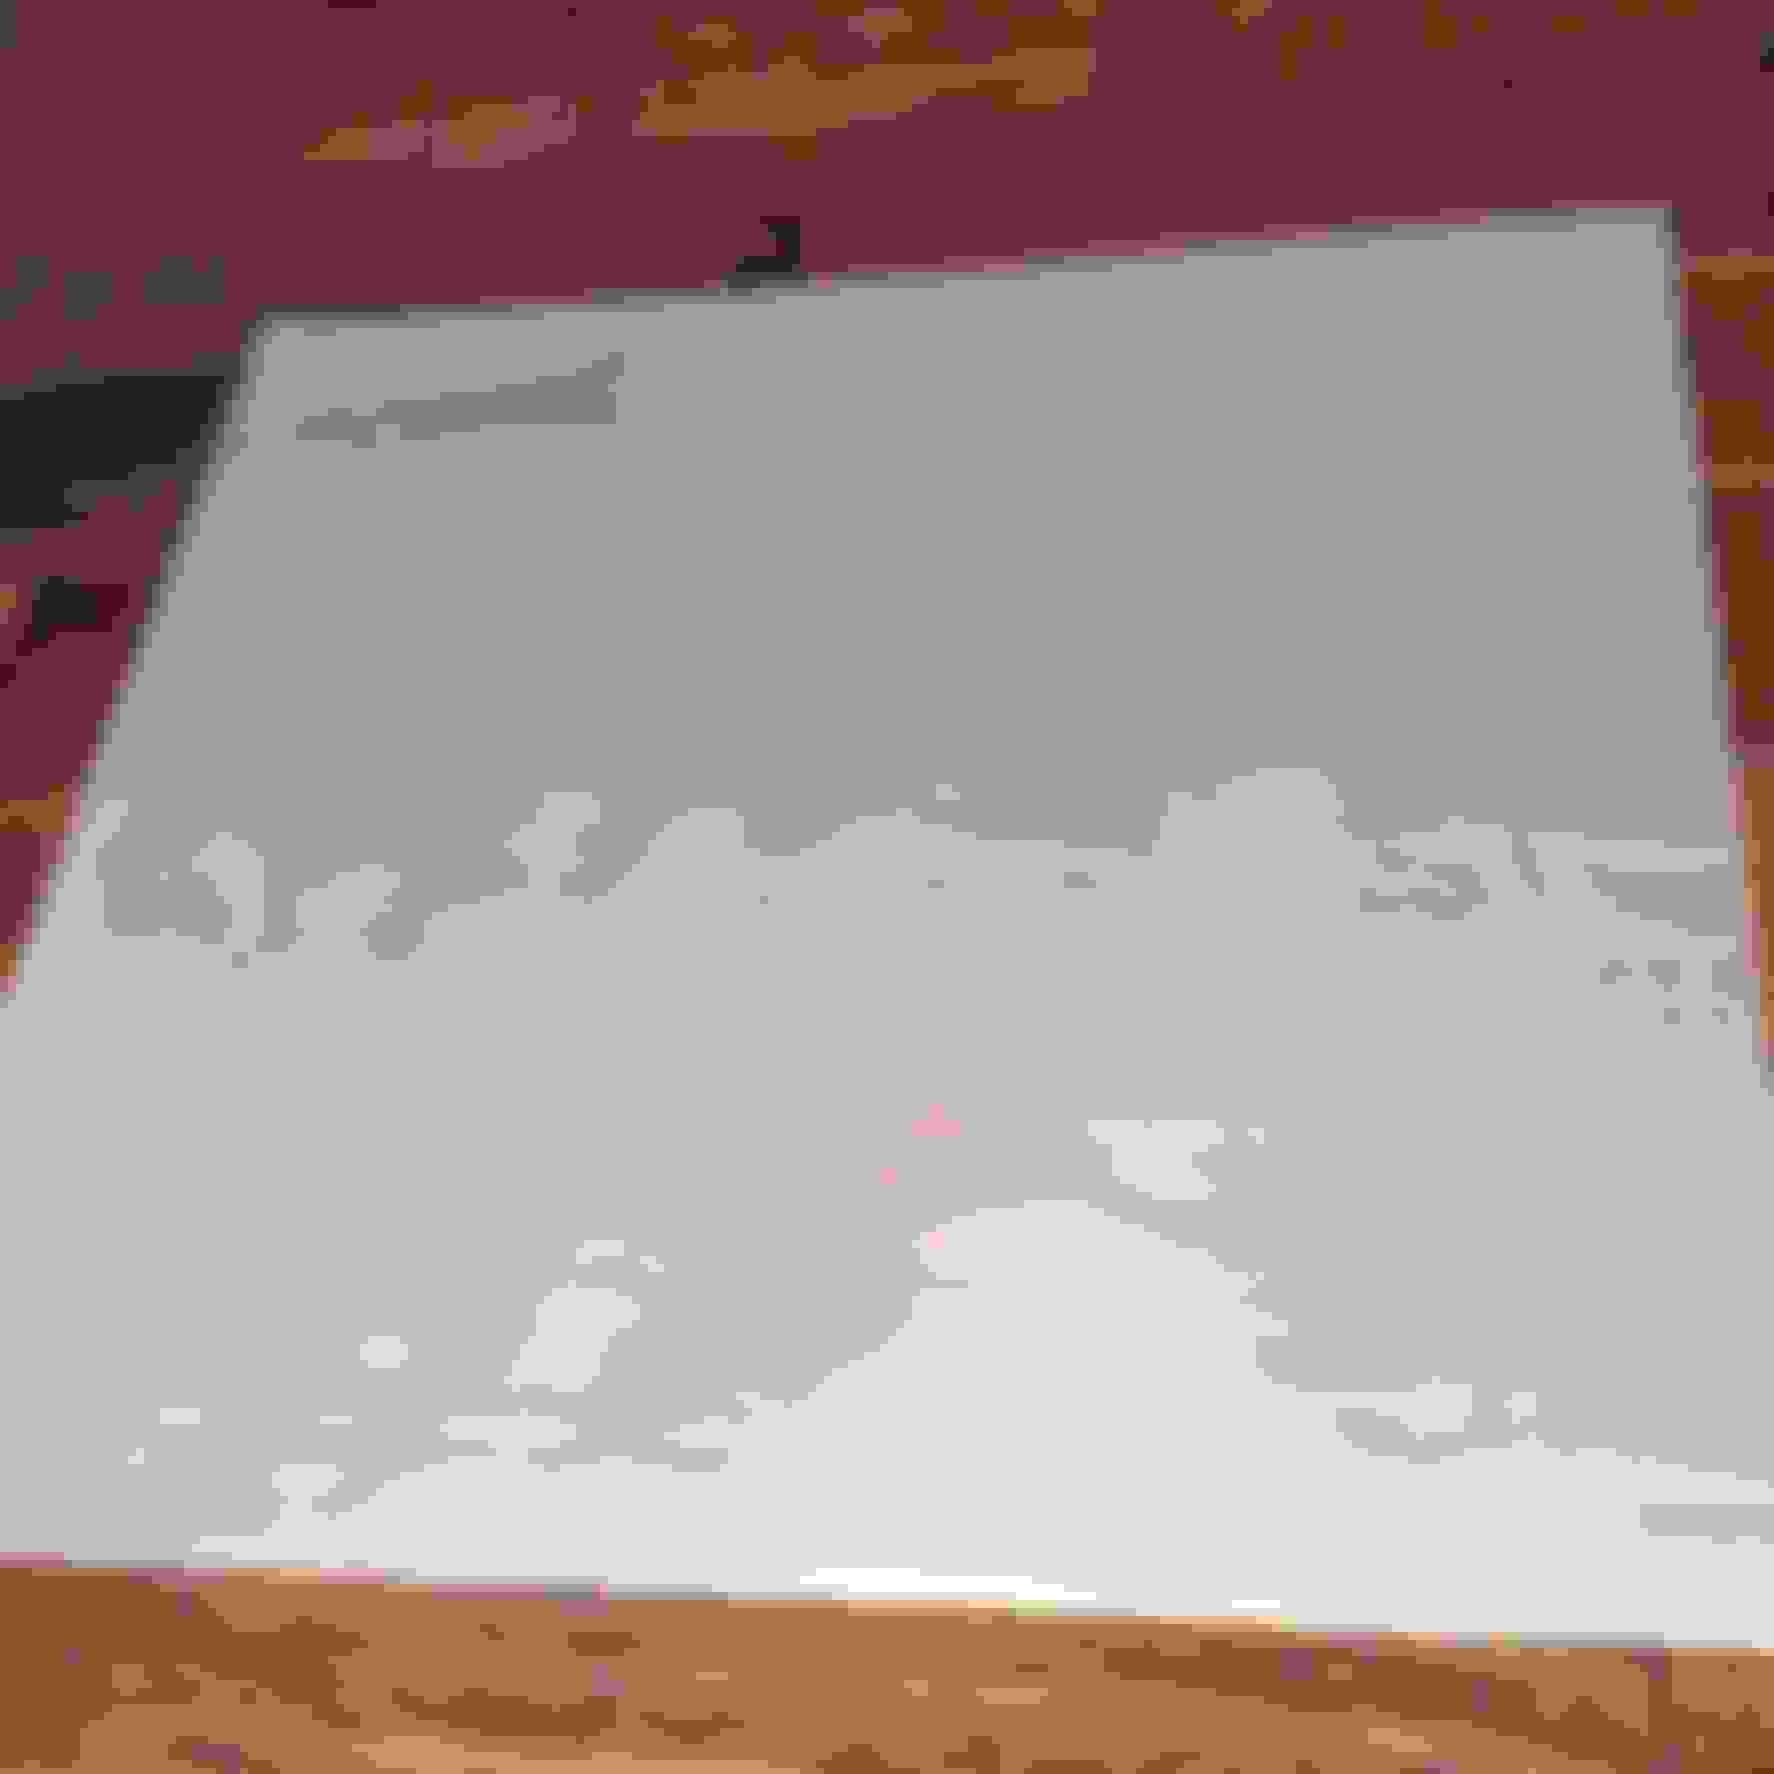
This is the $100 professional installation that I paid for. Huh,Looks like it doesn't cover the headlight
I had one headlight cut out that was not installed when I aborted the installation so I had the professional cut it and fill in the voided area (no picture) for $25.
Obviously this product was intended for road hazard, but that was not my reason for this protection.
I sent the pictures to Inviablemask and they agreed to pay the $25
using heat gun on this is quite dangerous. You have to wave it back and forth and just warm it up, not put it on for several seconds. it will burn the plastic wrapping
to stretch it out and get rid of the wrinkles, it helps to use a mix of 8 ounces 70% rubbing alcohol and 24 ounces of water and squee jee the edges repeatedly.
I had my whole hood, fenders, doors, running boards and the headlights, fogs, turnsignals and bumpers all completely wrapped. Some i did myself. It takes some practice, but anyone can do it
I am aware of how to use a heat gun delicately. I only used it for the Xpel that was MUCH thicker than the Invisiablemask. I admit that I over used the heat gun due to the contouring frustrations.
I am curious, how did you pick and choose what you installed and have a professional installer do the remaining?
What did you install?
Invisiblemask is adamant with their guarantee/warranty, you can pay 10% more for a lax guarantee if you choose to.
How do you polish your headlights? You mentioned you did this on your MDX.
I tried several headlight restoration kits that require a drill insert and also require several stages of wet sanding/buffing/polishing. This is quite time-consuming and doesn't seem to last long. I used the below product. This is a quick wipe on wipe off procedure and it worked well for me when used every 3 to 4 weeks.
There is a protective UV coating on all plastic headlights. Once you polish them with any of the methods you've described/shown they will yellow at a rapid rate. Obviously, after many years in the sun the coating also degrades naturally but the polishing methods completely remove it immediately. That's why you were having to polish them every few weeks. I understand it may have been unavoidable and you may have already known these tidbits. Thought I'd pass them along just in case.
This is what I've used in the past with great results once the yellowing began and I was forced to polish them:
The OPT-OLC10 seems to be a good choice and I wouldn't hesitate to use it, but I have to question the longevity of it being that it is a small amount of the liquid product that is wiped on. A true film seems to be a better long term option (7+years hopefully).
Funny, I just did this on my other car and was looking to do the same on the GX, I bought the Xpel product from AutoAnything, but they did not have this cutout for the GX. Looks like I will have to look harder. I used a hair drier and that seemed to work OK for me, though the GX contours are much more severe than what I was working with-- KH
 11-16-14, 03:56 PM
 . I think this was my first mistake, the professional installed the Invisiblemask and trimed it(details ahead).
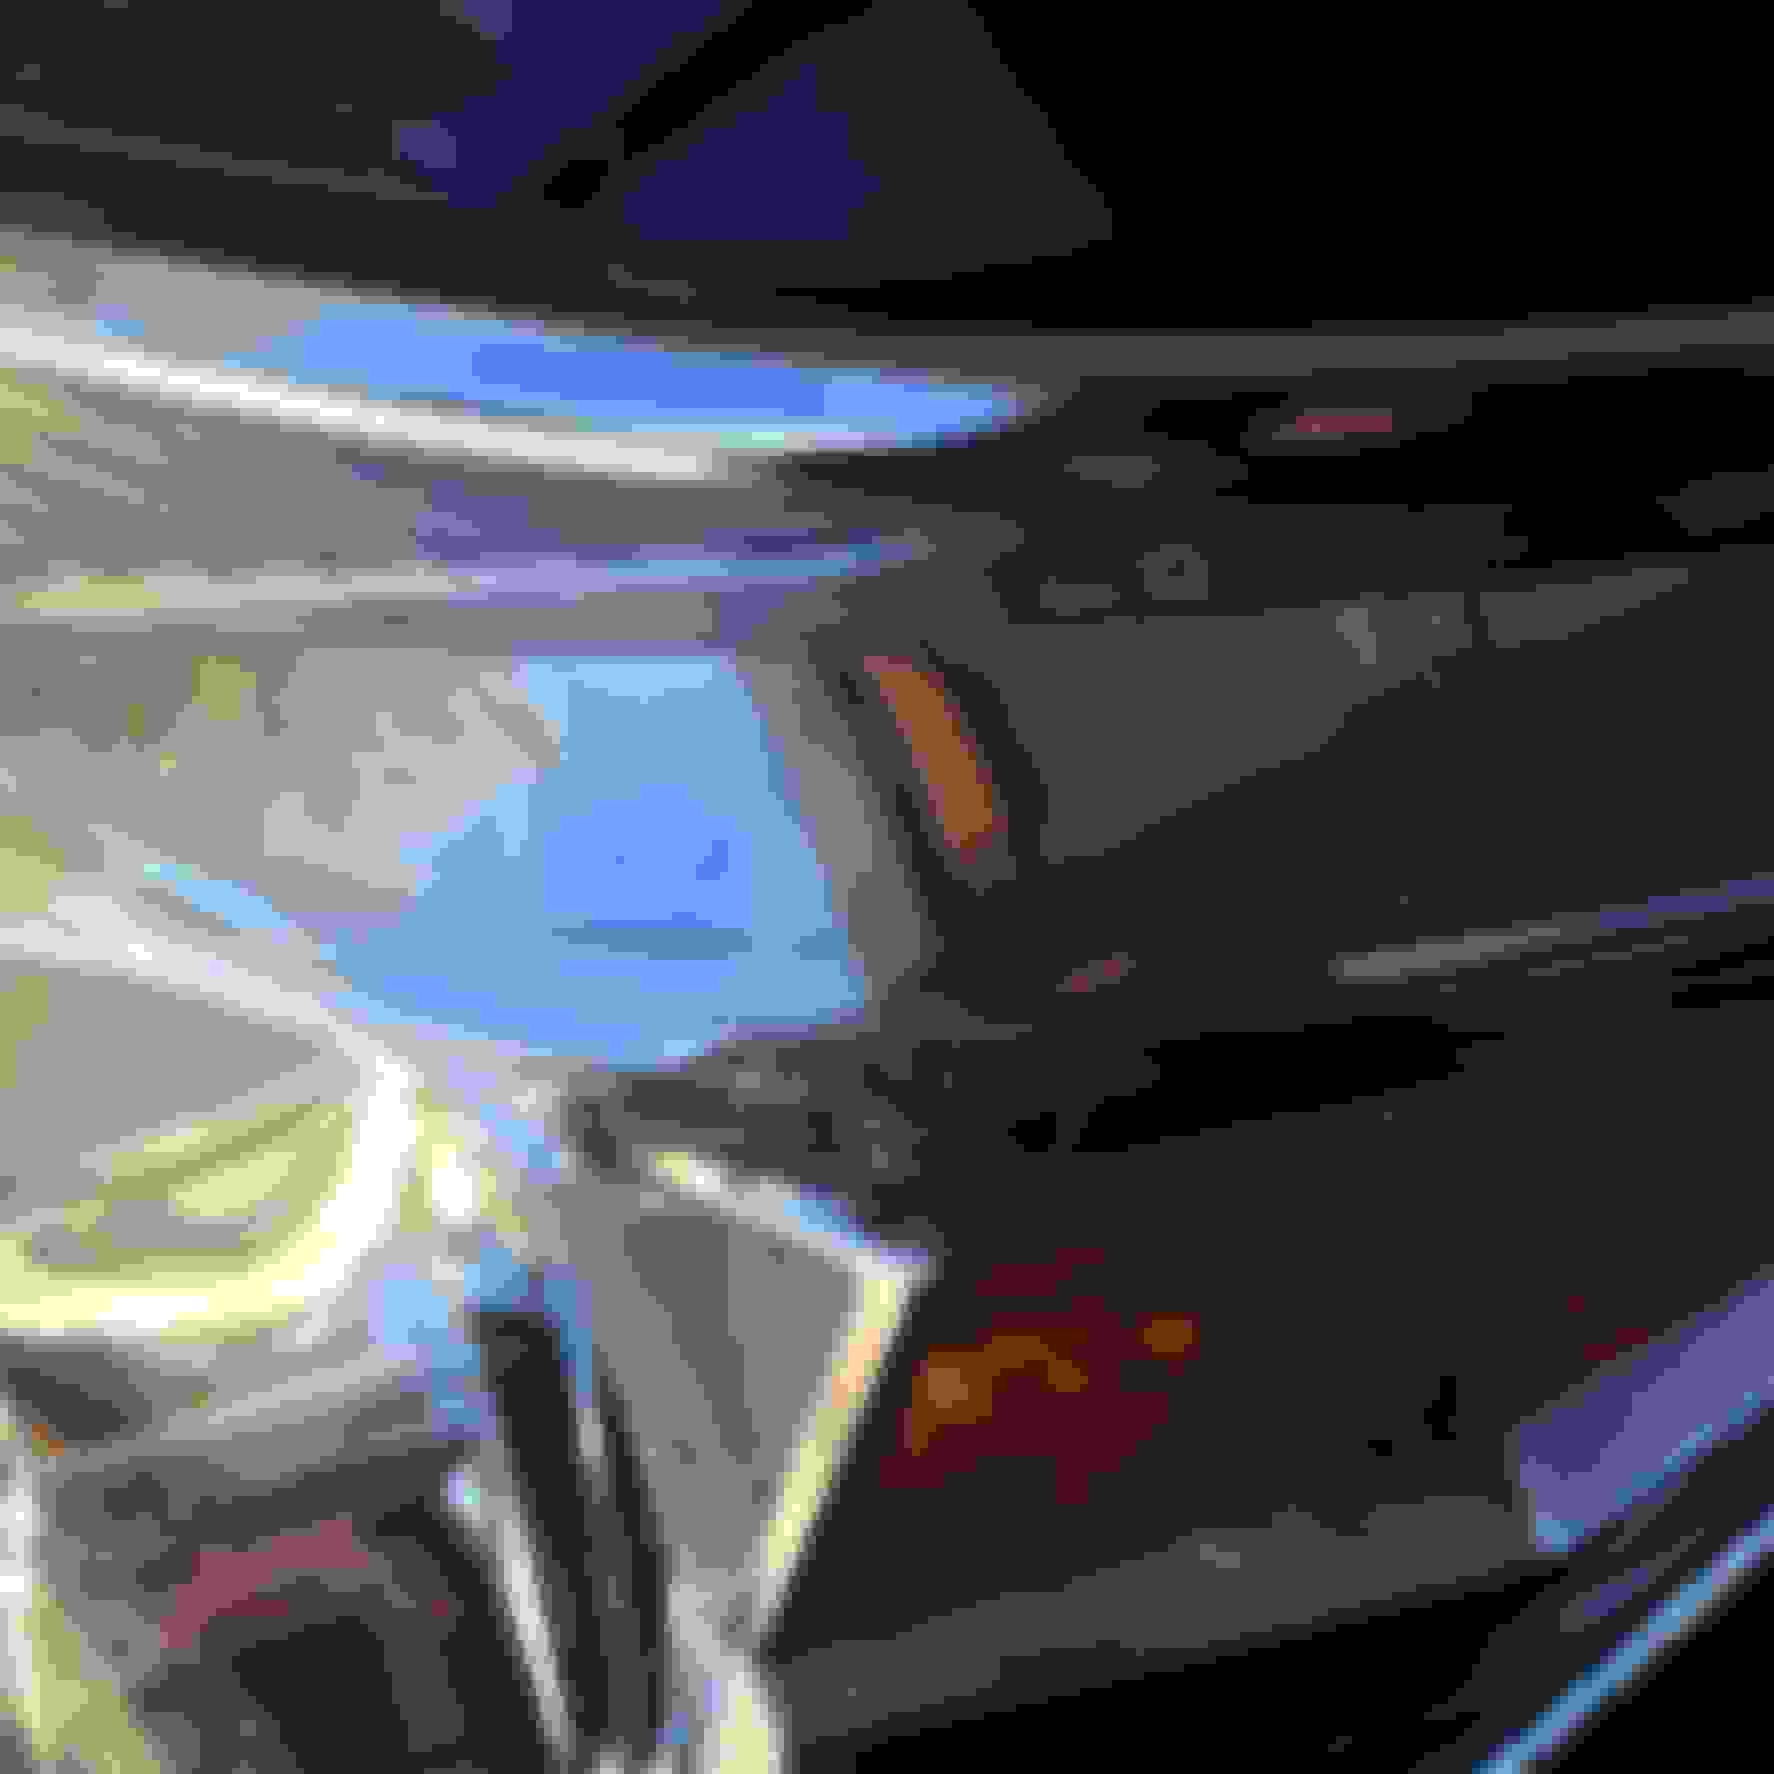


")