When you click on links to various merchants on this site and make a purchase, this can result in this site earning a commission. Affiliate programs and affiliations include, but are not limited to, the eBay Partner Network.
Directions on how to install a 2" ironman lift on a gx470 without the use of a coil spring compressor.
Parts used
Ironman 2" lift for the 2007-2009 FJ cruiser. Got it from cruiser corps for $640 shipped.
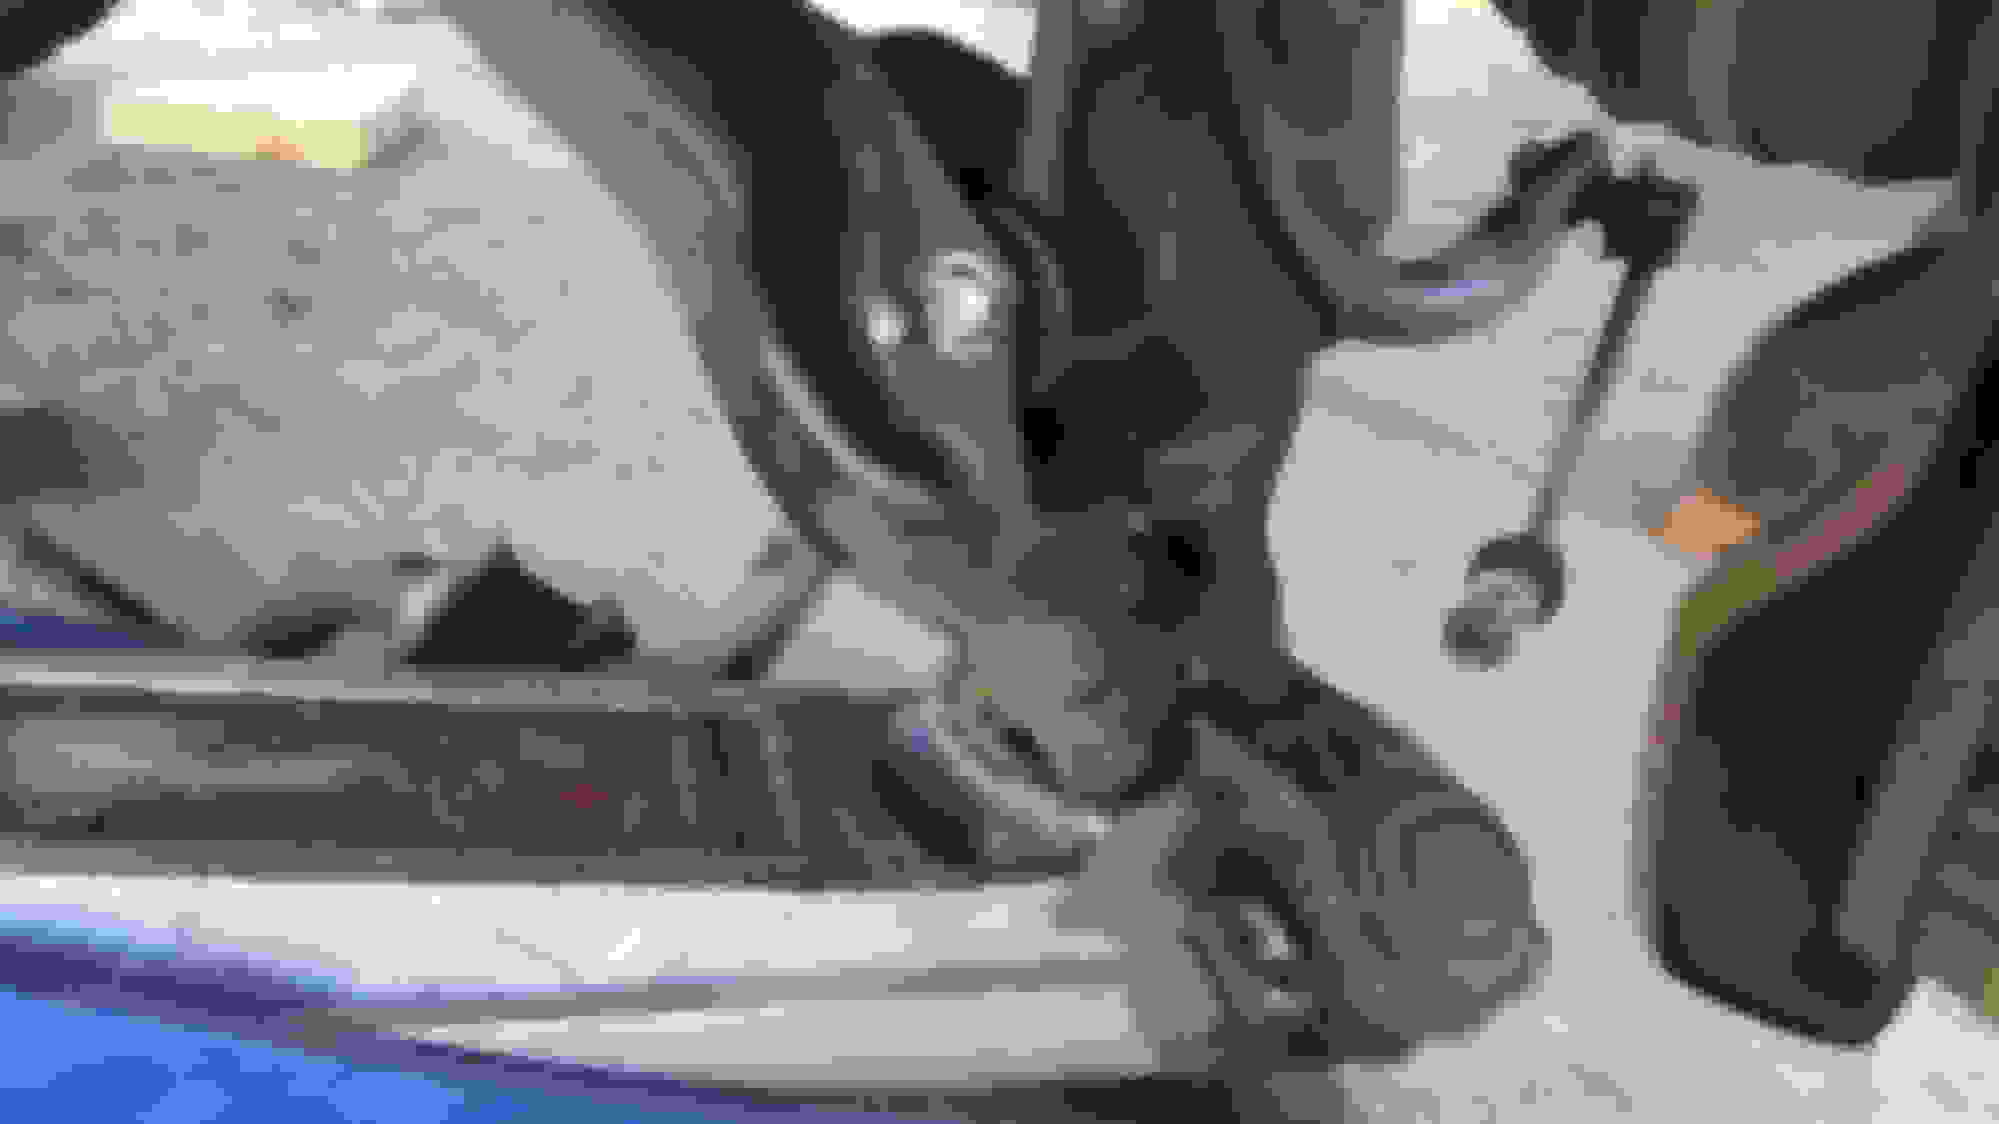
Firstly - remove your sway bar.
First thing I did was loosen the bolt on the lower control arm on both sides. This was necessary to get the arm to drop far enough down to insert the shock. Don't remove. You should feel it loosen.
Other side.
Take the nut off the bottom of the shock, but don't remove the bolt yet.
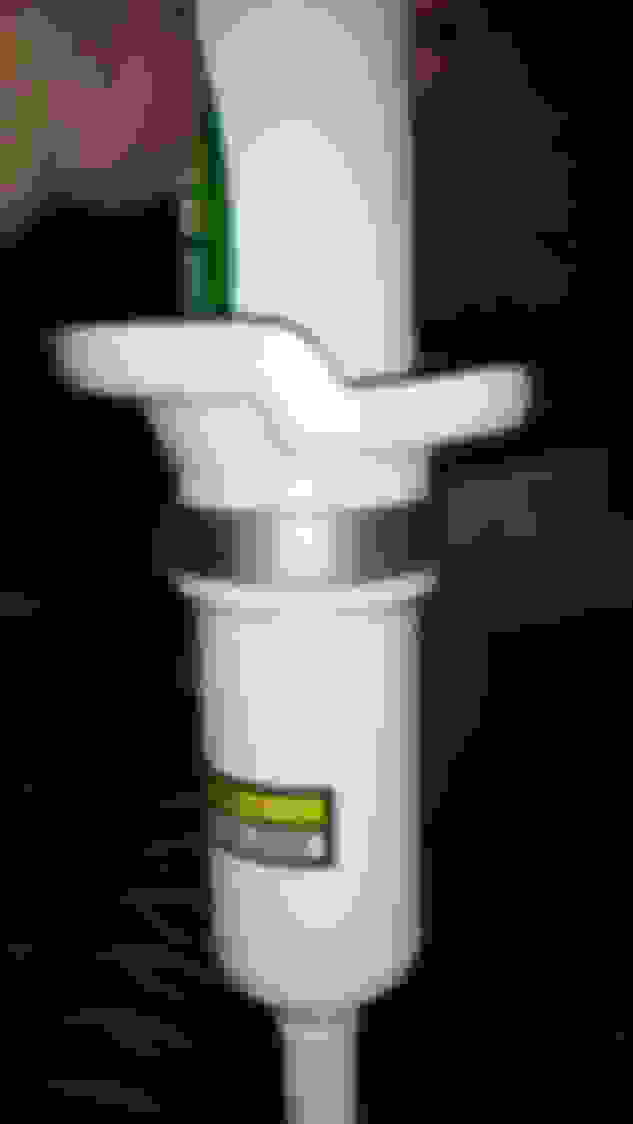
The gadget on top is tough to get to, but not complex. Their are two small hex screws holding the top on.
Once you get the first one, you can grab the arm thing and manually rotate it to get the second one.
There is a nut holding the arm thing on. My shock spun when I tried to loosen it, so I held the nut underneath. (I am loosening with the socket wrench and holding steady with the open end wrench). I then loosened the nut holding the shock in. I had to hold the top of the shock with a set of vice grips to keep it from rotating.
Set your jack underneath the lower control arm. Proper placement will save you time when you put it all back.
Unbolt the two bolts attaching the lower control arm to the hub. There is one on each side. Lots of torque needed.
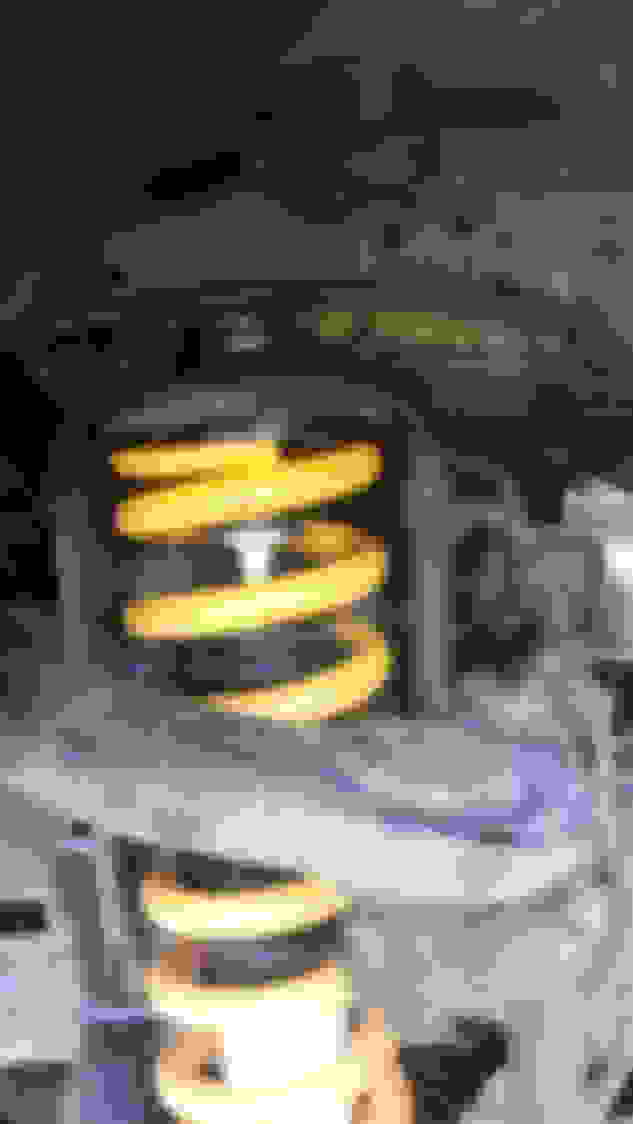
Slowly lower the jack. The shock should come out like so.
Take the bottom bolt out and pull the unit out.
I included the spacer on my lift because I wanted a more level look.
Slide the new set up back in and put the bolt back. Loosely put the nut back on.
I was able to get the shock head started through the hat which made jacking it up by myself easier.
Make sure you remove the old bushings.
Once you have jacked it up enough to put the new bushing and nut on, you're basically done. Just go through the steps in reverse and you're good to go.
Picture with 265s on it.
with 285s. The picture doesn't do it justice. I'll try to snap a cleaner one tomorrow.
Nice write up. I was surprised to see you didn't take off the upper mount and drop the whole strut assembly down. That's what I did for my bilstein 5100 install which required a spring compressor and a lot of extra work.
I think I'll try your way when I put my OME springs in later this year.
Nice write up. I was surprised to see you didn't take off the upper mount and drop the whole strut assembly down. That's what I did for my bilstein 5100 install which required a spring compressor and a lot of extra work.
I think I'll try your way when I put my OME springs in later this year.
Dropping the lower control arm is a HUGE time saver. It took me roughly 30 minutes on the second side after I knew what to do. I didn't know to loosen the lower control arm tensioners the first time and it cost me a lot of time and frustration.
Nice! Looks way more than a 2" lift. Maybe the added sidewall height.
Thanks! I think I ended up with 2" gain from the suspension in the rear and 3" gain in the front (with the spacer) . The tires added roughly 2.5" in diameter, so about 1.25" gain in height there.
You do not need to mess with the lower control arm bolts (it will save you some hassle). I've done this lift install so many times with FJs and its the same process. First, undo and remove front skid and sway bar. Undo upper control arm bolt (use pitman arm puller with ratchet wrench to separate upper control arm and spindle). After that undo air ride control, upper and lower coilover bolts and it should come right out. Also use a bungee cord to support spindle as to not stretch brake cable and speed sensor wire.
You do not need to mess with the lower control arm bolts (it will save you some hassle). I've done this lift install so many times with FJs and its the same process. First, undo and remove front skid and sway bar. Undo upper control arm bolt (use pitman arm puller with ratchet wrench to separate upper control arm and spindle). After that undo air ride control, upper and lower coilover bolts and it should come right out. Also use a bungee cord to support spindle as to not stretch brake cable and speed sensor wire.
Perhaps, but I don't have a pitman arm puller. Dropping the lca worked great for me - very easy to do.
messing with the LCA bolts will throw off your alignment
I'm with ya, but I completed one side in roughly 30 minutes with the method I used. You've got to get an alignment after a lift anyway, so that doesn't matter.
Not saying there's anything wrong with the method you used, as I'm guessing it worked fine for you. I'm just not seeing any pros over the lca method.
I've never seen it done this way either, but good on you for getting it done.
I did a spacer lift on my brother's '05 Tundra over the holidays, which I assume is a very similar setup being another IFS Toyota. What we did was remove the lower shock bolt and the 3 nuts holding the tophat in, and removed the entire shock/spring assembly as one. Installed the spacer and bolt extensions (this Daystar kit didn't require disassembling the spring/strut, just goes on top), and put the assembly back in and loosely get the tophat nuts started to hold it in place. Then take the bottle jack and flip it upside down, and extend it with the base facing up against the inner fender, and the jack foot (the part that extends up) pointed down and jammed against the upper control arm's balljoint nut, and keep opening it up until the control arms move down and your lower shock bolt hole lines up. Worked really well, and zero risk of ruining balljoints.
I know this is an old thread, but I'm about to do my lift and didn't think there was ride control for the front shocks, only the rear. Am I mistaken?? What do you do with the "gadget on top" you refer to? Any lights?
The ride control does indeed control front and back. The ride height, however, is only on the back (where your air bags are).
I can't remember what I did with the gadget. I'll have to look to see if I reinstalled it. If not, it's in a box somewhere gathering dust. I don't have any lights, but have read that some guys do get them.
Originally Posted by Riflman
I know this is an old thread, but I'm about to do my lift and didn't think there was ride control for the front shocks, only the rear. Am I mistaken?? What do you do with the "gadget on top" you refer to? Any lights?
I know this is an old thread, but I'm about to do my lift and didn't think there was ride control for the front shocks, only the rear. Am I mistaken?? What do you do with the "gadget on top" you refer to? Any lights?
Front and rear stock shocks are adjustable. There are no lights for these. You just need to unplug the plug at the top of the shock. For the front after you unplug can pull them up into the engine bay and zip tie in place somewhere. The rears I just unplugged and that's it.
A note about the top part that holds the plug you can swing it around for easier access to the bolts.
If you're removing the rear air bags then you need to worry about the lights. Just need to pull the fuse/relay for the air suspension in the engine bay plus the TEMS fuse in the cabin fuse box.
 01-10-15, 07:38 PM