
 01-06-15, 04:03 PM
Last edit by: IB Advertising
See related guides and technical advice from our community experts:
Browse all: Exterior Guides
- How to Install JDM LED Turn Signal Mirrors
Step by step instructions for do-it-yourself repairs
Browse all: Exterior Guides

It's finally done....GS300 LED turn signal mirror covers installed...DIY thread
03-15-09, 12:39 PM
#61
:
Thanks Mike!!!!!
Please ***STICKY*** this thread please - (MODS)
Okay to tap the wires up front: EyeKutr you can update this on your first post.
On the driver side there are the wires to tap. If you take off the sill cover in front of the sills on the driver side. There is a YELLOW wire and a GREEN wire. They are both much thicker then the other wires in there so trust me you will know. The smaller gauge wires do not work. I tested them all with a volt meter to find them yesterday. I tried to find the relay per the print out I had but I had no luck.
Passing the wire from the passenger side was very easy to run through.
PM me if you have any questions.
Awesome write up to EyeKutr...if you follow these steps its right on and not that hard to do.
If you are looking for these hit up NIGEL!!!


 03-28-09, 05:46 PM
#70
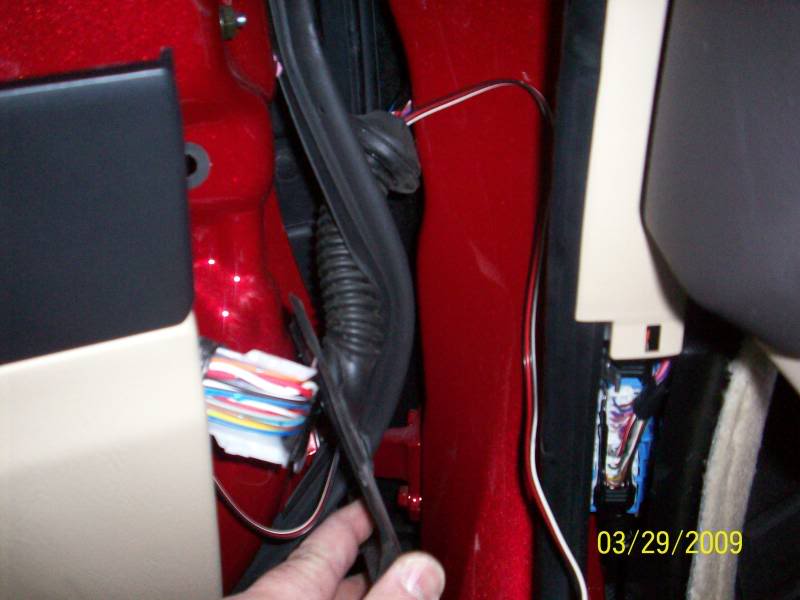
I was able to run them with the wires. Takes some time but it was worth it There is basically an L bracket the wires run with and are tapped. You have to unscrew 2 bolts and take the tape off. Its not a normal pass through with the rubber boot like most cars.
vietdeluxx post up some pics man!
There is basically an L bracket the wires run with and are tapped. You have to unscrew 2 bolts and take the tape off. Its not a normal pass through with the rubber boot like most cars. vietdeluxx post up some pics man!

 03-29-09, 03:33 PM
#75
OK, its my turn to add to this thread. I got it done and it is nice! It took about 4.5hrs to do both sides thanks to this thread! There were a few things that was missing, so I am going to add a few helpers for the next ones to do this. Pictures tell a million stories so here they are!!!!!
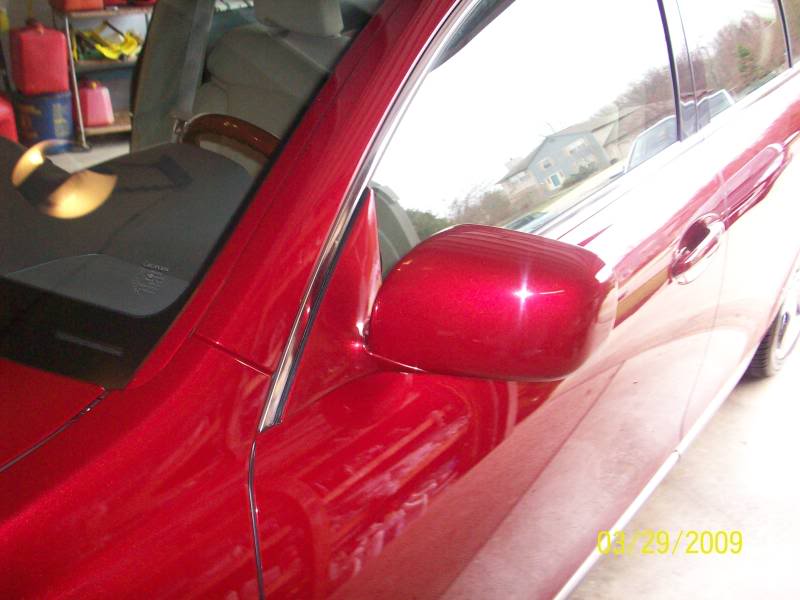
Before....
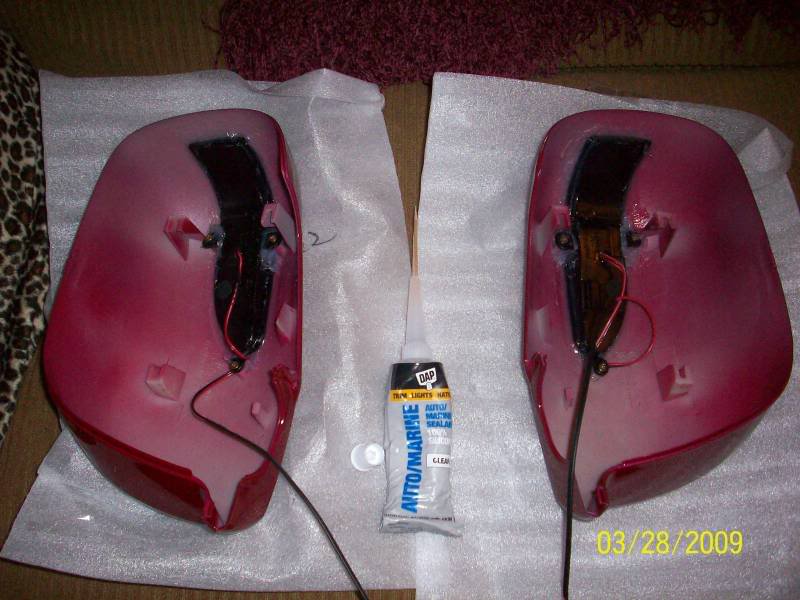
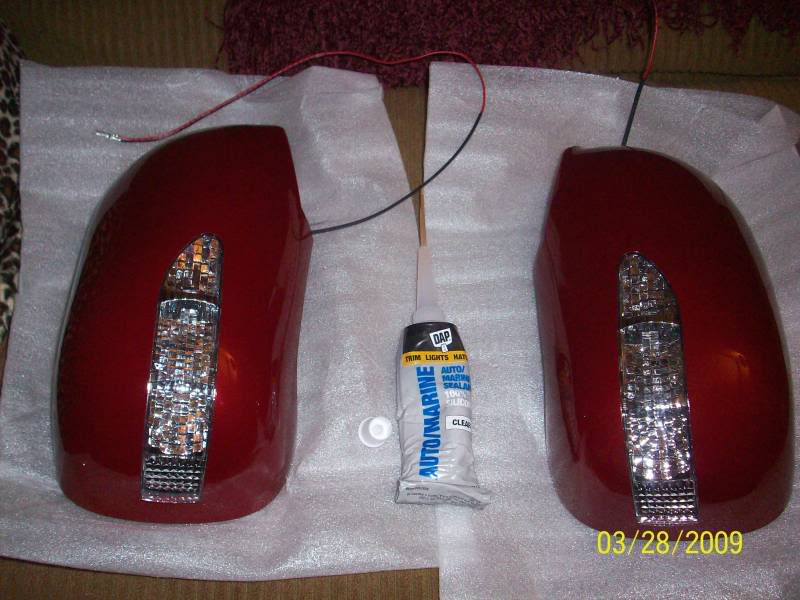
The awesome shells from Nigel!!!! What he sent was a complete kit with wires and plugs. The only thing that I had to do to the new covers was to seal them with clear silicone.
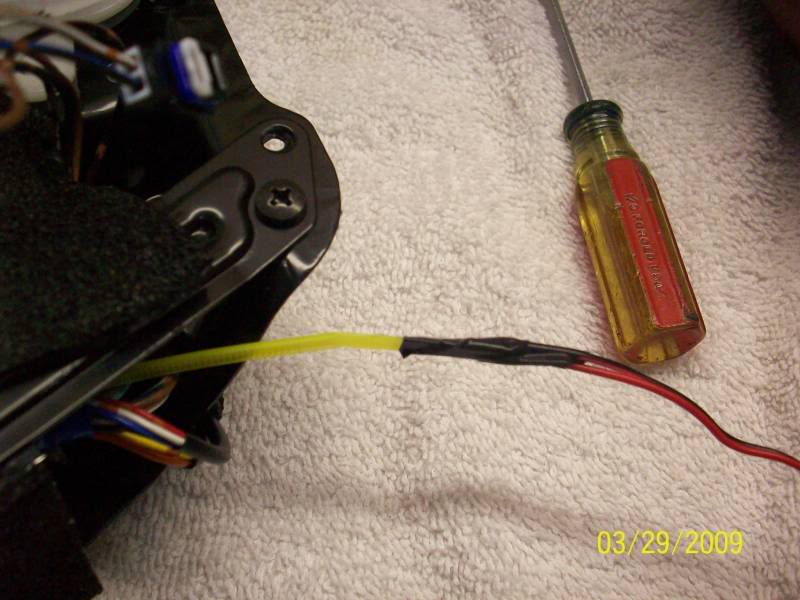
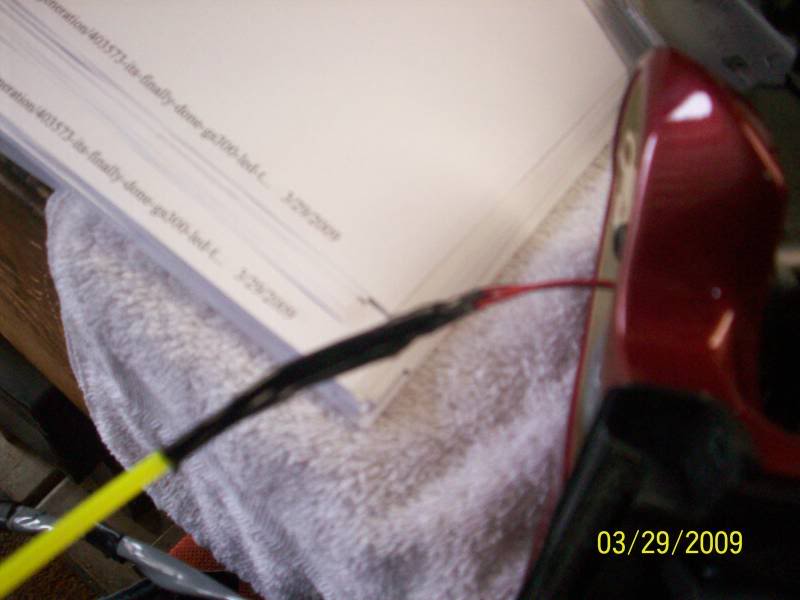
Here are some tips on how to feed the wire through the guts of the mirror using a tywrap.
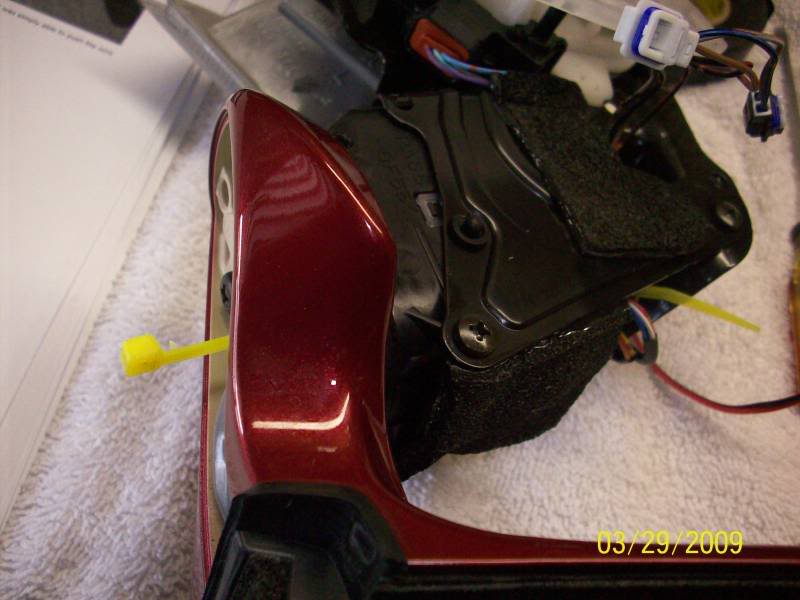
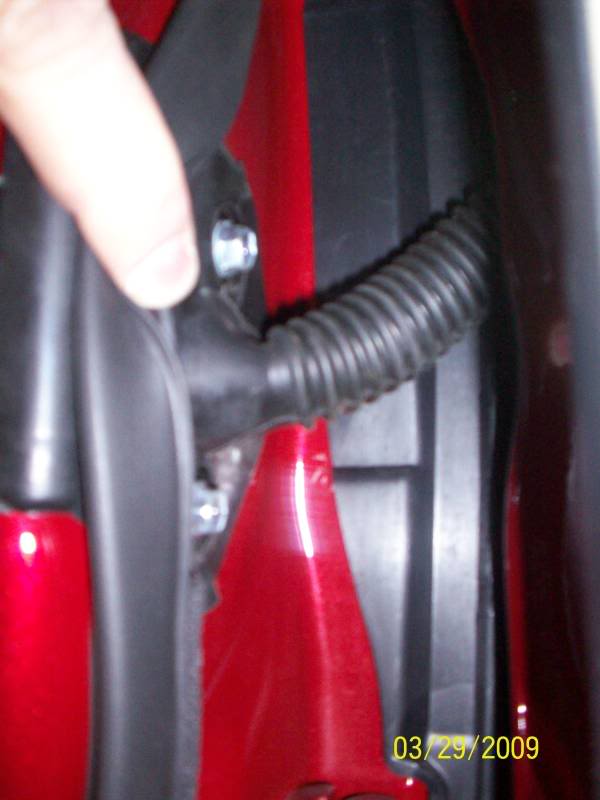
Here are some pictures of the bracket that needs to be removed to feed the wires into the rubber piece between the door and car.
Before....
The awesome shells from Nigel!!!! What he sent was a complete kit with wires and plugs. The only thing that I had to do to the new covers was to seal them with clear silicone.
Here are some tips on how to feed the wire through the guts of the mirror using a tywrap.
Here are some pictures of the bracket that needs to be removed to feed the wires into the rubber piece between the door and car.
