
DIY Wireless charging
 03-30-14, 04:28 AM
#1

Whats up guys,
So after getting myself a new Nokia Lumia phone with built in wireless charging I was pretty excited about trying out the wireless charging. I got the idea that wireless charging in my car would be pretty cool since I hate having to deal with a long wire dangling around (in addition to my auxiliary cord). I had been pondering about the possibility of throwing the wireless charger in my car, but what I really wanted, was for it to be integrated into the car somehow so that I could retain a factory look (as with most other things I add to my GS). After going through some struggles , technical difficulties and multiple wireless chargers I was finally able to integrate this into our GS and have it work just like I wanted it to.
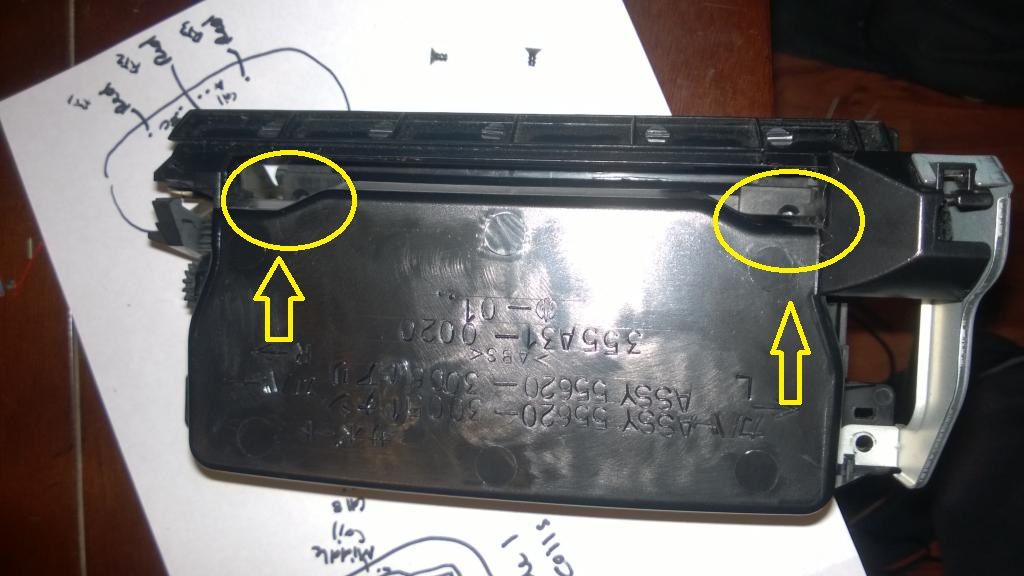
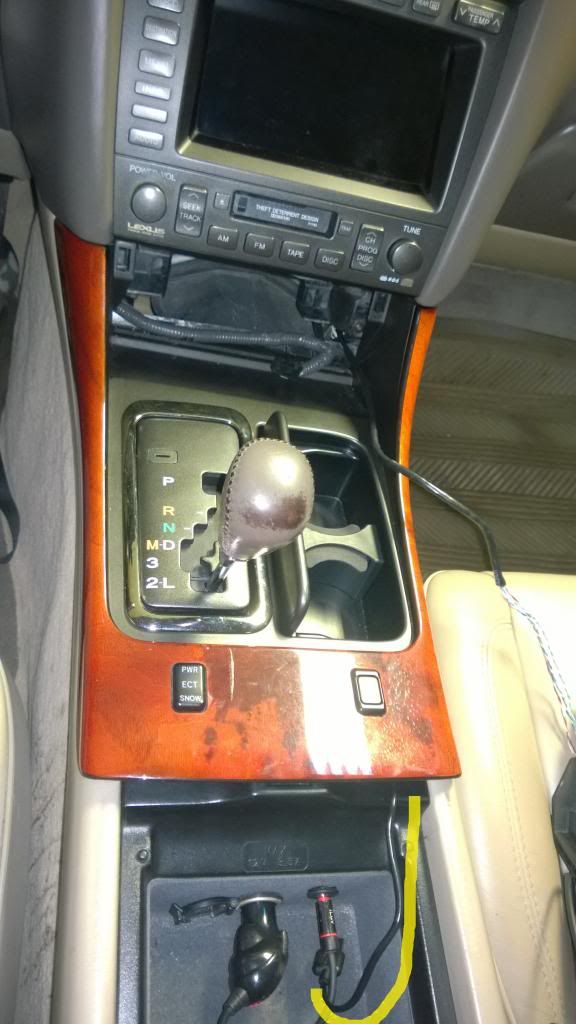
1. First thing I had to decide was where to integrate the wireless charger. Initially I wanted the arm rest. That didn't work out because the armrest is too thick and the charging isn't strong enough to go through the arm rest. I tried opening up the armrest and still no luck unless I ripped apart the leather and stuffed in in the padding somehow, but that was too much work/risk. I had to think of another place that would integrate well but still allow me to look/use my phone with ease since I often use it for GPS or just to pick up calls. I had the great idea of building it into the cup holder somehow, and eventually thought it would be pretty cool to integrate it into the cup holder lid so I could simply rest the phone on top, but still be able to open/close/use the cup holder.
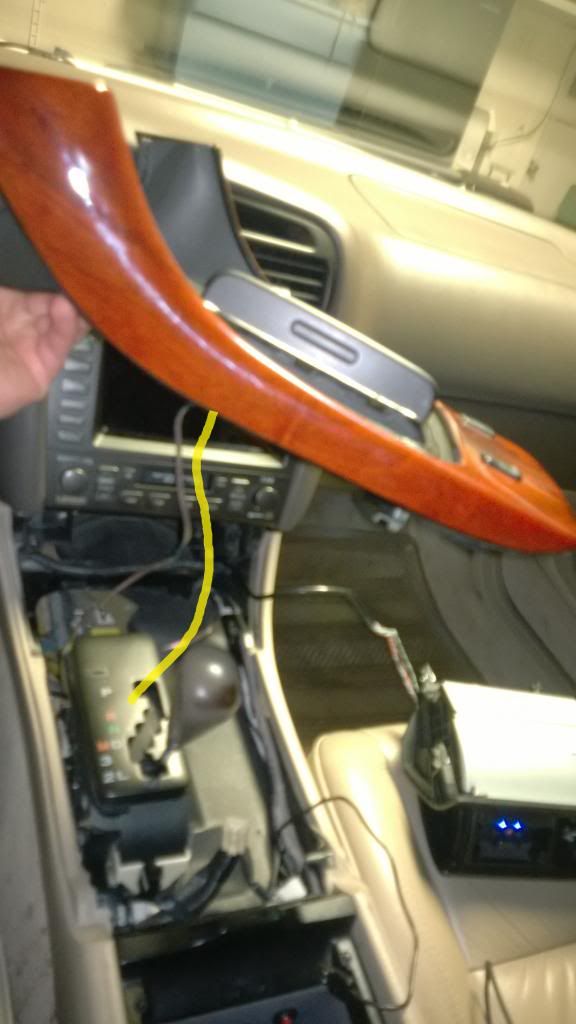
Used some other DIY links to pull out the center console trim. Then removed the cup holder from the trim to get full/complete access to the cup holder on its own. If you flip the trim/cup holder over, you will immediately see 4 screws that hold the cup holder in place to the rest of the trim. Unscrew these.

2. Now that I had the cup holder on its own I had to remove the cup holder lid from the rest of the cup holder. If you flip the cup holder over, there will be two screws that hold the lid to the rest of the cup holder. Once you unscrew these two small screws, the lid can be removed into two pieces. The bottom piece clips into the top piece (the piece you push to open close). Once the two screws are removed it should split into two pretty easy, but if not, give them a little nudge to separate them.
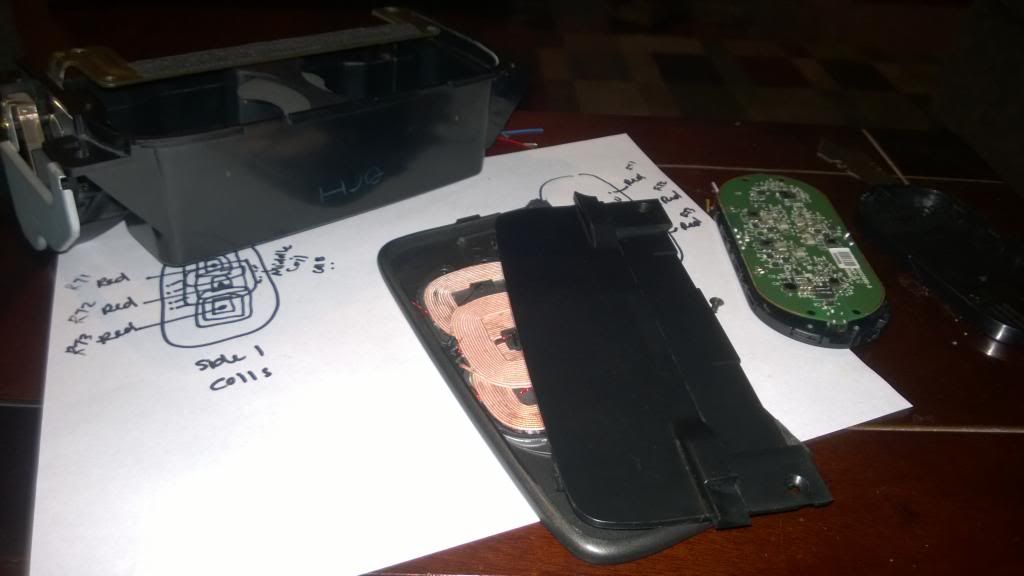
3.Now you should have the cup holder and lid (2 pieces) separated from each other. The rest of the work will be mostly with the 2 pieces of the lid, until its time to put them back together. In this pic, you can see how I have them all split up. From this picture you can also get an idea of how the project will go. There are two components to make this happen. 1. The coils. 2. the PCBA board that is connected to power source and sends signal to the coil. From this pic you can see that I will be placing the coils between the two lid pieces to get the signal to flow through the lid. This is a pic from my original attempt (which failed) so ignore the difference in components from the pictures that follow after this. The concept is all the same, just took a couple of times to get it down correctly.
4. This pic shows the actual component I ended up using.

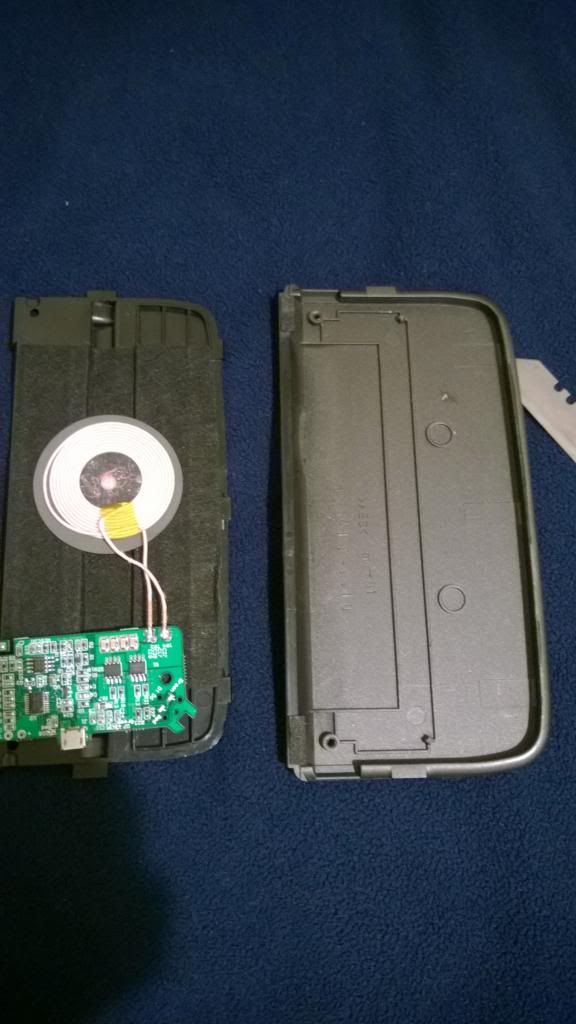
5. In this pic you can see the idea of fitting the component in between the lid again. However, fitting the entire component will not work. The PCBA board is a little too thick and wont allow to put the lid back together properly or for it to close/open once back on the rest of the cup holder. So the next step is to unsolder those two connections, add extra wire to extend the two pieces apart. This will be done so we can fit only the coil in between the lid and conceal the PCBA board elsewhere.
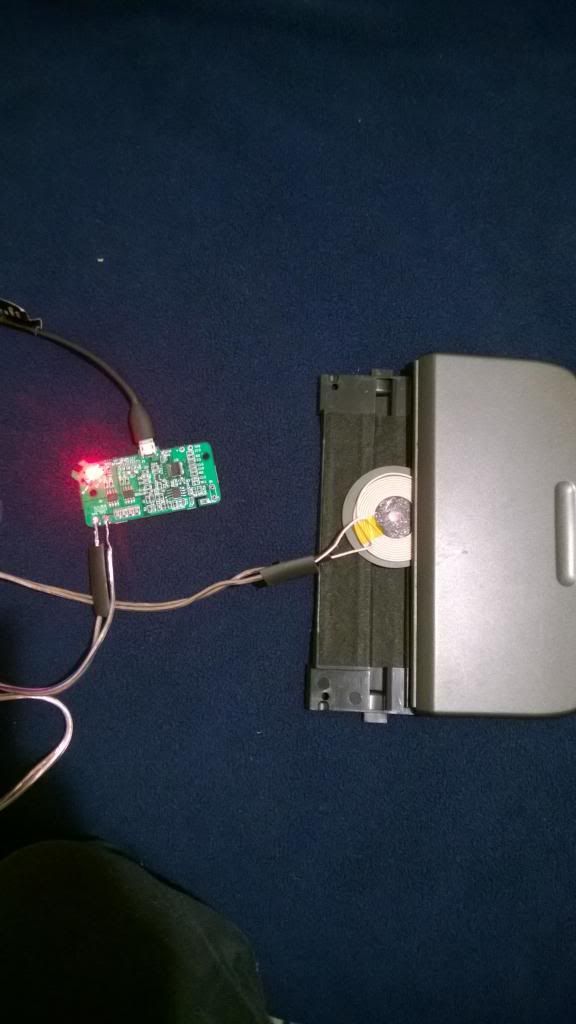
5. Here it is after I unsoldered the two wires and added the extra wire in between:

6. Here it is after I extended the wire, test fitted the coil on its own in between the lid and made sure it was still working (You can see the LED showing power):
Note: the more coils you have the easier your phone connects to the wireless coils and charges. If you have less coils (like I only have one, shown here) then it makes it a bit trickier for your phone to connect to the coil, as it has to be more perfectly aligned with the coil in order to start charging. I'm experimenting with how well one coil works, if it takes too much work to align it up when I lay the phone down on the lid, I will be opening it up and adding a second coil for better connection.
7. The rest is pretty easy and is pretty much going in reverse to putting everything back together. I placed the coil where I thought would best give signal to my phone. I put both pieces together on the cup holder itself and screwed it all back together. I put the PCBA/wire through the cup holder, to make sure I could conceal the PCBA board under the center console trim. Then screwed the entire cup holder (now that lid was screwed to it) back on to trim with the 4 screws that we had originally unscrewed. (Note: The coil will not fit PERFECTLY in between the lid. It does bulge up a bit, but I squished it down a bit and used the screws to hold it all in place. With the specs of this particular component that I used, the cup holder lid still opens/closes. It does get stuck a tiny bit when opening but a TINY push from my finger allows it to open back up completely and give full access to the cup holder.)
Side view of the wire coming through and underneath the cup holder:
View from underneath of the wire coming through/under the cup holder:
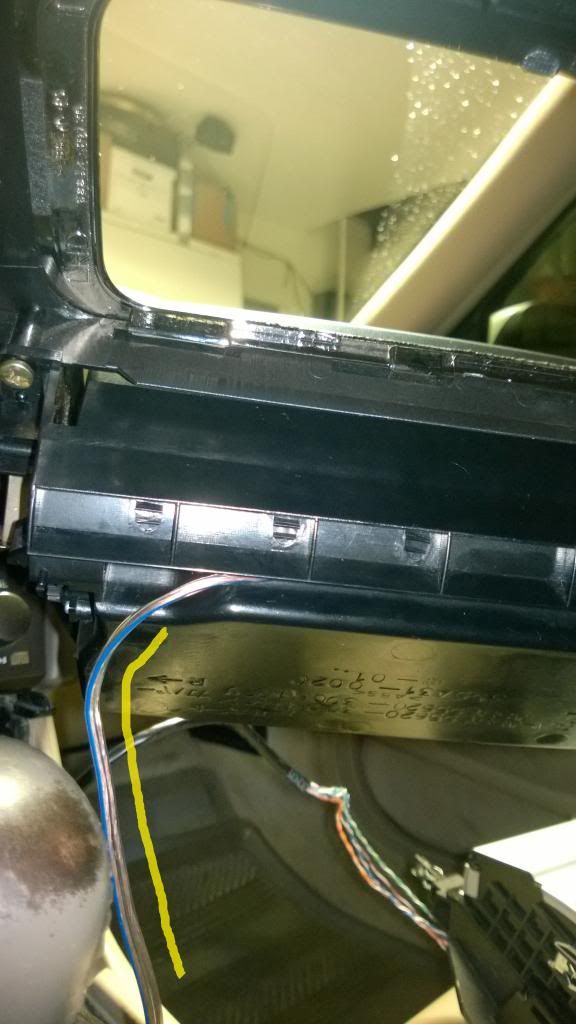
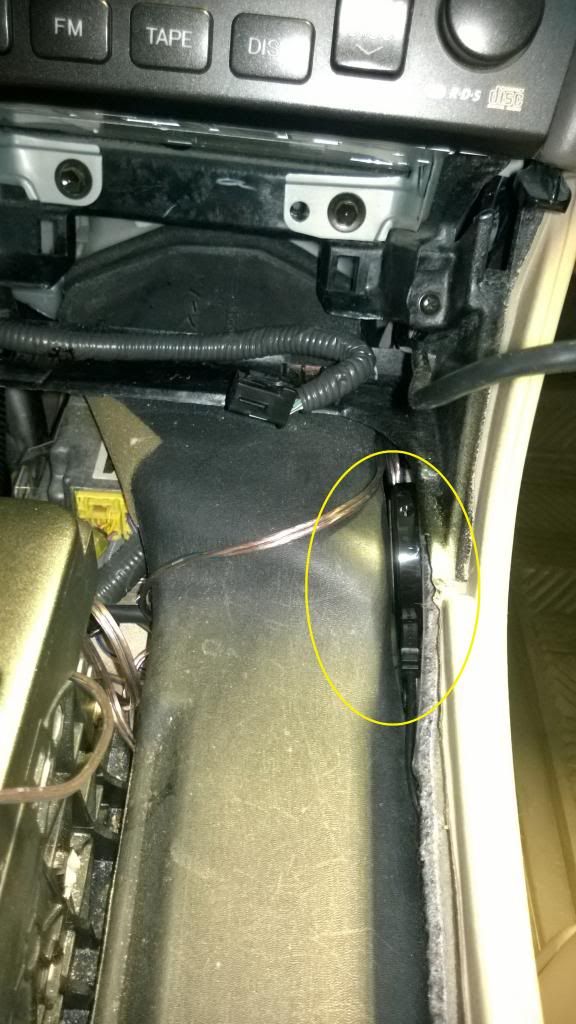
8. If you get the exact component I got (or any that doesn't come with a protective case for the board) then you will have to make one or stick it in something. I got lucky and was able to mod the case I got from the first wireless charger I tried this with (for reference, the original charger I tried was a Nokia DT-900). I made the PCBA board fit nicely in the case and went back to the car, concealed it underneath where the trim goes.
Case I modded:

Concealed under the trim:
9. I ran a USB wire (which will provide the power) from the cigarette lighter to the PCBA board.
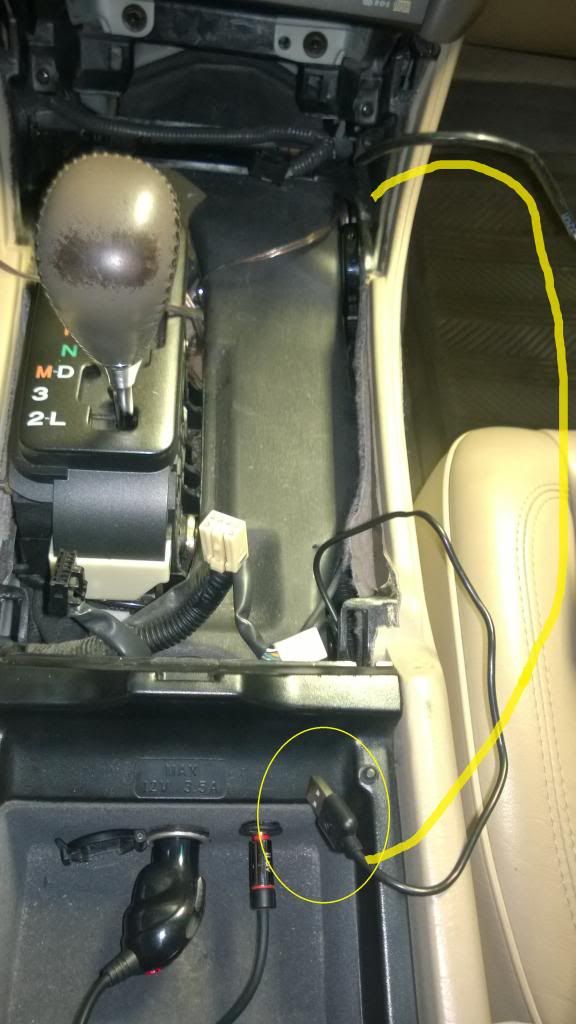
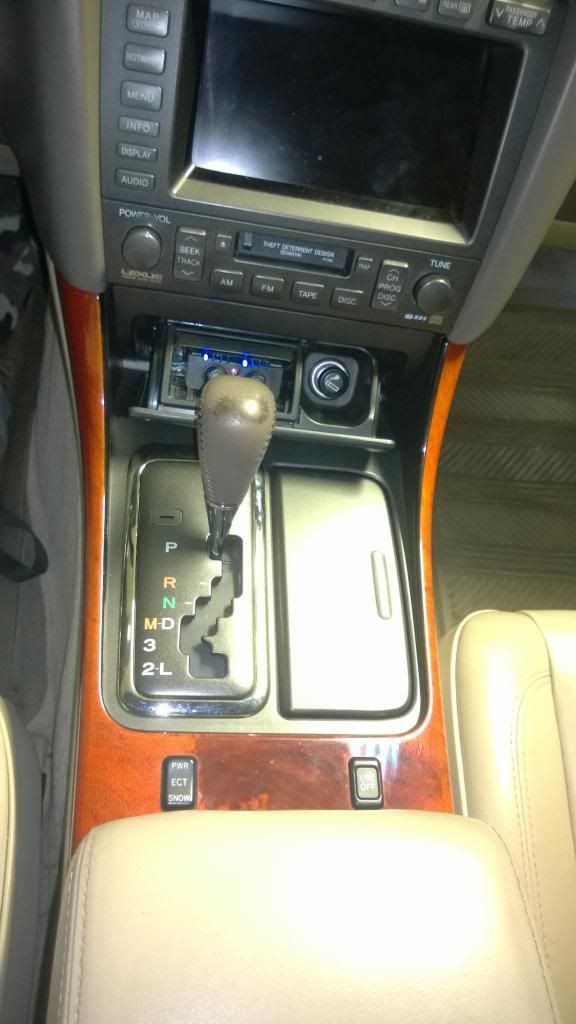
10. Here it is being put back together, with the USB wire being ran through center console so I can connect it to the cigarette lighter. I'm going to go back later and clean this up so that I don't have this wire running externally. Instead I will be hiding it underneath the trim, but this is good for now as I am testing it to make sure everything works before doing anymore moding.
11. Here it is fully together:
Closed:
"Stuck". This is how it stays stuck upon opening before I give it a little push to fully open (if the cup holder divider inside the cup holder is taken out, it opens/closes flawlessly!):
Open:
Hope this little DIY project helps anyone that may want to try it. I haven't seen anyone do this, so hopefully I'm the first and others can try it
The only problem I have now is that I completely overlooked one thing. I completely forgot all the bass in my car makes everything shake, including the phone when placed on the surface of the cupholder lid. LOL.. Will be getting one of those non-slip phone pads to place on surface and avoid this.
Most of you are probably iPhone users, so I will warn you that iPhone doesn't come with wireless charging standard. You can, however, buy a cover/case that will give you this feature. There are other phones that also have it built in (many other Nokias, a few Droids, LG and Nexus). Other phones like the Samsungs have an adapter thing that you can fit under the battery cover to give you this feature. If anyone wants, I can try to post a video to show me placing the phone on the surface of the cup holder and showing the phone accepting the wireless charge. I couldn't do this initially as I took the pics with the same phone that I will be charging.
So after getting myself a new Nokia Lumia phone with built in wireless charging I was pretty excited about trying out the wireless charging. I got the idea that wireless charging in my car would be pretty cool since I hate having to deal with a long wire dangling around (in addition to my auxiliary cord). I had been pondering about the possibility of throwing the wireless charger in my car, but what I really wanted, was for it to be integrated into the car somehow so that I could retain a factory look (as with most other things I add to my GS). After going through some struggles , technical difficulties and multiple wireless chargers I was finally able to integrate this into our GS and have it work just like I wanted it to.
1. First thing I had to decide was where to integrate the wireless charger. Initially I wanted the arm rest. That didn't work out because the armrest is too thick and the charging isn't strong enough to go through the arm rest. I tried opening up the armrest and still no luck unless I ripped apart the leather and stuffed in in the padding somehow, but that was too much work/risk. I had to think of another place that would integrate well but still allow me to look/use my phone with ease since I often use it for GPS or just to pick up calls. I had the great idea of building it into the cup holder somehow, and eventually thought it would be pretty cool to integrate it into the cup holder lid so I could simply rest the phone on top, but still be able to open/close/use the cup holder.
Used some other DIY links to pull out the center console trim. Then removed the cup holder from the trim to get full/complete access to the cup holder on its own. If you flip the trim/cup holder over, you will immediately see 4 screws that hold the cup holder in place to the rest of the trim. Unscrew these.

2. Now that I had the cup holder on its own I had to remove the cup holder lid from the rest of the cup holder. If you flip the cup holder over, there will be two screws that hold the lid to the rest of the cup holder. Once you unscrew these two small screws, the lid can be removed into two pieces. The bottom piece clips into the top piece (the piece you push to open close). Once the two screws are removed it should split into two pretty easy, but if not, give them a little nudge to separate them.

3.Now you should have the cup holder and lid (2 pieces) separated from each other. The rest of the work will be mostly with the 2 pieces of the lid, until its time to put them back together. In this pic, you can see how I have them all split up. From this picture you can also get an idea of how the project will go. There are two components to make this happen. 1. The coils. 2. the PCBA board that is connected to power source and sends signal to the coil. From this pic you can see that I will be placing the coils between the two lid pieces to get the signal to flow through the lid. This is a pic from my original attempt (which failed) so ignore the difference in components from the pictures that follow after this. The concept is all the same, just took a couple of times to get it down correctly.

4. This pic shows the actual component I ended up using.

5. In this pic you can see the idea of fitting the component in between the lid again. However, fitting the entire component will not work. The PCBA board is a little too thick and wont allow to put the lid back together properly or for it to close/open once back on the rest of the cup holder. So the next step is to unsolder those two connections, add extra wire to extend the two pieces apart. This will be done so we can fit only the coil in between the lid and conceal the PCBA board elsewhere.

5. Here it is after I unsoldered the two wires and added the extra wire in between:

6. Here it is after I extended the wire, test fitted the coil on its own in between the lid and made sure it was still working (You can see the LED showing power):
Note: the more coils you have the easier your phone connects to the wireless coils and charges. If you have less coils (like I only have one, shown here) then it makes it a bit trickier for your phone to connect to the coil, as it has to be more perfectly aligned with the coil in order to start charging. I'm experimenting with how well one coil works, if it takes too much work to align it up when I lay the phone down on the lid, I will be opening it up and adding a second coil for better connection.

7. The rest is pretty easy and is pretty much going in reverse to putting everything back together. I placed the coil where I thought would best give signal to my phone. I put both pieces together on the cup holder itself and screwed it all back together. I put the PCBA/wire through the cup holder, to make sure I could conceal the PCBA board under the center console trim. Then screwed the entire cup holder (now that lid was screwed to it) back on to trim with the 4 screws that we had originally unscrewed. (Note: The coil will not fit PERFECTLY in between the lid. It does bulge up a bit, but I squished it down a bit and used the screws to hold it all in place. With the specs of this particular component that I used, the cup holder lid still opens/closes. It does get stuck a tiny bit when opening but a TINY push from my finger allows it to open back up completely and give full access to the cup holder.)
Side view of the wire coming through and underneath the cup holder:

View from underneath of the wire coming through/under the cup holder:

8. If you get the exact component I got (or any that doesn't come with a protective case for the board) then you will have to make one or stick it in something. I got lucky and was able to mod the case I got from the first wireless charger I tried this with (for reference, the original charger I tried was a Nokia DT-900). I made the PCBA board fit nicely in the case and went back to the car, concealed it underneath where the trim goes.
Case I modded:

Concealed under the trim:

9. I ran a USB wire (which will provide the power) from the cigarette lighter to the PCBA board.

10. Here it is being put back together, with the USB wire being ran through center console so I can connect it to the cigarette lighter. I'm going to go back later and clean this up so that I don't have this wire running externally. Instead I will be hiding it underneath the trim, but this is good for now as I am testing it to make sure everything works before doing anymore moding.

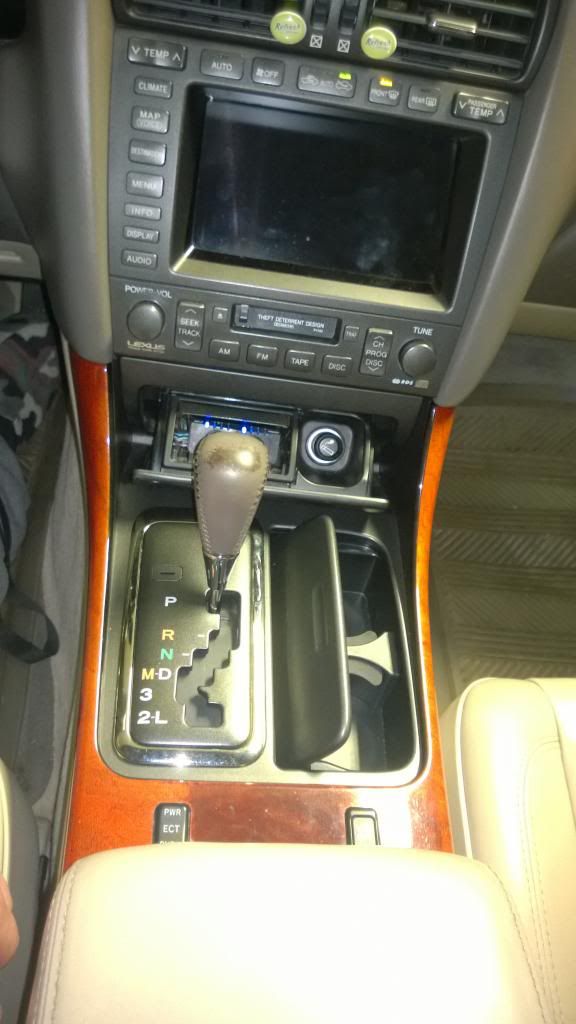
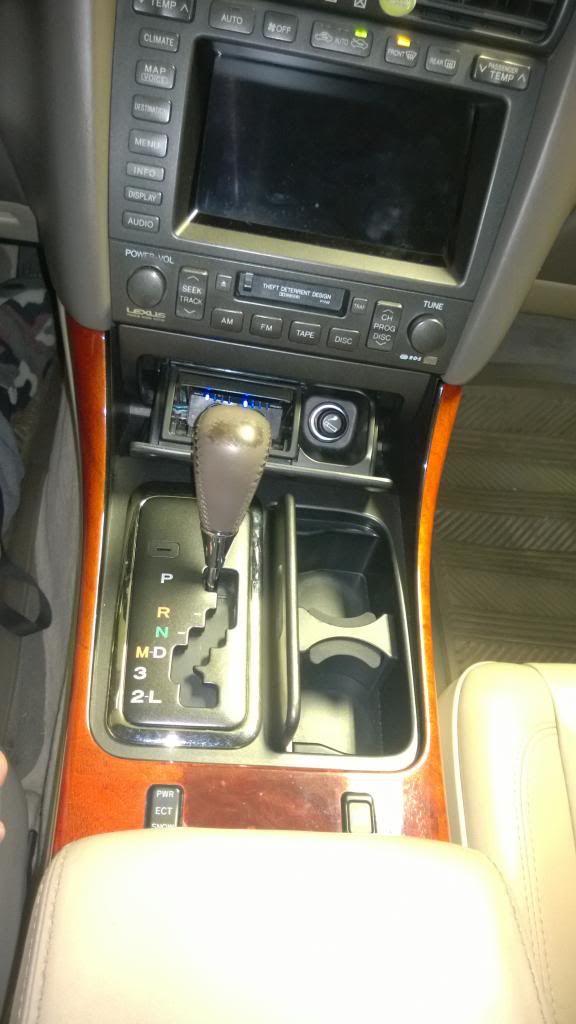
11. Here it is fully together:
Closed:

"Stuck". This is how it stays stuck upon opening before I give it a little push to fully open (if the cup holder divider inside the cup holder is taken out, it opens/closes flawlessly!):

Open:

Hope this little DIY project helps anyone that may want to try it. I haven't seen anyone do this, so hopefully I'm the first and others can try it
The only problem I have now is that I completely overlooked one thing. I completely forgot all the bass in my car makes everything shake, including the phone when placed on the surface of the cupholder lid. LOL.. Will be getting one of those non-slip phone pads to place on surface and avoid this.
Most of you are probably iPhone users, so I will warn you that iPhone doesn't come with wireless charging standard. You can, however, buy a cover/case that will give you this feature. There are other phones that also have it built in (many other Nokias, a few Droids, LG and Nexus). Other phones like the Samsungs have an adapter thing that you can fit under the battery cover to give you this feature. If anyone wants, I can try to post a video to show me placing the phone on the surface of the cup holder and showing the phone accepting the wireless charge. I couldn't do this initially as I took the pics with the same phone that I will be charging.
Last edited by robertoyou; 03-30-14 at 04:32 AM.
 03-30-14, 03:28 PM
#7
thanks. pretty simple and useful!
its been around for like 10 years, just not very common. Most common use is in electrical toothbrushes and their charging station, but other than that not very used. Phones are starting to implement them now so we will probably start to see a lot of it soon.
Thanks! Its simple, but took some work to finally get it to work out.
Trending Topics


Thread
Thread Starter
Forum
Replies
Last Post
Session101
SC- 1st Gen (1992-2000)
15
08-19-13 10:44 PM
fierce gs
Lexus Audio, Video, Security & Electronics
5
11-18-01 01:37 PM