My retro fit : LS430
 07-14-12, 05:39 PM
#16
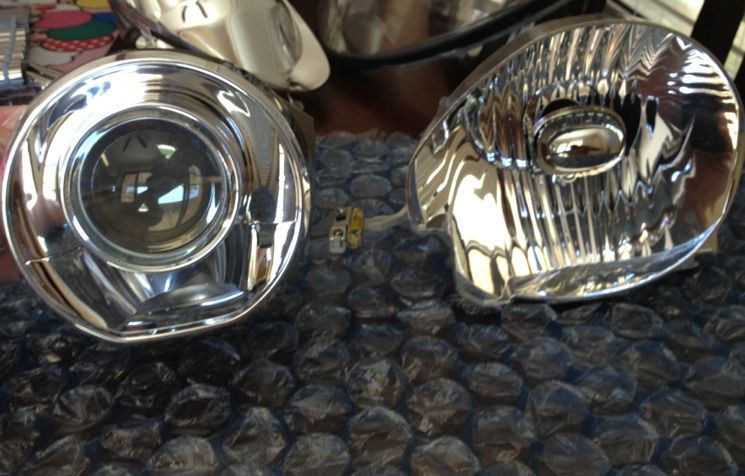
Got the luxury mods bracket on each projector... Left headlight is baking right now. Watching the timer is nuts hat to chug a beer... Here we go!
99GS3 - i decided not to use the spacers... they were homemade but i just didn't wanna use them.
OEM
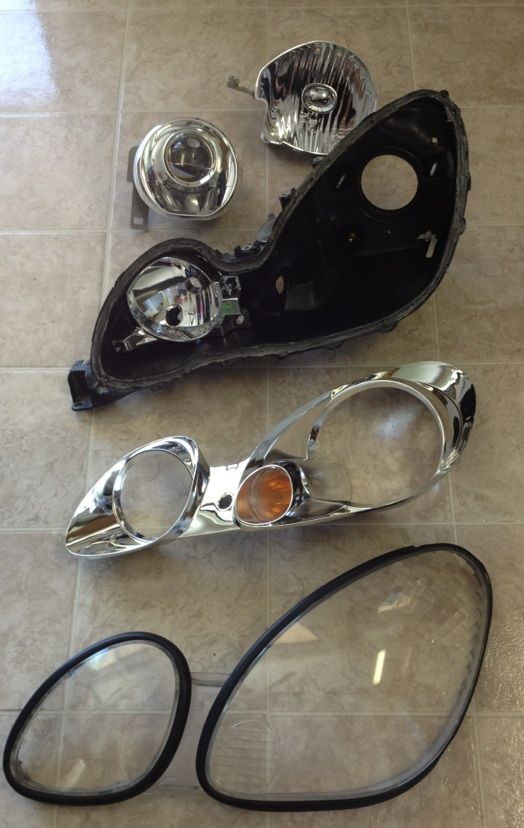
All Opened Up
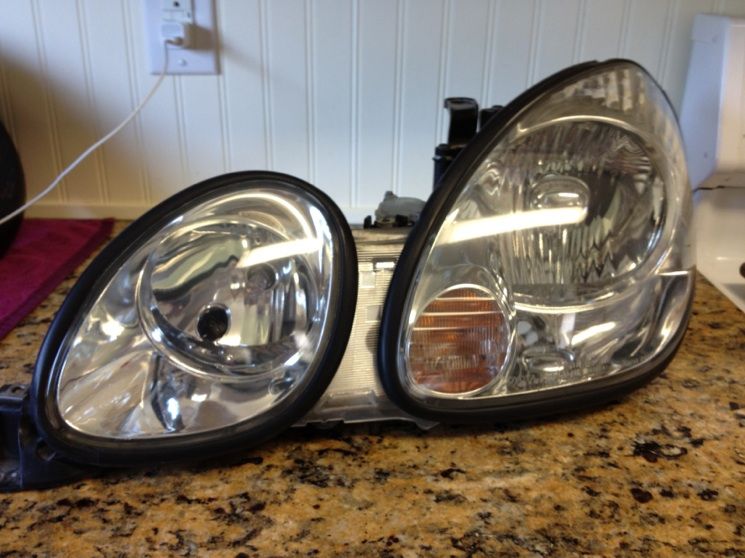
Side by Side
Still need to trim the turn signal so I can line this up correctly
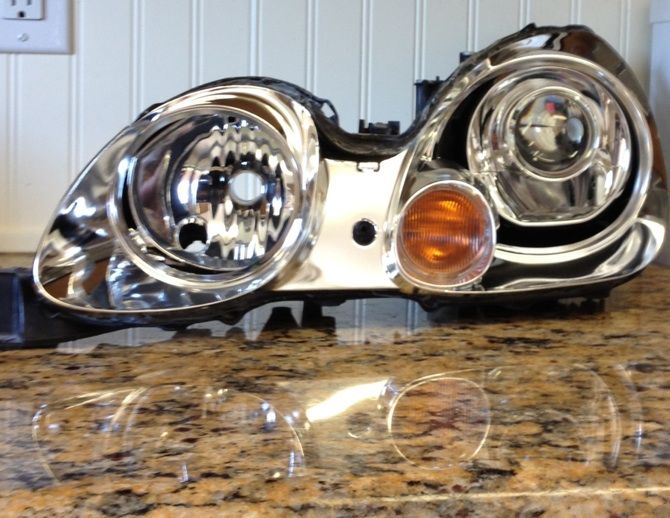
An idea of what it would kind of look like blacked out
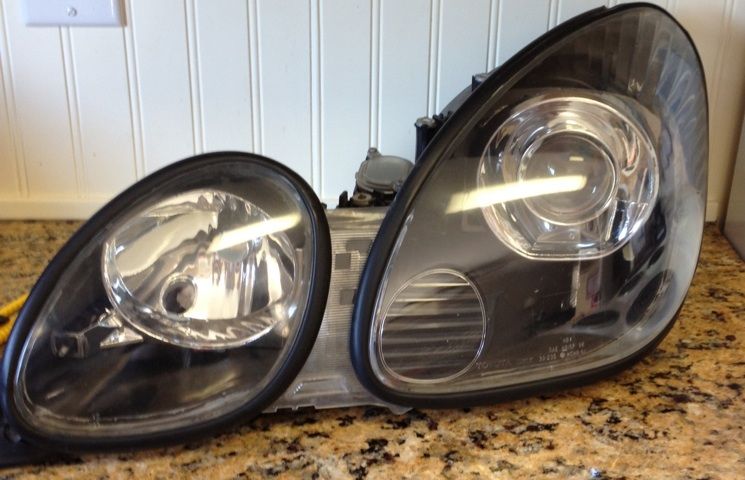
Thats it for today... the Mrs. and baby are coming home from shopping and I can't have either of them touching this stuff. I still need to grind down the chrome housing and get some good sealant. I'm going to leave the amber turn signal lens in place.
99GS3 - i decided not to use the spacers... they were homemade but i just didn't wanna use them.
OEM
All Opened Up
Side by Side
Still need to trim the turn signal so I can line this up correctly
An idea of what it would kind of look like blacked out
Thats it for today... the Mrs. and baby are coming home from shopping and I can't have either of them touching this stuff. I still need to grind down the chrome housing and get some good sealant. I'm going to leave the amber turn signal lens in place.
 07-15-12, 08:46 AM
#17
Hey, remember to screw in the projector a good way in and do a good line up before you begin chopping at the bezel. If you measure with the projector not screwed in, you'll end up shaving too much off. Better to not take enough off than to much. If you can, install both headlights on the car (without the lenses and bezels) and aim them correctly to get an accurate cut mark. If you have oem HID with auto leveling, make sure you leave room for that movement as well 
good luck, glad to see the ball rolling
good luck, glad to see the ball rolling
07-15-12, 02:24 PM
#18
Nathaniel do u remember which way u put the bottom black plastic puece in the luxury mod bracket? I have it set to were the metal rod in the house snaps in from underneath the plastic piece. I ask because as i tighten the projector in it seems to aim higher than it should... I can check the right side when i pop it open. Just wondering how u did urs. Did ur bracket bend in a lil as u tightened it down?
07-15-12, 05:35 PM
#19
 07-15-12, 10:19 PM
#21
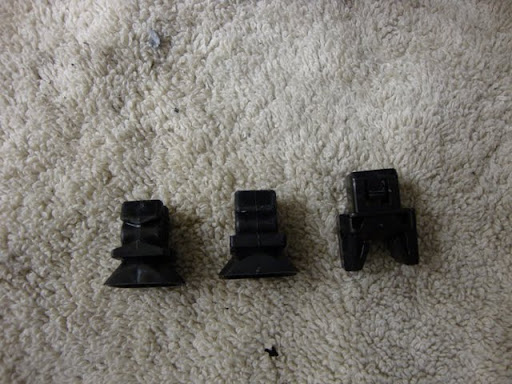
99 gs3 - yes i do mean that clip. I do have it in the same way as the other two... But this clip has a slot for the rod to slide into and on the oppisite side it keeps it locked in. My question is should the closed side be on top or on the bottom of the rod? I have it closed side up but thinking down the road if the top two are screwed in a lot that bottom clip might allow the headlight to move better than having the closed side on the bottom. Prob would restrict the adjustment if it were closed side facing down. I'll take pics of the clip when i open the other light up.
07-16-12, 12:19 AM
#23
Thanx - i will take more pictures when i do the other side. Prob not gonna do another diy on it though only because im just going step by step with Mr Jokesters. I did stumble across one helpful tip on my own though:
So getting the glue one the chrome is a big no no... When i opened the light up and pulled the plastic cover away from the housing i was also holding the chrome bezel against the plastic cover. This actually prevented any glue from touching it because it was still all the way in the lens cover. I used a flat head to break the glue away completely. It wasnt until i got the cover off and started to remove the chrome bezel that i realized the cover helped me out.
So getting the glue one the chrome is a big no no... When i opened the light up and pulled the plastic cover away from the housing i was also holding the chrome bezel against the plastic cover. This actually prevented any glue from touching it because it was still all the way in the lens cover. I used a flat head to break the glue away completely. It wasnt until i got the cover off and started to remove the chrome bezel that i realized the cover helped me out.
07-16-12, 04:43 PM
#24
You'll see in my diy the problem I had with that clip. The reason its closing up is because the square hole they cut out is too small so when you press it in, its closing the 'mouth' and you cant get it in (yes I know thats what she said) I got impatient and didnt go all the way, but I used a very small file and filed out as much of the edges as I could to get a little more space to get it in there. It wasnt enough, but I did get it in. I highly recommend finding a way to open it up enough to do it right because even though my cutoff is straight, its straight up in the air LoL (not that bad)
as for the glue, thats why I recommend a heat gun while pulling apart to help with that. If none is available, its best to have a second person work on it while you pull (like previously mentioned)
as for the glue, thats why I recommend a heat gun while pulling apart to help with that. If none is available, its best to have a second person work on it while you pull (like previously mentioned)
07-16-12, 09:39 PM
#25
I'll have to get a pic up of the part of the clip im talking about. I did get a file and shaved the edges down... The clip is 100% in the bracket but on the end facing the rod it clips into (not the bracket end) has two different sides.
I didnt have a heat gun or anyone to help me so i just made sure to take my time and not let the glue pull away like melted cheese. Took a lil longer but same clean result. I will however heat these up to get as much old glue out before the reseal. I will have my heat gun available for that. Initially i wasn't going to open this up when i did... I was just taking off all the outside pieces... Then i looked at the oven lol.
I gotta thank you for the diy it helped me so much. Its actually saved on my i-phone screen. Again i'll get the pic up when i crack the other open. I shoulda paid better attention when i got the original one out but was so excited it came off that i just pulled the clips right out.
07-16-12, 09:52 PM
#26
Yea I know what youre talking about. Still in addition to what I said (which is precedent) I did notice that those clips have to go facing the same way you pulled them out. The top part of it and the bottom part of it are slightly different, they're marked in a distinct way.
idk, my heads not "clear" at the moment
idk, my heads not "clear" at the moment
07-16-12, 10:03 PM
#27
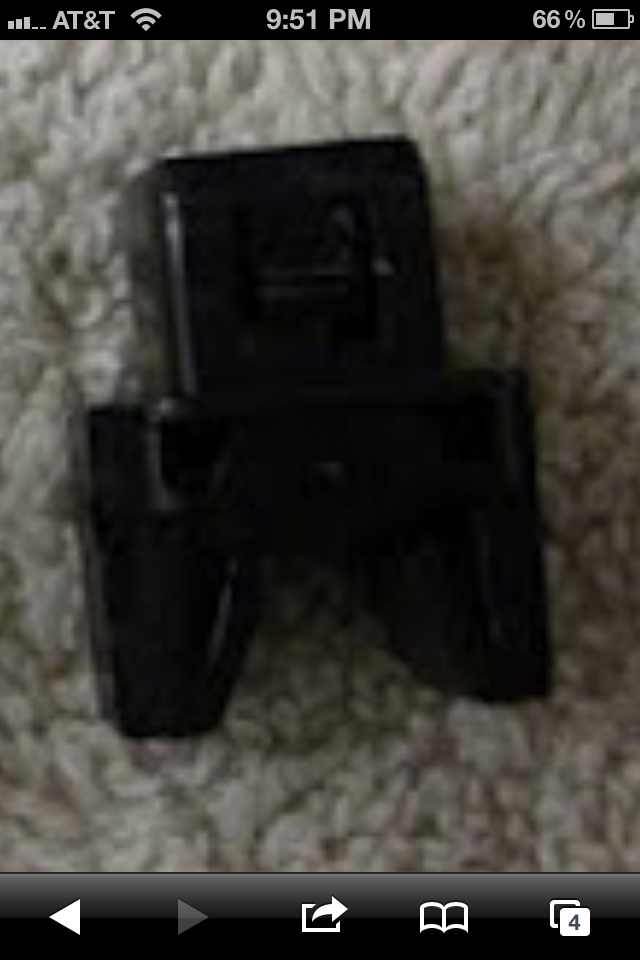
K i blew up 99Gs3's pic... The side u can see the closed end where it has a very small circle in the center. The other side facing the carpet is open with a slot for the rod to slide into and lock in place. My question is which of these two side should be facing up. I have this on exactly how it sits in this picture. I will take note of all three clips on the second light and be sure to put it in here because even the top two clips have a slight variation to each side as u mentioned.
07-17-12, 04:18 PM
#30
One thing I learned the first time I pulled something apart (when I was about 5) I learned to precisely lay EVERYTHING I pulled off in the exact position in a select location to know how it went back, because unlike a puzzle, some parts can go in in any direction