
2nd Gen GS300 Infinite Baffle Subwoofer Instal
 07-26-09, 03:54 PM
#1
Driver School Candidate
Thread Starter

Join Date: Jul 2009
Location: ca
Posts: 31
Likes: 0
Received 0 Likes
on
0 Posts
A buddies car.
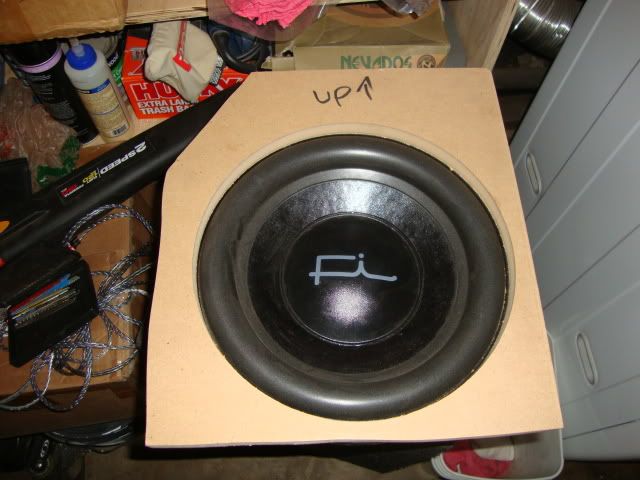
Infinite baffle off the rear deck with a FI IB3 12".
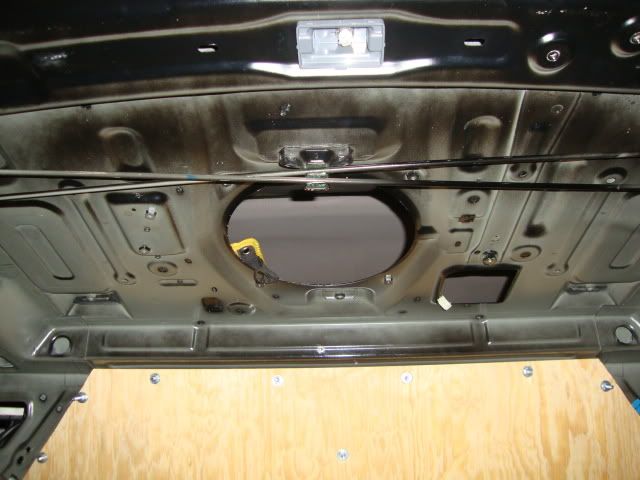
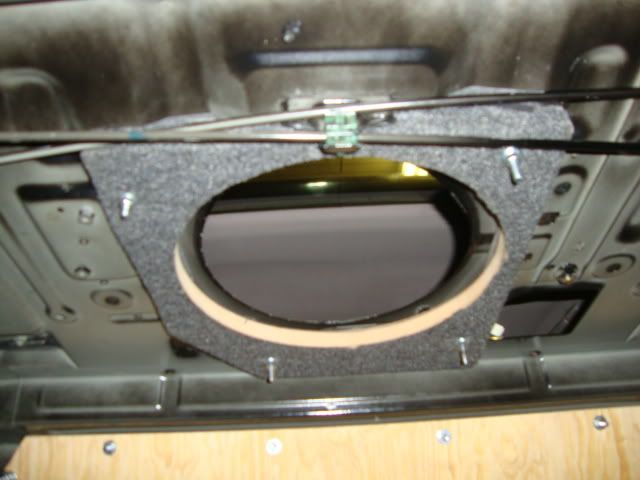
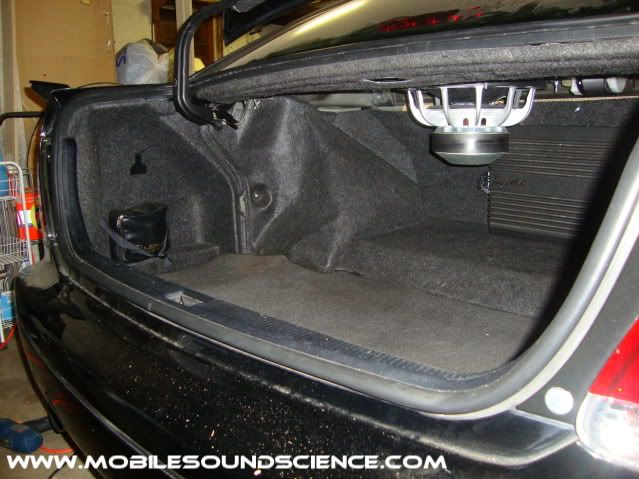
I really like the trunk of this car. HUGE. Stock 10-11" hole in the rear deck. Large flat area behind the rear seat to seal up the trunk.
pics = 1000s of words, so i'll shut up:
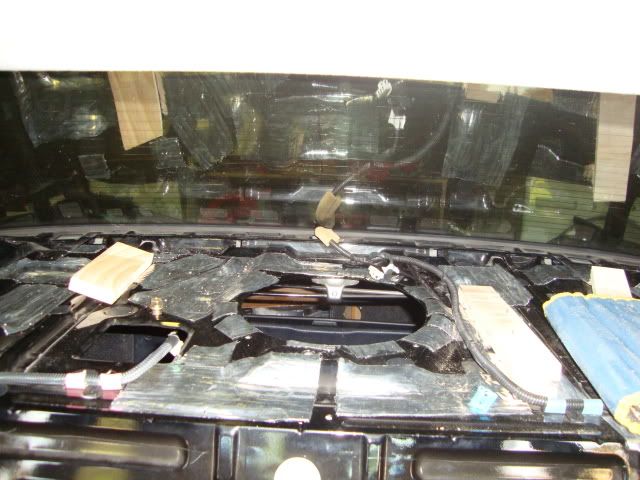
rear deck:
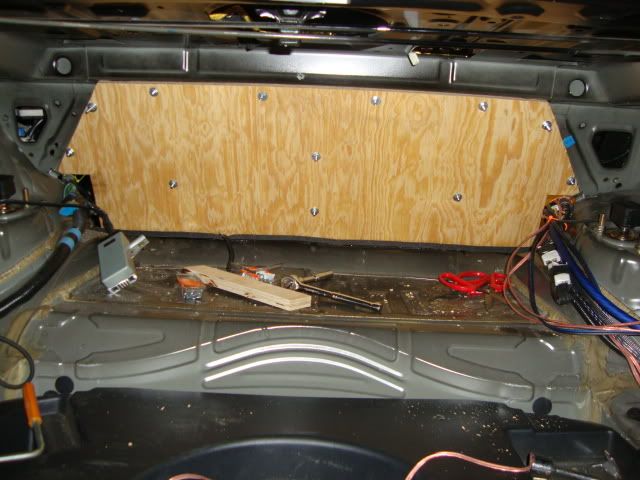
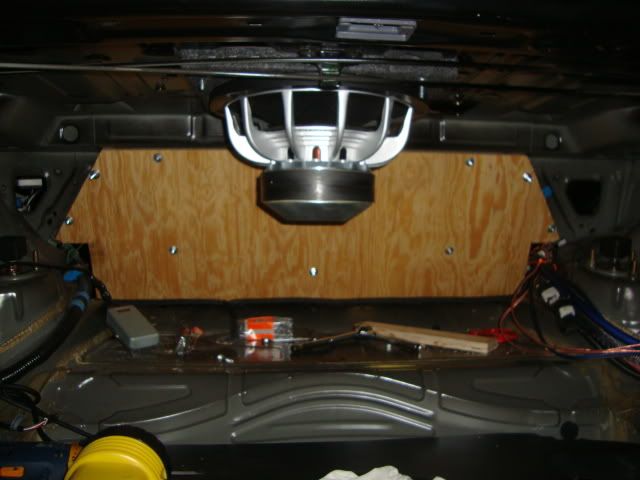
behind the seats:

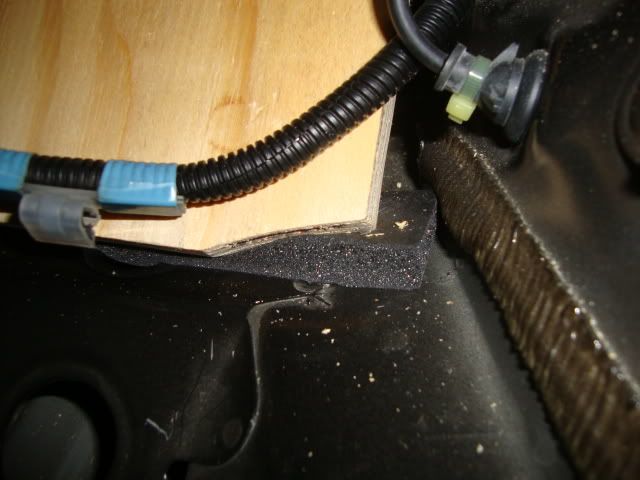
7/16" thick weather seal on bottom of plywood:
Bolted, not going anywhere:
Infinite baffle off the rear deck with a FI IB3 12".
I really like the trunk of this car. HUGE. Stock 10-11" hole in the rear deck. Large flat area behind the rear seat to seal up the trunk.
pics = 1000s of words, so i'll shut up:
rear deck:
behind the seats:
7/16" thick weather seal on bottom of plywood:
Bolted, not going anywhere:
Last edited by James Bang; 07-20-10 at 09:57 AM.


 07-30-09, 09:26 AM
#4
iModerate
So far these pics are saying "Duh....."


Trending Topics
07-31-09, 09:15 AM
#8
Driver School Candidate
Thread Starter
Join Date: Jul 2009
Location: ca
Posts: 31
Likes: 0
Received 0 Likes
on
0 Posts
The wood behind the seat is to help seal off the trunk from the cabin. In an infinite baffle config, you want to separate, the front and the rear waves the best you can, so they do not meet and cancel each other out.
I've browsed the IB setups here before I did this install, and I did see anybody sealing off the trunk to the best of their ability. I just saw a baffle bolted to the rear deck and a sub mounted to it.. and that's it.
More pictures are supposed to be posted, but they were waiting for the mods' approval, but they seem to never get approved. I'lll try to post more soon.
 07-31-09, 09:22 AM
#10
Driver School Candidate
Thread Starter
Join Date: Jul 2009
Location: ca
Posts: 31
Likes: 0
Received 0 Likes
on
0 Posts
shown in the very first picture, i used some deadening to cover the small holes on the rear deck. I've also used some expanding foam, great stuff, to help with the sealing of the trunk.
The only thing about I didn't like about the rear deck, is the center seat belt assy is right next to the subwoofer location, which makes it almost impossible to seal off the trunk. Also the seat belt assy does a good bit of rattling.
The only thing about I didn't like about the rear deck, is the center seat belt assy is right next to the subwoofer location, which makes it almost impossible to seal off the trunk. Also the seat belt assy does a good bit of rattling.
07-31-09, 11:30 AM
#11
I was going to say you guys should carpet that, but it appears the bolts are too long. I�d take a grinder, saw off the excess threads and carpet it. It won�t be perfect but it will look loads better than that�unless the stock carpet will cover that, and if that�s the case, who cares.
07-31-09, 02:19 PM
#12
shown in the very first picture, i used some deadening to cover the small holes on the rear deck. I've also used some expanding foam, great stuff, to help with the sealing of the trunk.
The only thing about I didn't like about the rear deck, is the center seat belt assy is right next to the subwoofer location, which makes it almost impossible to seal off the trunk. Also the seat belt assy does a good bit of rattling.
The only thing about I didn't like about the rear deck, is the center seat belt assy is right next to the subwoofer location, which makes it almost impossible to seal off the trunk. Also the seat belt assy does a good bit of rattling.
you didn't use enough sound deadening... see below lol and im not done


 07-31-09, 07:15 PM
#13
Driver School Candidate
Thread Starter
Join Date: Jul 2009
Location: ca
Posts: 31
Likes: 0
Received 0 Likes
on
0 Posts
wow sakataj, that's surely is a lot of deadening, though you probably didn't need half of that. The best spots to put deadener is on larger flatter areas. Strong curvy areas don't need it. Looks like you did a good job though. What's your plans for the trunk?
A good alternative brand to dynamat can be found here:
http://www.sounddeadenershowdown.com/cgi-bin/index.cgi
Great info as well.
Here's the rest of the trunk install. It was just something simple. a two day job. Wiring can cleaned up a little
Trunk space galore:
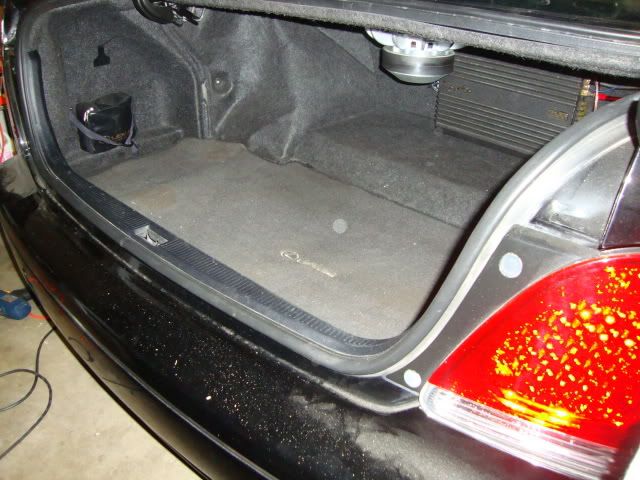
Sexy PG XS6600 in the background:
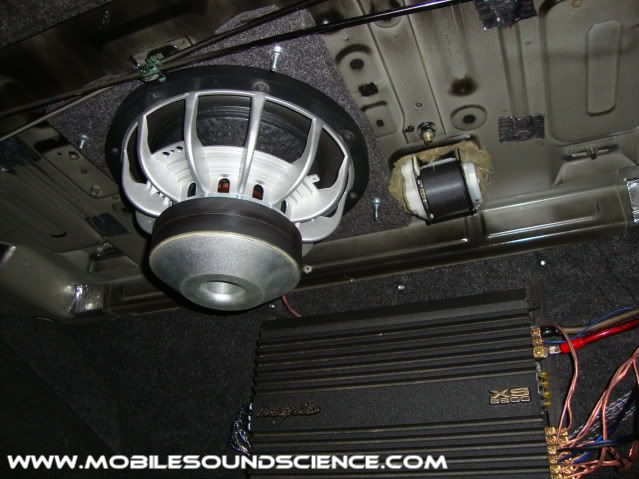
tis all.
A good alternative brand to dynamat can be found here:
http://www.sounddeadenershowdown.com/cgi-bin/index.cgi
Great info as well.
Here's the rest of the trunk install. It was just something simple. a two day job. Wiring can cleaned up a little
Trunk space galore:
Sexy PG XS6600 in the background:
tis all.
Last edited by James Bang; 07-20-10 at 10:16 AM.
