DIY Gauge Cluster LED Needle fix
#17
Rookie
iTrader: (1)
Join Date: Aug 2012
Location: Alabama
Posts: 93
Likes: 0
Received 0 Likes
on
0 Posts
I haven't figured out what years they come from but I know that the year is later than 96 because I checked a 96 the other day and they were the older style. So as Kene said -I believe is is 97 or 98 and up. They do need some trimming, some gluing and some contact adjustments. But it is not major surgery.
#18
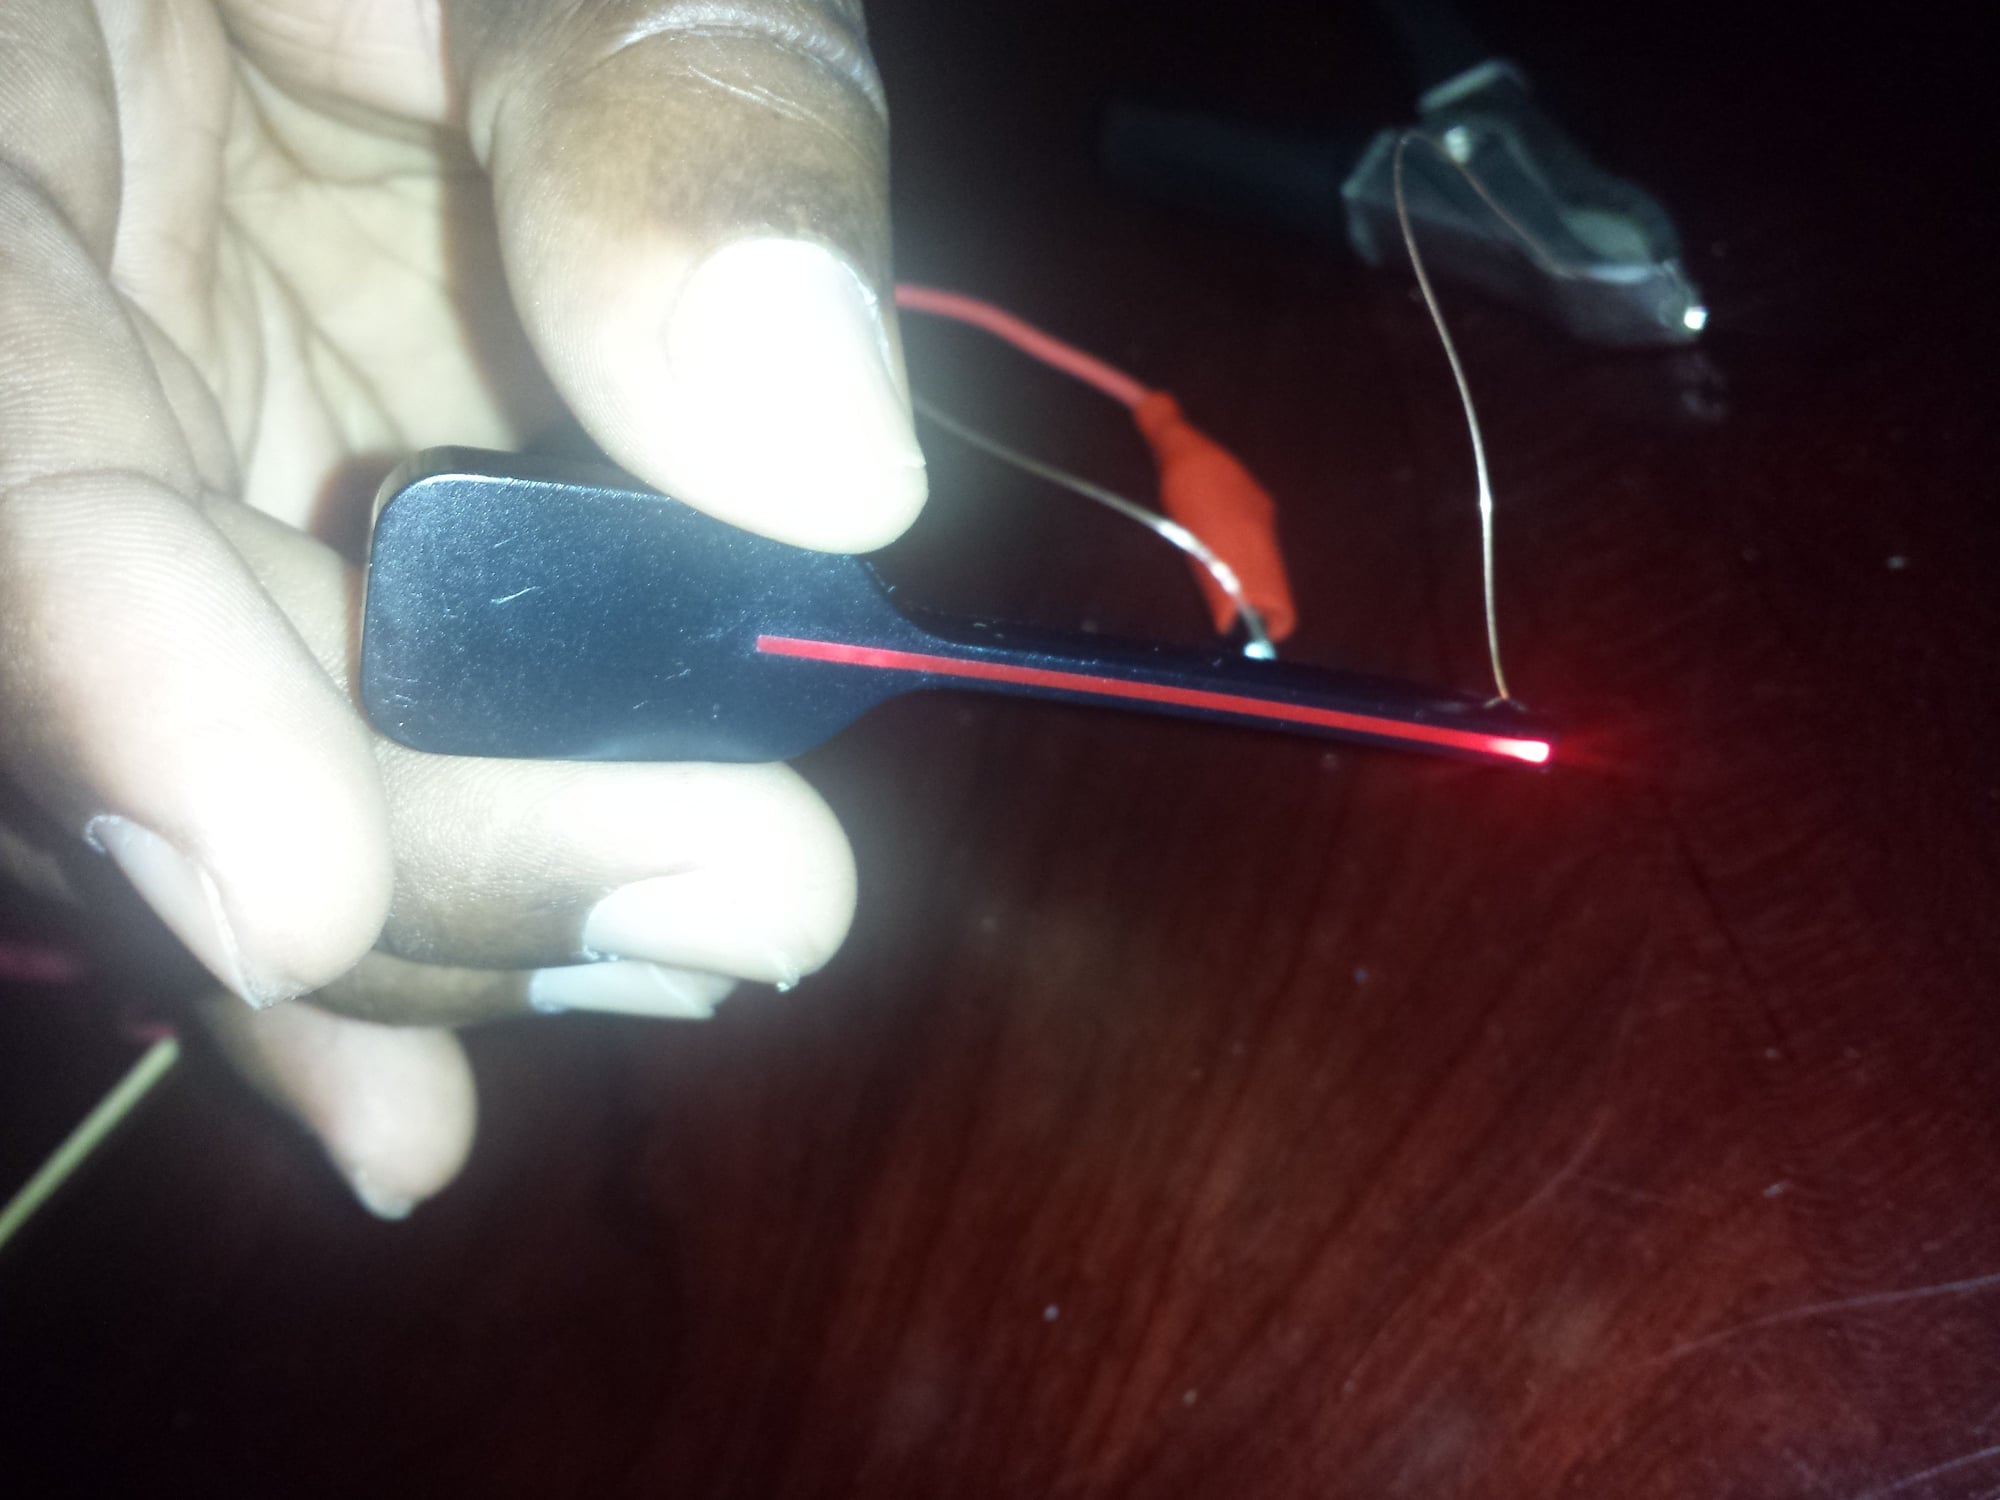
fiber optic method - 2 SMD Led's installed in the tip of the needle.
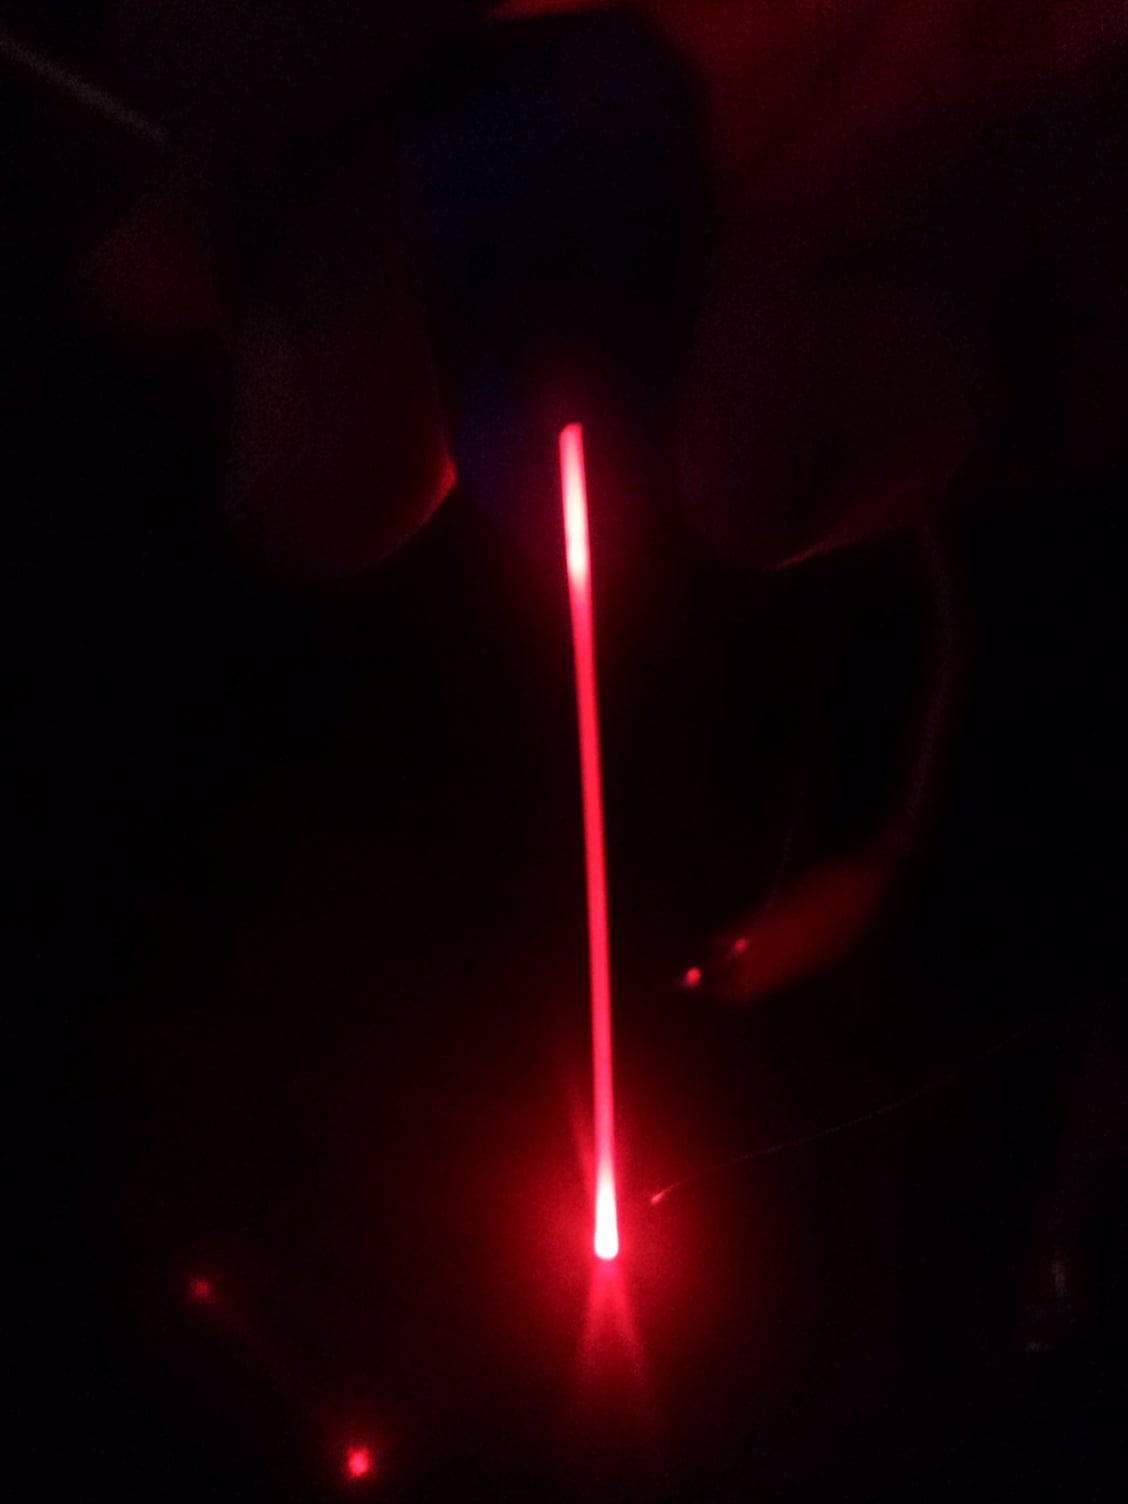
Fiber optic method FRONT SIDE VIEW - 2 SMD Led's installed in the tip of the needle, and another 2 SMD Led's installed in the base.
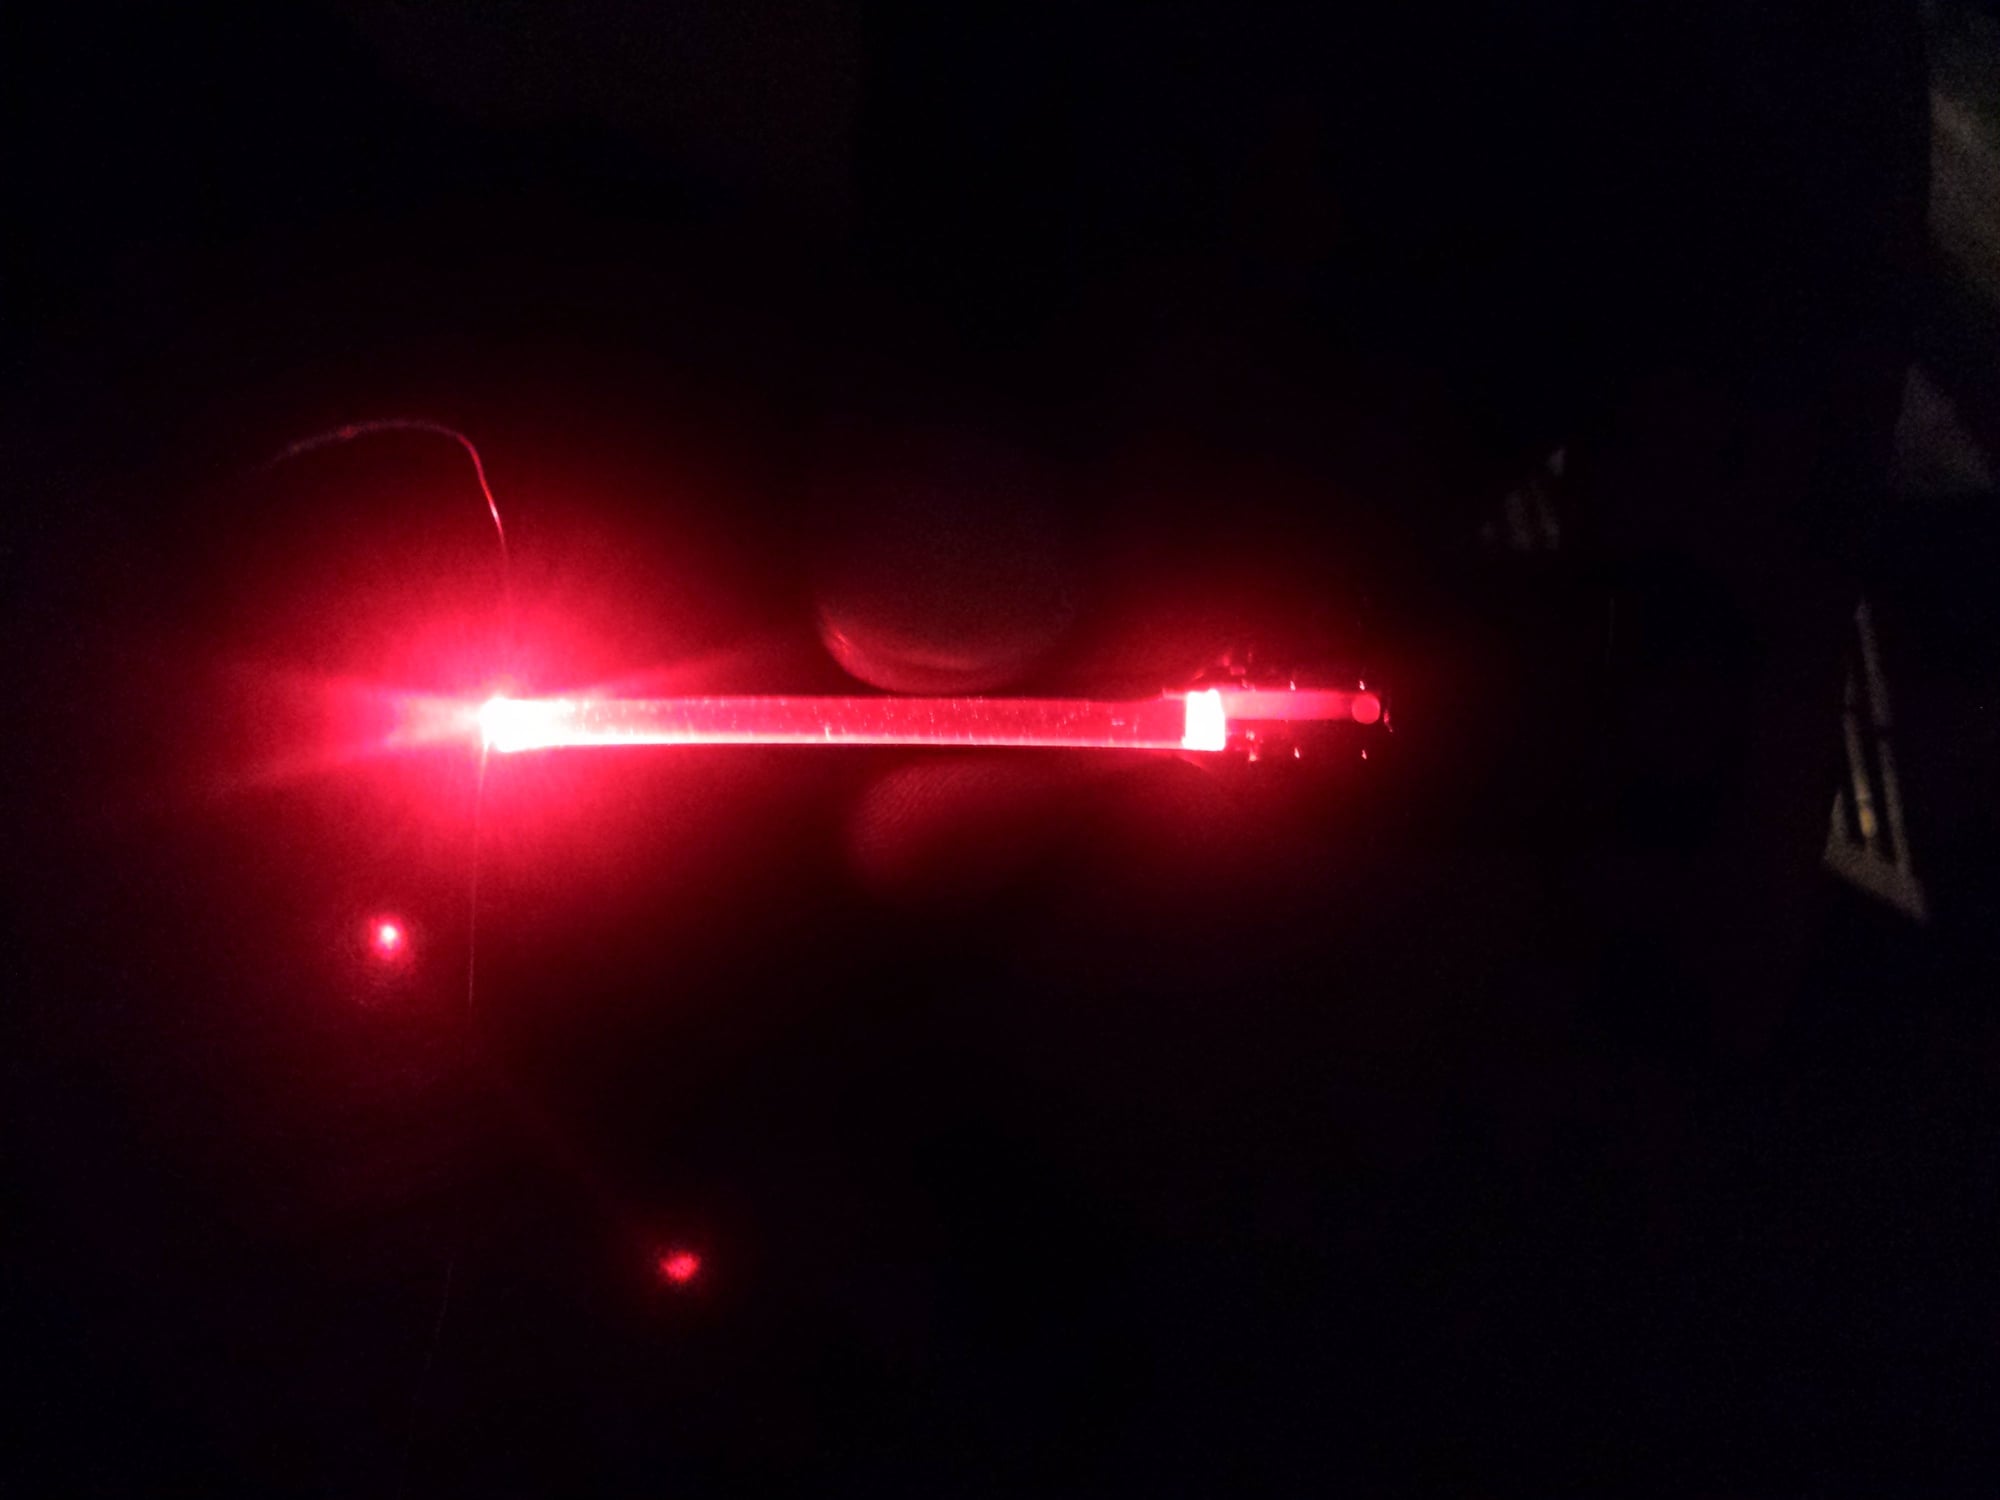
Fiber optic method UNDERSIDE VIEW - 2 SMD Led's installed in the tip of the needle, and another 2 SMD Led's installed in the base.
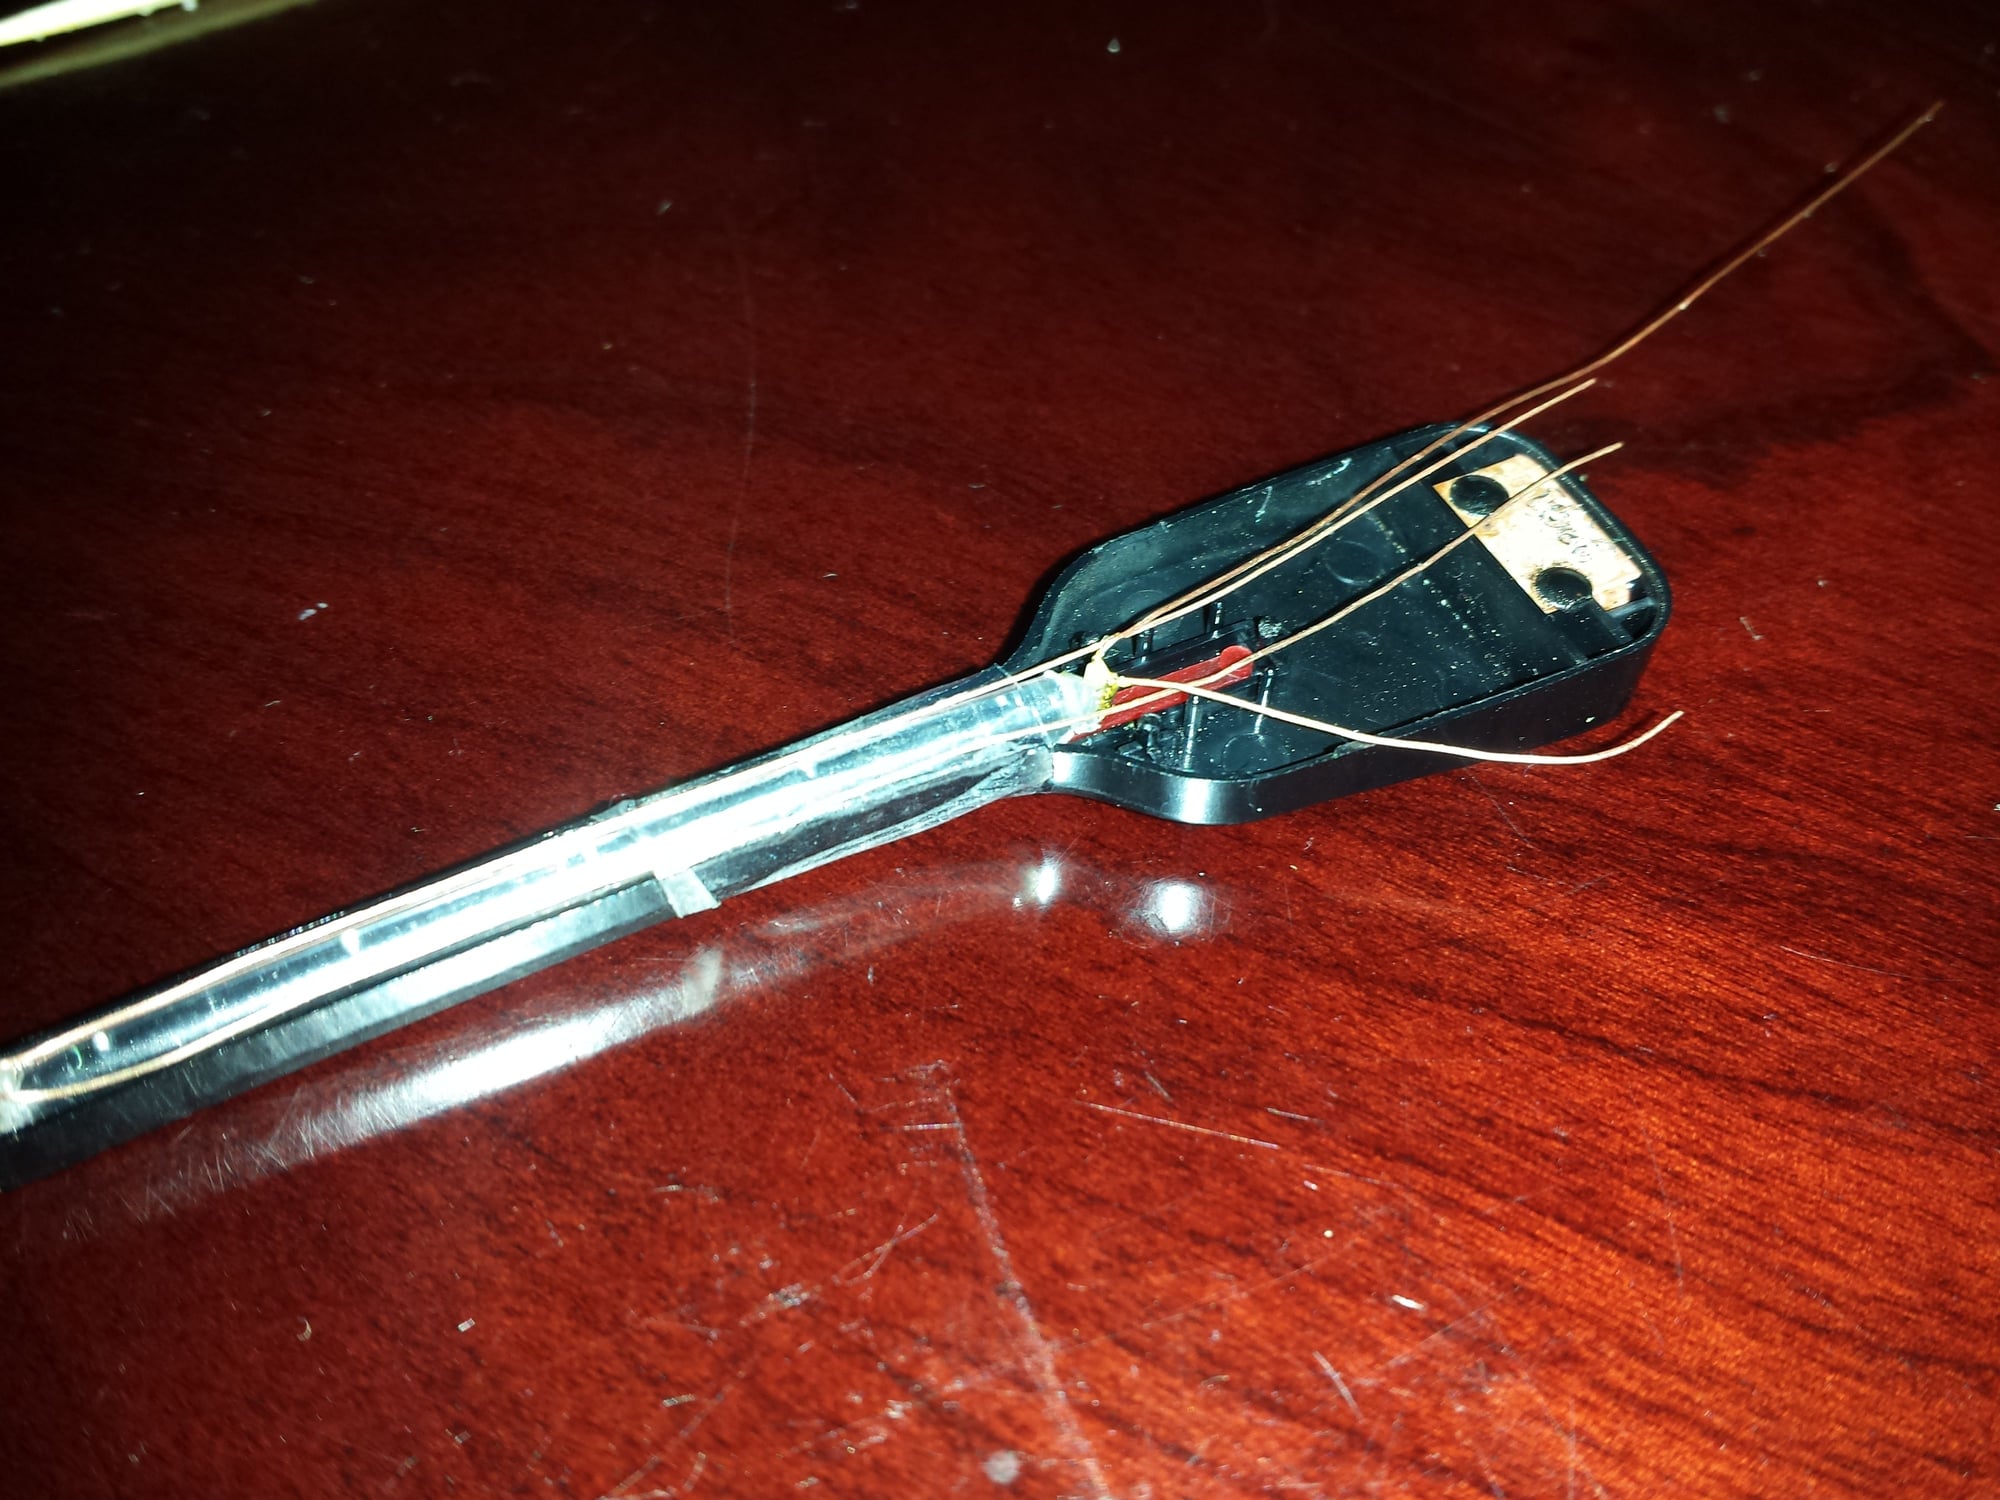
Underside view of the needle. 2 SMD leds in the tip, and 2 smd leds at the base.
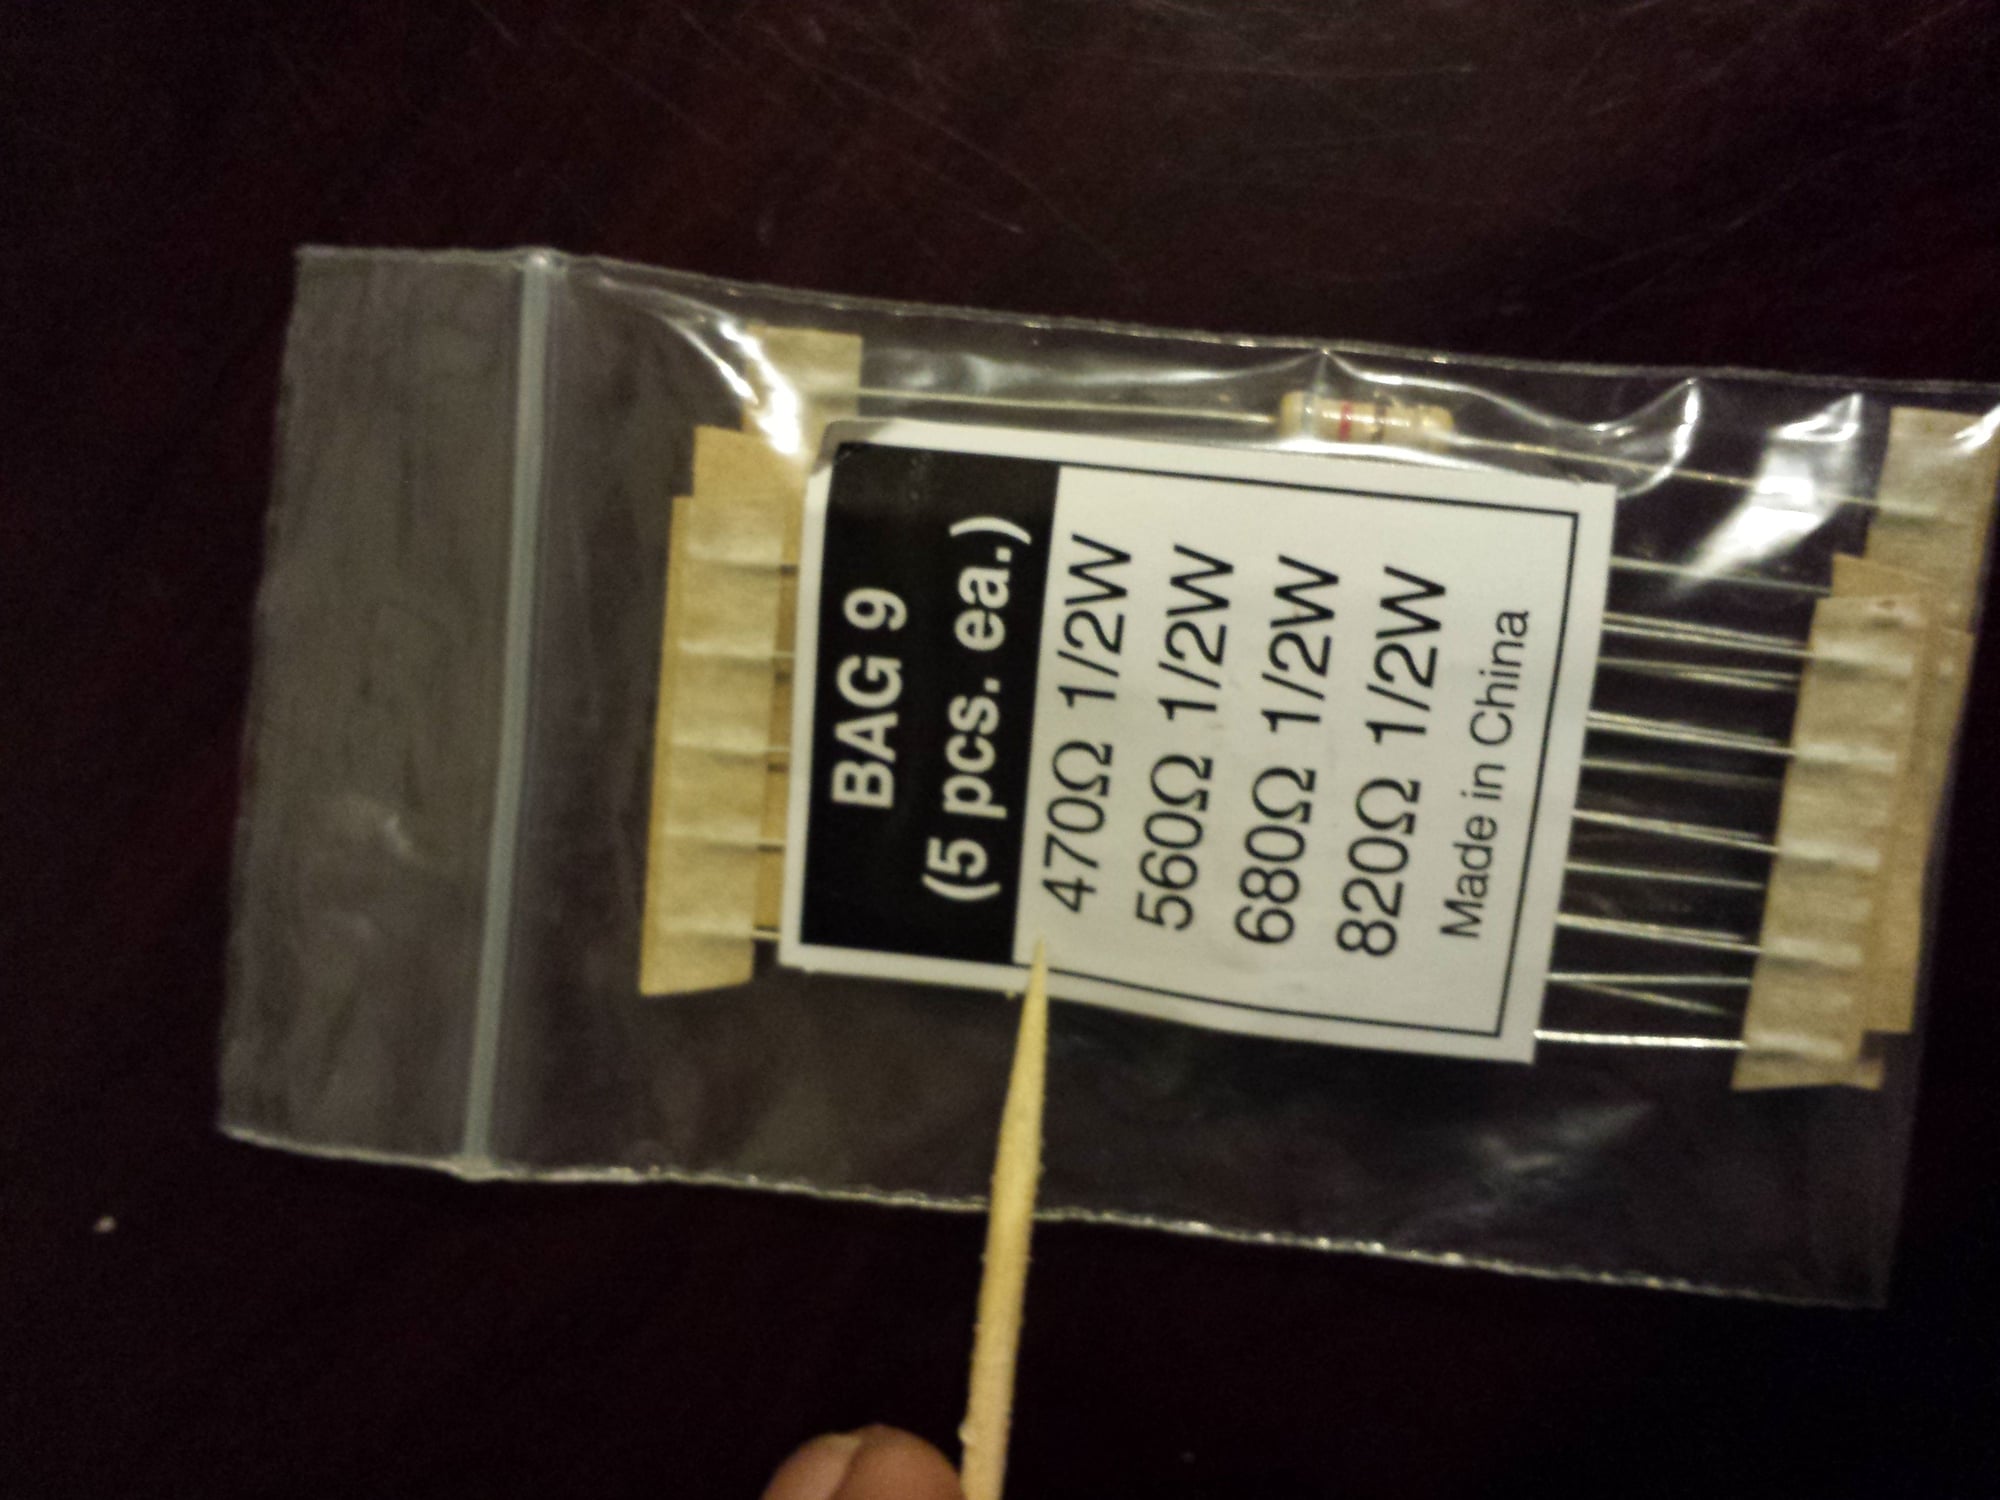
470 Ohm 1/2 watt resistor used during testing. If you are happy with the brightness/intensity, I would recommend using a 470 Ohm 1/8 watt resistor. It is very small and can fit in the needle.
EDIT: ADDED
Within this thread I listed 2 different resistor values to use (47 ohms and 470 ohms I think) for my methods.
*** MAKE SURE THE RESISTOR IS A 1/8TH WATT RESISTOR ! (these are super small in size)***
The weight and size of a 1/4 watt, or 1/2 watt, or greater watt resistor will throw off your gauge dial reading due to the resistor being big and bulky. And you will not be able to hide these large resistors behind the needle. They will stick out of the sides and your gauge will look weird.
Last edited by kene; 06-22-15 at 12:16 AM.
#19
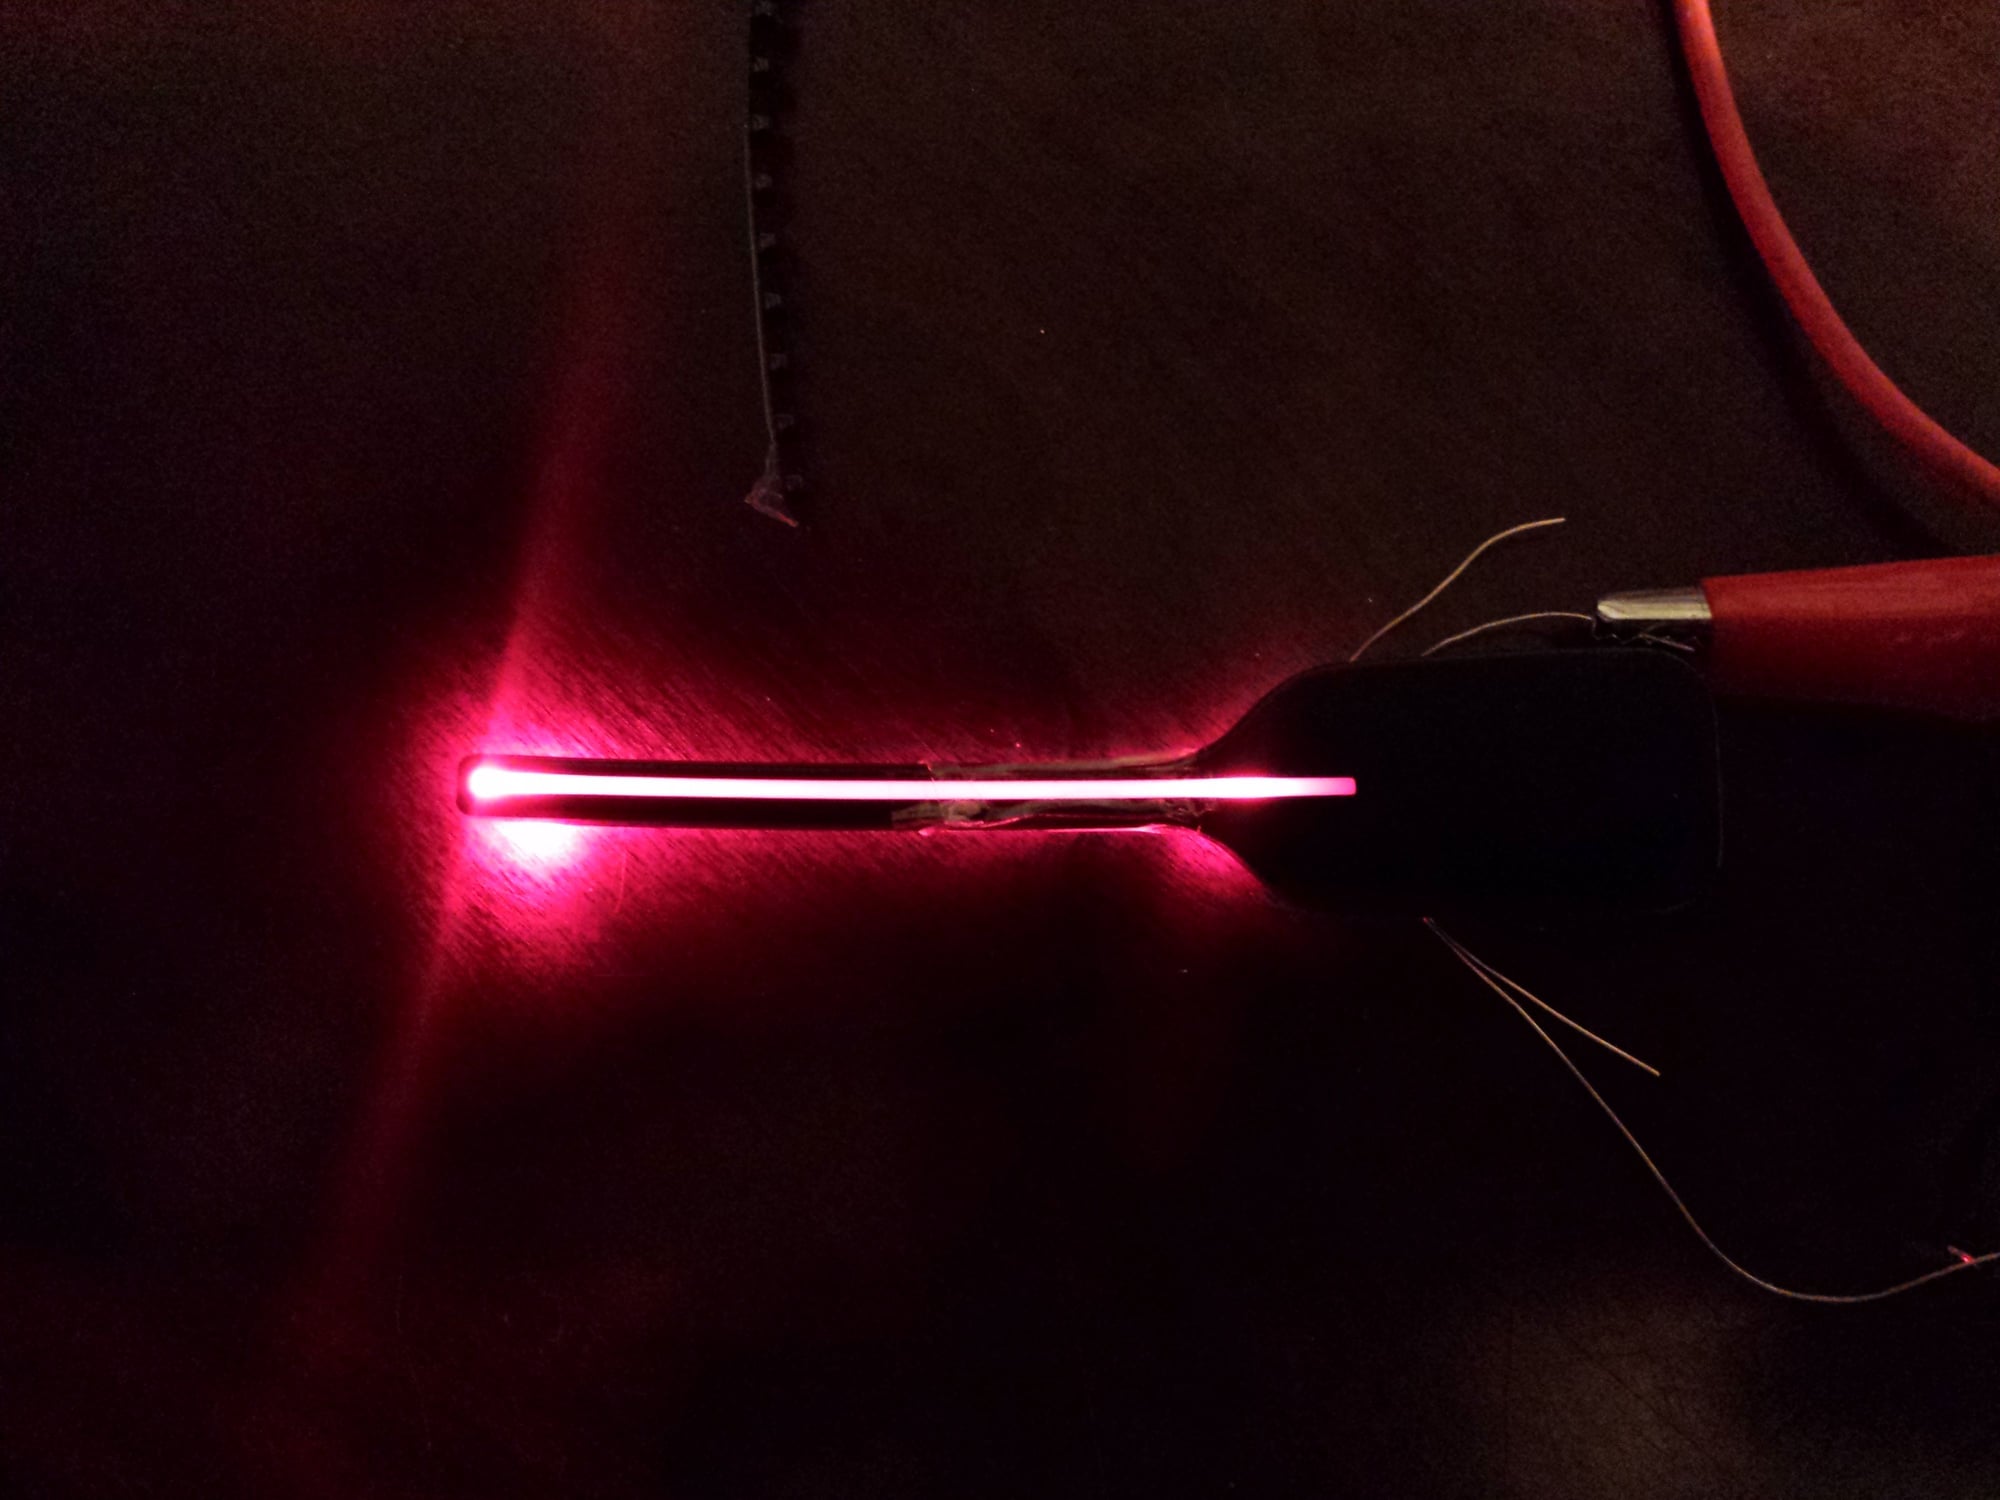
brightness with 47 Ohm resistor.
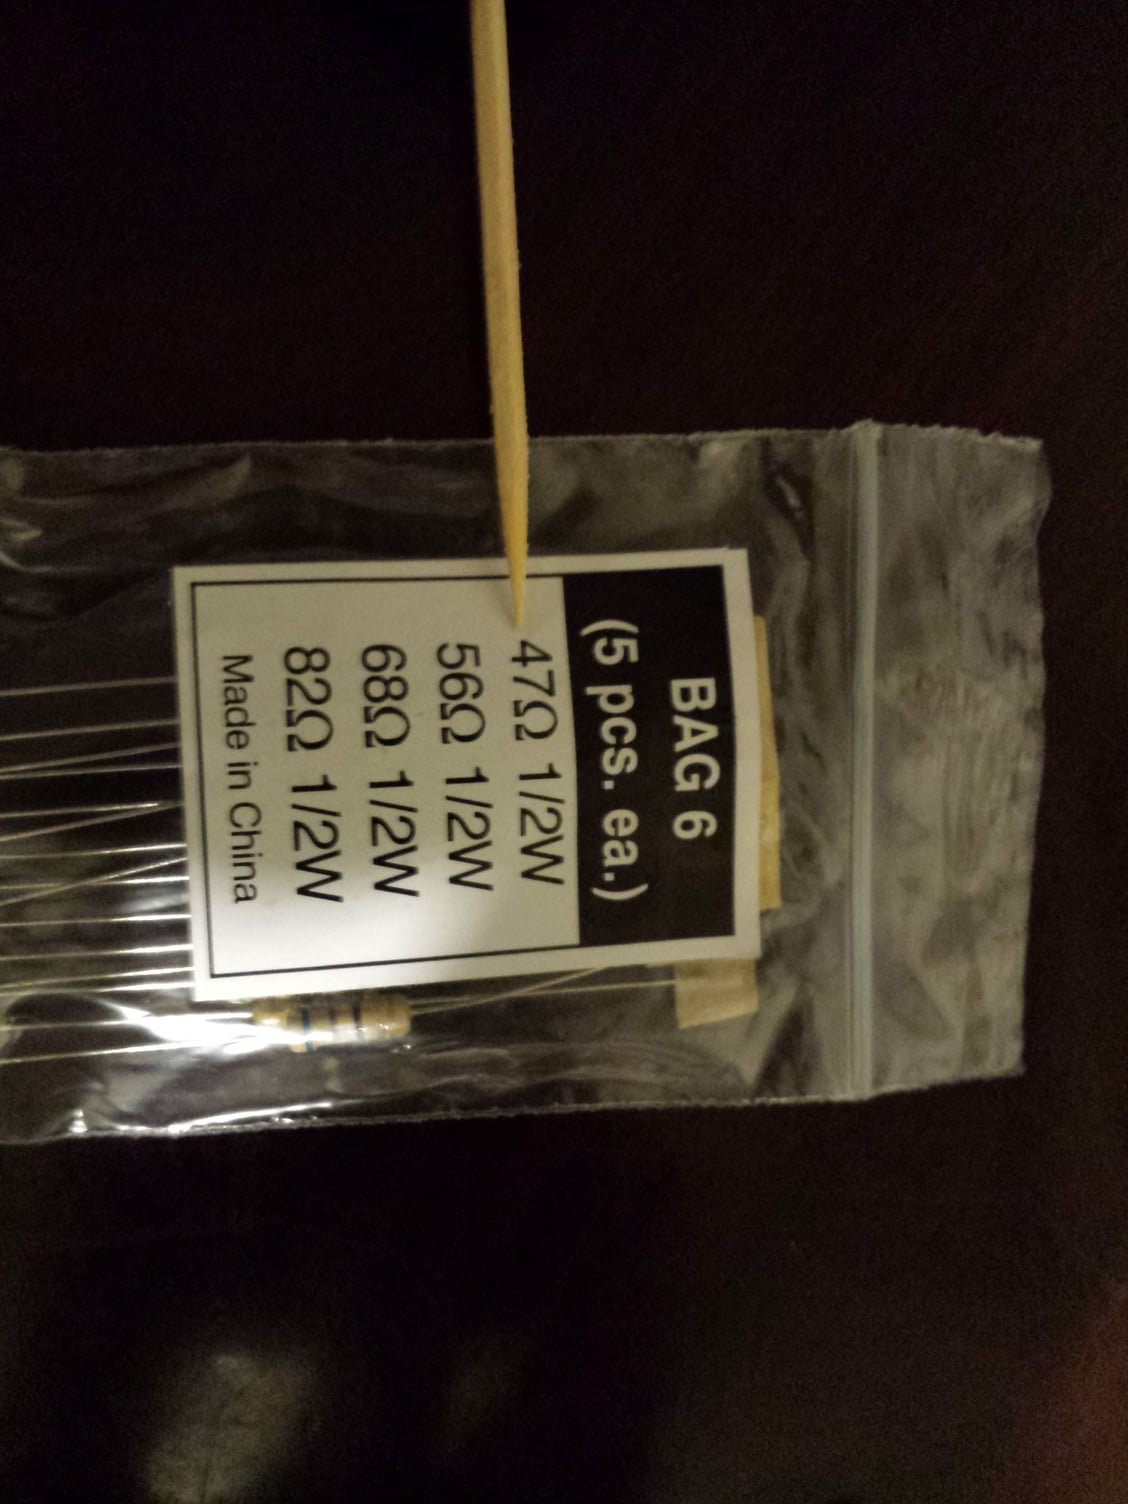
47 Ohm resistor used. For final, resistor use a 1/8 watt resistor.
EDIT: ADDED
Within this thread I listed 2 different resistor values to use (47 ohms and 470 ohms I think) for my methods.
*** MAKE SURE THE RESISTOR IS A 1/8TH WATT RESISTOR ! (these are super small in size)***
The weight and size of a 1/4 watt, or 1/2 watt, or greater watt resistor will throw off your gauge dial reading due to the resistor being big and bulky. And you will not be able to hide these large resistors behind the needle. They will stick out of the sides and your gauge will look weird.
Last edited by kene; 06-22-15 at 12:15 AM.
#20

47 Ohm resistor used.
EDIT: ADDED
Within this thread I listed 2 different resistor values to use (47 ohms and 470 ohms I think) for my methods.
*** MAKE SURE THE RESISTOR IS A 1/8TH WATT RESISTOR ! (these are super small in size)***
The weight and size of a 1/4 watt, or 1/2 watt, or greater watt resistor will throw off your gauge dial reading due to the resistor being big and bulky. And you will not be able to hide these large resistors behind the needle. They will stick out of the sides and your gauge will look weird.
Last edited by kene; 06-22-15 at 12:14 AM.
#22
What size SMD's did you use and would you happen to have the part number for them? Also is there a special way of pulling the needles off the cluster without damaging or decalibrating them?
#23
https://www.clublexus.com/forums/gs-...ml#post8797605
LED Manufacturer: OSRAM
Manufacturer part number: LS Q976-NR-1
digikey part number: 475-2512-1-ND
It was about $22 USD for ~250 SMD Leds. the long needle used about 60 SMD Leds and the short needle used about 35-37 SMD Leds from my memory. Granted, this is only if you pursue the difficult method I have mentioned before.
For the fiber optic method seen in the pictures above, you could get away with only 2-4 SMD LEDs per needle which may cost you about $0.80 to $1.60 + S/H for all 4 needles.
EDIT: ADDED
Within this thread I listed 2 different resistor values to use (47 ohms and 470 ohms I think) for my methods.
*** MAKE SURE THE RESISTOR IS A 1/8TH WATT RESISTOR ! (these are super small in size)***
The weight and size of a 1/4 watt, or 1/2 watt, or greater watt resistor will throw off your gauge dial reading due to the resistor being big and bulky. And you will not be able to hide these large resistors behind the needle. They will stick out of the sides and your gauge will look weird.
Last edited by kene; 07-29-15 at 09:01 AM.
#24
__________________
TANIN AUTO ELECTRONIX
262-456-4147
contact@taninauto.com
www.taninautoelectronix.com

TANIN AUTO ELECTRONIX
262-456-4147
contact@taninauto.com
www.taninautoelectronix.com

#25
No disrespect, but Tanin does your kit use SMD leds?
I am all for small business/enterprise (SBE) and I have no interest in making/selling kits.
If it is using them, just a shot out, or a thanks for the SMD Leds idea would have been nice considering the discussion that SMD Leds would not work.
No worries.
I am all for small business/enterprise (SBE) and I have no interest in making/selling kits.
If it is using them, just a shot out, or a thanks for the SMD Leds idea would have been nice considering the discussion that SMD Leds would not work.
No worries.
Last edited by kene; 06-20-15 at 10:55 AM.
#27
yes, for any SMD Led method I have talked about, a resistor must be used or you will burn out the smd leds quite quickly. they will go from bright to medium to dim and then no light at all.
Within this thread I listed 2 different resistor values to use (47 ohms and 470 ohms I think) for my methods.
*** MAKE SURE THE RESISTOR IS A 1/8TH WATT RESISTOR ! (these are super small in size)***
The weight and size of a 1/4 watt, or 1/2 watt, or greater watt resistor will throw off your gauge dial reading due to the resistor being big and bulky. And you will not be able to hide these large resistors behind the needle. They will stick out of the sides and your gauge will look weird.
The lesser resistance the brighter the led will be(up to a certain point). The more resistance will not be as bright as possible, but then you are not overloading the SMD Led. It is believed this can yield a much longer life.
All in all, my purpose for doing this is to give a cheaper, brighter, and better method for all lexus owners out there.
There are some other informative posts on this forum regarding SMD leds that have been chimed in on. please do a search on my member name... it is late at the moment and im too tired to find them.
I really hope these DIY's help you guys.
Last edited by kene; 06-22-15 at 12:13 AM.
Thread
Thread Starter
Forum
Replies
Last Post
kene
1Gen GS300 Classifieds (91-97)
1
02-27-15 04:53 PM


