When you click on links to various merchants on this site and make a purchase, this can result in this site earning a commission. Affiliate programs and affiliations include, but are not limited to, the eBay Partner Network.
No one on here has posted any pictures of this yet. There are several threads on here with directions, but no pictures, so I figured why not post it. This is pretty basic, though.
I just checked all the screws holding on my door panel to make sure they were tight because I have a rattle. So, for those interested, below are some pictures of the screws that need to be taken out to remove the front door panels. Also, here is a link I found in another thread that shows how to pretty much disassemble the entire door: https://drive.google.com/file/d/0B3P...enc/edit?pli=1
I didn't totally remove the door panel because I haven't nailed down the location of my rattle yet. I will post pics of that if I ever do it.
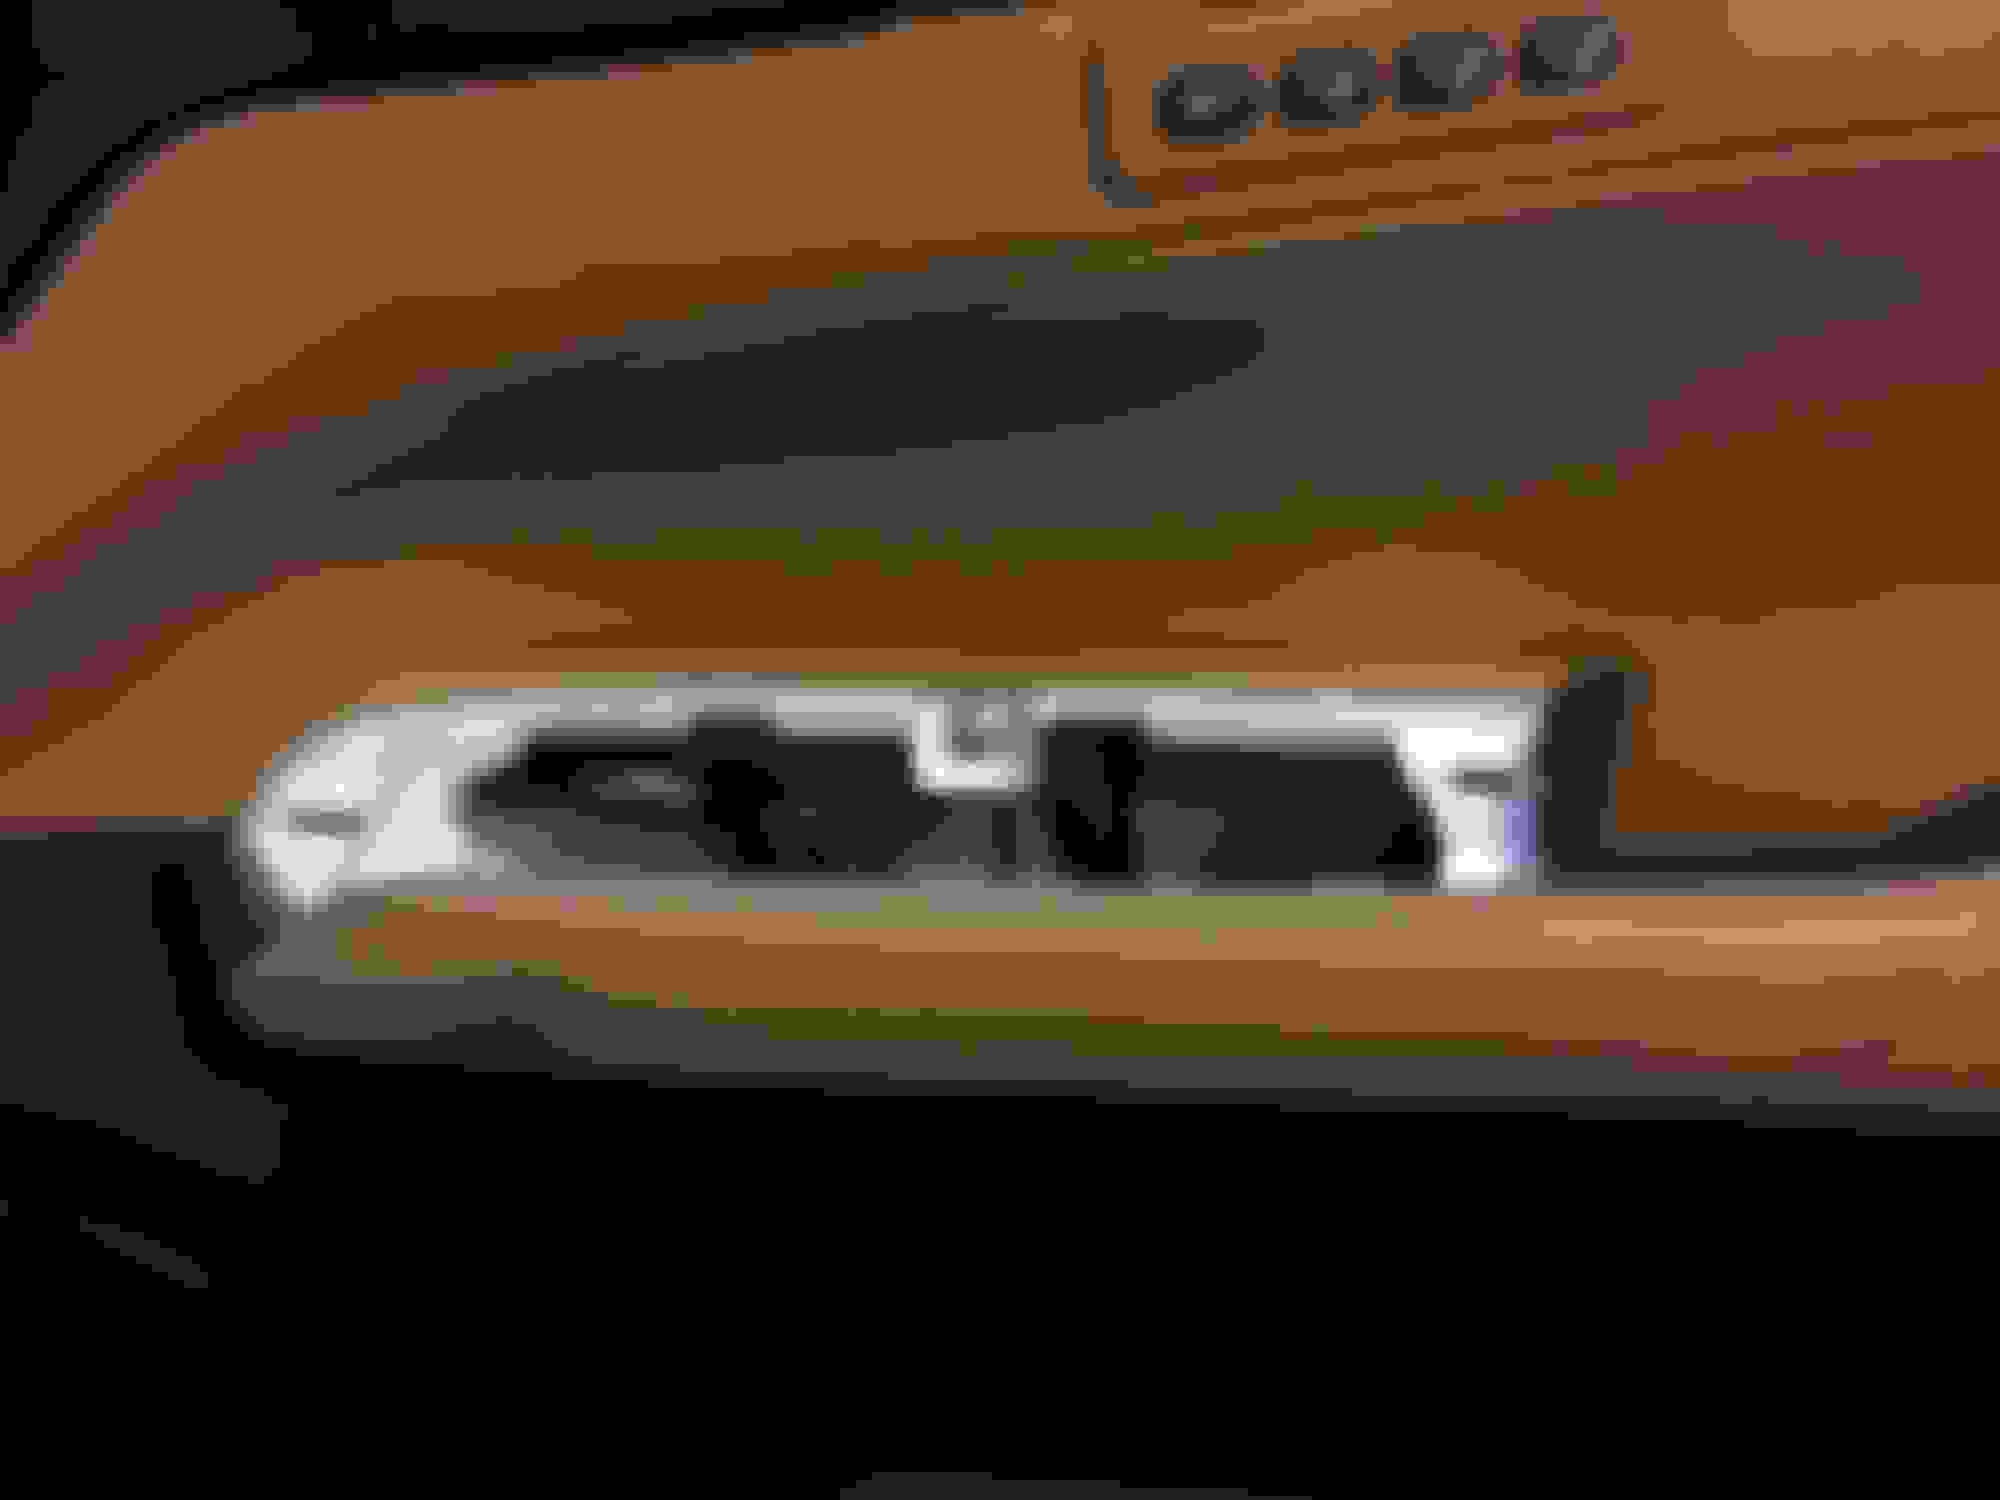
This first screw is under the window switchplate. You need to start by prying up from the end of the switchplate towards the front of the car, as shown here.
Panel removed, screw in plain sight.
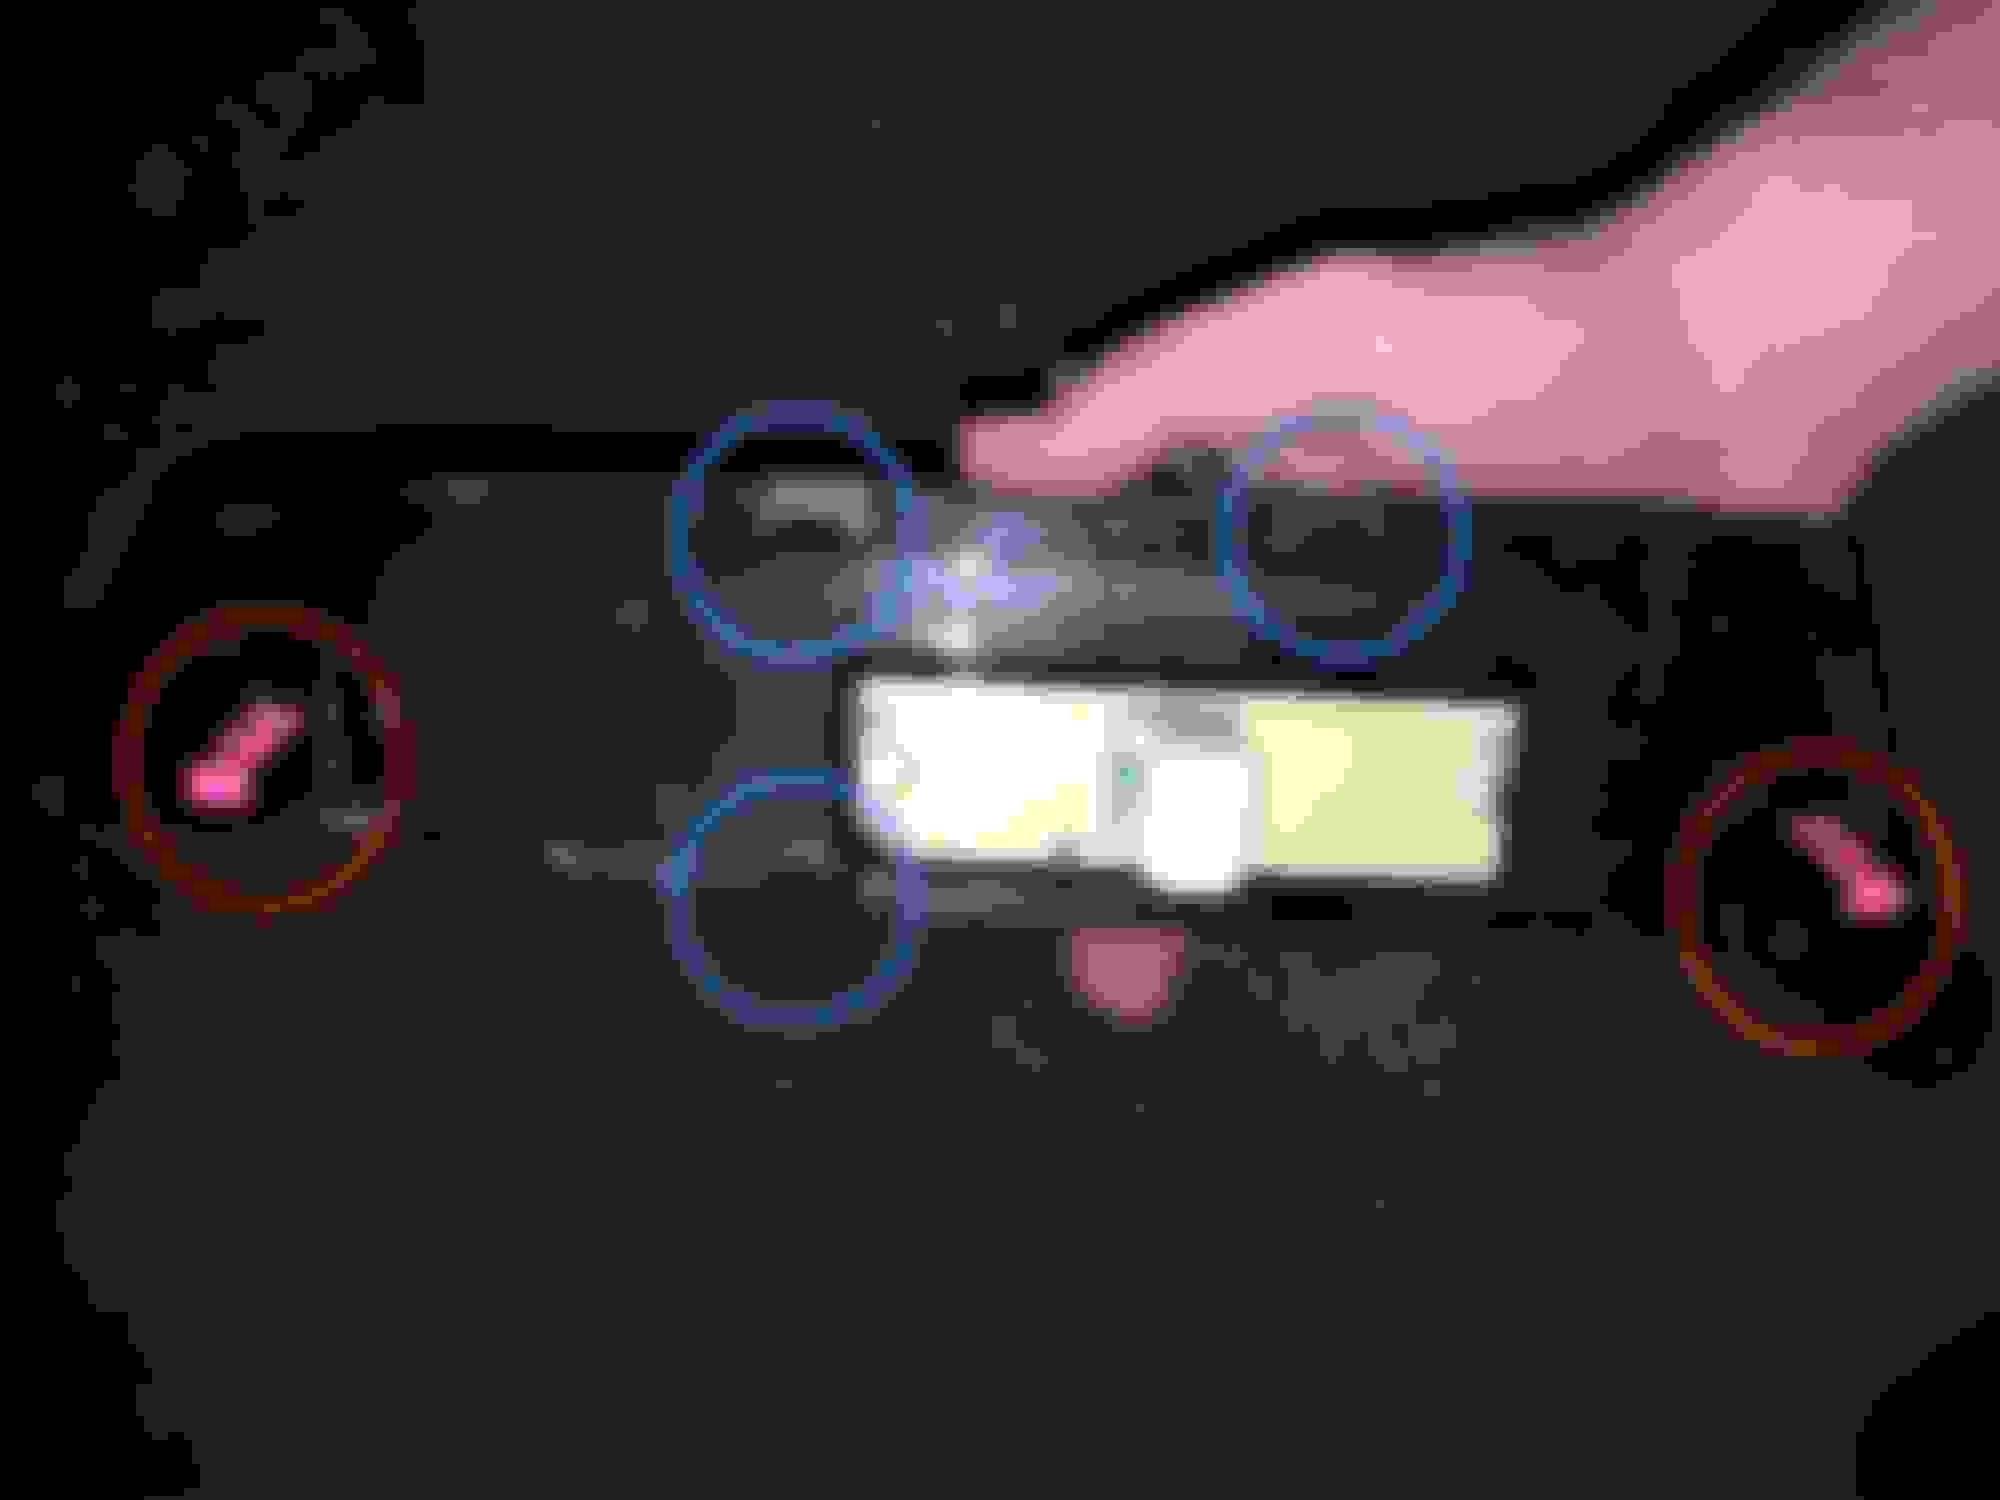
Here is a view of the attachment points on the switchplate. As you can see, there are two large pin type attachment points, circled in red. There are three clip type attachment points, circled in blue. The pin type attachment point on the left is the first one that is pried out, towards the front of the vehicle. These pins need a decent amount of force to come out. Note that the pin type attachment point on the right in the picture, circled in red, is positioned close to the door, as opposed to close to the passenger. I had to apply quite a bit of force to get this one out (made me nervous) and if I had known that it was located close to the door I could have pried in that area only, and I think it would have made it easier.
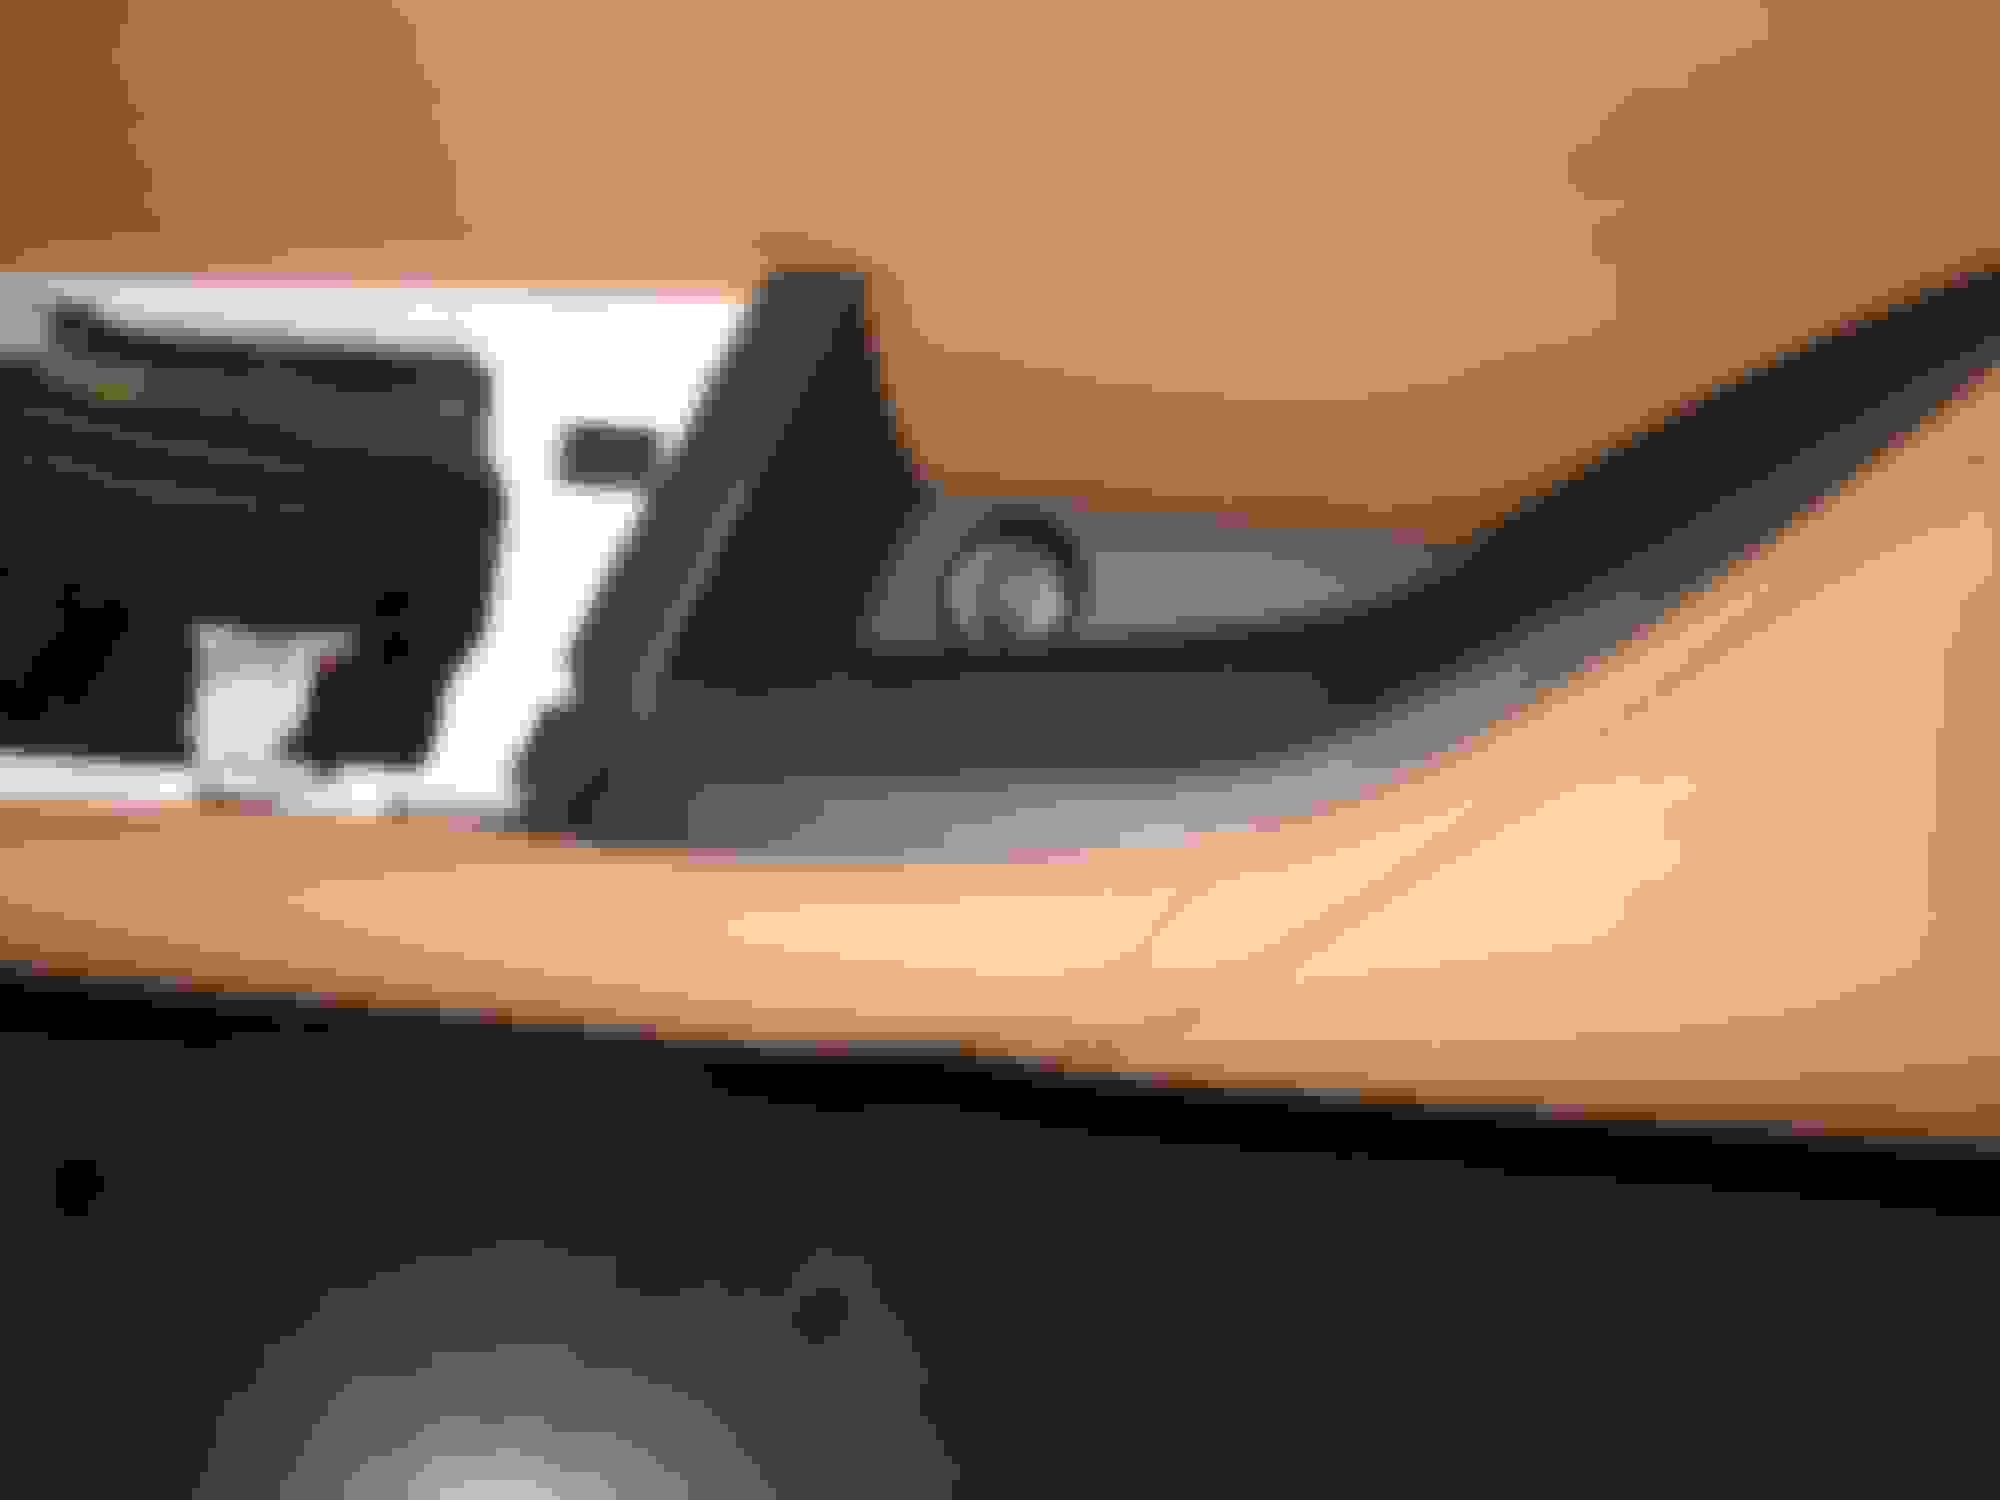
Second screw, located in the bottom of the grab handle on the door. You just need to take out the felt. You may need to use something with a point and stick it in the felt to pull it up. Or something sticky would work.
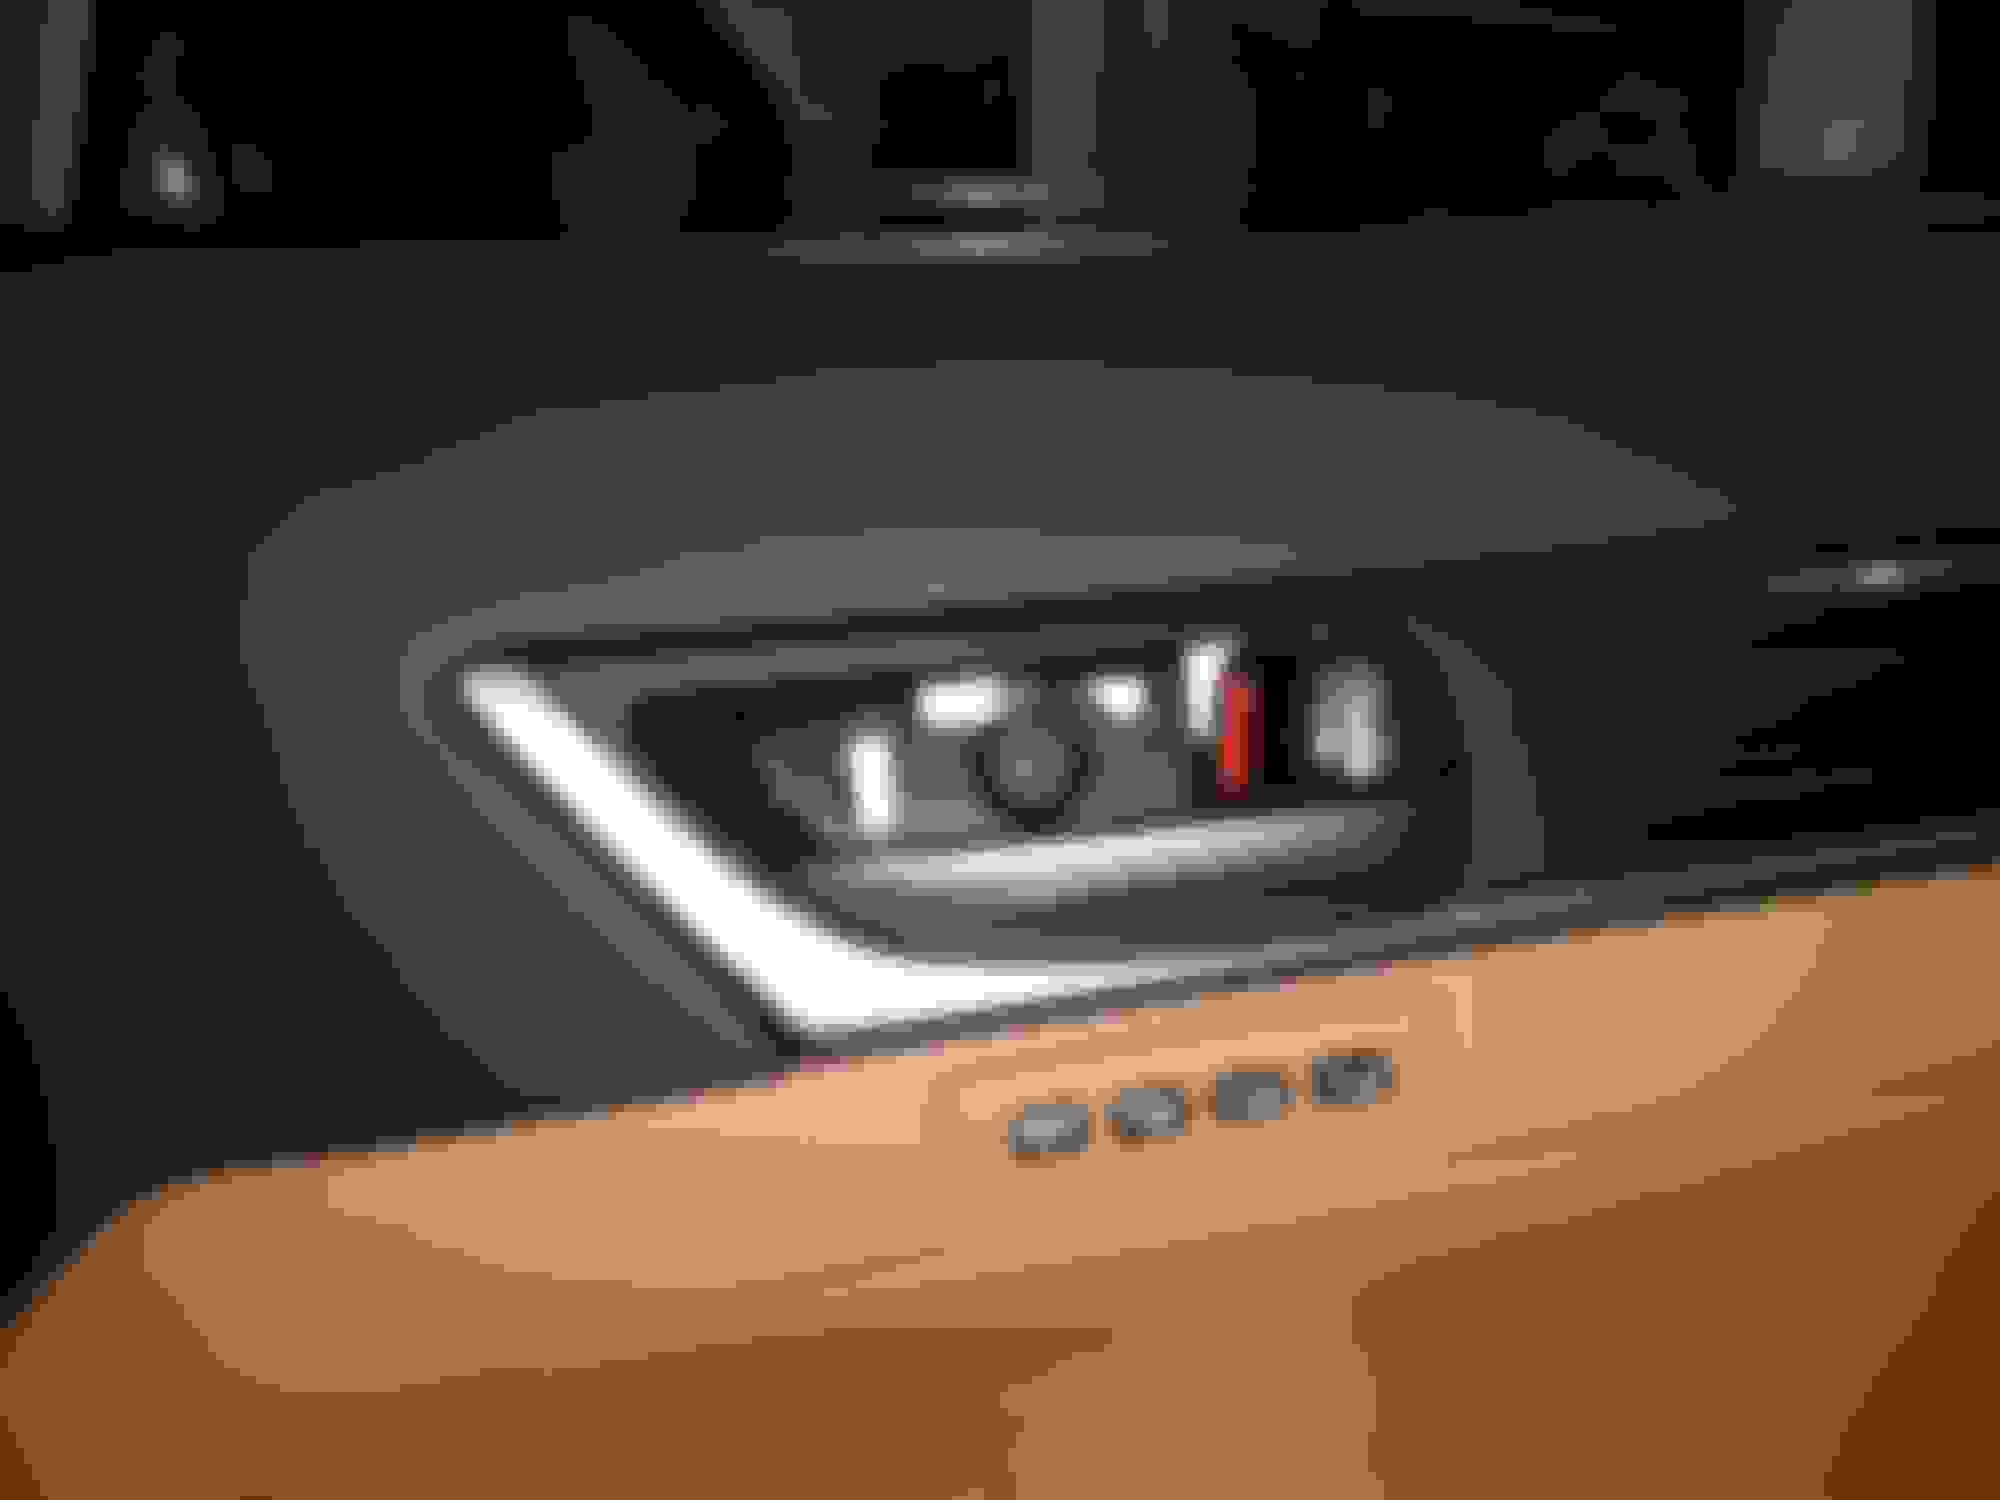
Third screw. This is located behind the door handle. There is a plastic plate in front of it that needs to be pried off (plate in next picture). This was kind of difficult because there is very little room to stick in a prying tool. When looking at this area during/after reassembly, I realized there is a much simpler way to pry this plate off. It appears that there is a sizable gap between the lock indicator (red/silver rotating piece) and the screw cover plate. You could probably stick a small prying tool in there and pry this off much more easily than with the method I used.
This is the back of the plate that covers the screw behind the door handle. As you can see, three clip type attachment points.
This is great to know, going to try and rack down an annoying rattle tonight.
Cool, glad it is going to come in handy for someone. If you get further than I did, please add some pics or info on how you did the rest of the process. I currently have a nasty rattle coming from my passenger area, but I think it is the dash and not the door. But it would be nice to know how to disassemble the rest of the door and where the screws are, if you feel like posting.
 03-23-16, 03:25 PM