Finally ordered parts to fix the wife's midpipe
 02-07-17, 09:47 AM
#1
Rookie
Thread Starter

Well... the wife's '06 awd has had an exhaust leak since we bought it. It's progressively gotten worse over the winter and I knew that it was the mid pipe.
After doing some digging... it was going to be $700+ for aftermarket stock replacement... ~$400ish for an invidia that I'd have to cut up and lengthen... or build my own.
So.. today I ordered the 2.25" stainless mandrel bends, pipe, and band clamps, and 2.25" - 2" reducers. Plans are to cut the stock midpipe just behind the o2 sensor bungs (as everything is solid before where the heat shields mounted)... and cut it out just after the rear cats. Lay it out on the floor and replicate the stock geometry using 2.25" stainless. Once it's done... I'll be prepping and painting the whole mid pipe with BBQ paint. As crazy as the last part may sound... I did this with the last exhaust system I built and the paint still looks like the day I did it... 4 years later. Just a bit of added protection.
Anyways... has anyone else done anything similar? I'd be interested to see pictures, etc.. of how it worked out. Parts should be here this week so plans are to cut it up this weekend and fab up the replacement parts... slap them in using stainless butt-joint band clamps for easy removal down the road.
I'll post pictures as I do the work. Hopefully I've got time over the weekend to knock it out.

 02-07-17, 05:04 PM
#3
Rookie
Thread Starter
For sure. I've got ~$175 in materials. Local exhaust shop wanted $300 just to repair... I don't like patch jobs and I don't like to just "fix" things.. I like to upgrade any chance I get.
Looks like I'll have some more DIY stuff to post up in the near future as I learned today that my wife's car ('06 GS300) is known for coking the intake valves (carbon build-up). I strongly doubt the engine was rebuilt under the warranty. She told me the other day that it stumbled when she pulled to a stop light and I had been noticing that it idles a bit funny when cold (not misfiring... just hunting a bit). The exhaust tips also have a bit of carbon staining... all signs pointing to some carbon build-up. It also uses ~ a qt of oil between 5k mile changes.
Car has 135k on it so as far as I'm concerned... if it took this long to have issues... I'll correct the issue and go on with it. I had just figured it needed plugs so I had already planned on doing that soon... so while it's apart, I'll see what I can do as far as cleaning the intake valves up a bit. I'm considering installing a water/meth kit to help prevent future build up.. but we'll see. Over the next few weeks.. I'm going to be doing an old-time trick to see if it helps loosen things up a bit prior to pulling the intake. A spray bottle filled with winter blend washer fluid (~30% methanol/70% water).. pull the brake booster vac. line while running and while controlling the vac. leak with my thumb.. misting the washer fluid into the hose. I let it warm up tonight and put a full spray bottle through it then took it out and flogged it. I noticed it idling smoother then it has been so we'll see what happens over the next few weeks when I tear it apart.
Anyways... parts should be here in a few days for the exhaust fix so more to come.
02-10-17, 07:21 PM
#4
Rookie
Thread Starter
Got the car in the garage and the old junk cut away... tomorrow is going to be a long day as I discovered that, being an import, the factory exhaust is metric size meaning my simple clamp in plan has just gone to fully welded. Not a huge problem but not having a lift means being a contortionist. We'll see...
Anyways..
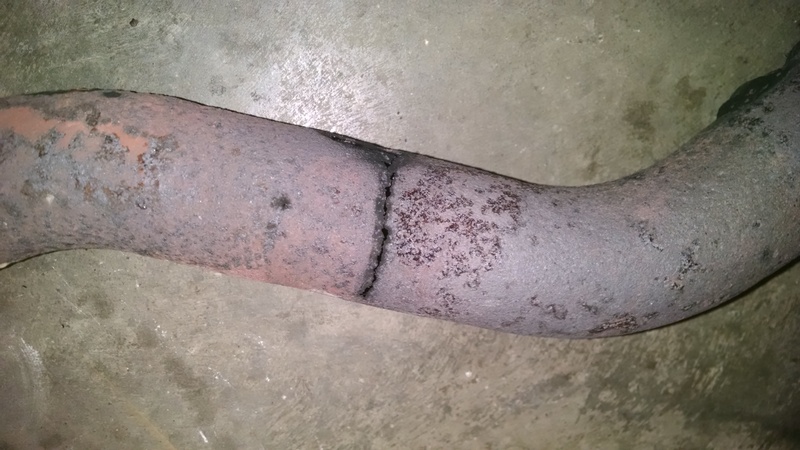
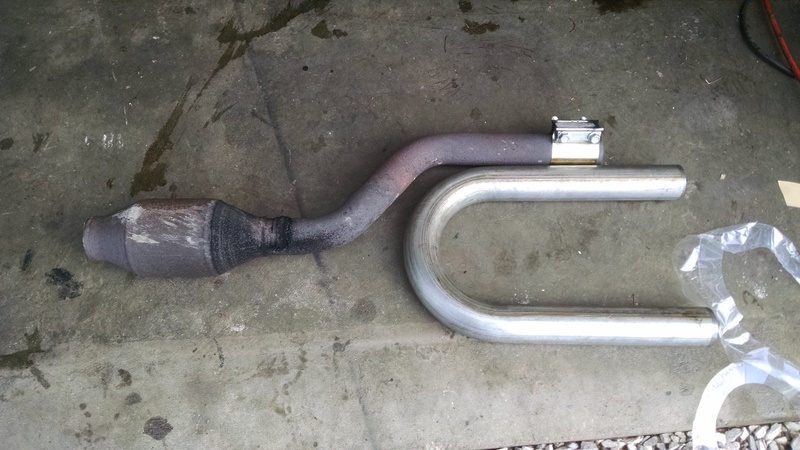
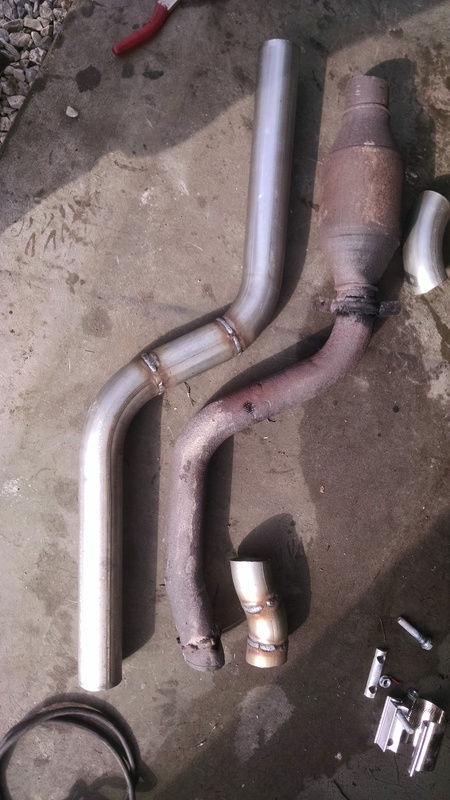
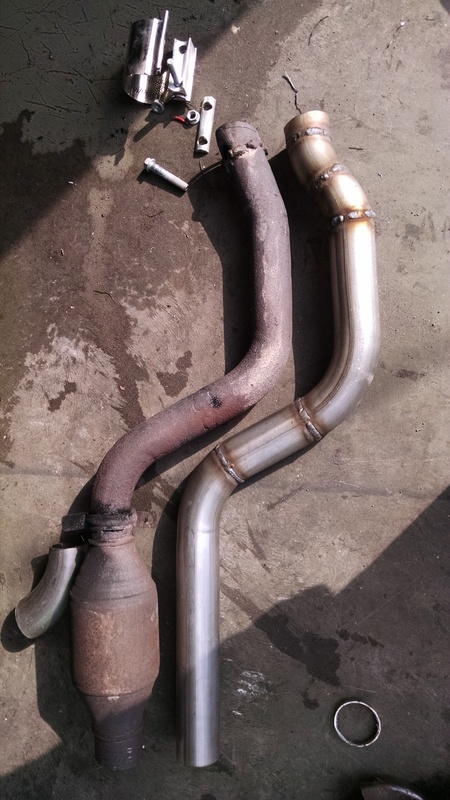
"Repairs" by the previous owner or dealer...
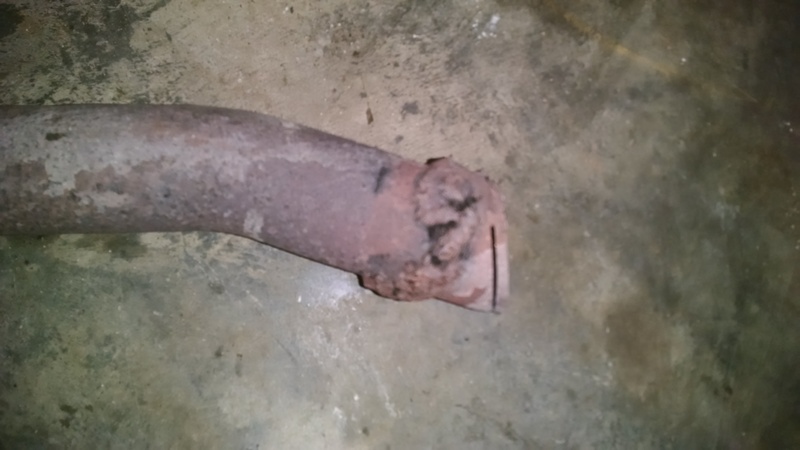
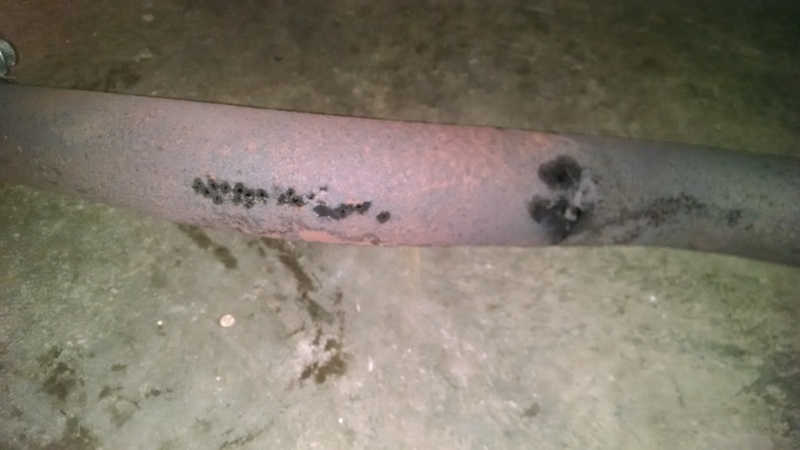
Rot.. rot.. more rot..
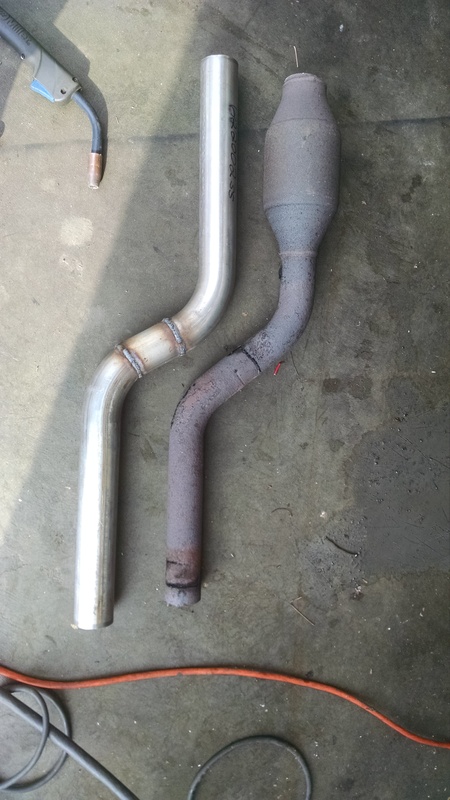
The goods...
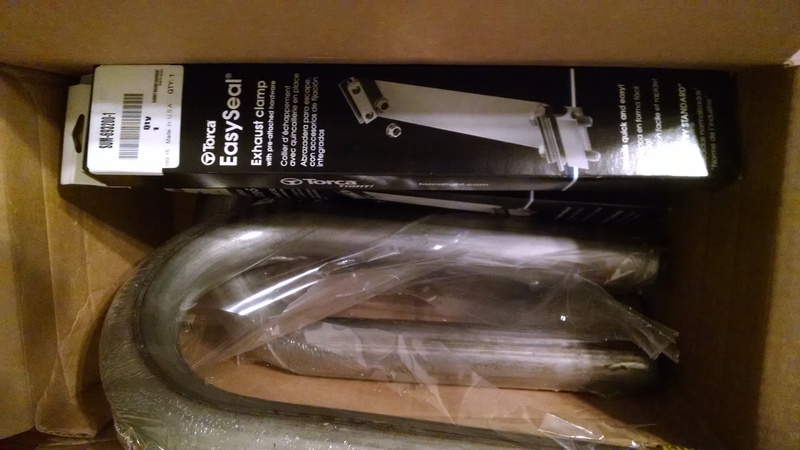
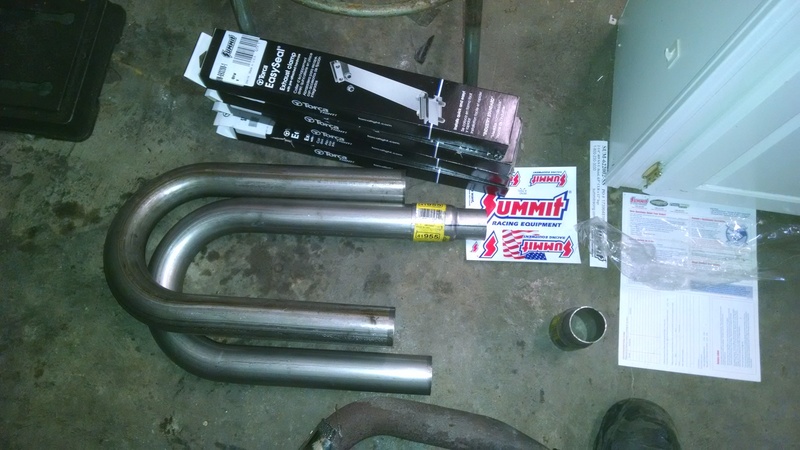
I also have 2 4' sticks of stainless 2 1/4".
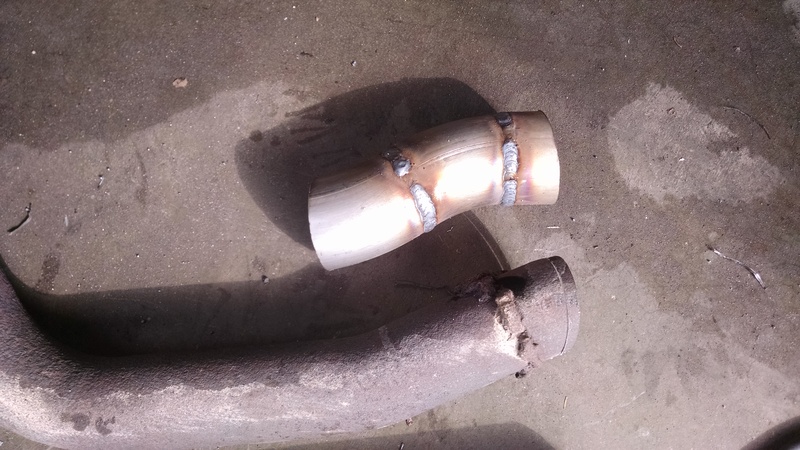
For future reference... cutting the stock pipes 2" behind the o2 sensors.. the pipe will slip inside 2.25" tubing... 2" tubing will slip inside of the stock stuff... so it is somewhere in between. The stock piping after the secondary cats is slightly larger then 2.25"
I'll post up some progress and finished pics tomorrow night along with a sound difference video if I remember. I'm sure it wont be much of a sound difference just deleting the secondary cats.. but we'll see.
More to come.
Anyways..
"Repairs" by the previous owner or dealer...

Rot.. rot.. more rot..


The goods...


I also have 2 4' sticks of stainless 2 1/4".
For future reference... cutting the stock pipes 2" behind the o2 sensors.. the pipe will slip inside 2.25" tubing... 2" tubing will slip inside of the stock stuff... so it is somewhere in between. The stock piping after the secondary cats is slightly larger then 2.25"
I'll post up some progress and finished pics tomorrow night along with a sound difference video if I remember. I'm sure it wont be much of a sound difference just deleting the secondary cats.. but we'll see.
More to come.
02-10-17, 08:05 PM
#5

Looks like my stock pipes, rotted away like cheese cloth. Soon as I hit it with the MIG welder it just disintegrated.
Thanks for taking pics, cant wait to see it finished!
..
Thanks for taking pics, cant wait to see it finished!
..
02-11-17, 09:05 AM
#6
Rookie
Thread Starter
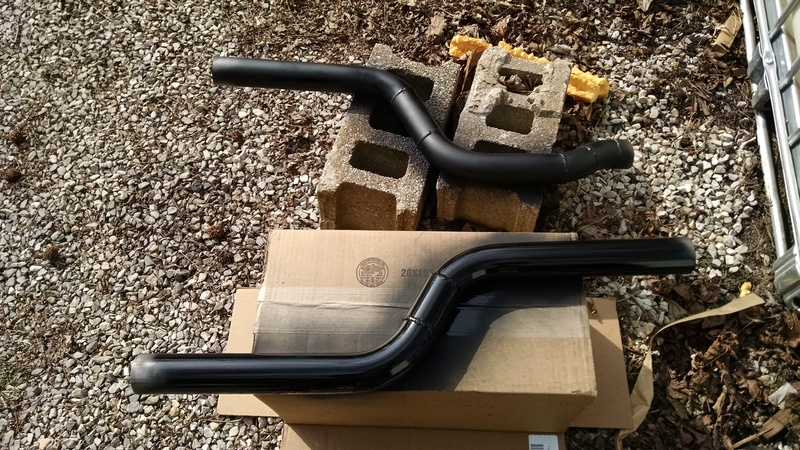
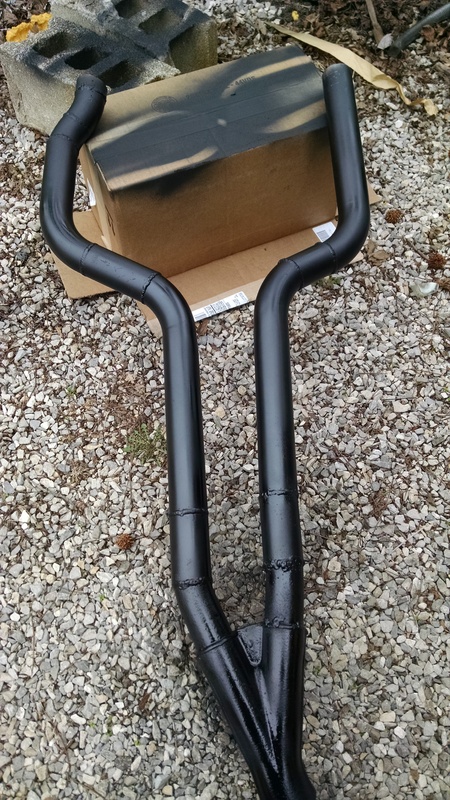
Some progress.. currently waiting for paint to cure a bit before intsalling...
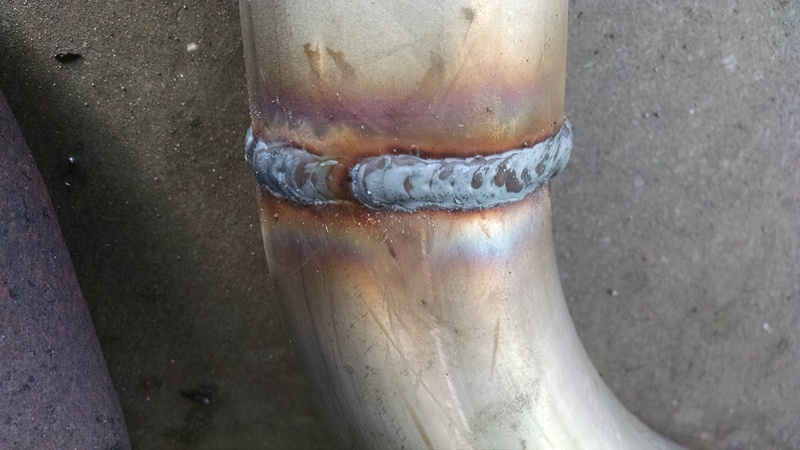
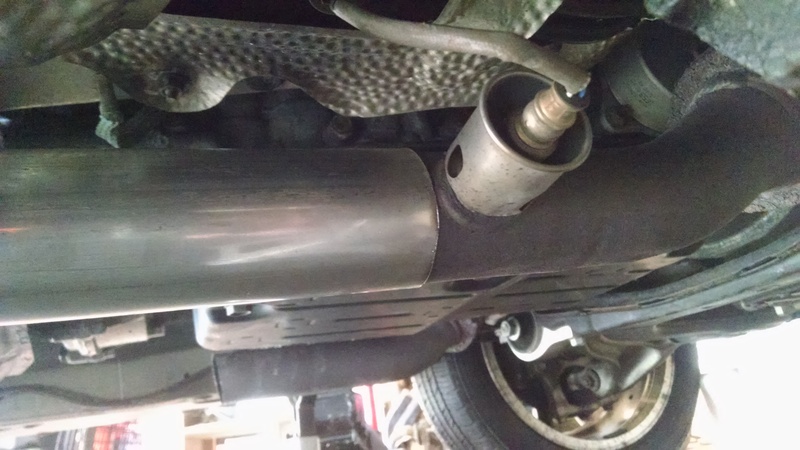
Passenger side was easy enough...
Not the cleanest beads I've laid... but it'll do...
Passenger side fitting..
2.25" tightly fit over the oem tubing..
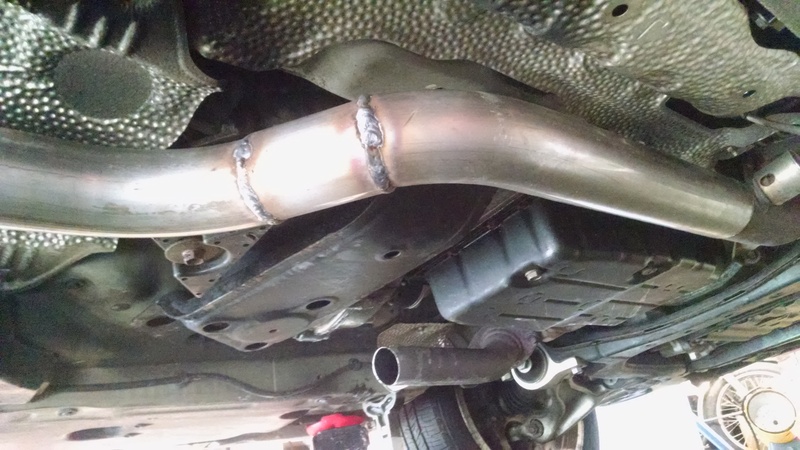
Now the driver's side... somewhat of a pain with some compound bends to clear the transfercase
Now just waiting for paint to dry...
I'll post up more pics of the fit and finish in a bit.

Passenger side was easy enough...

Not the cleanest beads I've laid... but it'll do...

Passenger side fitting..

2.25" tightly fit over the oem tubing..


Now the driver's side... somewhat of a pain with some compound bends to clear the transfercase


Now just waiting for paint to dry...

I'll post up more pics of the fit and finish in a bit.
The following 2 users liked this post by Mr4btTahoe:
Farqui (02-14-17),
ServerTech (02-11-17)
Trending Topics
02-11-17, 04:01 PM
#8
Rookie
Thread Starter
Well.. we don't have emissions testing in this state but it still has the forward cats so I'd say it would pass (not 100% certain though).
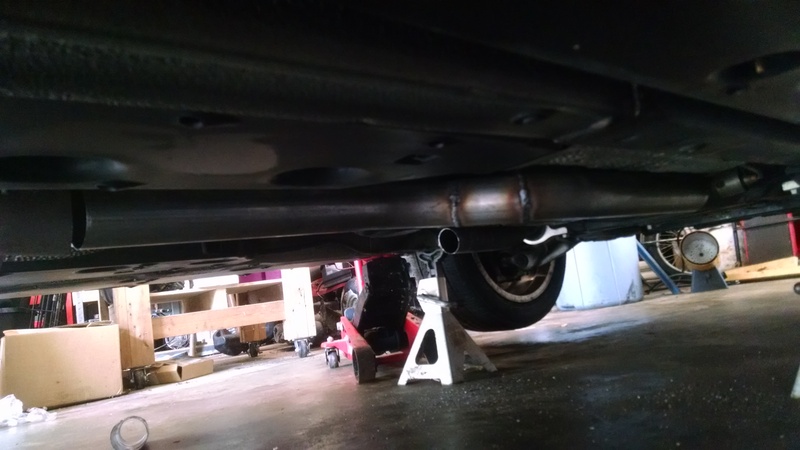
Got it finished up earlier today... Oh my the difference. The car is dead quiet inside now.. at idle, all you can hear is the direct injection system... going down the highway, tire noise is louder then the engine/exhaust now... but open it up and it sounds much more sporty.. more like a BMW or similar.
Anyways... more pictures..
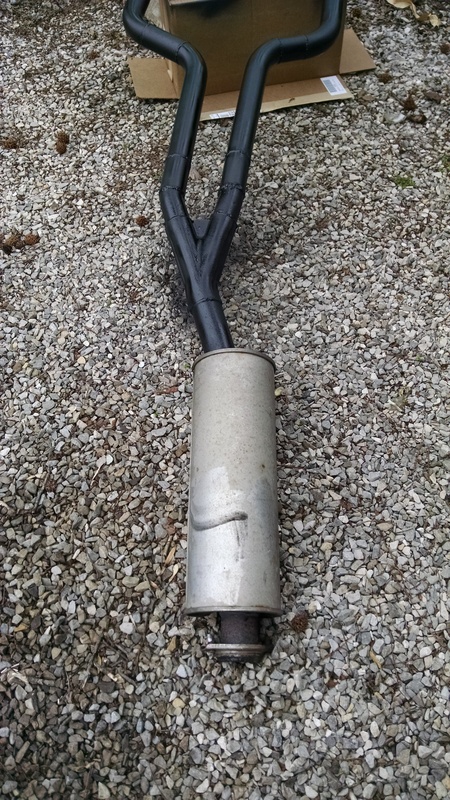
And in place...

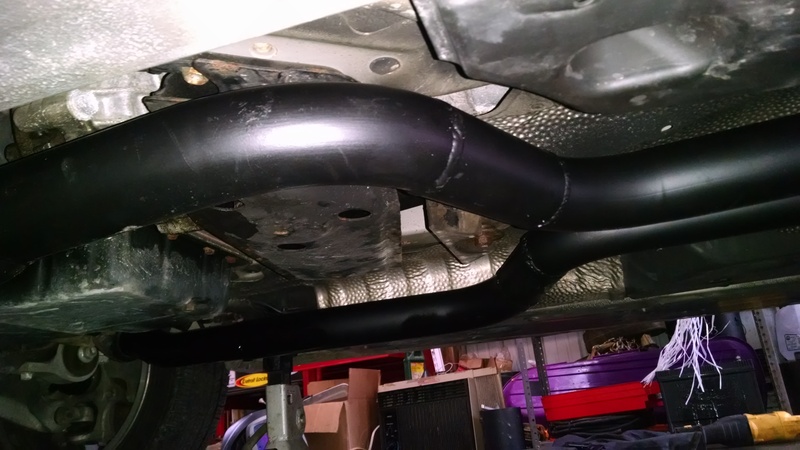

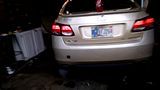
I let it idle and come up to temp.. slowly baking on the high temp BBQ paint... let it cool back down and heat cycled it. Let it warm back up and took a video. Don't mind my son fussing a bit... the wife was holding him and my phone. (Click the pic below)
I'm pleased with the results. I'll be returning a good bit of stuff as well so the total cost in materials (not including welding materials I already had) should be under $100.
What I used:
(2) Summit Racing 2.25" 16ga. Stainless U bend
(1) 4' section of 2.25" 16ga. stainless tube (only needed ~1')
After doing everything, I realized that the tube size after the rear cats necks back down to the same size as the precat tubing. If you cut the factory exhaust after the neck down, you can slip the stock pipe inside the 2.25" piping for a snug fit and an easy lip to weld up.
Anyways... That's all for now.
Got it finished up earlier today... Oh my the difference. The car is dead quiet inside now.. at idle, all you can hear is the direct injection system... going down the highway, tire noise is louder then the engine/exhaust now... but open it up and it sounds much more sporty.. more like a BMW or similar.
Anyways... more pictures..


And in place...


I let it idle and come up to temp.. slowly baking on the high temp BBQ paint... let it cool back down and heat cycled it. Let it warm back up and took a video. Don't mind my son fussing a bit... the wife was holding him and my phone. (Click the pic below)
I'm pleased with the results. I'll be returning a good bit of stuff as well so the total cost in materials (not including welding materials I already had) should be under $100.
What I used:
(2) Summit Racing 2.25" 16ga. Stainless U bend
(1) 4' section of 2.25" 16ga. stainless tube (only needed ~1')
After doing everything, I realized that the tube size after the rear cats necks back down to the same size as the precat tubing. If you cut the factory exhaust after the neck down, you can slip the stock pipe inside the 2.25" piping for a snug fit and an easy lip to weld up.
Anyways... That's all for now.
The following users liked this post:
Farqui (02-14-17)
03-25-17, 11:28 PM
#10
Rookie
Thread Starter
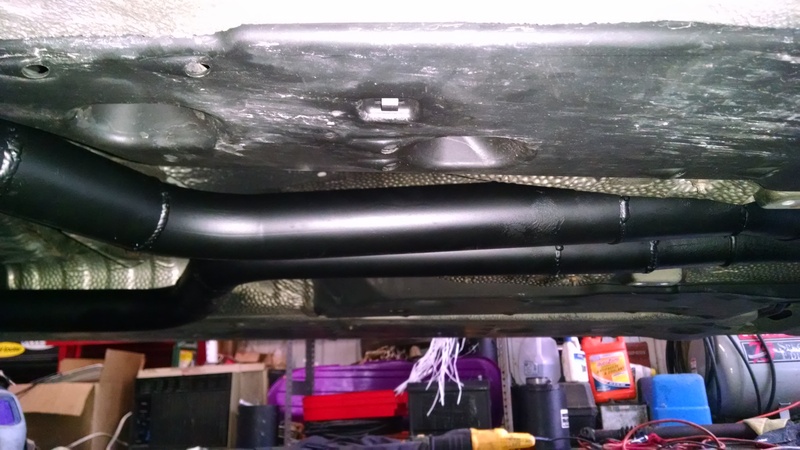
Well... 2 months and no issues thus far. Was under the car tonight for an oil change and figured I'd take a picture of how things look after 2 months of salt, rain, and daily driving 30+ miles a day.
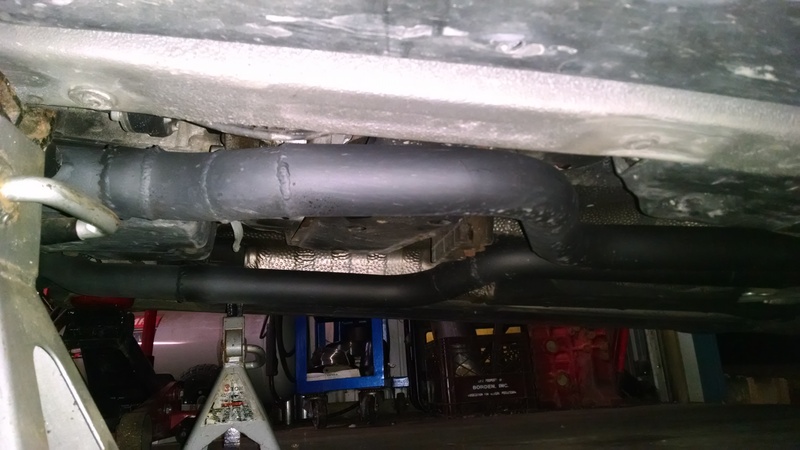
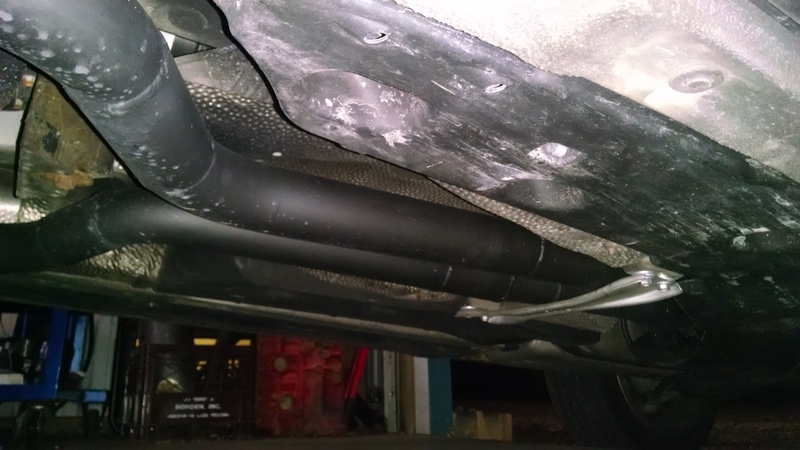
Paint all looks good still... no sign of any issues.


Paint all looks good still... no sign of any issues.
The following users liked this post:
Farqui (03-27-17)
 03-26-17, 06:30 AM
#12
Rookie
Thread Starter
There are 4 cats... one in each manifold (part of the manifold) and 2 in the mid pipe. The o2 sensors are located before and after the manifold cats... the rear cats don't have an o2 sensor after them which means the ECU doesn't know they are gone.
I did have a code come up about a week after install for a rich condition on both banks. Cleaned the MAF and reset the code and it never came back.
I did have a code come up about a week after install for a rich condition on both banks. Cleaned the MAF and reset the code and it never came back.
The following users liked this post:
L's TLS (03-27-17)

Thread
Thread Starter
Forum
Replies
Last Post

