When you click on links to various merchants on this site and make a purchase, this can result in this site earning a commission. Affiliate programs and affiliations include, but are not limited to, the eBay Partner Network.
Hello Club Lexus! Today I have a DIY to paint calipers! I decided to do a method which you take off the caliper instead... I only decides to use color paint... No primer, No clear coat... I only had time to do one side but i'll try to do the other side tomorrow or my next free time
you'll need:
caliper spray paint ( paint that can basically take high heat)
21mm bolt
14mm bolt
ratchet, or wrench, or impact gun
lug nut key
plyers
C-Clamp
news papers
painters tape
Steel brush
Steel wool pad (The kitchen cleaning ones)
Sand paper
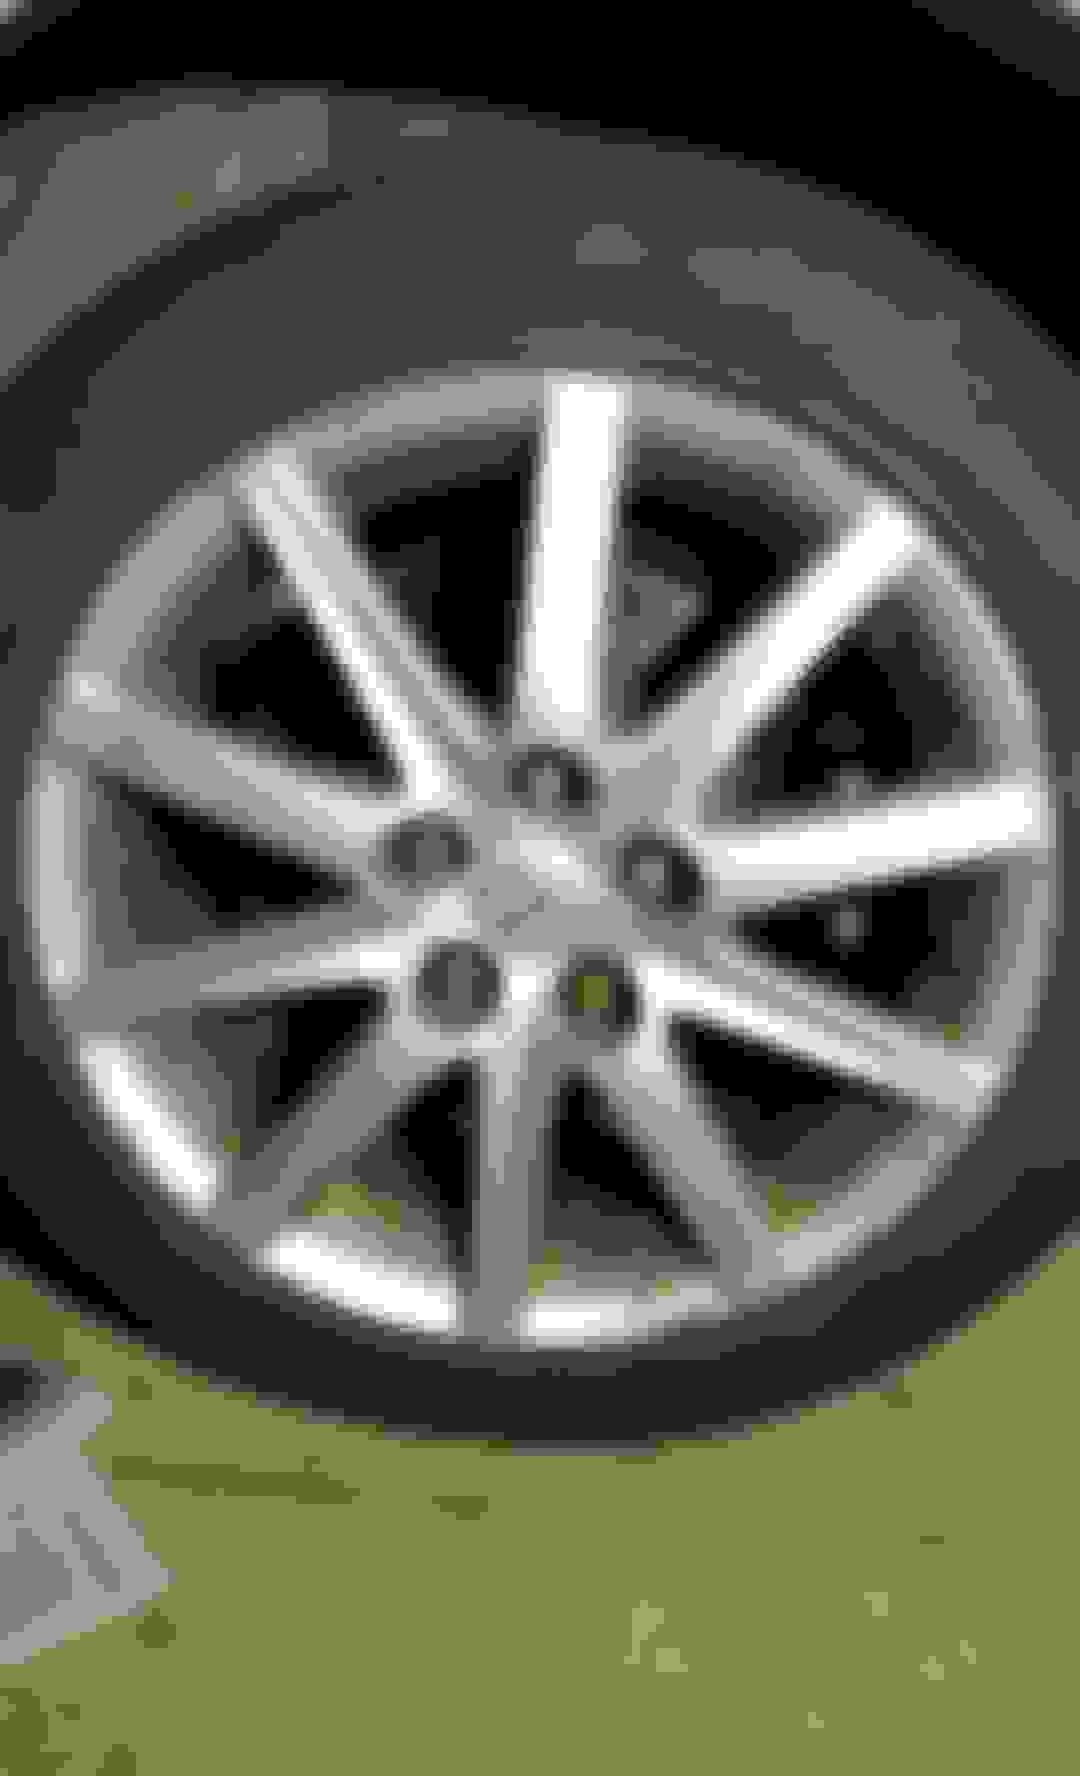
Step one: Place a floor jack in jacking spot and take off the rims by using the 21mm and lug nut key, to remove the lug nuts on the rims... remember to loosen them first on the ground or else the wheel might be harder to take off since there is not downward force to keep the tire from spinning!
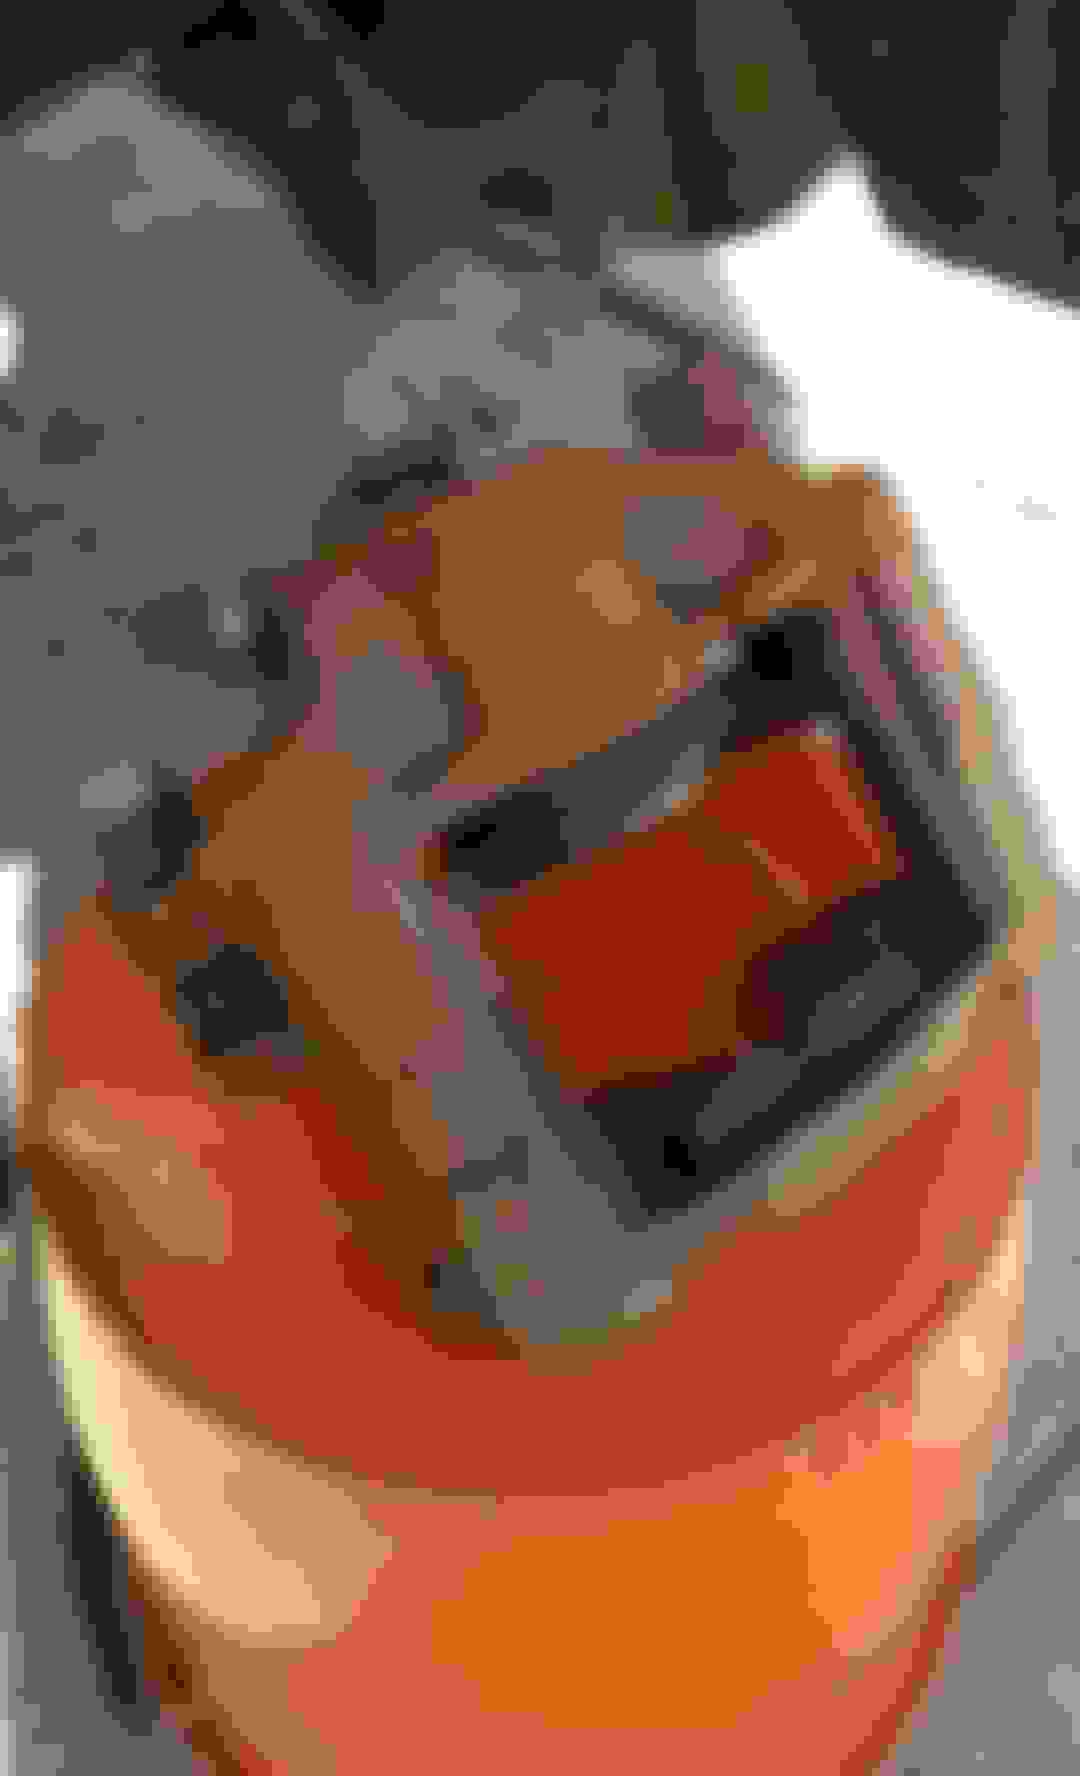
As you can see here my calipers are rusted to death even after buying the from Rock Auto... Had no clue this would happen!
(optional)Step 1 1/2: If you have rusted calipers you can start getting rid of as much rust as possible on the calipers... I decided to take the calipers off, I removed the calipers before sanding which i think it might have made it harder.... I tried using 120 grit sand paper and finer 300 grit sand paper.... It's pretty hard to get it off honestly and very time consuming But it does help on those curved edges.... you can use a metal brush to brush off all the rust which I found this the most quickest way to do it. My steel wool pad was really ****ty so i didn't even bother with it.... so for reminder guys buy a nice steel wool pad!
here you can see the rust
step 2: To remove the calipers... remove the vertical thin pin, then remove the slider pins. Take out the retaining pad pin. Then use a C-clamp to push the brake pad into the caliper piston. remove the pad and then start unbolting the caliper off from the rear I believe those bolts are 14mm...
Step 3: Start masking off the inner wheel well and outside of your car with news papers (yes it works apparently im suprised too) (also masking the outer area is an option i didnt do it but its a precautionary in case you spray on your car...)
step 4: Dont forget to mask/tape off the brake line and the rubber seals, I just stuffed news paper into my caliper piston which helped cover most of it.... you could mask tape around it on the rubber... you dont really wanna get paint into those important components!
I tried to get off as much rust as possible.... It's very tedious job so i just said screw it and start painting....
step 5: start painting the caliper : shake the can as directed on the can... Then spray in a sweeping motion... you may want to paint the entire caliper so as one side dries you can flip or turn to the other side of the caliper....( I recommend letting it dry first then spraying the other side) It should take about 5-20minutes depending on the weather for the paint to dry.... Personally I lost count of how many times i sprayed it LOL...
But i spray about 3 times so I guess 3 coatings?
Step 6: reverse the disassembling! and you should be done!
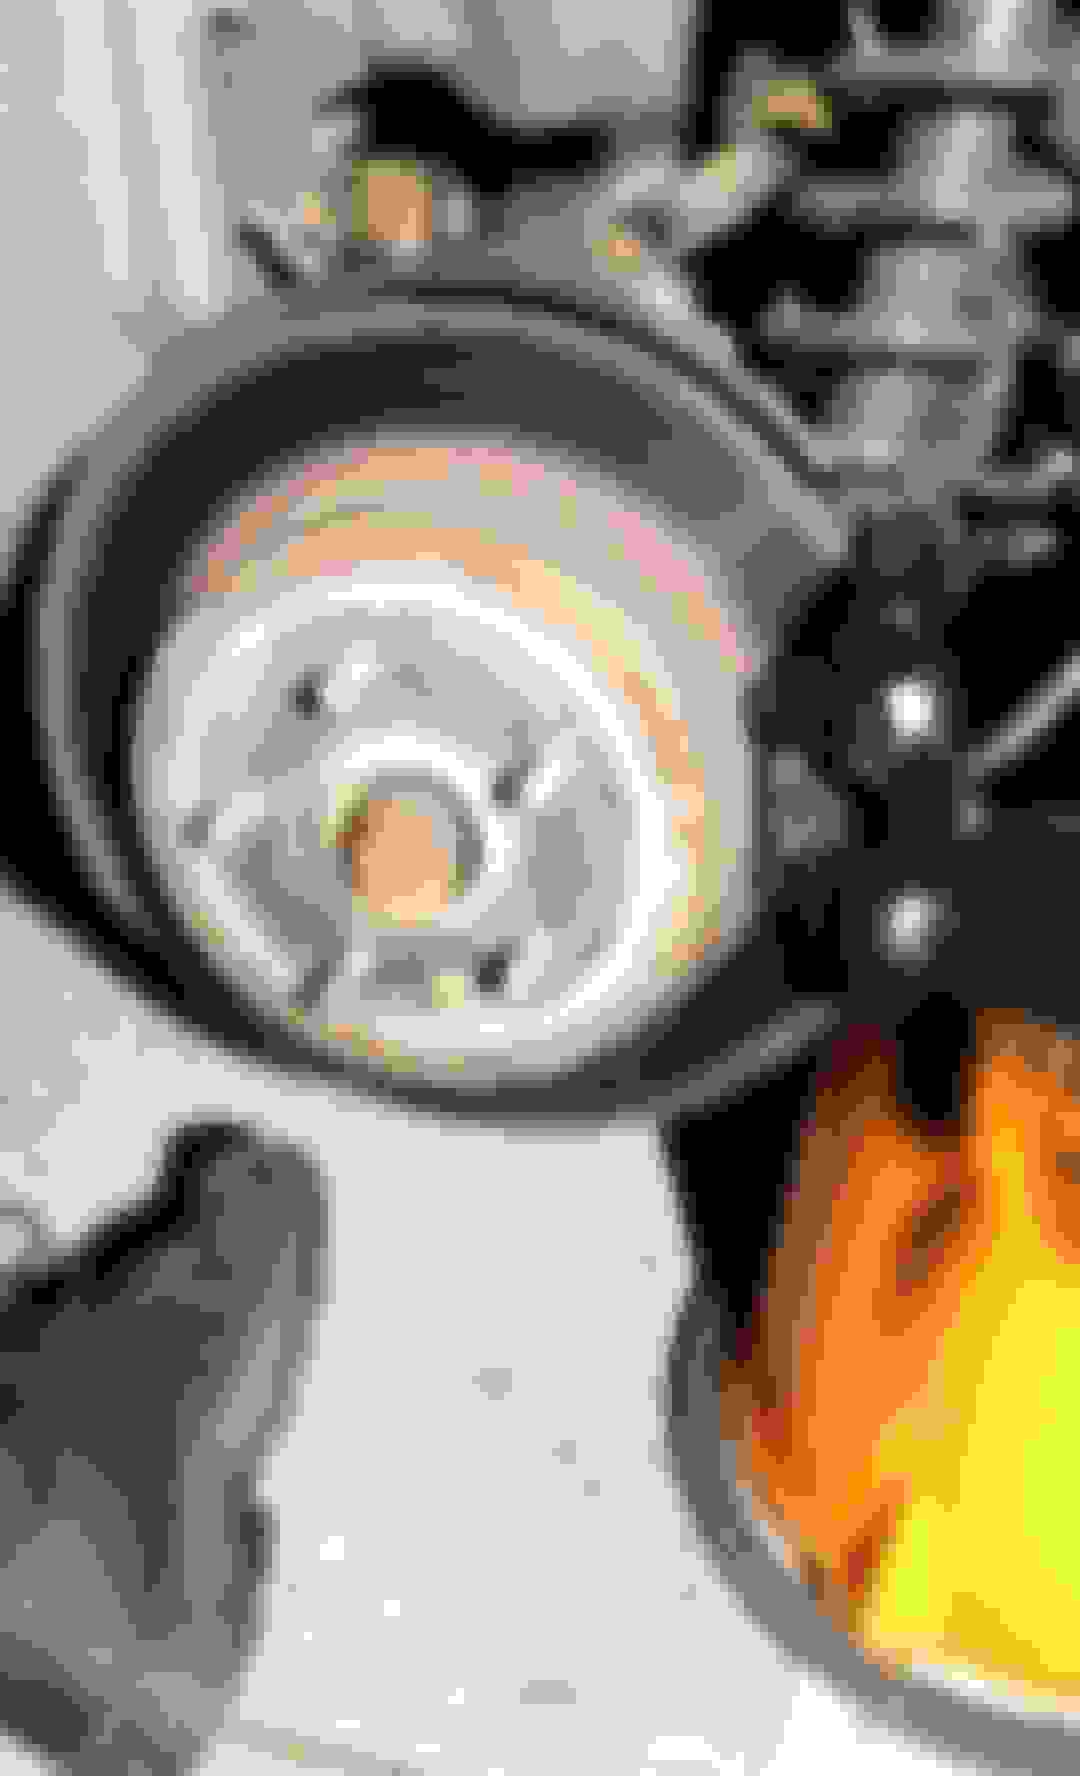
here's what the caliper looks like after one or 2 sprays
heres what it looks like after it's all assembled
heres a closer look... i went ahead and put some anti seize on the bolts and the pins! you know the calipers are known to seize! Also this is what happens when you decide to touch it before it drys... you can see the markings on the upper circle....
Question: After i put everything back on I noticed my brake pedal felt a lot lighter... I think some air might have gotten into my system so i decided to go ahead and tighten my brake lines just encase when i was turning or spinning the caliper to paint I might have loosened it.... I also noticed that my bleeder was sort of leaking could this be the result of having the caliper piston pushed in for too long?
I am looking for some reasonable Lexus logo caliper covers. I have found plenty but none that actually say LEXUS. '07 gs 350rwd
hmm... I didnt even know those existed! I would suggest buying one that fits your calipers and just put decals on the covers... I just know the Fronts are big enough to be able to apply the decal.
I'll be painting mine's soon after my wheels come in.
Thanks man! I think painting them took about an hour or 2..... I dont think i really letted the paint dry i let them sit for about 10-20minutes each coating... I did about 3 coatings and had done the other side the same way as this one....
Now removing the rust it took about definitely 2 hours or more... I sort of am abit ashamed i couldnt shave more down than i wanted but i didnt have the time and couldn't keep the lexus in the drive way.... If you want a smoother looking finish I would say use a higher grit I only used 120 grit and 320 I think to sand down the rust.... So i would say try 1000 or 2000 grit to see how smooth you want the calipers too look... I only painted them to prevent further rusting and seizing! Next time i'll be painting the front calipers and I would assume it be the same! Maybe put the lexus decal
Great DIY, You need new rotors/brake pads and need to lube your caliper sliding pins as you can tell from the surface area where brake pad meet rotor it does not fully contact it.
Great DIY, You need new rotors/brake pads and need to lube your caliper sliding pins as you can tell from the surface area where brake pad meet rotor it does not fully contact it.
I know i need new rotors but i didnt know about the pads... I figured that the pads should have scrapped off the entire rust or w.e residue thats left.... do you think i might have bolted on the calipers wrong? I put anti seize on the slider pins... is that okay?
I would remove brake pads and examine their surface. The problem was there before you removed the caliper, so I don't think you installed it incorrectly.
I would remove brake pads and examine their surface. The problem was there before you removed the caliper, so I don't think you installed it incorrectly.
hmmm... well i did buy duralast gold brake pads but they fit pretty tight in there... they pads are still wedged shaped so not sure.. but the fronts are clean! BTW do you recommend cutting the rotors or do you think theyre done and i should buy new ones... I think these are the same ones that have been on since we bought them
hmmm... well i did buy duralast gold brake pads but they fit pretty tight in there... they pads are still wedged shaped so not sure.. but the fronts are clean! BTW do you recommend cutting the rotors or do you think theyre done and i should buy new ones... I think these are the same ones that have been on since we bought them
It is always suggested to cut or replace rotors with brake pads. I would suggest to do what ever is cheaper, cutting or replacing. I know brand new rotors from centric are like $100 shipped.
It is always suggested to cut or replace rotors with brake pads. I would suggest to do what ever is cheaper, cutting or replacing. I know brand new rotors from centric are like $100 shipped.
hmmm.... I'll try and find a shop that resurfaces rotors.... Funny thing i bought the calipers from centric and they rusted within a week xD
 04-12-15, 08:48 PM