When you click on links to various merchants on this site and make a purchase, this can result in this site earning a commission. Affiliate programs and affiliations include, but are not limited to, the eBay Partner Network.
So I decided to change my rear calipers because they were apparently seized... I suggest having someone to help you or with atleast alitle bit of experience...you'll need:
small plyers
21mm socket,
14mm socket,
adjustable wrench (not exactly sure what size the banjo bolt was so i decided to use a adjustable wrench)
plastic tubing 1/4 3/8 i(a plastic bottle)
new caliper(s)
HAMMER!
C clamp
pan to catch brake fluid
brake fluid DOT 3
Step 1: jack up the car from the rear with a jack! don't forget to use a jack stand after.
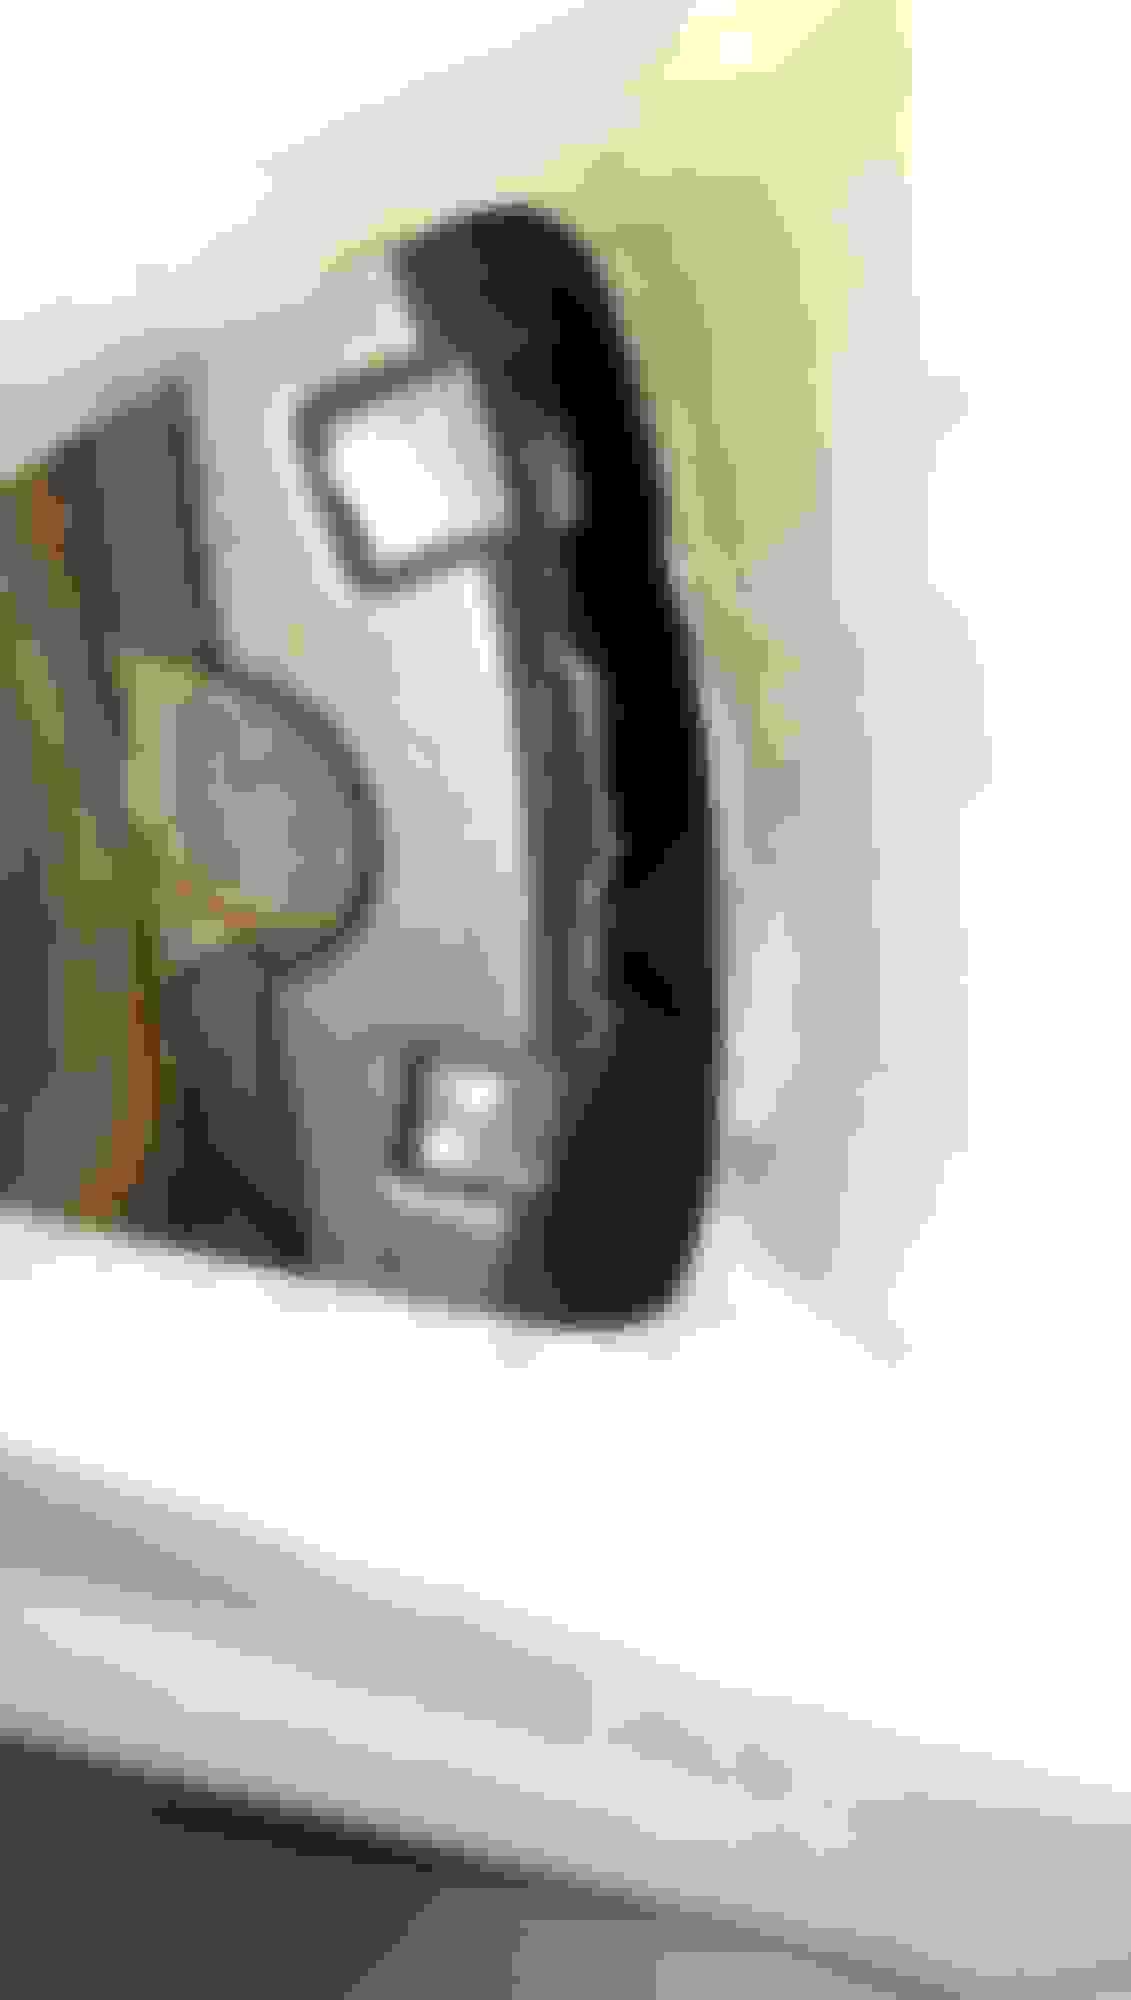
As you can see rusted to hell caliper and rotors...
step2: remove the pins and the thin pin holder with small plyers, the pins needed some hammering due to some rust. you could also use big plyers. take out the calipers, remember you need to C clamp the pad next to the brake piston which is on the inside.
step 3: after removing the pads, unbolt the 2 bolts closest to the control arms which are vertical to each other. You might need to use some liquid wrench to get it unstuck. hold onto the caliper as it might fall down, don't let it fall u must hold it or else u cud damage the brake lines! You can place the caliper on top of the rotors or control arm.
step 4: Now the bolts OEM are 14mm so unbolt it! prepare the pan as some liquids will drip. Now that the old caliper is free you can put it on the floor. get the new caliper, you can either put the banjo bolt in first if you want or after you mount the caliper. The easiest way for me to put the caliper on was to bolt on the top bolt. then the bottom one. After doing so you can bolt on the brake lines if you haven't done so.
Step 5: repeat steps 1-4 on the other side if you have another caliper.
step 6: bleed the brakes... I have messed this up once before and costed me $1000 to get my car towed due to being a retard The bleeder valve is on the top of the caliper (OEM) looks like a little nipple. you'll need to unscrew it lefty loosey. Now you can attach the hose thats connected to the bottle to the bleeder and ask your helper to press on the pedal. remember to watch the brake master cylinder (container?) As it will run dry as liquid does leak through the brake lines.
Watch as you see bubbles in the tubing... once you do not see bubbles you can switch to the other side and bleed the other side.
Now I didnt get bubbles on the other side... I assumed it was safe to drive and it was totally fine. Now the only problem is that my pedal still feels loose and I have no clue what is the problem anymore... The pedal doesnt go all the way to the floor but it's sort of close... Any clue what it could be guys? rotors? master cylinder? air still in my system??
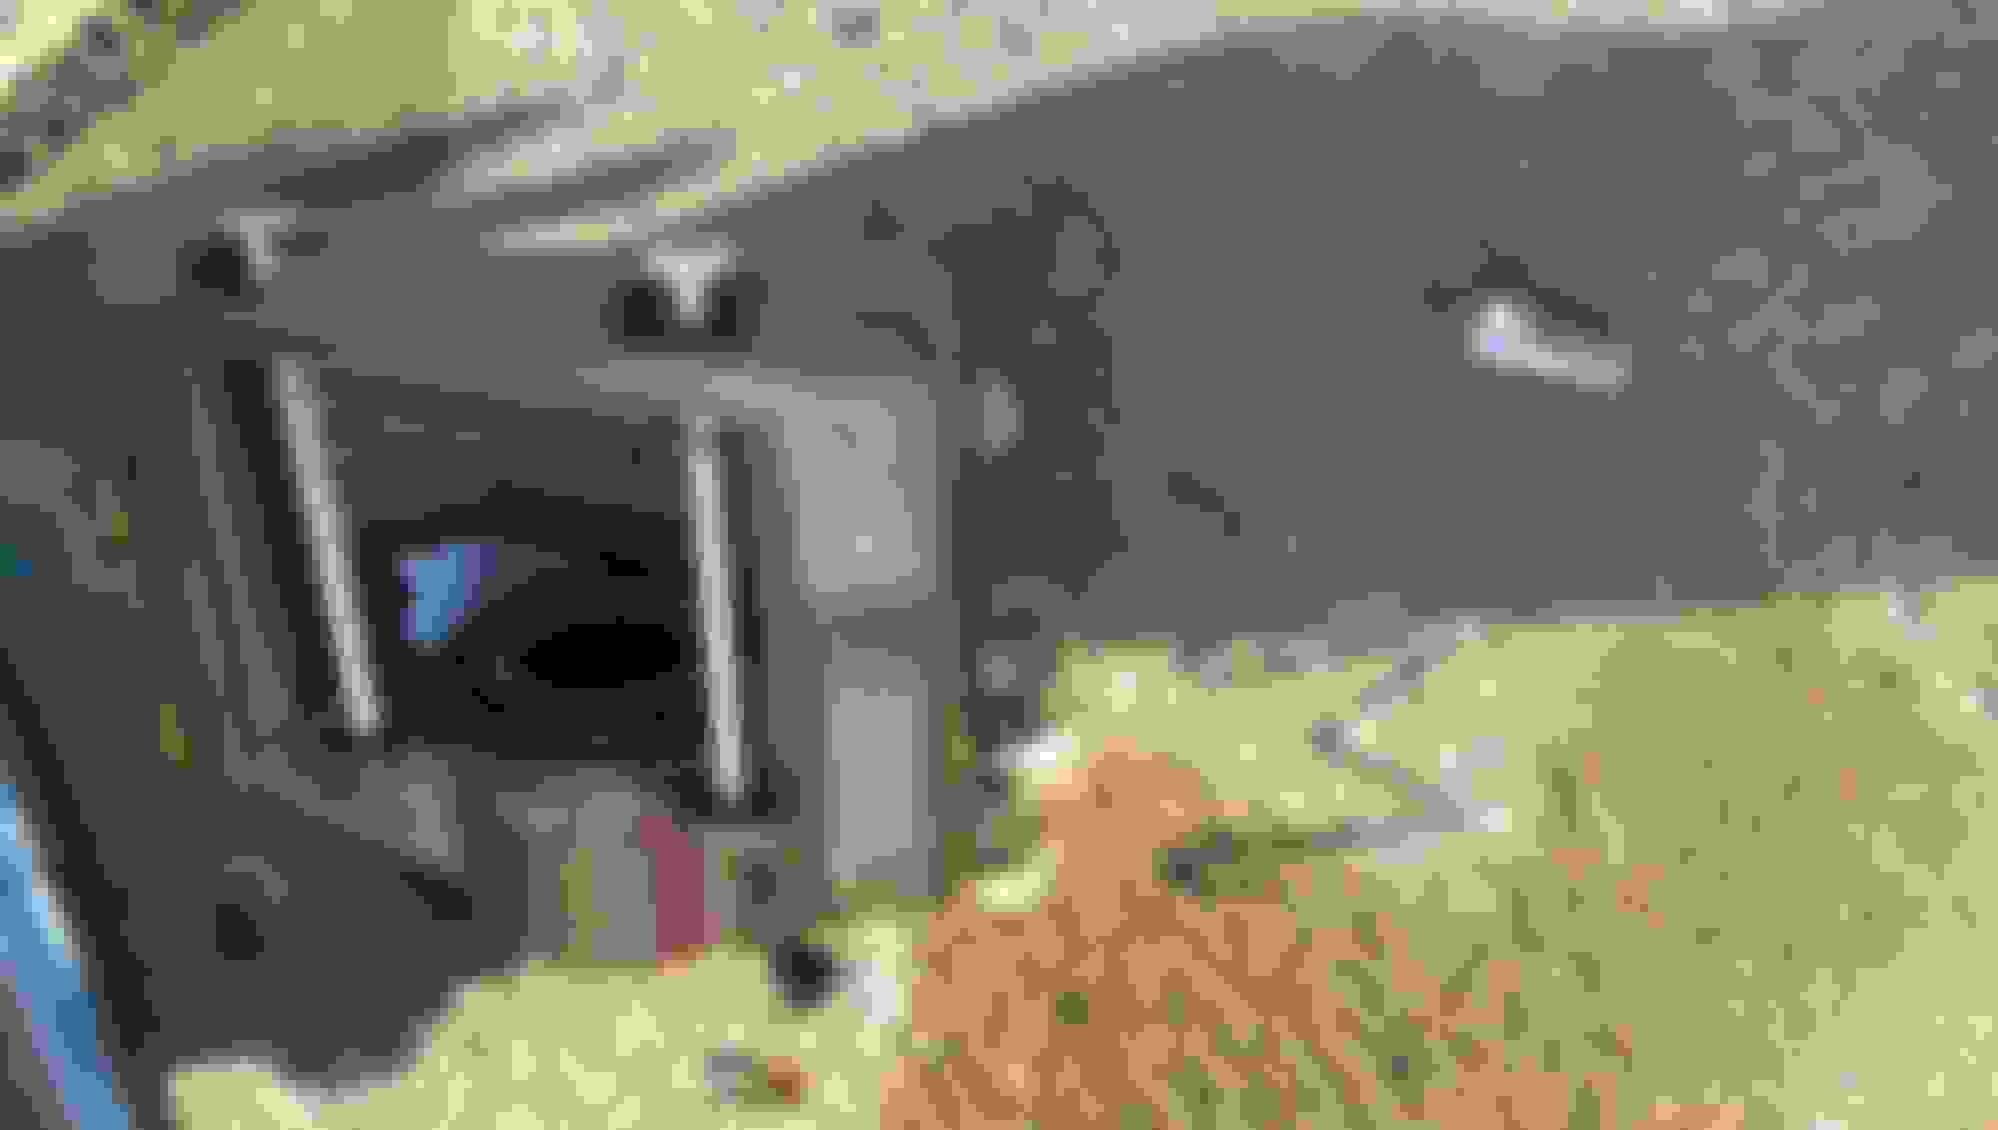
Hey did you turn the rotors? Or did you put the old pads on the rusted rotors? Also it looks like you have installed the pads backwards. There is a round spot that looks like it was on the piston side. If that is the case the pads may not work correctly. There may not be a difference.
Thanks for that write up, You put an inner pad on the outside. Its not a big deal, just in the inner pad has a wear indicator to start screeching once it hits a certain mark. The reason they only use it for one pad, because the outer pad can be inspected without removing the wheel. As I said its not a biggie, but for next time keep that in mind. Also those sliding pins, I would of kept OEM, they are not a perfect size and probably make some noise over bumps. Also OMG WTF is up with your rims dude? Need new set of OEM rims asap.
Hey did you turn the rotors? Or did you put the old pads on the rusted rotors? Also it looks like you have installed the pads backwards. There is a round spot that looks like it was on the piston side. If that is the case the pads may not work correctly. There may not be a difference.
I didn't get new rotors and i put back in the old pads! I will be ordering new rotors... These rotors ARE DONE thats what my friend told me... the outter areas where it vents out heat rusted to death... of course i'll buy new pads too!
Thanks for that write up, You put an inner pad on the outside. Its not a big deal, just in the inner pad has a wear indicator to start screeching once it hits a certain mark. The reason they only use it for one pad, because the outer pad can be inspected without removing the wheel. As I said its not a biggie, but for next time keep that in mind. Also those sliding pins, I would of kept OEM, they are not a perfect size and probably make some noise over bumps. Also OMG WTF is up with your rims dude? Need new set of OEM rims asap.
haha you're welcome... i suggest i might as well and show a bit of pics... wish i took more but i didnt want to get my phone dirty I noticed the pads was on the opposite end after taking the picture HAHA... I flipped it today and put the pin more properly today took like 20minutes. Yea these are the pins that came with the calipers... they look a lot thinner on the blunt side... I have a bit of a fitment issue on it with the tiny pins but made it work out since theyre bendable....
TO DO DIY's:
1: Air filter door (broken hing: haven't gotten to the door yet sadly... no DIY found!!!) So this is a must for my people!
2: Re spray the rims (sand them down spray them) OR just plasty dip them call it a day
3: tranny fluid & diff fluid (I've been seeing it done a lot recenlty so hopefully i'll just do that) not sure if it has been done but when getting out of 1st gear its not as smooth as 3,4,5,& 6)
Which Air flilter door? Cabin filter door inside the glove compartment? If yes its a pita and there is a DIY on the forum. About rear calipers I TOLD YOU SO PAINT THEM WHILE YOU HAVE THEM IN HAND
Which Air flilter door? Cabin filter door inside the glove compartment? If yes its a pita and there is a DIY on the forum. About rear calipers I TOLD YOU SO PAINT THEM WHILE YOU HAVE THEM IN HAND
yes i should have taken your word for it.... It's funny because my front calipers arent painted and haven't even rusted... yes the cabin filter i broke it when i tried to change it and by force i broke it BUT I'm going to spray them soon when the weather permits... spray can tells me 60 F is the lowest
 03-12-15, 07:13 PM


 The bleeder valve is on the top of the caliper (OEM) looks like a little nipple. you'll need to unscrew it lefty loosey. Now you can attach the hose thats connected to the bottle to the bleeder and ask your helper to press on the pedal. remember to watch the brake master cylinder (container?) As it will run dry as liquid does leak through the brake lines.