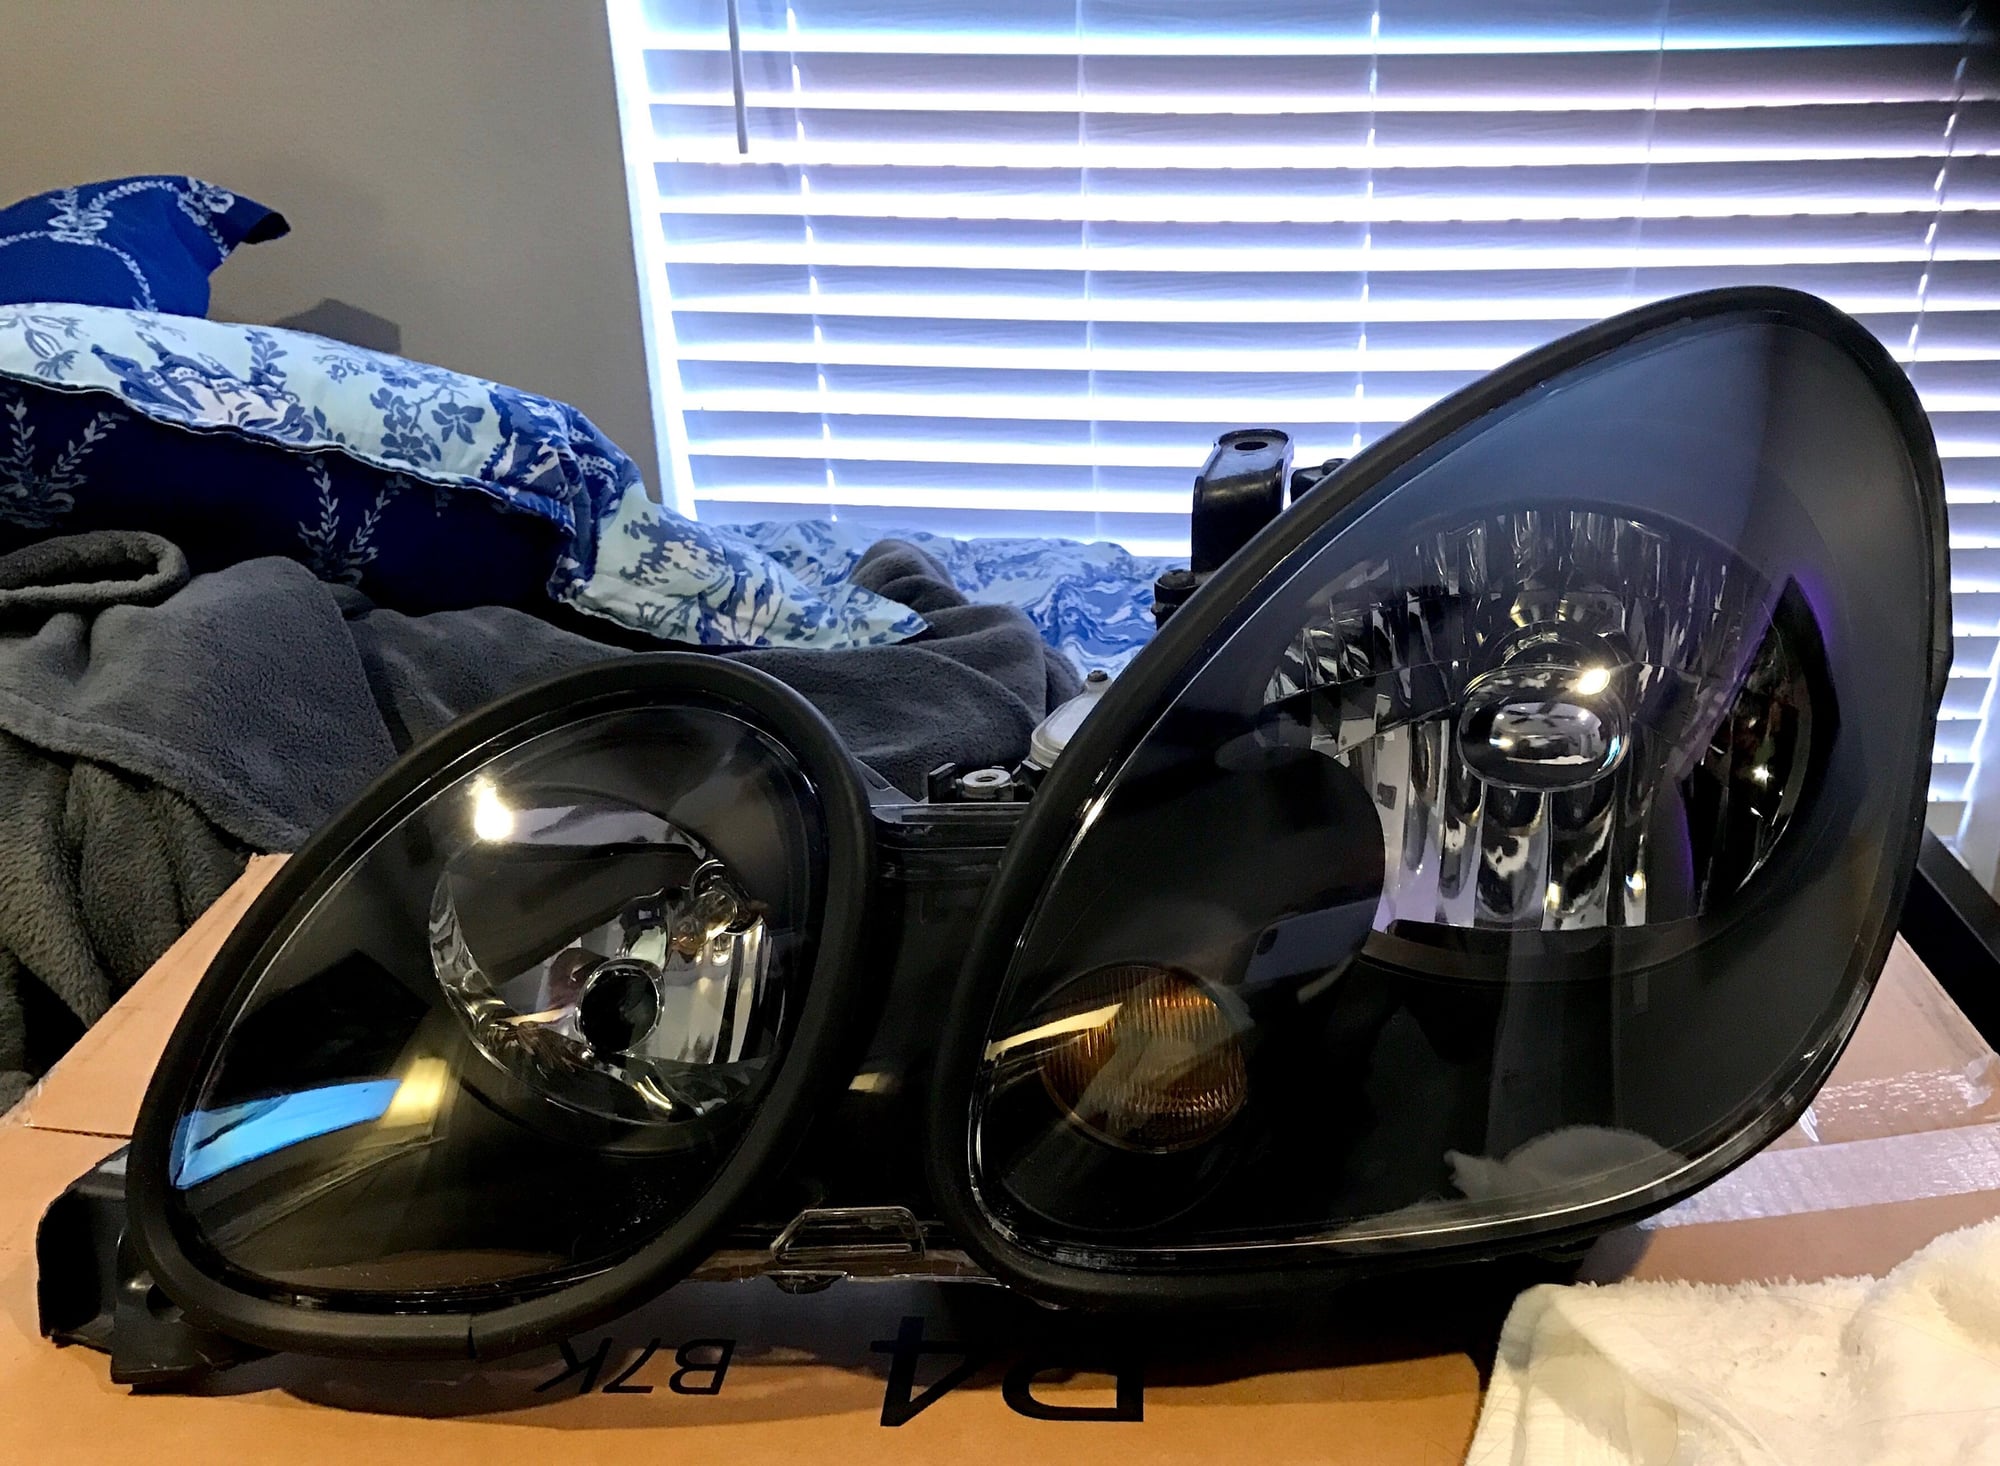
PICS: HID Headlight Restore Before/After
#16
Actually I only wax them every 5-6 months when I wax the car..... nothing much more than that. So since I did them they've only been waxed maybe 2x. A good polish will provide the same level of UV protectant without drying out like shaker can clear often does over time. Just my experience and opinion. I respect yours as well.
I agree with what you are saying, but the tune can be different in CA or Florida, etc.
Clear coating the lenses also gives you another layer you can take down with sanding. Best cases would be to wax every 3-6 months depending on climate for a NEW set or sanding, clearcoating and THEN waxing every 3-6 for a used old set.
#17
Racer
iTrader: (14)
So two questions:
I bought the 2K Glamour High Gloss Clear Coat from Amazon, but also stopped by an Autozone and saw that they sold some Rustoleum Clear Lacquer. What's the difference between the two?
What is the "correct" method to cleaning up your headlights? Wet sand, apply plastx (is this the UV coat?), spray the clear coat, let it cure/dry, wax/polish/buff so it doesn't have the orange peel look to it? I was also going to apply some rainx at the very end after everything has dried and cured as well.
#18
Did you guys do this by hand? I used one of those head light restore buffer kits where you attach to a drill, but I wasn't able to get out all of the deeper scratch marks that the coarser grain sand paper left.
#19
Driver
iTrader: (4)
What you'll need:
LOTS of water
firm but flexible sanding block (I use hard sponge)
800grit wet (black) sandpaper
1200grit wet (black) sandpaper
2000grit wet (black) sandpaper
Good plastic compound or paint compound either or
Your choice in glaze polish
*clear coat spray can (some choose to use this as well)
------------------------------
Steps:
Clean off the light
Tape around the light or pull housing off the car
start with the 800 wrapped around the sponge and keep it wet (the water removes the plastic your cutting away while sanding and provides a lubricant) The 800 is the cutting stage, this is where you will keep going until all the deep scratches are out.
Once your satisfied with the removal of the deep scratches move on to the 1200; again keep it wet.
Moving on to the 2000 grit paper you'll notice the lens becomes more cloudy and almost transparent instead of scratchy looking.
At this point you have 2 options.
1. continue on to the compound and polishing -or-
2. spay the light with clear coat.
If you choose to spray the light use a light coat at first followed by 2-4 mild even coats allowing 10-15 min between coats to tack up.
Let dry completely and re-sand with 2000 grit wet to remove the orange peal
Next you either skip the clear or have already cleared you will use buffing compound. Some people use plastic compound or paint compound. The plastic compound is a bit finer and is a slower cut but both get the job done.
Upon completion of buffing compound the light will look clear and to most done but it is not.
To finish the light you MUST apply glaze or wax to seal the plastic or clear!
Oh yeah when buffing be careful with your speed. You don't want to burn the plastic!
When satisfied with your work remove the tape or reinstall the light housing.
Those are my steps--- feel free to modify as you see fit.
#20
^^ Thanks, when sanding did you do it in a straight motion or circular? As the drill buffers are circular. I think I'll look into taking the headlights off first, I last did it with them on and the tape doesn't really protect against slips of the hand.
#21
Driver
iTrader: (4)
I did it by hand in crisscross motion. I also let the paper do the work and not heavy pressure. I was able to use heavy painters tape doubled up and because I did it by hand I didn't have the problems machines give you. For best results the light should come out and affixed in a vice or something.
#22
Driver School Candidate
Any one have haze INSIDE of the lens as well? I've buffed mine but have found the inside of the plastic is also degrading 
Can the lens be removed to fix the interior?

Can the lens be removed to fix the interior?
#23
Advanced
iTrader: (1)
Originally Posted by maligned98
Any one have haze INSIDE of the lens as well? I've buffed mine but have found the inside of the plastic is also degrading 
Can the lens be removed to fix the interior?

Can the lens be removed to fix the interior?
#25
Driver School Candidate
Yeh I'm sure it's on the inside. I've done the wet sanding the compound polishing. Also happended to take the car to a panel shop and he confirmed it was inside.
#26
Driver School Candidate
The following users liked this post:
maligned98 (02-20-17)
The following users liked this post:
maligned98 (02-20-17)
Thread
Thread Starter
Forum
Replies
Last Post
Deathrow23
2Gen IS250 / IS350 / IS-F Classifieds (06-13)
3
11-28-11 09:38 PM


