When you click on links to various merchants on this site and make a purchase, this can result in this site earning a commission. Affiliate programs and affiliations include, but are not limited to, the eBay Partner Network.
So I've combed this forum for a while, looking for the guide I'm about to make, and because there was no prior guide that I could find, there may be better ways to do what I've been doing, so if that is the case, feel free to finally chime in. Provide me with images and red circles and all the help you can muster as I attempt to do the same.
So a dear friend of mine came into an inheritance, saw that I earnestly needed a car, new that I wanted a GS, and came back with this. The previous owner had put some ridiculous wheels on it, but whatever. It's a GS! Wooh! Can't complain about that! Then I noticed the intake manifold had the words 'timing belt replaced at 172,000' written on it. Upon further inspection, I noticed the water pump was also shiny and new. Sure enough, after only about a week of driving, she started running hot. So I started draining fluids and replacing parts like radiator cap, and thermostat and such. No leaks, still running hot.
Head gasket it is then...
Now this is a daunting job. After weeks of searching, the closest guide I could find to do this only goes as deep as the valve covers and is the vvt-i version out of a similar car, but not a gs.
Now the easiest pieces to pull on this car, the starting points, are the air box and the radiator. Of course, remember to drain your fluids before doing this. The air snorkel doesn't take much effort with just a bolt and an ancient screw clamp here and there. Unplug the sensors and you can practically pull the whole thing in one motion. The radiator is much the same. It's literally held in by two nuts. Disconnect hoses and pull straight up. I had hopes that the rest of the job would have the same flow and ease. Boy was I wrong.
More previous owner glitches...
That shiny new tensioner right there in the middle is actually a lie. Put a ratchet on it and it started free-spinning. When they pulled the serpentine belt before, they stripped the threads right out. So I just removed the bolt, saw it was wearing the threads from the tensioner, then removed the belt and tensioner itself. As a side note, this was actually done way later in my project. I'm not sure if it's impeded by anything that would prevent removing the cover that shows off the timing gears, but you will need Alan wrenches to get those and the valve cover-covers off. There are 3 10mm bolts holding the tensioner to the block so that was no big deal once the plastic cover is out of the way.
This is where the headache really begins. So using the youtube videos for es300 valve cover gasket replacement I made it past the throttle body and upper intake manifold. There are plenty of hoses, relays and connectors to get through along the way. Most of everything requires a 12mm socket and patience. Though one of the more difficult nuts on the manifold was replaced with a 13mm. The throttle body is held on by 2 long bolts on top and 2 nuts underneath the mouth. Manifold has 4-6 bolts on top and two nuts on the bottom outer side. They are next to impossible to get to without a really long extension. Especially the back one. Seeing as my intake had lots of carbon buildup, I elected to remove the middle section as well, so they could be cleaned.
Also the lower, but I have yet to figure out where the wire that runs between the tubes (#!@$ING seriously!?) Connects, so if anyone can point me in the right direction, please do so.
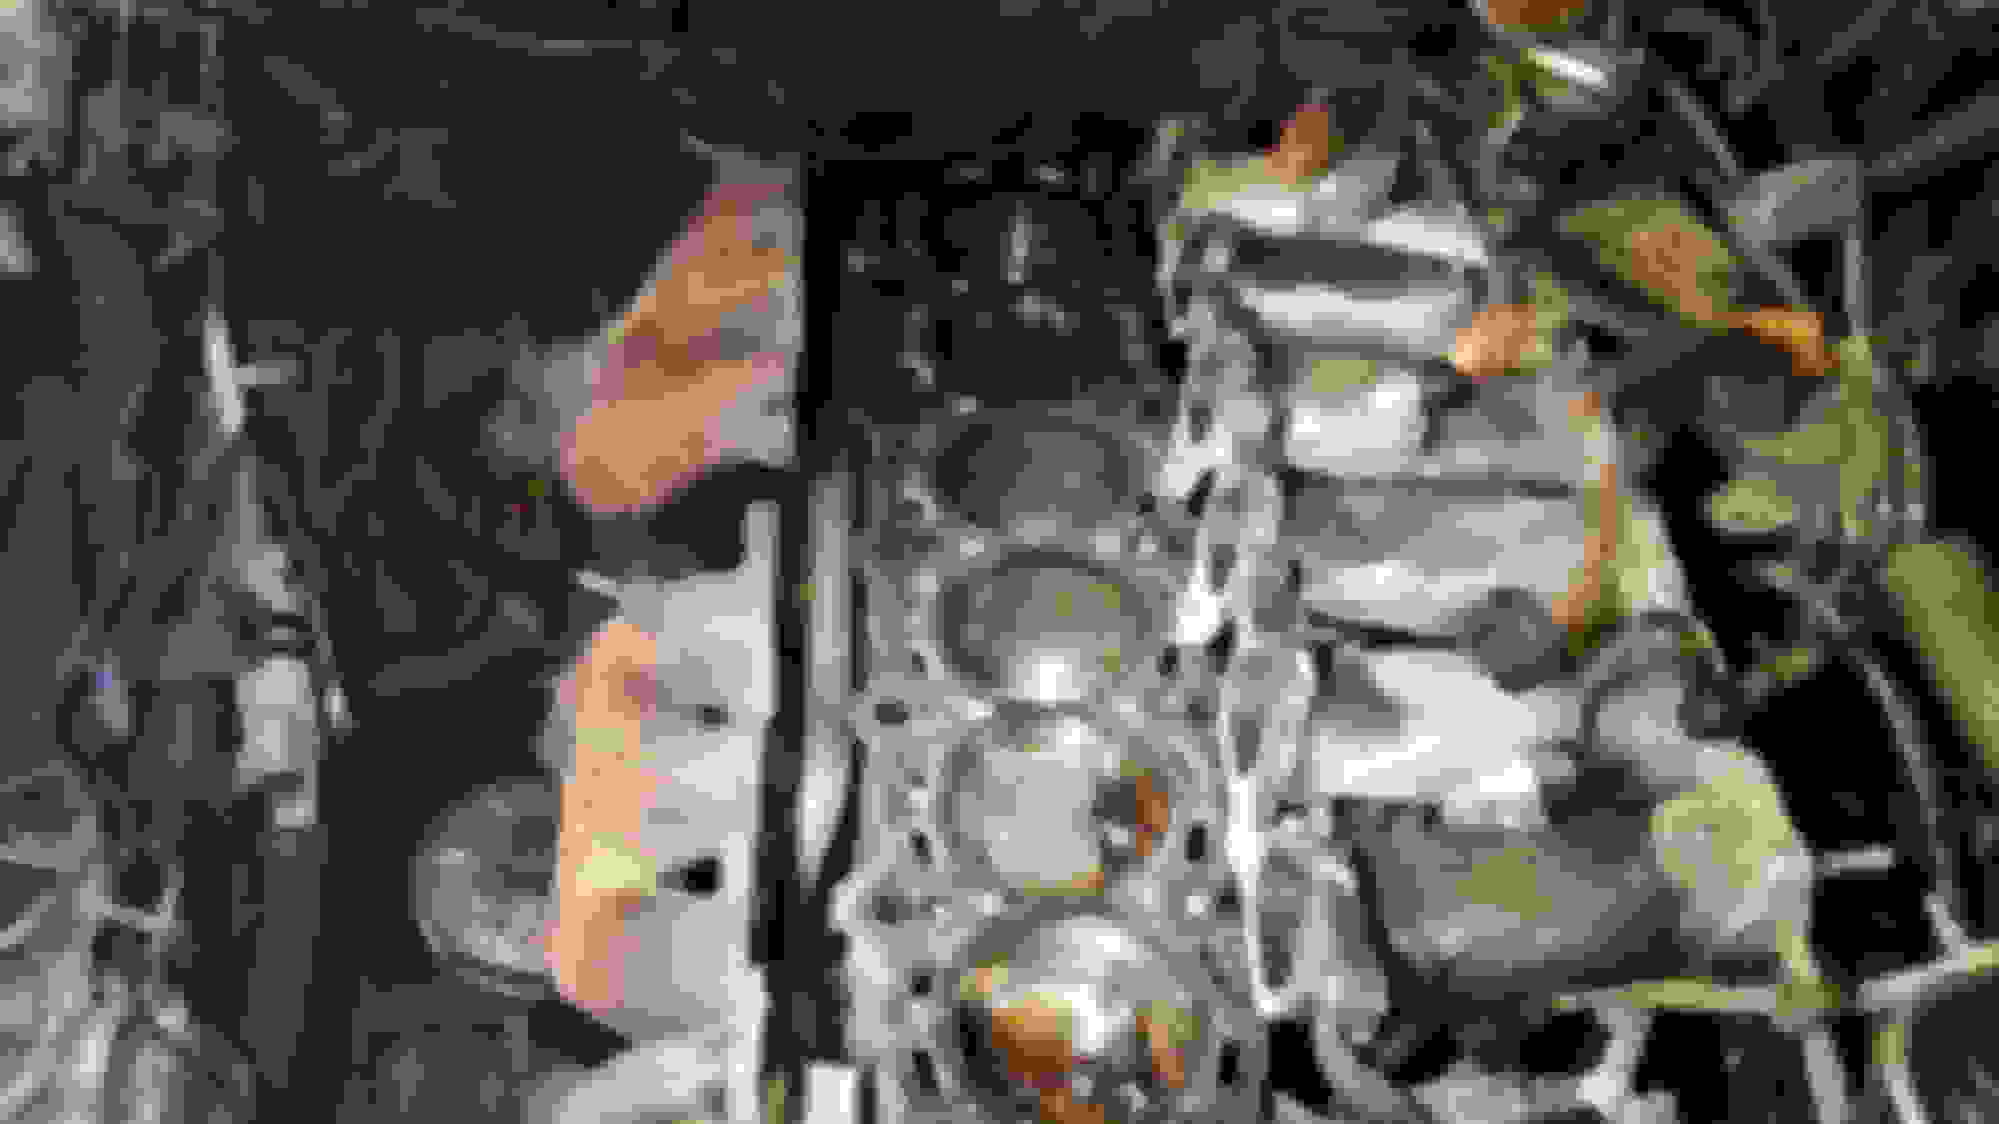
Valve cover-covers, as I've said are fairly easy. Just a few bolts there. The valve covers themselves are the same. Once inside, I elected to remove the timing gears first to slide that shiny new timing belt aside, as well as the plug wires. Then I removed the cam caps and placed them in a box in order. After that, I removed the cams and set them aside. You should see something like this once you've done this, only still on the engine...
These head bolts... these head bolts... To start, you need a 12 point, 12mm socket that fits a half inch socket. Found a set of 4 at autozone for $12. Then you will need to clean as much oil out of the tops of these bolts as you can or you will be spending a lot of time trying to remove this socket from the bolts. It likes to stick more often than not. The head bolts are down inside the head and go all the way from front to back on either side. After these are removed you still have one more giant... pain in the neck to remove...
You would think the exhaust manifold would be the hard part due to heat rust after 20 years of driving... nope... took all of 10 minutes to remove the heat shield, the O2 sensors and pull the manifolds back themselves. The biggest annoyance in this job of all is the lower intake manifold.
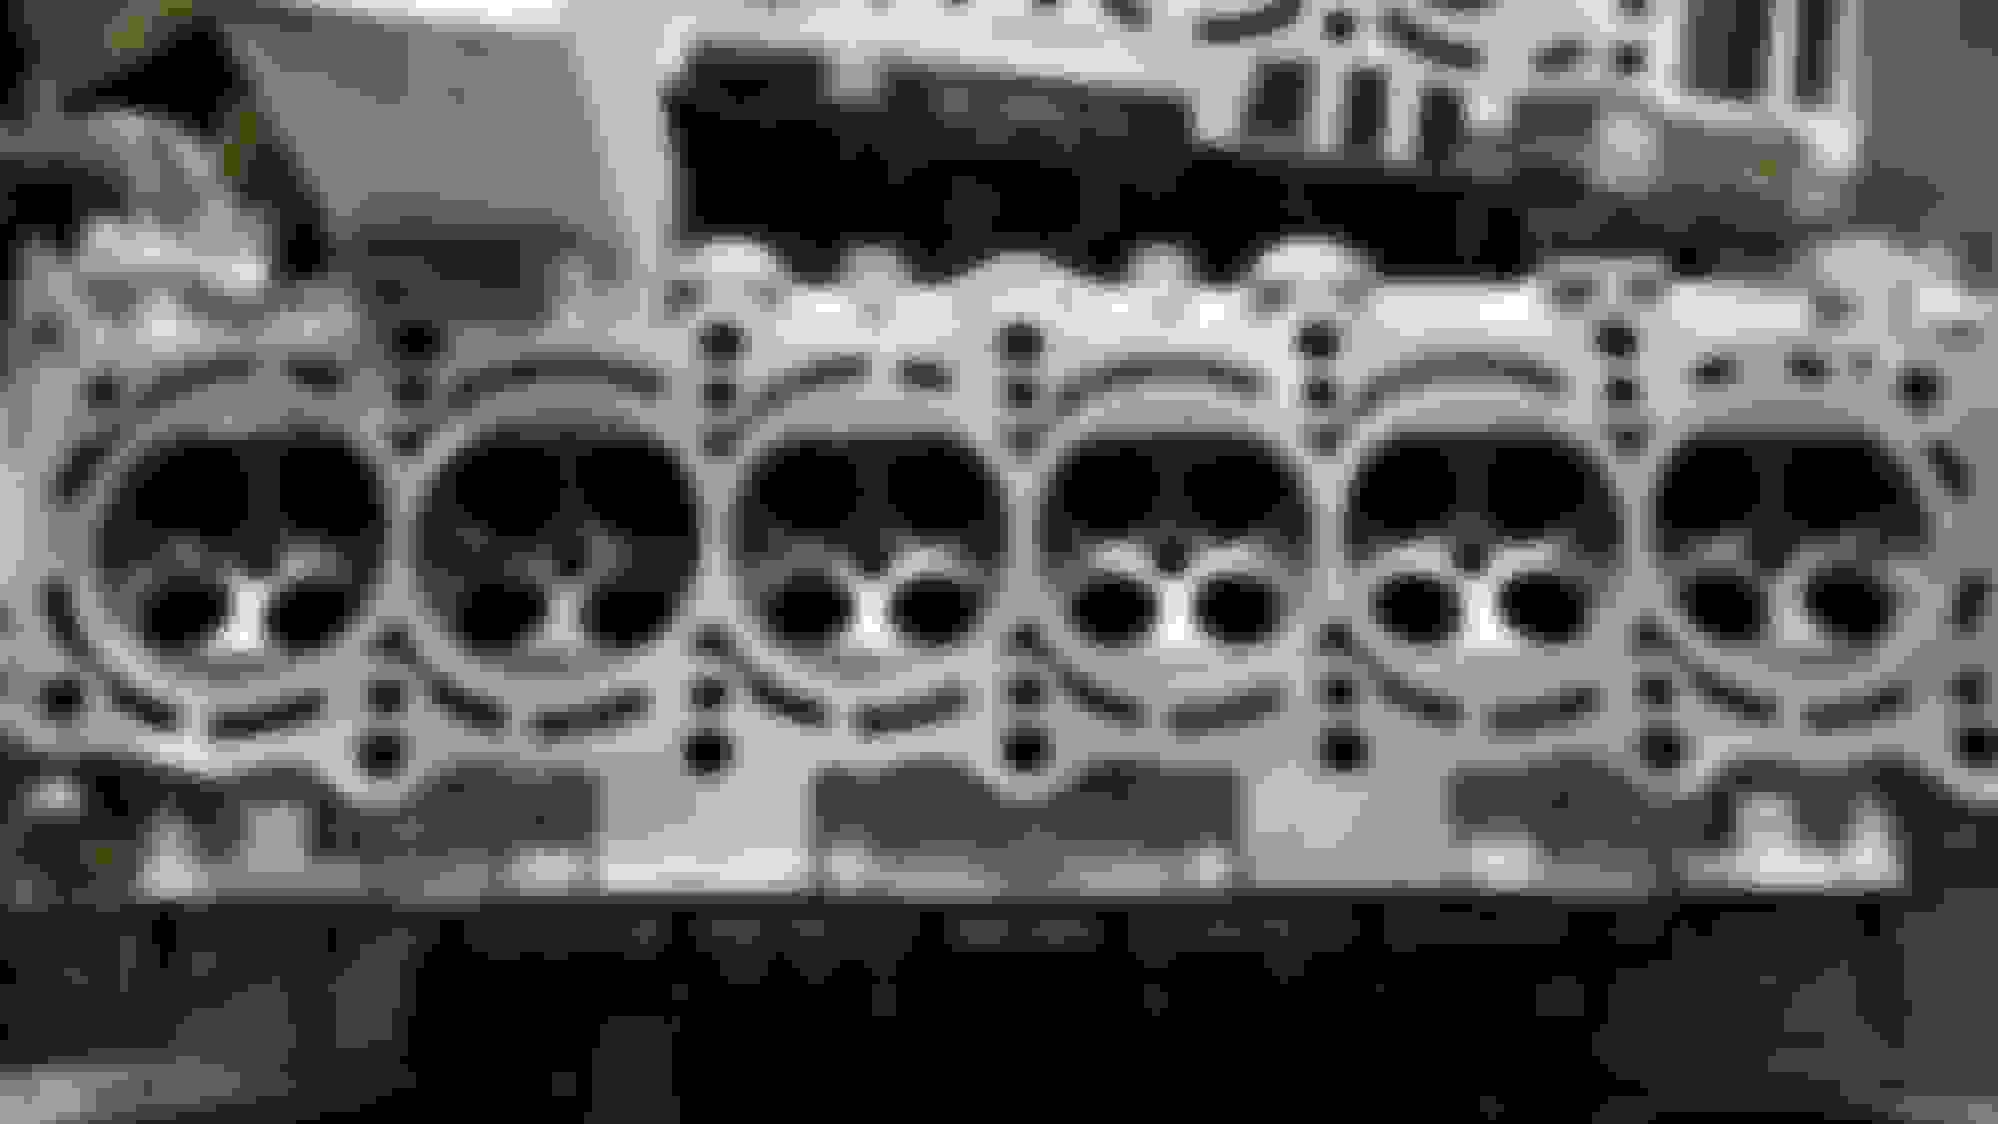
It doesn't come out with the head because some idiot thought it would be a great idea to run some wires off the wiring harness, down between the manifold pipes, to some unknown location. So I had to un bolt it. This time myself and two other guys, holding, prying and lifting to do this and took about 2 hours to find all the nuts and bolts. Once finally removed, I left the manifold where it sat and carried out the head. This is what I found.
If anybody does no how to remove that intake manifold without cutting wires, please let me know. I would so desperately love to clean it.
And here we have the root of the problem. Antifreeze on top of piston 5 and 6. Off to the machine shop!
good job. I too had the same problem, after changing motors once. Fearful of a head gasket job, I used BAR's stop leak. My hat goes off to you for the effort you are putting in. Keep it up. Looking forward to the rest of this thread.
You get bumped down the list when you're family, at the machine shop.
And yes, I do most of my own machine work. This thing terrified my grandpa when I brought it in to be worked. (What? Not 350 small block? What is this nonsense? )
Sorry for the blurry. Did this quickly before closing.
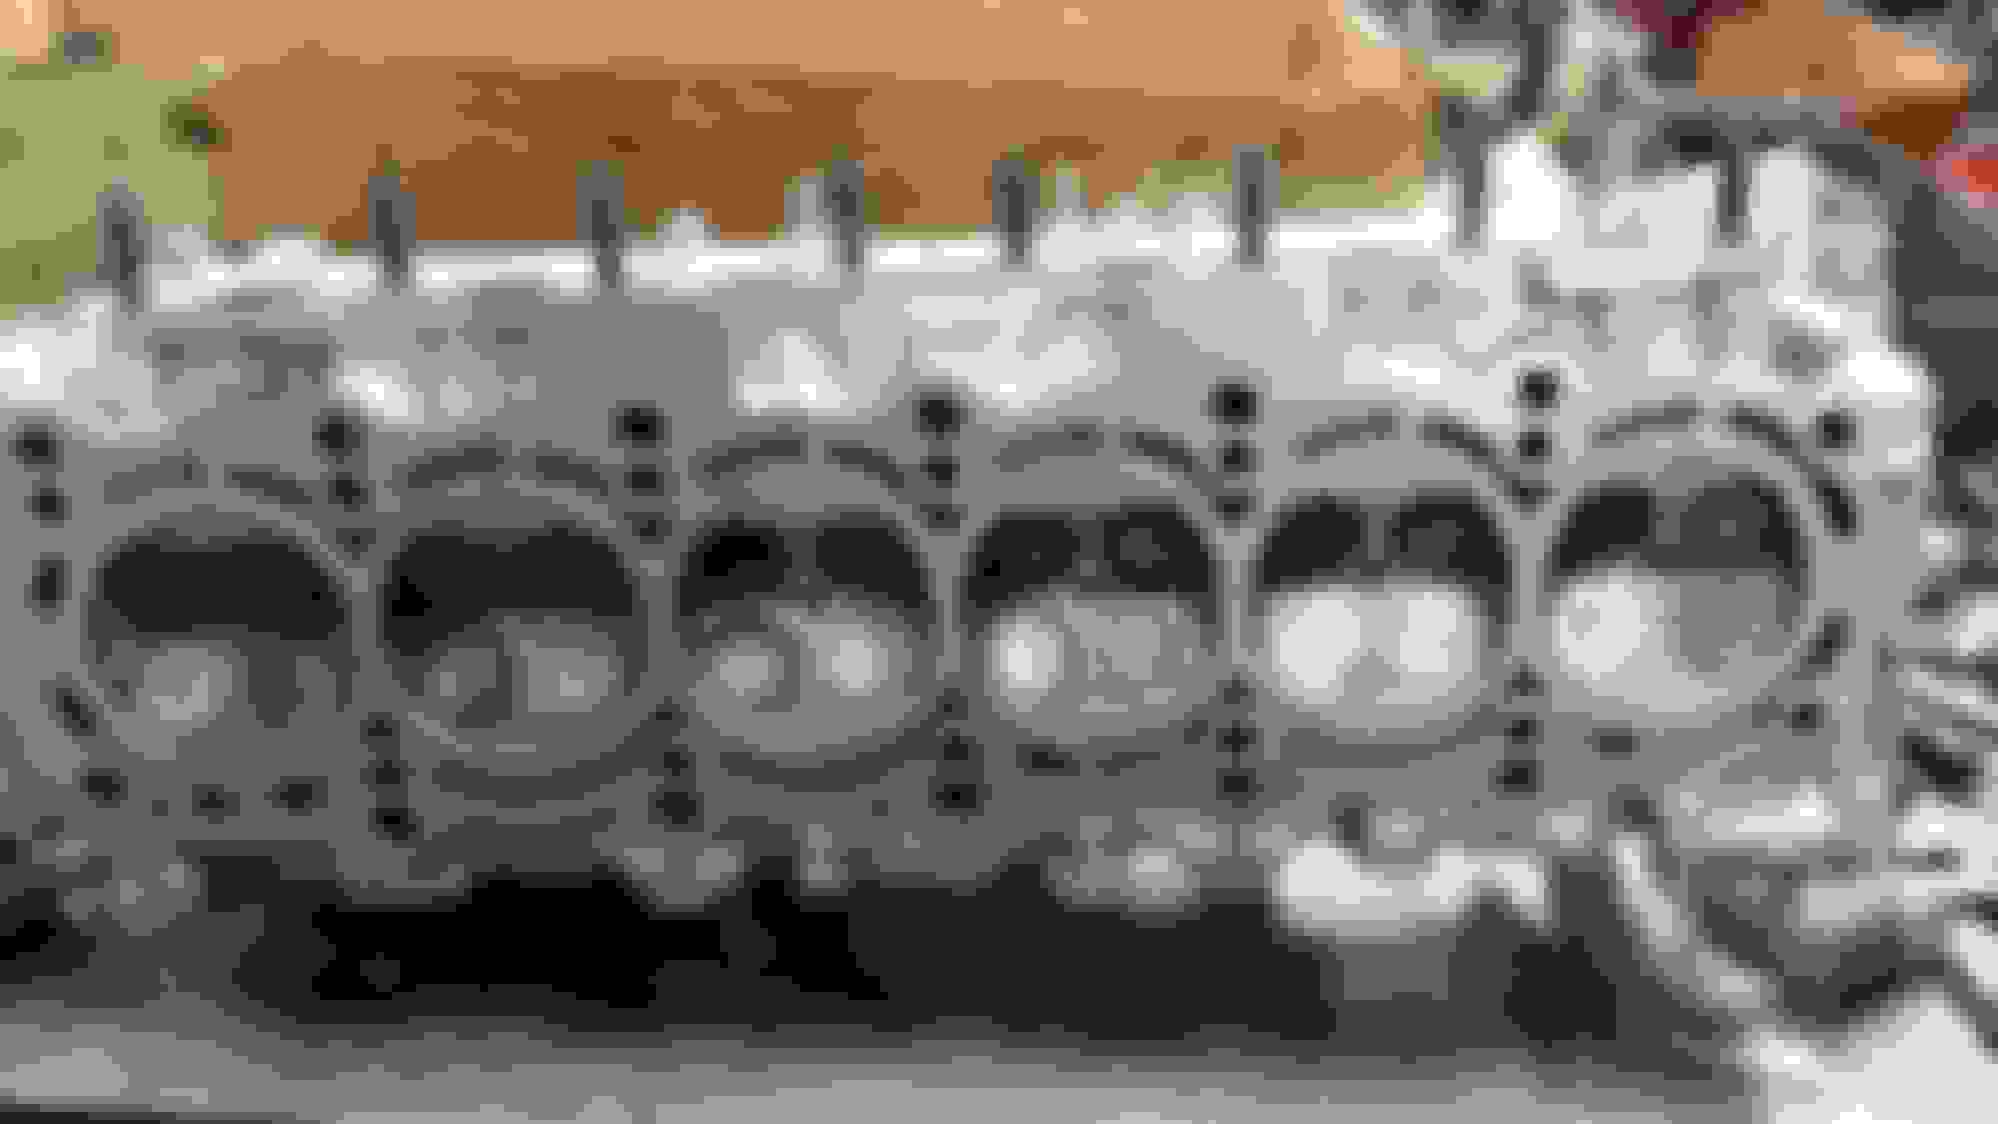
Valves look pretty good. None were seized and the exhaust valves are the only ones with carbon build up(typical). The head looks good. A little scratched up and in need of cleaning, but no cracks. I'll glass bead and grind the valves next.
Flat and smooth again. All that's left is grinding the seats. Out of 24 valves, only one intake valve was bad. Had a nice little pit in it. Ordering it with the headset tomorrow. I'm putting the turbo gasket back on it, but I may not do studs, because I don't plan to do anything crazy with this car. May try to find better, more common style head bolts though.
Valves adjusted, seals and springs installed, now I'm just waiting on Cometic to ship my gasket and we'll be ready to put the head back on the car.
Side note. On the back of the head, this piece here. Before you remove it, check your head set and make sure it came with the replacement gasket. Many do not. (Mine being one of many)
After some careful cleaning, positioning, tugging and positioning the head was sat back on the block. There are two guide pins that help you make sure it is aligned properly. Before this is done though, it is important to make sure that the crankshaft is turned to top dead center. This is accomplished by turning the crankshaft until the timing notch on the balancer pulley is lined up with the zero mark above it. Then it's as simple as making sure the head bolts are torqued.
After that, I stuck my cam gears on their cams and placed them in their slots with the timing notch pointed straight up on each. Then I torqued the caps and pulled the gears back off. After that, I put the cover, that goes behind the gears, back on and reattached the exhaust. And then it was midnight and my stopping point.
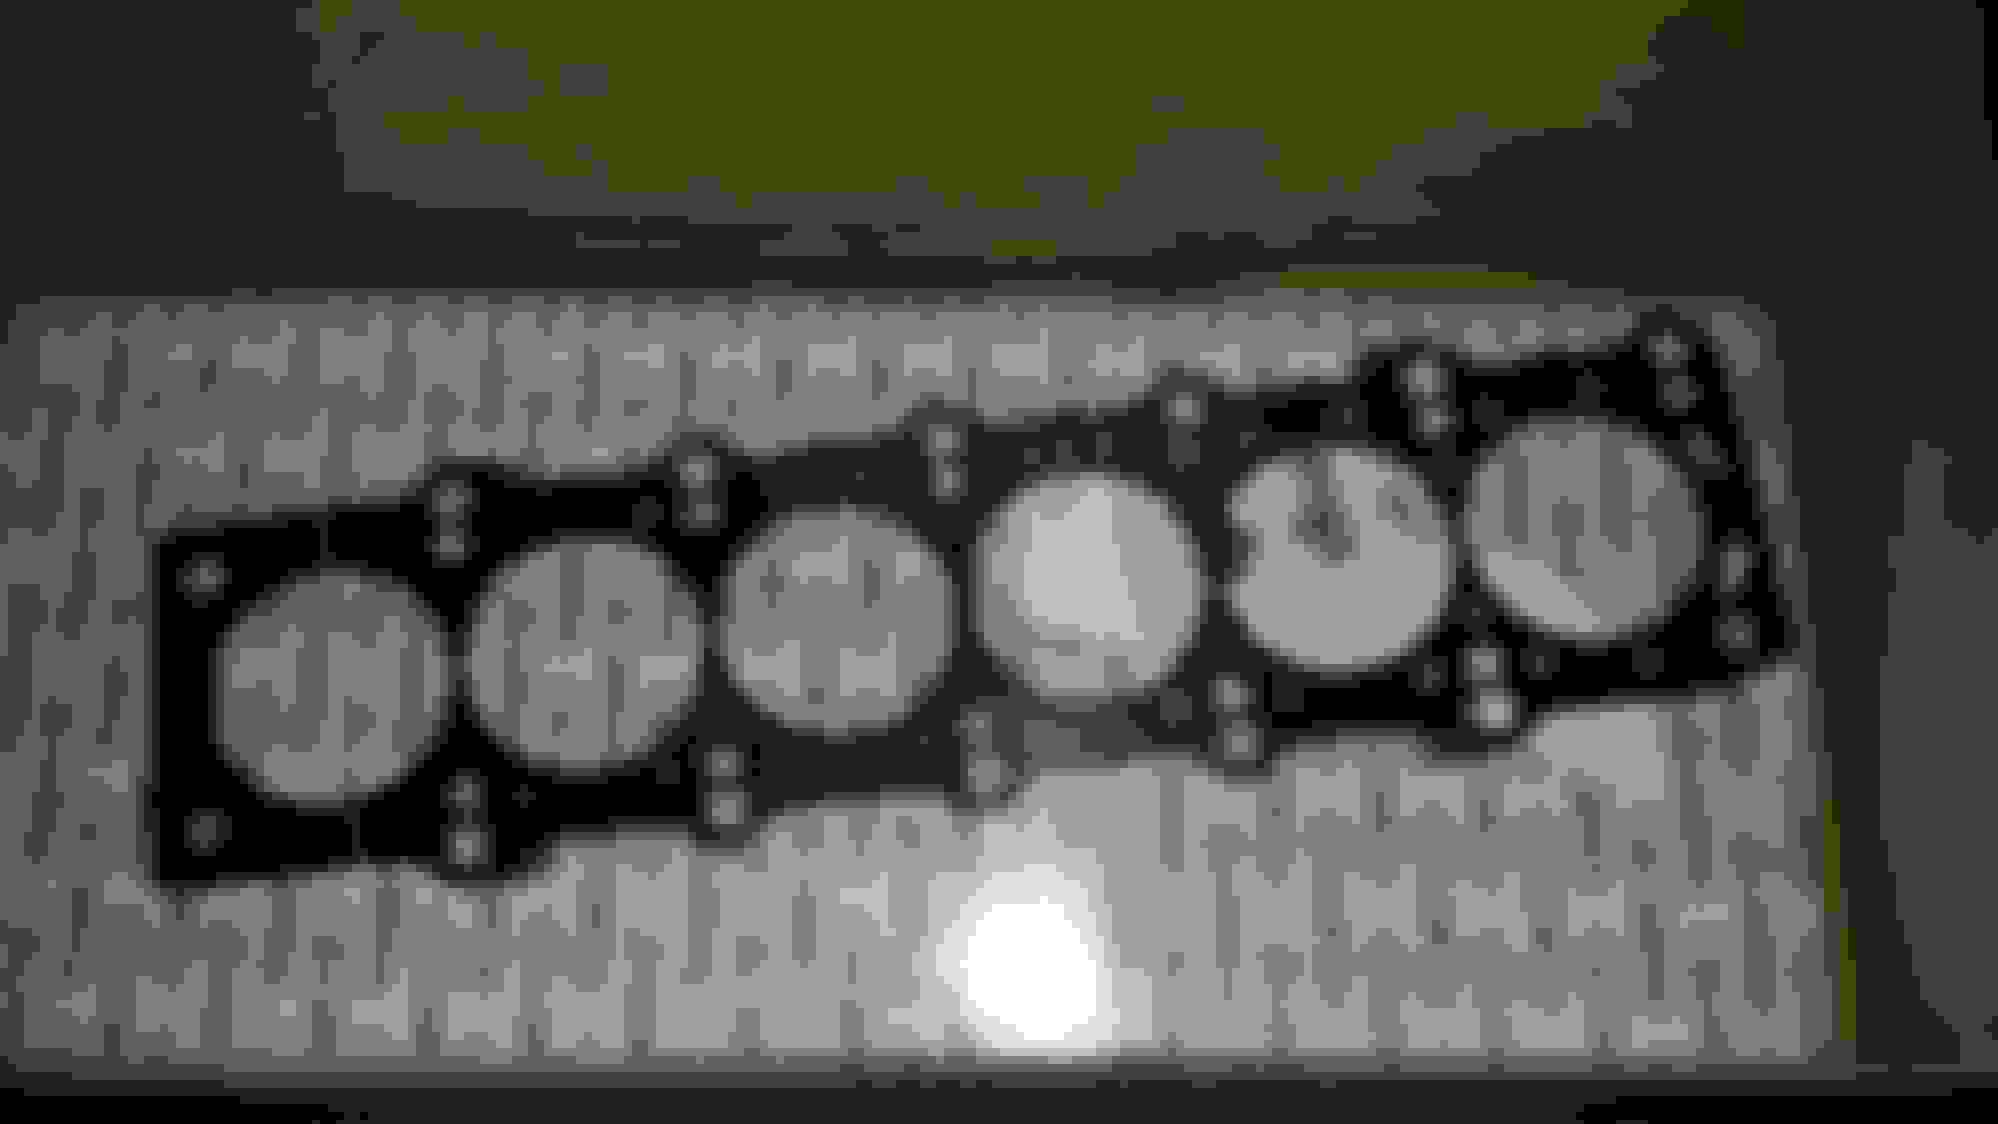
If you recall, when I started this thread, I stated I would be going with the turbo gasket. I either went about this the wrong way, or the companies who produce the turbo gaskets just no longer do so. I actually have a parts dealer that I deal with directly so they called companies like felpro and such and they could not get this gasket nor the actual turbo full head set. So what I ended up going to the dreaded autozone. They charged me for the turbo gasket and ordered it for me, but what I received, and therefore quickly returned, was the exact same NA gasket I already had. So I called my parts guys one last time and they pointed me toward Cometic, which is something I had been considering anyway. After a few days, I finally had my thicker gasket.
Why did I go through all of this? The 2jz-ge is a high compression engine and any surfacing done to the head would only increase that compression with a stock gasket, so I compensated. Though by going with the 0.51 gasket, I don't reduce my compression so much that it effects performance in a noticeable way and allows me to simply slap on a turbo when I'm ready to do so, as the internals are the same as the 2JZ-GTE.
I had heard studs, but no more power than I plan on adding, I shouldn't need studs.
I tackled this a few years ago with no writeup or mechanical experience. Pretty straight forward. Only cost me a whooping 300-400 bucks and a lot of patience. The good thing is that we have space under the hood of these cars. I'm pretty sure it took me about 2-3 hours to tackle this my second time around.
Needs clarification
Head gasket of .51 ? So is that .51 of a mm? That would be .019 of an inch, but if you mean .51 of an inch that is over a 1/2 inch. Did you mean .051 inch?
Thanks to JoeBob2385 for this excellent write up.
.
Not having to remove the engine and with this guide, I should be able to pull the head and replace the gasket.
Figure I have to bring the head to a machine shop to check for any crack and machine it down for flatness.
Originally Posted by joebob2385
So I've combed this forum for a while, looking for the guide I'm about to make, and because there was no prior guide that I could find, there may be better ways to do what I've been doing, so if that is the case, feel free to finally chime in. Provide me with images and red circles and all the help you can muster as I attempt to do the same.
So a dear friend of mine came into an inheritance, saw that I earnestly needed a car, new that I wanted a GS, and came back with this. The previous owner had put some ridiculous wheels on it, but whatever. It's a GS! Wooh! Can't complain about that! Then I noticed the intake manifold had the words 'timing belt replaced at 172,000' written on it. Upon further inspection, I noticed the water pump was also shiny and new. Sure enough, after only about a week of driving, she started running hot. So I started draining fluids and replacing parts like radiator cap, and thermostat and such. No leaks, still running hot.
Head gasket it is then...
Now this is a daunting job. After weeks of searching, the closest guide I could find to do this only goes as deep as the valve covers and is the vvt-i version out of a similar car, but not a gs.
Now the easiest pieces to pull on this car, the starting points, are the air box and the radiator. Of course, remember to drain your fluids before doing this. The air snorkel doesn't take much effort with just a bolt and an ancient screw clamp here and there. Unplug the sensors and you can practically pull the whole thing in one motion. The radiator is much the same. It's literally held in by two nuts. Disconnect hoses and pull straight up. I had hopes that the rest of the job would have the same flow and ease. Boy was I wrong.
More previous owner glitches...
That shiny new tensioner right there in the middle is actually a lie. Put a ratchet on it and it started free-spinning. When they pulled the serpentine belt before, they stripped the threads right out. So I just removed the bolt, saw it was wearing the threads from the tensioner, then removed the belt and tensioner itself. As a side note, this was actually done way later in my project. I'm not sure if it's impeded by anything that would prevent removing the cover that shows off the timing gears, but you will need Alan wrenches to get those and the valve cover-covers off. There are 3 10mm bolts holding the tensioner to the block so that was no big deal once the plastic cover is out of the way.
This is where the headache really begins. So using the youtube videos for es300 valve cover gasket replacement I made it past the throttle body and upper intake manifold. There are plenty of hoses, relays and connectors to get through along the way. Most of everything requires a 12mm socket and patience. Though one of the more difficult nuts on the manifold was replaced with a 13mm. The throttle body is held on by 2 long bolts on top and 2 nuts underneath the mouth. Manifold has 4-6 bolts on top and two nuts on the bottom outer side. They are next to impossible to get to without a really long extension. Especially the back one. Seeing as my intake had lots of carbon buildup, I elected to remove the middle section as well, so they could be cleaned.
Also the lower, but I have yet to figure out where the wire that runs between the tubes (#!@$ING seriously!?) Connects, so if anyone can point me in the right direction, please do so.
Valve cover-covers, as I've said are fairly easy. Just a few bolts there. The valve covers themselves are the same. Once inside, I elected to remove the timing gears first to slide that shiny new timing belt aside, as well as the plug wires. Then I removed the cam caps and placed them in a box in order. After that, I removed the cams and set them aside. You should see something like this once you've done this, only still on the engine...
These head bolts... these head bolts... To start, you need a 12 point, 12mm socket that fits a half inch socket. Found a set of 4 at autozone for $12. Then you will need to clean as much oil out of the tops of these bolts as you can or you will be spending a lot of time trying to remove this socket from the bolts. It likes to stick more often than not. The head bolts are down inside the head and go all the way from front to back on either side. After these are removed you still have one more giant... pain in the neck to remove...
You would think the exhaust manifold would be the hard part due to heat rust after 20 years of driving... nope... took all of 10 minutes to remove the heat shield, the O2 sensors and pull the manifolds back themselves. The biggest annoyance in this job of all is the lower intake manifold.
It doesn't come out with the head because some idiot thought it would be a great idea to run some wires off the wiring harness, down between the manifold pipes, to some unknown location. So I had to un bolt it. This time myself and two other guys, holding, prying and lifting to do this and took about 2 hours to find all the nuts and bolts. Once finally removed, I left the manifold where it sat and carried out the head. This is what I found.
If anybody does no how to remove that intake manifold without cutting wires, please let me know. I would so desperately love to clean it.
And here we have the root of the problem. Antifreeze on top of piston 5 and 6. Off to the machine shop!
This is a complex job for someone without write up or mechanical experiences. You can do it in only 2 to 3 hours? I am impressed.
Without having to remove the engine, I should be able to tackle this job. Just have to gather all good info so I can do it right the first time.
Will have to bring the head to a machine shop for cracks test and surfaced flat. Also grinding the valve seats.
I need a Lexus Service Manual.to make sure I do it right.
Originally Posted by m1k3yg
I tackled this a few years ago with no writeup or mechanical experience. Pretty straight forward. Only cost me a whooping 300-400 bucks and a lot of patience. The good thing is that we have space under the hood of these cars. I'm pretty sure it took me about 2-3 hours to tackle this my second time around.
 09-08-15, 07:10 AM