Replacing Non-Nav Radio in a 2007
 09-12-11, 09:40 AM
#31
Driver School Candidate

Join Date: Sep 2011
Location: TN
Posts: 4
Likes: 0
Received 0 Likes
on
0 Posts
EDIT: Nevermind Robert beat me to it. Here is a link to the complete build log on another thread.
http://downsouthbassproductions.com/...093#entry77093
 09-12-11, 09:42 AM
#32
Lead Lap
Thread Starter

Join Date: Jan 2007
Location: MS
Posts: 799
Likes: 0
Received 0 Likes
on
0 Posts
I do have to give props to Spencer. He was my right hand man on this install. It is definitely a 2 person job. I've done installs by myself in the past as well as with non-car audio guys and they are always a pain. Spencer provided help as well as new ideas all along the way.
09-12-11, 09:49 AM
#33
Driver School Candidate
Join Date: Sep 2011
Location: TN
Posts: 4
Likes: 0
Received 0 Likes
on
0 Posts
I do have to give props to Spencer. He was my right hand man on this install. It is definitely a 2 person job. I've done installs by myself in the past as well as with non-car audio guys and they are always a pain. Spencer provided help as well as new ideas all along the way.
09-12-11, 09:50 AM
#34
Lead Lap
Thread Starter
Join Date: Jan 2007
Location: MS
Posts: 799
Likes: 0
Received 0 Likes
on
0 Posts
Door speakers were yesterday. I followed the instructions in post 28 of https://www.clublexus.com/forums/es3...ml#post2719554 . We couldn't figure out how to remove the door handle cover without marring the surround door panel so we left the 5th screw untouched in this install. Spencer pulled the panel back while I reached from under and removed the existing door speaker using a wrench and 10mm socket. I used a knife to remove some tape to allow the speaker to move down a little further where I could remove the factor wiring plug.
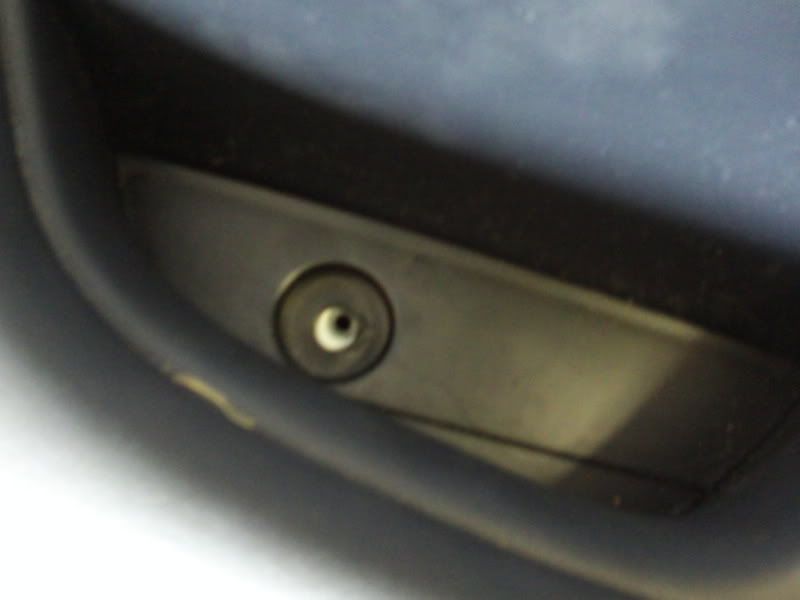
Inside the door closing handle. Remove the felt and screw.
Rear of the door.
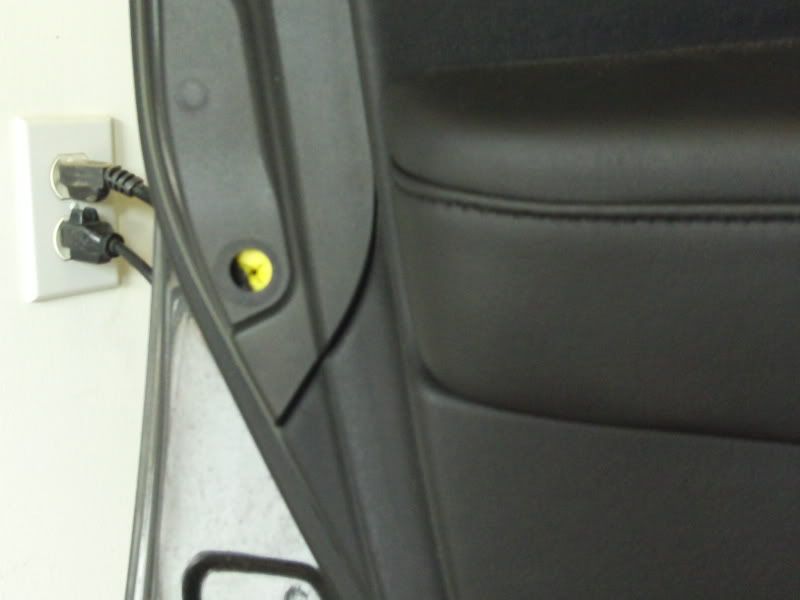
Air vent screw.
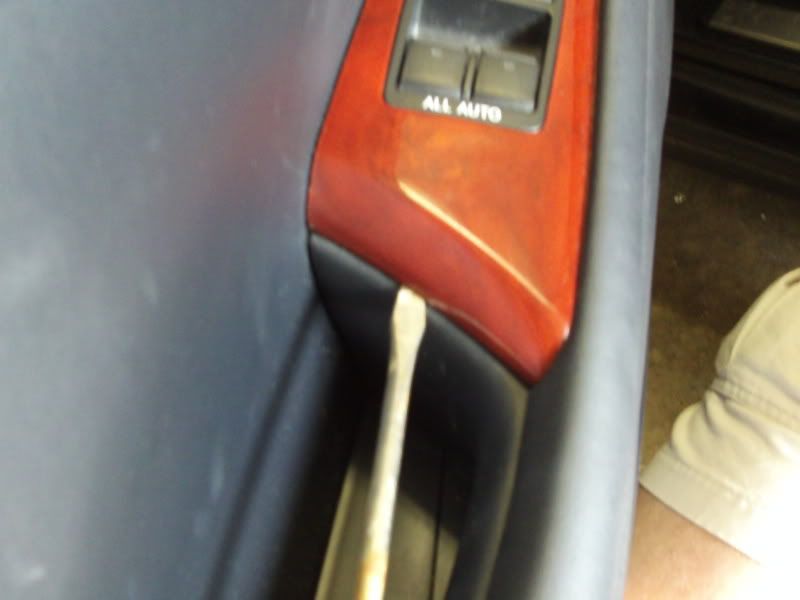
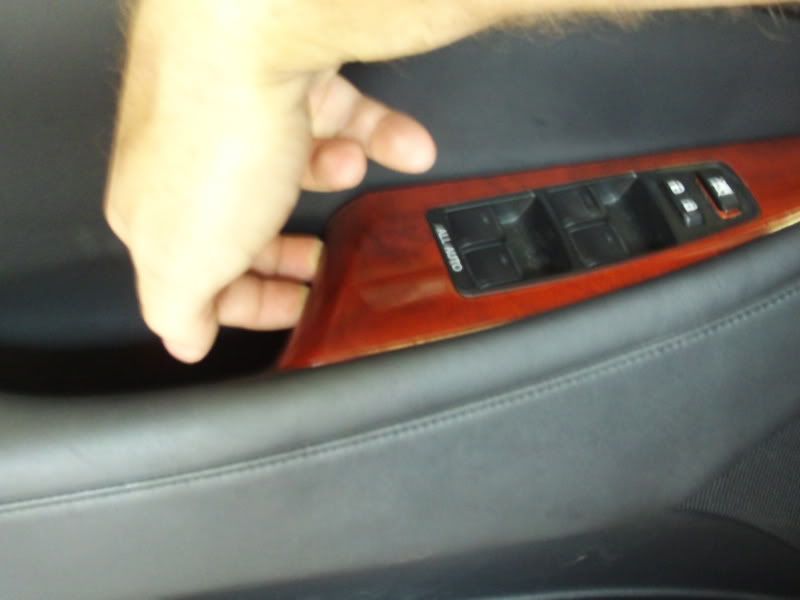
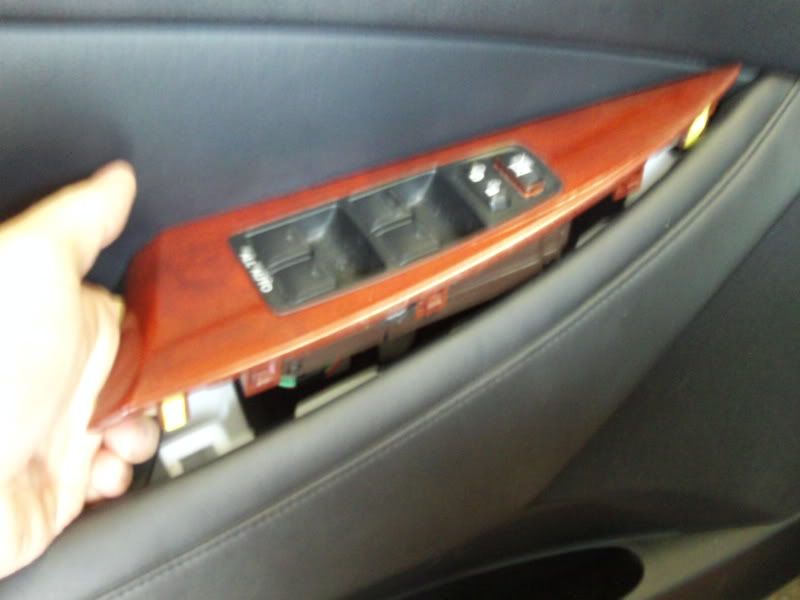
4th and last screw was under the switches. The rear pulled up easily and I held it up with my fingers. A screwdriver half way to the front pried it up the rest of the way.
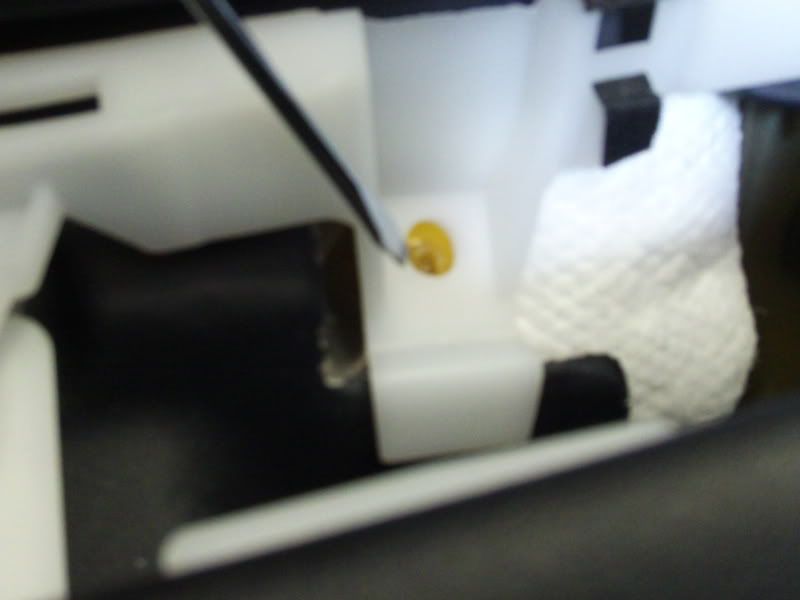
Inside the door closing handle. Remove the felt and screw.
Rear of the door.
Air vent screw.
4th and last screw was under the switches. The rear pulled up easily and I held it up with my fingers. A screwdriver half way to the front pried it up the rest of the way.
09-12-11, 10:54 AM
#35
Driver School Candidate
Join Date: Sep 2011
Location: TN
Posts: 4
Likes: 0
Received 0 Likes
on
0 Posts
09-12-11, 10:55 AM
#36
Lead Lap
Thread Starter
Join Date: Jan 2007
Location: MS
Posts: 799
Likes: 0
Received 0 Likes
on
0 Posts
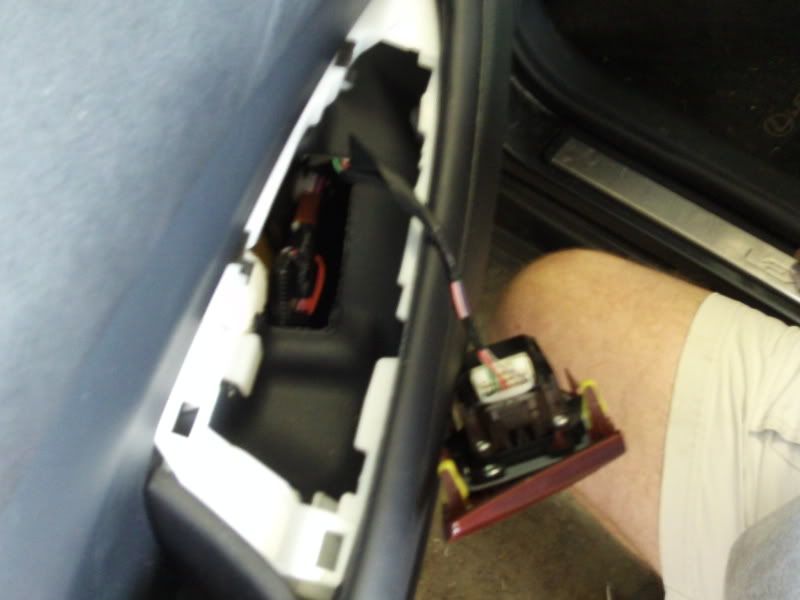
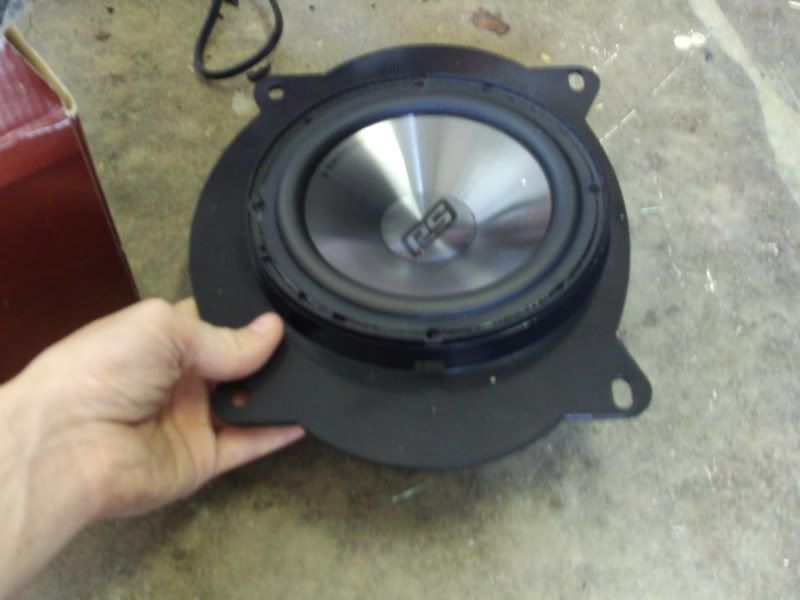
As I stated earlier, I removed the speakers without removing the door panels all of the way. Below is me working on the passenger door. It took 10 minutes to replace that speaker. The driver's side door was a lot slower because we were learning along the way.

Skipped a spot where I put the door speaker into the Metra 6x9 to 6.5" adapter. I had to remove some plastic tabs with the trusty Dremel.
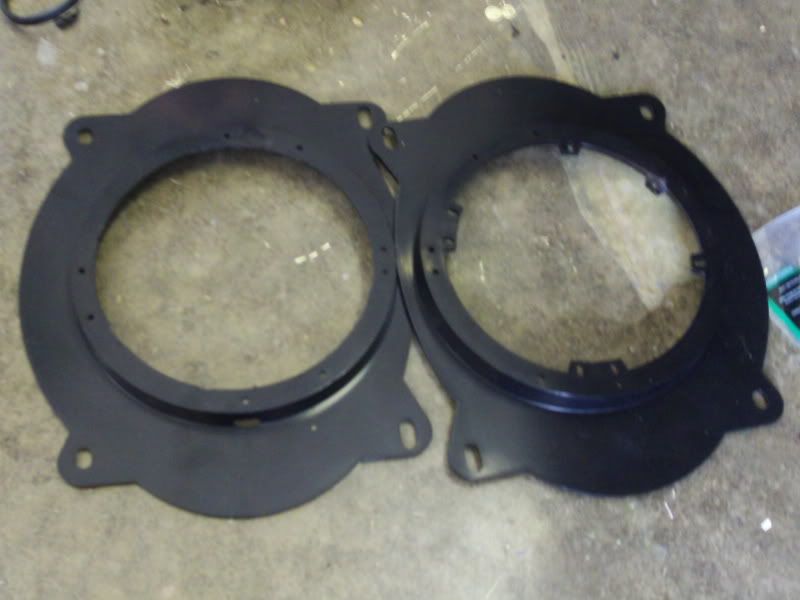
I bought 2 sets of Metra Toyota speaker adapter plugs but found out I only needed 1 set (more on that later). I even compared them to the factory plug.
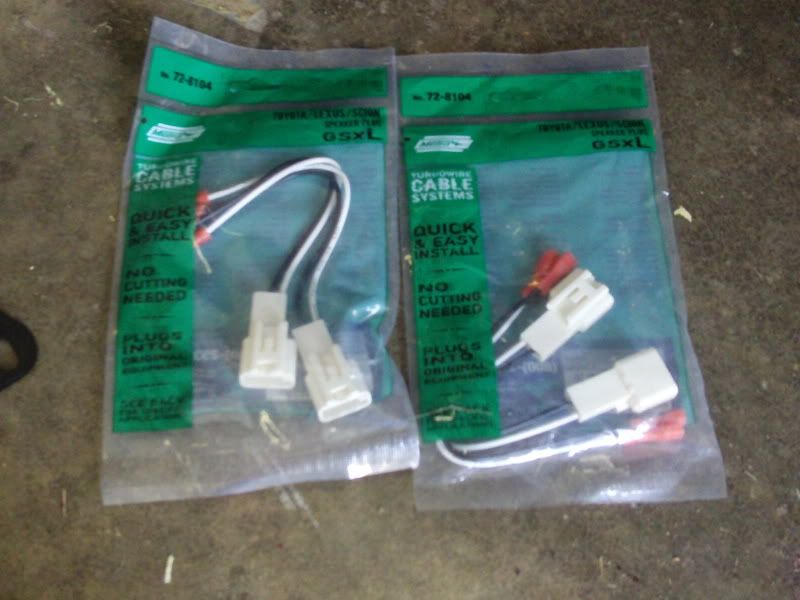
Skipped a spot where I put the door speaker into the Metra 6x9 to 6.5" adapter. I had to remove some plastic tabs with the trusty Dremel.
I bought 2 sets of Metra Toyota speaker adapter plugs but found out I only needed 1 set (more on that later). I even compared them to the factory plug.
09-12-11, 11:03 AM
#37
Lead Lap
Thread Starter
Join Date: Jan 2007
Location: MS
Posts: 799
Likes: 0
Received 0 Likes
on
0 Posts
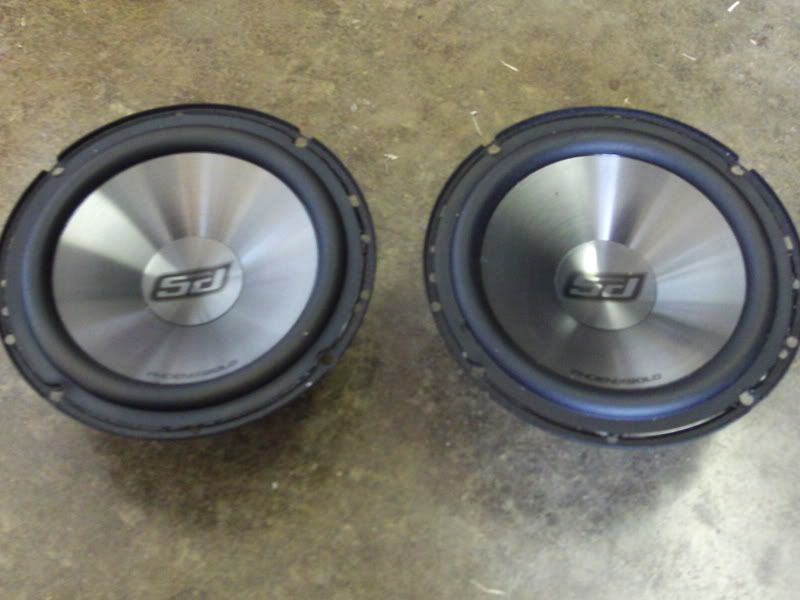
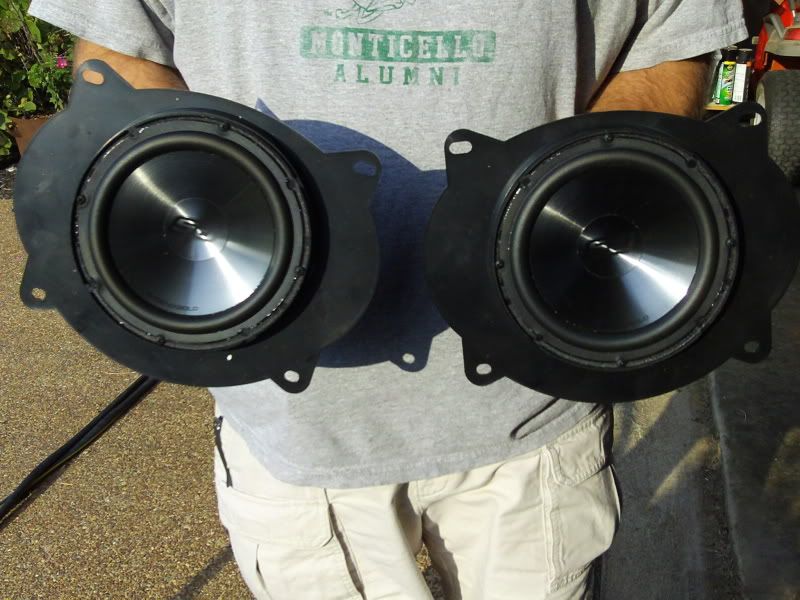
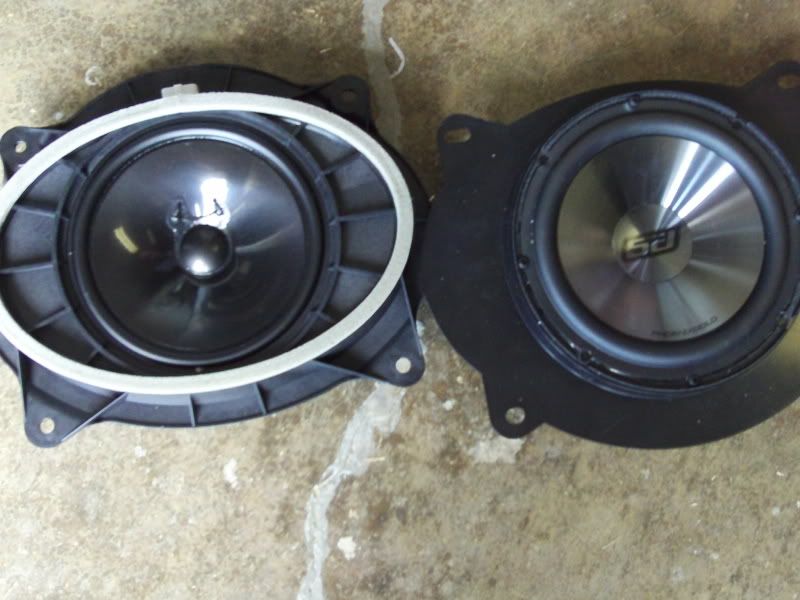
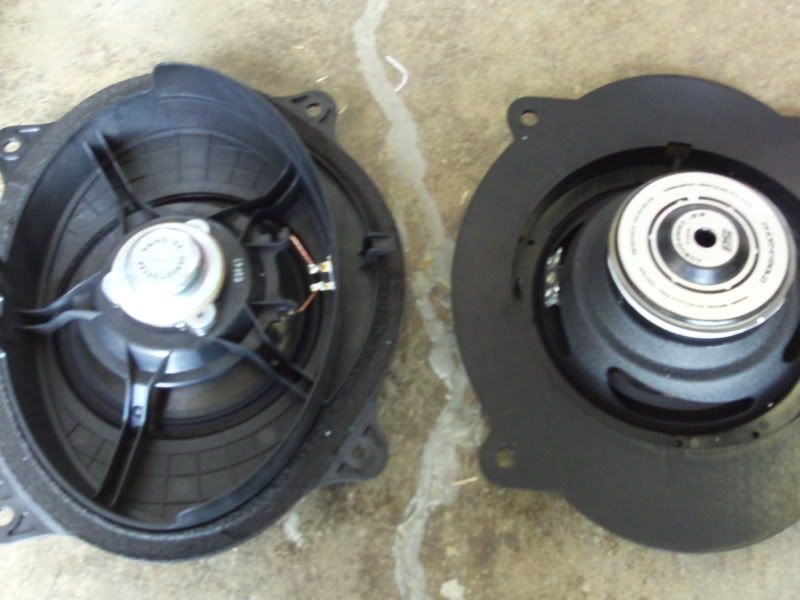
The factory speakers are pitiful at best. They sell for $80/pair on Ebay but the $10 speakers at Wal-Mart are built better. There is no metal frame on the sub. The 6x9 plastic adapter is the frame. You can see the motor structure (magnet) is glued to the plastic of the frame. The PG speakers use a much beefier motor and the instructions give the Thiele/Small parameters if the user needs them. FYI, the Qts is a .6 which makes for an excellent infinite baffle type speaker.
09-12-11, 11:14 AM
#38
Lead Lap
Thread Starter
Join Date: Jan 2007
Location: MS
Posts: 799
Likes: 0
Received 0 Likes
on
0 Posts
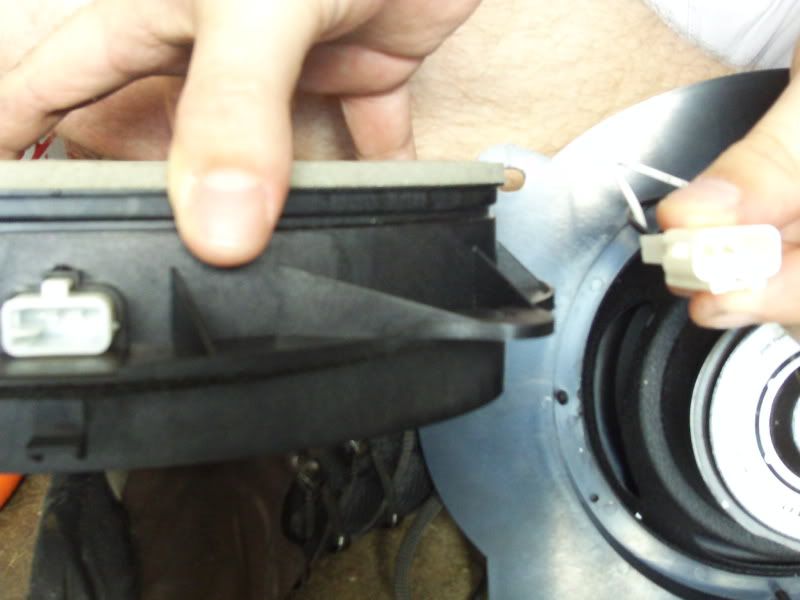
After the door speakers were completed, we moved to the tweeters in the dash. This was easy AFTER we figured out the wiring. There was no need for the 2nd set of Toyota speaker wiring harnesses since the plug is completely different.
Removing the grills was simple. I used a hook tool to lift the grill up a little. I put in a wide, flat head screw driver and twisted. The grill holders popped loose and grill was removed and stored in a safe place. Two 10mm bolts hold the speaker brackets to the dash.
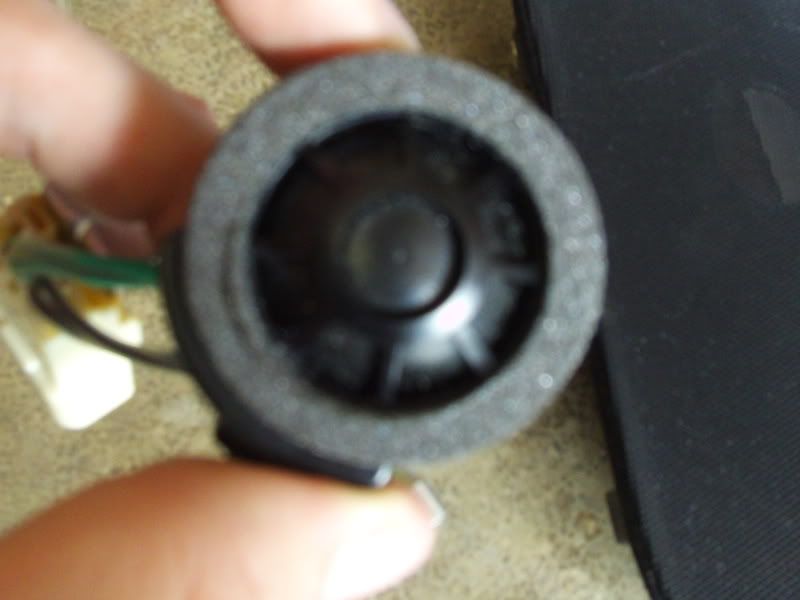
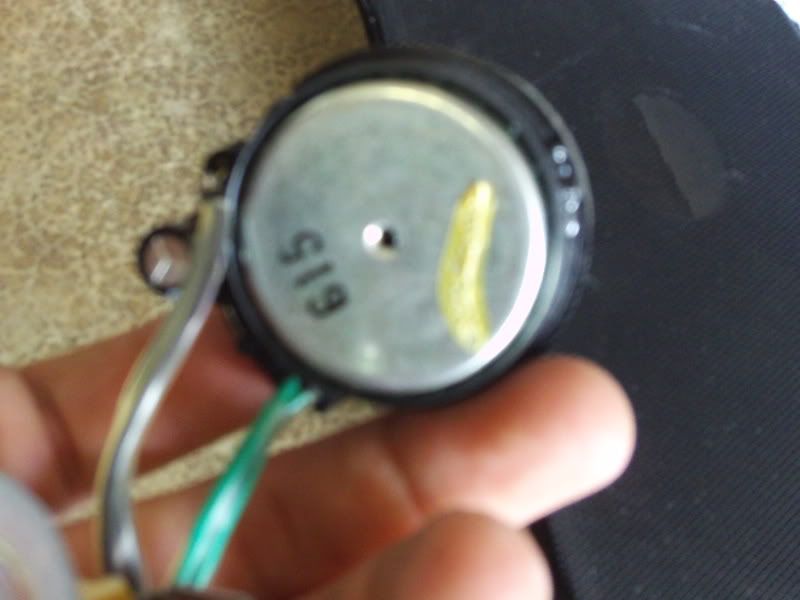
The tweeters are wired in parallel with the door speakers. The connection between the speaker contains 4 wires. One pair is coming from the amp and the other pair goes to the door speaker. The tweeter has a 1 cent electrolytic capacitor filtering the highs. If they were going with that, the least they could have done is spent a nickle on a polypropylene cap which is much more musical.
I tested each pair of wires with a multi-tester looking for the set of wires going to the door speaker. That pair of wires reads about 3.7 ohms on the meter. The other pair comes from the amp and reads 0 ohms.
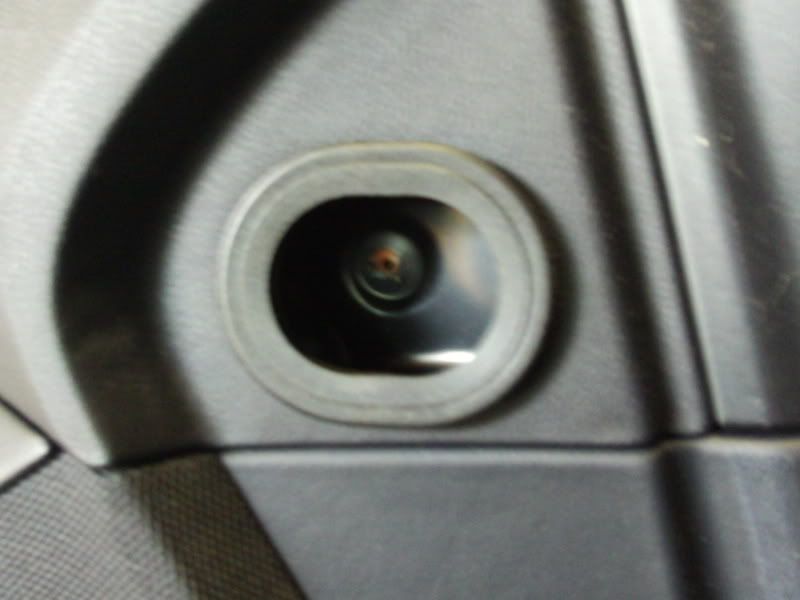
Here's the factory speaker with the plug barely visible.
Removing the grills was simple. I used a hook tool to lift the grill up a little. I put in a wide, flat head screw driver and twisted. The grill holders popped loose and grill was removed and stored in a safe place. Two 10mm bolts hold the speaker brackets to the dash.
The tweeters are wired in parallel with the door speakers. The connection between the speaker contains 4 wires. One pair is coming from the amp and the other pair goes to the door speaker. The tweeter has a 1 cent electrolytic capacitor filtering the highs. If they were going with that, the least they could have done is spent a nickle on a polypropylene cap which is much more musical.
I tested each pair of wires with a multi-tester looking for the set of wires going to the door speaker. That pair of wires reads about 3.7 ohms on the meter. The other pair comes from the amp and reads 0 ohms.
Here's the factory speaker with the plug barely visible.
09-12-11, 11:20 AM
#39
Lead Lap
Thread Starter
Join Date: Jan 2007
Location: MS
Posts: 799
Likes: 0
Received 0 Likes
on
0 Posts
Since I didn't use the Metra speaker wiring harness, how did I plug into the existing wires. After cutting two wires off the factory plug and failing to properly strip off the insulation (very brittle wire), Spencer suggested removing the contacts from the plug. Awesome idea!!! No need to strip. Just put the connector under the screw contacts of the crossover. The downside is that it was difficult to remove the contacts. I ended up squeezing the connector with a large pair of pliers until it cracked. I used side cutters to cut away parts of plastic until I could remove each connector. I then cut the excess metal leaving about 3/8" of metal connector on each wire.
I tested each pair of wires again to make sure I made the proper connections to crossover box. Here are the crossovers and the tweeters. As you can see, these are 2nd order (12db/octave) crossovers with an adjustable tweeter output. PG even used poly caps in their crossovers.
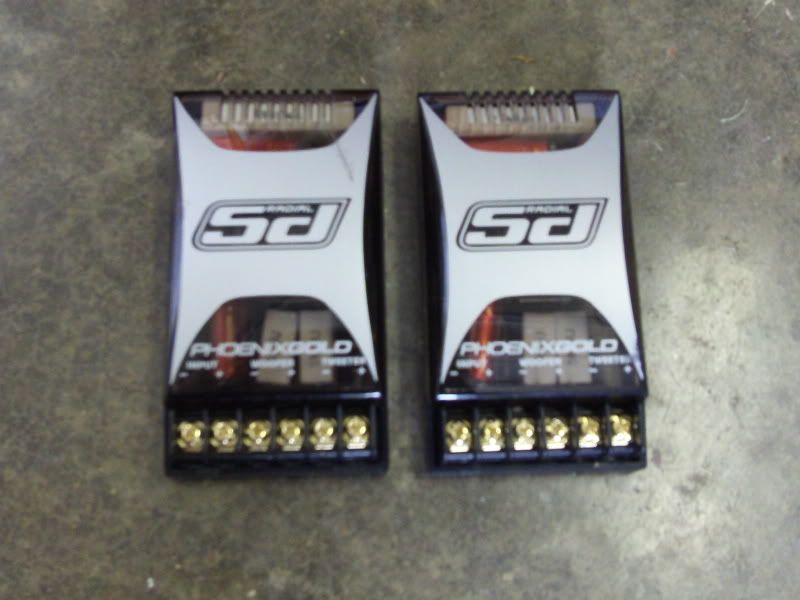
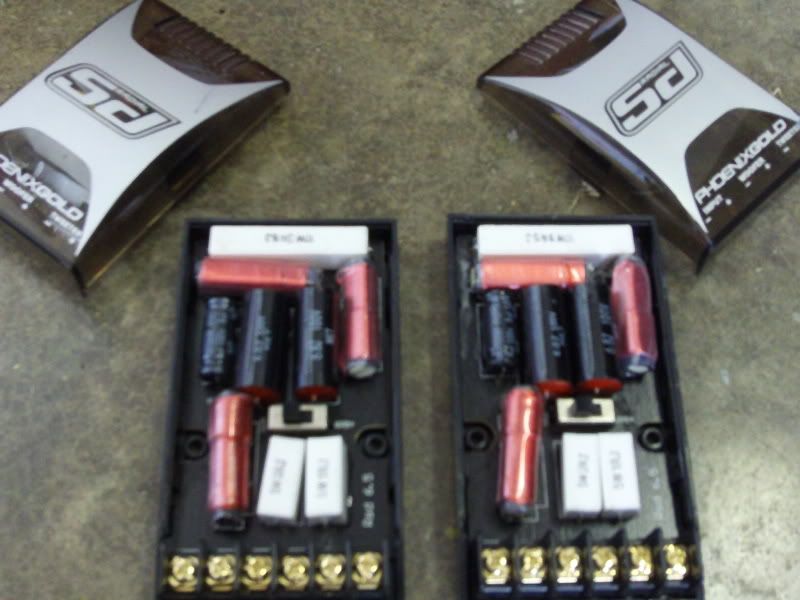
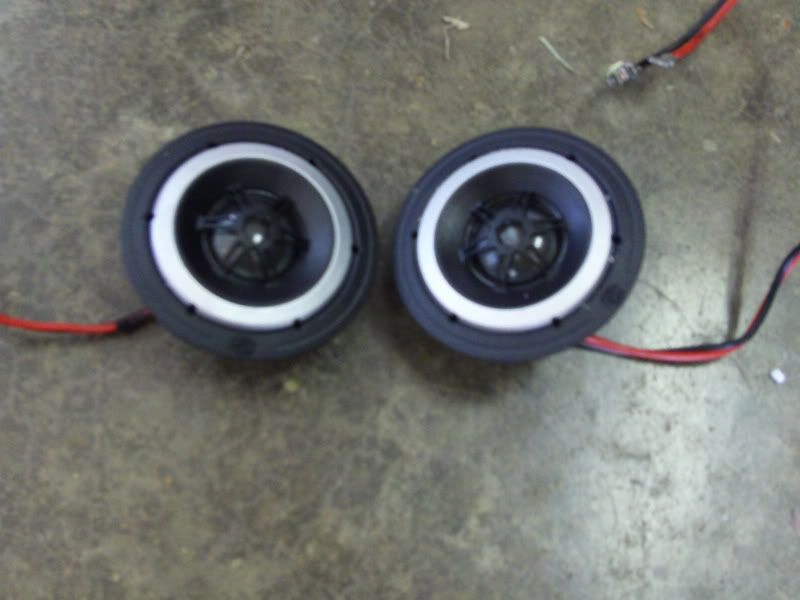
I tested each pair of wires again to make sure I made the proper connections to crossover box. Here are the crossovers and the tweeters. As you can see, these are 2nd order (12db/octave) crossovers with an adjustable tweeter output. PG even used poly caps in their crossovers.
09-12-11, 11:27 AM
#40
Lead Lap
Thread Starter
Join Date: Jan 2007
Location: MS
Posts: 799
Likes: 0
Received 0 Likes
on
0 Posts
Now the wires are ready and connected to the crossovers (including the tweeter). It's as easy as using a stubby screwdriver. We applied 3M foam tape (double sided sticky) to the back of the crossover and placed into the speaker hole in the dash.
The speaker bracket was installed over the crossover.
Finally, the tweeter was connected to the bracket using tape as well.
The grills were snapped back into place and all was done.
The speaker bracket was installed over the crossover.
Finally, the tweeter was connected to the bracket using tape as well.
The grills were snapped back into place and all was done.
09-12-11, 11:30 AM
#41
Lead Lap
Thread Starter
Join Date: Jan 2007
Location: MS
Posts: 799
Likes: 0
Received 0 Likes
on
0 Posts
Along the way, we tested everything before re-assembly. For example, I held the new door speakers in place while Spencer lowered and raised the window to make sure we cleared the much larger magnet of the new speaker. Yes, based on the information I pulled from Crutchfield I was sure this would work but I always test.
Same with the tweeters. We drove around for a while with the replacement tweeters just sitting there before deciding on using the 0db or the +2db setting on the crossover. We decided on +2db since the occupants of the car are off-axis.
Same with the tweeters. We drove around for a while with the replacement tweeters just sitting there before deciding on using the 0db or the +2db setting on the crossover. We decided on +2db since the occupants of the car are off-axis.
09-12-11, 11:41 AM
#42
Lead Lap
Thread Starter
Join Date: Jan 2007
Location: MS
Posts: 799
Likes: 0
Received 0 Likes
on
0 Posts
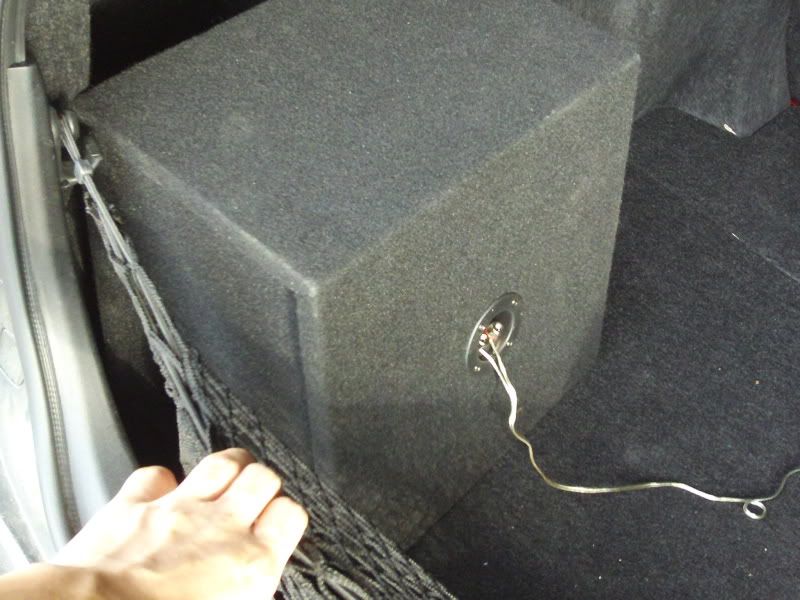
The sub was done two weeks ago but I didn't have speakers. I started with a pre-fab box from Wal-Mart.
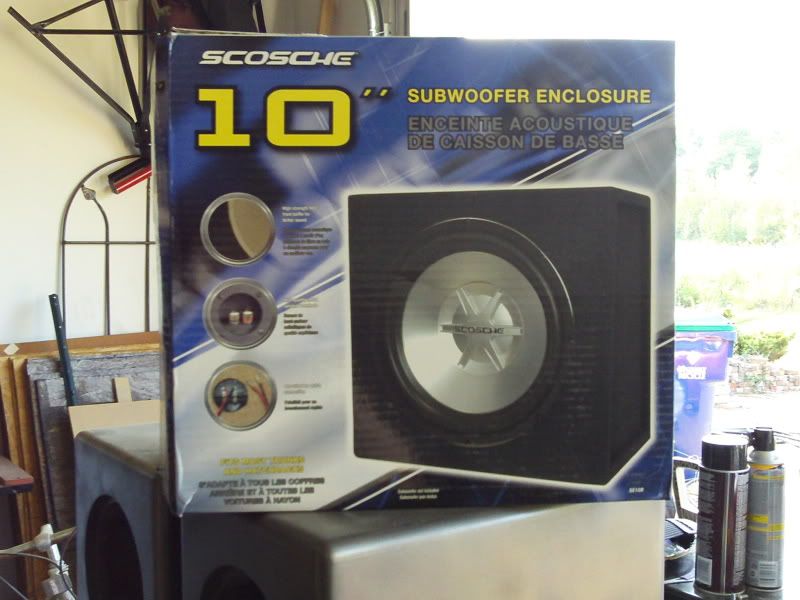
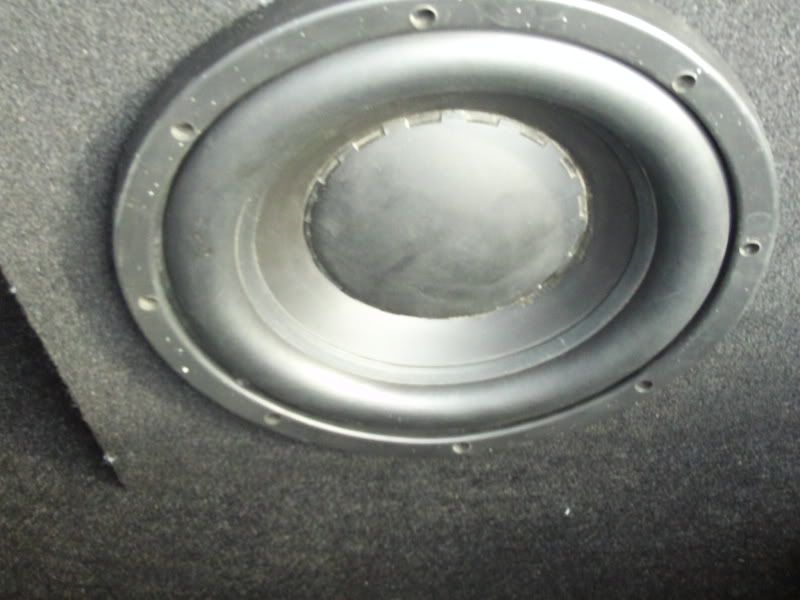
I added a 10", 4 ohm sub from Blueprint. Never heard of them? They were around for about a year in 2002/2003 and extremely popular with the DIY home audio crowd. They were built by Desitjl Engineering which is the same company that made the Resonant Engineering, Beyond Audio, Adire Audio subs. They use XBL^2 technology which was invented by Dan Wiggins.
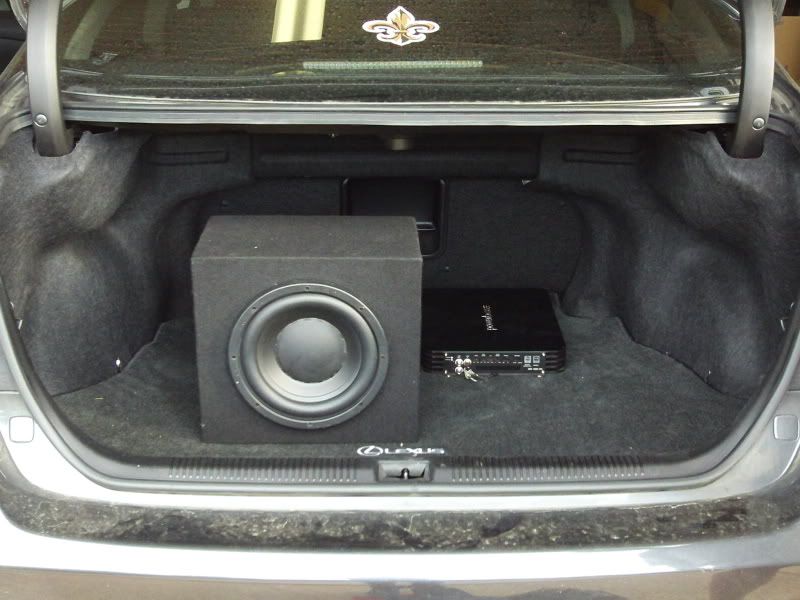
I've tested this in numerous locations in the trunk and it sound best firing into the corner. The additional loading helps with additional bass.
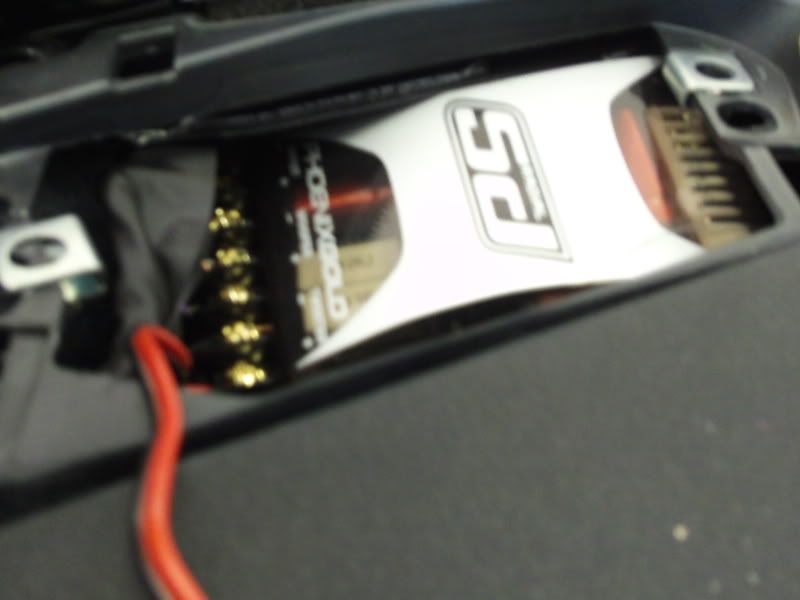
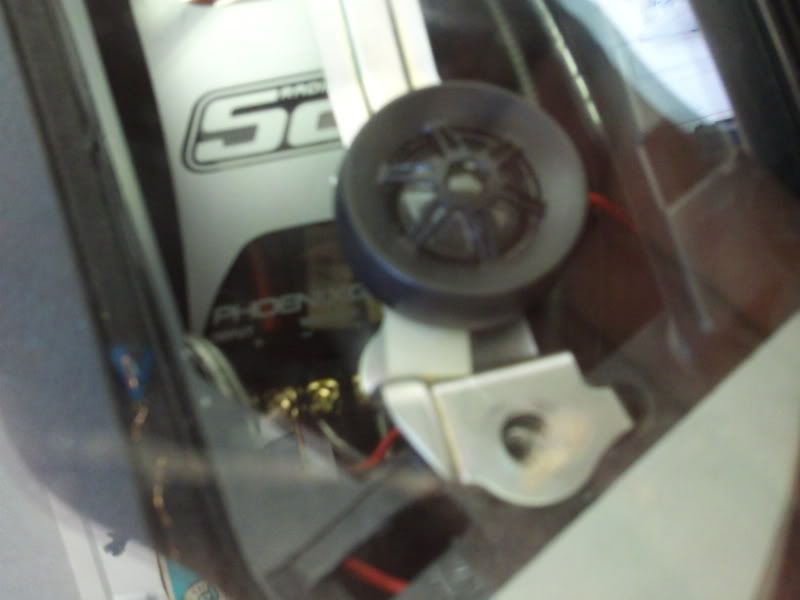
The sub is powered by a Powerbass ASA 1000.1DX. It's 1,000w into 1 ohm. In this case, it's pushing a little more than 250w into the 4 ohm sub.
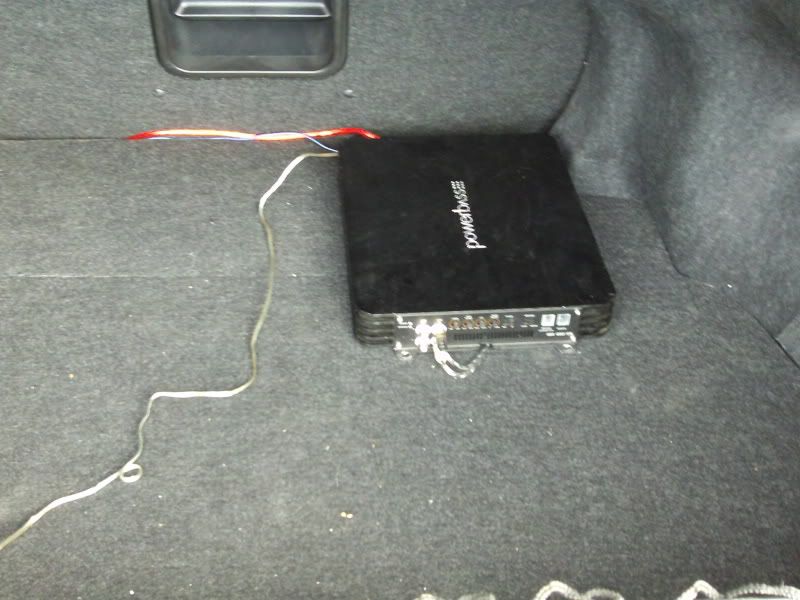
I'll be switching to a similarly powerful but smaller Memphis Audio amp soon and hiding it behind a trunk panel on the driver's side of the trunk. I'll update this thread then with more pictures.
I added a 10", 4 ohm sub from Blueprint. Never heard of them? They were around for about a year in 2002/2003 and extremely popular with the DIY home audio crowd. They were built by Desitjl Engineering which is the same company that made the Resonant Engineering, Beyond Audio, Adire Audio subs. They use XBL^2 technology which was invented by Dan Wiggins.
I've tested this in numerous locations in the trunk and it sound best firing into the corner. The additional loading helps with additional bass.
The sub is powered by a Powerbass ASA 1000.1DX. It's 1,000w into 1 ohm. In this case, it's pushing a little more than 250w into the 4 ohm sub.
I'll be switching to a similarly powerful but smaller Memphis Audio amp soon and hiding it behind a trunk panel on the driver's side of the trunk. I'll update this thread then with more pictures.
09-16-11, 10:37 PM
#43
Driver School Candidate

Join Date: Apr 2011
Location: CA
Posts: 12
Likes: 0
Received 0 Likes
on
0 Posts
A couple of additions to this thread.
1. That fifth screw under the door handle is accessed by taking out only the plastic insert in the middle of that fixture (i.e., under the door latch). Unlock the door and slip a pry tool between the revolving door lock and plastic center piece. It pops out VERY easily - more easily than any other piece. Actually, you probably don't even need to unlook the door. Just pull back the door latch lever. If you have to pry hard, you're in the wrong place. The service manual shows this step. You can also see how it's done on a Camry at Tacotunes.com. As aside, the speaker mounts at that site look considerably better (and more expensive) than the Scosche/metra mounts, though I already had the scosche mounts before i found that site. A lot of people on the tacoma boards complain about bad service, so buyer beware on that. They also have mounts that would allow a 6x9 installation, which is apparently what's done in the camry (and why the lexus stock speaker is molded into a 6x9 mount to mate with the door).
2. If you do remove the whole door panel, as I would recommend, it's tough to get back on unless you remove the window weatherstripping from the panel, install the weatherstripping on the door, and then snap the panel back onto the weatherstrip. this is a little tricky, and is also shown in the service manual. I tried to bypass this step, and I found I couldn't get it back on until I went back and did this.
3. Don't be afraid to disconnect the door latch cables after the panel is off. They go back on really easily, and having the panel totally removed makes getting the weatherstripping off much easier.
4. I have a 2011, so the dimensions might be slightly different, but I don't see how Robert got that 1 inch tweeter in a position on the bracket so that it will be centered in the grill hole. His centering hole must have been in a more generous location. My stock tweeter was flush to the edge of the bracket, and I can't get a polk tweeter over far enough to center it on the same spot. I will have to take a rotozip to the grill to cut space.
5. Robert, were the leads that came from the amp and door speakers and fed into that funky double harness male? Mine is reversed (male leads from the tweeter assembly, female from the door and amp), so I don't think I can just plug those into the crossover slots. sigh.
09-17-11, 08:54 AM
#44
Lead Lap
Thread Starter
Join Date: Jan 2007
Location: MS
Posts: 799
Likes: 0
Received 0 Likes
on
0 Posts
Unlock the door and slip a pry tool between the revolving door lock and plastic center piece. It pops out VERY easily - more easily than any other piece.
1. I looked at Tacotunes but didn't have the exact cut-out for the PG mids. I thought about getting a blank adapter from them and just routing out my holes with my Jasper Jig.
4. The factory tweeter and the PG tweeter are almost identical in size.
5. If you mean double harness because it had 2 pair of the same wires, yes. 4 wires, each pair had the same colors.....If I had it to do over again, I'd trash the tweeter plug and extend the wires on it to the crossover. I wanted to keep the factory speakers in good shape to maybe sell here. It's not worth it.
09-17-11, 10:44 AM
#45
Driver School Candidate
Join Date: Apr 2011
Location: CA
Posts: 12
Likes: 0
Received 0 Likes
on
0 Posts
5. If you mean double harness because it had 2 pair of the same wires, yes. 4 wires, each pair had the same colors.....If I had it to do over again, I'd trash the tweeter plug and extend the wires on it to the crossover. I wanted to keep the factory speakers in good shape to maybe sell here. [/QUOTE]
Well, I'd like to keep them in good shape to put them back in if I sell the car. I think you actually don't need to trash the plug to get the wires out (it's tough, but a small screwdriver will do it), but I wanted to remove the plug that comes from the amp/front door, but the leads in there are female, so i can't just plug that into the crossover. I think I will create some some free male leads with extra schosche adapters and plug them into that plug.