Replacing Non-Nav Radio in a 2007
 08-25-11, 05:49 AM
#16
Lead Lap
Thread Starter

Join Date: Jan 2007
Location: MS
Posts: 799
Likes: 0
Received 0 Likes
on
0 Posts
Center dash x1: 65 mm, 10 Ohm, 10 W (20 W*)
Front tweeter x2: 25 mm, 4 Ohm, 25 W (50 W)
Front "Woofer" (yeah, right) x2: 160 mm, 4 Ohm, 21 W (50 W)
Rear door full range x2: 160 mm, 4 Ohm, 21 W (50 W)
Sub woofer on rear shelf x1: 200 mm, 25 Ohm x2 coils, 30 W / coil (60 W)
In case you don't do metric:
65mm = 2.5"
25mm = 1"
160mm = 6.5"
200mm = 8"
The front door speaker is 6x9. The speaker and adapter are all molded as a single piece. I purchased some Metra 6x9 to 6.5" adapters for a Toyota Tacoma. I will post if they will work. You can make your own but they must be waterproof because of the moisture inside the doors.
I haven't checked the rear speakers to see if they need an adapter and probably never will. In my car, they are normally set as low as possible.
 08-28-11, 06:14 PM
#17
Lead Lap
Thread Starter
Join Date: Jan 2007
Location: MS
Posts: 799
Likes: 0
Received 0 Likes
on
0 Posts
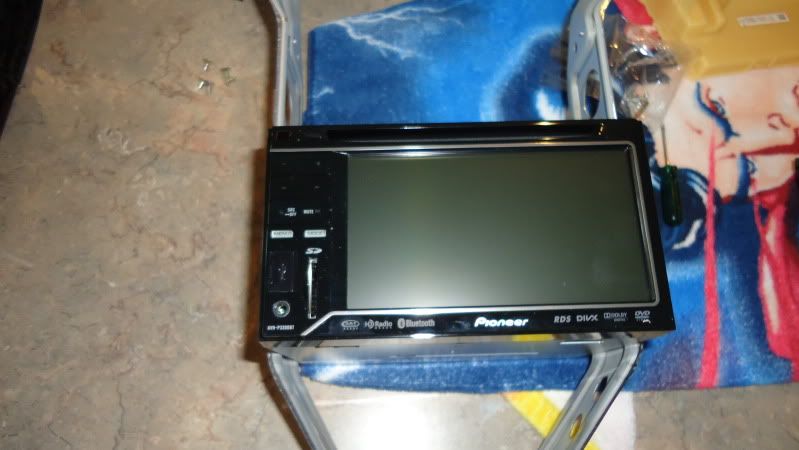
Installed the radio today but don't have time to do a full write up. To summarize - a new head unit even with the graphic EQ set flat sounds much better than the factory one. My wife just sampled a few songs and immediately commented on how much better it sounds. I'll stick with this for a few days before swapping out the door speakers and adding a real sub.
The down side - the install kit. There were no instructions with the kit. I sure know why they didn't post any online because it would scare some people away. I've installed stereos for myself and friends since the '80's and this thing took me 2 hours to figure out. I had to get out my Dremel to trim some factory pieces. Finally, I have a piece of the kit that I didn't use. I still can't figure out what the heck it is. I'll be sending an e-mail tomorrow to the Ebay merchant to get some clarification.
Was it worth it? Even right now, yes it was. Once I run the Pioneer's auto calibration system, I expect it to sound awesome. It's great right now.
08-29-11, 07:33 AM
#19
Lead Lap
Thread Starter
Join Date: Jan 2007
Location: MS
Posts: 799
Likes: 0
Received 0 Likes
on
0 Posts
Thanks, dustind. I have pictures of most of the install. All the way to the point that I got frustrated with the kit. I need to go out and get a few of the unit installed also.
I don't think I posted this at the beginning but I followed this video to disassemble the dash. It's really that easy. Total time to remove the radio was about 5 minutes. I picked up one of those magnetic tools at Lowes and it was used since I dropped one of the two bottom bolts. The hook set to remove the air vents was $5 at Autozone.
http://www.youtube.com/watch?v=UN6N8pTrKNU
09-07-11, 11:15 AM
#20
Lead Lap
Thread Starter
Join Date: Jan 2007
Location: MS
Posts: 799
Likes: 0
Received 0 Likes
on
0 Posts
It's about time I get around to posting some updates.
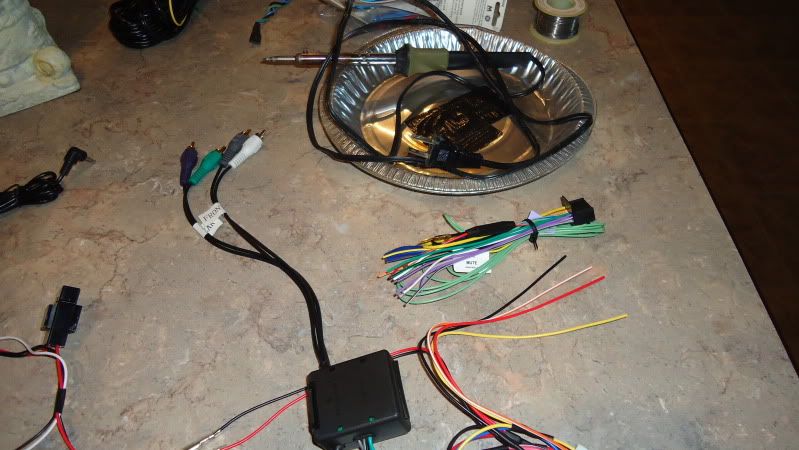
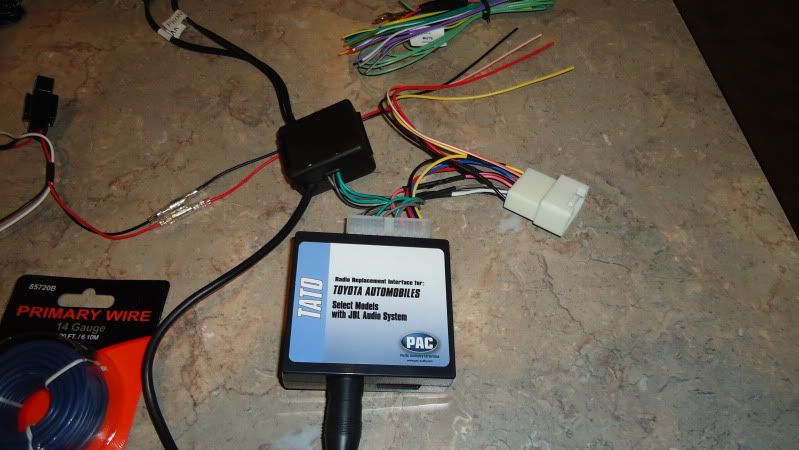
If you are going to go through with this, the PAC TATO (digital amp adapter) and the PAC SW1-PS (steering wheel adapter for Pioneer & Sony) work great together. The SW1 comes with a huge bundle of wires to work with any car. The TATO assumes you will get the SW1 and includes a Toyota/Lexus specific adapter. Basically you save time and effort of connecting directly to the wires by plugging in the extra adapter sent with the TATO. Here's the difference.
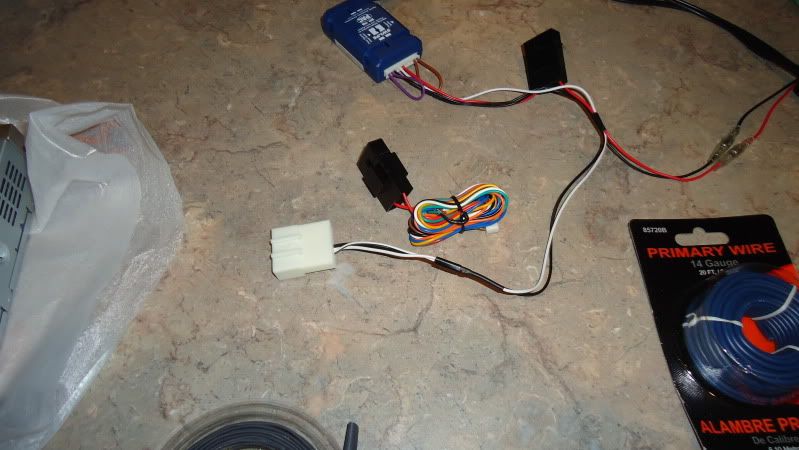
Here are a few other pictures of the PAC adapters being soldered to the Pioneer wiring harness. I also used a parking brake bypass as well as the roll of blue turn on wire that is connected to the aftermarket amp in the trunk.
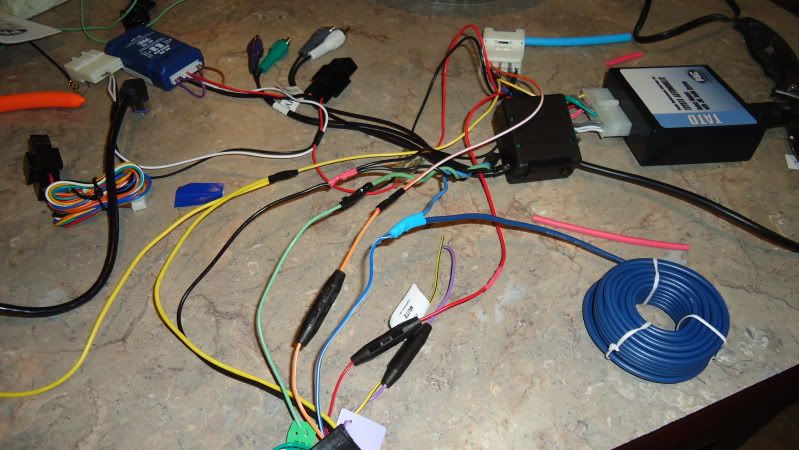
One final thing. Because I used the brake bypass, I can't run the auto calibration setup. It's a quirky thing on the Pioneer that I have to enter the menu when the radio in the OFF position. Because of that, the radio isn't sending a signal from the blue (power antenna / amp turn-on) wire. The radio tells me that this function isn't available while the car is moving. I'll be correcting that with a toggle switch later.
If you are going to go through with this, the PAC TATO (digital amp adapter) and the PAC SW1-PS (steering wheel adapter for Pioneer & Sony) work great together. The SW1 comes with a huge bundle of wires to work with any car. The TATO assumes you will get the SW1 and includes a Toyota/Lexus specific adapter. Basically you save time and effort of connecting directly to the wires by plugging in the extra adapter sent with the TATO. Here's the difference.
Here are a few other pictures of the PAC adapters being soldered to the Pioneer wiring harness. I also used a parking brake bypass as well as the roll of blue turn on wire that is connected to the aftermarket amp in the trunk.
One final thing. Because I used the brake bypass, I can't run the auto calibration setup. It's a quirky thing on the Pioneer that I have to enter the menu when the radio in the OFF position. Because of that, the radio isn't sending a signal from the blue (power antenna / amp turn-on) wire. The radio tells me that this function isn't available while the car is moving. I'll be correcting that with a toggle switch later.
09-07-11, 11:19 AM
#21
Lead Lap
Thread Starter
Join Date: Jan 2007
Location: MS
Posts: 799
Likes: 0
Received 0 Likes
on
0 Posts
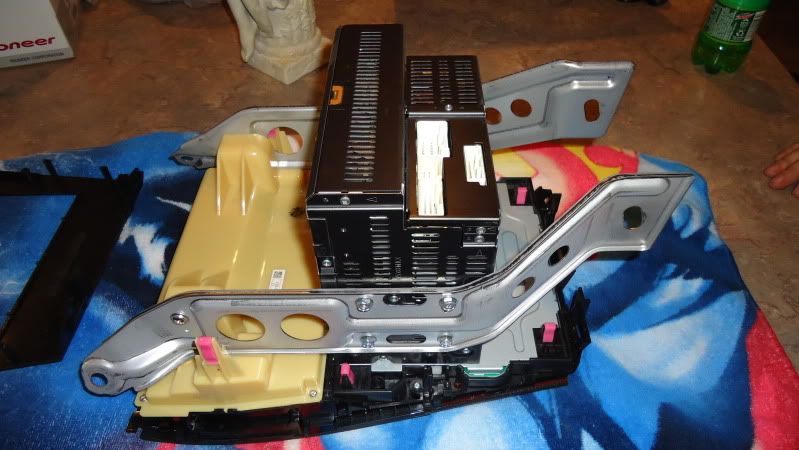
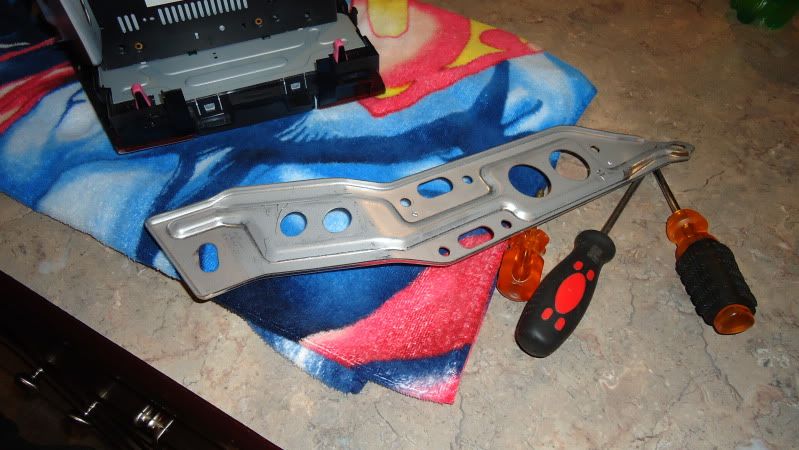
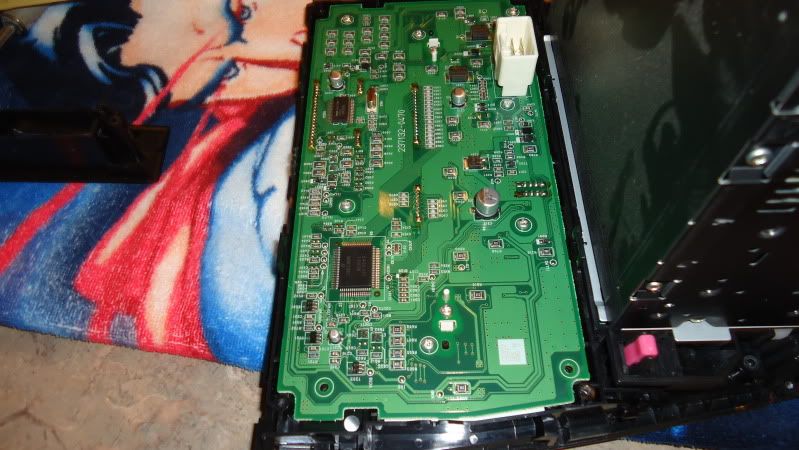
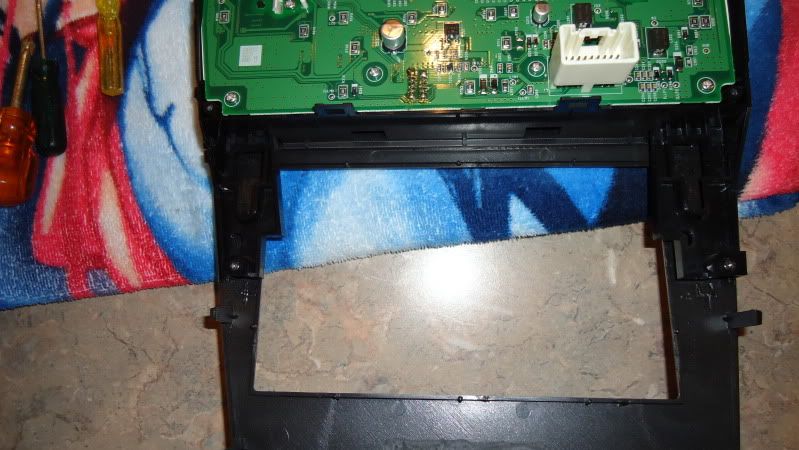
Here's the back side of the factor radio/climate control.
Here's the aftermarket install kit.
The next few pictures are removing the two rails that hold everything to the dash.
Here's the aftermarket install kit.
The next few pictures are removing the two rails that hold everything to the dash.
 09-07-11, 11:37 AM
#23
Lead Lap
Thread Starter
Join Date: Jan 2007
Location: MS
Posts: 799
Likes: 0
Received 0 Likes
on
0 Posts
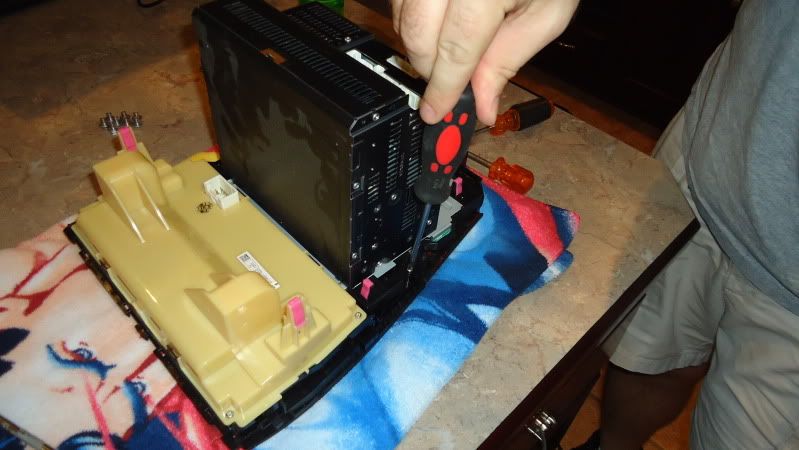
After the radio is removed, you have to remove the climate controls. Look at the first pic above - I had to remove the yellowish cover from the back of the climate controls. Once that is done, unscrew the 4 screws from the corners of the circuit board.
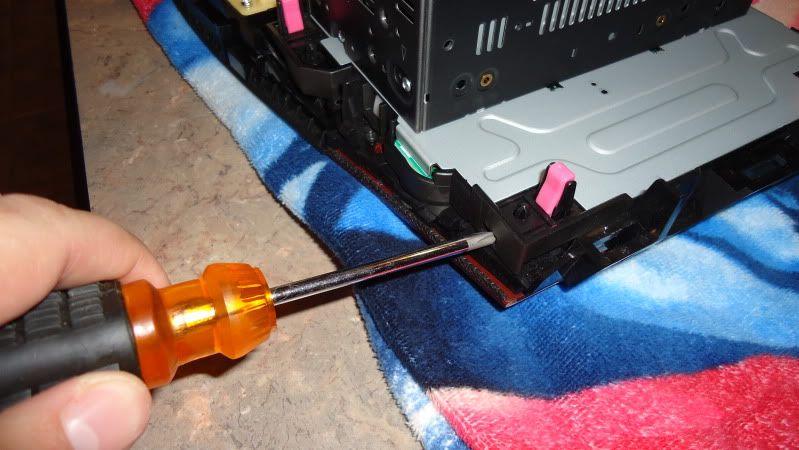
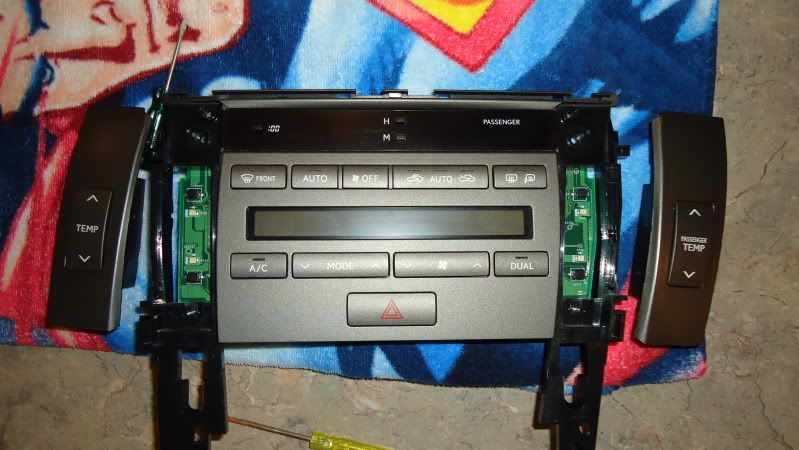
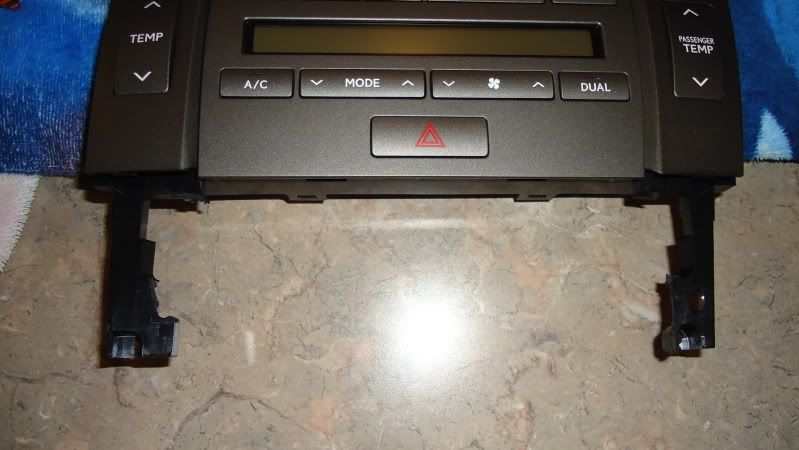
Now there are a few push tabs on each side for the temp controls. You have to remove the rocker button and put it in the new install kit. Here is the old button holder and the new kit holder.

Here I am removing the actual button. Yes, it was HOT. About 103 in the garage and I was going in and out for tools.

Now there are a few push tabs on each side for the temp controls. You have to remove the rocker button and put it in the new install kit. Here is the old button holder and the new kit holder.
Here I am removing the actual button. Yes, it was HOT. About 103 in the garage and I was going in and out for tools.
09-07-11, 11:42 AM
#24
Lead Lap
Thread Starter
Join Date: Jan 2007
Location: MS
Posts: 799
Likes: 0
Received 0 Likes
on
0 Posts
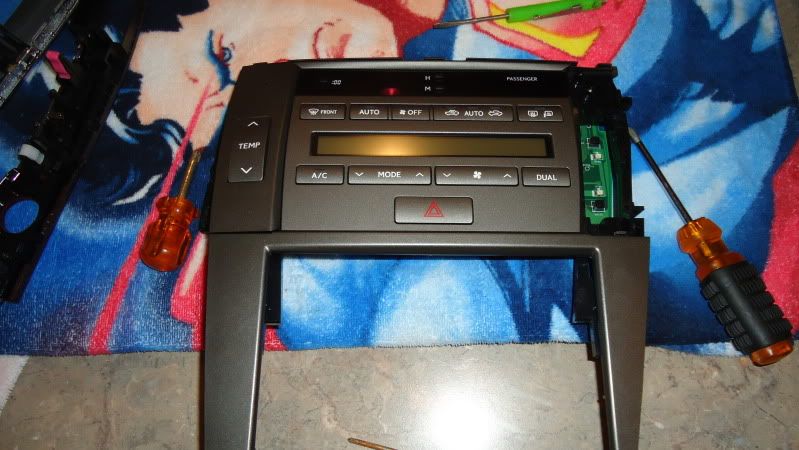
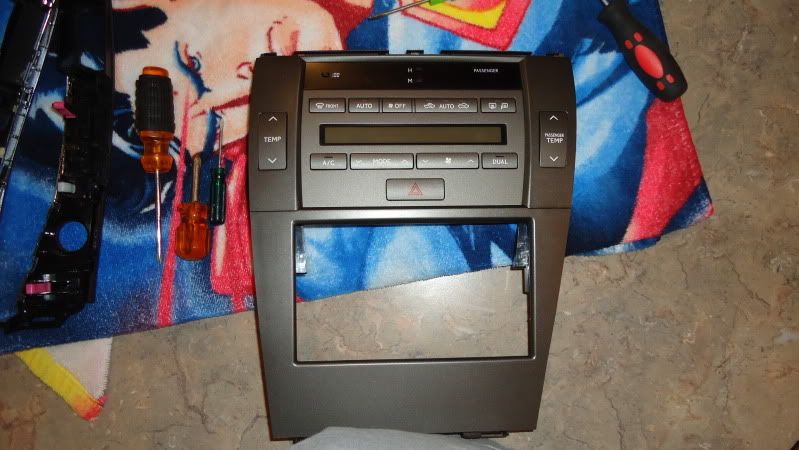
Here's a few shots of putting the button rocker switch holder from the kit back onto the climate control. In the 3rd pic, the double DIN faceplate from the kit has been added.
09-07-11, 11:45 AM
#25
Lead Lap
Thread Starter
Join Date: Jan 2007
Location: MS
Posts: 799
Likes: 0
Received 0 Likes
on
0 Posts
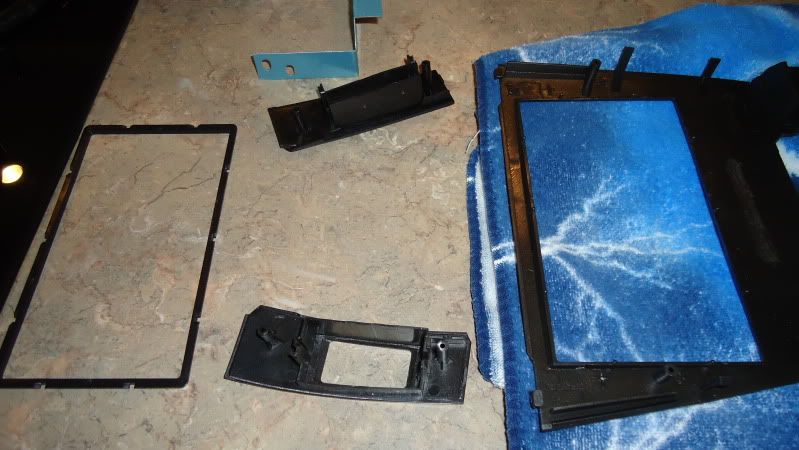
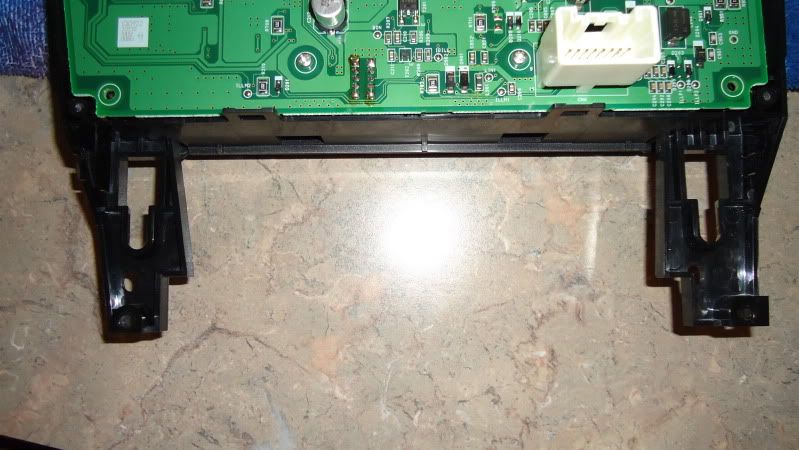
In the last pic above, what do you notice about the opening for the radio? Yes, those are factory plastic pieces in the way of the opening. In the first pic, you can see the plastic tabs from the rear. 2nd pic you can see them without the double DIN faceplate. 3rd pic you can see the plastic removed. I used a Dremel like tool to remove the extra plastic.
09-07-11, 12:14 PM
#26
Lead Lap
Thread Starter
Join Date: Jan 2007
Location: MS
Posts: 799
Likes: 0
Received 0 Likes
on
0 Posts
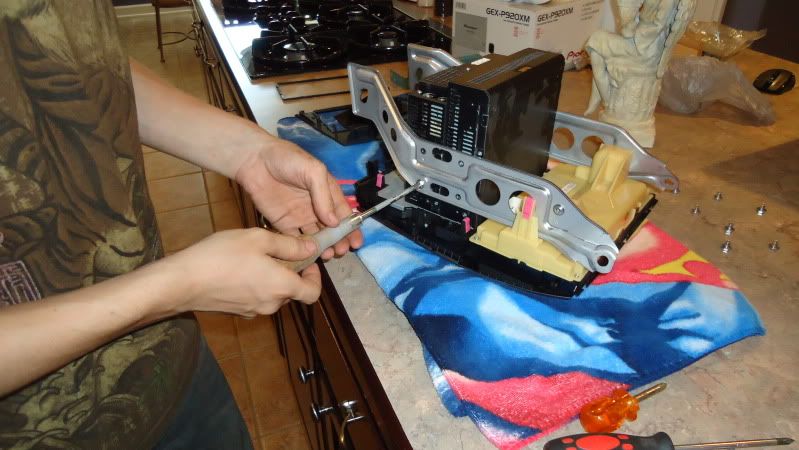
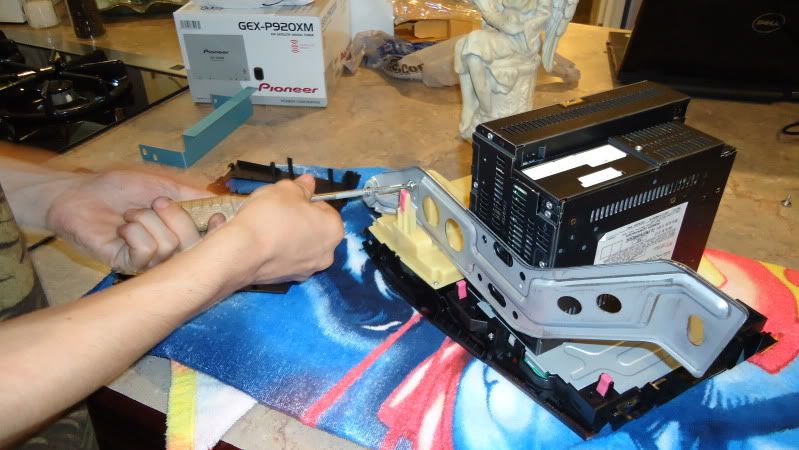
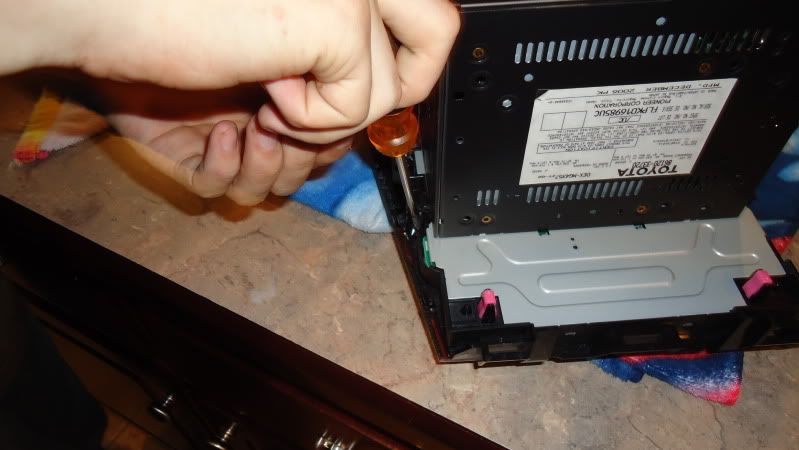
Here are the last 2 pics I took. It is the dash "rails" that hold the radio and climate control. I am putting the new Pioneer into the rails in the factory position. Turns out that doesn't work. I went back and forth for about an hour getting things like I wanted.
If you go back to the pic of the dash kit, there is a trim ring. Well, that trim ring wouldn't work so I used the one that came with the Pioneer. Even that needed to be trimmed a little on the outside so that it could fit between the screws holding the double DIN opening to the climate controls.
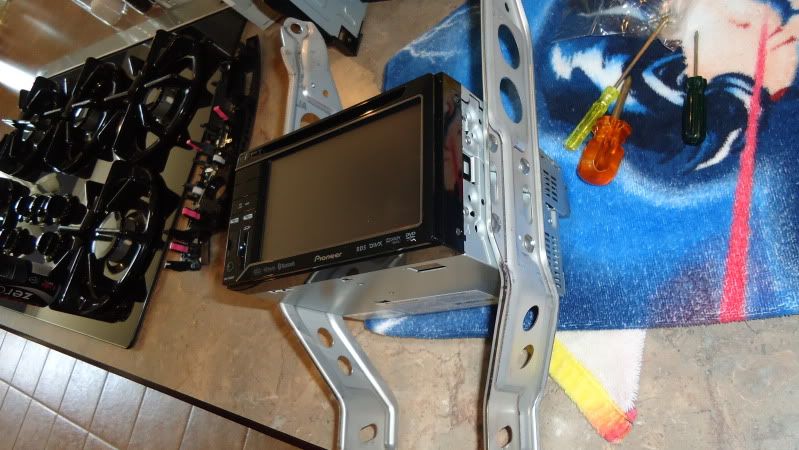
If you go back to the pic of the dash kit, there is a trim ring. Well, that trim ring wouldn't work so I used the one that came with the Pioneer. Even that needed to be trimmed a little on the outside so that it could fit between the screws holding the double DIN opening to the climate controls.
09-10-11, 08:50 AM
#27
Driver School Candidate

Join Date: Aug 2011
Location: TX
Posts: 5
Likes: 0
Received 0 Likes
on
0 Posts
Wow! Thanks so much for all your work taking time to take the pictures and upload details of what has to be done. This is going to help me big time when I get ready to make the swap. I can't wait to see the finished product and know what you think about the difference in sound. So far I'm really surprised by the amount of effort that has been necessary just to swap in another radio into what should have been a standard size spot! Thanks again Robert.
Oh one more thing, I noticed you mentioned having an amp in the trunk. Did you add a sub? That's where I started with my install because I missed the low end that I had in my previous car. I went with a single 12" trying to conserve as much trunk space as possible.
Oh one more thing, I noticed you mentioned having an amp in the trunk. Did you add a sub? That's where I started with my install because I missed the low end that I had in my previous car. I went with a single 12" trying to conserve as much trunk space as possible.
Last edited by dustind; 09-10-11 at 08:59 AM.
09-10-11, 01:03 PM
#28
Lead Lap
Thread Starter
Join Date: Jan 2007
Location: MS
Posts: 799
Likes: 0
Received 0 Likes
on
0 Posts
As I said earlier, just a head unit swap was a huge jump in quality. The mids were more pronounced and the highs crisper. It took my wife about 3 seconds before a huge smile appeared on her face.
Yes, I added a sub and amp. More pictures will be posted of that.
I'll be following the instructions in another thread on replacing the door speakers. I pick up my friend at 7am tomorrow and we should be started at 8. He's big into You Tube videos so if something gets complicated, we may just record it instead of explaining.
09-10-11, 06:23 PM
#29
Driver School Candidate

Join Date: Jul 2010
Location: Texas
Posts: 17
Likes: 0
Received 0 Likes
on
0 Posts
Great detail and photos - looks like something I might want to handle. Do you have pics of the final product installed? Are there any other issues like air bag lights staying on? Again, thank you for sharing.
09-12-11, 09:36 AM
#30
Lead Lap
Thread Starter
Join Date: Jan 2007
Location: MS
Posts: 799
Likes: 0
Received 0 Likes
on
0 Posts
I think a photo of the completed project is important and I'm sorry this has been so long in the making.
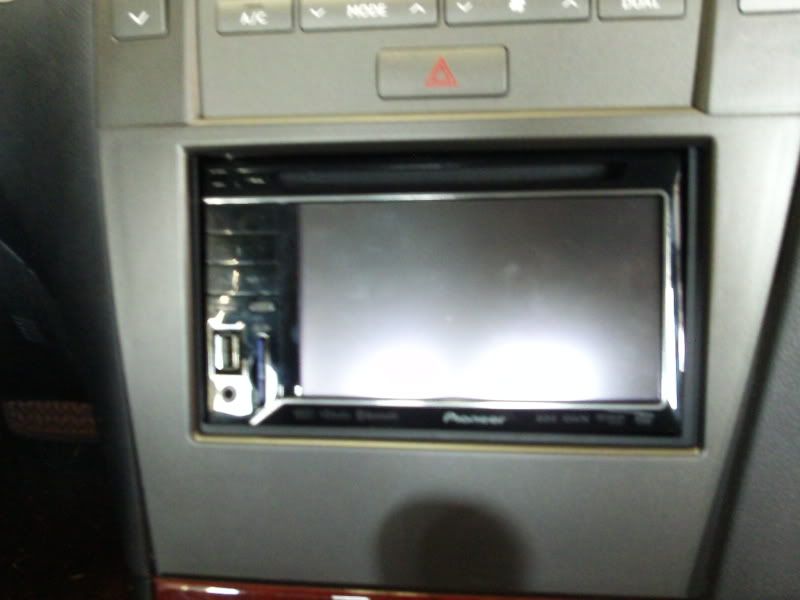
If that isn't as good as you need, I can add more later today.
I forgot to mention XM earlier. Here's a photo of the additional antenna. Then I'm pointing to the trunk panel on the right that the XM tuner is hiding behind. I went "hi-tech" and used duct tape to hold the tuner to the back side of the trunk panel. I ran the antenna wire along the same path as the original wire. Took about 5 minutes.
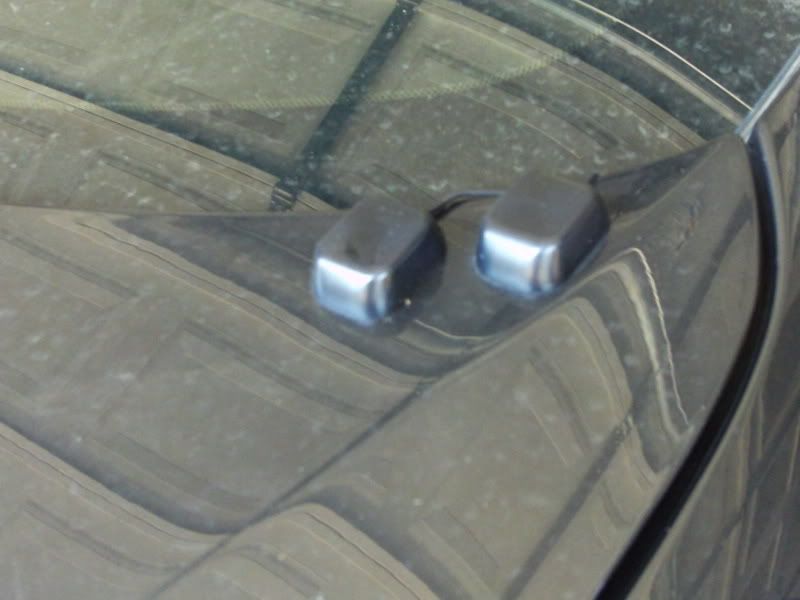