DIY: Parking Brake Service / Replacement
 04-07-14, 06:30 PM
#1
Lexus Champion
Thread Starter
Here's a quick tutorial on how I serviced my parking brakes on my Solara, which is the same as the Lexus ES300 / ES330.
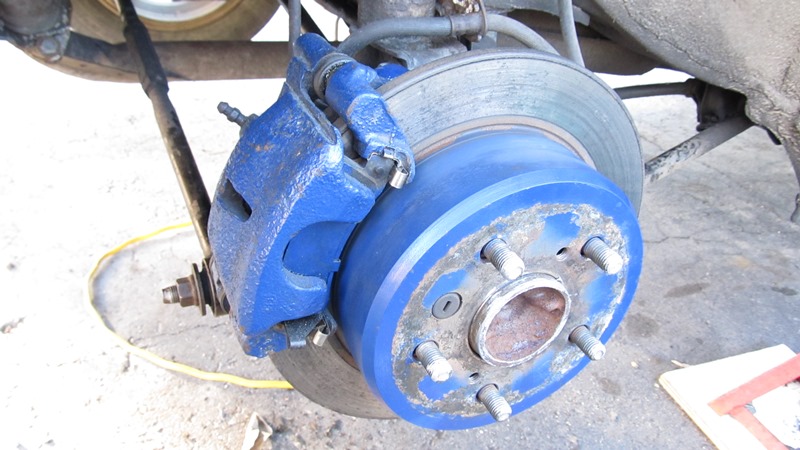
The rear discs use separate shoes inside the drum part of the rotor. Its cable actuated, connected to the foot brake. Depending on use, the shoe lining may become worn or seized, and thus need servicing.
Here's my YouTube Video on the parking brake service:
www.youtube.com/watch?v=YHuNLAff1ZY
Some photos of the procedure:
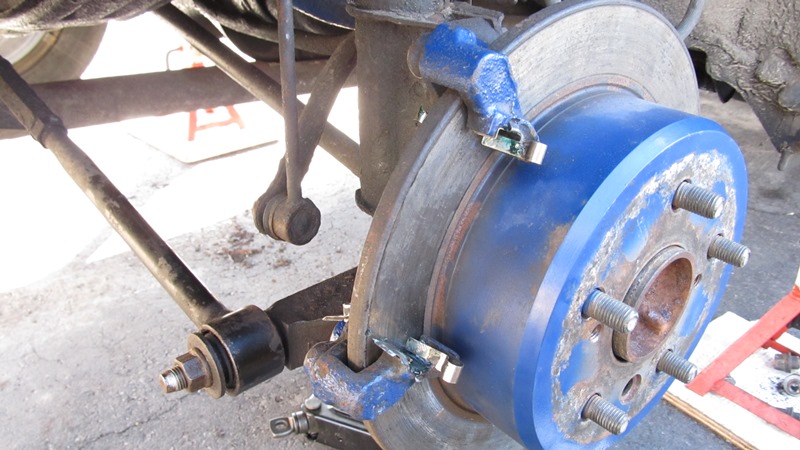
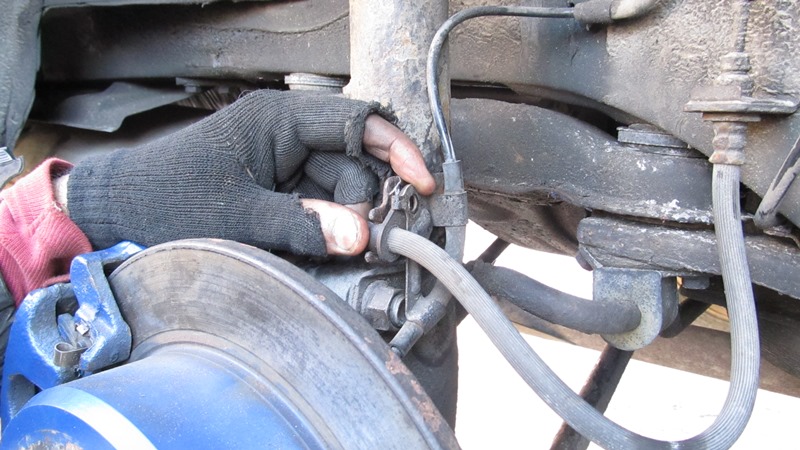
Car jacked up and wheel removed. Remove the caliper slider bolt.
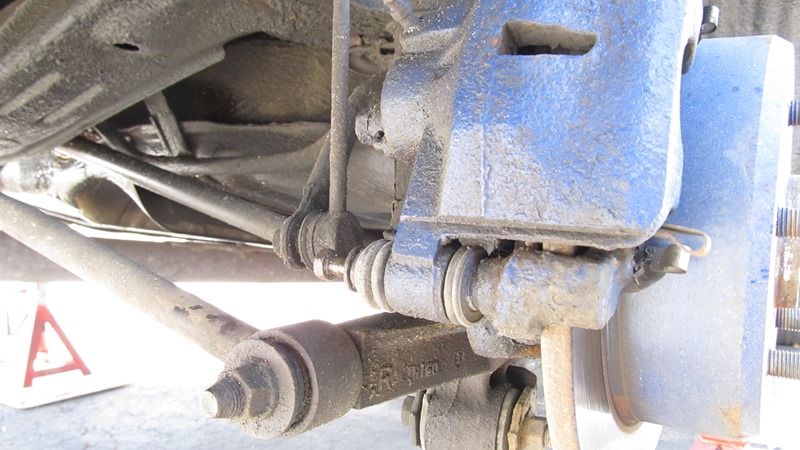
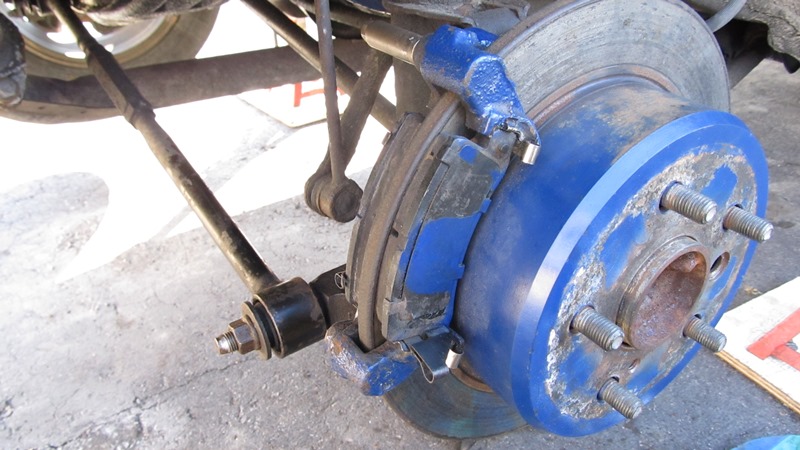
Remove caliper.
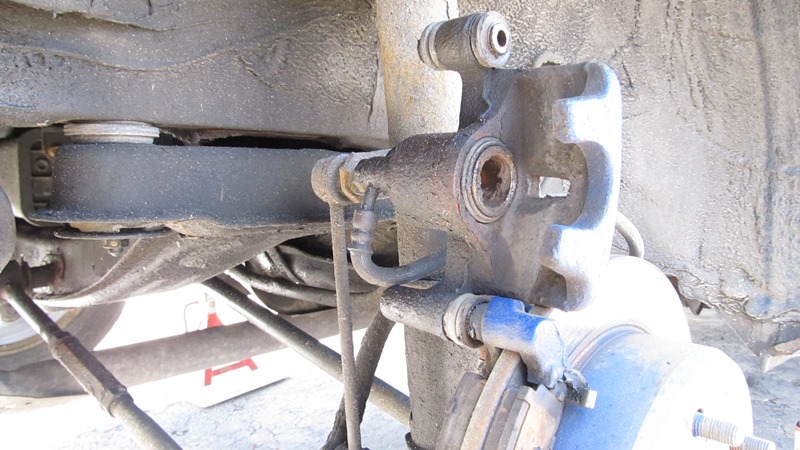
Remove 14mm bolts holding the caliper bracket bolts on. Unfortunately, mine stripped.
Thanks to those who helped out from this thread:
http://www.toyotanation.com/forum/10...ound-bolt.html
To get better access to the stripped bolts, I had to disconnect the control arm, trailing arm and suspension bolts to pull the knuckle forward.
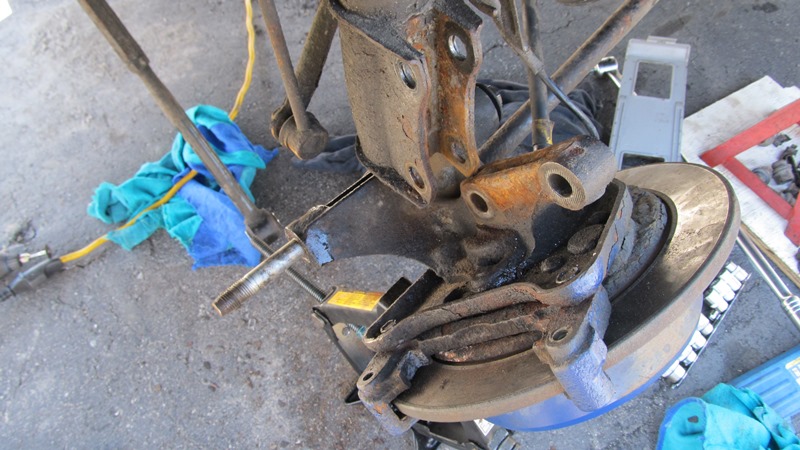
Tried using a rotary tool to grind flats and pound on a bolt extractor to no avail
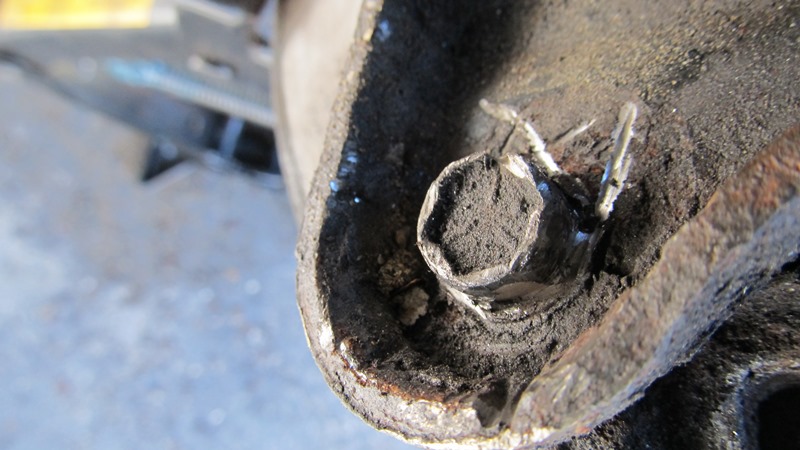
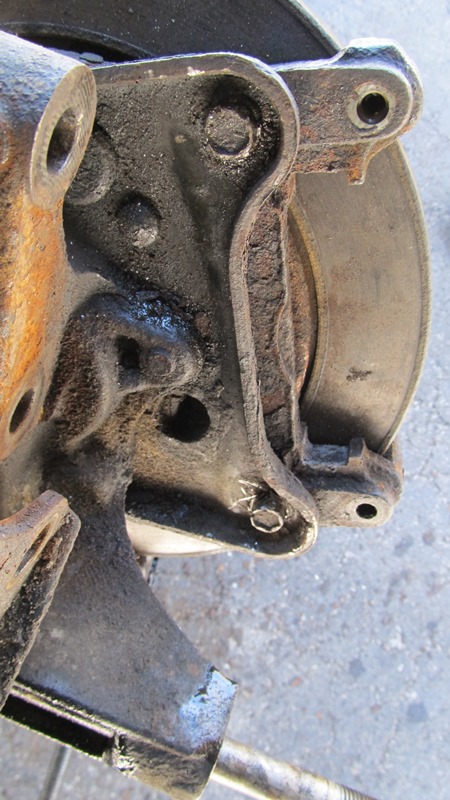
Ended up grinding the heads off the bolt to free the caliper bracket.
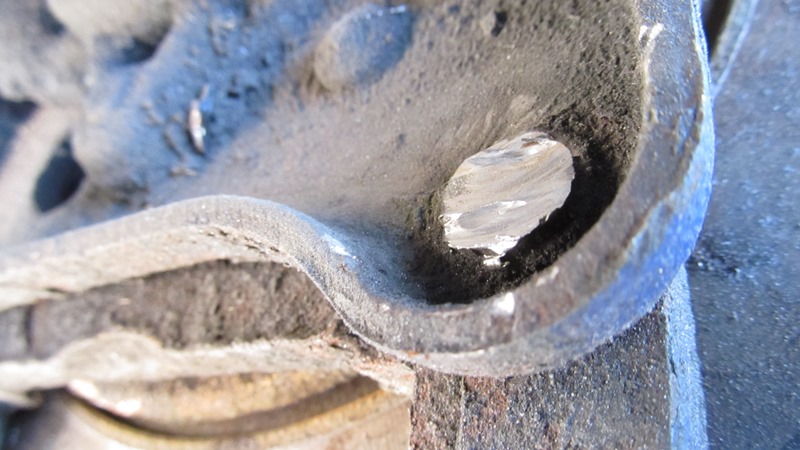
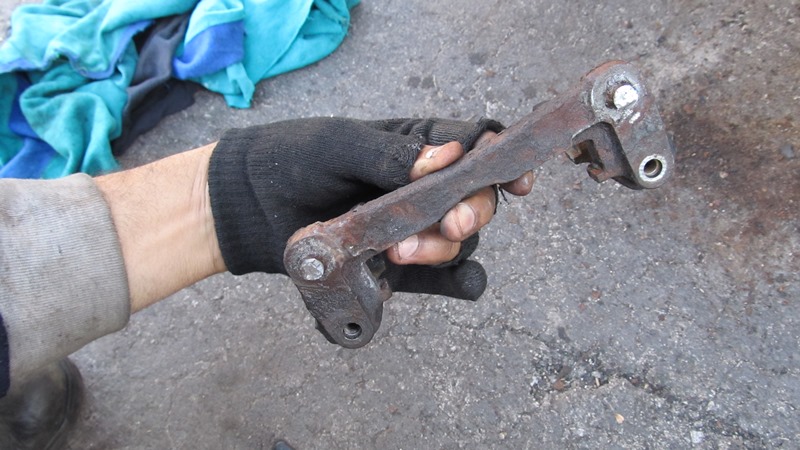
Caliper bracket freed from the hub. Used a wrench to turn out the remaining bolts.
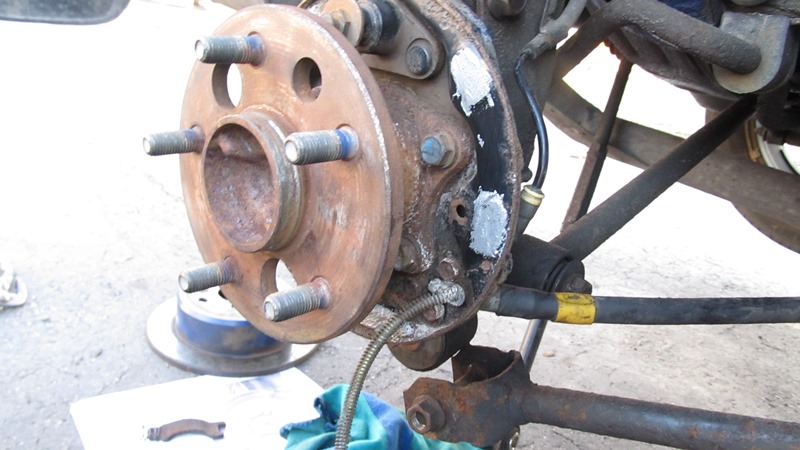
Remove the rotor.
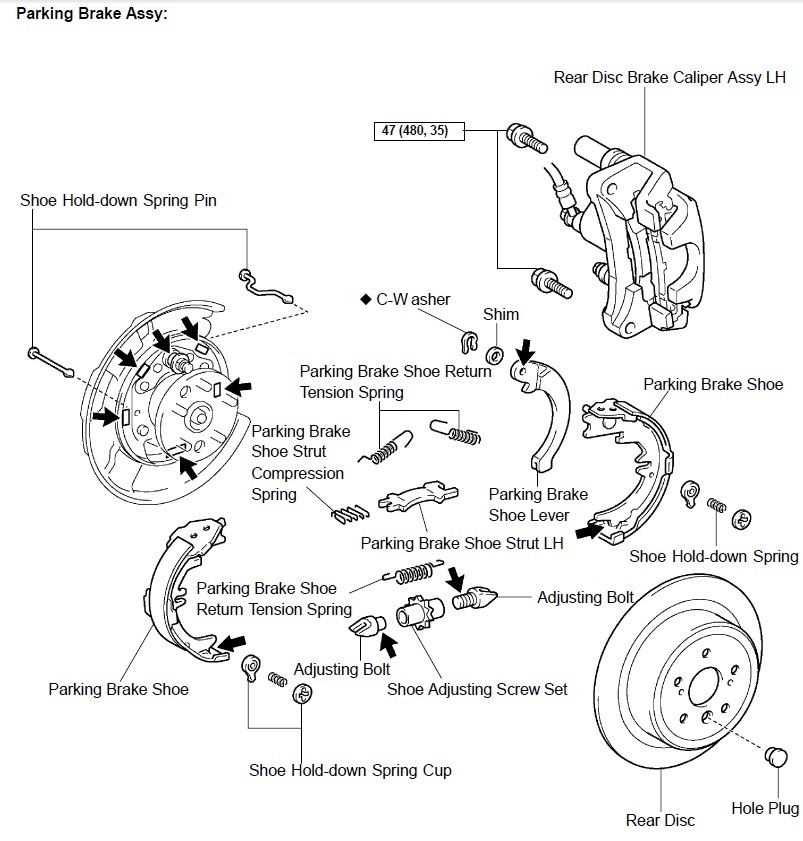
Here's a breakdown of all the components from the ES330 manual.
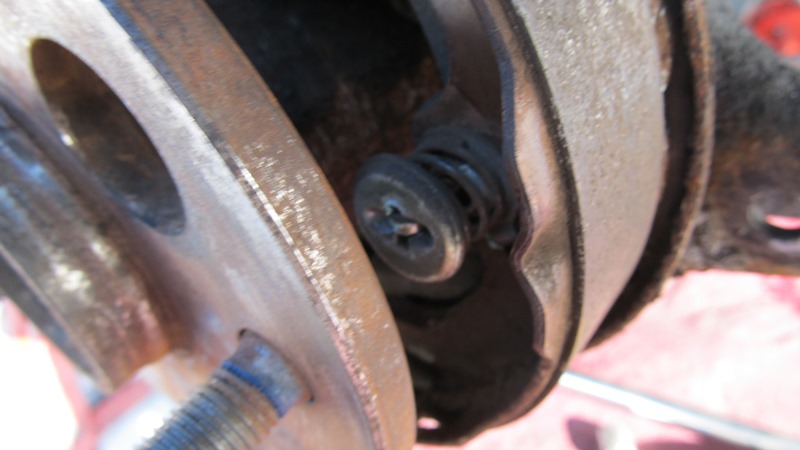
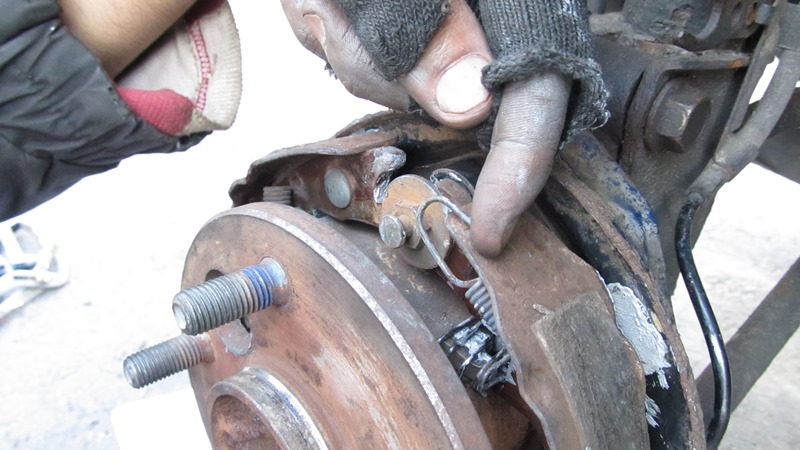
Use a pliers to remove the retention springs at the top of the parking brake.
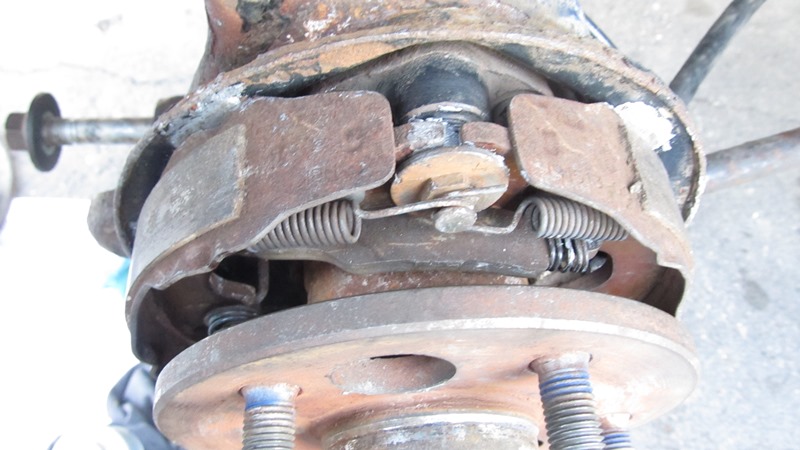
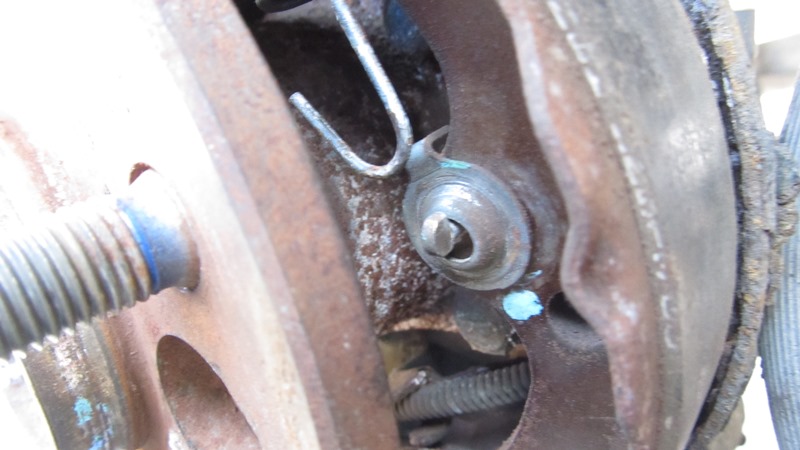
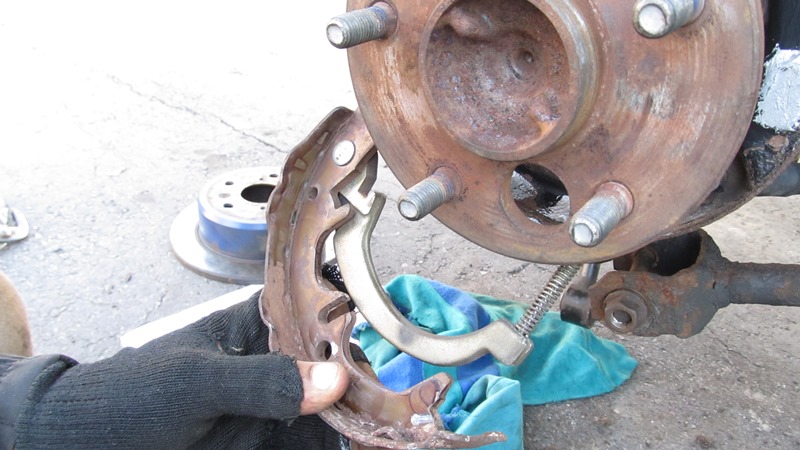
Remove the spring hold down cups by pushing on them and turning them 90 degrees.
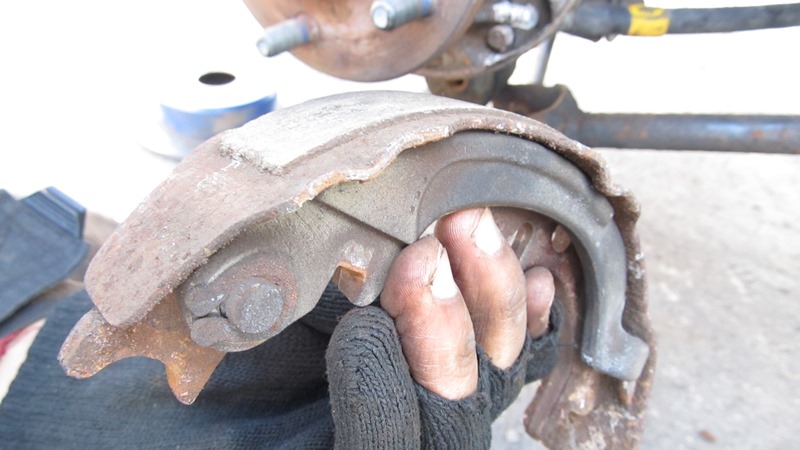
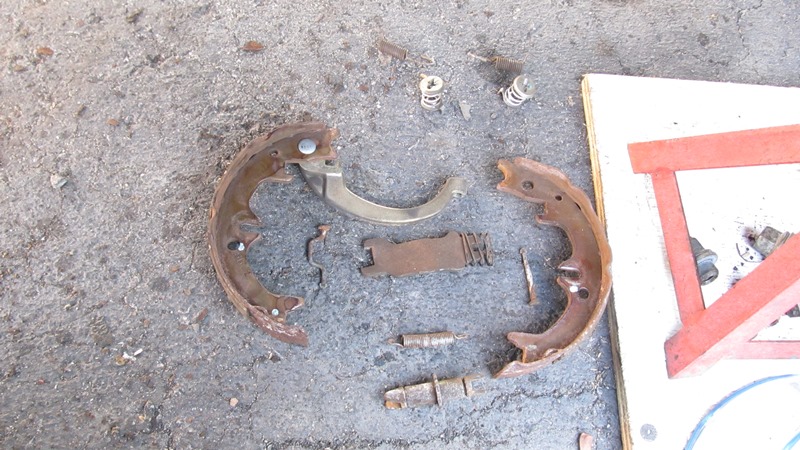
Remove the parking brake shoes from the hub. Remove the parking brake cable from its spring to free the parking brake shoe lever. Minimum pad thickness is 1mm according to the manual.
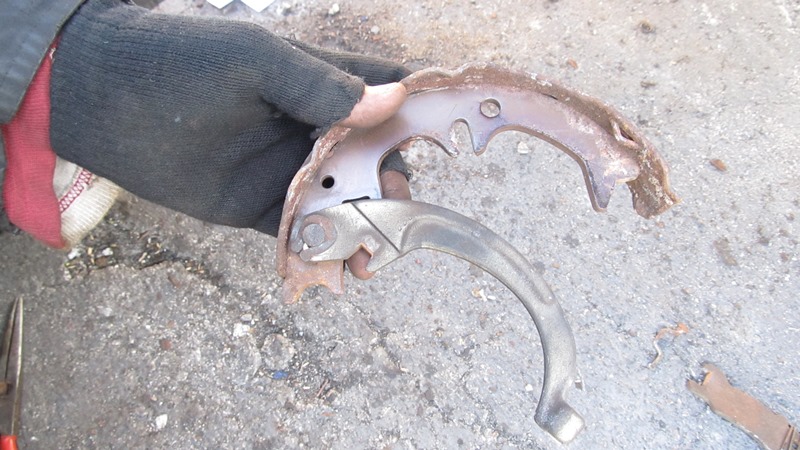
If replacing the shoes, the C clip must be removed to free the shoe lever from the shoe. According to the manual, the C-clip is not replaceable.
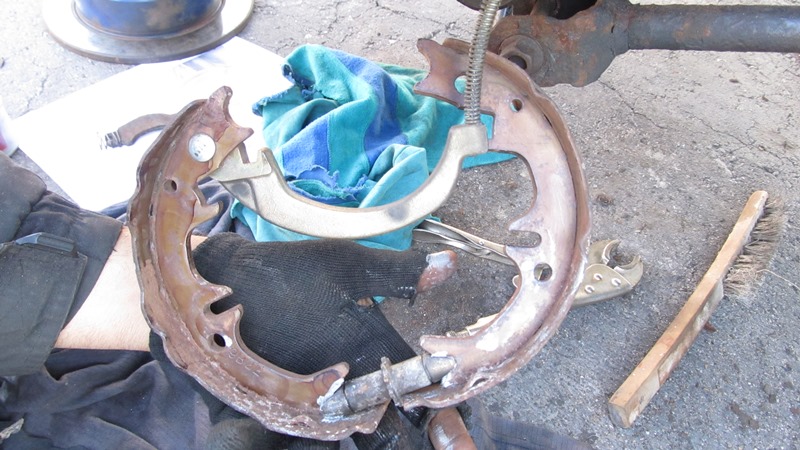
Make sure you keep all the parts in order. Its not as difficult as it seems, once you study the manual and see how everything goes together.
Here's a photo from this very useful DIY thread for rear brake replacement on a Camry:
http://www.toyotanation.com/forum/10...-part-1-a.html
The hub has been removed to give a clearer view of how everything will go back together.

Clean up all the parts and apply anti-seize or high temperature brake lube to all moving parts. Pay attention to the six points outlined in the manual above, indicated by arrows on the backing plate. This is where the shoe will contact the plate and needs to be lubricated. Also lubricate the adjusting screw set.
Reinstall the shoe lever onto the parking brake. There should be enough slack in the spring to allow you to move it around the ledge.
Install the adjusting screw set and spring to the shoes.
Put the assembly around the hub. Reinstall the shoe strut and spring across the top and the shoe hold down spring cup. This can be tricky, so take your time to wiggle the spring in place.
Once everything is in place, use a pliers to stretch around the tension springs around the stud at the top.
Wiggle the shoe assembly to make sure everything is seated, including the shoe strut compression spring.
Replace the rotor and caliper bracket with the 14mm bolts.
Replace the pads, making sure to add some lube to the areas where they slide inside the clips.
Replace the 12mm bolt holding the brake line and 10mm bolt holding the ABS wire back onto the strut tower. I used zip ties because mine broke off .
.
Replace the caliper, making sure to add sufficient lube to the sliders and back of the brake pads to stop squealing.
Try out the parking brake a few times to seat the shoes, and adjust them using the star wheel through the rotor with a screw driver before replacing the wheel.
Then take your car to the nearest parking lot and go drifting.
The rear discs use separate shoes inside the drum part of the rotor. Its cable actuated, connected to the foot brake. Depending on use, the shoe lining may become worn or seized, and thus need servicing.
Here's my YouTube Video on the parking brake service:
www.youtube.com/watch?v=YHuNLAff1ZY
Some photos of the procedure:
Car jacked up and wheel removed. Remove the caliper slider bolt.
Remove caliper.
Remove 14mm bolts holding the caliper bracket bolts on. Unfortunately, mine stripped.
Thanks to those who helped out from this thread:
http://www.toyotanation.com/forum/10...ound-bolt.html
To get better access to the stripped bolts, I had to disconnect the control arm, trailing arm and suspension bolts to pull the knuckle forward.
Tried using a rotary tool to grind flats and pound on a bolt extractor to no avail
Ended up grinding the heads off the bolt to free the caliper bracket.
Caliper bracket freed from the hub. Used a wrench to turn out the remaining bolts.
Remove the rotor.
Here's a breakdown of all the components from the ES330 manual.
Use a pliers to remove the retention springs at the top of the parking brake.
Remove the spring hold down cups by pushing on them and turning them 90 degrees.
Remove the parking brake shoes from the hub. Remove the parking brake cable from its spring to free the parking brake shoe lever. Minimum pad thickness is 1mm according to the manual.
If replacing the shoes, the C clip must be removed to free the shoe lever from the shoe. According to the manual, the C-clip is not replaceable.
Make sure you keep all the parts in order. Its not as difficult as it seems, once you study the manual and see how everything goes together.
Here's a photo from this very useful DIY thread for rear brake replacement on a Camry:
http://www.toyotanation.com/forum/10...-part-1-a.html
The hub has been removed to give a clearer view of how everything will go back together.
Clean up all the parts and apply anti-seize or high temperature brake lube to all moving parts. Pay attention to the six points outlined in the manual above, indicated by arrows on the backing plate. This is where the shoe will contact the plate and needs to be lubricated. Also lubricate the adjusting screw set.
Reinstall the shoe lever onto the parking brake. There should be enough slack in the spring to allow you to move it around the ledge.
Install the adjusting screw set and spring to the shoes.
Put the assembly around the hub. Reinstall the shoe strut and spring across the top and the shoe hold down spring cup. This can be tricky, so take your time to wiggle the spring in place.
Once everything is in place, use a pliers to stretch around the tension springs around the stud at the top.
Wiggle the shoe assembly to make sure everything is seated, including the shoe strut compression spring.
Replace the rotor and caliper bracket with the 14mm bolts.
Replace the pads, making sure to add some lube to the areas where they slide inside the clips.
Replace the 12mm bolt holding the brake line and 10mm bolt holding the ABS wire back onto the strut tower. I used zip ties because mine broke off
.Replace the caliper, making sure to add sufficient lube to the sliders and back of the brake pads to stop squealing.
Try out the parking brake a few times to seat the shoes, and adjust them using the star wheel through the rotor with a screw driver before replacing the wheel.
Then take your car to the nearest parking lot and go drifting.

The following users liked this post:
Cosanostra (09-22-22)
04-07-14, 07:27 PM
#2

Geez what a pain to deal with this stripped bolt but looks like you got tons of advice on how to handle it. Great write up. 
Never actually done the parking brake on rotor/drum brakes... they look more of a pain than usual drum brakes, well at least the springs holding each side in place.
Never actually done the parking brake on rotor/drum brakes... they look more of a pain than usual drum brakes, well at least the springs holding each side in place.
04-15-14, 03:35 PM
#3
Lexus Champion
Thread Starter
Its not that hard, probably easier than drum brakes because you don't have to deal with the wheel cylinder popping out.
Usually us guys with automatic tranny's don't use the parking brake much, hence it doesn't wear down enough to justify changing them.

Thread
Thread Starter
Forum
Replies
Last Post
Heavy
LS - 1st and 2nd Gen (1990-2000)
16
10-19-18 11:22 AM
grandamliz
Suspension and Brakes
109
06-18-17 11:00 AM