
Bought my first car: '95 ES300 w/145,000mi - Here's what I've done!
 02-23-12, 10:31 AM
#16
Driver
Thread Starter
Join Date: Sep 2011
Location: CA
Posts: 129
Likes: 0
Received 0 Likes
on
0 Posts
Just updating you guys! Here is the current list of things I want to do to the car (in no particular order):
Exterior:
- Replace ALL of the suspension. I'm talking, struts, sway bars, end links, bushing, everything. (looking at KWB GR-2 struts)
- New rotors
- 17" wheels (I'm not completely sure I will do this, and I'm not a big fan of huge rims either, but 15.5" or whatever these are, is kinda lame ahahaha)
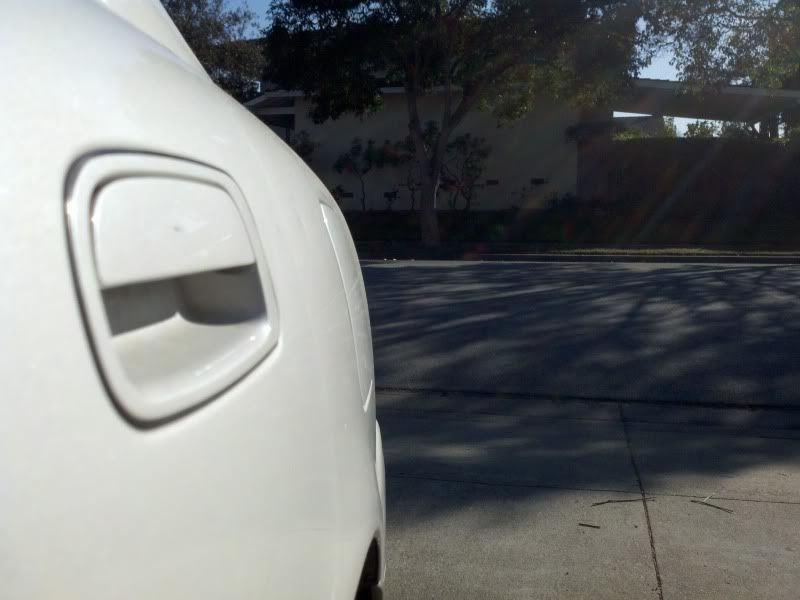
- Fix gas tank cover so it closes flush with the body
- Clean up the cracks on passenger rear view mirror frame
- Body work on Trunk
- HID Low Beams? (http://www.ddmtuning.com/Products/DD...ast-35W-or-55W)
- Remove orange reflector headlights/taillights (also clean up foggy projectors in headlights)
- Buff/polish headlights, fogs and tails
- Fix bumper warp (or buy a new bumper and have it painted, but that is costly...)
Interior:
- Mod 6x9 speaker boxes in the rear (lots of the sound is bouncing in the trunk!)
- Lay out sound deadening insulation under carpet, in doors, under rear seats, over wheel wells and in the trunk
- Get a dedicated amp for the speakers
- Sealed Sub + Amp (Not sure if I want a 10" or 12", I also don't want it taking up huge amounts of space in my trunk)
- Wood grain vinyl covering on center console, door controls, door handles and on parts of the dash (still messing with this idea)
- Detailing on drivers seat leather
- Clean and condition the leather seating!
LOTS to be done. More PICS to be posted as I progress!
Exterior:
- Replace ALL of the suspension. I'm talking, struts, sway bars, end links, bushing, everything. (looking at KWB GR-2 struts)
- New rotors
- 17" wheels (I'm not completely sure I will do this, and I'm not a big fan of huge rims either, but 15.5" or whatever these are, is kinda lame ahahaha)
- Fix gas tank cover so it closes flush with the body
- Clean up the cracks on passenger rear view mirror frame
- Body work on Trunk
- HID Low Beams? (http://www.ddmtuning.com/Products/DD...ast-35W-or-55W)
- Remove orange reflector headlights/taillights (also clean up foggy projectors in headlights)
- Buff/polish headlights, fogs and tails
- Fix bumper warp (or buy a new bumper and have it painted, but that is costly...)
Interior:
- Mod 6x9 speaker boxes in the rear (lots of the sound is bouncing in the trunk!)
- Lay out sound deadening insulation under carpet, in doors, under rear seats, over wheel wells and in the trunk
- Get a dedicated amp for the speakers
- Sealed Sub + Amp (Not sure if I want a 10" or 12", I also don't want it taking up huge amounts of space in my trunk)
- Wood grain vinyl covering on center console, door controls, door handles and on parts of the dash (still messing with this idea)
- Detailing on drivers seat leather
- Clean and condition the leather seating!
LOTS to be done. More PICS to be posted as I progress!
 02-24-12, 04:31 AM
#17
Pole Position

Join Date: Apr 2009
Location: Mich.
Posts: 328
Likes: 0
Received 0 Likes
on
0 Posts
It's great you grandfather works at a Lexus dealer. Check on getting some Lexus floor mats. Take your time working on the car. Great price. Have fun, keep updating.
Tim
Tim

 02-27-12, 08:30 PM
#20
Driver
Thread Starter
Join Date: Sep 2011
Location: CA
Posts: 129
Likes: 0
Received 0 Likes
on
0 Posts


Updates to come, at some point along the way. Trying to save my money.
02-28-12, 08:02 AM
#21
Lexus Test Driver
Your grandpa rocks lol. The DDM hid is pretty good for the price, I wouldn't bother with the blue bulbs though. Back when I was 16, blue bulbs was $10 and HIDs were $200+.
While it's fun and all to mod the car, keep in mind not to get too carried away with it lol. Remember, to hell with Modding, make sure it's running right first!
As for 10 vs 12, there really isn't too much of a difference. Just pick up a good brand one from Craigslist for around $40-50 and call it a day :-)
02-28-12, 09:25 AM
#22
Driver
Thread Starter
Join Date: Sep 2011
Location: CA
Posts: 129
Likes: 0
Received 0 Likes
on
0 Posts
When you say blue bulbs, are you saying don't waste time on 6000k HID's??
And dannnng, $200, yea I'm not spending that much on HID's...
While it's fun and all to mod the car, keep in mind not to get too carried away with it lol. Remember, to hell with Modding, make sure it's running right first!
As for 10 vs 12, there really isn't too much of a difference. Just pick up a good brand one from Craigslist for around $40-50 and call it a day :-)
I really want to make it simple and clean and not take up too much space.
I was actually just looking at the . Minimal trunk space, built in amp, less wiring, reviews are fantastic. Methinks that it would work wonderfully.
02-28-12, 09:44 AM
#23
Lexus Test Driver
Oh, I meant the ones you installed recently. They look cool, but it decrease visibility and they're overwatted so it can melt your light housing as it runs too hot. The 6000K HID kit from DDM would work since you have projectors on the ES and it's relatively cheap.
As for the sub, that one actually looks pretty good! You'll be able to save plenty of space. Fosgate is a very good brand and they underrate their products. If you look at the crap at Best Buy, you'll see that a 300w Fosgate is way better than a "800w" Sony/Jensen/etc crap brand.
As for the sub, that one actually looks pretty good! You'll be able to save plenty of space. Fosgate is a very good brand and they underrate their products. If you look at the crap at Best Buy, you'll see that a 300w Fosgate is way better than a "800w" Sony/Jensen/etc crap brand.
03-09-12, 10:00 PM
#24
Driver
Thread Starter
Join Date: Sep 2011
Location: CA
Posts: 129
Likes: 0
Received 0 Likes
on
0 Posts
As for the sub, that one actually looks pretty good! You'll be able to save plenty of space. Fosgate is a very good brand and they underrate their products. If you look at the crap at Best Buy, you'll see that a 300w Fosgate is way better than a "800w" Sony/Jensen/etc crap brand.
I will definitely be getting a 12" Fosgate with the amp built in. I like my trunk space (I keep my longboard and other stuff back there 24/7).
03-09-12, 10:02 PM
#25
Driver
Thread Starter
Join Date: Sep 2011
Location: CA
Posts: 129
Likes: 0
Received 0 Likes
on
0 Posts
Alright. Updates!
Just got back from L.A., so don't mind those nasty bugs on the bumper/hood, 1,049 miles round trip. Odometer just hit 147,777. xD
In the last two days I've done a few things:
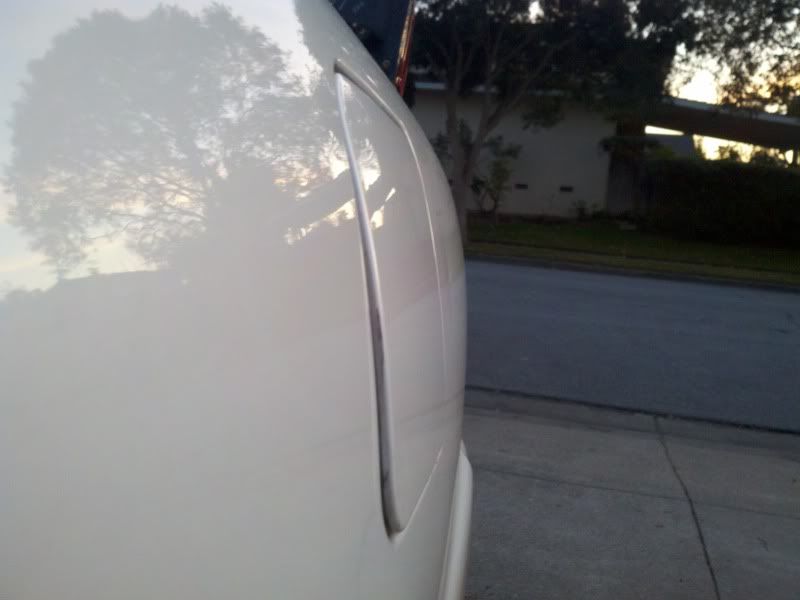
*Fixed the hinge for the gas cap/cover
*Removed the orange reflector in the headlights
*Cleaned projectors in the headlights
Before
After
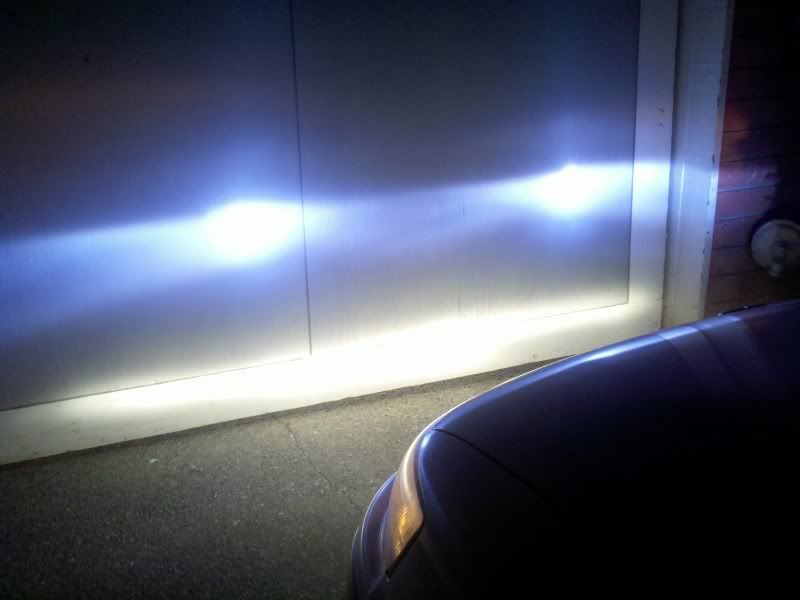
With Reflector
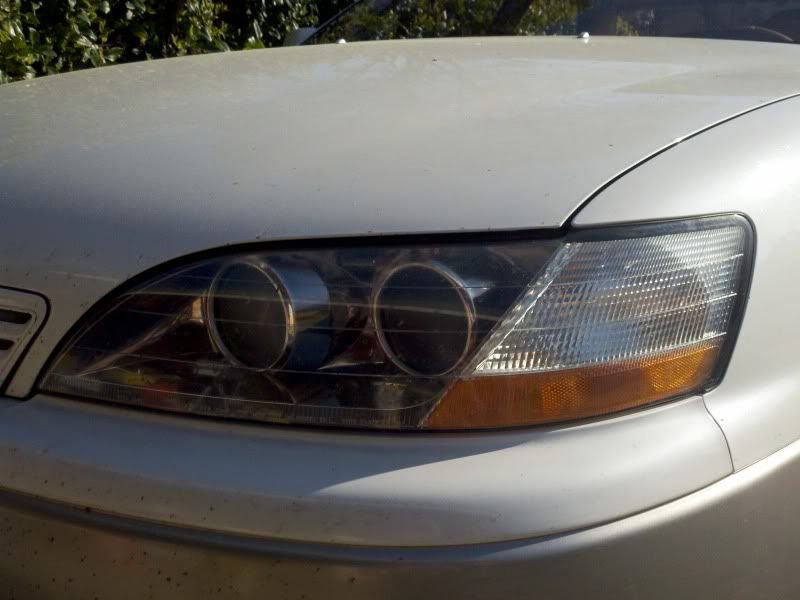
Left = Cleaned, Right = Foggy, Rear = Trolling Friend

No reflector w/cleaned projectors
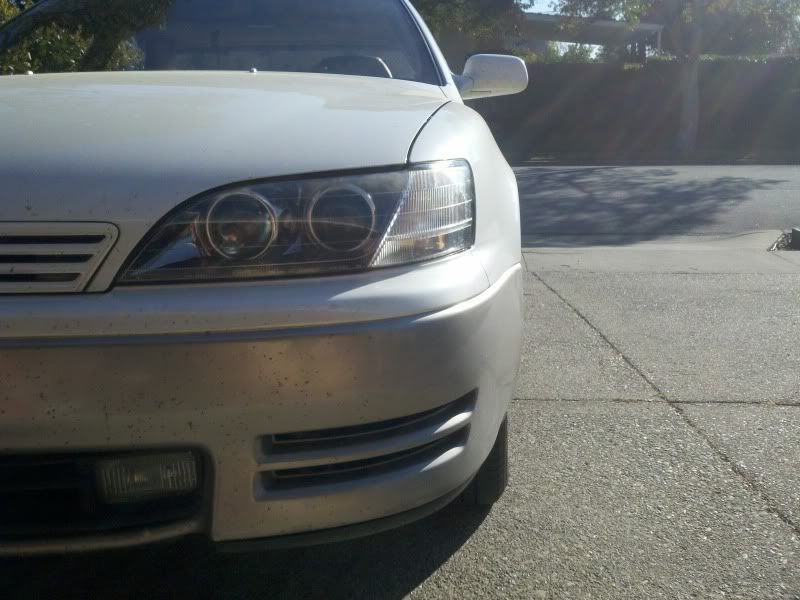
Both done (yes I need to clean my car ahahah... just got back from L.A., those dang bugs...)
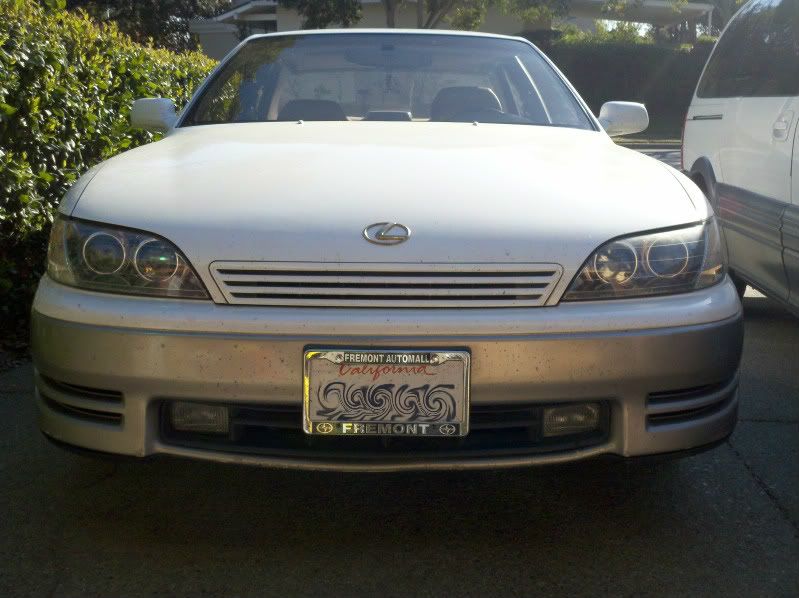
Headlights are so much sharper and brighter on the road!
High Beams
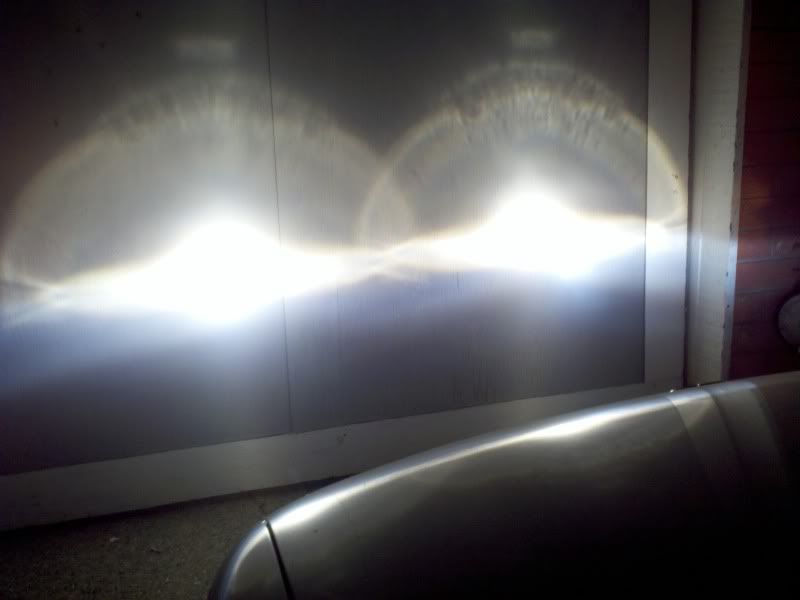
Next step is to clear the orange in the taillights! (tomorrow)
~smee
Just got back from L.A., so don't mind those nasty bugs on the bumper/hood, 1,049 miles round trip. Odometer just hit 147,777. xD
In the last two days I've done a few things:
*Fixed the hinge for the gas cap/cover
*Removed the orange reflector in the headlights
*Cleaned projectors in the headlights
Before
After
With Reflector
Left = Cleaned, Right = Foggy, Rear = Trolling Friend
No reflector w/cleaned projectors
Both done
(yes I need to clean my car ahahah... just got back from L.A., those dang bugs...)Headlights are so much sharper and brighter on the road!
High Beams
Next step is to clear the orange in the taillights! (tomorrow)
~smee
03-10-12, 02:24 AM
#26
Driver
Thread Starter
Join Date: Sep 2011
Location: CA
Posts: 129
Likes: 0
Received 0 Likes
on
0 Posts
Ok so I got the itch to clear the tails tonight, although it was planned for tomorrow... :P
Did it in three hours, finished at 1am. xD
Process in summary:
-Remove taillight assemblies
-Take out bulbs, remove three small screws, remove license plate light piece, remove rubber vents
-Briefly wipe plastic with wet paper towel (mine were super dirty)
-Set oven at 350F on Bake
-Put taillight in oven on a cookie sheet (I even put a hand towel on the cookie sheet, under the taillight
-After it's in, turn off oven, set the timer for 5-7min
-Remove taillight and cookie sheet, turn the oven on again afterwards (to save time)
-Slowly pry assembly apart starting on the top, on the part furthest from the curved part of the taillight
-Once top the top part is mostly pulled apart, put it back in the oven UPSIDE DOWN (opposite of the way you put it in last) for another 5-7min, and again, turn the oven off once it is in
-Remove, pry bottom side apart slowly, pull apart gently and be careful about the curved part
-Remove screw
-Sand down the edges on the orange plastic piece and spray paint it silver
-Resemble the clear reflector + silver part onto the taillight assembly
-Gently push the two pieces of the assembly back together as much as you can
-Put entire assembly back into the oven for another 5-7min
-Remove and press it all back together, use small clamps if necessary (certain parts may need extra force)
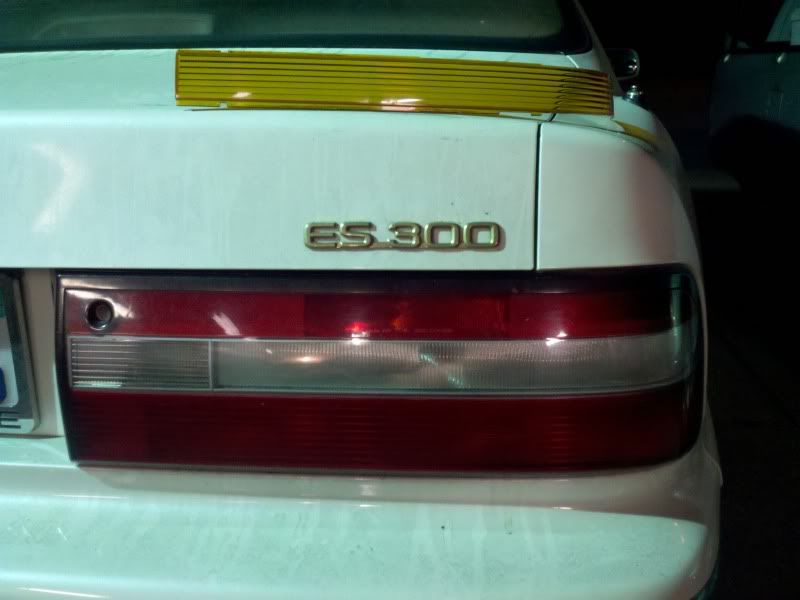
Here are the pictures of the process:
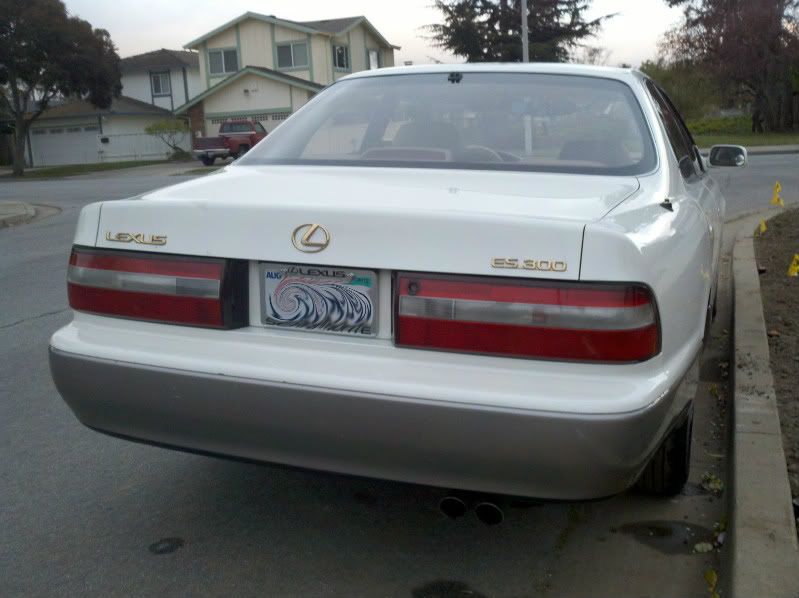
Before (and don't let the trunk being open merp you out, when its closed it is flush ahaha)
Tails off
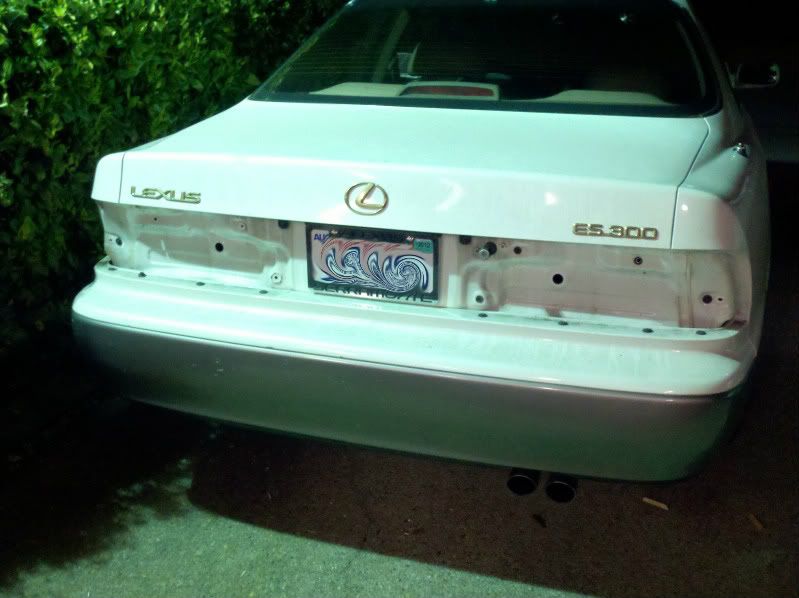
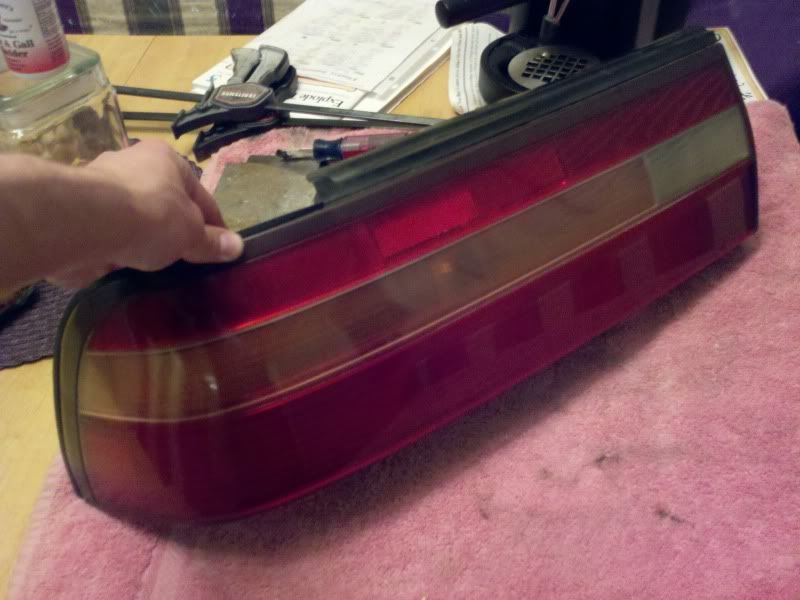
Stock taillight of a 1995-96 ES300
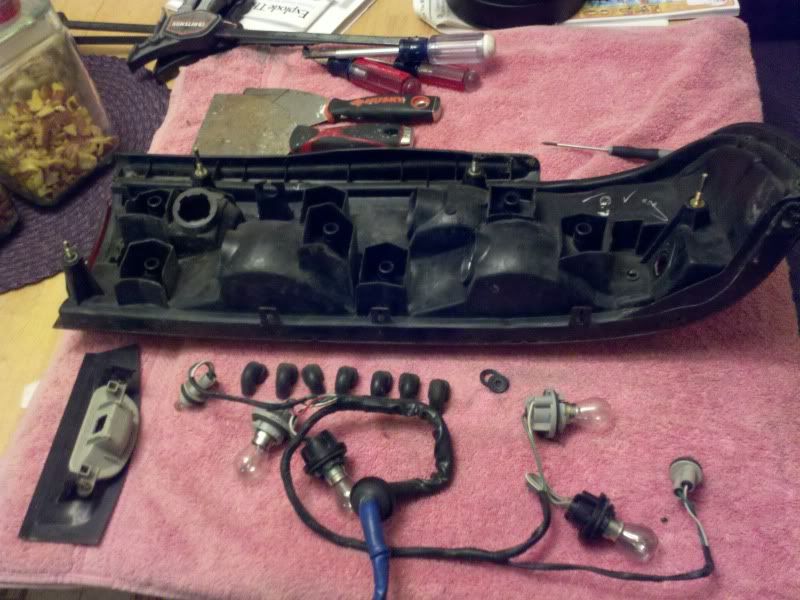
Took off everything
After two rounds in the oven

Took both of the orange things to the garage
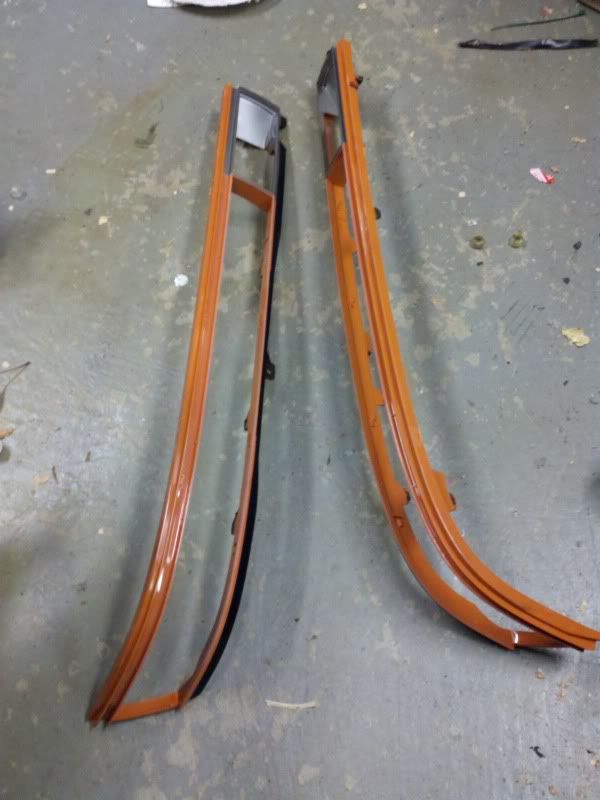
Painted Silver (this stuff dries super fast)
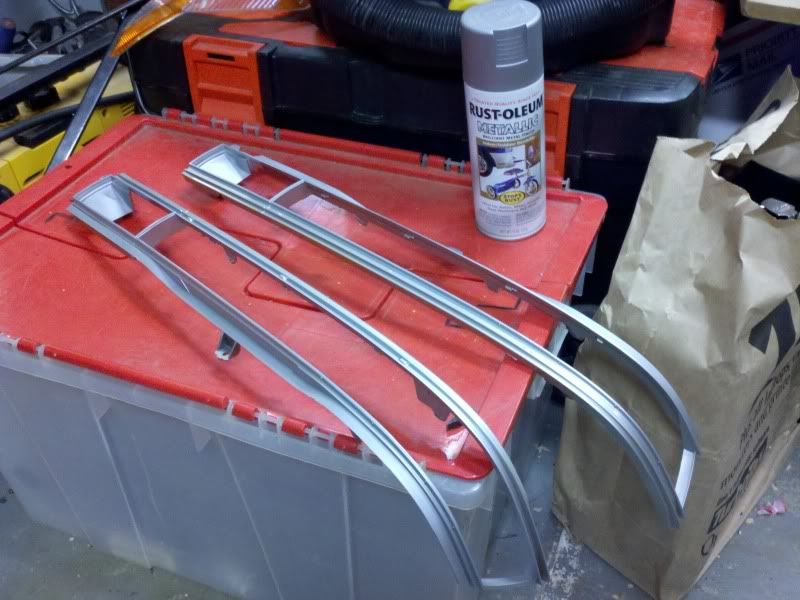
Back in the oven once each and put back together

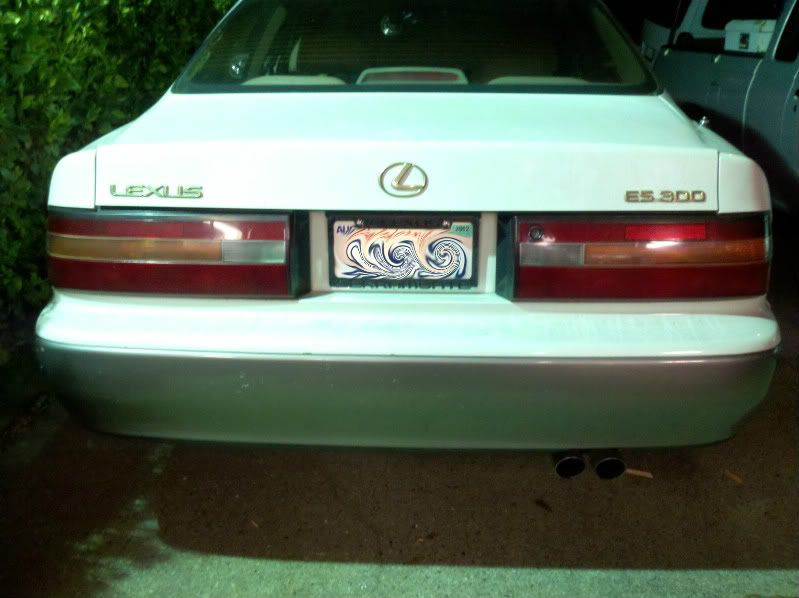
All of that just to get an orange piece of plastic out... worth it? YES.
Finished product!
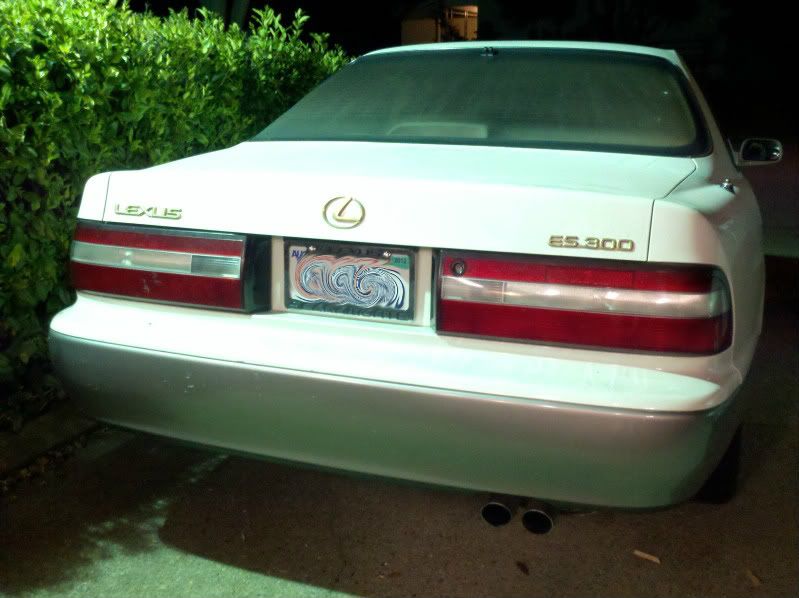
Now for some sleep.
~smee
Did it in three hours, finished at 1am. xD
Process in summary:
-Remove taillight assemblies
-Take out bulbs, remove three small screws, remove license plate light piece, remove rubber vents
-Briefly wipe plastic with wet paper towel (mine were super dirty)
-Set oven at 350F on Bake
-Put taillight in oven on a cookie sheet (I even put a hand towel on the cookie sheet, under the taillight
-After it's in, turn off oven, set the timer for 5-7min
-Remove taillight and cookie sheet, turn the oven on again afterwards (to save time)
-Slowly pry assembly apart starting on the top, on the part furthest from the curved part of the taillight
-Once top the top part is mostly pulled apart, put it back in the oven UPSIDE DOWN (opposite of the way you put it in last) for another 5-7min, and again, turn the oven off once it is in
-Remove, pry bottom side apart slowly, pull apart gently and be careful about the curved part
-Remove screw
-Sand down the edges on the orange plastic piece and spray paint it silver
-Resemble the clear reflector + silver part onto the taillight assembly
-Gently push the two pieces of the assembly back together as much as you can
-Put entire assembly back into the oven for another 5-7min
-Remove and press it all back together, use small clamps if necessary (certain parts may need extra force)
Here are the pictures of the process:
Before (and don't let the trunk being open merp you out, when its closed it is flush ahaha)
Tails off
Stock taillight of a 1995-96 ES300
Took off everything
After two rounds in the oven
Took both of the orange things to the garage
Painted Silver (this stuff dries super fast)
Back in the oven once each and put back together
All of that just to get an orange piece of plastic out... worth it? YES.
Finished product!
Now for some sleep.
~smee
Last edited by smee; 03-10-12 at 02:30 AM.
03-18-12, 10:35 AM
#28
Driver
Thread Starter
Join Date: Sep 2011
Location: CA
Posts: 129
Likes: 0
Received 0 Likes
on
0 Posts
The lights were fun. I love the cleaner look.
Cleaned the car last weekend too... but then it started raining, and has been stormy all week. xD
anyway, here are the clean pics:
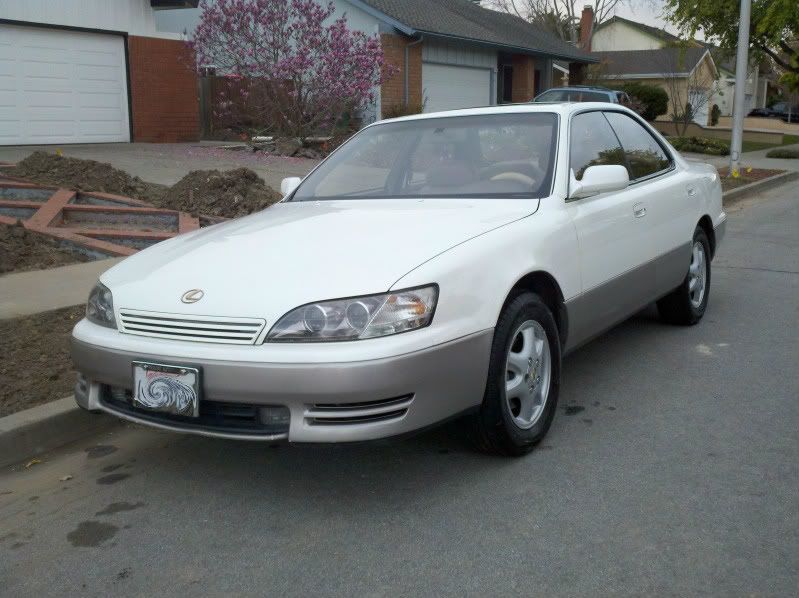
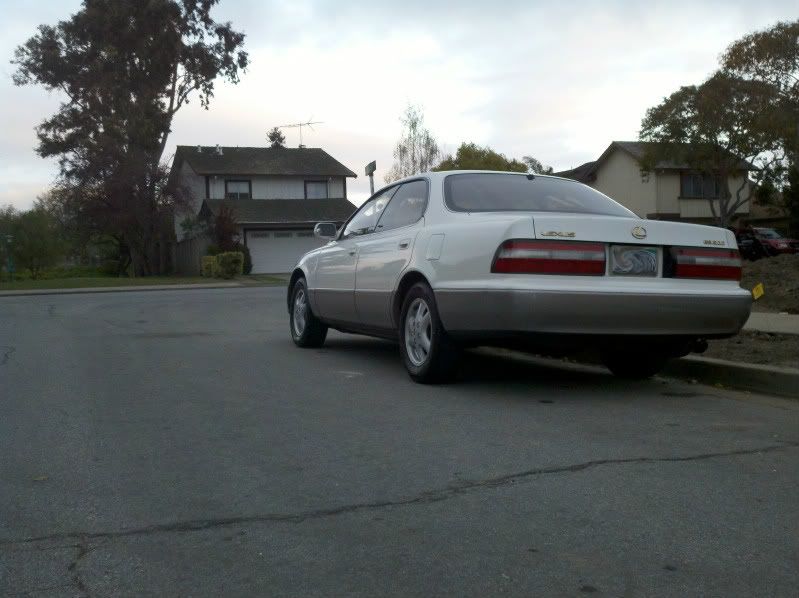
I kinda want to do a '96 front bumper swap...