When you click on links to various merchants on this site and make a purchase, this can result in this site earning a commission. Affiliate programs and affiliations include, but are not limited to, the eBay Partner Network.
DIY: How to replace front outer and inner tie rods.
Hello there folks! Today, I will teach you how to install brand new inner and outer tie rods on your ES300/Camry/Avalon/Solara 97-01. In this case, I'm replacing them on my 2000 ES300.
Tools you will need:
-Inner tie rod tool kit
-Club hammer, or other large hammer
-17mm socket and ratchet
-Drill
-Torque wrench
-Long flathead screwdriver
-Long breaker bar
-Pliers
-Zipties or hose clamps
-Oh and lastly, your sanity
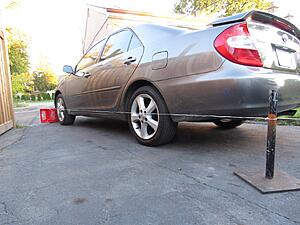
For starters, jack up your car and put jack stands underneath it. Also very important, if you only own one car, make sure you go out and rent an inner tie rod tool kit from your local autoparts store (Oreilly's, Adavnced Auto, etc...), before you start taking stuff apart. Otherwise have a friend take you there if you forget to rent the tool kit, as you will certainly need it to get the inner tie rod off.
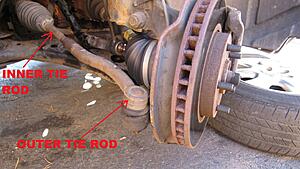
Begin by taking the castle nut off the outer tie rod end. There is a pin inside the castle nut that will need to come out. Odds are, you're going to have to drill out this pin. I had absolutely no luck trying to get it out, and i wasn't going to waste any time trying.
After the pin is removed, get a long breaker bar and a 17mm socket and break that castle nut lose! Make sure you use PB Blaster on this nut. It might be hard to thread it off, but it should come off with some elbow grease. After doing this your going to want to get the tie rod out of the steering knuckle. Now you can do this one of three ways.
1. Take a hammer and smack the steering knuckle (right where the tie rod goes in) very hard. This should break it lose, and this is what I did.
2. Thread the castle nut back on upside down, with the points facing up. Don't thread it on all the way because you want to be able to hit the tie rod out a little. Hit the castle nut from underneath to knock the tie rod loose.
3. Use a tie rod fork, or other tie rod separator to knock it loose.
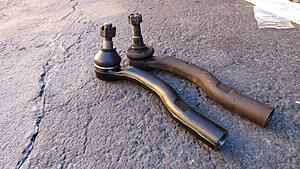
And viola, it's out!
Next, you must get the nut loose that holds the outer tie rod to the inner tie rod. You will need a 3/4 inch, 19mm, or adjustable wrench. This was actually the most difficult task for me. I highly recommend spraying some PB Blaster on the nut prior to trying to take it off if you don't want to round the bolt like I did.
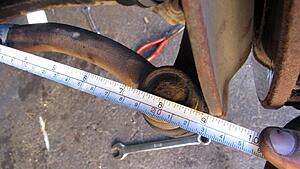
Once this is free, twist off the outer tie rod end and count the number of twists it takes to some off. For example, with the outer tie rod facing the ground spin it 360 degrees counter clockwise once. That is one twist. This is important because you want to keep your cars alignment in tact. You will thread the new tie rod on with the same number of twists it took to take the old one off.
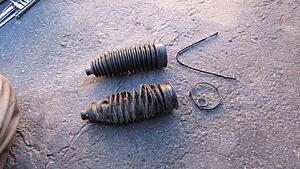
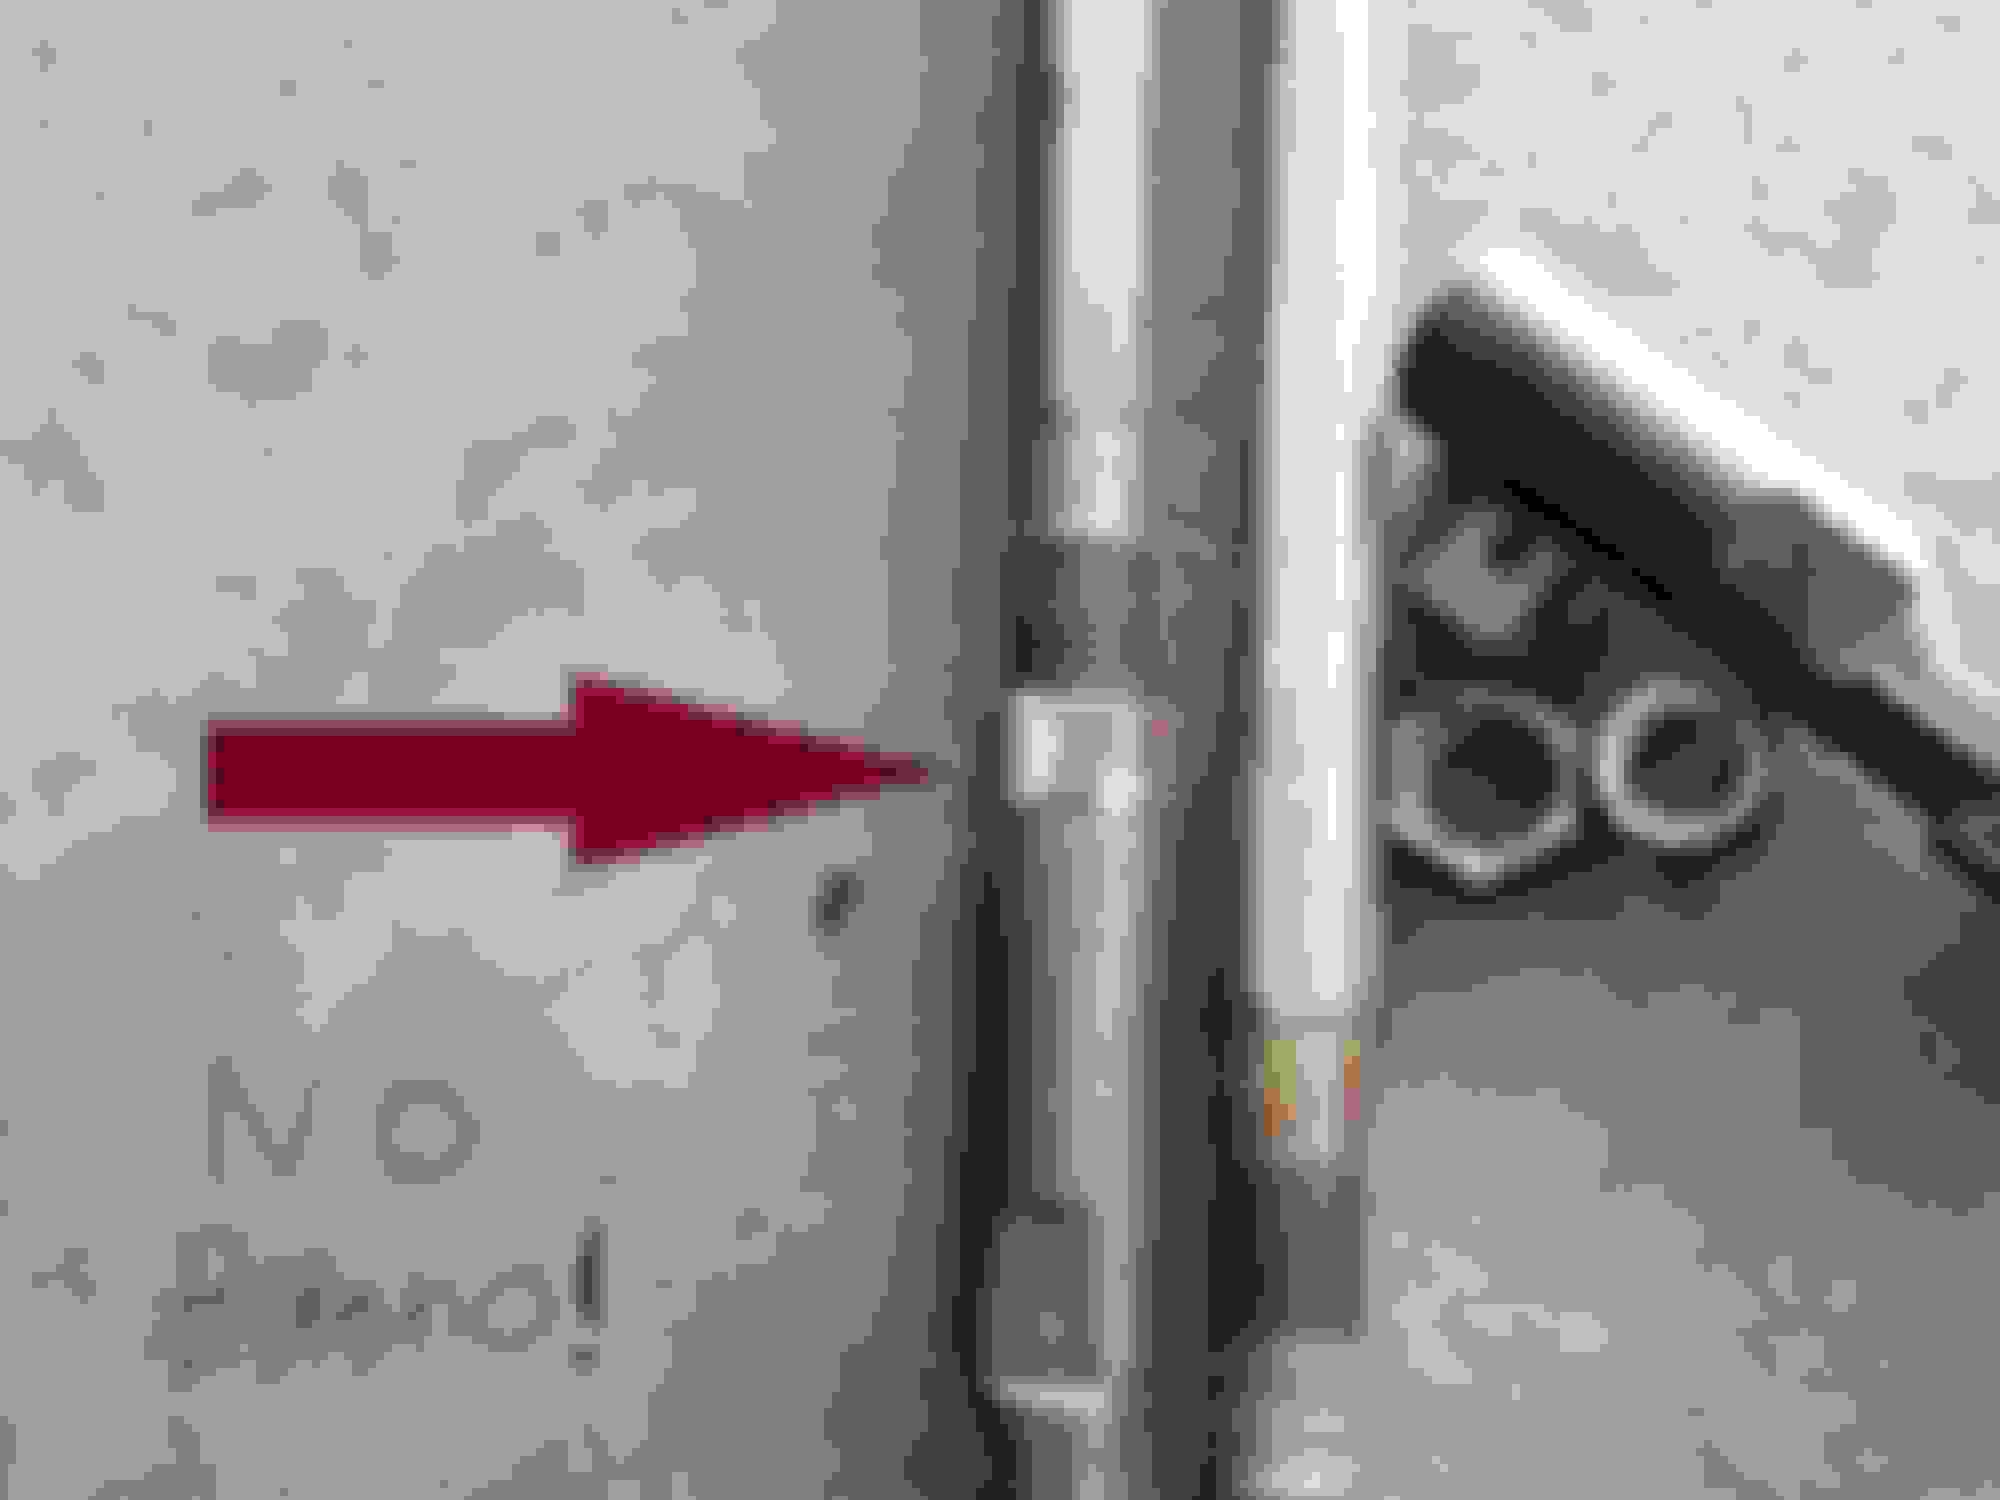
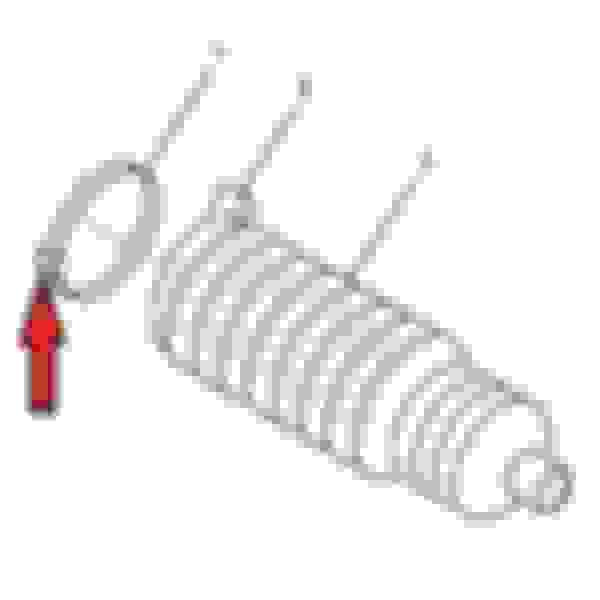
After this has been done, it's time to take the boot off. For this you will use your pliers and take off the first clamp closest to you which should be easy. Then, take your long flathead screwdriver and pry out the clip shown below (reference #1). Stick the screwdriver in the part of the clip shown below, and twist. This should loosen the clip and you should be able to pull the boot out. Unfortunately, these clips are not reusable, so you'll need some zipties or large hose clamps to put it back on.
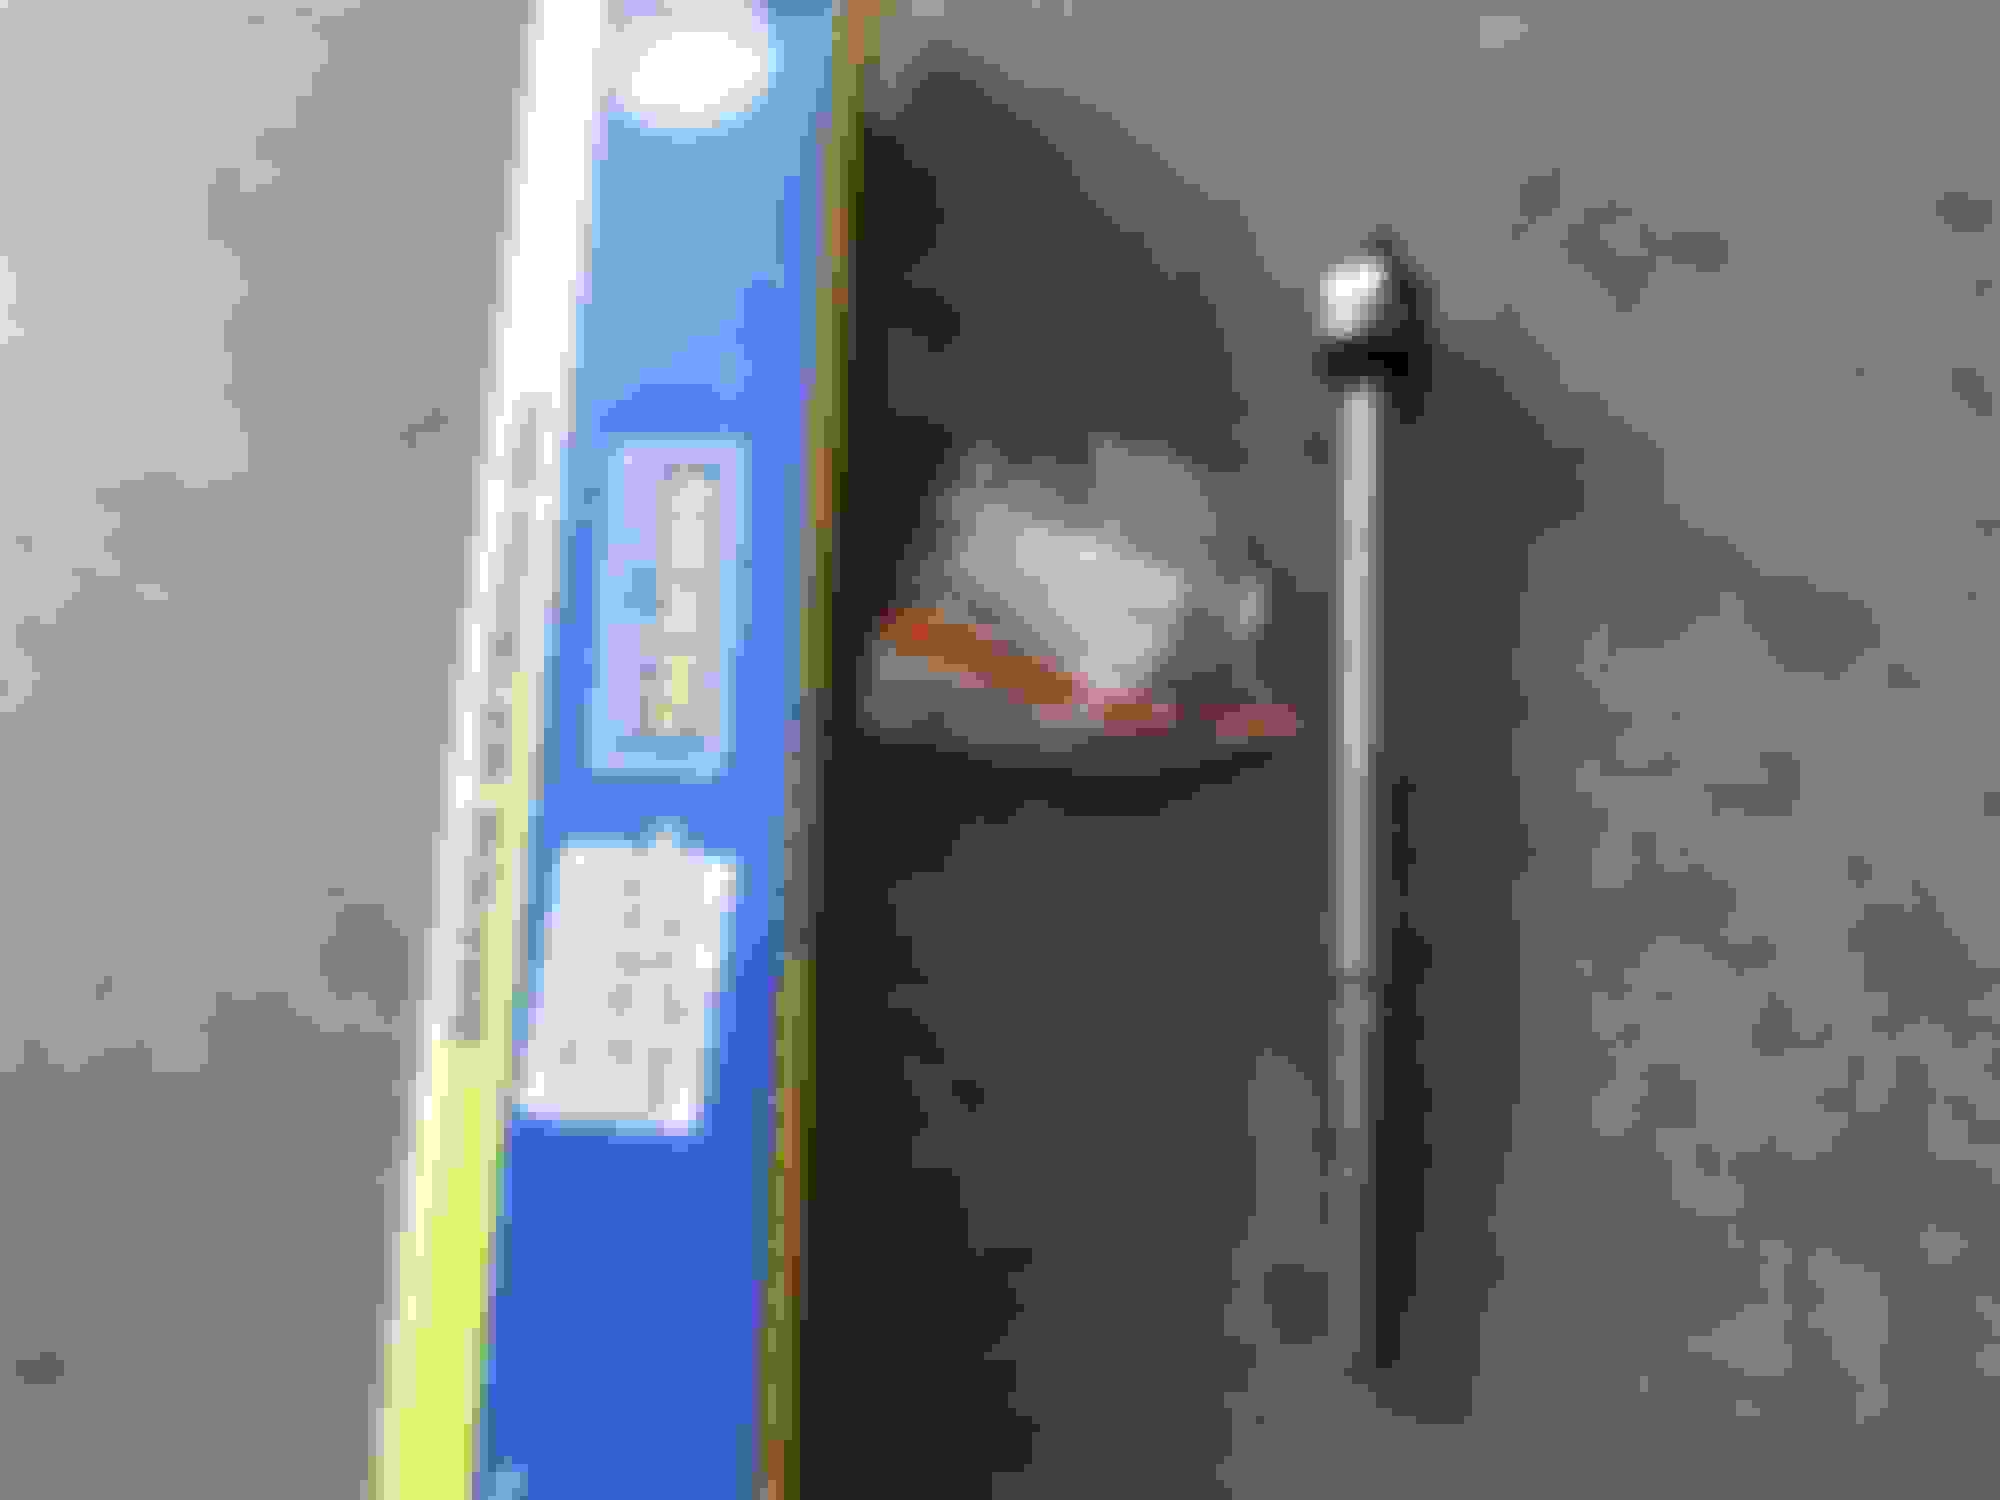
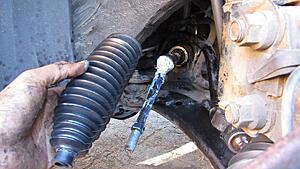
After the clamps are undone, unscrew the nut from the inner tie rod and slip off the boot. For the next procedure, you will need your inner tie rod toll, as shown below. Pick the right size fitment for your inner tie rod and put it on. Then, attach the long bar that comes with the kit. Get your breaker bar, attach it to the bar and pry away! it shouldn't be too hard to get it out.
Once that is out your halfway done! Congrats! Now it is time to put it all back together the way it came out. Begin this process by getting your new parts. Here are the parts that I choose. I recommend shopping around to get the lowest prices, but don't get cheap knockoff parts.
Beck Arnley Part # 101-4291
Moog Part # EV301
Make sure you install the washer that is included with your new inner tie rod and then screw it on. Once it is tightened by hand, use your tie rod tool again, only this time use your torque wrench and torque it to 45 foot pounds. I called up Lexus to make sure this torque spec is correct, and it is. After this is torqued down, begin putting the boot back on. This is where you need your zipties or hose clamps to put on the back part of the boot. Once that is on and tight, put on the front clamp. Then, proceed to install your new nut onto your inner tie rod. You'll want to screw it on a little more than halfway so that you can twist the outer tie rod on. If you didn't round your bolt like I did, and you want to reuse the nut from the old tie rod, you certainly can! Once the nut is on twist on the outer tie rod the number of twists it took to take it off. This will get your alignment close to what it was prior to replacing these parts. You will without a doubt need an alignment after replacing these, or you can try doing it yourself like this guy on YouTube.
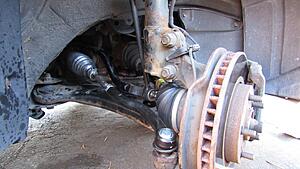
After screwing on the outer tie rod, stick it back into the steering knuckle. Then install the castle nut that came with your new tie rod end, and torque this to 36 foot pounds. After this is done, check to see if the hole in the castle nut matches up with the hole in the tie rod. If not, you may need to do some adjusting, or just unscrew it a tiny bit. Then put the pin in and bend one of the pegs around the castle nut, and the other under the castle nut. Just make sure that it is in there good. Then tighten down the nut on your inner tie rod, and you're done!! Repeat this process on the other side, then get an alignment. Please let me know if you have questions. I hope this write up helps!!
Nice Job, I did the same job on my sister's 98 Camry V6 a few months ago. Her Bellows were torn on both sides and the steering had way too much play in it.
Good Choice on the Moog, I have a set of inner and out tierods I'm saving for my ES. Went with Partsmaster for my sister's car, got them from Amazon for a steal.
I used Aftermarket Neoprene rubber bellows (boots) and new Oettinger clamps, bought a crimp tool from amazon for 10 bucks.
I used a OTC inner tierod removal tool and a ball joint tool remover (looks like a clamp) no hammering needed.
Removal and install went without a hitch, however, doing the alignment with the string method, I had to do it a few times to get it perfect.
That Mustang video added more confusion than answers for me. I found more examples online and the method I ended up going with was:
used 2 PCV pipes of equal distance, marked off the ends where the strings would be attached, placed on jack stands, attached strings on equal distances on the pcv pipes.
I measured from the center caps of the rear wheels as a reference, adjusted to make them equal distances on both sides. (did this cause the rear could also have a slight toe in)
Then I moved to the front wheels, again measured from the center caps and made them equal distances on both sides.
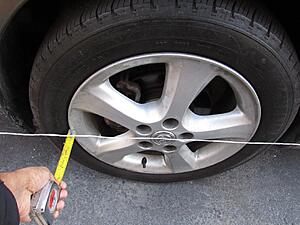
Once the PCV pipes and strings were in place, I measured the left and right edges of the rim and spun the inner tierod accordingly.
What was confusing was knowing the direction to turn... I discovered, turning clockwise made it shorter, and counter-clock wise made it longer.
Another thing to note, frequently check that your steering wheel is dead center after each tierod adjustment. (I didn't do this the first few times and learned the hard way)
Nice Job, I did the same job on my sister's 98 Camry V6 a few months ago. Her Bellows were torn on both sides and the steering had way too much play in it.
Good Choice on the Moog, I have a set of inner and out tierods I'm saving for my ES. Went with Partsmaster for my sister's car, got them from Amazon for a steal.
I used Aftermarket Neoprene rubber bellows (boots) and new Oettinger clamps, bought a crimp tool from amazon for 10 bucks.
I used a OTC inner tierod removal tool and a ball joint tool remover (looks like a clamp) no hammering needed.
Removal and install went without a hitch, however, doing the alignment with the string method, I had to do it a few times to get it perfect.
That Mustang video added more confusion than answers for me. I found more examples online and the method I ended up going with was:
used 2 PCV pipes of equal distance, marked off the ends where the strings would be attached, placed on jack stands, attached strings on equal distances on the pcv pipes.
I measured from the center caps of the rear wheels as a reference, adjusted to make them equal distances on both sides. (did this cause the rear could also have a slight toe in)
Then I moved to the front wheels, again measured from the center caps and made them equal distances on both sides.
Once the PCV pipes and strings were in place, I measured the left and right edges of the rim and spun the inner tierod accordingly.
What was confusing was knowing the direction to turn... I discovered, turning clockwise made it shorter, and counter-clock wise made it longer.
Another thing to note, frequently check that your steering wheel is dead center after each tierod adjustment. (I didn't do this the first few times and learned the hard way)
Did you have to use a special tool to install the tie rod back into the knuckle? Just torgue the castle nut and it draws it in?
Also, do you remember the size of the adapter needed for the inner tie rod tool?
Last edited by fortitude; 01-26-16 at 09:02 PM.
Reason: used the wrong words
Did you have to use a special tool to install the outer-ball joint? Such as ball joint press with adapter kit?
idk about the 4es but the 3es just has 3 bolts that hold it to the lower control arm.
you have to have some kind of tool to pop the ball joint from the knuckle. You can use a pickle fork at the risk of damaging the boot but if it's the old one it doesn't matter.
There's a tool I normally use that looks like a seesaw that pops it or you can try with a BFH (big fkn hammer).
Sorry, I had to edit my last post. I meant to say outer tie rod end and not ball joint.
Did you have to use a special tool to install the tie rod back into the knuckle? Just torgue the castle nut and it draws it in?
Also, do you remember the size of the adapter needed for the inner tie rod tool?
I don't remember the size of the crows feet but the right size was included with my tool set.
That's the tool I bought, if I had to take a wild guess I would say maybe 5/16, but that's just me taking a stab guess in the dark after 1 year+ of memory.
to reinstall the tierod end no tool is needed, you just torque the castle nut to spec and try to line up the hole for the cotter pin, if you are slightly off, tighten it slightly till the hole lines up. I would not loosen the nut.
Yes it should be the same on the 95 ES, and probably 90% of all passenger cars out there...
Thank you. I am told I need to change my rack and pinion as well as the inner/outer tie rods. I know one of them are part of the rack and pinion assembly. I am sure this DIY will be helpful.
Just an update to this thread for future reference.
I replaced the inner tie rod boot and my outer tie rod on my Camry recently. The boot was ripped (seems to be a common problem on all Camry based vehicles) and the outer tie rod had a lot of play.
I filmed a quick YouTube video outlining the process and wanted to share since the ES is the same vehicle mechanically:
Typically outstanding DIY info you post. This should be quite valuable to a lot of people; thanks for your work.
The re-alignment links are also good ones. I would add two tips that might help people with stuck ends that are hard to separate. That is often a stumbling block on this job or ball joints.
1) Most auto parts stores loan a Pittman arm puller for free. I use one like this vs. a pickle fork as it is non-destructive, and it is also simple. It looks like this:
O'Reilly's has them in two sizes and the smaller one should fit an ES tie rod end. I have mine on the bench right now because I am putting ball joints in my SUV tomorrow and have to remove not just those but the tie rod ends and 1/2 axle to do that job.
2) If the Pittman arm puller or pickle fork can't separate it (and this is common), you can try two more things:
a - put pressure on the stud while you rap the side of the knuckle with a serious hammer/BFH. Keep at it and the impact will almost always work.
b - if that does NOT work, soak it in Kroil a while (which is good to do no matter what technique you use), then heat the knuckle with a propane torch. When it is quite hot, put ice on and around the stud. It will contract faster than the knuckle and you will hear a "ting" sound and it will fall free. My father was a machinist with the L&N back in the day and told me this; he told me it will never fail. I have never had to use it, but he was always right about tricks like this.
I can't find the Michelle Shocked version (which is head and shoulders the best), but since we mentioned the L&N, that recording of hers was always a favorite of mine (from "Short, Sharp, Shocked," a late 80s album and the title a play on a famous Margaret Thatcher quote). This is not her version, but a cool video:
 08-03-15, 06:50 PM


 Now it is time to put it all back together the way it came out. Begin this process by getting your new parts. Here are the parts that I choose. I recommend shopping around to get the lowest prices, but don't get cheap knockoff parts.