
2ES Project Thread: Custom LED Lighting
 06-23-09, 11:35 PM
#31
This is an update I should have done a while back since it was working perfectly for a 12v battery lol....
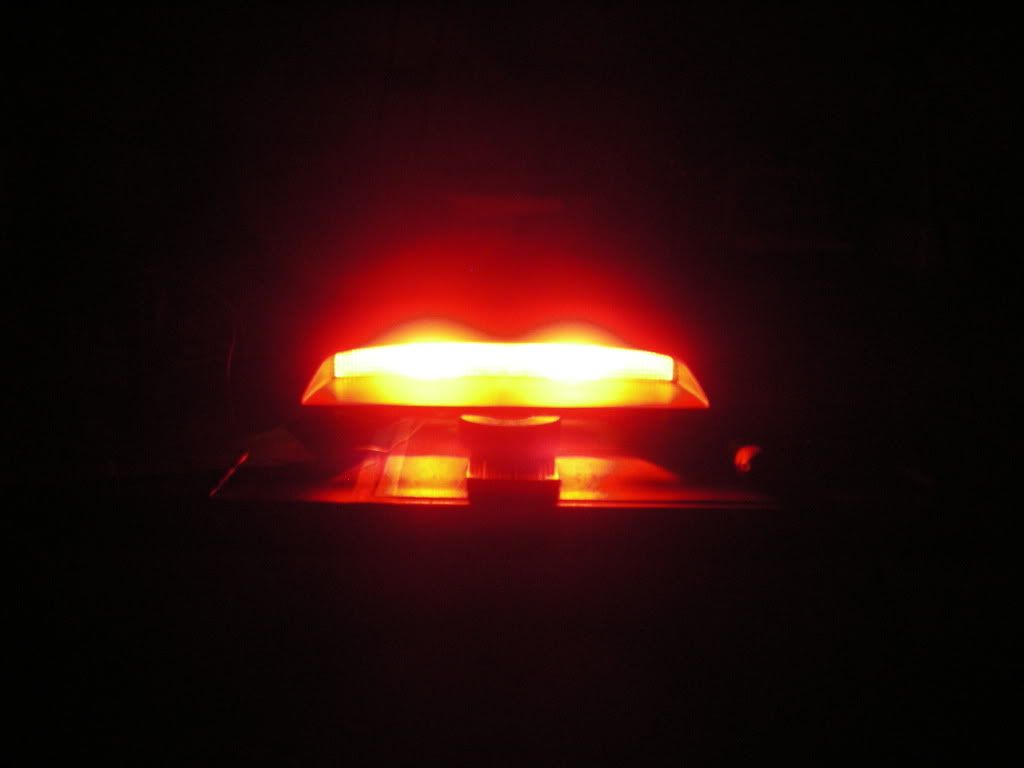
Stock halogen bulbs in housings powered by 12v battery and the output in a somewhat bright room...


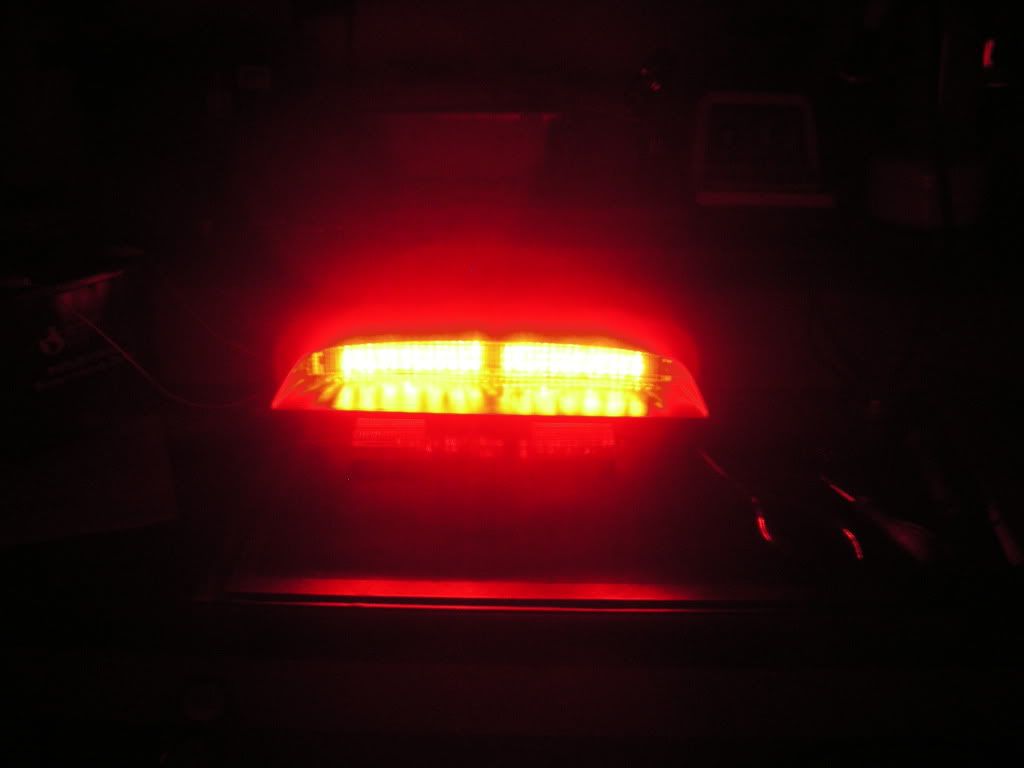
Custom LED board designed for a 12v battery (grrrrrrr ) and its output in the same amount of light...

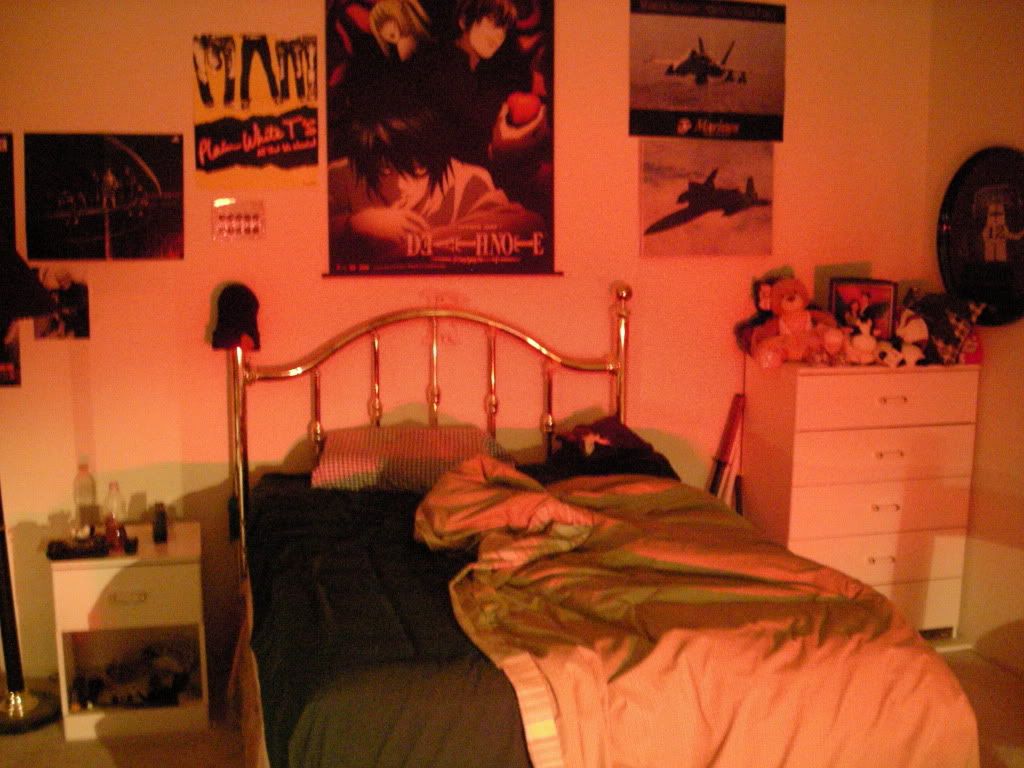
How it looked put together in good lighting. I like the split pattern instead of the cyclops mode you see every day

Anyway, that was it then, version 2.0 has been redesigned in terms of resistors and wiring but the positions of the LEDs are in relatively the same areas. I'll have to have about 6 resistors for each group of 4 LEDs this time around. They will work this time. I'm going to take a Volt Meter to my brake light tomorrow and measure the output with lights off/on to get an accurate reading. In terms of soldering, the new board is roughly 20% finished so stay tuned!
Stock halogen bulbs in housings powered by 12v battery and the output in a somewhat bright room...
Custom LED board designed for a 12v battery (grrrrrrr
) and its output in the same amount of light...How it looked put together in good lighting. I like the split pattern instead of the cyclops mode you see every day
Anyway, that was it then, version 2.0 has been redesigned in terms of resistors and wiring but the positions of the LEDs are in relatively the same areas. I'll have to have about 6 resistors for each group of 4 LEDs this time around. They will work this time. I'm going to take a Volt Meter to my brake light tomorrow and measure the output with lights off/on to get an accurate reading. In terms of soldering, the new board is roughly 20% finished so stay tuned!
 06-26-09, 10:33 AM
#34
So...in my less-than-enough amount of sleep, I may have gone overboard with the LEDs. Picked up some Lumiled's off ebay for a decent price (I think). 1,200 of them to be more accurate. Project Tails is off to a slow start before I leave for Hong Kong. Project Brake Light is nearing completion though
New LEDs

New LEDs
 06-27-09, 07:00 PM
#36
Haha, thanks Dixon. I originally made this thread to help you guys along if you decide to do it. Its fairly easy once you get the basics down
HK will be an opportunity thats for sure. Got a couple more things planned as I PM'd a couple ebay sellers over there
HK will be an opportunity thats for sure. Got a couple more things planned as I PM'd a couple ebay sellers over there
06-29-09, 05:29 PM
#37
Update!
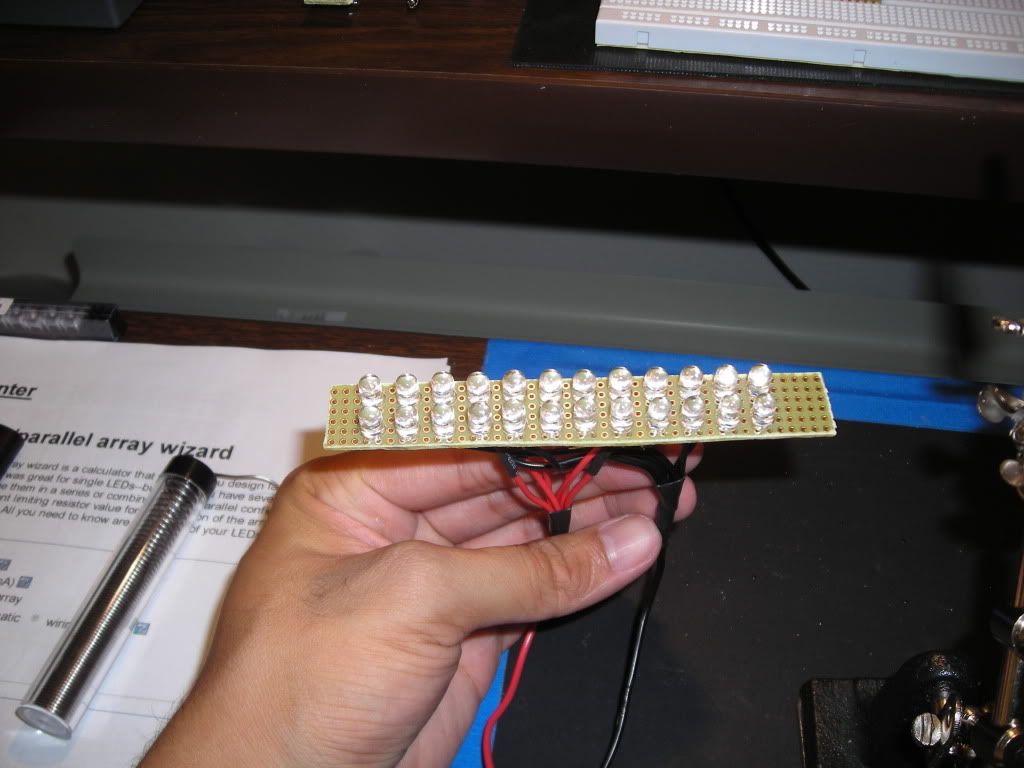
Finished the board and just need to install them. Hopefully this is the last time I'll do this, but if not thats ok too. I can throw some higher quality LEDs in if thats the case
Pretty much its the same layout as before. 2x24 LED. Resistor used was 330ohm per 4 LEDs.
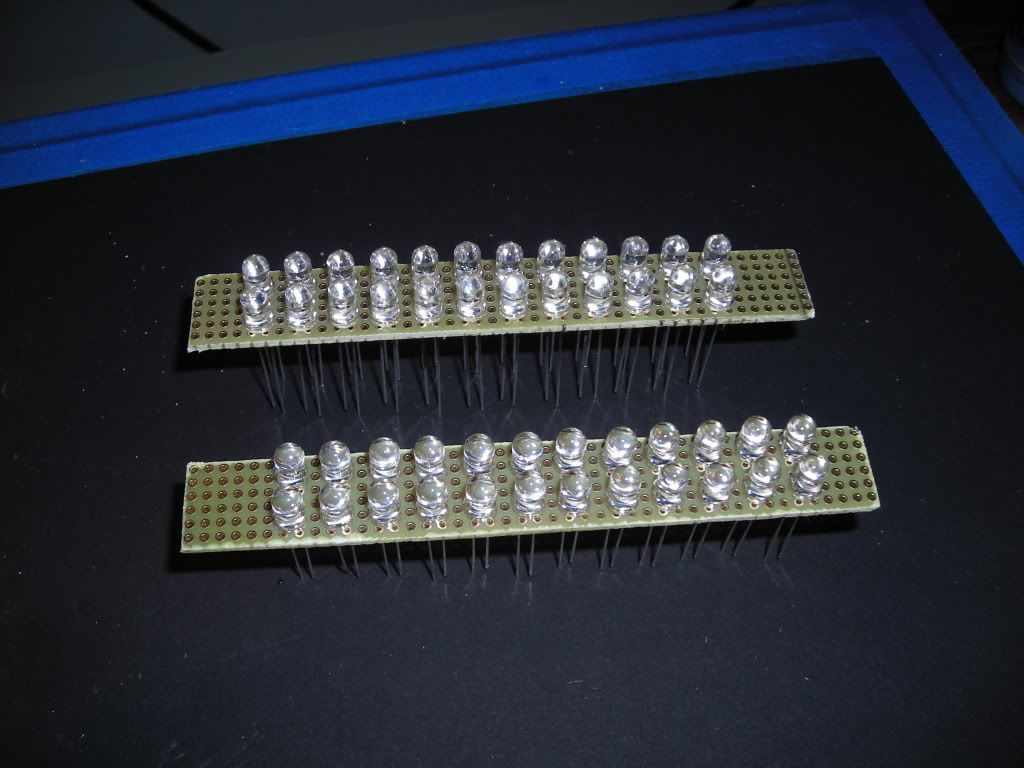

Finished board look. Decided against the bar supplying power from the last version due to the amount of space on that bar needed would be greater so I just went with straight wiring this time around...

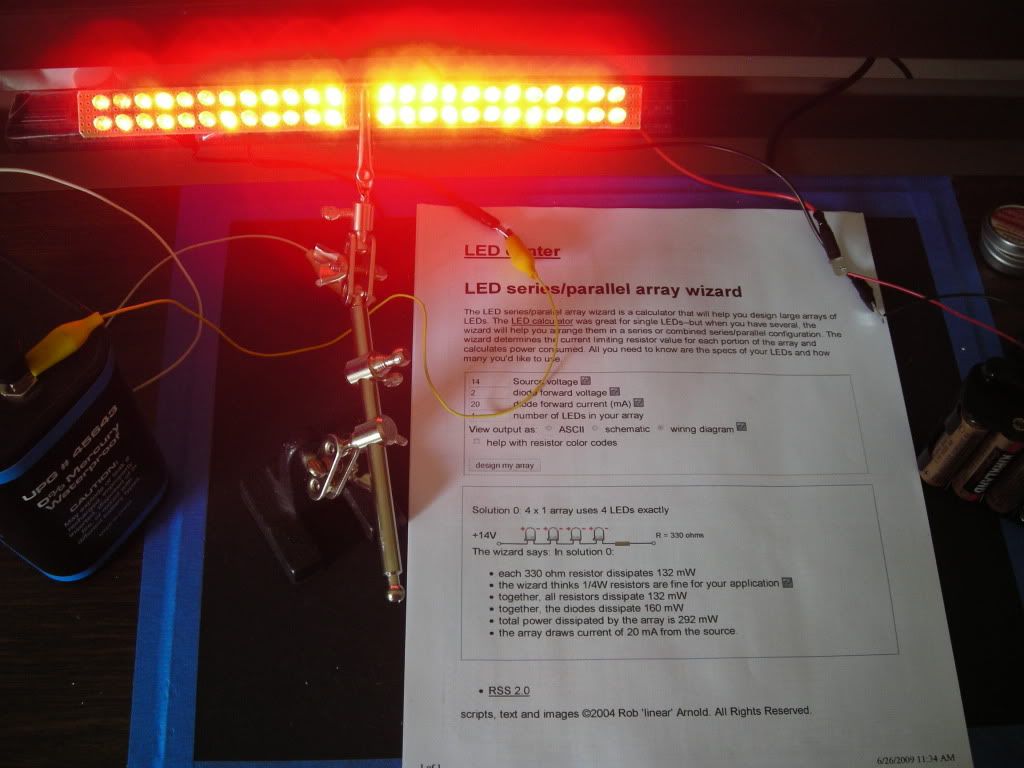
"Mock" braking for you guys. Didn't want to install until the next local CL meet on thursday
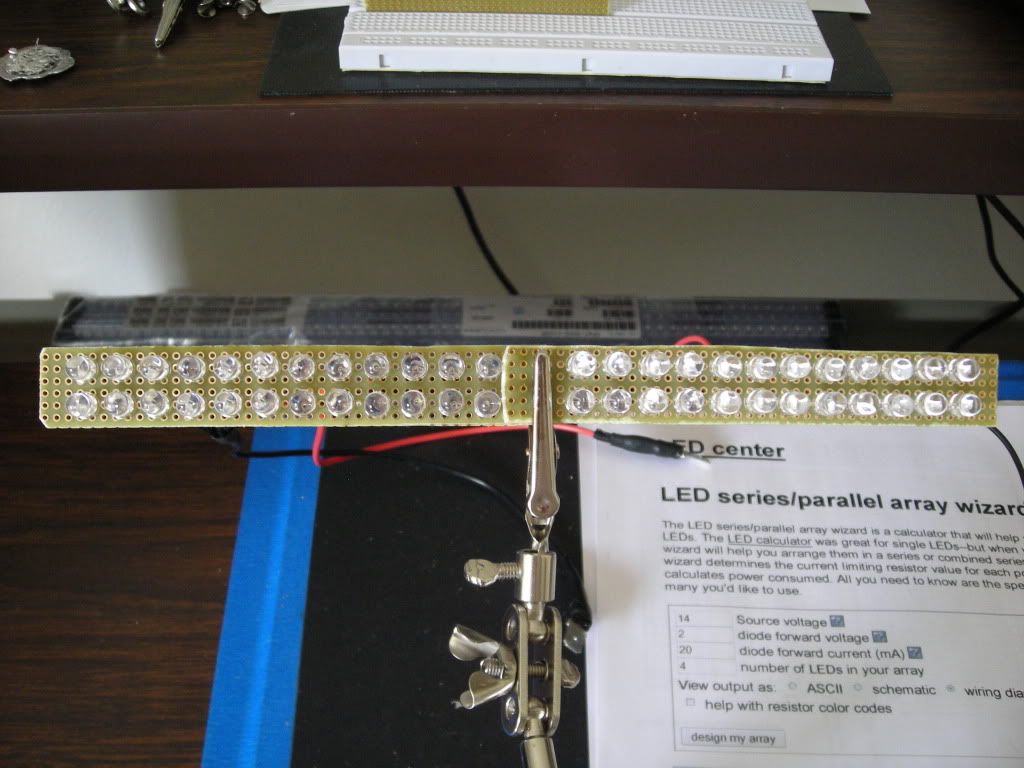

Added the finishing touches with black electrical tape. Now all you'll see are the LEDs once they're inside the housing just like before

Random Thoughts:
-Using a new board helped speed things up since I was too lazy to desolder version 1.0
-soldering was much more faster this time around
-LEDs do not seem dimmer at all compared to the first board
-LEDs should be able to take up to 15v perfectly with NO problems *fingers crossed*
-I've rehashed my love for making things again
-Thinking of putting together a kit for you guys in case you want to do it in the future to solve potential headaches I went through
Thats it for now. More updates later this week then its off to Hong Kong on the 8th
Finished the board and just need to install them. Hopefully this is the last time I'll do this, but if not thats ok too. I can throw some higher quality LEDs in if thats the case
Pretty much its the same layout as before. 2x24 LED. Resistor used was 330ohm per 4 LEDs.
Finished board look. Decided against the bar supplying power from the last version due to the amount of space on that bar needed would be greater so I just went with straight wiring this time around...
"Mock" braking for you guys. Didn't want to install until the next local CL meet on thursday
Added the finishing touches with black electrical tape. Now all you'll see are the LEDs once they're inside the housing just like before
Random Thoughts:
-Using a new board helped speed things up since I was too lazy to desolder version 1.0
-soldering was much more faster this time around
-LEDs do not seem dimmer at all compared to the first board
-LEDs should be able to take up to 15v perfectly with NO problems *fingers crossed*
-I've rehashed my love for making things again
-Thinking of putting together a kit for you guys in case you want to do it in the future to solve potential headaches I went through
Thats it for now. More updates later this week then its off to Hong Kong on the 8th
07-01-09, 08:11 PM
#39
Lexus Test Driver
Join Date: Apr 2007
Location: FL, O-Town
Posts: 1,005
Likes: 0
Received 0 Likes
on
0 Posts
07-01-09, 11:35 PM
#41
Stay tuned. Gotta see if these will last. If they don't, I'll know for sure that everyone here should avoid 5mm LEDs and stick to the LumiLEDs I just received

 .
.

 07-03-09, 11:37 AM
#45
Lol, as long as Dave and whoever is cool with it I'll help you with your request
. Either way, I'll have to contact you after I get back from Hong Kong anyway since I leave on Weds