2ES Project Thread: Custom LED Lighting
 06-15-09, 10:09 PM
#16
Driver

Join Date: Dec 2005
Location: CA
Posts: 141
Likes: 0
Received 0 Likes
on
0 Posts
If you replace a LED by soldering, what happens if you LED has opposite polarity, don't you need to solder it again to switch the positive and negative direction? Just wondering how you plan to tackle this potential issue?

 06-16-09, 08:29 PM
#17

+- +- +- <--example
 06-17-09, 07:55 PM
#19
Wrapping it up now. Install will take place tomorrow or later this week. Hopefully no bulb out warning lights or I'll have to add another component....
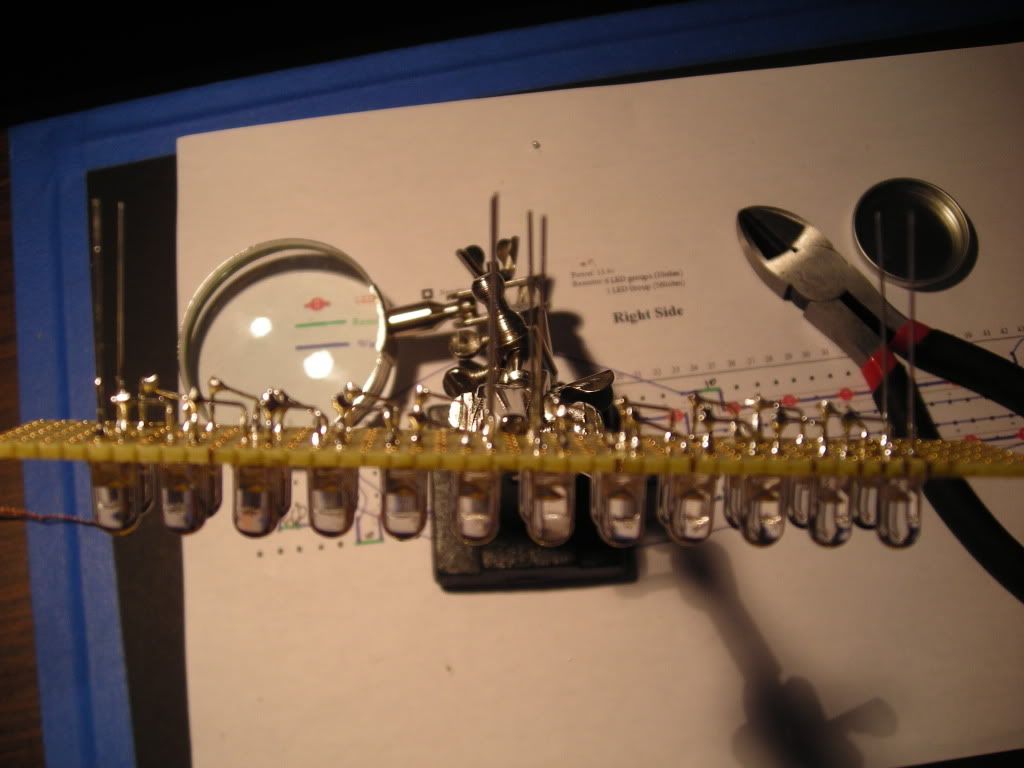
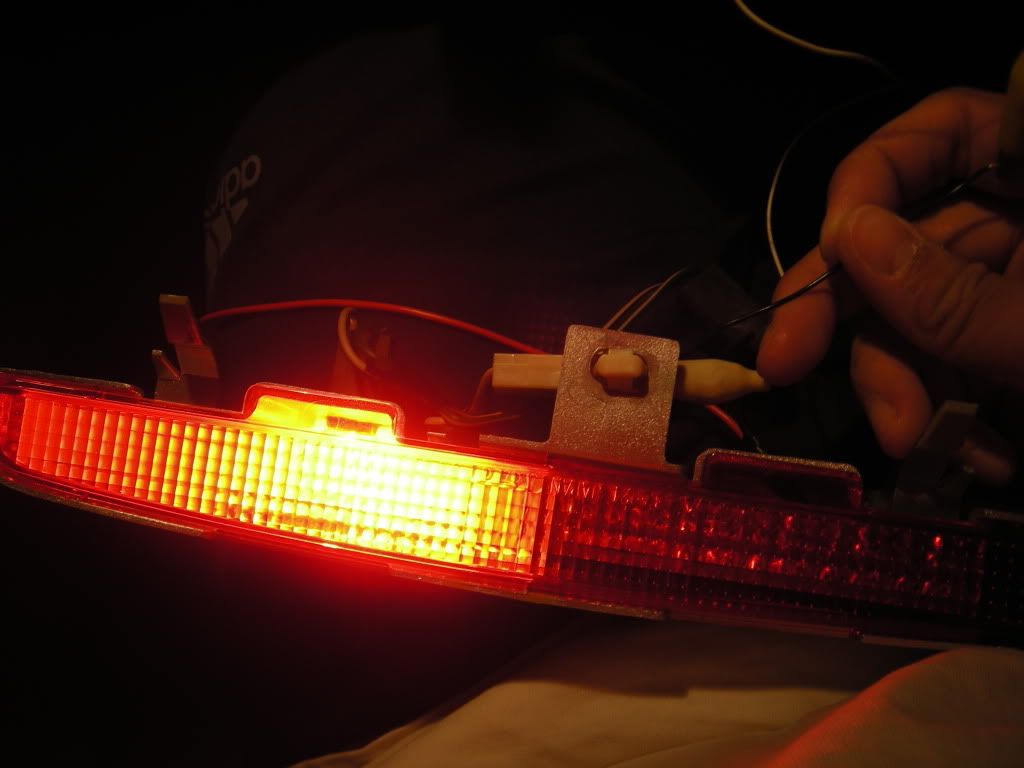
This picture shows how I connected the + and - parts together.
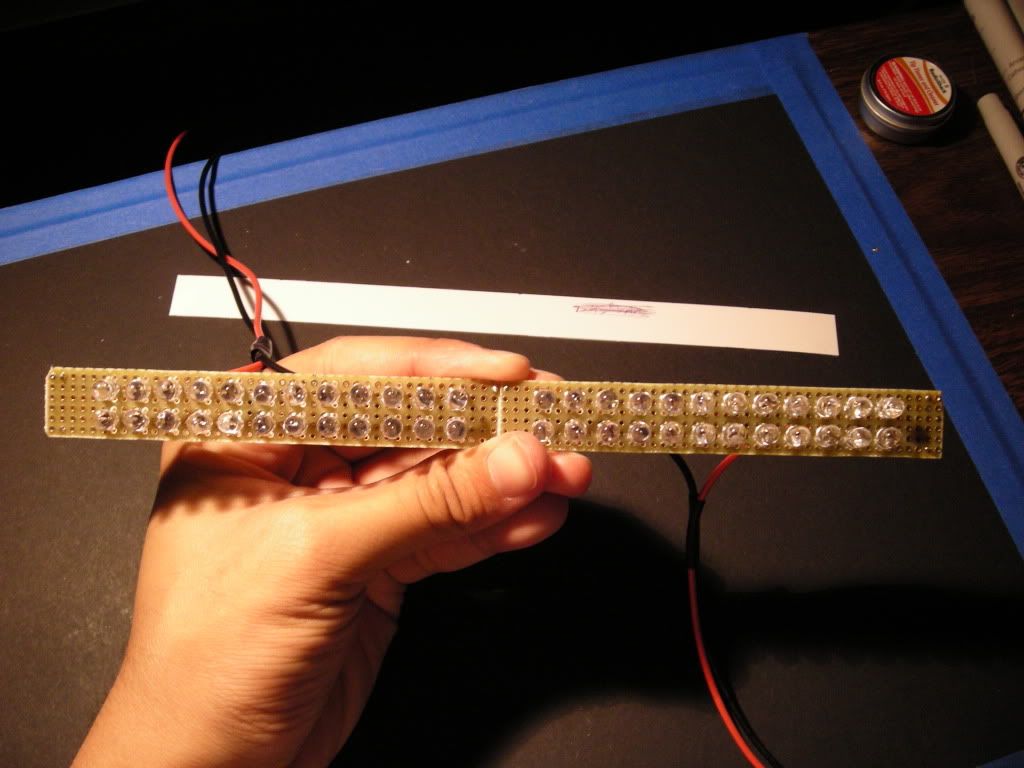
This is how it will supposedly look in the housing...
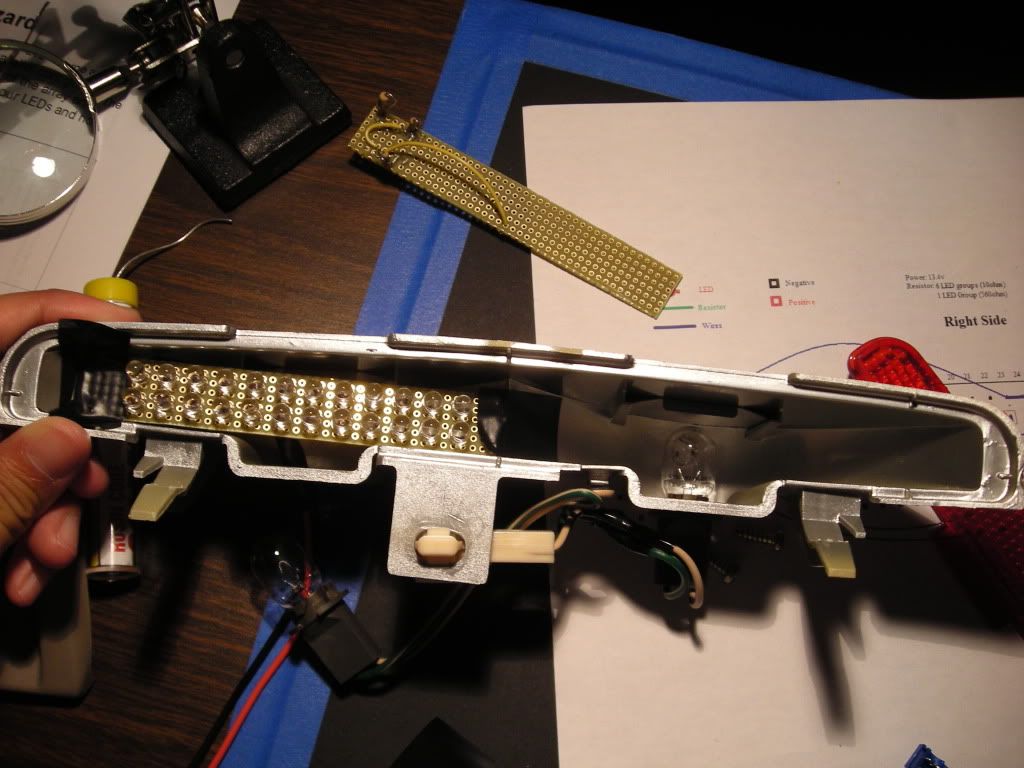
Test fitted...
Comparo with LED vs original bulbs. I like the sparkling effect!
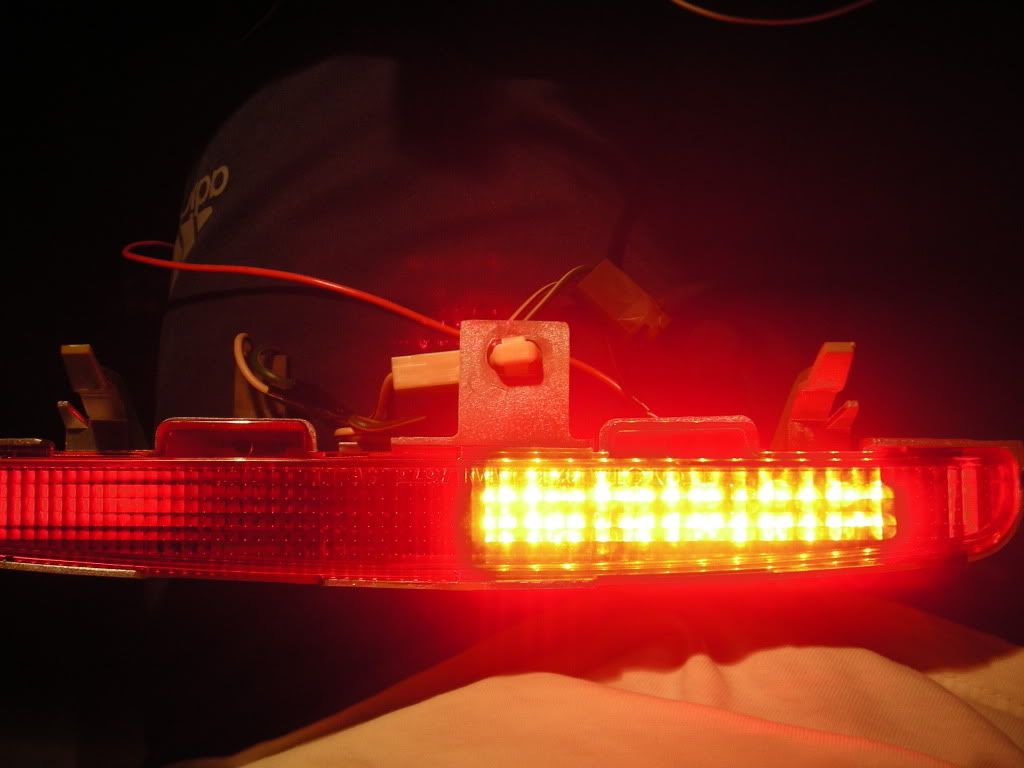
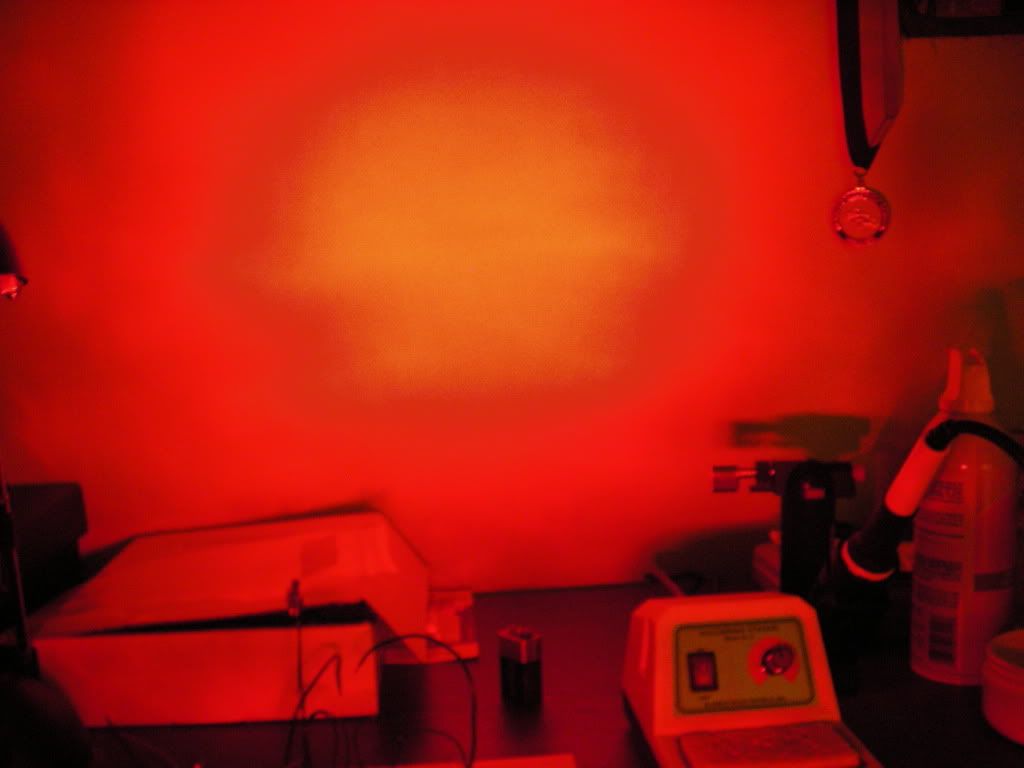
Picture showing the output compared to normal bulbs. Some hot spots but its definitely on par if not brighter than OEMs
Thats it for now. Will do shots later once its installed and working correctly
This picture shows how I connected the + and - parts together.
This is how it will supposedly look in the housing...
Test fitted...
Comparo with LED vs original bulbs. I like the sparkling effect!
Picture showing the output compared to normal bulbs. Some hot spots but its definitely on par if not brighter than OEMs
Thats it for now. Will do shots later once its installed and working correctly
 06-18-09, 01:41 AM
#22
They're in!  ! But, bulb warning light. I need a load resistor to cancel it out but it still lights up perfectly. The only problem is I don't know which load resistor to get because I am having trouble with Ohm's Law lol. No pics on the car for now. I do have some with just a normal 12V battery like before but its late
Anyone help me in my predicament?
! But, bulb warning light. I need a load resistor to cancel it out but it still lights up perfectly. The only problem is I don't know which load resistor to get because I am having trouble with Ohm's Law lol. No pics on the car for now. I do have some with just a normal 12V battery like before but its late Anyone help me in my predicament?
 . Time to diagnose. Sorry guys but this project is taking longer than I thought
06-18-09, 04:51 PM
. Time to diagnose. Sorry guys but this project is taking longer than I thought
06-18-09, 04:51 PM
#24
Lexus Test Driver
Join Date: Apr 2007
Location: FL, O-Town
Posts: 1,005
Likes: 0
Received 0 Likes
on
0 Posts
 I don't know if this helps but my friend had red led's in his trunk and they kept burning out too even though he was giving them the proper voltage. We have absolutely no knowledge of watts and amps but we had someone come over and resist the amps and they were able to safely operate while still running about .3 volts under the rating. Wish you the best luck, keep us updated.
06-18-09, 11:38 PM
I don't know if this helps but my friend had red led's in his trunk and they kept burning out too even though he was giving them the proper voltage. We have absolutely no knowledge of watts and amps but we had someone come over and resist the amps and they were able to safely operate while still running about .3 volts under the rating. Wish you the best luck, keep us updated.
06-18-09, 11:38 PM
#25
Yup, will do. I'm considering trying one last time with the 5mm LEDs or just upgrading to Superflux LEDs. I'll probably have to decide all this before I leave for Hong Kong on the 8th. I'll post the pictures later of the set up for demonstration purposes though for all of you guys. I loved it while it lasted, put it that way
06-19-09, 12:22 AM
#27
Driver
Join Date: Dec 2005
Location: CA
Posts: 141
Likes: 0
Received 0 Likes
on
0 Posts
Google for calculator on Ohm, resistance, and voltage. Figure out how many LED you have, how much voltage is known, and how much resistance to get. Too much ohm resistance can generate lots of heat to melt your red lens or board or surrounding parts. Too little resistance can lead to short LED life. You can start out with 150, 200 or 250 ohm resistor. If resistance is too high, your LED won't even get any electricity, and you won't get LED to lit up.
06-19-09, 12:45 AM
#28
Google for calculator on Ohm, resistance, and voltage. Figure out how many LED you have, how much voltage is known, and how much resistance to get. Too much ohm resistance can generate lots of heat to melt your red lens or board or surrounding parts. Too little resistance can lead to short LED life. You can start out with 150, 200 or 250 ohm resistor. If resistance is too high, your LED won't even get any electricity, and you won't get LED to lit up.
I actually used a site to calculate the resistance I would need for my car using the right values. Oddly enough, my 2ES brake lights fluctuate up to 15.6v and I had only accounted for about 13.4v. I actually needed something much more powerful to sustain the LEDs. It was a mistake I didn't take into account as most cars run 13.4v max. Its all good though, I have about 150 more red High Intensity LEDs left. Just have to desolder the board now
06-21-09, 02:30 AM
#30
Will do. I figure that since the board is cheap, I'll just start over and keep the burnt out board as a memento as to what happened. Sort of a version 1.0 to speak. I've talked to the gurus at hidplanet and they suggested that if I must keep using the 5mm LEDs, a 3 series set will be a much better choice. So that is what I will do.
I'll be cutting up the board again on Monday assuming I'm not helping my gf install her LED door sill covers that involve taking apart her whole electrical system in the doors ( ). Down to my last 2 pieces that I can cut so hopefully this will be it
I'll be cutting up the board again on Monday assuming I'm not helping my gf install her LED door sill covers that involve taking apart her whole electrical system in the doors (
). Down to my last 2 pieces that I can cut so hopefully this will be it