How to Clear a 2nd Gen Tail Light w/ a Hairdryer.
 10-30-07, 06:21 PM
#1
Lexus Test Driver
Thread Starter
Join Date: Apr 2007
Location: FL, O-Town
Posts: 1,005
Likes: 0
Received 0 Likes
on
0 Posts
As promised... here it is!
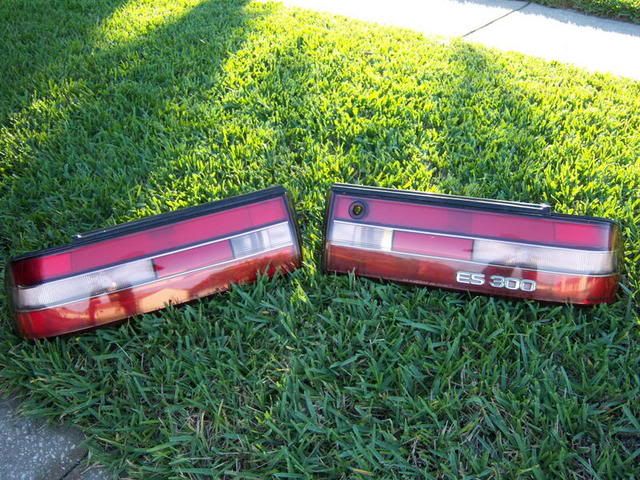
(I'd like to thank twiga-auto-lights for providing some pretty decent condition tail lights as quick as possible.)
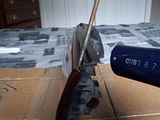
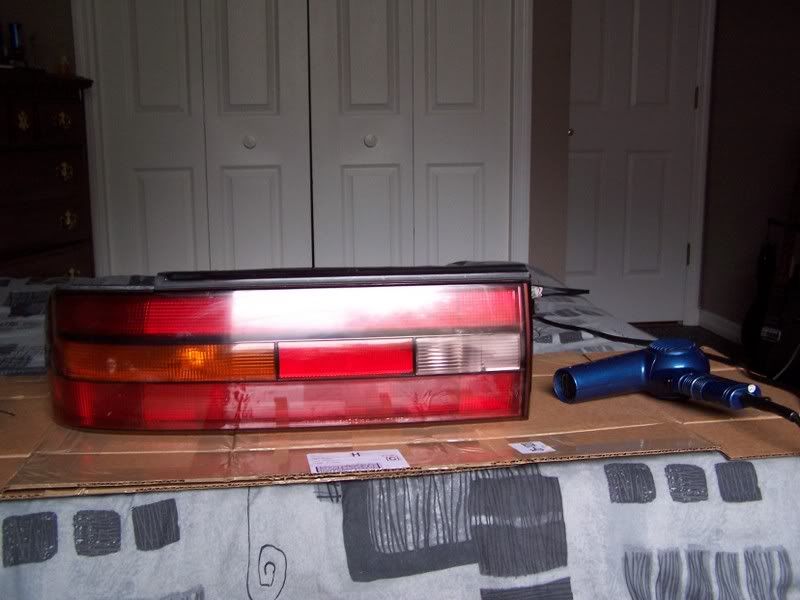
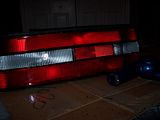
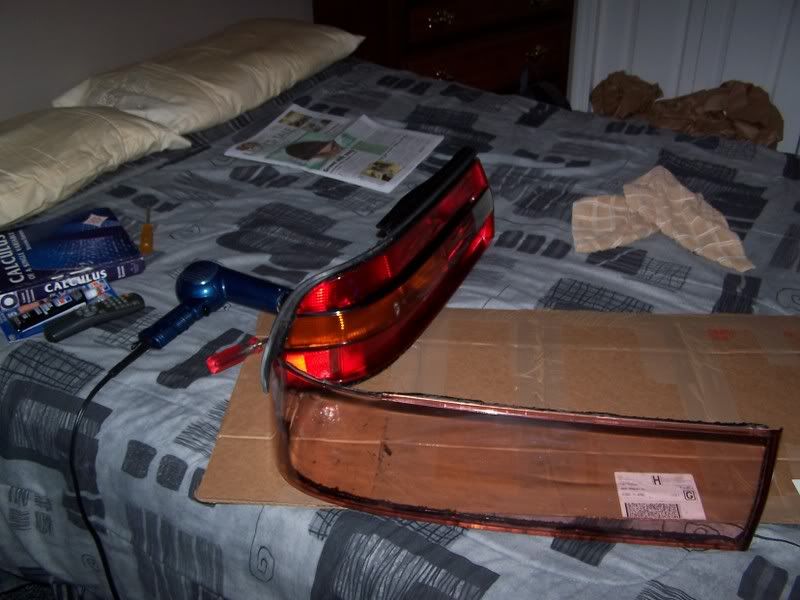
Mkay so lets begin, get yourself a decent workplace, I used my bed and an unfolded cardboard box. Before you do anything; remove the bulb harness, rubber vents, and license plate bulb housing. There are also to extra screws in the back that hold the center bar to the light, remove these. The tools you will need for this are one high powered hair dryer(Got mine at the local CVS) and a long flat-head screwdriver.

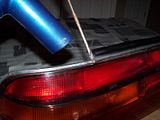
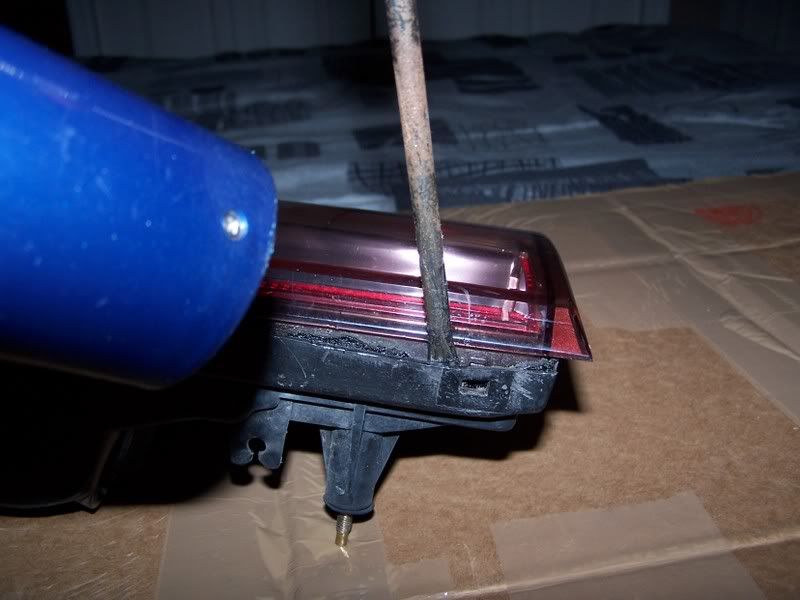
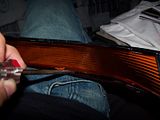
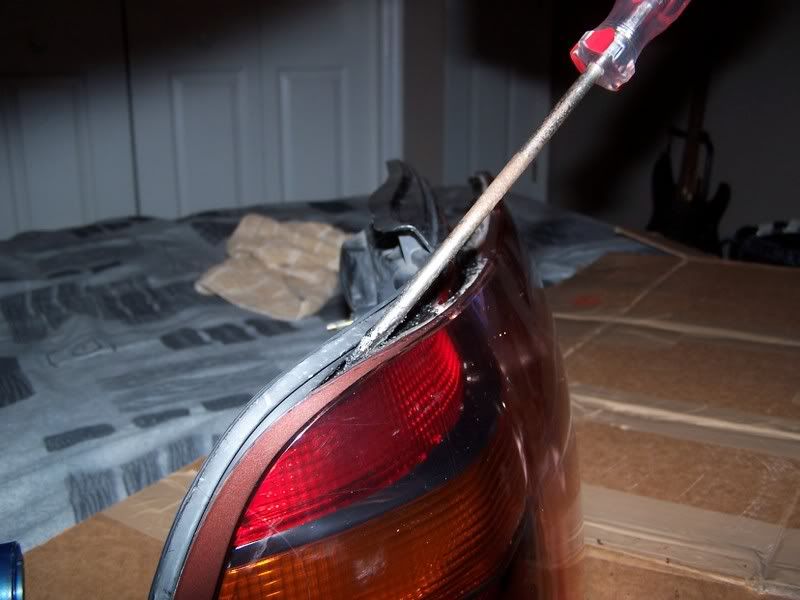
Start by turning on the dryer to full power and begin to heat up the corner between the trunk and the license plate. Use a gently, slow sweeping motion when heating any part up(fyi, just leave the hairdryer on at all times, it won't overheat). To find out if the area is heated up enough, just touch it with your finger, if it burns then yea it's ready . To heat up an area properly, heat up the black area that covers the silicone. Whenever you heat an area up, don't just leave the hairdryer on that spot, heat up an area of at least a 6 inch radius. When using the screwdriver as a wedge, use the smallest amount of force possible, and if you hear a crack noise Stop Immediately. If you can only use two fingers on the screwdrivers that is recommended to ensure you don't exert Too much force. As soon as the corner is hot enough, GENTLY wedge the screwdriver in there. And while you have the screwdriver in there, continue heating the area around it up.
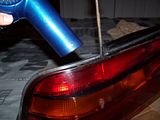
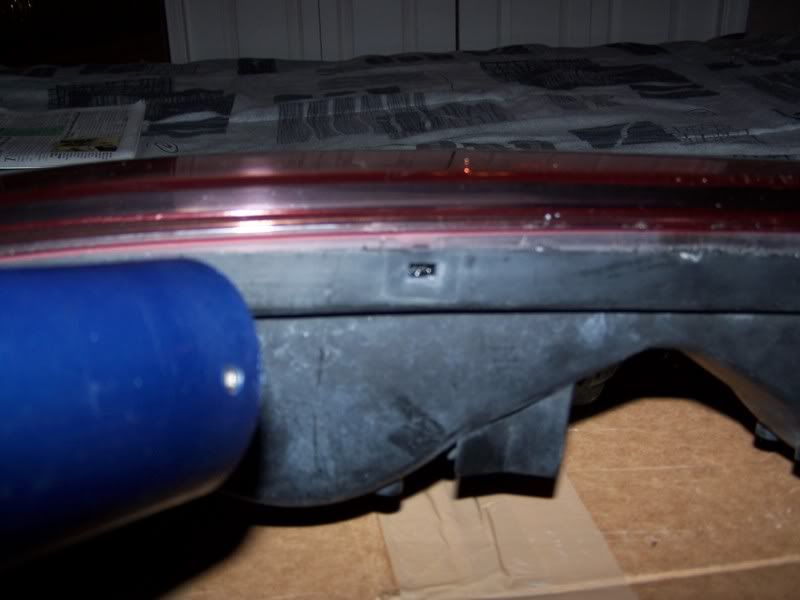
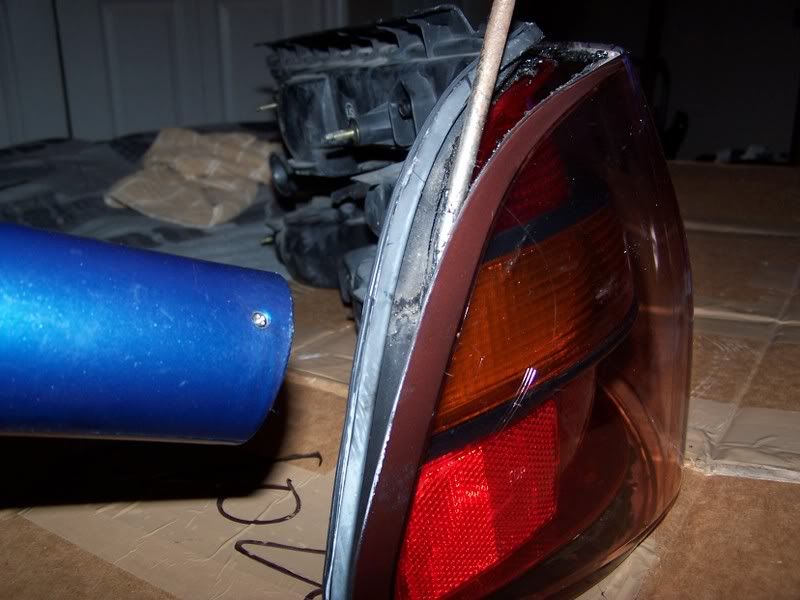
Continue heating the top of the headlight up and GENTLY floss the screwdriver down the length of the top and stop when you reach midway.

Now move to the bottom corner and start by heating that corner up.
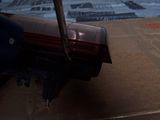
Wedge the screwdriver in between the lens and the back and start creating some space between the two. Move down till you can get the screwdriver to the middle of the bottom.
Now go back up to the top and heat and floss till you reach the edge of the top.
Go back down again and work your way through the whole bottom row.

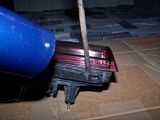
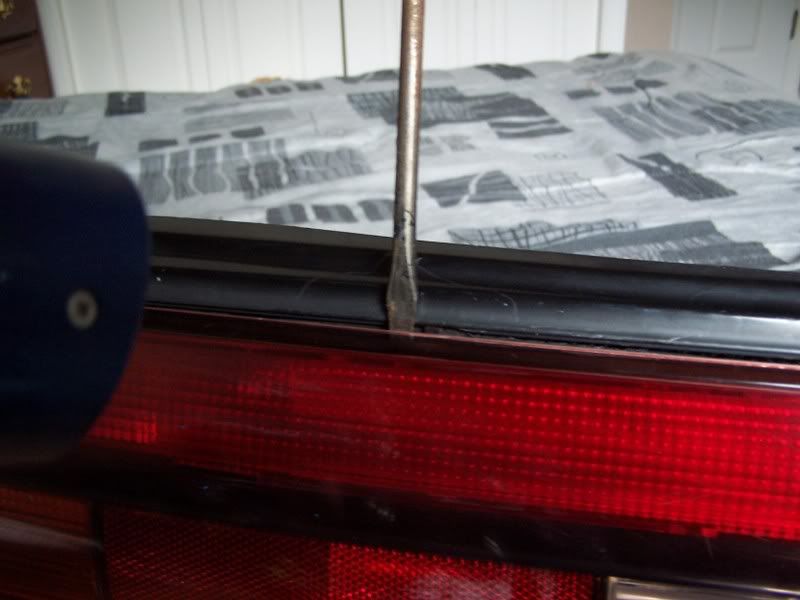
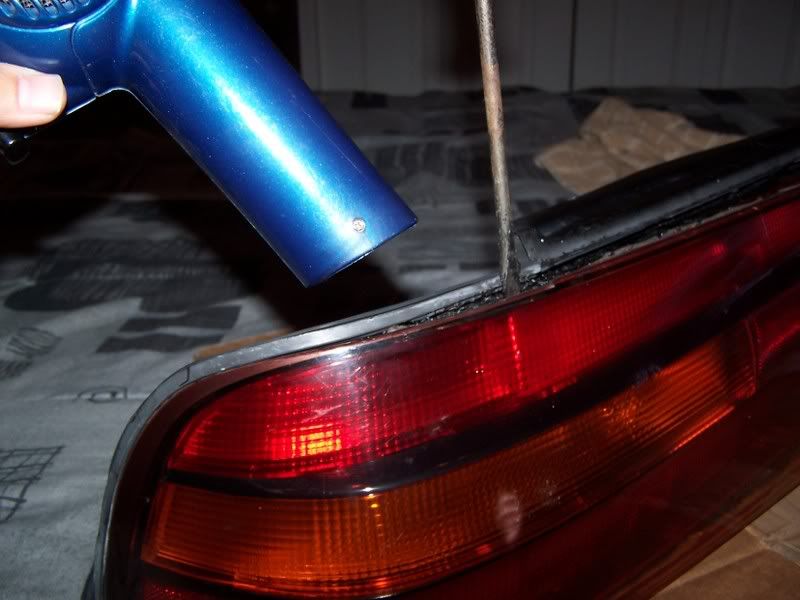
Now go back up and heat this area up as long as possible, the corner that the screwdriver in is a great wedge point.
Keep giving it more heat as you continue to wedge the screwdriver in there. Now is when you should be more gentle than you ever have.
(I'd like to thank twiga-auto-lights for providing some pretty decent condition tail lights as quick as possible.)
Mkay so lets begin, get yourself a decent workplace, I used my bed and an unfolded cardboard box. Before you do anything; remove the bulb harness, rubber vents, and license plate bulb housing. There are also to extra screws in the back that hold the center bar to the light, remove these. The tools you will need for this are one high powered hair dryer(Got mine at the local CVS) and a long flat-head screwdriver.
Start by turning on the dryer to full power and begin to heat up the corner between the trunk and the license plate. Use a gently, slow sweeping motion when heating any part up(fyi, just leave the hairdryer on at all times, it won't overheat). To find out if the area is heated up enough, just touch it with your finger, if it burns then yea it's ready
. To heat up an area properly, heat up the black area that covers the silicone. Whenever you heat an area up, don't just leave the hairdryer on that spot, heat up an area of at least a 6 inch radius. When using the screwdriver as a wedge, use the smallest amount of force possible, and if you hear a crack noise Stop Immediately. If you can only use two fingers on the screwdrivers that is recommended to ensure you don't exert Too much force. As soon as the corner is hot enough, GENTLY wedge the screwdriver in there. And while you have the screwdriver in there, continue heating the area around it up.
Continue heating the top of the headlight up and GENTLY floss the screwdriver down the length of the top and stop when you reach midway.
Now move to the bottom corner and start by heating that corner up.

Wedge the screwdriver in between the lens and the back and start creating some space between the two. Move down till you can get the screwdriver to the middle of the bottom.
Now go back up to the top and heat and floss till you reach the edge of the top.

Go back down again and work your way through the whole bottom row.
Now go back up and heat this area up as long as possible, the corner that the screwdriver in is a great wedge point.

Keep giving it more heat as you continue to wedge the screwdriver in there. Now is when you should be more gentle than you ever have.
 10-30-07, 06:22 PM
#2
Lexus Test Driver
Thread Starter
Join Date: Apr 2007
Location: FL, O-Town
Posts: 1,005
Likes: 0
Received 0 Likes
on
0 Posts
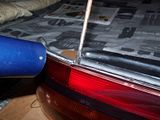
At this point it is okay to heat up the entire corner, and wait until ever part of it is good and hot. Now the way to do it from here is to use the screwdriver as a chisel. Give the spot where the head is direct head and move very slowly.
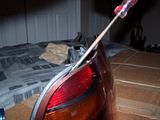
So far, so good! Stay gently and keep giving the silicone heat.

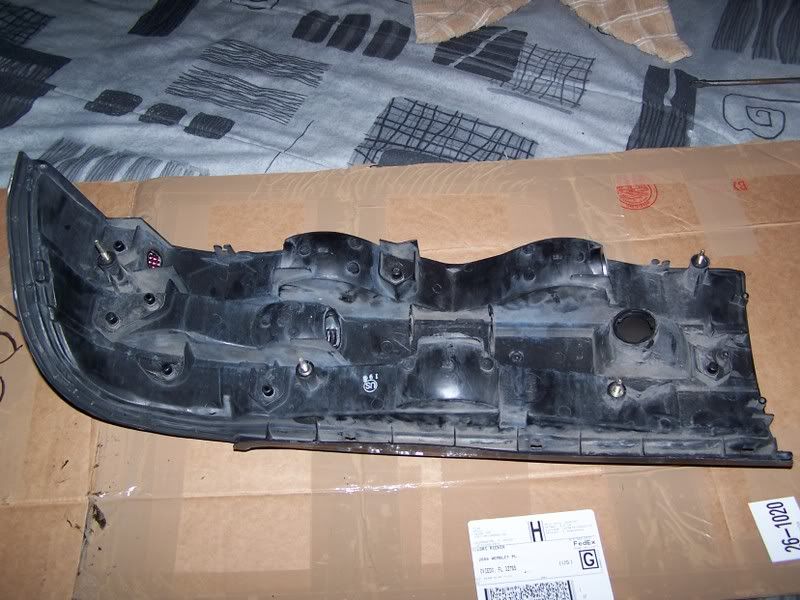
And there you have it! You're done! I know i don't have many pictures for the bottom section but its a given, heat and wedge. And as you remove the top section, remove the same section on the bottom.

To remove the center bar, heat up the corresponding area on the back. It too is held in by silicone(And those screws you hopefully removed earlier).

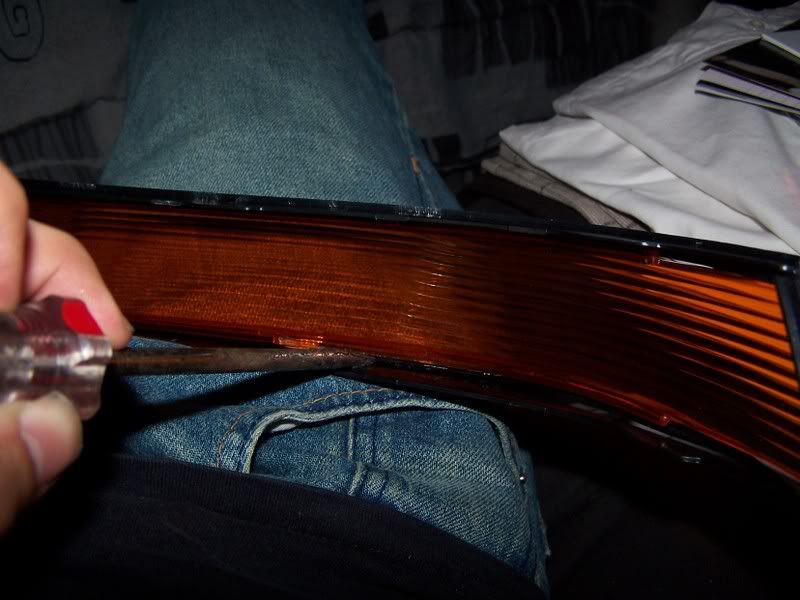
To remove the amber from the center bar, simply wedge the screwdriver in between the amber filter and the center piece. The filter is super glued to the center bar, so you basically have to break the area where they meet, it really isn't that difficult.
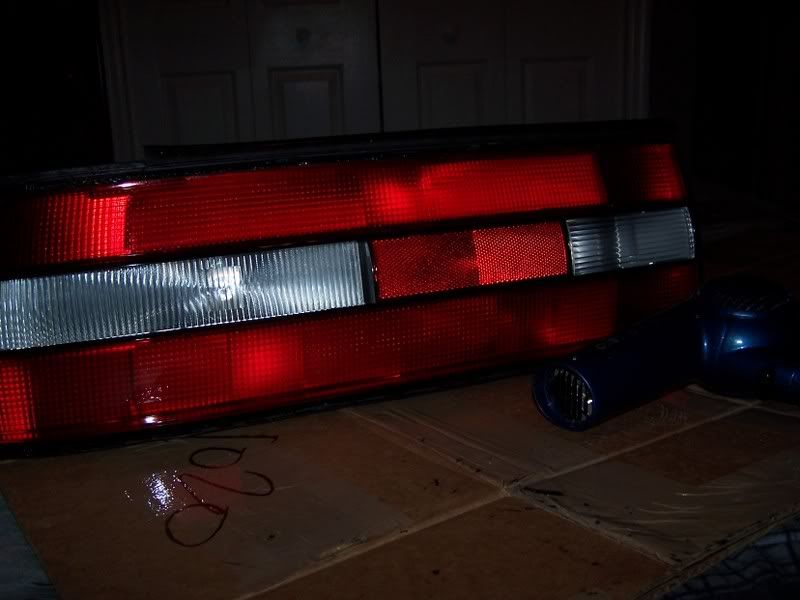
Put the center bar back on, clean everything up, and you're done!!!
To put the Tail light back together, go buck some black silicone first and apply a light spread into the canyon on the back of the light(this is to ensure you don't get any water in there when it rains). Put the two pieces together as much as you can and put it in your oven for 2 minutes on 250F. Any longer and you will melt the lens. Pull it out and squeeze everything back together. Repeat this about 3 times till it is tight.
This can get very tedious and frustrating, so do not get frantic at any point, always have the hairdryer heating up something, and don't give up. Total time it took to complete this was 2 hours and 15 minutes to give you an idea. Hope this helps everyone and happy moding! I recommend anyone who wants to do this to buy spare tail lights or a practice tail light first as I'm sure things can go wrong. eBay Ftw!
So far, so good! Stay gently and keep giving the silicone heat.
And there you have it! You're done! I know i don't have many pictures for the bottom section but its a given, heat and wedge. And as you remove the top section, remove the same section on the bottom.
To remove the center bar, heat up the corresponding area on the back. It too is held in by silicone(And those screws you hopefully removed earlier).
To remove the amber from the center bar, simply wedge the screwdriver in between the amber filter and the center piece. The filter is super glued to the center bar, so you basically have to break the area where they meet, it really isn't that difficult.
Put the center bar back on, clean everything up, and you're done!!!
To put the Tail light back together, go buck some black silicone first and apply a light spread into the canyon on the back of the light(this is to ensure you don't get any water in there when it rains). Put the two pieces together as much as you can and put it in your oven for 2 minutes on 250F. Any longer and you will melt the lens. Pull it out and squeeze everything back together. Repeat this about 3 times till it is tight.
This can get very tedious and frustrating, so do not get frantic at any point, always have the hairdryer heating up something, and don't give up. Total time it took to complete this was 2 hours and 15 minutes to give you an idea. Hope this helps everyone and happy moding! I recommend anyone who wants to do this to buy spare tail lights or a practice tail light first as I'm sure things can go wrong. eBay Ftw!

 . on a 1 to 10 scale how satisfided are you with the results???
Trending Topics
10-31-07, 08:41 AM
#8
Lexucanafer
 10-31-07, 10:43 AM
#10
Lexus Test Driver
Thread Starter
Join Date: Apr 2007
Location: FL, O-Town
Posts: 1,005
Likes: 0
Received 0 Likes
on
0 Posts

And I just made the pictures thumbnails so my post wasn't enormous.
Ariyanna,
I didn't paint the center piece because i had something else in mind, but once you get in there anything and everything can be painted. This could be one of the most unique projects ever, with people's creativity, probably no two tail lights could look the same.

 11-04-07, 08:07 PM
#12
Lexus Test Driver
iTrader: (3)
Join Date: Dec 2005
Location: NY
Posts: 995
Likes: 0
Received 0 Likes
on
0 Posts
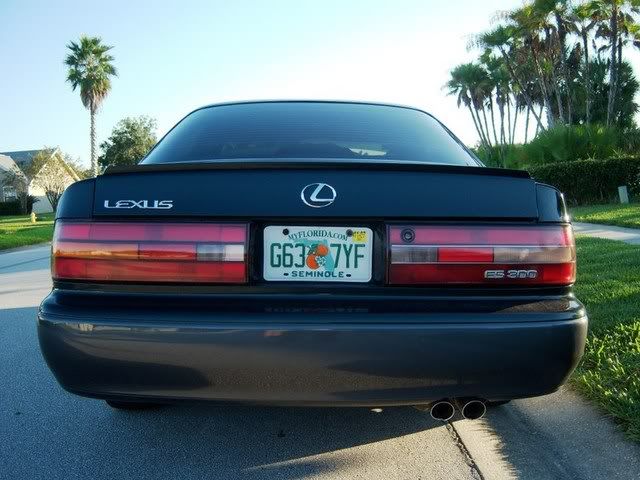
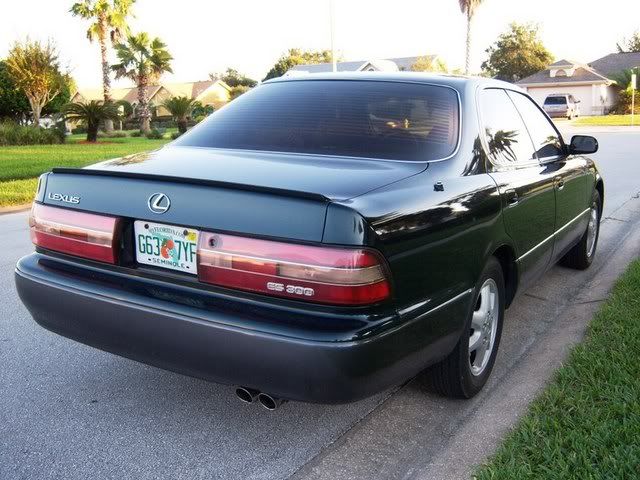
not sure if i'm feeling the m3 style spoiler but the tails are off the hook! I'd say it's definitely worth the effort!
I wish there were no red lens in the middle section like the later years. I was thinking about smoking the middle section with niteshade so it looks like one piece going across. What do u think?
I wish there were no red lens in the middle section like the later years. I was thinking about smoking the middle section with niteshade so it looks like one piece going across. What do u think?
11-04-07, 08:33 PM
#14
Lexus Test Driver
Thread Starter
Join Date: Apr 2007
Location: FL, O-Town
Posts: 1,005
Likes: 0
Received 0 Likes
on
0 Posts
not sure if i'm feeling the m3 style spoiler but the tails are off the hook! I'd say it's definitely worth the effort!
I wish there were no red lens in the middle section like the later years. I was thinking about smoking the middle section with niteshade so it looks like one piece going across. What do u think?
I wish there were no red lens in the middle section like the later years. I was thinking about smoking the middle section with niteshade so it looks like one piece going across. What do u think?
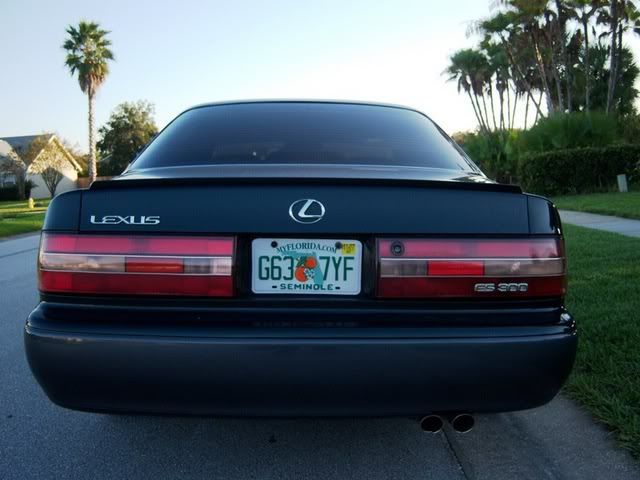
And yeah, I left the trunk up cuz i was in the middle of the switch and i was kinda in a hurry.

