ES300 Coilover install Worklog

 07-30-07, 07:33 AM
#17

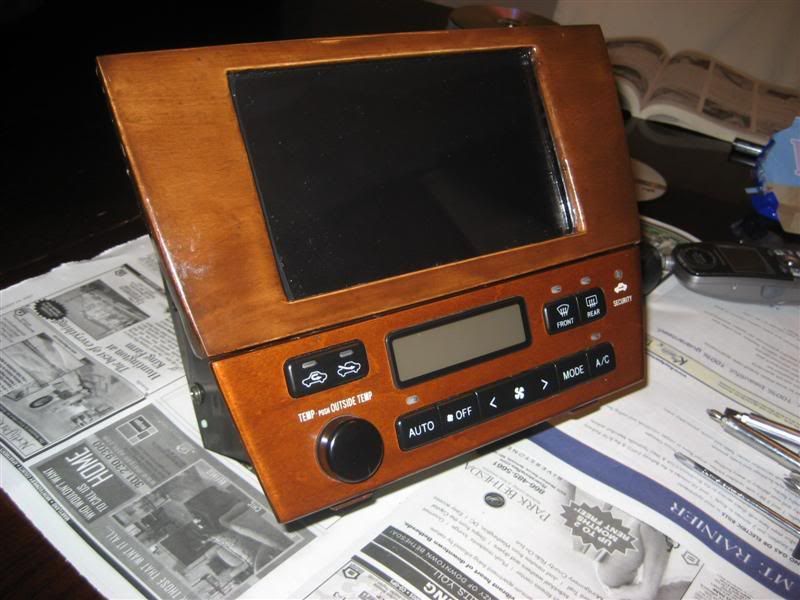
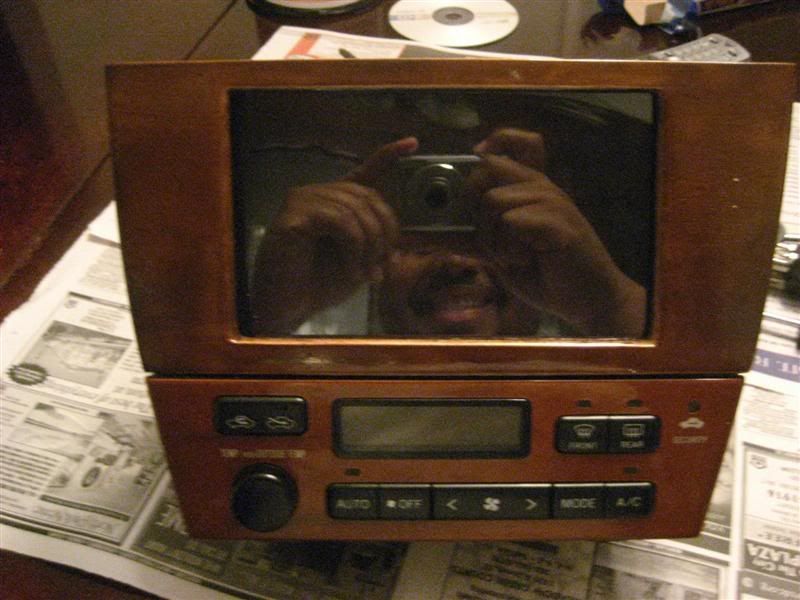
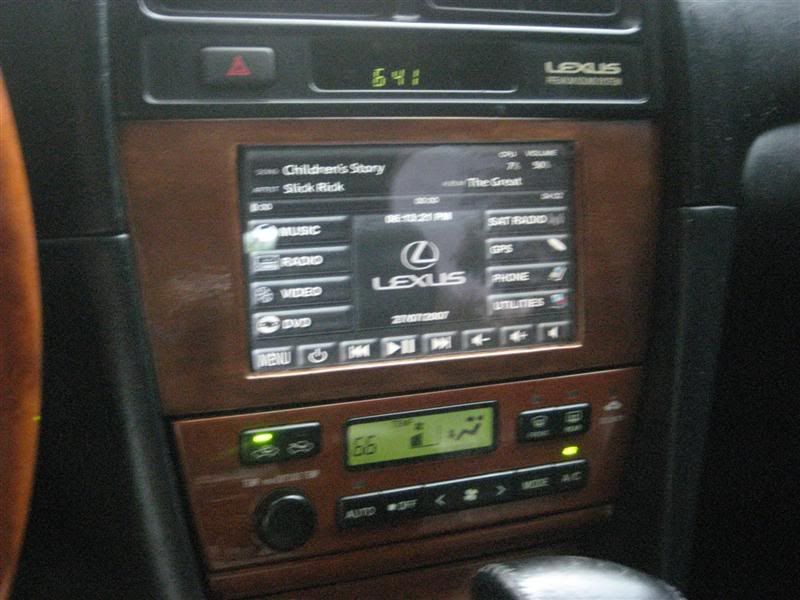
OOOOOO  I love the car pc. Nice job with the wood trim looks factory. Very nice write up/pics I'm gonna use your write up if I can ever figure out a way to get coilovers to work with my rims.
I love the car pc. Nice job with the wood trim looks factory. Very nice write up/pics I'm gonna use your write up if I can ever figure out a way to get coilovers to work with my rims.
07-30-07, 01:11 PM
#18
Pole Position
Thread Starter
iTrader: (1)
Join Date: Oct 2004
Location: MD Smitty runs da City
Posts: 3,002
Likes: 0
Received 5 Likes
on
5 Posts
Update:
Well wanted to finish up today but rain is coming down in buckets. I got meetings for the rest of the week so I wont be getting back to this till probably Thursday or Friday.
  We'll get it done though.
-Smitty
Well wanted to finish up today but rain is coming down in buckets.
I got meetings for the rest of the week so I wont be getting back to this till probably Thursday or Friday. We'll get it done though. -Smitty
 07-31-07, 08:43 PM
#20
Pole Position
Thread Starter
iTrader: (1)
Join Date: Oct 2004
Location: MD Smitty runs da City
Posts: 3,002
Likes: 0
Received 5 Likes
on
5 Posts
Rears
And it continues
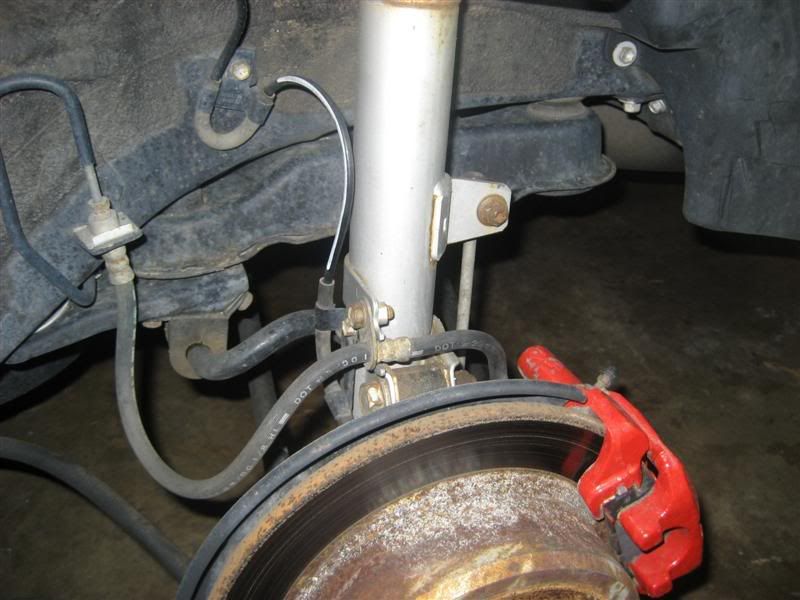
Well didnt get off till a little late today but I decided to knock the rears out and get it over with. So get the car jacked up and remove the wheels.
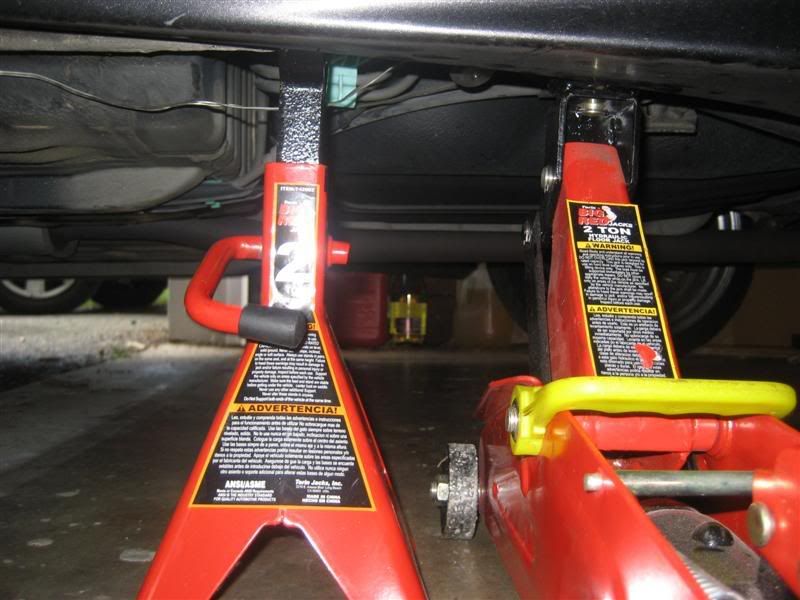
Smitty Tip 2
Always always always use jack stands. It can save your life.
Loosen the bolts that hold the brake line and the break sensor wire.
And it continues
Well didnt get off till a little late today but I decided to knock the rears out and get it over with. So get the car jacked up and remove the wheels.
Smitty Tip 2
Always always always use jack stands. It can save your life.
Loosen the bolts that hold the brake line and the break sensor wire.
07-31-07, 08:47 PM
#21
Pole Position
Thread Starter
iTrader: (1)
Join Date: Oct 2004
Location: MD Smitty runs da City
Posts: 3,002
Likes: 0
Received 5 Likes
on
5 Posts
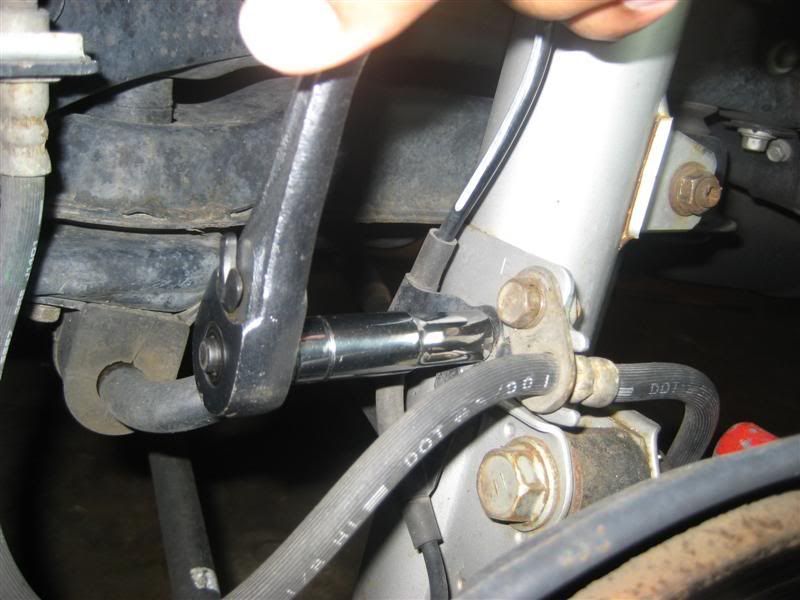
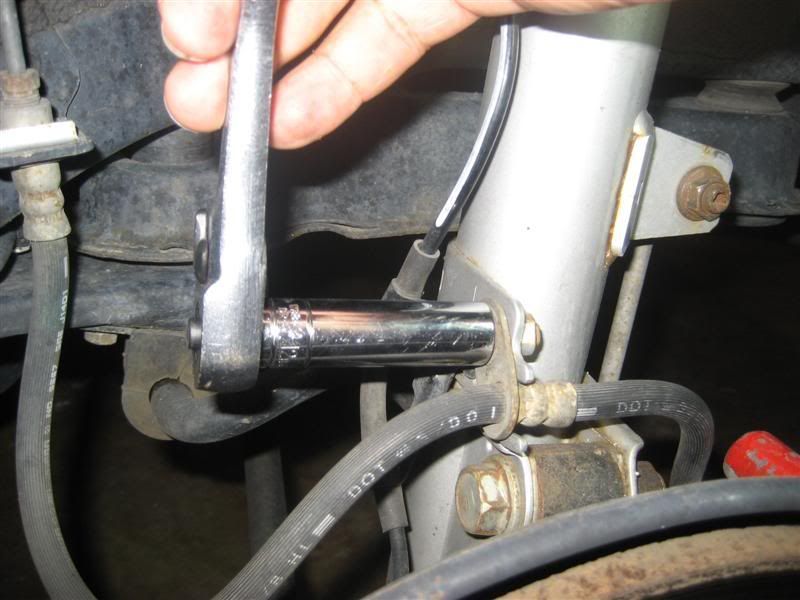
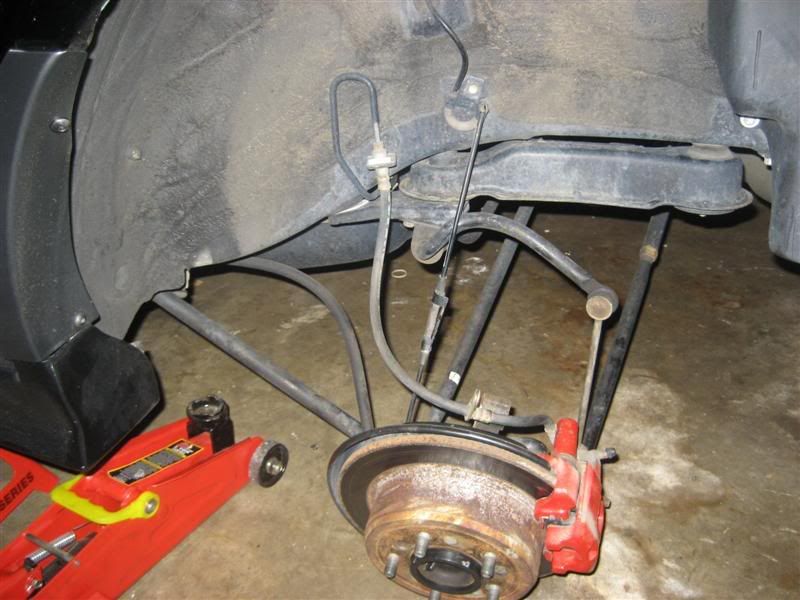
Now using an allen wrench and a wrench loosen the bolt holding the sway bar link.

Remove the two strut bolts. Careful they can be a little tuff to remove. Use a good breaker bar to get them off.
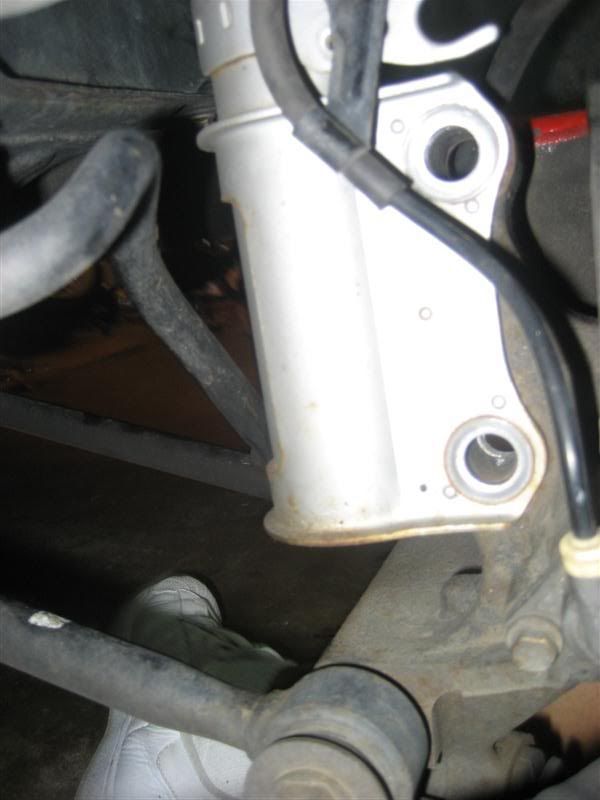
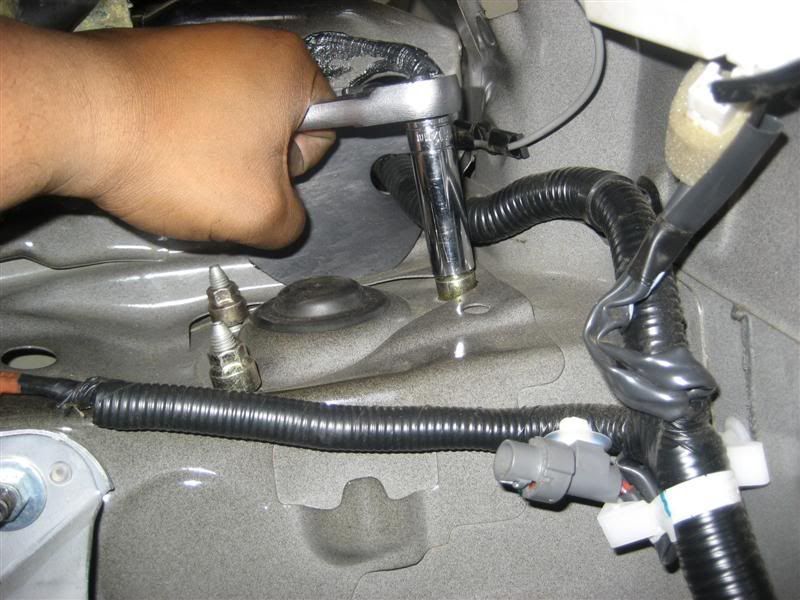
Loosen the 3 nuts on the top of the strut mount in the rear seats.
And Carefully remove the strut and spring
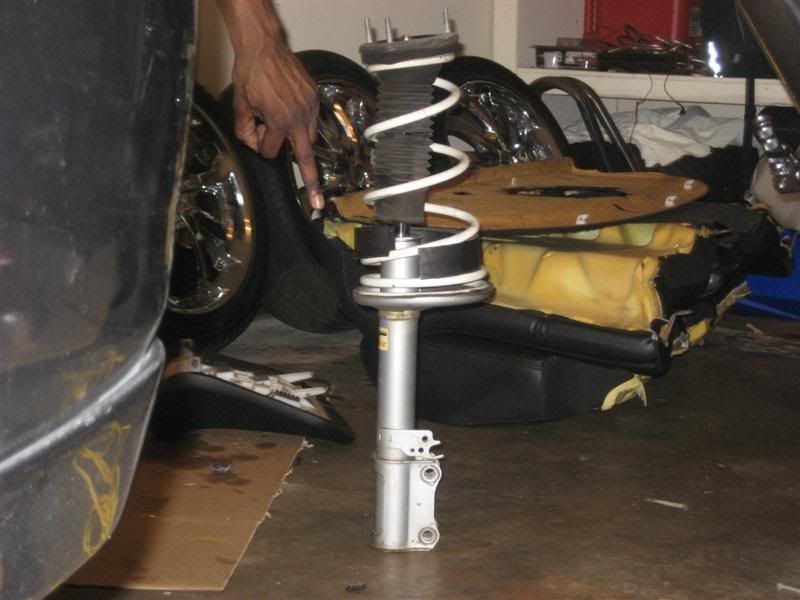
Shocker
Quick pic with everything removed.
Remove the two strut bolts. Careful they can be a little tuff to remove. Use a good breaker bar to get them off.
Loosen the 3 nuts on the top of the strut mount in the rear seats.
And Carefully remove the strut and spring
Shocker
Quick pic with everything removed.
07-31-07, 08:50 PM
#22
Pole Position
Thread Starter
iTrader: (1)
Join Date: Oct 2004
Location: MD Smitty runs da City
Posts: 3,002
Likes: 0
Received 5 Likes
on
5 Posts
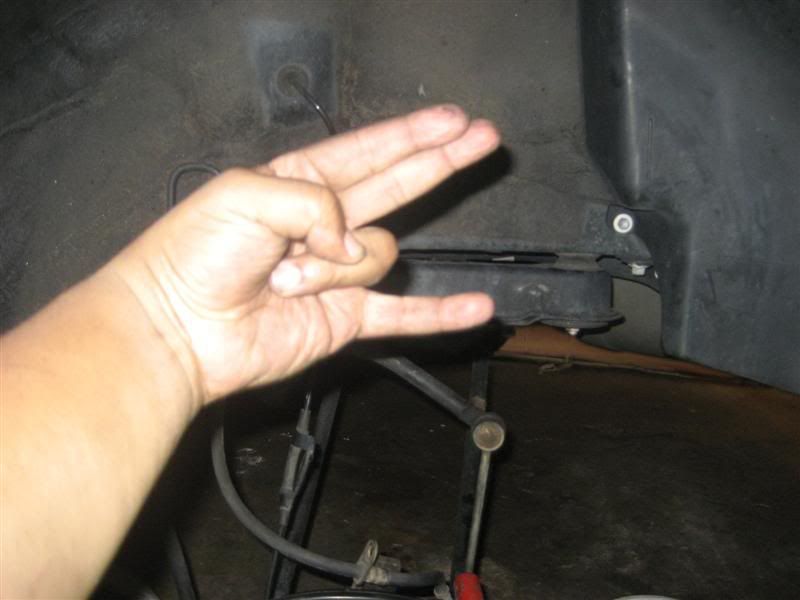
Caution
Dont be stupid like I did and forget to put something under your hub to support the weight and have it hanging by your ABS sensor wire.
I forgot to do that then as I was taking the picture I realized what I forgot to do.
Dont be stupid like I did and forget to put something under your hub to support the weight and have it hanging by your ABS sensor wire.
I forgot to do that then as I was taking the picture I realized what I forgot to do.
07-31-07, 09:00 PM
#23
Pole Position
Thread Starter
iTrader: (1)
Join Date: Oct 2004
Location: MD Smitty runs da City
Posts: 3,002
Likes: 0
Received 5 Likes
on
5 Posts
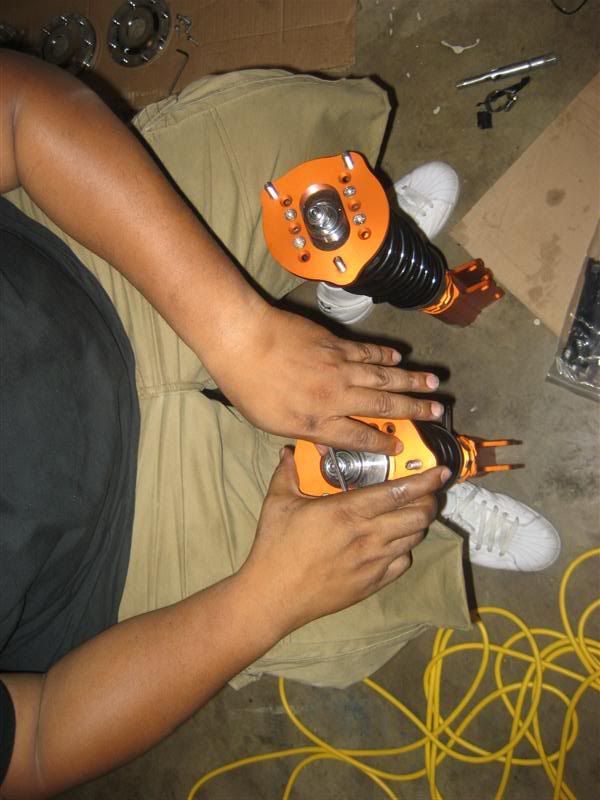
Now what I did was try to line up the coilovers as much as I could with the old strut and springs. Tried to line up where the sway bar link hooks up. I also tried to adjust the total height of the coilover as well to get a good starting place for my ride height.
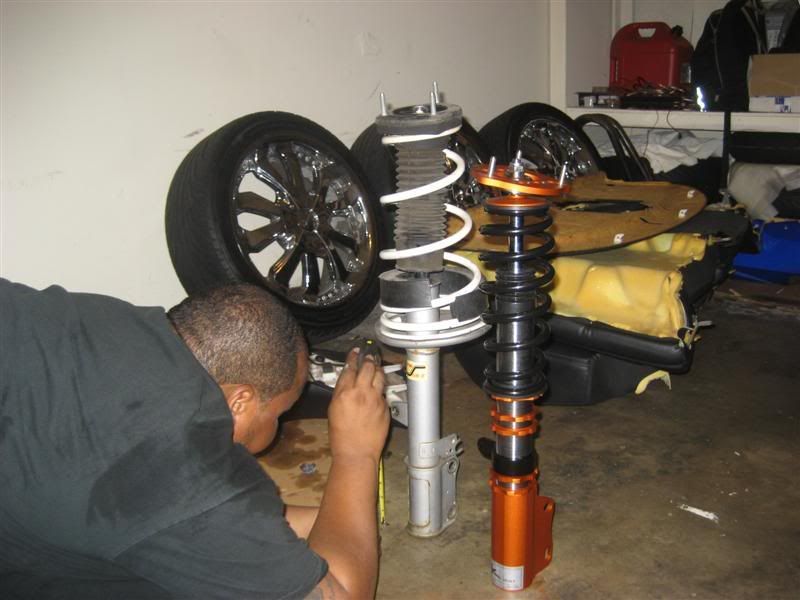
Once I got the coilover adjusted at the height I wanted and got the sway bar link hole in the correct position I took the coilover for the other side and adjusted it to match the coilover I just finished.

I cant stress this enough but measure 3 and 4 times that way you wont have problems. When I got everything the way I wanted I locked everything in place and measured again.
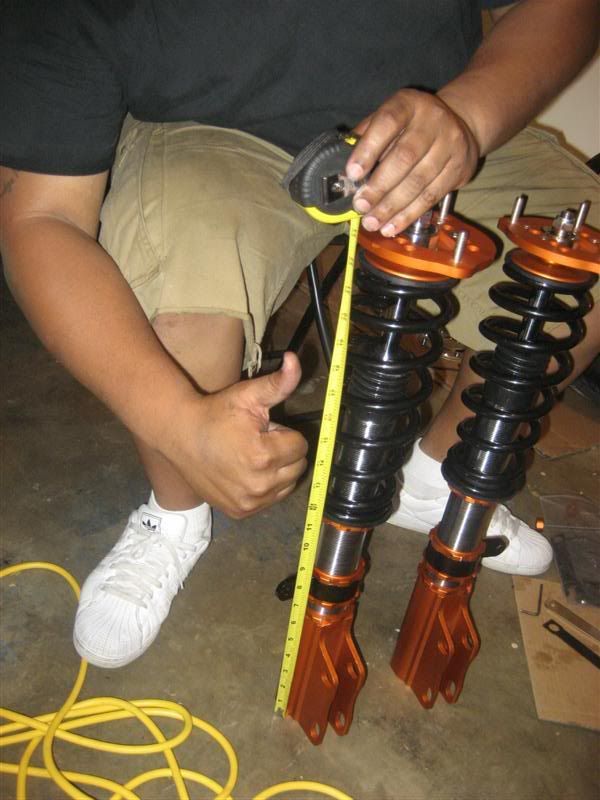
Now at this point if you look very closely I almost made a mistake. The actual height of the coilover was the same but the height of the spring was different and I almost didnt catch it. That would have made one side higher than the other thus causing me to have to readjust it. Again measure measure measure
Once I got the coilover adjusted at the height I wanted and got the sway bar link hole in the correct position I took the coilover for the other side and adjusted it to match the coilover I just finished.
I cant stress this enough but measure 3 and 4 times that way you wont have problems. When I got everything the way I wanted I locked everything in place and measured again.
Now at this point if you look very closely I almost made a mistake. The actual height of the coilover was the same but the height of the spring was different and I almost didnt catch it. That would have made one side higher than the other thus causing me to have to readjust it. Again measure measure measure
07-31-07, 09:07 PM
#24
Pole Position
Thread Starter
iTrader: (1)
Join Date: Oct 2004
Location: MD Smitty runs da City
Posts: 3,002
Likes: 0
Received 5 Likes
on
5 Posts
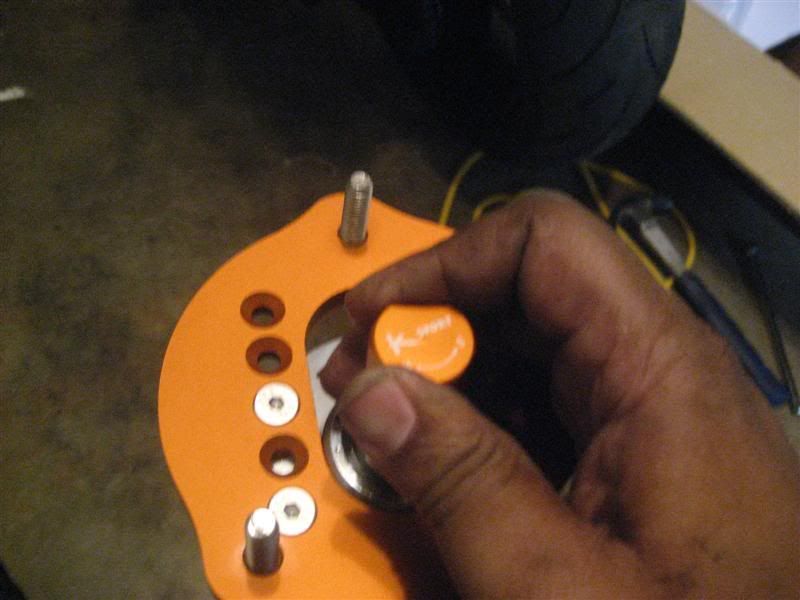
Next I adjusted the camber on both coils before they went on. Make sure you line the studs up correctly and the front of the coil to where they will be going once its on the car. That way you can make sure you're adjusting your camber the right way if you decide to adjust camber.
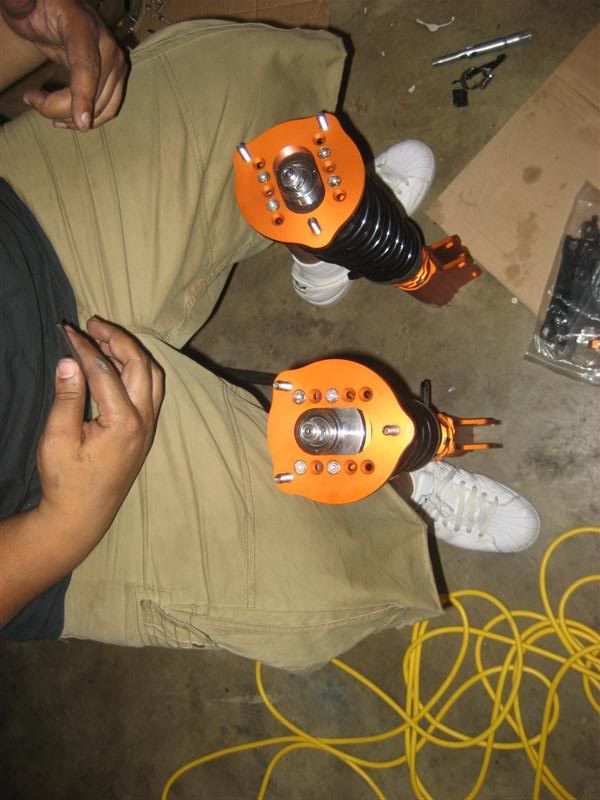
Next up I adjusted the dampering to the standard per the instructions included. I believe the instructions said turn clockwise all the way and that was the hardest sitting and then 2 counter-clockwise turns and you're at the standard setting. I did this as well with both coilovers.
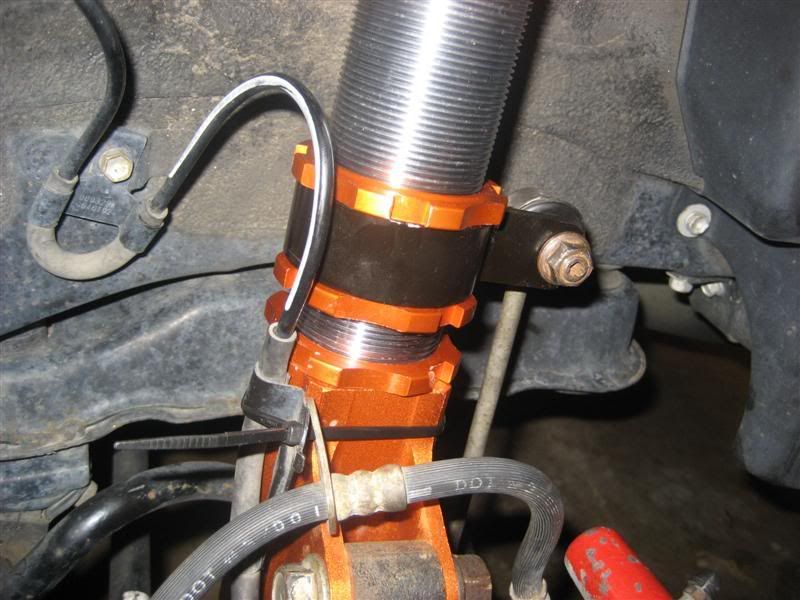
Once I checked and double checked my measurements, my camber and ensured I setup both coilovers for the rears exactly the same I put them back on and put everything back together.
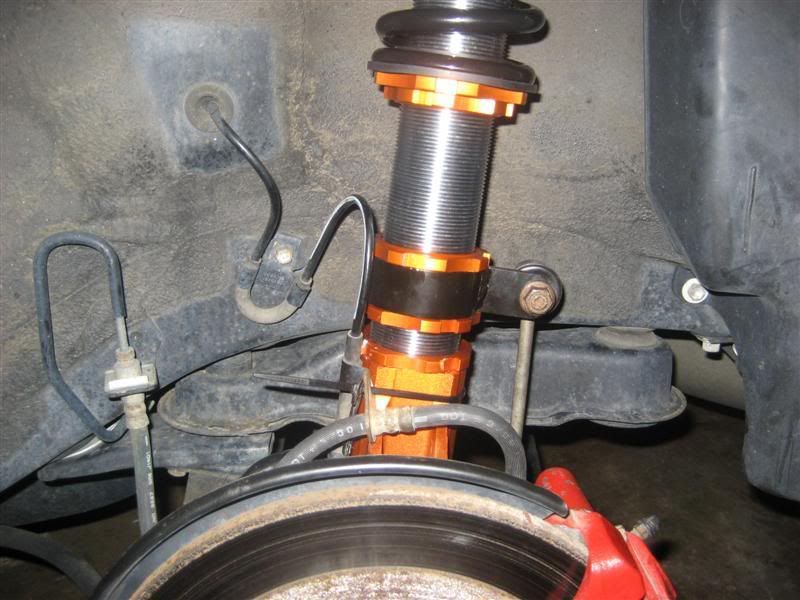
Now unfortunately the instructions included arent all that great and didnt address what to do with the brake line and the brake sensor so I zip tied them out of the way of any moving objects. I am going to be contacting Ksport to find out the correct procedure for this.
Next up I adjusted the dampering to the standard per the instructions included. I believe the instructions said turn clockwise all the way and that was the hardest sitting and then 2 counter-clockwise turns and you're at the standard setting. I did this as well with both coilovers.
Once I checked and double checked my measurements, my camber and ensured I setup both coilovers for the rears exactly the same I put them back on and put everything back together.
Now unfortunately the instructions included arent all that great and didnt address what to do with the brake line and the brake sensor so I zip tied them out of the way of any moving objects. I am going to be contacting Ksport to find out the correct procedure for this.
07-31-07, 09:12 PM
#25
Pole Position
Thread Starter
iTrader: (1)
Join Date: Oct 2004
Location: MD Smitty runs da City
Posts: 3,002
Likes: 0
Received 5 Likes
on
5 Posts
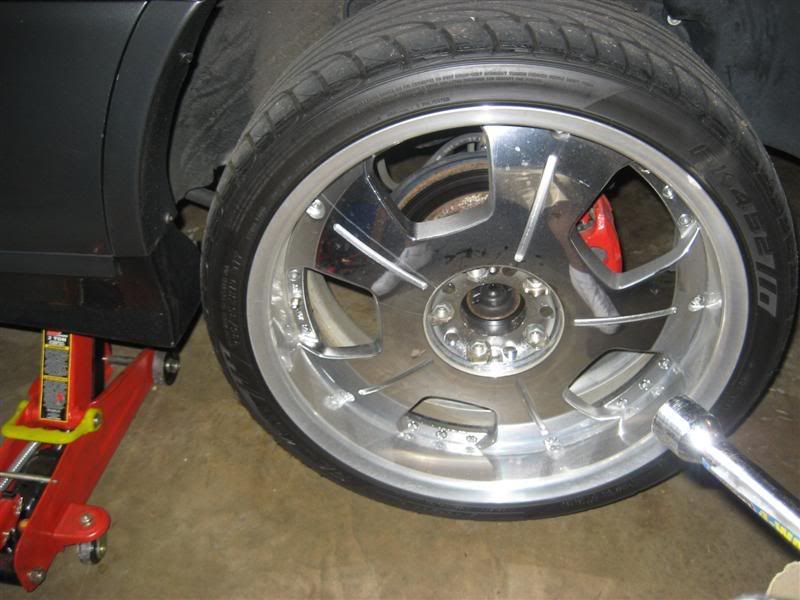
Unfortunately it was about 10-10:30 when I finished so I didnt get a chance to take any good pics of the height. I took a quick 20 minute drive and it rides pretty well so far. I do notice that the rear feels stiffer but overall it rides pretty well. I did max out the camber in the rear but I really dont notice a huge difference in look. I will be taking some pics tomorrow sometime and hopefully I can knock out the fronts tomorrow as well. Luckly I got the hardest part over with and the fronts are pretty easy. I did however leave my seats out so that I could adjust the dampering as needed before I cover it all back up. Well thats it for tonight but hope to be done soon.
And yes I know I need to change those ugly rotors out. Thats my next mod. lol
-Smitty
Well thats it for tonight but hope to be done soon. And yes I know I need to change those ugly rotors out. Thats my next mod.
lol-Smitty
 08-04-07, 04:09 PM
#28
Pole Position
Join Date: Jan 2004
Location: EastLos
Posts: 316
Likes: 0
Received 0 Likes
on
0 Posts
Wow!! great write up smitty!!! Hit me up on a pm if you have some questions, I also installed my coilovers myself. My d2's are almost identical to you ksports!! GL and at least you got the harder ones in. Oh, a good way to see your dampering is to use a level against your rims.
08-04-07, 04:13 PM
#29
Pole Position
Thread Starter
iTrader: (1)
Join Date: Oct 2004
Location: MD Smitty runs da City
Posts: 3,002
Likes: 0
Received 5 Likes
on
5 Posts
Wow!! great write up smitty!!! Hit me up on a pm if you have some questions, I also installed my coilovers myself. My d2's are almost identical to you ksports!! GL and at least you got the harder ones in. Oh, a good way to see your dampering is to use a level against your rims.
-Smitty
08-04-07, 05:27 PM
#30
Thanks man and if you get the chance could you check out the rear. Also don't meen to sound like a noob but what is the camber plate