When you click on links to various merchants on this site and make a purchase, this can result in this site earning a commission. Affiliate programs and affiliations include, but are not limited to, the eBay Partner Network.
This is my first time posting here. Like everyone said, the premium audio sucks and even Mark Levinson system have problems. I want to keep the car as stock as possible to keep the warranty and will do a full build later on when I have more time. I'm not good with cutting wood and make nice wiring so this guide is just "lazy build" to get a better sound from stock amp. I mainly listen to jazz vocal and some main stream music so having big sub system installed is not needed for me. The front doors speaker midbass really put out some bass for a premium system. I will deaden the doors next to bring out the full potential of these midbass.
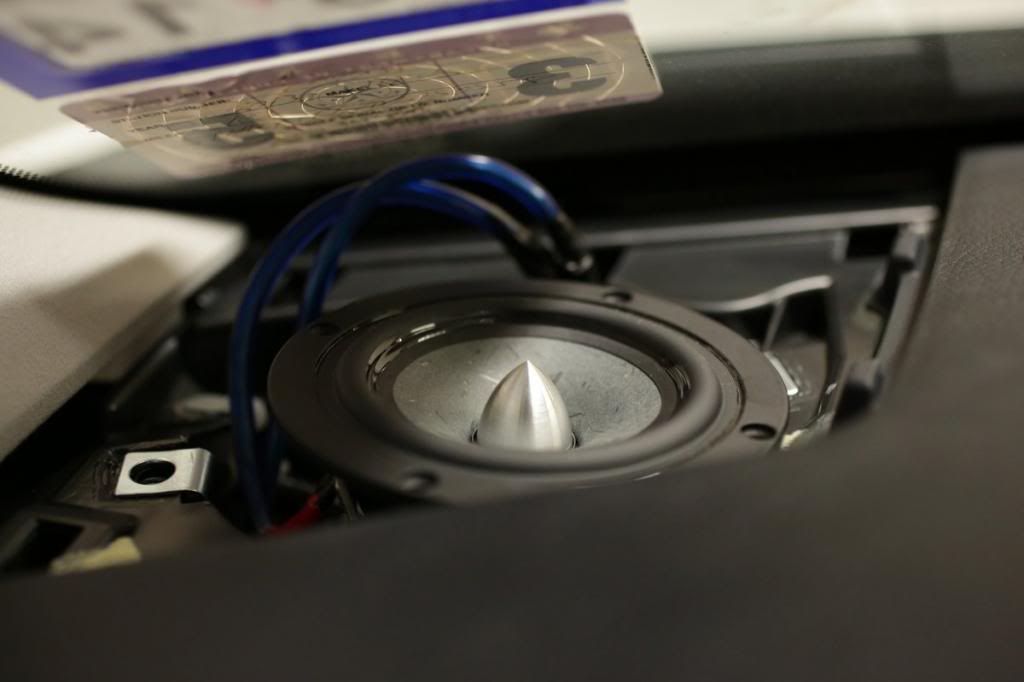
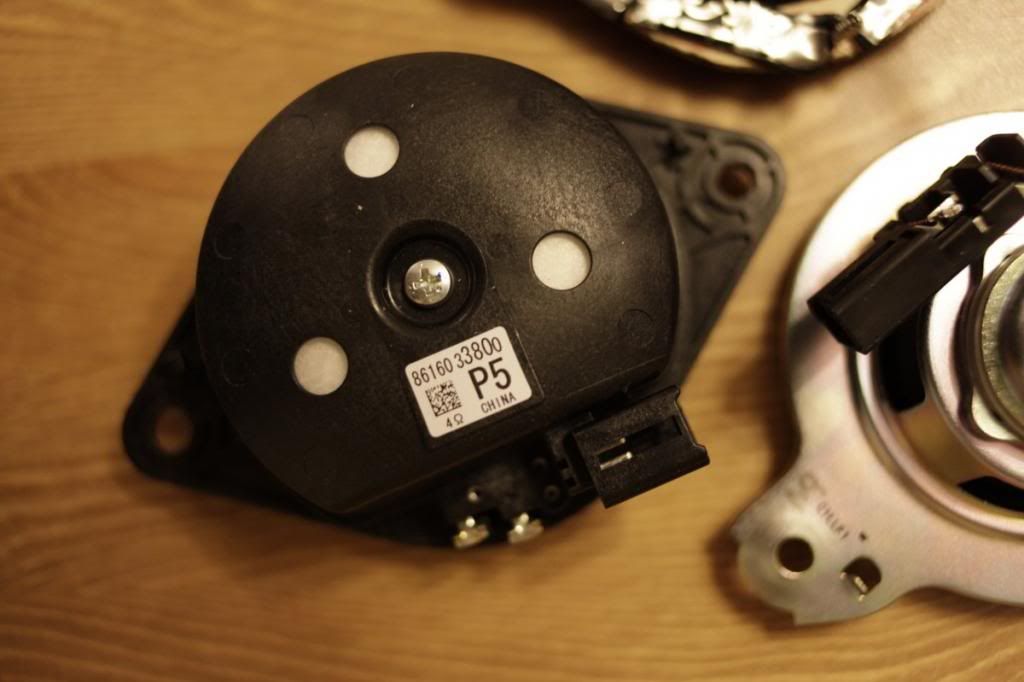
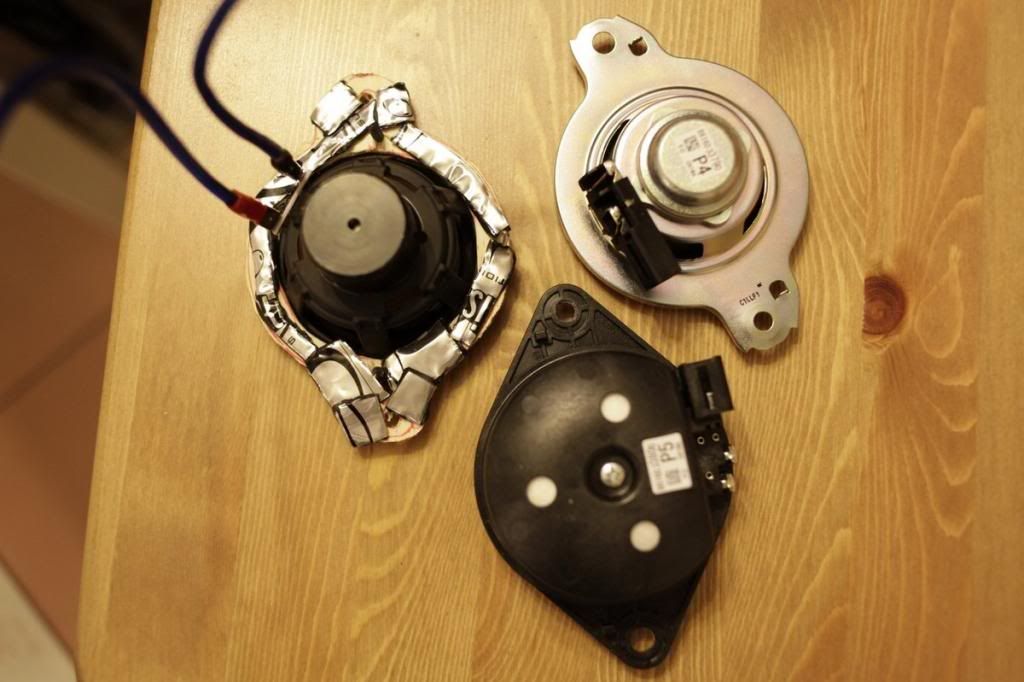
After doing some research on Parts Express, I decided to go with these 3" full range drivers from Tang Band . W3 - 1364sa I went ahead and get 3 to replace the center midrange as well. Replacing center speaker is not nescessary since the output for center channel is quite low so only when I put my ears close to it then I can hear the center . I just want to replace it just incase it gets distortion when I crank loud. https://www.parts-express.com/tang-b...river--264-844
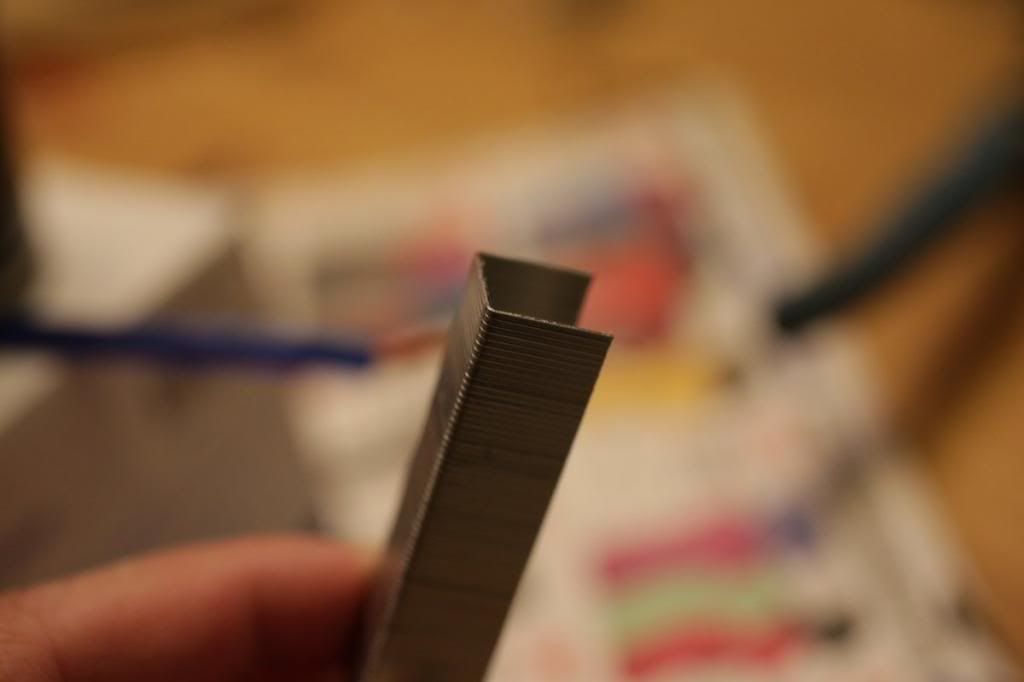
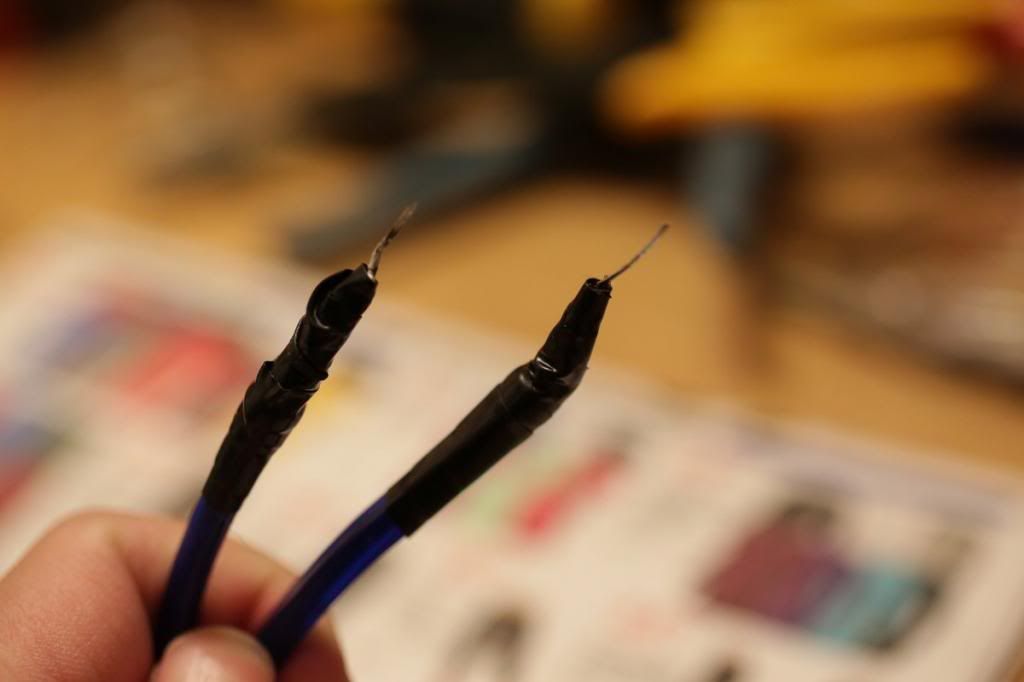
The problem with stock wiring is the harness needs some work so I decided to use some staples and solder it to the wires and surprisingly, it fits perfectly in the harness. The harness pin is quite small so this is the only solution I could find after a day of thinking what would fit.
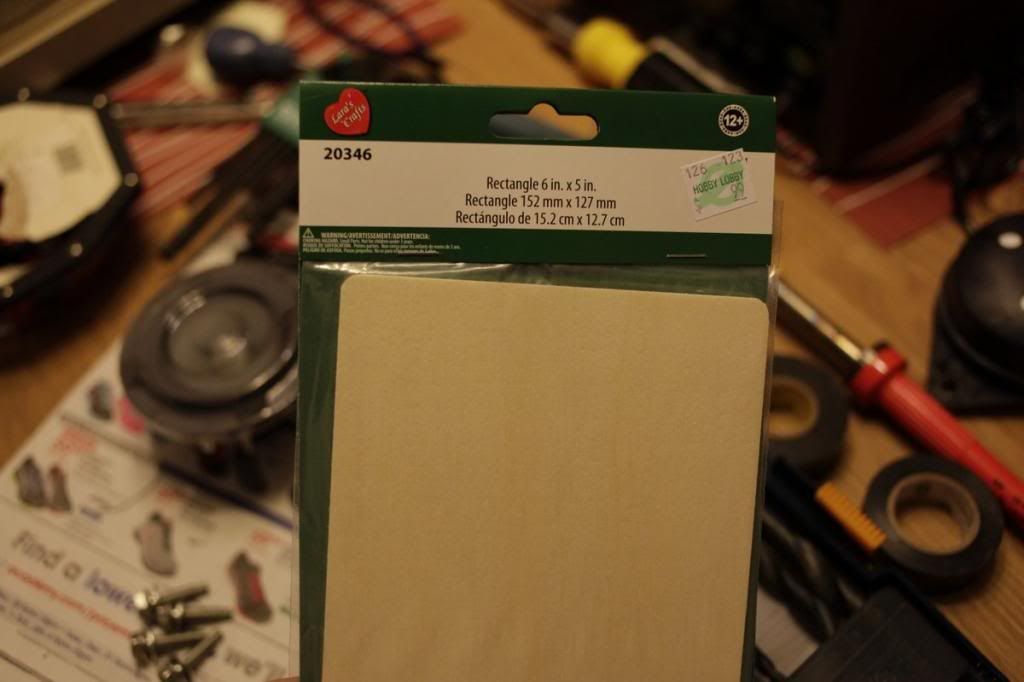
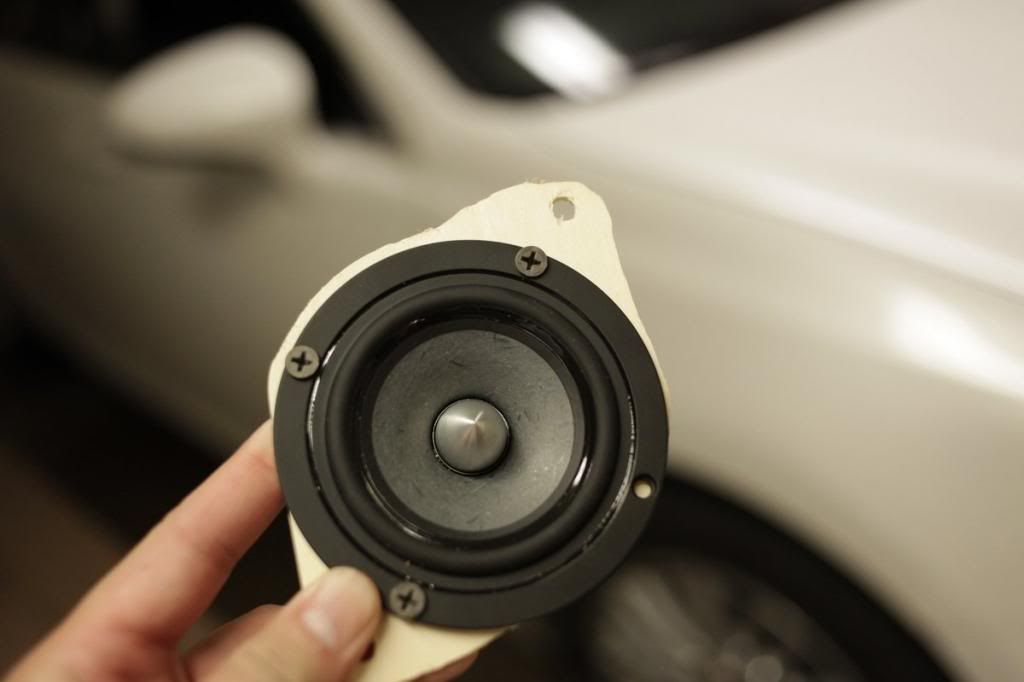
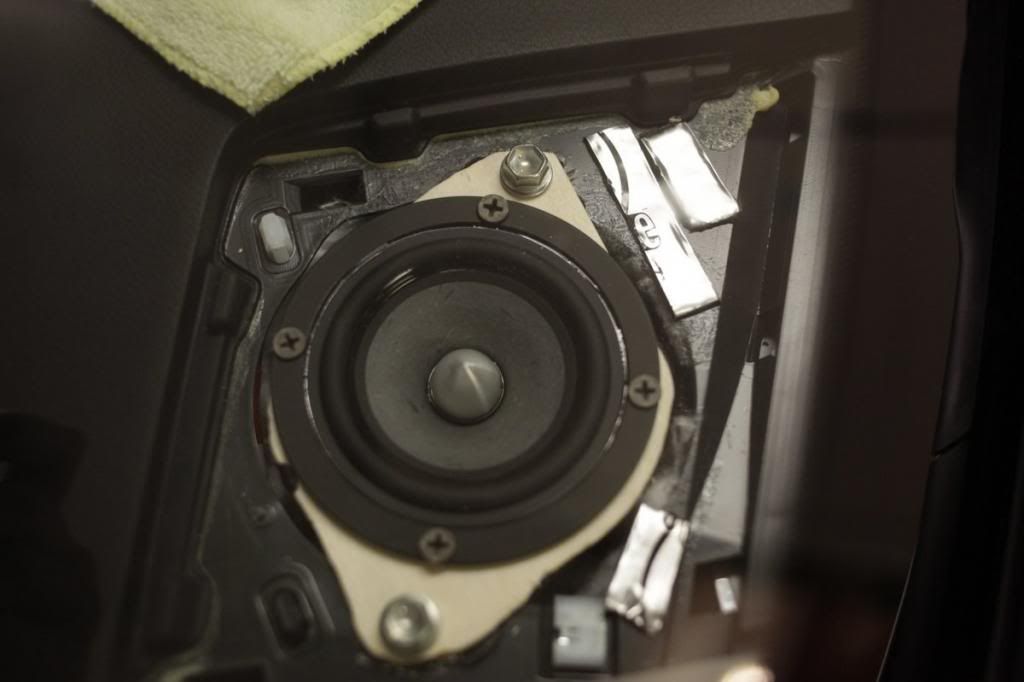
Next step is to make a baffle and secure the speaker in the stock location. I went to hobby lobby and found some thin wood pieces that is thin enough and easy to cut. I only have a dremel with me so that is all I use to cut it. The reason I can't use MDF is I have no tools to cut and they're too thick. So I put down the stock speaker and trace the shape of the frame and cut.
When mount the speaker to the baffle please be very careful cause these wood will crack and you might missed the screws and could damage your woofer. I put some deadening mat under neath the baffle to make it stronger and won't crack so easily.
Sidenote: don't over tighten cause these wood baffle may crack.
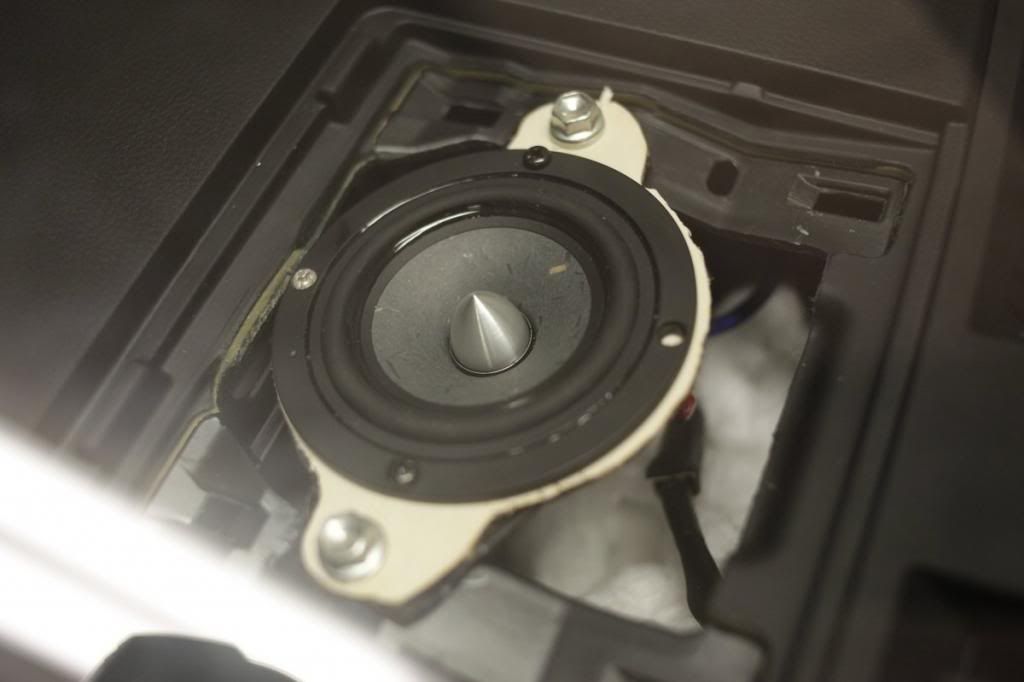
test fit
Mounted
There is a lot of empty space below the center speaker, so I put a bit of polyfill just to damp the frequency of the speaker. I also do the same to left and right dash.
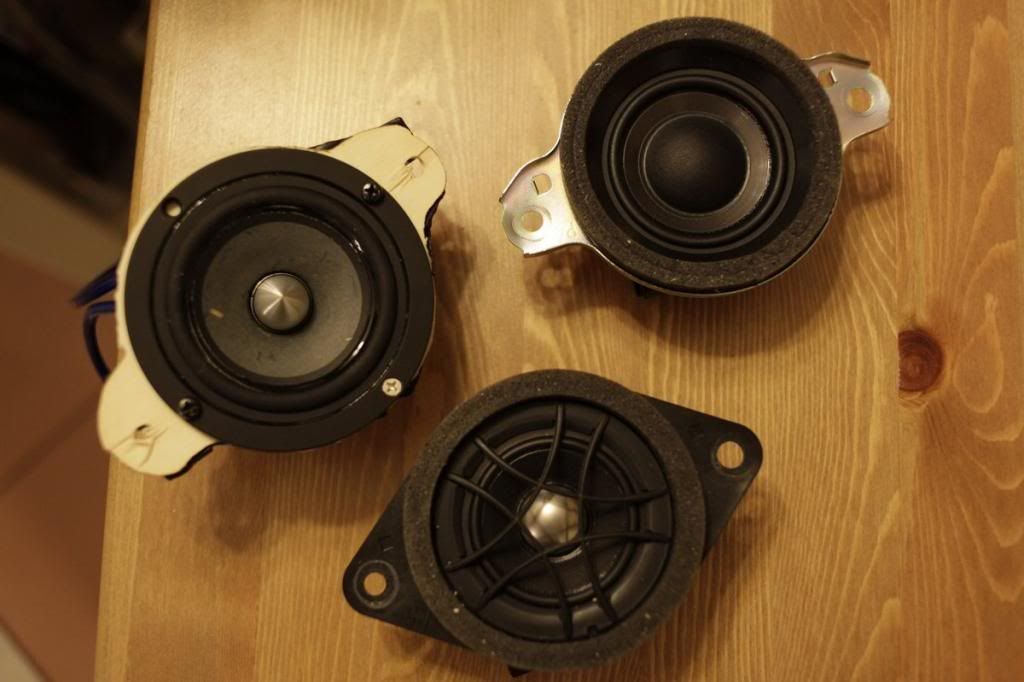
More speaker comparison
After some listening, I really like how it sound not totally warm but a bit airy , vocal sounds good, any instrument with drums brass and strings shows good amount of detail. Its defenitely more enjoyable than the stock speakers which sounds really thin and distored at high volume level. Since the full range Tangband W3 speaker is 8Ohm so the volume will be a bit higher around 40 - 45 to get to a decent loud level it also increase your midbass volume as well.
I set the DSP to all front-center , treble and mid at 0 and bass - 2. I found these are perfect settings to get loud with the least distortion
My settings are pictured below:
Premium audio midbass on the doors are quite good. The only thing that I notice is the doors needs some deadening to bring out the full potential of these midbass. I will update on the next log on Deadening the doors and may be try some 6x9 speakers to see if it makes any difference.
Im sorry for leaving this thread un-reply for so long.
To pop out the panel, you can use these tool without scratching your dash, The dash's material is pretty "flexible " so you can use slightly heavier force to put in the tools and pry them up at left and right corner of the panel.
As for the speakers, I would recommend to get a good set of silk dome tweeters or large format 3" tweeter to use with these . The midrange/coaxial 3" speakers aren't really available and the sound quality and highs response is just not as good.
 01-09-14, 11:18 PM