When you click on links to various merchants on this site and make a purchase, this can result in this site earning a commission. Affiliate programs and affiliations include, but are not limited to, the eBay Partner Network.
Lol I appreciate it. I try to cut no corners when it comes to my paint work. Especially if it's one of my own cars bc it's basically a rolling business card for me & my work
sadly not many people mod their es.. which makes it that much more unique when someone does
how did you take apart the corner lights? did you have to remove the rubber gasket seal thing around the housing or did you just pry off the lens after you heated it?
I painted one of my spare headlight housings black just like you did, to see how it would turn out. Unfortunately, my car is white/beige and the black headlight housing didnt match whatsoever... But i'm really interested to see how it looks on yours.
yeah I removed all gaskets, hardware, seals & bulbs. Baked at 200 for 15 min then separated. Painted and reversed the process basically. Sealed up with this to ensure no leaks or moisture down the road.
I'm going to take inspiration from the Nuremberg LFA Interior and put my own little spin on it. I actually was going to post some Interior pics in the next hour or so. Something like this
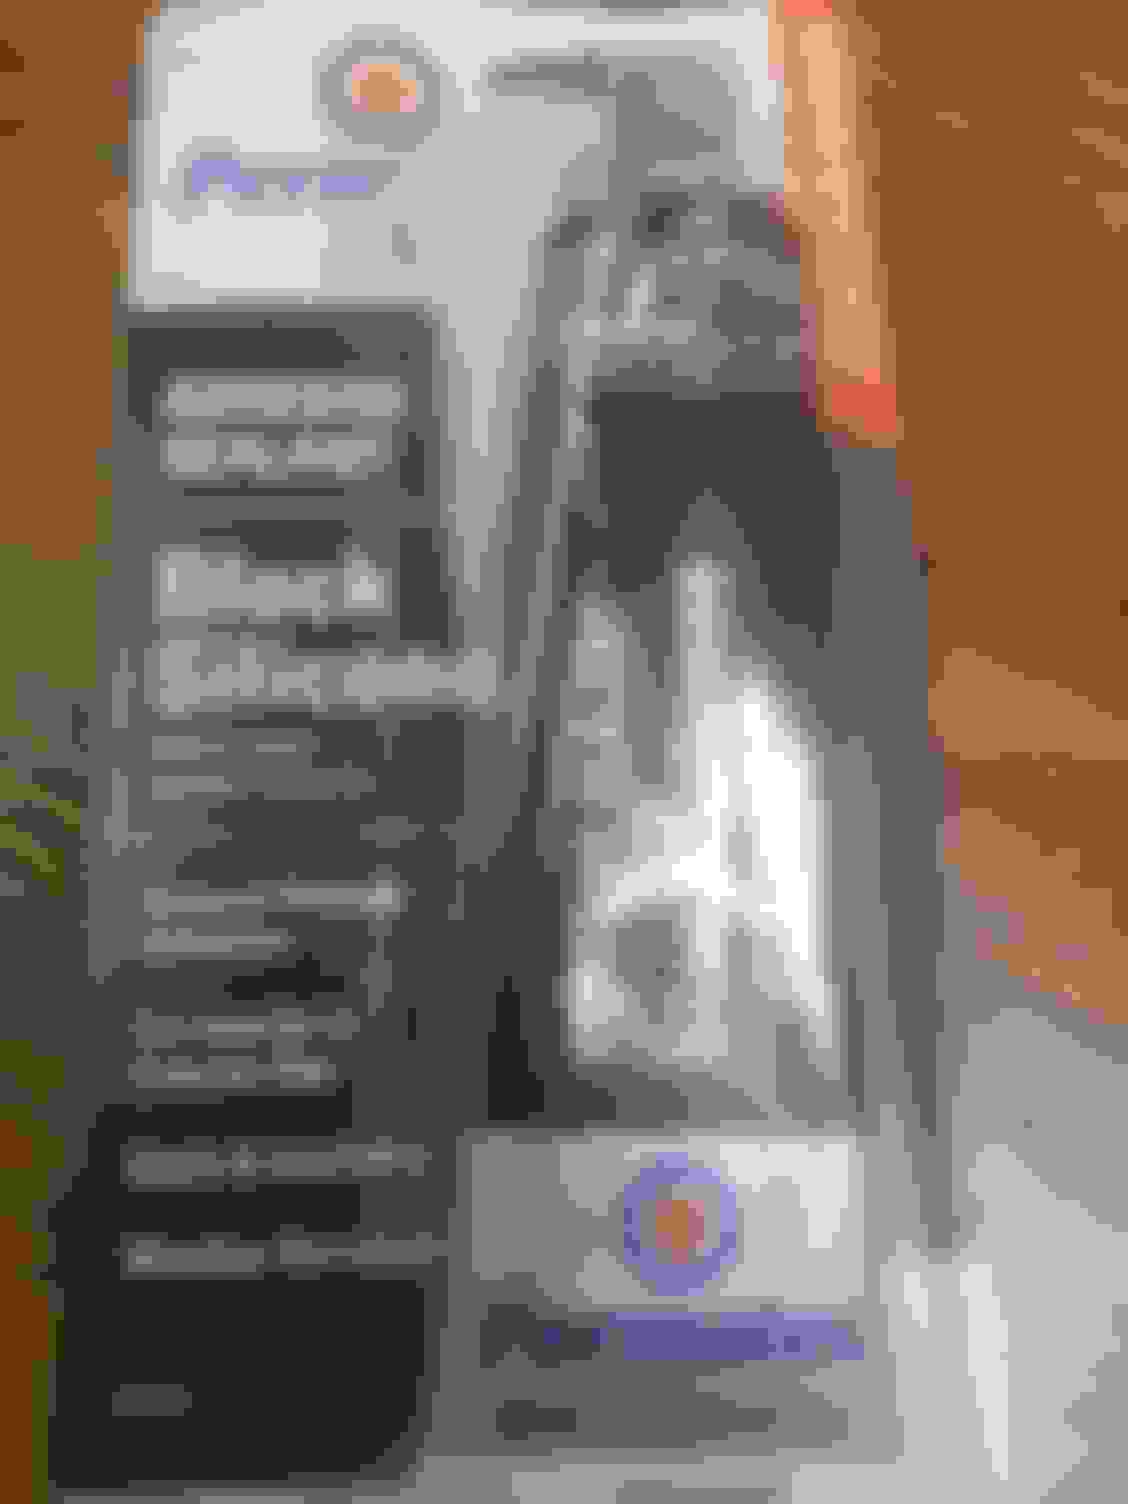
Lower dash & other console parts prepped and ready to be dyed.
More dash/console components.
The cluster bezel and what i call waterfall off the dash/console (basically everything from top ac vents in the center of dash down to the shifter bezel) these will be painted Maserati Grigio Nuvolari Met. Except in an eggshell finish.( very low gloss) to accent black & red parts.
Finished product
Layed out against back half of center console to give yall a better idea of the color combos together.
All the woodgrain trim for the window switches prepped. These will go high gloss black.
Like so
Since my factory tan door panel each had small imperfections i decided to buy a used set of black ones in damn near mint condition online. Got a pretty fair deal on it also. All panels 9/10 condition for $300.
Fully disassembled door panels and prepped them for dye as well.
Sneak peak of the finished product lol
Literally have 2 more full shelves of dyed interior parts waiting to go in the car once i get replacement carpet and rewrap headliner, pillars etc.
Quick pic of one of the door panels partially reassembled until the red & black Alcantara comes in next week so i can completely put them all back together.
I forgot to snap a pic of my new aftermarket grill before sanding and painting it but im sure you're all familiar with what it looks like. Picture above for reference.
After grille was sanded very well, sealed and painted center section of it black.
Once that dried, taped up and painted outer trim of grille to match body color & cleared.
Now here's the part of the build where things got a little complicated. When I decided to pull the trigger and build the ES as a really clean daily I searched and searched for days, probably weeks looking for a clean lip kit for factory bumpers. After spending countless hours looking I had absolutely no luck finding something that appealed to me or I was 100% decided on. Like we discussed before there's not really a huge aftermarket lineup of upgrades for these cars like other models. ( LS/IS/GS) So I knew my only option of having something I liked was to build what I thought was clean for it......... here goes nothing.
I'm not a really huge bodykit fan, I like subtle touches, clean lines and lip kits. After a little research I came across this kit for the 2012 ES350. I wasnt instantly in love with it, but I knew I could modify it and make it into something I would.
2012 ES350 AM3 kit is the base of what im going to be using to fab up my own kit for it.
 07-07-16, 11:27 AM


 But i'm really interested to see how it looks on yours.