1991 Soarer 1JZ "from rags to riches" built
 07-13-16, 08:31 AM
#1
Driver School Candidate
Thread Starter
Hi, my name is Julian and I'm from germany. Finally I'm creating my build thread after owning and working on my Soarer since 2011. This is my favourite site to read about all things 1JZ and SC/Soarer so I think it's only right to "do it" here.
How I got the car:
I was dailing my 2JZ-GTE Aristo MKI back then and was looking for a long term project car to learn on and challenge myself. Objective was to do EVERYTHING myself and instead of just buying new parts, repair the ones that can be saved. Since I love Toyotas and expecially the models with a JZ in it, I quickly narrowed it down to a 1JZ Soarer. It was just the cheapest of all the JZ cars available.
I bought the Soarer off an acquaintance I knew from the Aristo scene for 450� (about $500)
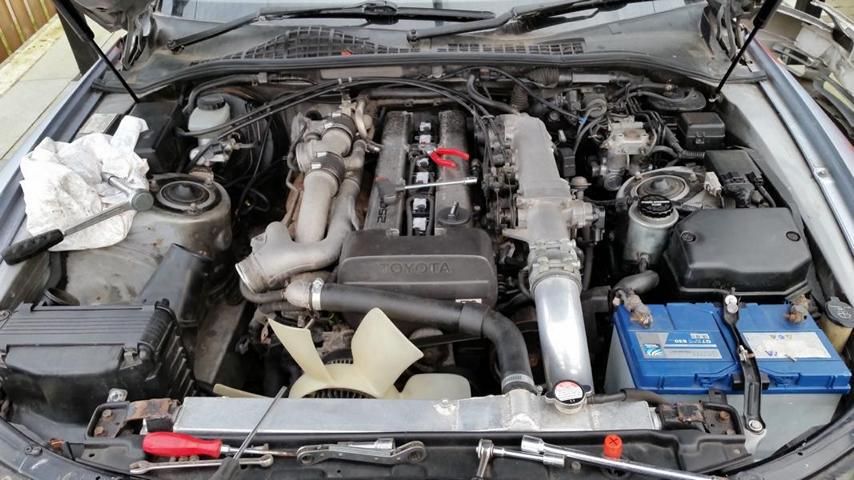
how it looked in the beginning: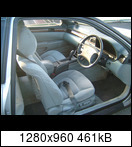
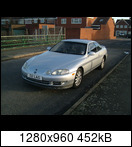


It had a cracked windshield, rust here and there, sagging headlining, corroded brakes, leaking diff, blind and moist headlights messed up cabling, cracked door cards, vents and on and on and on.
first I wanted to solve all the problems that the car had before registering and tuning it. 2014 I finished doing that. It's a long and boring list.
now the chase for power commences! (and a respray with some bodywork)
Goal: Single Turbo and manual conversion with at least 500RWHP.
Parts List:
Transmisssion:
R154 with Shifter extension, Marlin Crawler VSS
MK3 front propshaft
Twin Disc 700hp OS Giken Clutch
Clutchline
Master Clutch Cylinder
Clutch pedal
A01B 4.01 Torsen Diff
Engine:
AEM V2 ECU and 5Bar Map Sensor
Turbo Borg Warner S360 0.88
HKS 264 cams
manifold
Oil lines
injectors Sard 800cc
FMIC and pipes
walbro 400lph fuel pump
AFPR Turbosmart FPR-800
Wastegate Turbosmart 45mm
Blow Off turbosmart Race port
Wideband Zeitronix ZT-3
Defi Advance and Sensors
Exhaust pipes and Turboflange
Main Seals, valve seals
Oilcooler and Thermostat
AEM Dryflow Airfilter
Oil Filter Relocation
Harmonic Balancer
Brakes
Supra EU Spec
Braided Brake Lines
Misc:
Mapping
BUILD START
How I got the car:
I was dailing my 2JZ-GTE Aristo MKI back then and was looking for a long term project car to learn on and challenge myself. Objective was to do EVERYTHING myself and instead of just buying new parts, repair the ones that can be saved. Since I love Toyotas and expecially the models with a JZ in it, I quickly narrowed it down to a 1JZ Soarer. It was just the cheapest of all the JZ cars available.
I bought the Soarer off an acquaintance I knew from the Aristo scene for 450� (about $500)
how it looked in the beginning:


It had a cracked windshield, rust here and there, sagging headlining, corroded brakes, leaking diff, blind and moist headlights messed up cabling, cracked door cards, vents and on and on and on.
first I wanted to solve all the problems that the car had before registering and tuning it. 2014 I finished doing that. It's a long and boring list.
now the chase for power commences! (and a respray with some bodywork)
Goal: Single Turbo and manual conversion with at least 500RWHP.
Parts List:
Transmisssion:
R154 with Shifter extension, Marlin Crawler VSS
MK3 front propshaft
Twin Disc 700hp OS Giken Clutch
Clutchline
Master Clutch Cylinder
Clutch pedal
A01B 4.01 Torsen Diff
Engine:
AEM V2 ECU and 5Bar Map Sensor
Turbo Borg Warner S360 0.88
HKS 264 cams
manifold
Oil lines
injectors Sard 800cc
FMIC and pipes
walbro 400lph fuel pump
AFPR Turbosmart FPR-800
Wastegate Turbosmart 45mm
Blow Off turbosmart Race port
Wideband Zeitronix ZT-3
Defi Advance and Sensors
Exhaust pipes and Turboflange
Main Seals, valve seals
Oilcooler and Thermostat
AEM Dryflow Airfilter
Oil Filter Relocation
Harmonic Balancer
Brakes
Supra EU Spec
Braided Brake Lines
Misc:
Mapping
BUILD START
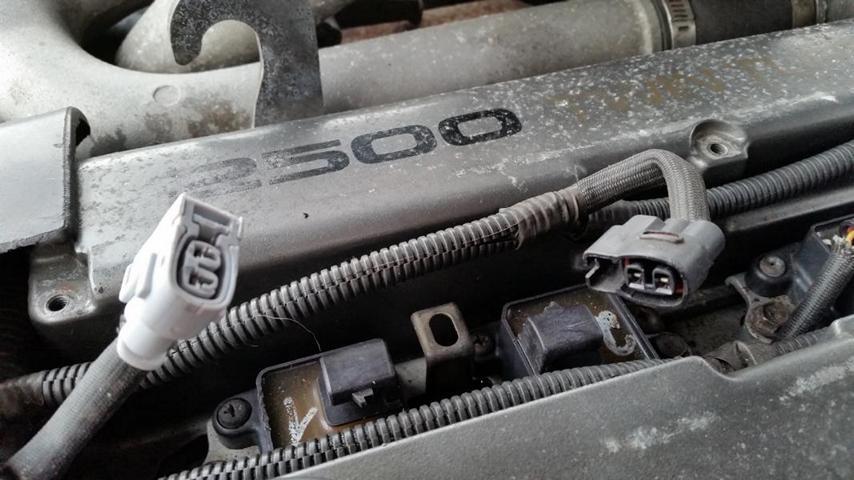
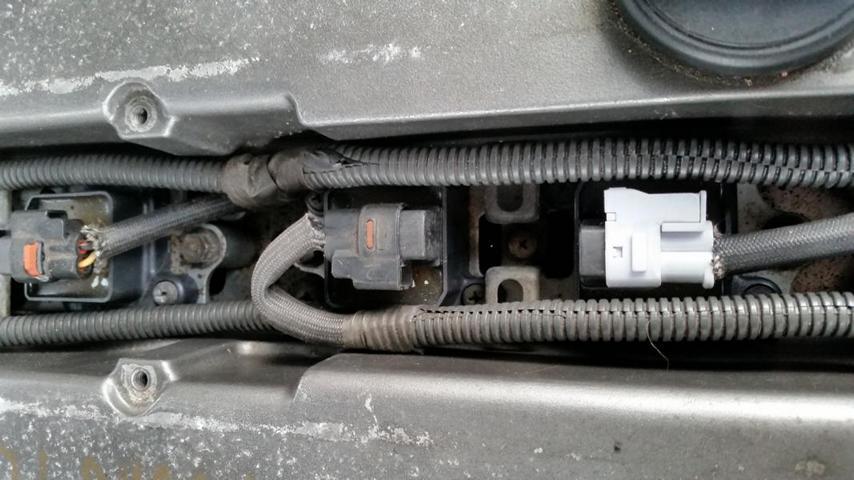
i began with the mayor task of installing new coil pack clips. very nice quality from china:

more to come later...


more to come later...
Last edited by FunCarGo; 07-21-16 at 06:56 AM.
 07-13-16, 09:19 AM
#2
Driver School Candidate
Thread Starter
removing stuff for the R154 swap:
 5
5
not bad for a 25 year old exhaust, eh? thats 90s toyota overengineering for you.
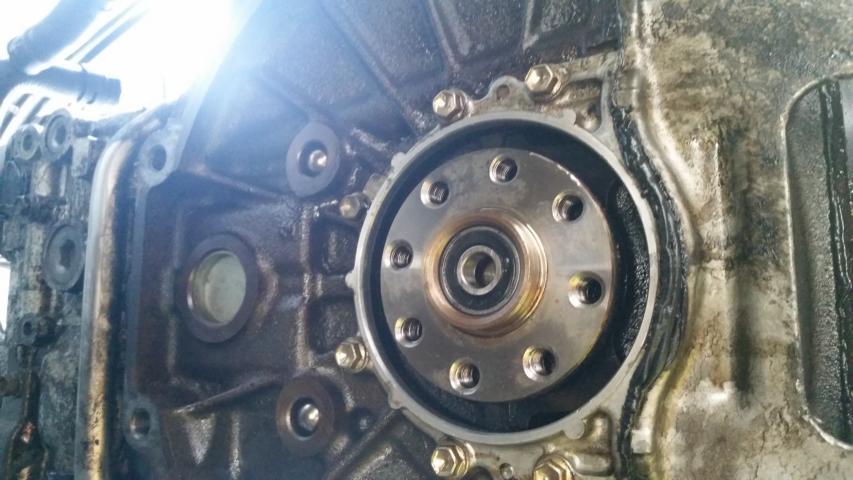
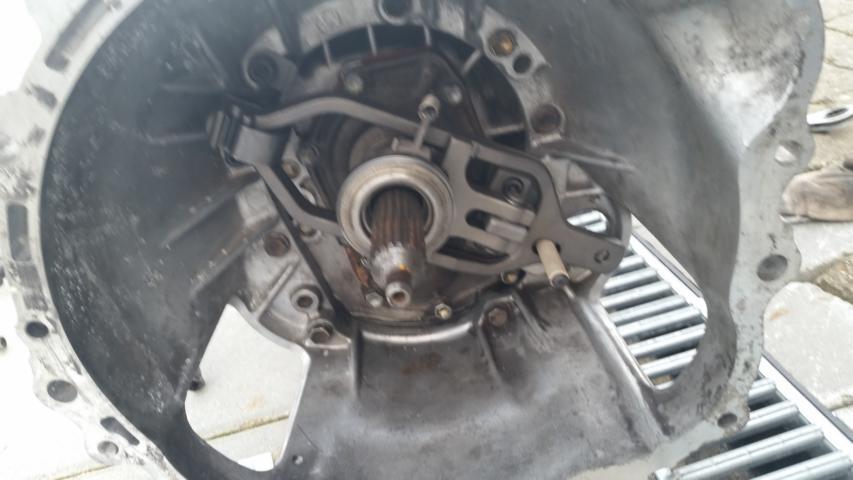
autobox and diff off. installing new rear main seal before putting the clutch on:
old seal gone
old and new
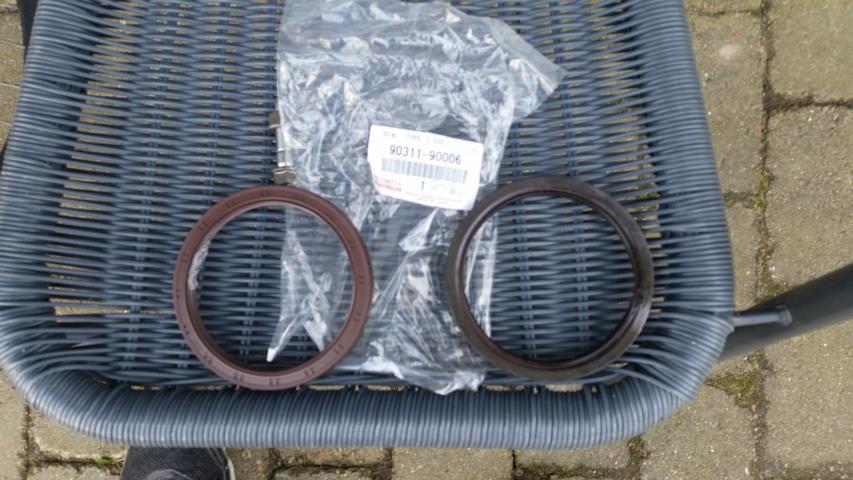
new seal

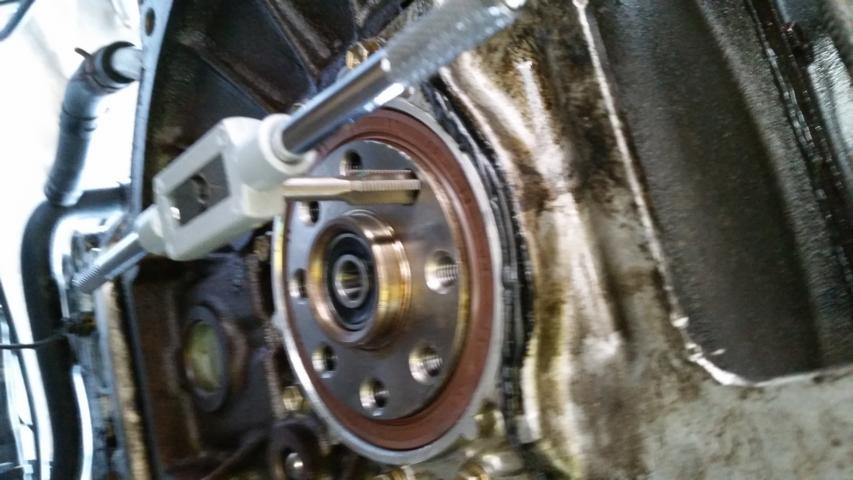
cleaning the inside threads with a tap before installation of flywheel
 5
5not bad for a 25 year old exhaust, eh? thats 90s toyota overengineering for you.
autobox and diff off. installing new rear main seal before putting the clutch on:
old seal gone

old and new

new seal

cleaning the inside threads with a tap before installation of flywheel


 07-13-16, 10:14 PM
#5

Looking forward to see how this comes along.
Also would like your feedback on the OS Street Master when you get it all together, considering swapping my old worn OS twin for the same model.
Also would like your feedback on the OS Street Master when you get it all together, considering swapping my old worn OS twin for the same model.
07-14-16, 05:16 AM
#6
Driver School Candidate
Thread Starter
Thanks guys  i will post Impression of everything once its up and running.
Just stumbled upon the new line of Borg Warner Turbos, the sx-e. I will now go with a s300sx-e with the 61.5mm compressor wheel. This is the smallest one there is - no 60 available. Will use my old .91 exhaust housing.
It has a Billet wheel, 360 bearing, improved compressor housing etc. Should be good. Excited!!!
more progress:
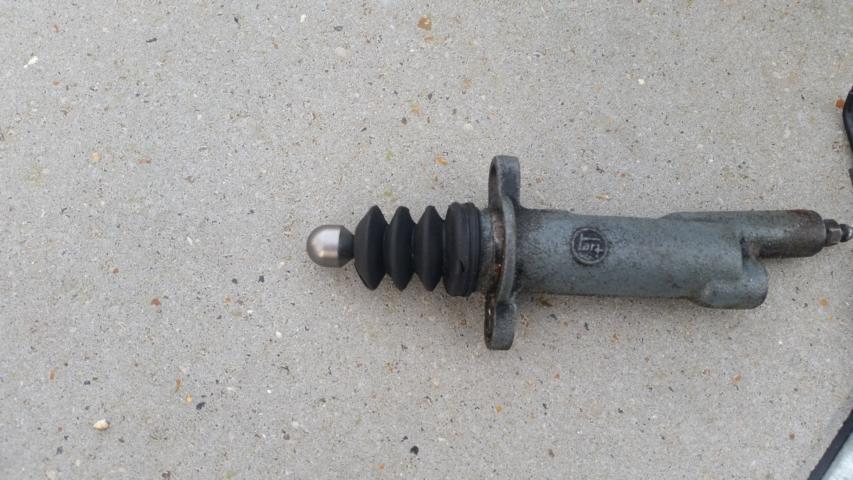
pull to push movement kit installed
there was also a thicker pin with the os giken kit for the slave cylinder
new clutch pedal assembled out of all the small parts that had to be ordered from toyota

annnd twins removed, single manifold (test)fitted. hopefully the added bracing will prevent it from cracking.
on the left you see the now fitted clutch master cylinder which comes from an is200. it fits, only the reservoir is a little too high and hits the hood. I will just cut a little bit off. Still, $20 is way better that $200 for a supra/soarer one, though.

i will post Impression of everything once its up and running.Just stumbled upon the new line of Borg Warner Turbos, the sx-e. I will now go with a s300sx-e with the 61.5mm compressor wheel. This is the smallest one there is - no 60 available. Will use my old .91 exhaust housing.
It has a Billet wheel, 360 bearing, improved compressor housing etc. Should be good. Excited!!!
more progress:
pull to push movement kit installed

there was also a thicker pin with the os giken kit for the slave cylinder

new clutch pedal assembled out of all the small parts that had to be ordered from toyota

annnd twins removed, single manifold (test)fitted. hopefully the added bracing will prevent it from cracking.
on the left you see the now fitted clutch master cylinder which comes from an is200. it fits, only the reservoir is a little too high and hits the hood. I will just cut a little bit off. Still, $20 is way better that $200 for a supra/soarer one, though.

Last edited by FunCarGo; 07-14-16 at 01:42 PM.
07-14-16, 01:39 PM
#7
Driver School Candidate
Thread Starter
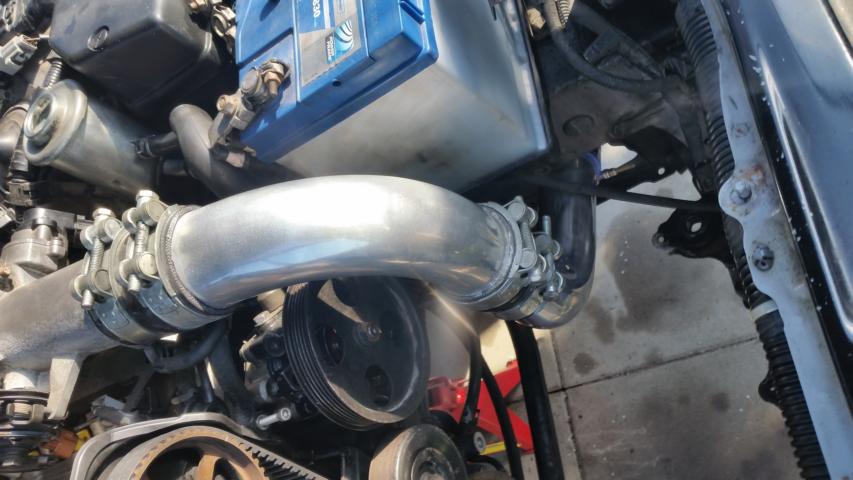
power steering pump was whining. I already replaced this once with a used unit so now I went with a new (aftermarked) one.

also fabbed up a new pressure line for it which just connects to the old hardpipe ends. (don't know what this type is called in english)

i made this with the ac compressor still in mind so now is longer than needed. on the other hand it's good because there is more space to reach stuff.

new, shorter v-belt, because ac is gone

Trending Topics
07-14-16, 02:16 PM
#8

Nice progress so far, I like where this is going
In case you weren't aware, you will want to buy a JZ AC delete bracket. It's basically just a bracket that mounts to the AC mounts so that you have support on the underside of your power steering pump. Otherwise the belt tension will eventually snap your power steering pump mount tabs off. I got mine from SSWORXS, but you may want to try and source something more local to you or fab one up.
In case you weren't aware, you will want to buy a JZ AC delete bracket. It's basically just a bracket that mounts to the AC mounts so that you have support on the underside of your power steering pump. Otherwise the belt tension will eventually snap your power steering pump mount tabs off. I got mine from SSWORXS, but you may want to try and source something more local to you or fab one up.
07-14-16, 02:41 PM
#9
Driver School Candidate
Thread Starter
yea I fabbed one up already just don't have a picture of it handy. thanks anyway though, this could save somebody someday...
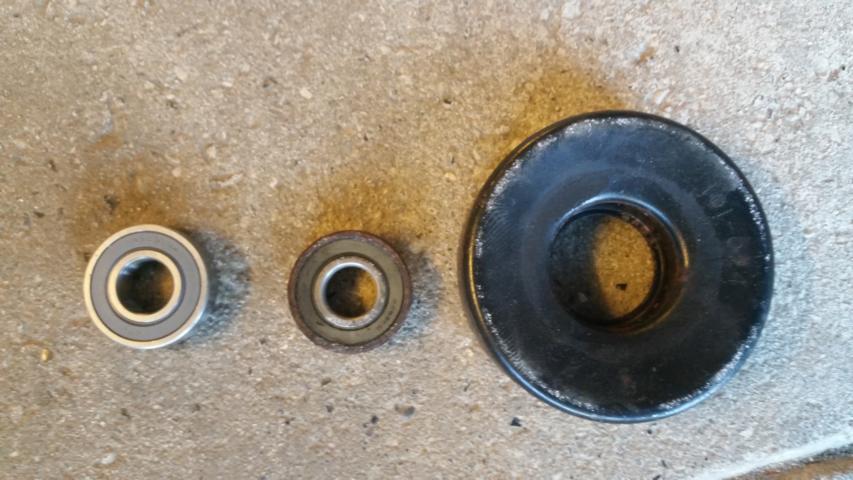
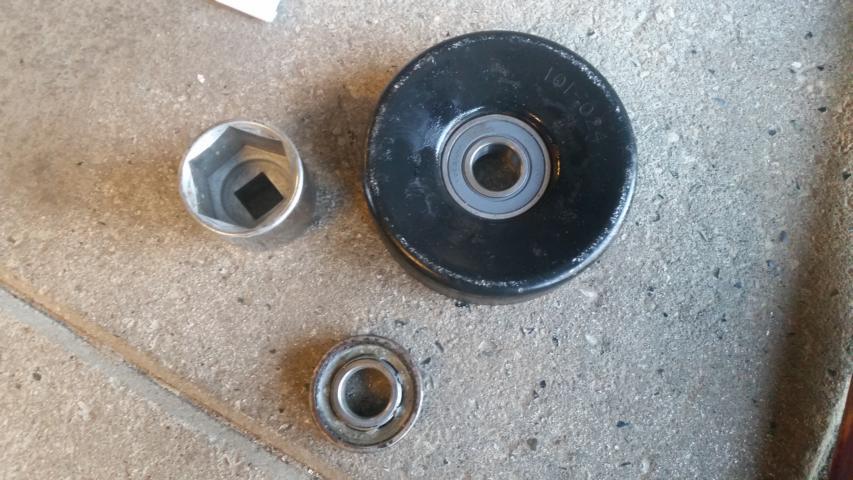
some minor things done. first the serpentine tensioner needed a new bearing. easy as. always remember people: just look at the number thats written on the old bearing and buy it whereever for like 1/3 of the price that toyota wants. this goes for all bearings in all parts.
and made an oil return flange. cut out of aluminium, an-10 fitting. I can't order these things from overseas since shipping would kill me on small stuff like that.
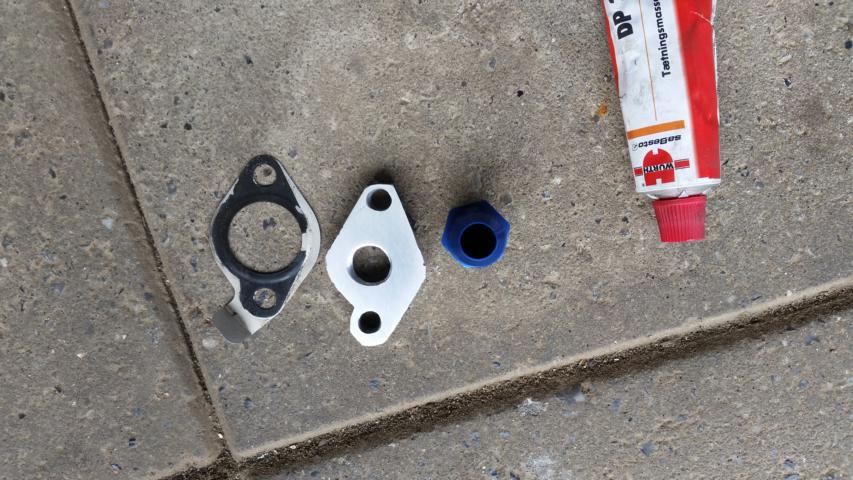

just don't have a picture of it handy. thanks anyway though, this could save somebody someday...some minor things done. first the serpentine tensioner needed a new bearing. easy as. always remember people: just look at the number thats written on the old bearing and buy it whereever for like 1/3 of the price that toyota wants. this goes for all bearings in all parts.


and made an oil return flange. cut out of aluminium, an-10 fitting. I can't order these things from overseas since shipping would kill me on small stuff like that.


Last edited by FunCarGo; 07-14-16 at 02:59 PM.
07-20-16, 08:10 AM
#10
Driver School Candidate
Thread Starter
intercooler fitted. was surprisingly easy to route the pipes even though it was an universal kit.
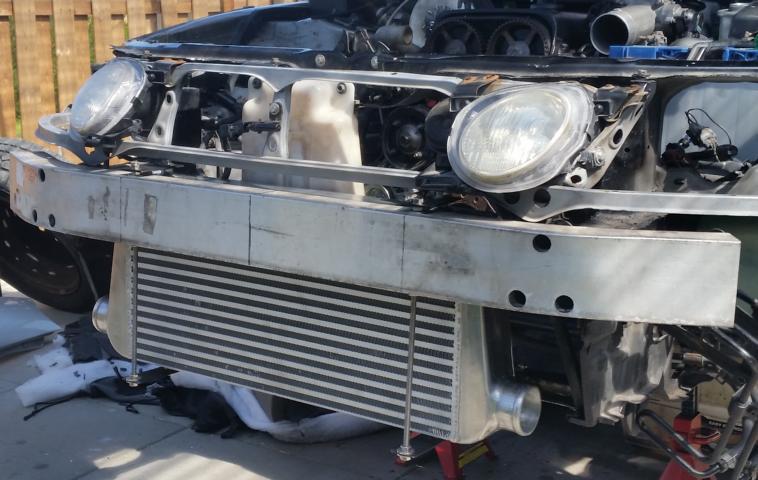
too bad my china welder is not good enough to weld aluminium - more couplers and clamps...
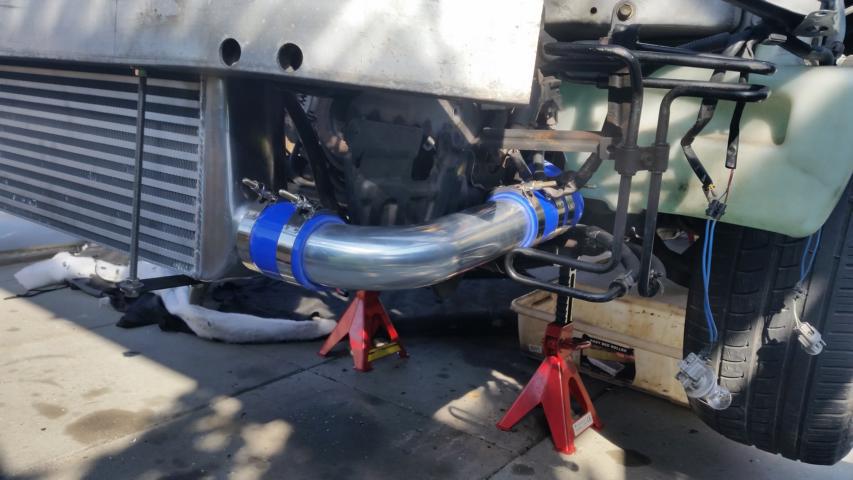

too bad my china welder is not good enough to weld aluminium - more couplers and clamps...


 07-20-16, 09:28 AM
#12
Driver School Candidate
Thread Starter
thank you sir!
yes it should be possible reaching 500rwhp with the parts I'm using, especially the new and slightly larger bw turbo and the hks 264's. I just hope everythings working when its going to the tuner. I ordered 1zz coils because I�m worried that the stock coils won't suffice. Then fingers crossed the old engine and gearbox don't cave in.
yes it should be possible reaching 500rwhp with the parts I'm using, especially the new and slightly larger bw turbo and the hks 264's. I just hope everythings working when its going to the tuner. I ordered 1zz coils because I�m worried that the stock coils won't suffice. Then fingers crossed the old engine and gearbox don't cave in.
07-26-16, 11:28 AM
#14
Driver School Candidate
Thread Starter
hey i wonder what others think about how I should install my oil filter relocation kit + thermostat and cooler
maybe it's too much with the addition of the relocation and I should just go with the thermostat and cooler?
have a look at my professional drawing:
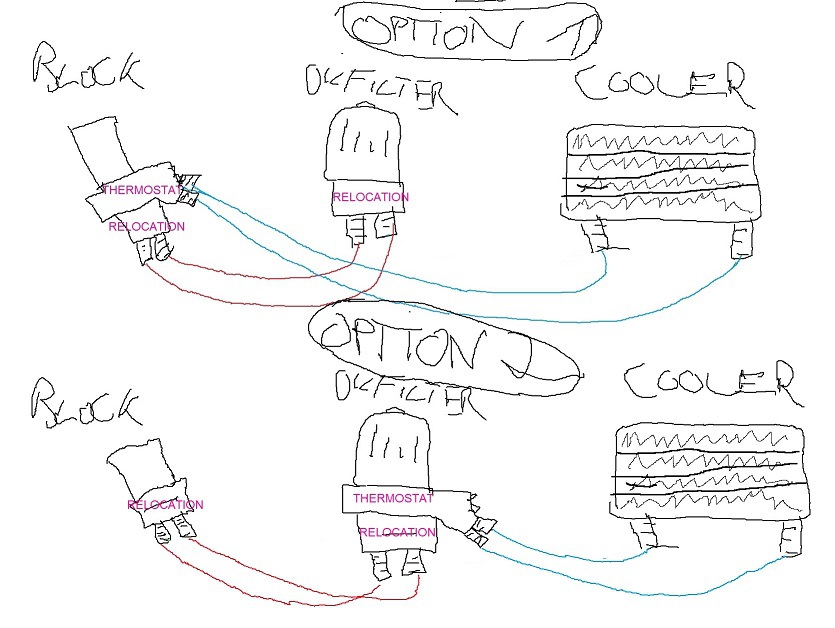
ps: bling bling

maybe it's too much with the addition of the relocation and I should just go with the thermostat and cooler?
have a look at my professional drawing:

ps: bling bling

Last edited by FunCarGo; 07-27-16 at 10:44 AM.
08-10-16, 08:47 AM
#15
Driver School Candidate
Thread Starter
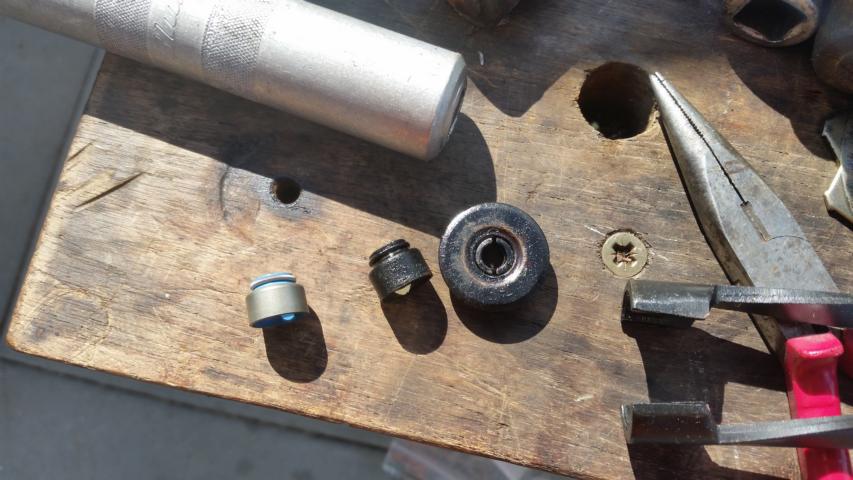
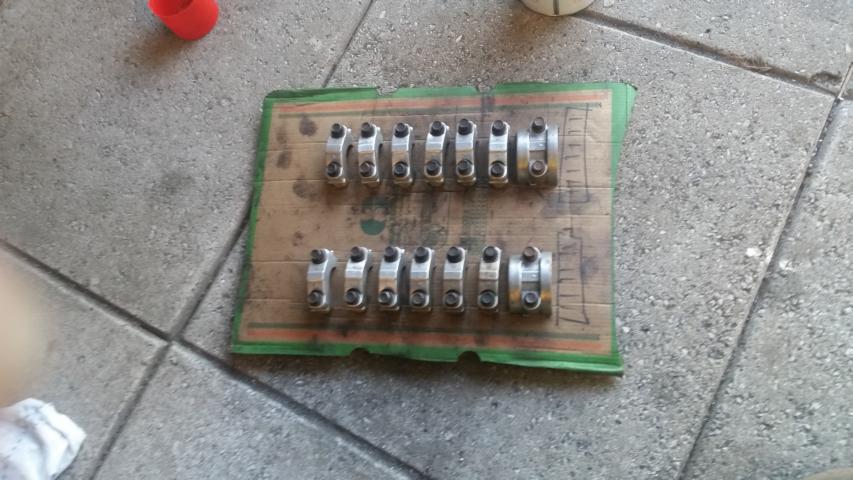
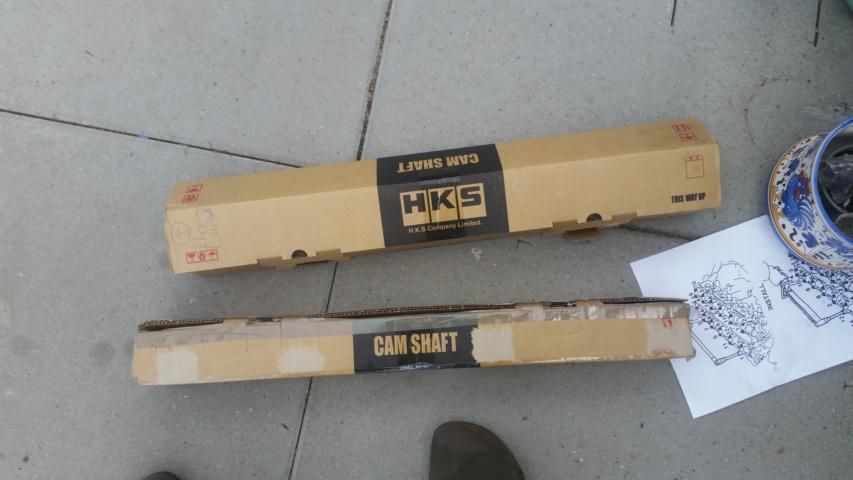
installed the 264 HKS camshafts and also replacing the valve stem seals while i was at it. also replaced the front main seal, rocker cover gaskets and cam seals.
it was an repetitive but easy job using the valve keeper/remover tool.
old cams and oil sludge. after 2 oil changes with engine cleaner it has gotten a lot better but not perfect.

new seal vs old seal. pretty much all seals broke while beeing removed.
clean
getting ready

everything 100% in spec. good quality.
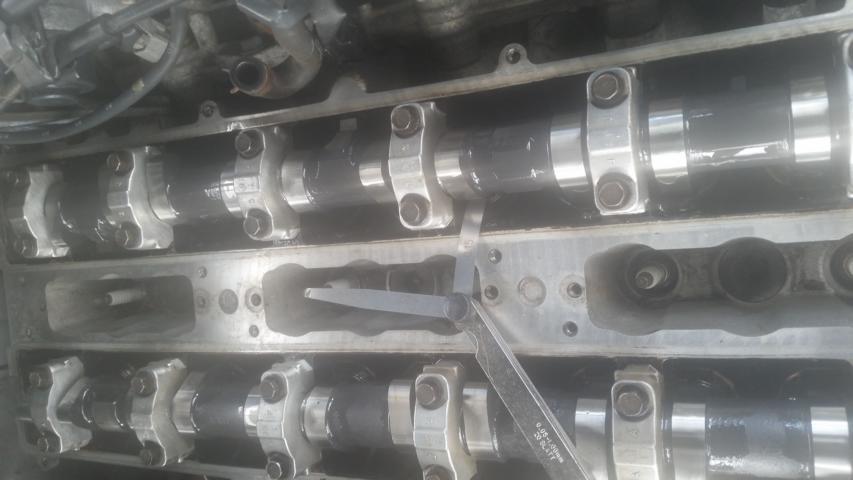
testrun showed no ploblems. off to the next stage...
it was an repetitive but easy job using the valve keeper/remover tool.
old cams and oil sludge. after 2 oil changes with engine cleaner it has gotten a lot better but not perfect.

new seal vs old seal. pretty much all seals broke while beeing removed.

clean

getting ready


everything 100% in spec. good quality.

testrun showed no ploblems. off to the next stage...