When you click on links to various merchants on this site and make a purchase, this can result in this site earning a commission. Affiliate programs and affiliations include, but are not limited to, the eBay Partner Network.
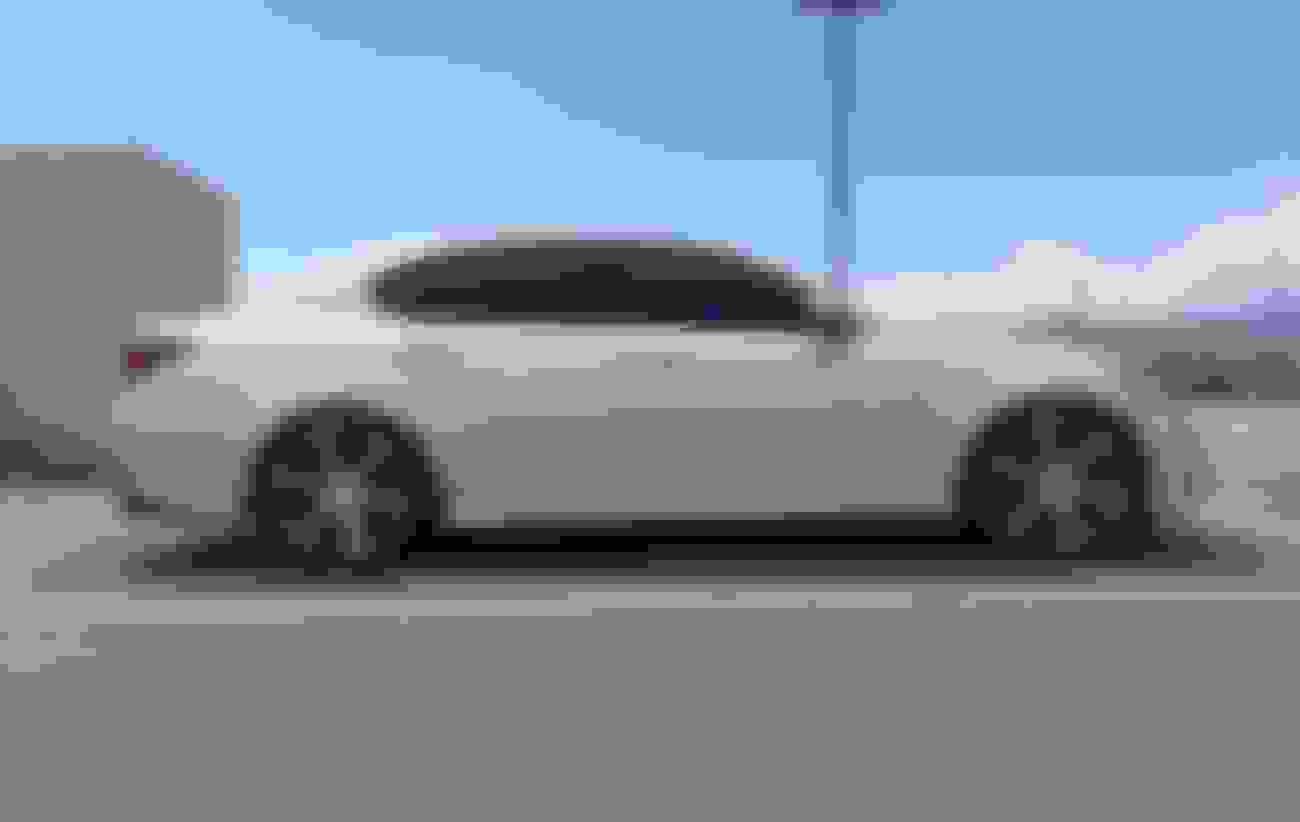
New Stance SC-6ix wheels on Continental DSW06s. Side note is I noticed I'm rubbing with the Continentals and I had no rubbing issues with the Michelin Pilot Super Sports. Same tire size on both. Looks like I'll be rolling the fenders if the alignment doesn't fix the rubbing issue. Hub centric rings are installed and this time I torqued the lug nuts to 80 ft lbs. I noticed that I'm still having vibration at 75-80 mph though. Back to the troubleshooting board again
**Update** A no kidding road force balance was done at Firestone. Tires where dismounted and correctly mounted. The left front tire could not be balanced so we installed a new one and now the vibrations are finally gone!!!
Reverse lights were very easy to install. I highly suggest using panel removing tools to remove the plastic fasteners (15 fasteners).
Remove 15 plastic fasteners
Panel removal tools
You will need to remove this cover as well
Cover removed
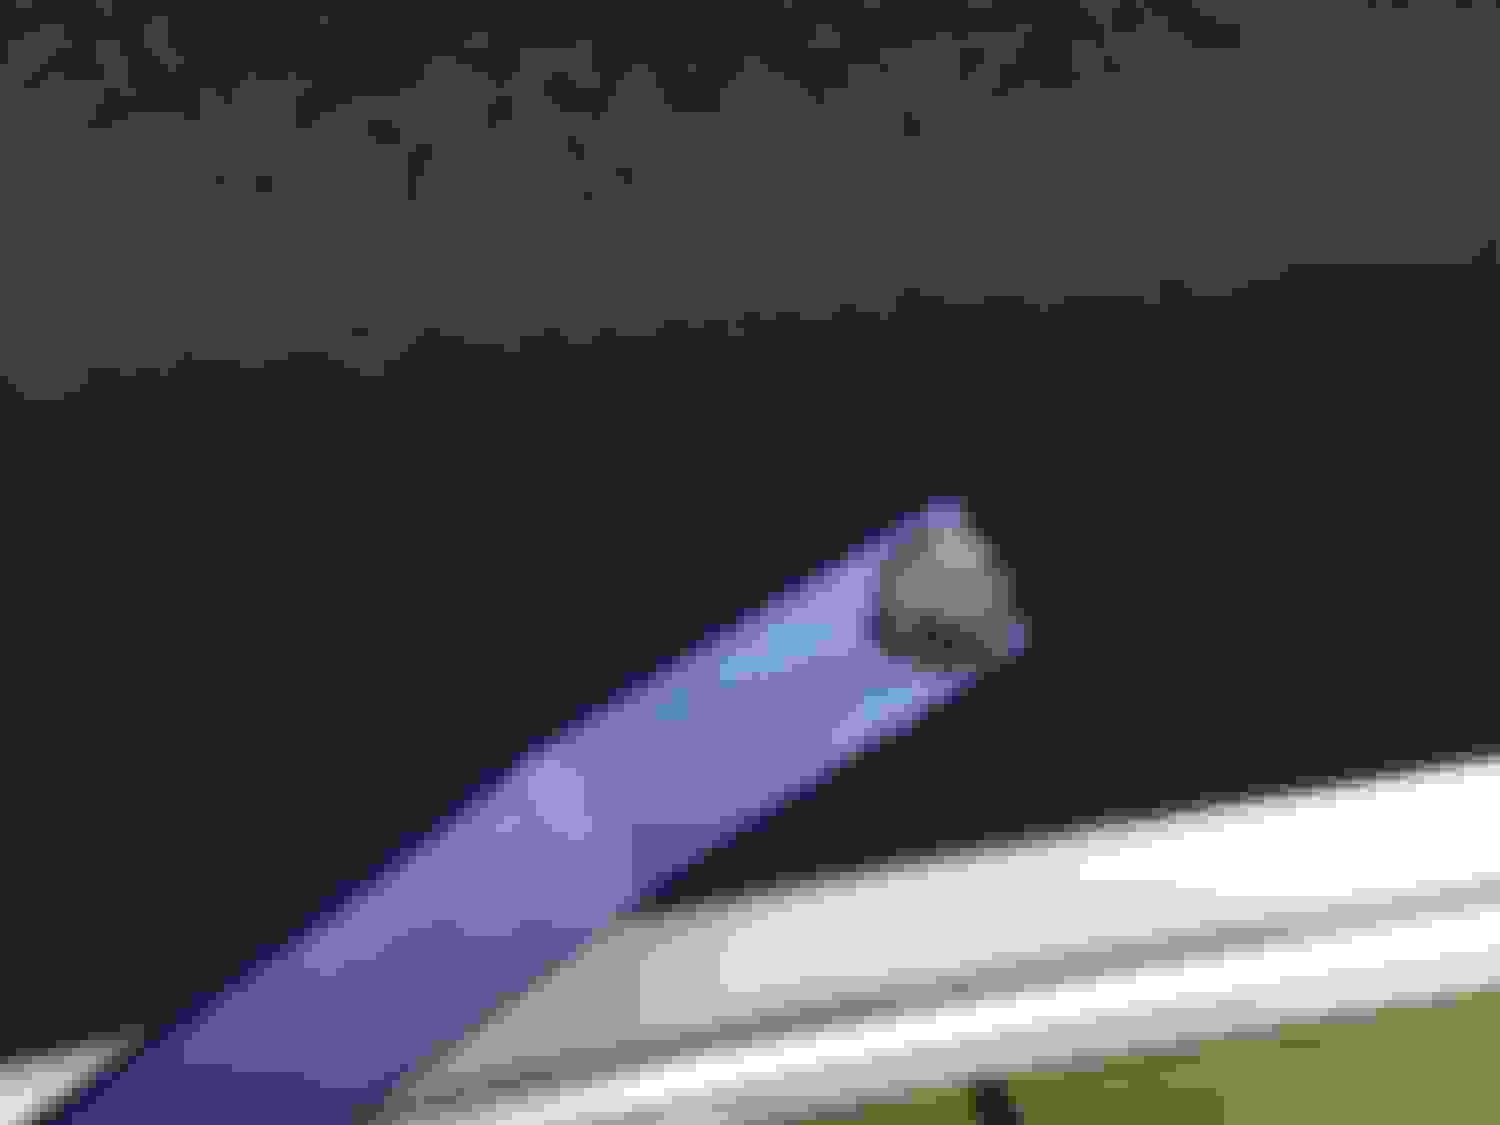
Twist the gray plastic piece counter clockwise to access the reverse light bulb
Size comparison
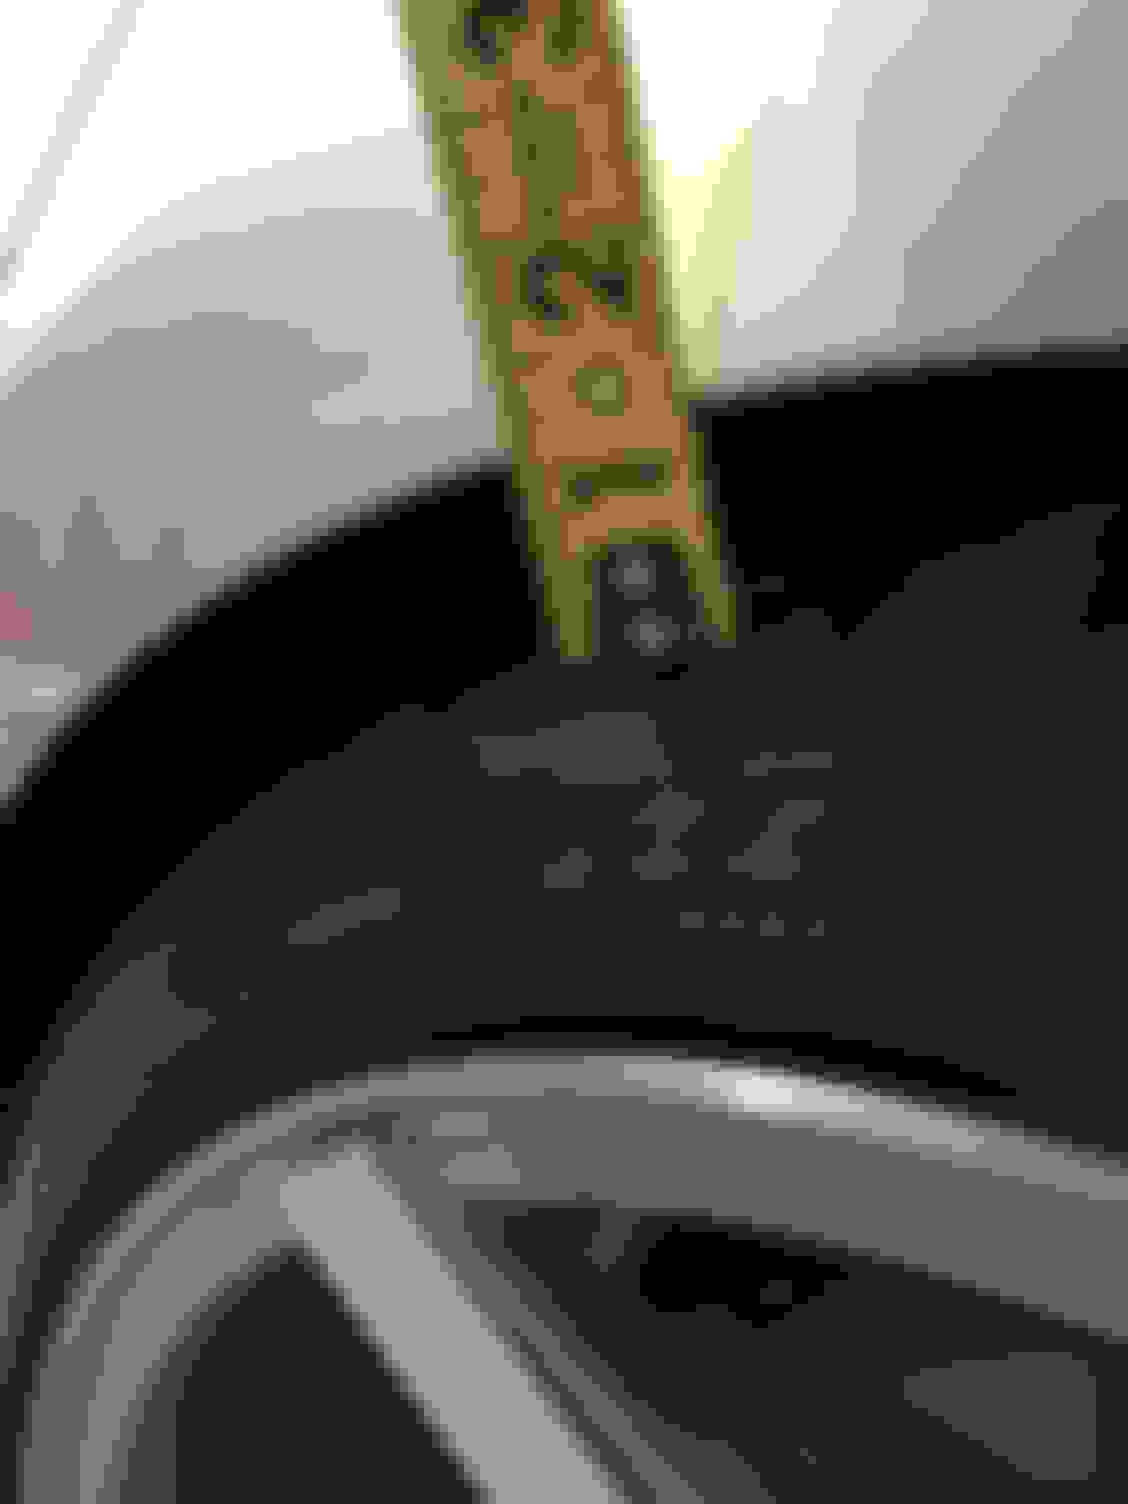
921 Bulb
New bulb installed. Be sure to test to make sure it works. If not, remove the bulb, rotate the bulb (switch polarity) and re-install. I tested the bulb by turning the accessory on (push the start button twice without depressing the brake) and put the car in reverse. To do this, you will need to remove the small plastic cover next to the gear shift and manually put the car in reverse.
New Led inside the housing
Updated Pics at Night! Wow these turned out really bright! Huge improvement over stock bulbs.
After doing both mirrors, I found it easier to just remove the outer cover (Not the black piece). You will still need to remove all 5 screws from the black cover. Also to remove the mirror; tilt the mirror towards the car to get your fingers behind it. The mirror will pull out,its just kind of nerve racking as you will need to pull on it pretty good to get it to pop off the white circular piece.
Once the outer cover is removed, you will need to pull the white housing on the bottom out to access the bulb.
I decided to fully disassemble the mirror on the driver side. After wrestling with getting everything back together I decided not to do the same on the passenger side.
Test the bulb out prior to putting everything back together. Simply unlock the car and the bulb should illuminate. If not remove the bulb, rotate, and re-install.
I replaced both front and rear turn signals with LED bulbs and thought I would take some pics during the swap. Most that have done this have mentioned how tight the space is on the drivers side. I found it almost impossible to reach the back side of the bulb. I removed the mount bolts for the fuse box and the windshield washer tube without any luck. I started to pull the bumper and pull the headlights when I found a small access cover in the driver side wheel well that gives you direct access to the back side of the headlight!!!
Remove the top cover to gain access behind the passenger headlight assembly. Its probably a good idea to order more plastic retainers as most of mine broke during this step.<br/><br/>https://www.amazon.com/gp/product/B0...?ie=UTF8&psc=1
Not a whole lot of room to work with; but its still accessible. Simply twist the grey connector counter clockwise to access the bulb.
View from the top to show there's not much room
Stock bulb removed. It helps to wear a glove to avoid scratching your hands up.
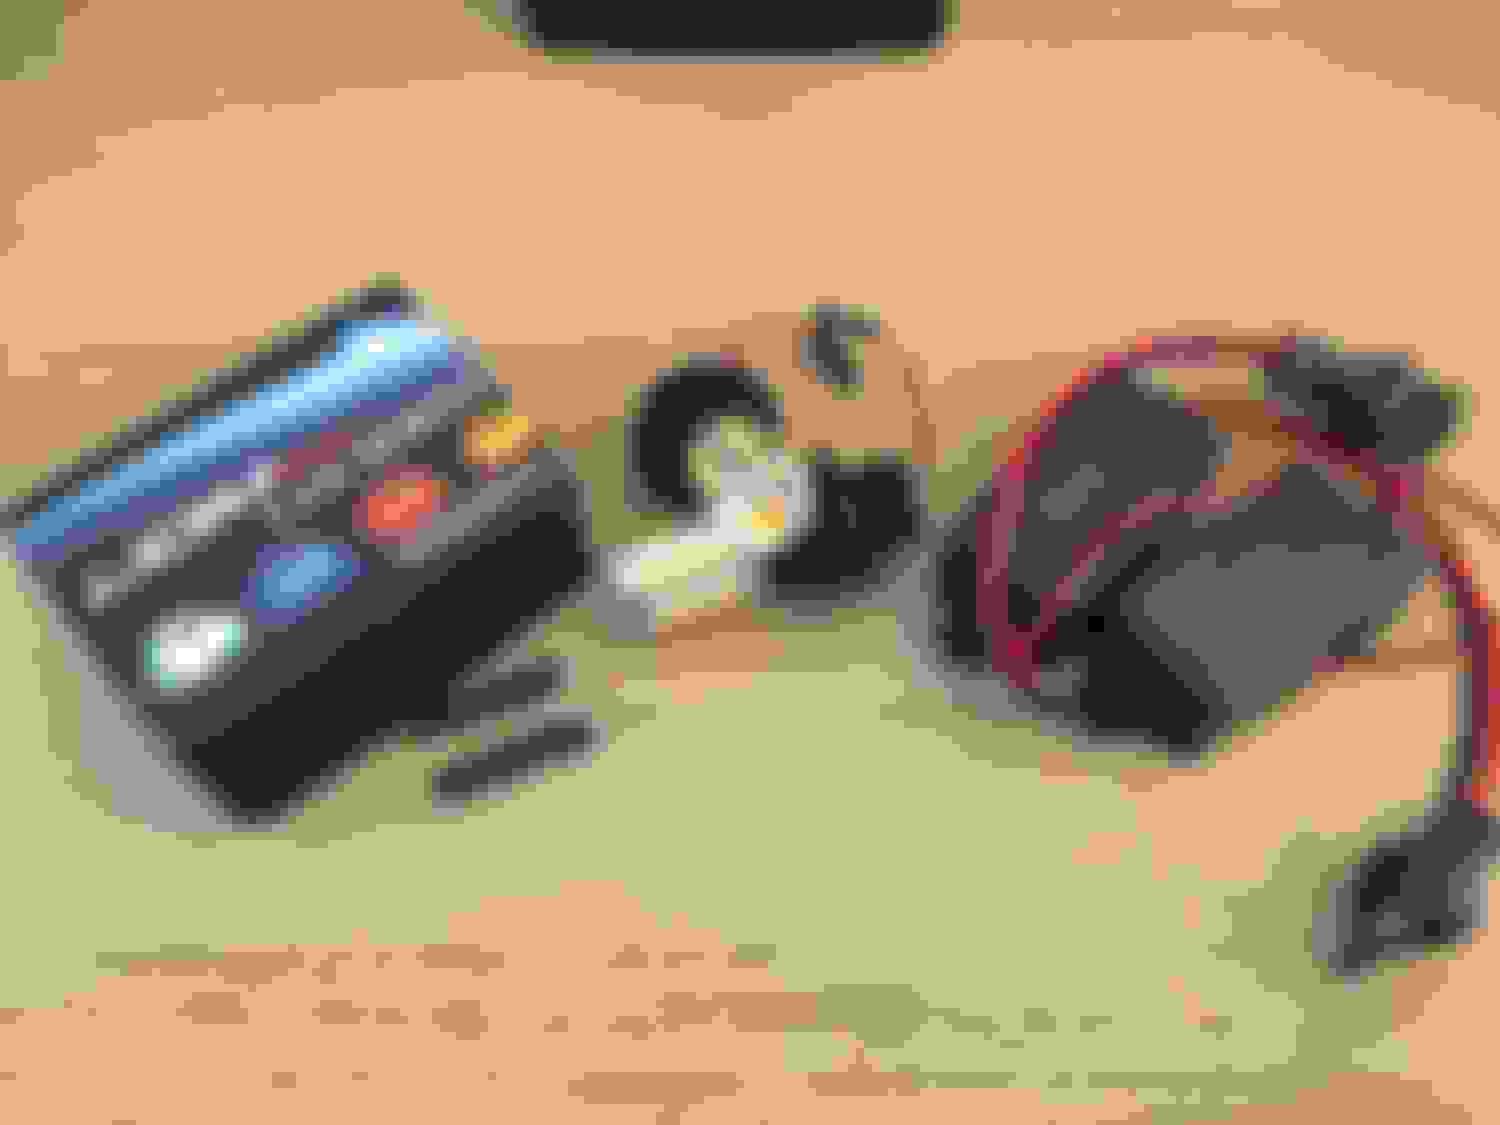
Comparison in size
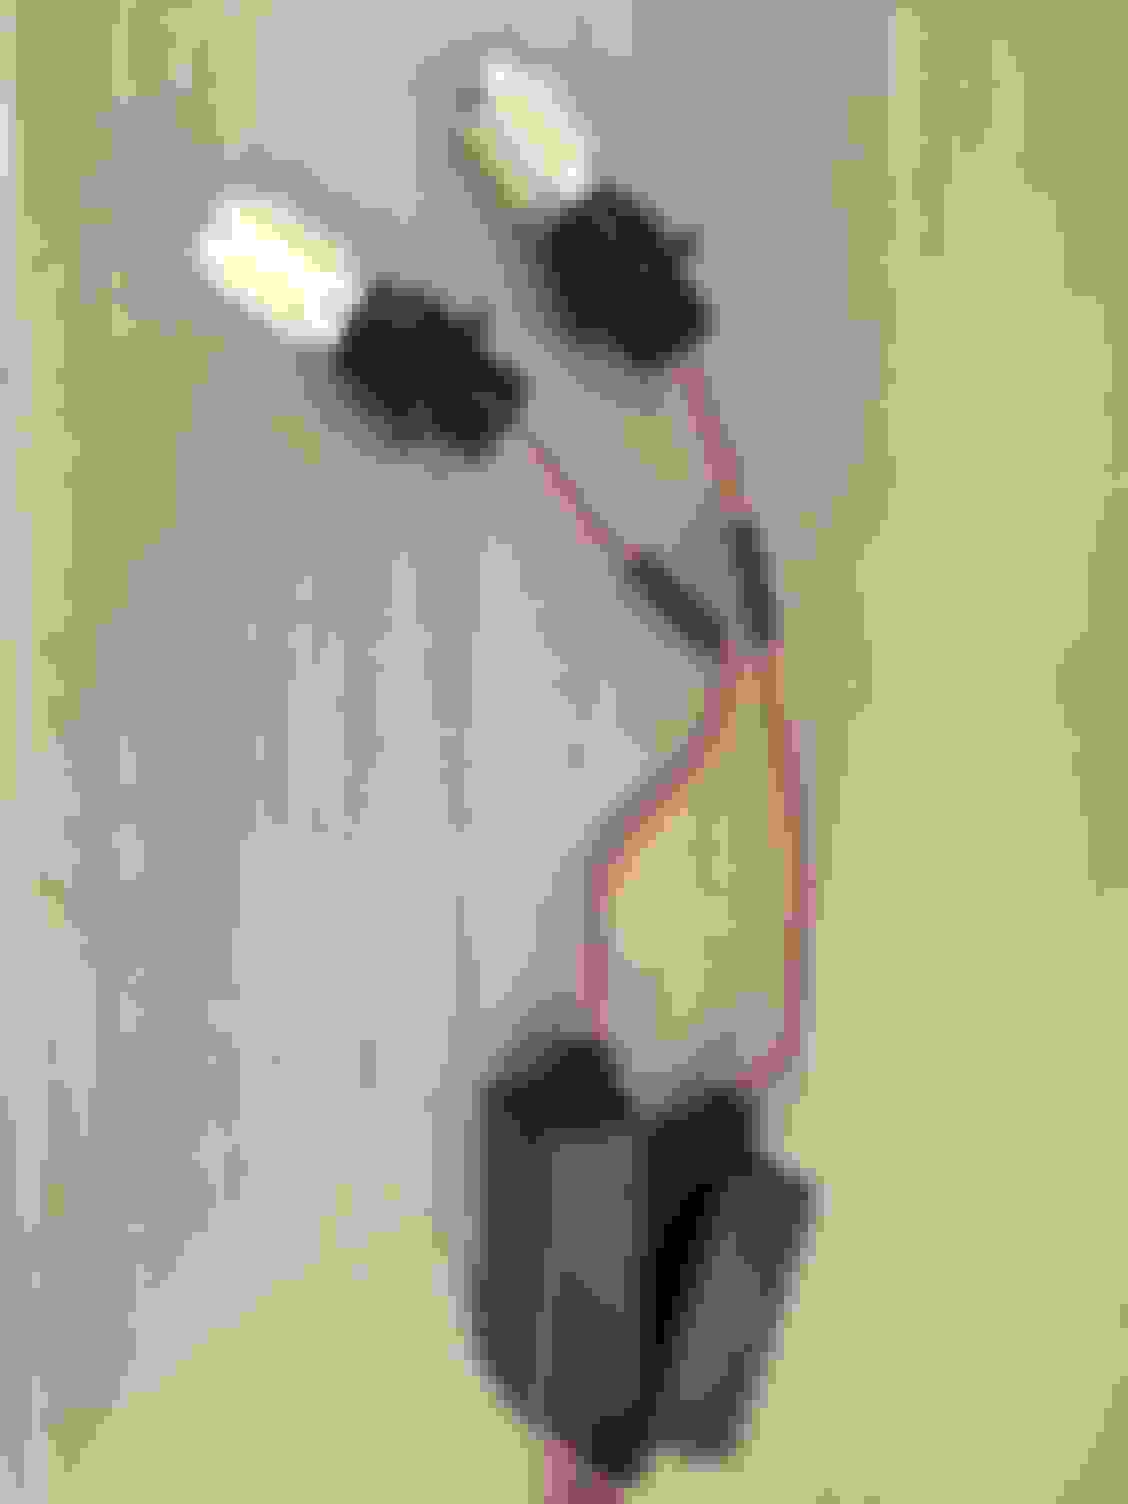
Connect the wiring harness to the factory socket where you pulled the bulb from.
Insert the new bulb. The new bulb does not twist into place as there is a rubber grommet around the bulb. It will take some work to get it seated correctly.
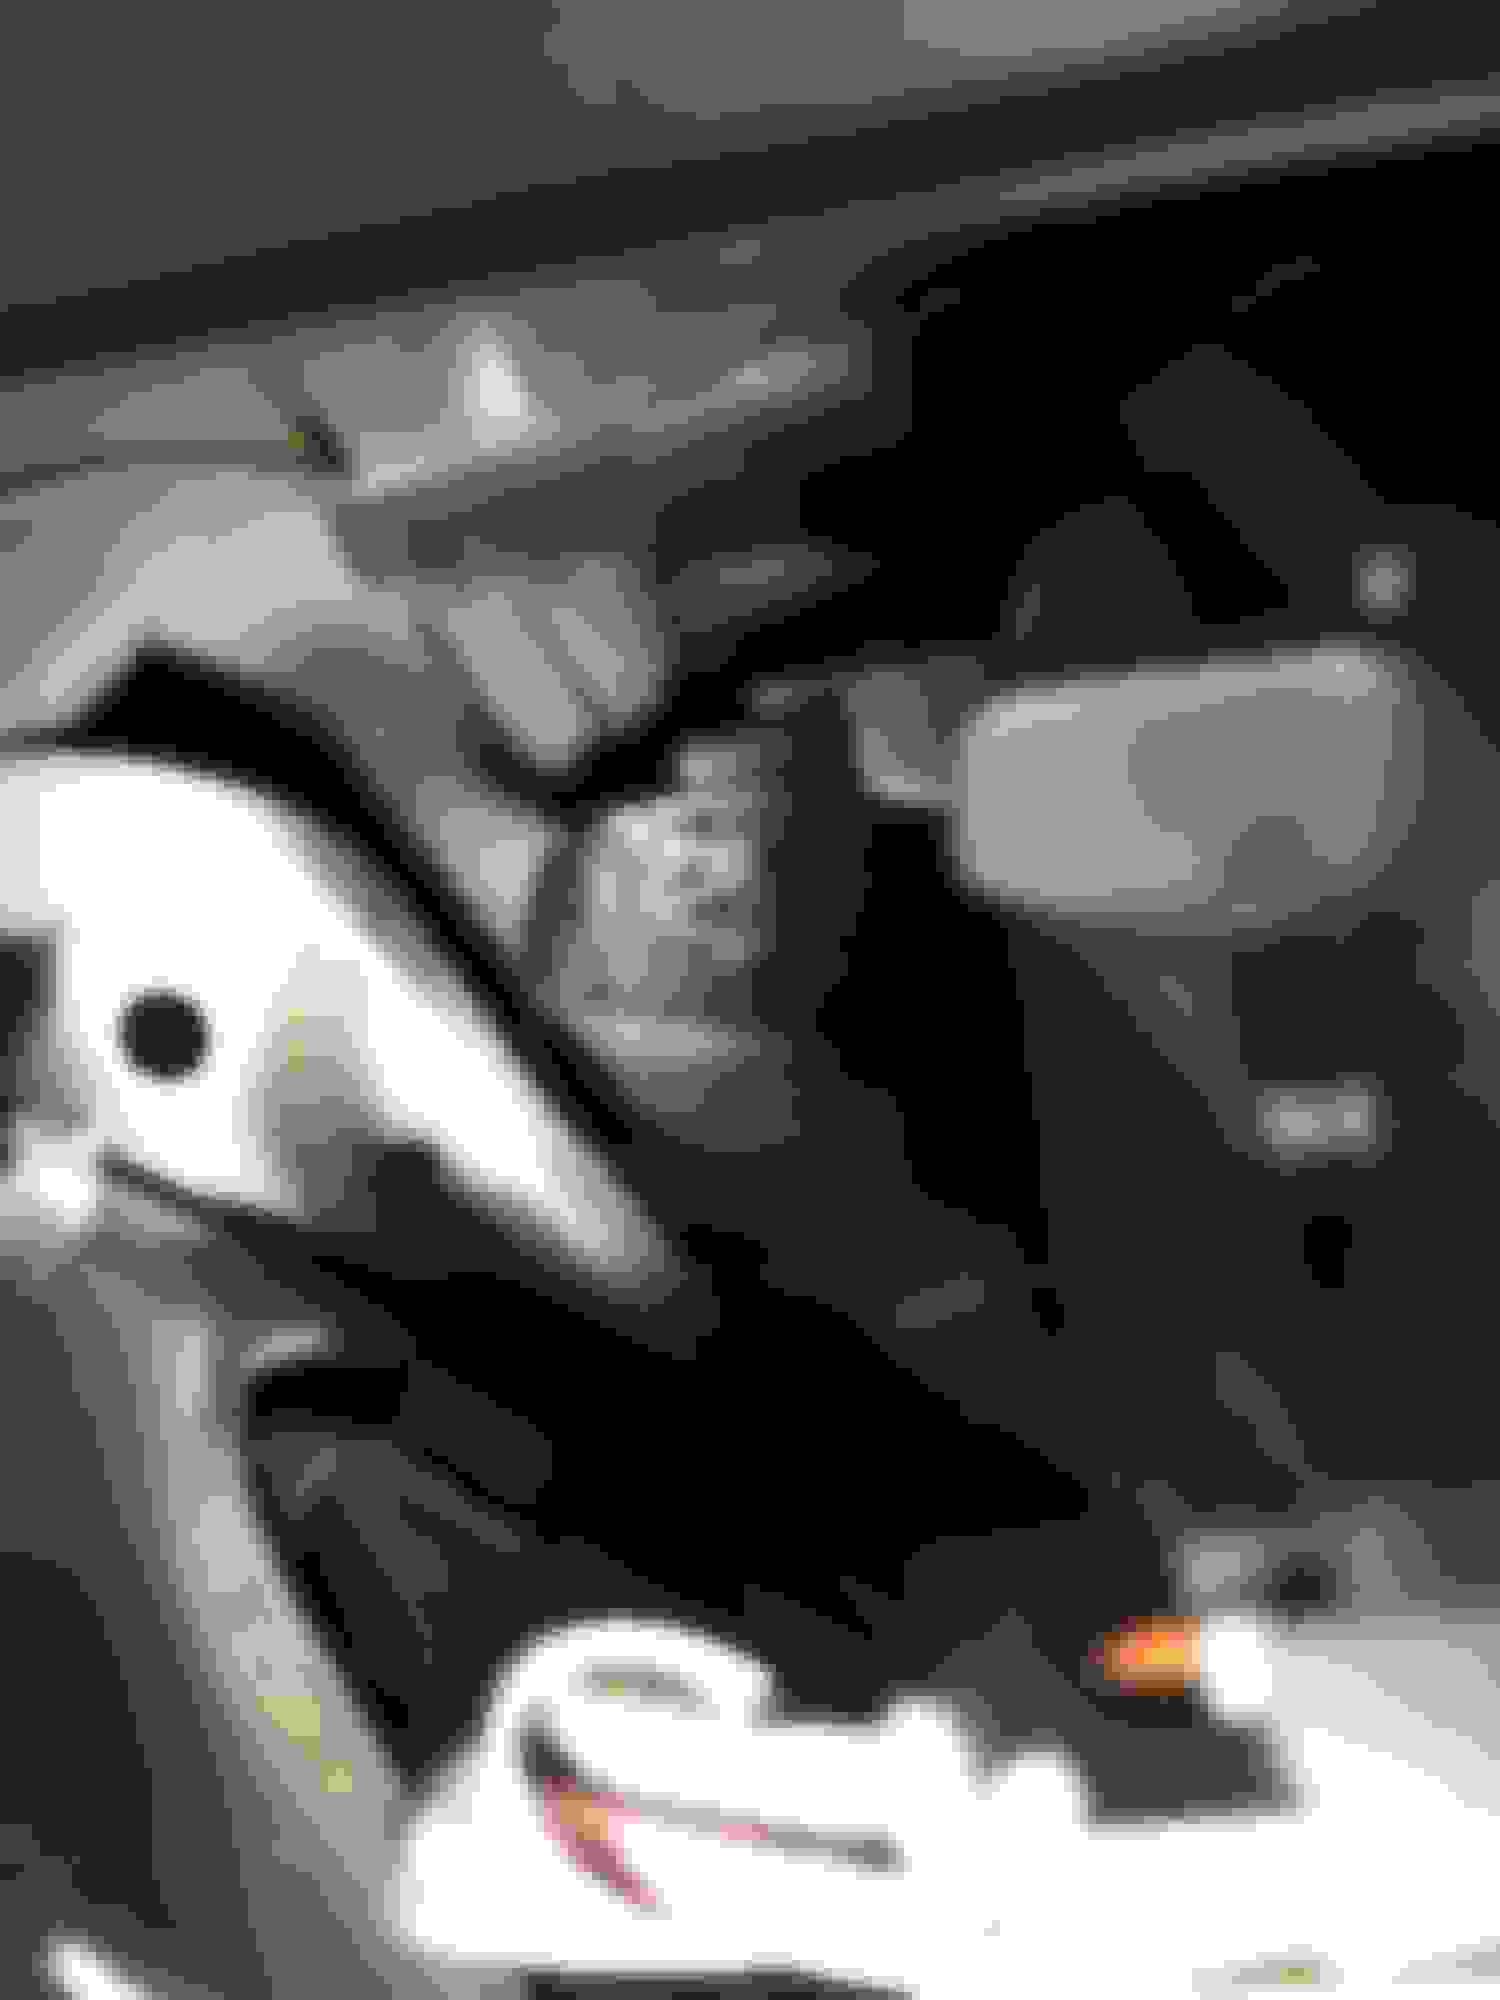
Found a spot on top of the fender to attach the resistor
No room to work with at all, especially if you don't have small hands.
Even with the fuse box cover removed and the windshield washer piece moved out of the way, I still found it nearly impossible to reach the driver side bulb.
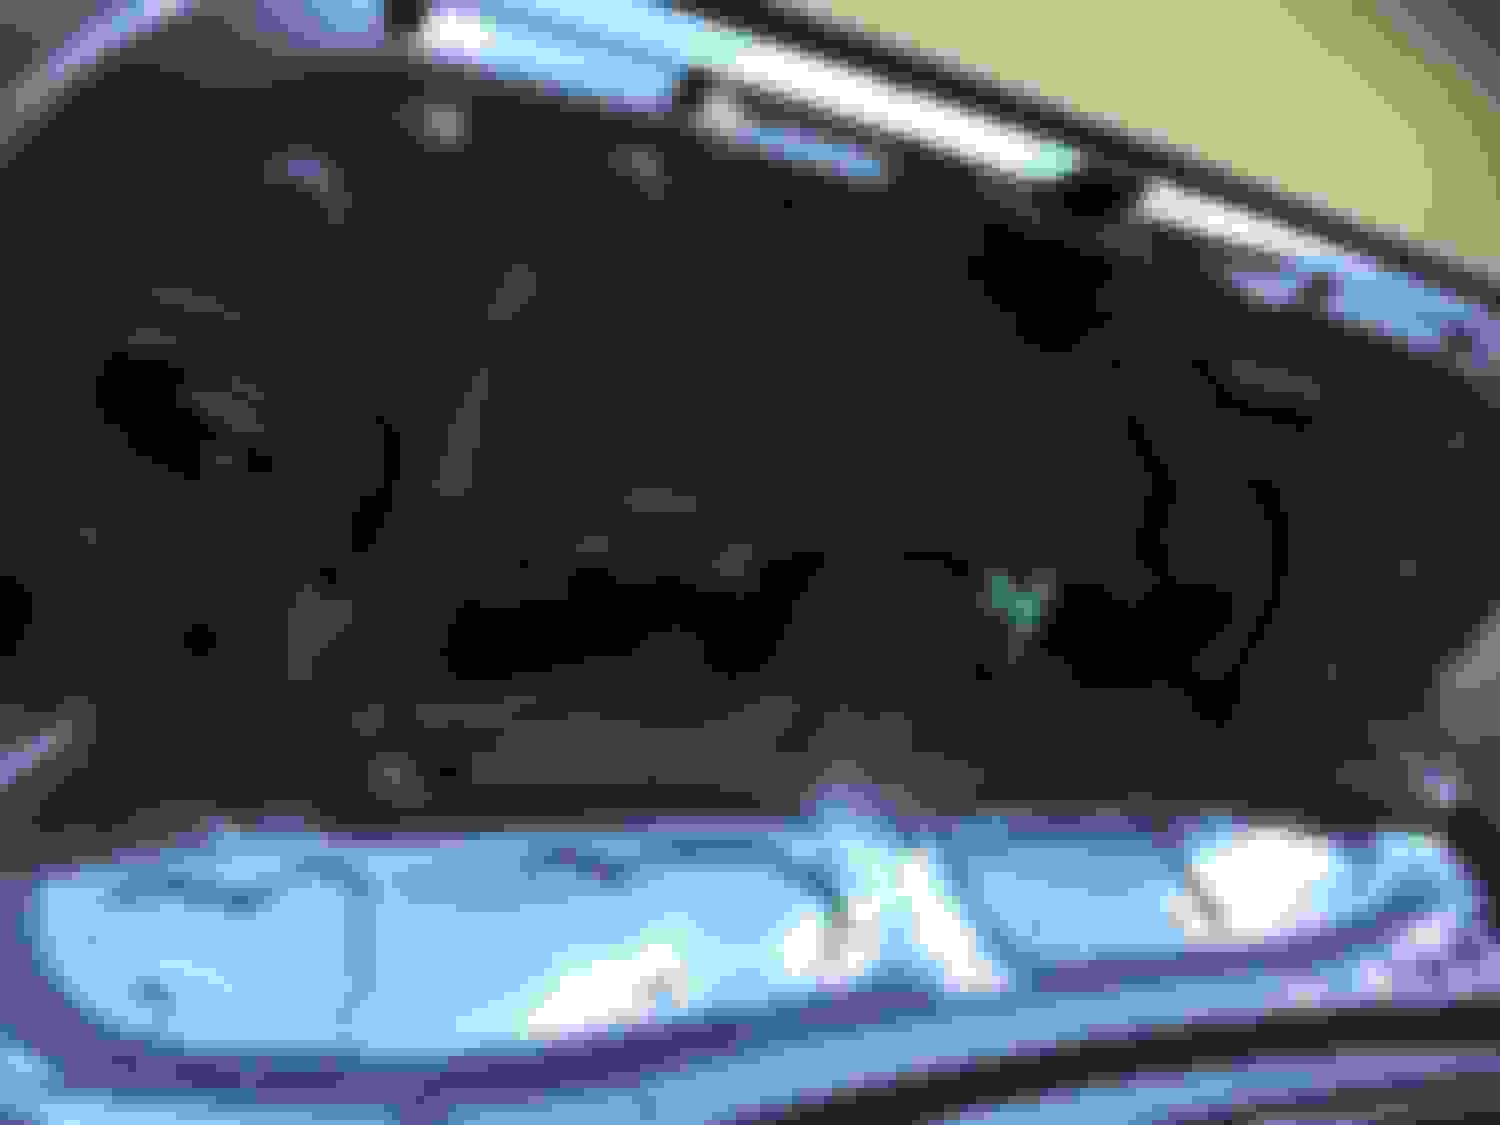
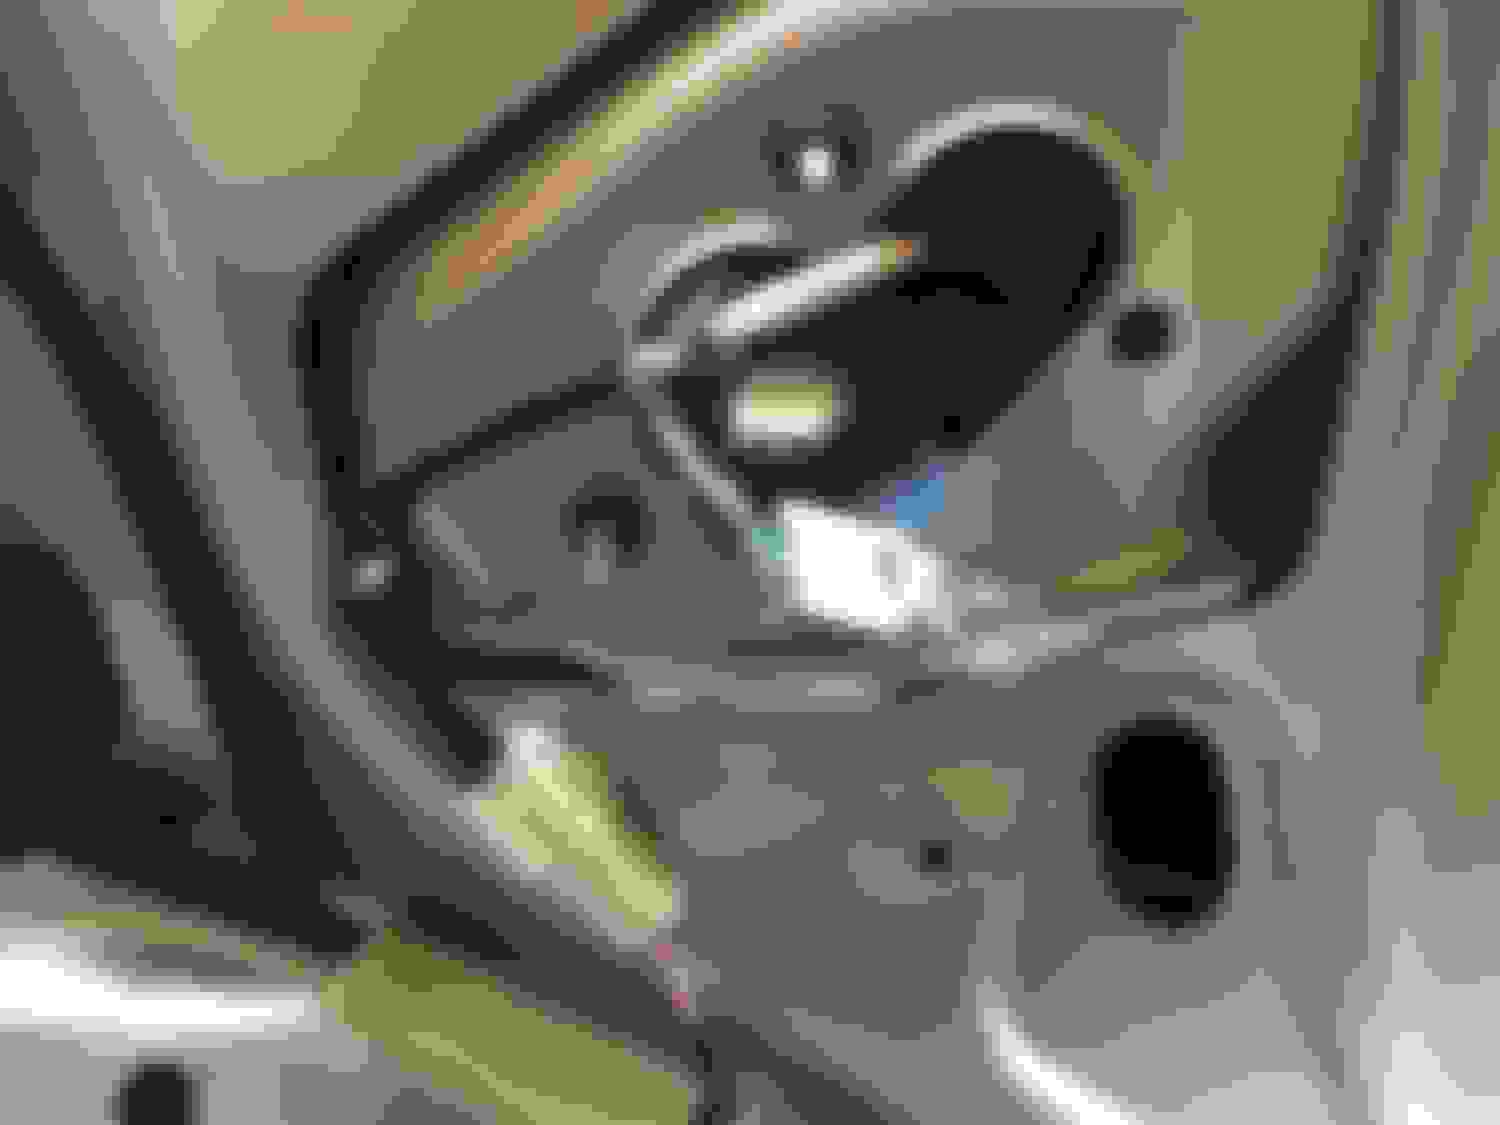
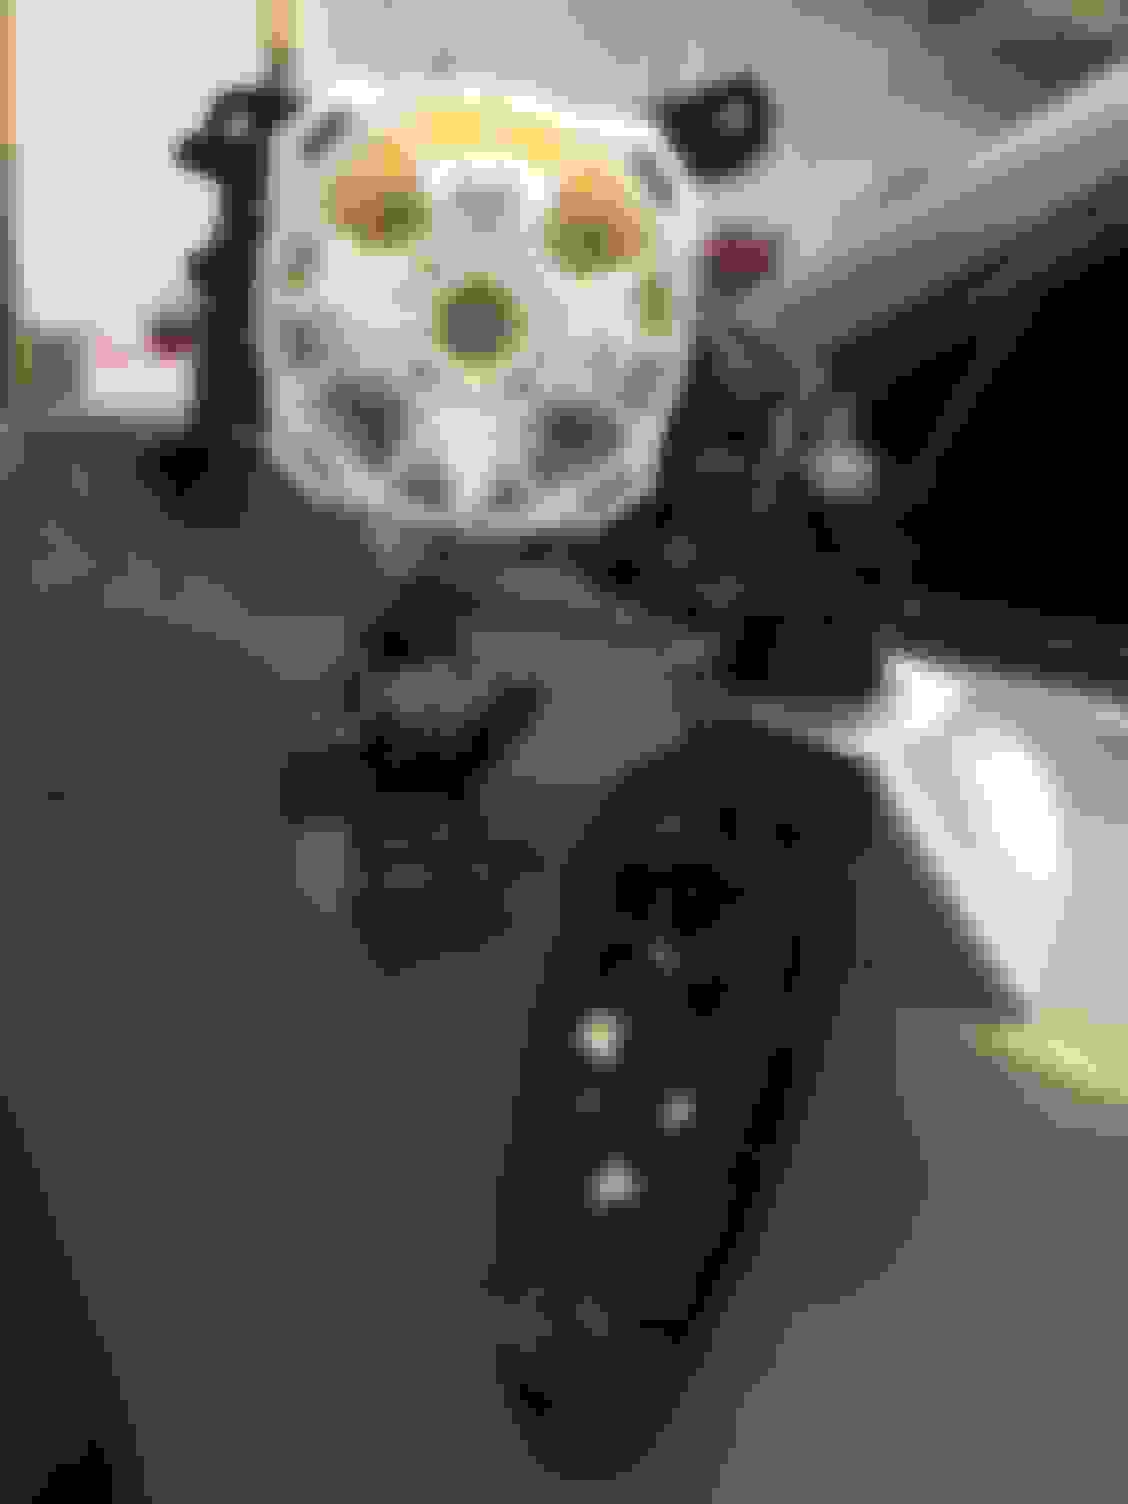
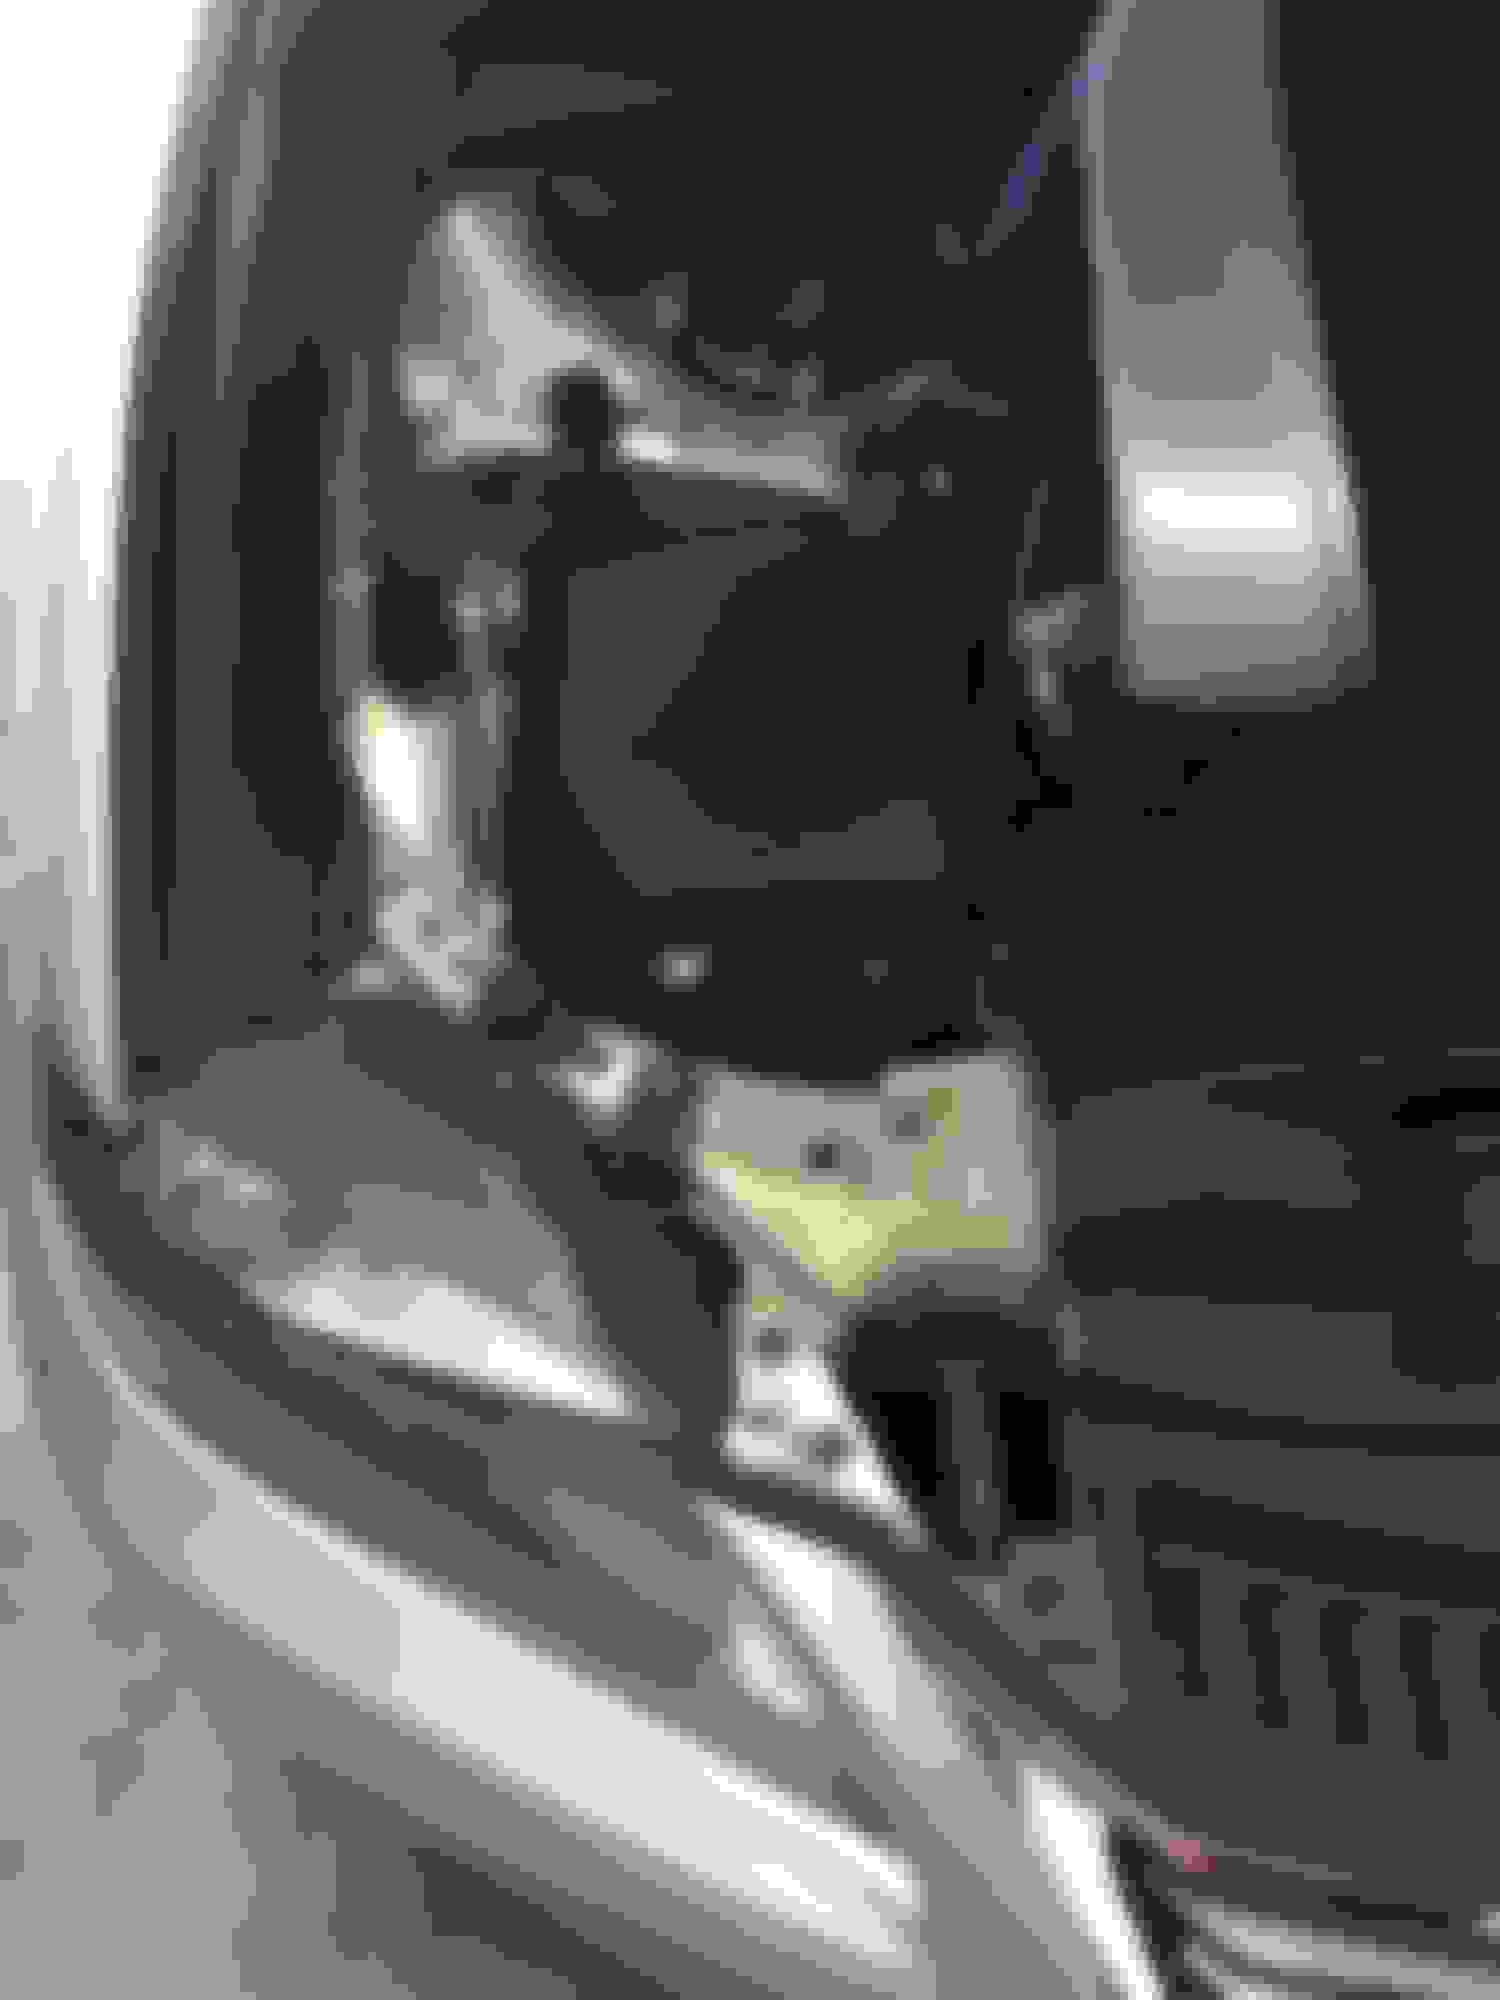
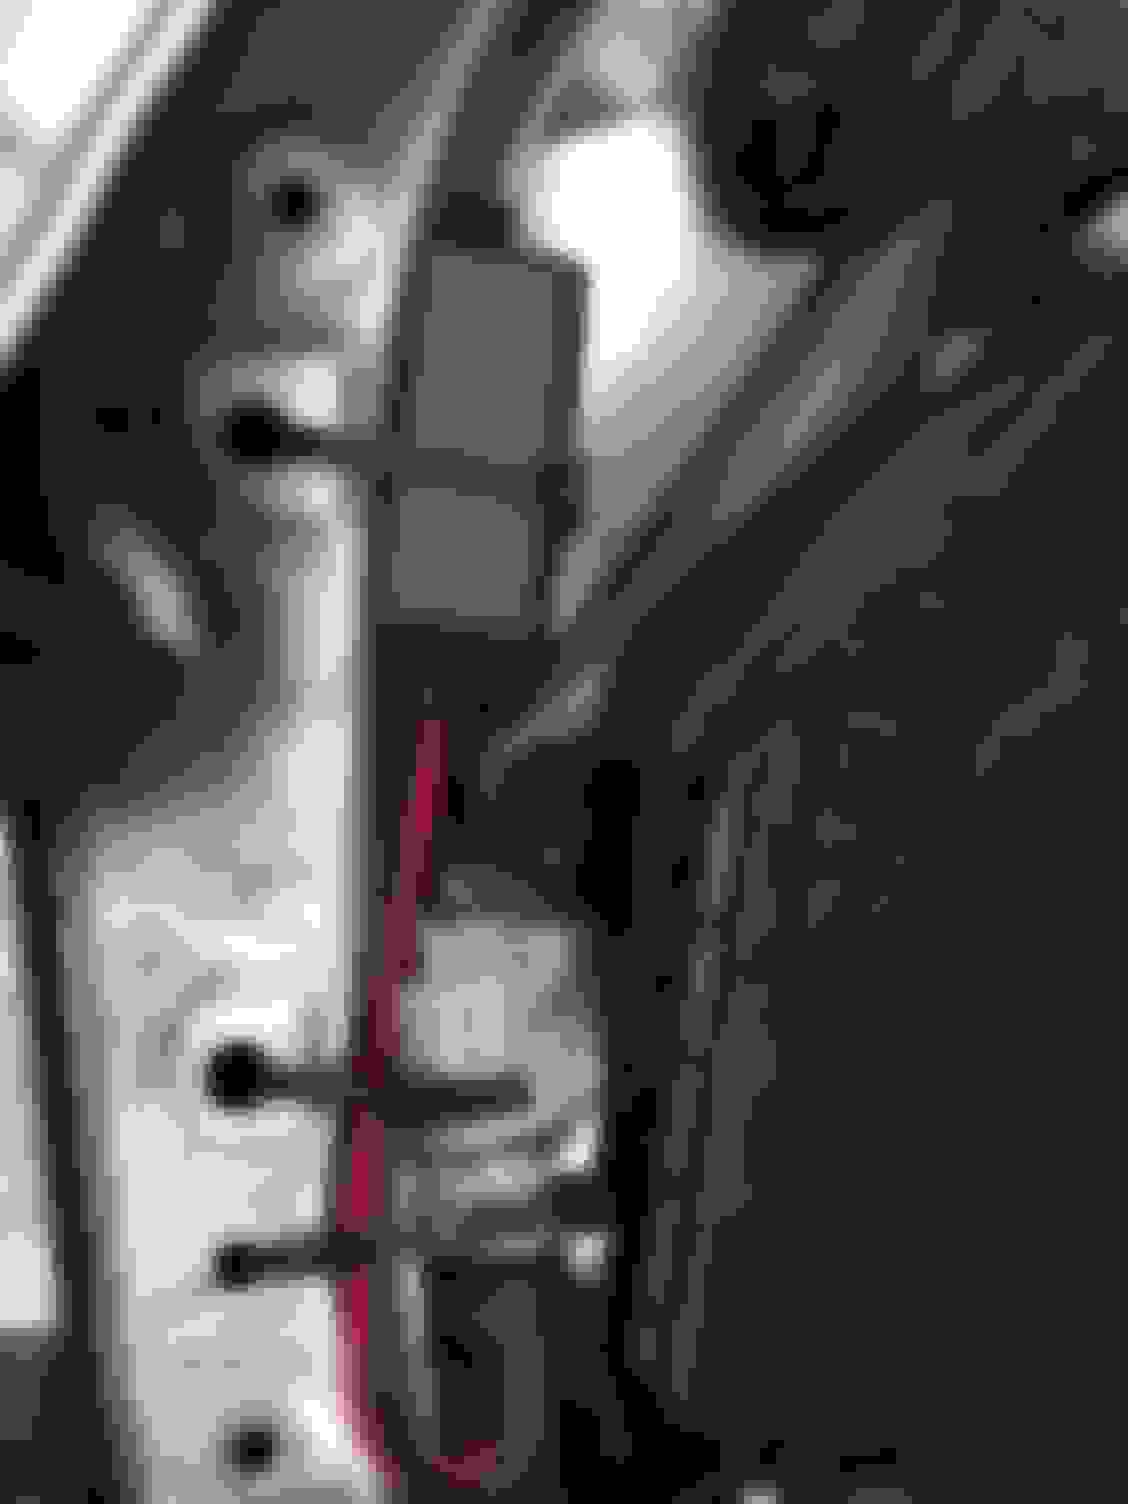
There is hope though! I started to removed the front bumper and found this access panel in the driver side wheel well. Remove two screws to open.
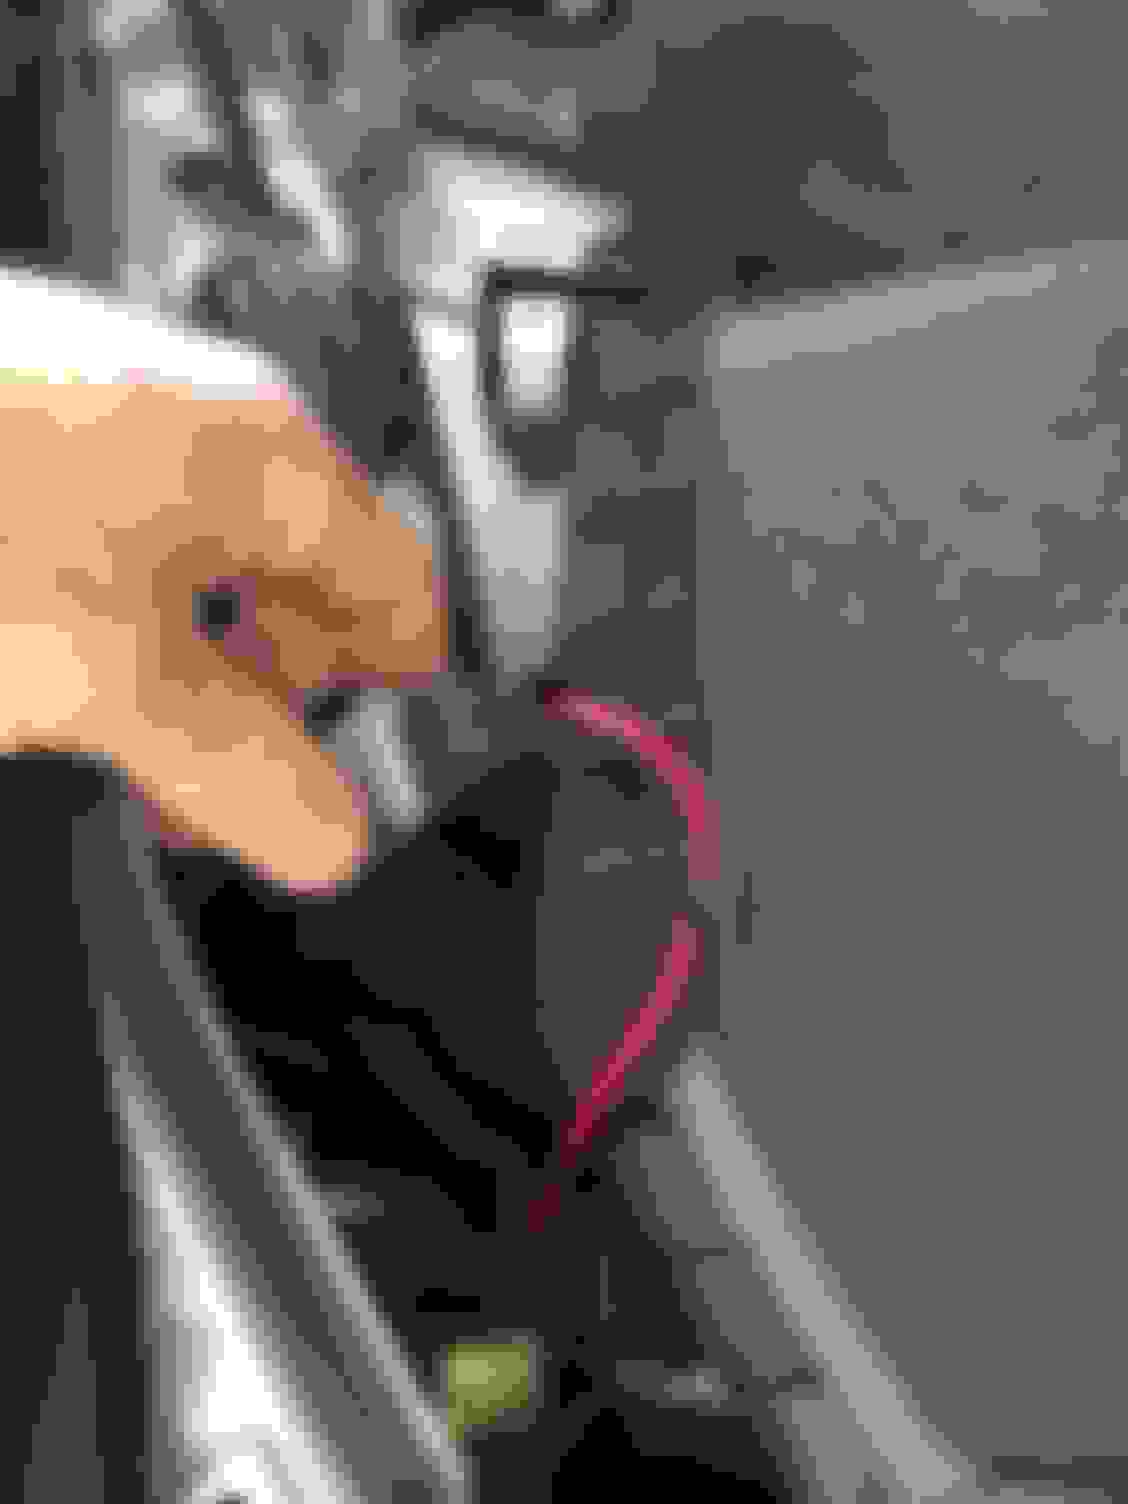
Behind the cover
Here's a better pic.
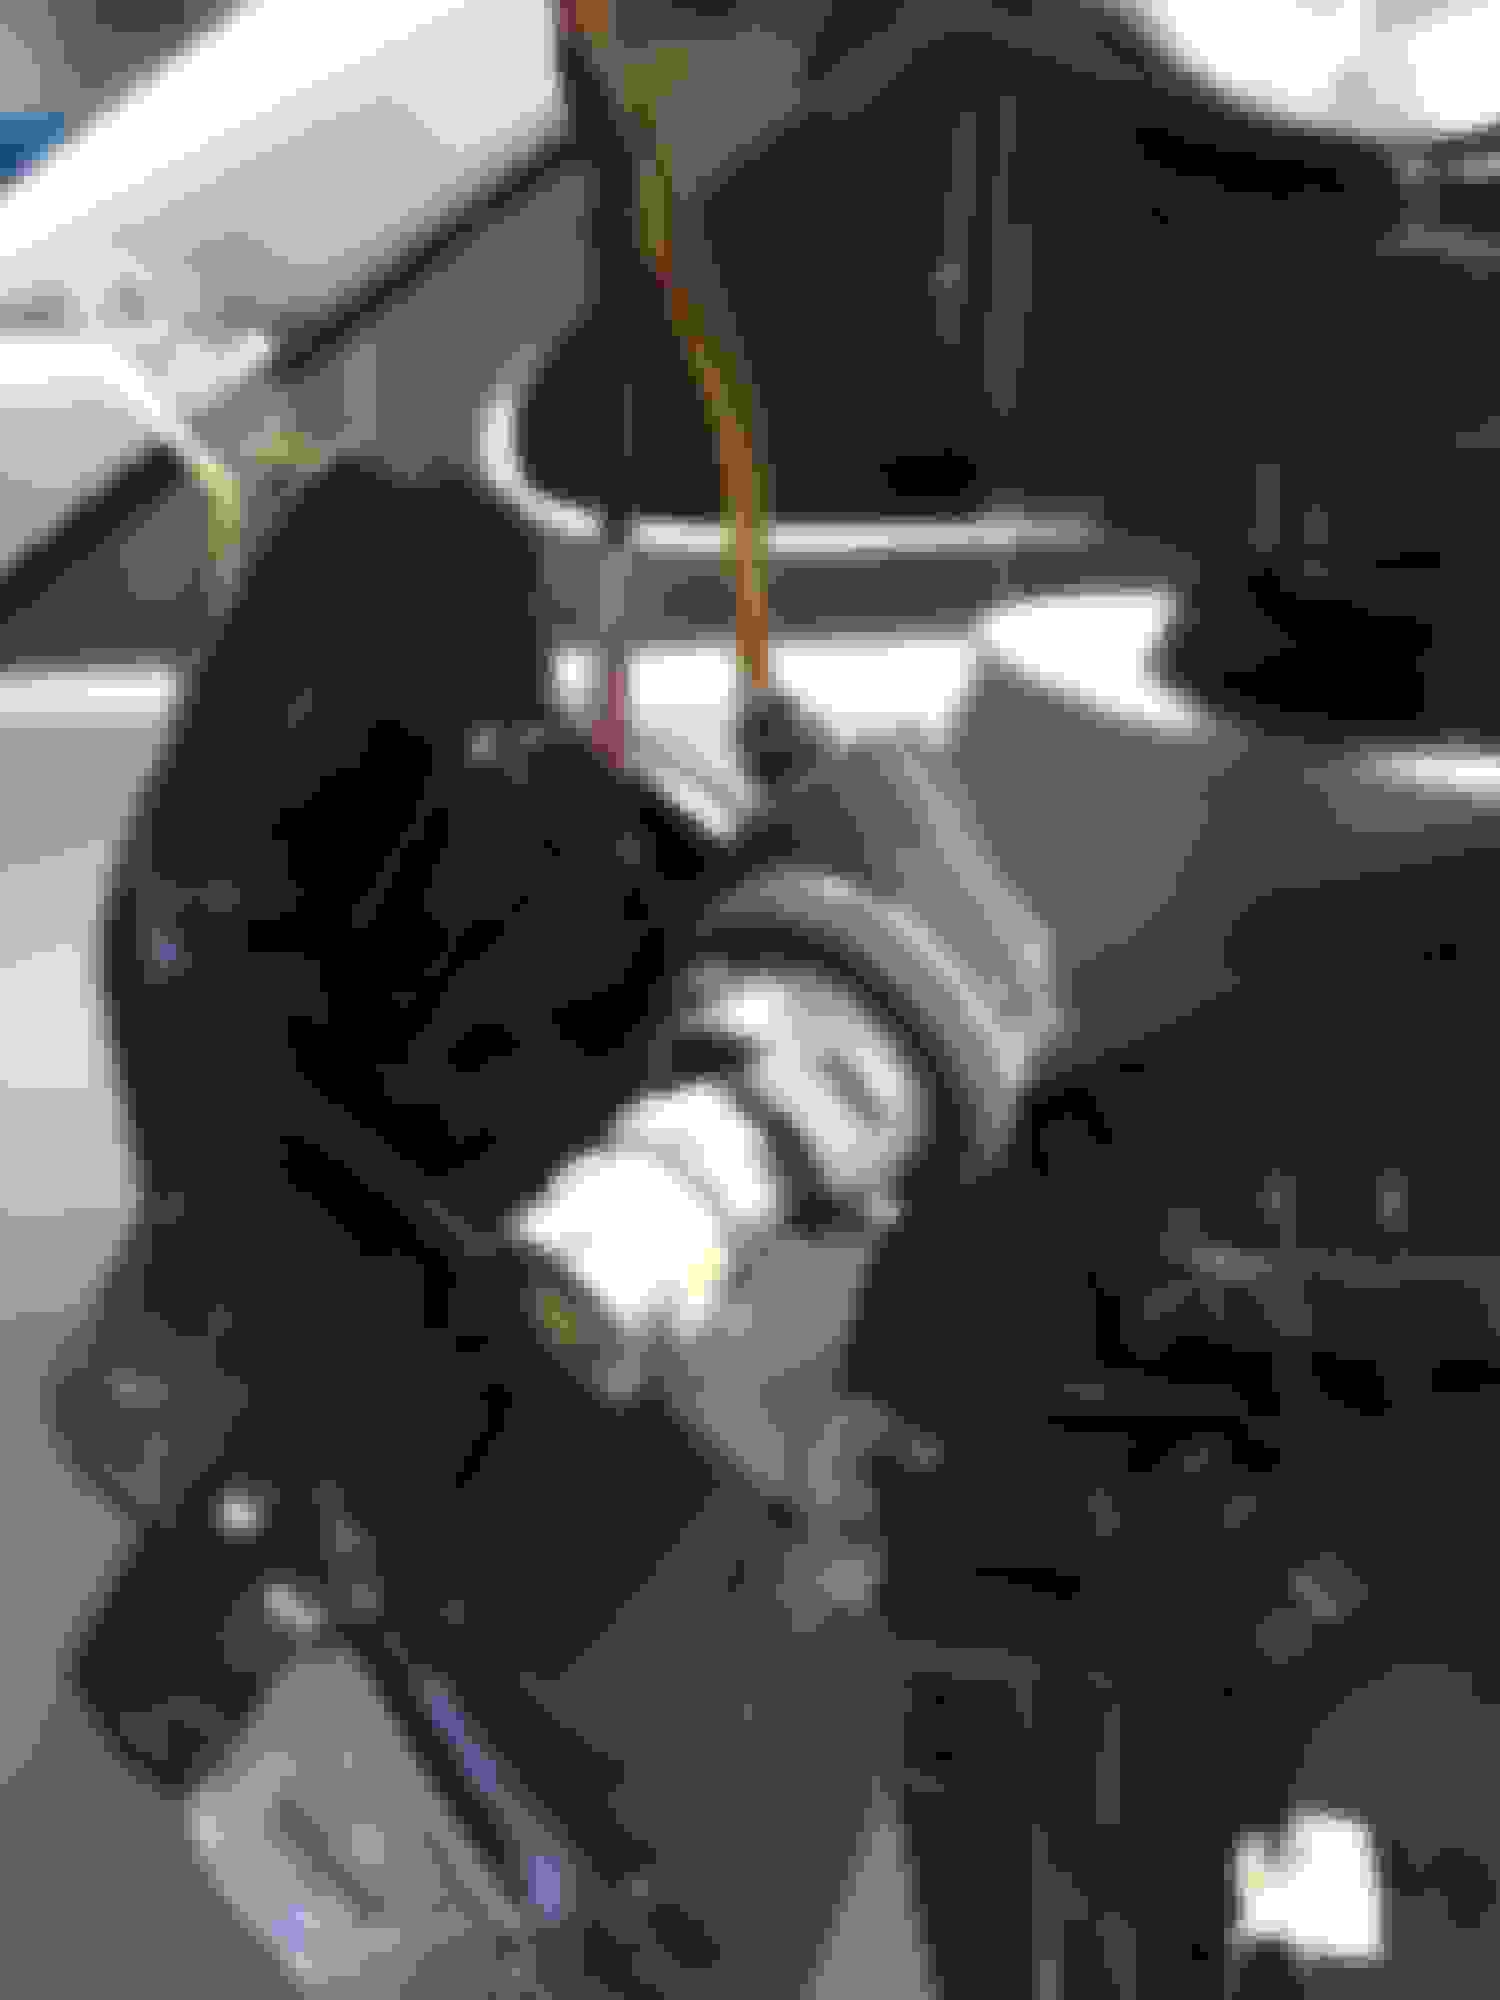
I removed part of the wheel well as I'm replacing the fog lights as well.
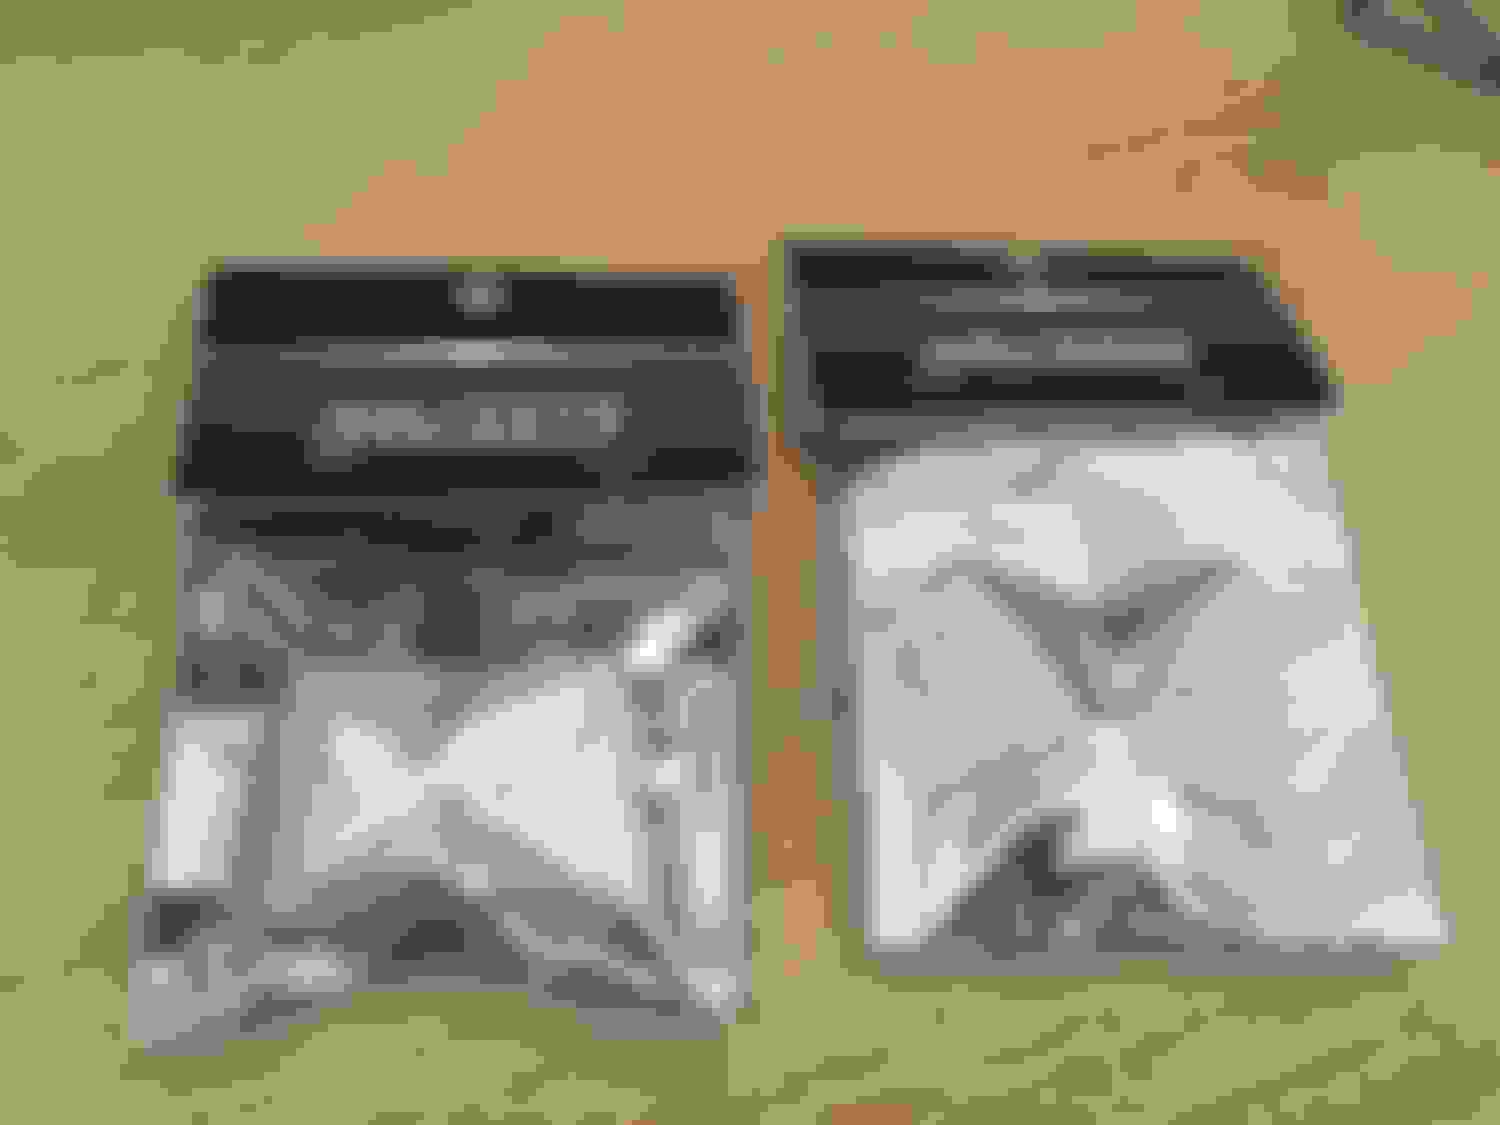
I opted to give these plugs a try. A little overpriced as I think I could have done the exact same with my touchup paint and some plugs from auto zone.
Sorry it looks like my reply didn't go through. I picked the spark plugs up at the local Lexus dealership. $17 a piece after taxes though. I'm sure you can get them cheaper online.
 05-16-16, 01:11 AM