When you click on links to various merchants on this site and make a purchase, this can result in this site earning a commission. Affiliate programs and affiliations include, but are not limited to, the eBay Partner Network.
I bought this 1992 factory 5spd from a guy who had chickens sitting on it and looked like it was about ready for the junk yard. I figured it would be a perfect project for me and my son who is currently 16 and for him to drive. Though I did put the condition on it that once he goes to buy another car I get this one back.
The car hadnt been driven in about 2-3 years and the guy who I bought it from had purchased it about six months previously but couldnt get it started. Fortunately I had a buddy who realized it needed and ECU and battery and helped me get it cranked (thanks Jonathan). We got it cranked and pumped up tires and I drove it home which is when we figured out it needed steering bushings. If you turned the wheel to say 2 oclock on a normal car to make a turn, on this one you would have to turn it almost to 5 oclock. Once we got it home weve slowly had a ton of stuff replaced on the engine and still have more but off top of my head the following have been replaced, valve cover gaskets, timing belt, water pump, radiator / hoses, spark plugs/wires, distributor cap, rotor, distributor, alternator, alternator, battery and steering pump. Still need the rear seal replaced and the A/C fixed. Inside, the car was trashed ive never seen anything this bad. It looked like for 20 plus years people had spilled everything you could imagine and didnt bother to clean it up. We pulled the carpet and took it to the car wash and spent ten dollars just spraying it until mud quit running out of it and God only knows what else. After that we sprayed SEM and brushed it out and it looked alot better. After that we wired the stereo and alot of stuff to the interior and suspension which you can see in the pictures below.
We still need to rebuild the doors and install the speakers and tweeters in them. I know for the doors we are going to have to completely rebuild the backs of them. I would say they are probably about a 6 on a 1-10 scale compared to some of the ones ive dealt with but they are starting to show cracks. Once thats done we plan on changing the color to blue. My son likes the new WRX blue so thats probably what we will go with.
This is condition I found car in we had to move chickens off of when we got there.
Guy couldnt get it started. Needed an ECU, battery and steering rack bushings. Paid $1,000 and drove it home which is when I figured ou it needed the bushings
Interior was trashed forgot to take pictures before I had seats recovered but look like someone had dumped a ton of crap on them
Carpet was horrible pulled it out and spent $10 in quarters spraying until dirt finally came out.
Cleaned and then took two cans of SEM spray to get decent looking
Front seats and rear seats recovered
16 year old son showing how roomy the back seats are.
None of the needles worked had to have Tannin Autoelectronix rebuild them and the board.
Replaced with their blue. Even in the daylight its amazing how bright they are.
Cover behind back seat. Would never be seen but couldnt stand thought of it continuing to rust behind seat
Started sanding down.
Sanded and painted
part underneath rear seat. Was starting to rust really bad.
Sanded and sprayed.
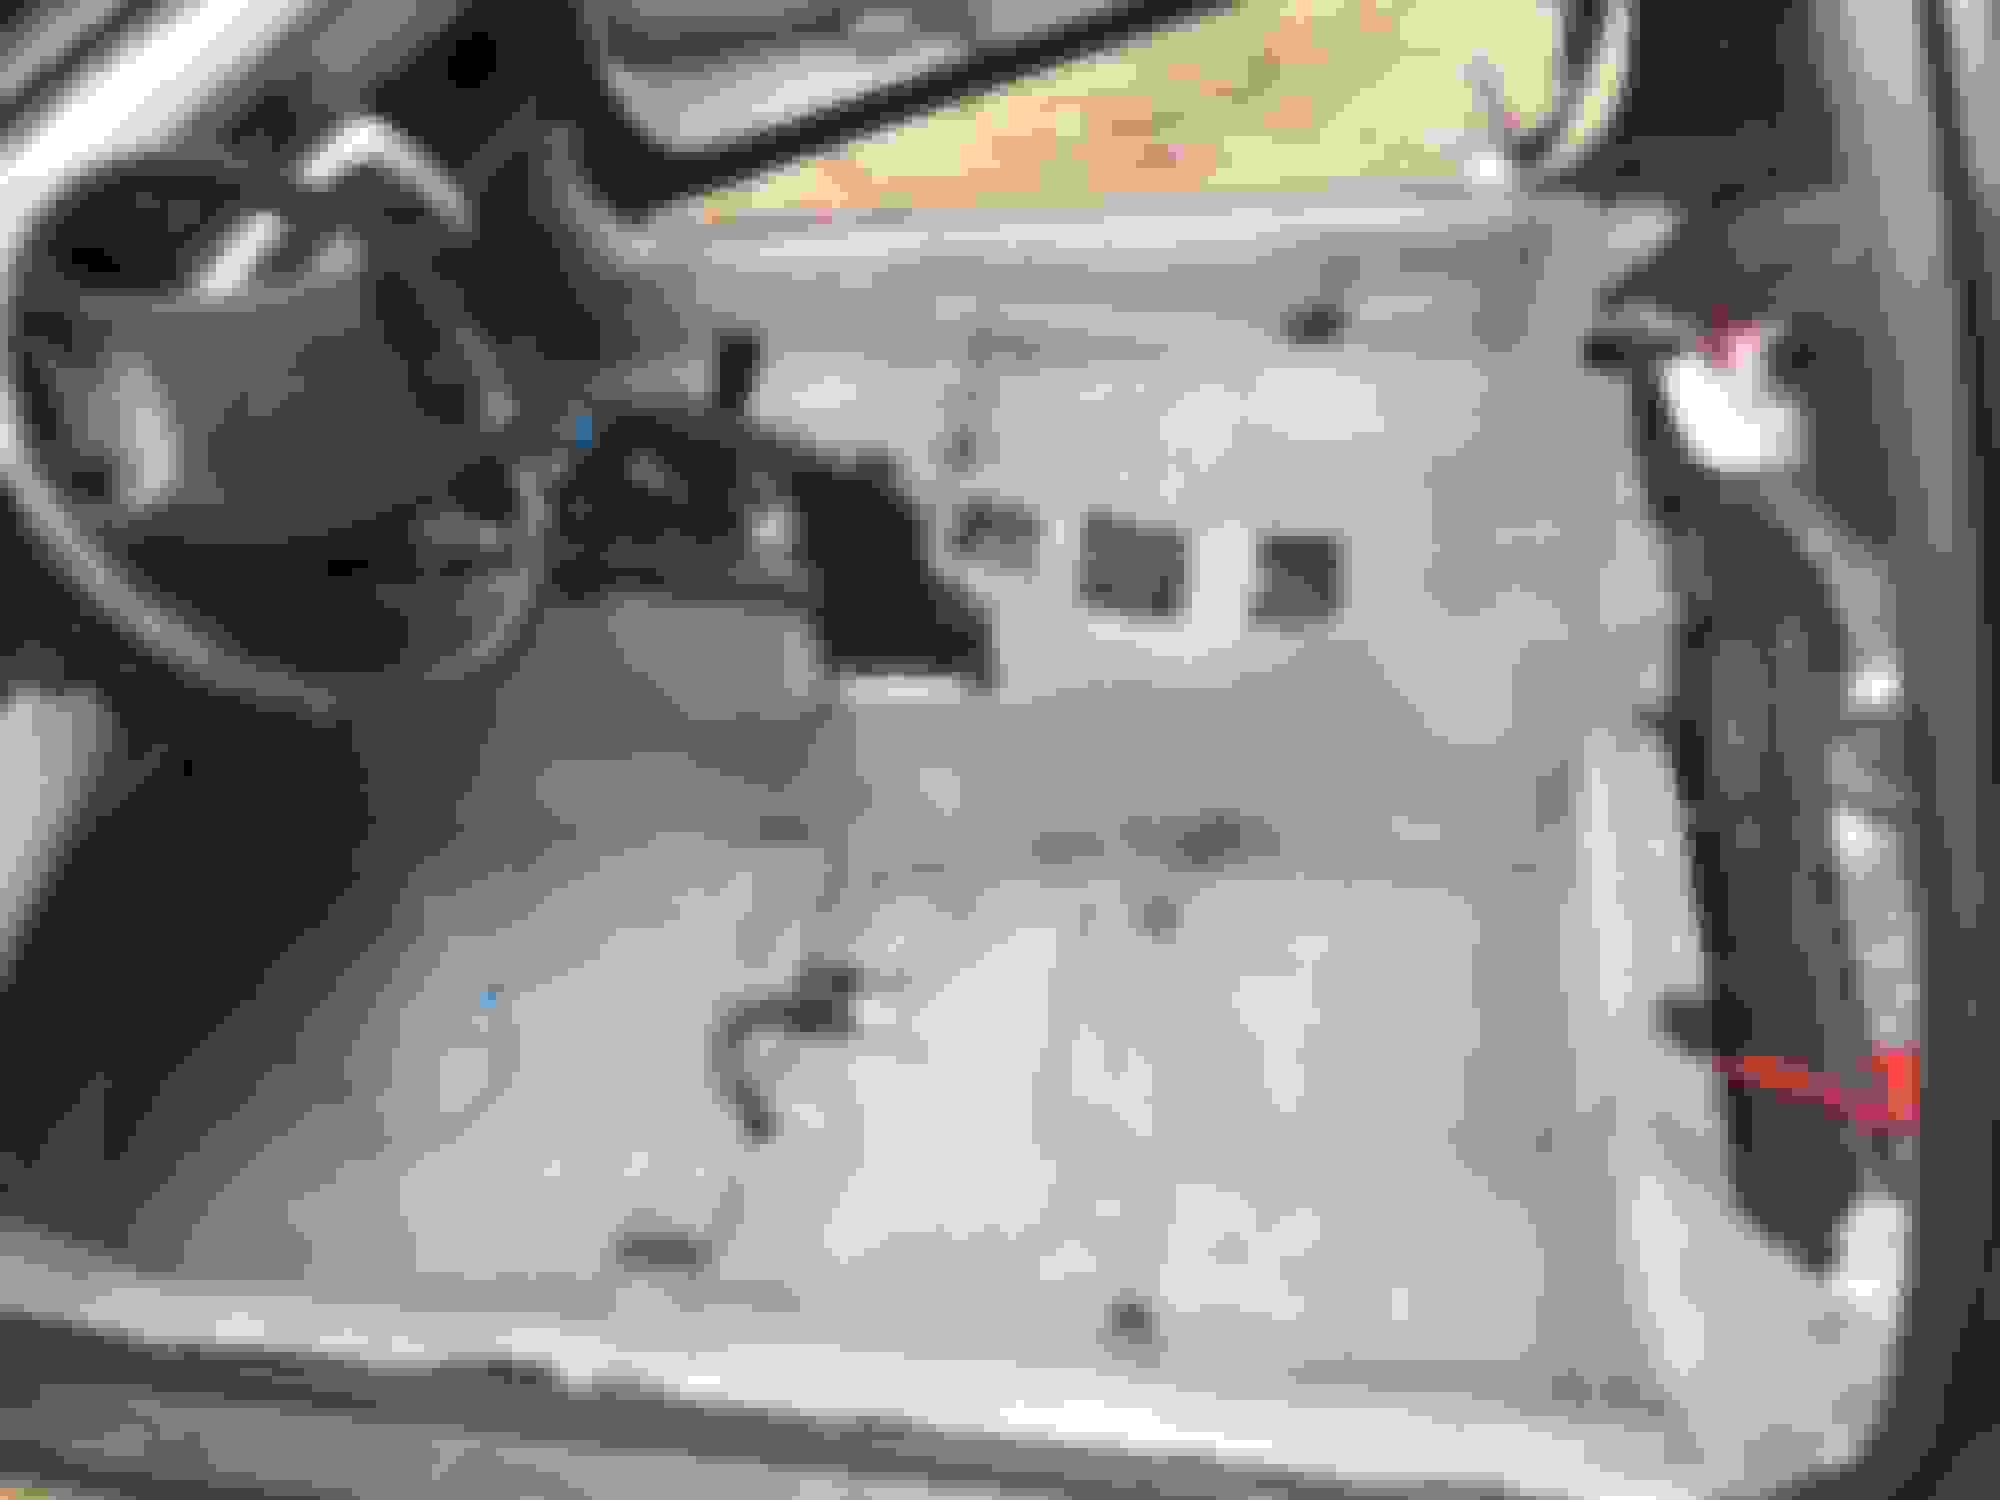
Floorboards rusted from leaking sunroof & windows.
20 plus years of crap leaking down center console and rusting
Can only imagine how nasty previous owner was to have this much gunk on just the key trim.
After just cleaning with 409
Original steering wheel was just as nasty replaced with a newer model.
16 year old son rewiring.
Rear deck with sound deadening. I hate hearing decks rattle.
Put four 6.5 three way cerwin vegas in the rear deck. One of these tools is a life safer for drilling holes with the small space between the deck and the rear window.
Rear cover was nasty and falling apart. Not sure how they got a burn hole in the speaker cover.
Didnt want to put four 6.5 covers so decided to take a 10in ring split it and put a spacer in between and then cover.
Custom grills mounted but rear cover was still fragile.
Put liquid nail over all cracks.
Still wasnt real happy with how fragile it was and figured it would rattle bad so decided to put sound deadening on underside of rear cover.
Rear cover resprayed with SEM
Megan Racing EZII Coilovers
Sub wire running from interior firewall to wheel well to engine compartment
Got new rims had to readjust but read lots of people have problems with lower nut. We put electrical tape on them and then took a pipe wrench and didnt have a problem.
Son decided he wanted to go with yellow Lamin-x on all the front lights. I had their blue on my GS and SC400 and really like but yellow?????
Sitting next to my buddies FRS
Finally convinced son after about 4 months to go with Chameleon covers on all but the bottom turn lights. Looks A TON BETTER.
Started building amp box for trunk. This is a back view the rear wall has holes cut in it and the box will slide up to it and the fans will stick thru the holes.
Air flow will be pulled thru front slots under amps and out. Or hopefully this will be the plan.
One side box for sub amp and other for front and rear speaker amp.
Decided to try fiberglass boxes in rear sidewalls. Never had used fiberglass and figured would be worth trying.
Looked good till I pulled them out and did something wrong with hardner. After tons of work turns out they had drooped a little and wouldnt fit so gave up and went back with wood.
Ended up having to put several pieces on the front of the face plate in order to gain clearance with back of sub and back of sub box.
Floor support over tire was broken and cover on it was ripped so decided to build new one.
Cut in two pieces so that would make easier to remove spare tire.
Wiring for amp box. Not the most professional but will do for us. Amps sit on about two inch risers so that air can flow underneath them.
Lids cut to allow about 1/4 in of the amps to stick thru and also allow for tuning if needed.
Drivers side sub.
Passenger side sub. I still need to pull and build box behind it. Right now its more of a free air sub.
90% of rear trunk stereo finished. Still need to build pass sub back box and put side wall panels in a couple of places that cut.
Harmonic balancer came apart while driving. Found this one new off ebay from company in Norcross ga for about $65 new and fit perfect.
Still have alot to do. Need to rebuild door panels and install new 6.5 in door and new tweeters. Hopefully will get to in the next couple of weeks. When I do will add pictures. And of course the paint job.
Looks like a really fun project. For carpet cleaning I use upholstery soap and rinse with a garden hose the process cleans almost anything. What steering wheel is that exactly?
I cant remember which model the steering wheel came from I bought it about 3 years ago for an SC400 I had. The air bag I think was out of a GS300 I think 98-00 model but dont hold me to it.
Ross im not sure if they will clear LS but text me at 706 two o seven 2512 and i will send you the contact guy at Ambits info he was able to help me decide along with a few fellow SC guys. Best part was all four rims shipped from CA to GA were only $500 total.
The Chameleon films were cheap got them off of Amazon for $12. They are thin and come with a protective cover on the front and back. If you get them be sure and only take off the side with the adhesive and wait till you get it all situated and then remove the out protective cover. Also I would suggest getting a plastic squeegee or maybe a plastic windshield scraper to help spread out the bubbles. It doesnt go on as well as Lamin-x due to the thinness and isnt as forgivable with mistakes. I would start on the small headlights first just so you could get use to it.
 03-12-16, 08:21 PM