When you click on links to various merchants on this site and make a purchase, this can result in this site earning a commission. Affiliate programs and affiliations include, but are not limited to, the eBay Partner Network.
Location: Central Ohio ( You'll get to see my experiences with rust and broken bolts)
Goal: To enhance the factory Sc300 with modest and noticeable upgrades, and to restore a lot of the factory systems.
Engine
The plan is to redo the factory naturally aspirated 2jzge engine. As you will see my Sc300 was never maintained by previous owners in any kind of manner. This annoys the **** out of me, but hey what can you do it's a used old car. Anyways I will be removing the engine and disassembling it in my garage. Once everything is apart and organized in my garage I will be taking the rotating assembly along with the block and head to Wasserbeck Speed Shop in Prospect, Ohio. They will be doing the fallowing for me.
-Valve Job
-Mill the head and clean
-Line hone the block and clean
-Polish the crank
-Complete inspection of all parts
The engine will remain N/A until 2017 at the earliest as I have many fun cars and do not need this one to be anything more than an enjoyable cruiser.
Suspension/Steering & Brakes
-Ditch the Megan Track Coilovers
-Mk4 Supra adjustable struts (koni yellow sports)
-Mk4 Supra lowering springs (to be decided)
-Prothane poly bushings every where possible
-Upgraded sway bars (yet to be decided)
-New OEM arms
-New OEM tie rods (Inner and outer+boots)
-Steering rack bushings
-Braided High pressure line
-LS400 calipers
-Braided brake lines
-Upgraded pads & rotors/shoes
-Wheel studs
-New wheel bearings all around
Interior
-Dye the interior black (until oem units can be found)
-Rx300/JDM Soarer steering wheel
-MK4 OEM seats
-OEM radio system
-Upgraded audio system
-Repair electrical issues (gauges,hvac system)
-Upgrade the interior lighting
Transmission & Differential
-MK4 Supra LSD
-Clutch master & slave
-Braided line
-Fluids & seals
-MK$ Supra N/A Shift ****
Exterior
-AIT Velocity Style Body kit for 97+ (already purchased)
-OEM 97 grill
-OEM 97 Glass high beams
-OEM 97 Tail lights
-OEM 97 Trunk+ wing
-Slight rust repair
-Rain guards
-Roof wing
-Bigger wheels (vsxx or vskf)
-New windshield
-HID head lights
-Plasti dip the chrome window trim
All I'm looking to accomplish is a fantastic looking enjoyable cruiser for the weekends. I have a built s chassis to thrash on. A 72' Chevy Monte Carlo to get nostalgic with and make the ground shake. A sport bike to kill myself with, and a new Ford Fusion for commuting...
This build is going to take me some time as I am helping a friend build his k24 turbo Fc Rx7 at the same time in the same place. I'm just looking to have this finished some where in spring.
I know I missed a lot of key points, but we can always move back to that later. Any type of criticism is welcome weather it's negative or positive. I do not know this car as well as I should but I do research and I do ask question when I'm stumped. I am mechanically inclined and familiar with this chassis so moving around it is no problem.
ON WITH THE PICTURES
(They suck because GF stole my other camera lenses)
Wow thanks for the uplifting comments guys...I didn't mention it but I feel that it is some what implied that I will have functioning A/C and cruise control. The car ran fine while burning oil before doing any of this but I will be quick with the updates and photos as I continue.
I just finished removing the engine harness and intake manifolds and I have got to tell you....WHAT A PAIN IN THE *** THAT WAS
I'll post some pictures of just how disgusting this engine was. Leaked from everywhere possible and the manifolds are filthy.
Tomorrow I will be removing the exhaust, mounts and drive shaft and should have it on a stand by the end of the day.
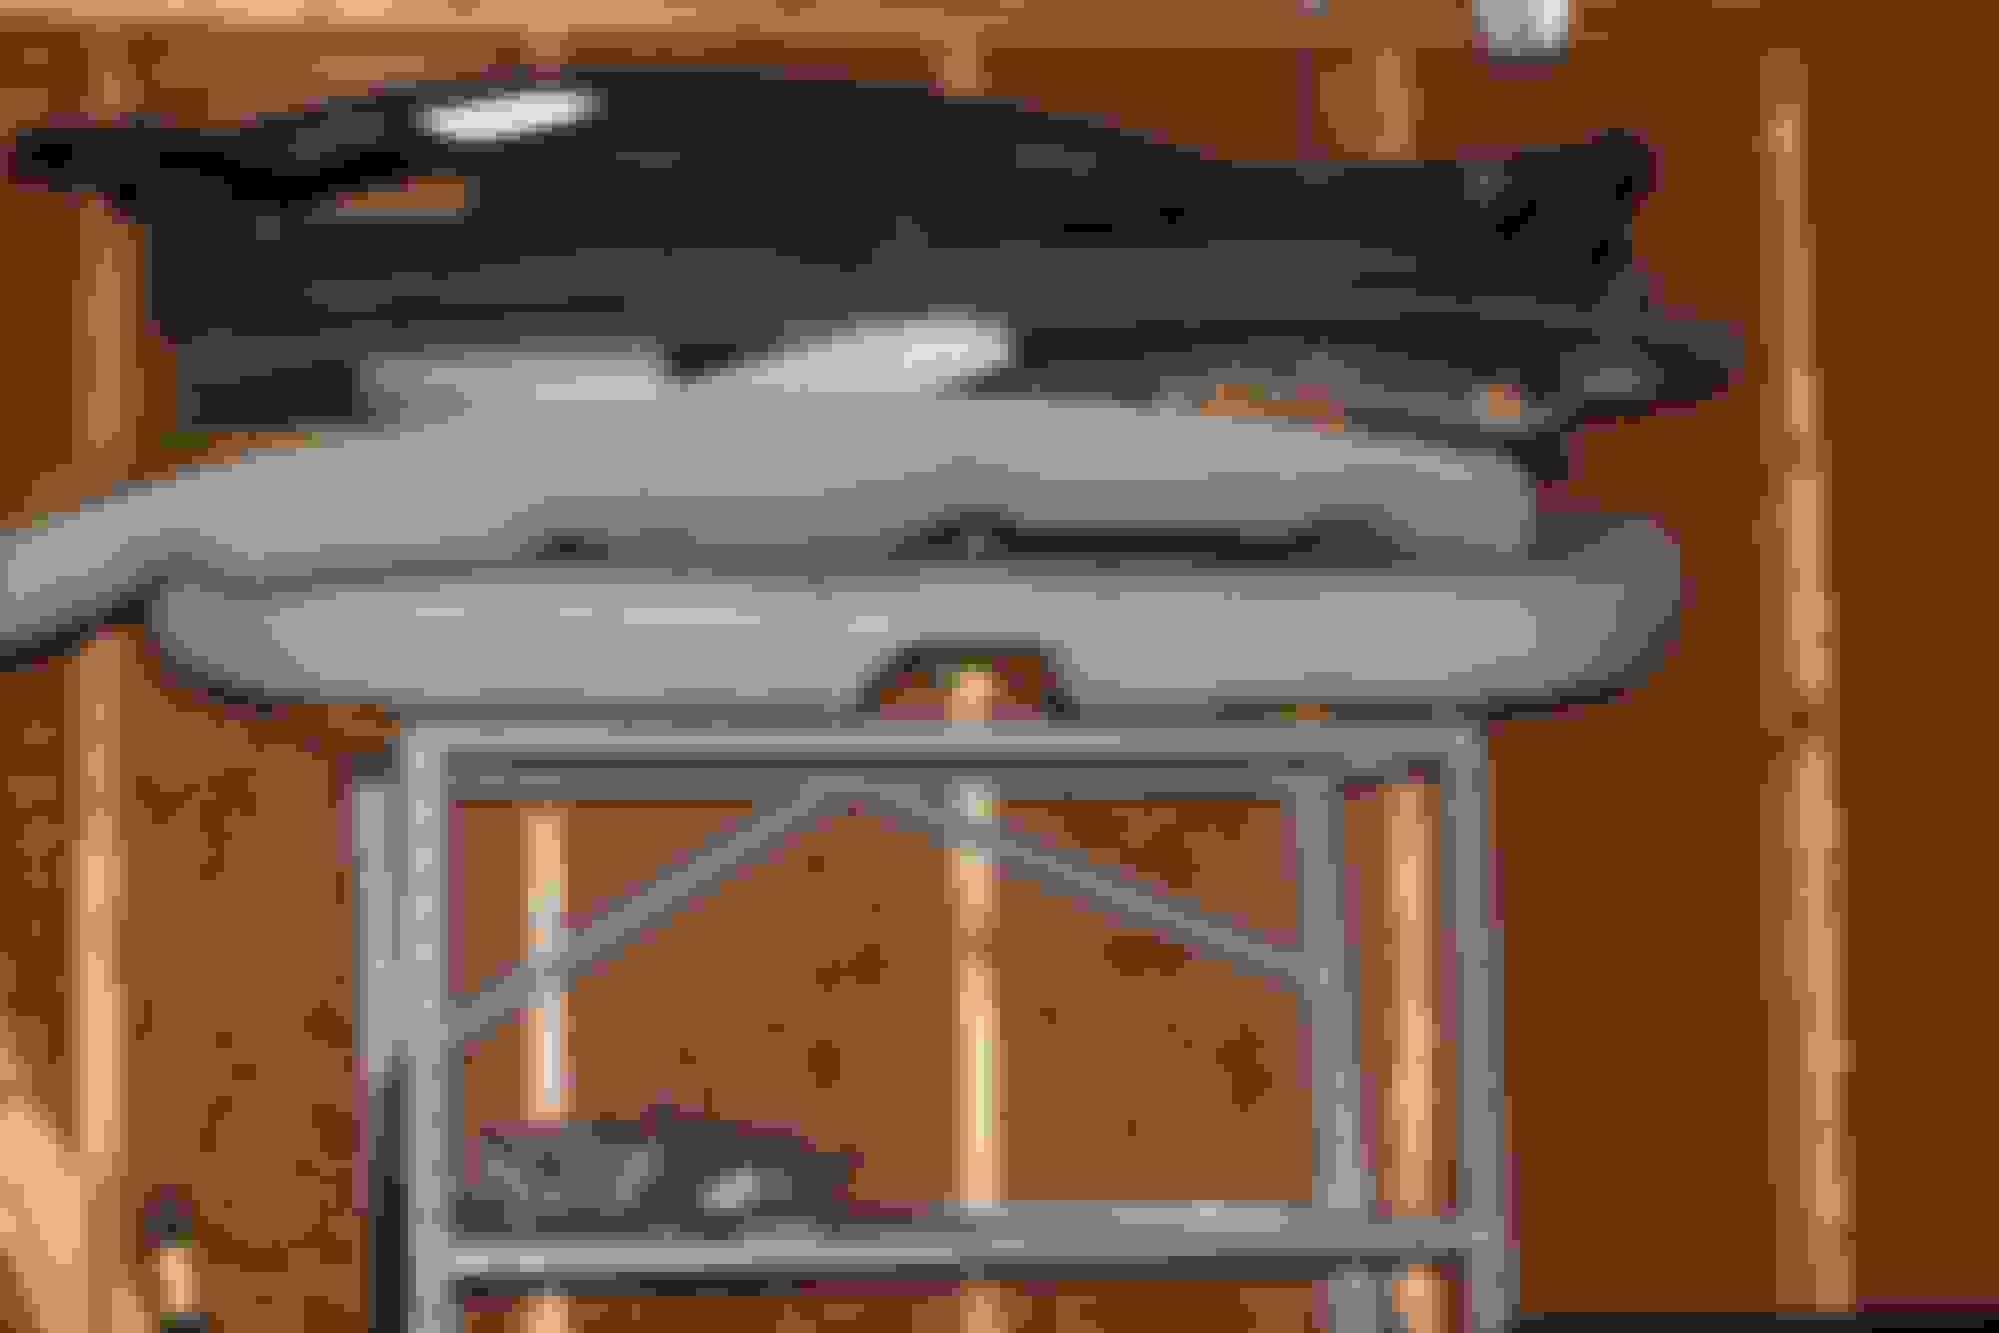
Here are some additional shots of the parts ready go into the basement for temporary storage.
Looks like a good project, and the biggest fun is you're doing it yourself! I'm sure this will be amazing once you're done with it? You have a pretty solid build spec sheet too! I might be able to help you out with a 3 spoke wheel soon?
I LOVE to see someone starting from scratch and taking good care of everything. 2 things though. Just a heads up really. If you plan to drive it N/A for over a year the thicker TT headgasket will definitely lower the compression and rob you of some power, not a huge deal but figured I'd mention it. Also, the headlights never came in glass, only the Supra had that option :/
I LOVE to see someone starting from scratch and taking good care of everything. 2 things though. Just a heads up really. If you plan to drive it N/A for over a year the thicker TT headgasket will definitely lower the compression and rob you of some power, not a huge deal but figured I'd mention it. Also, the headlights never came in glass, only the Supra had that option :/
Otherwise keep up the great work, SUBSCRIBED
Yeah I'm aware of lowering the compression.................Damn I thought the high beams on the newer models were glass...My mistake I'm still learning about some odds and ends with the car. Thanks for clearing that up for me!
I appreciate the support guys...This car really does just need re done all together it's totally worth saving.
So I had to take apart the manifold to free the wiring harness. They will be cleaned thoroughly as there is a lot of build up inside the manifold and runners. I've arranged powder coating for them to be wrinkle black/textured black. I will then replace all sensors with new units and vacuum lines of course.
Here is a good look at how much build up there is and how badly this type of work needs to be done.
Removal of the engine went smoothly thanks to a broken engine mount (already existing as defective before pulled). Only issues was that there was still some residual coolant dripping everywhere from the heater core hoses. No big deal I always clean up after I'm done.
A shot of all of the wiring I plan on simplifying and rerouting.
Yeah I'm aware of lowering the compression.................Damn I thought the high beams on the newer models were glass...My mistake I'm still learning about some odds and ends with the car. Thanks for clearing that up for me!
I appreciate the support guys...This car really does just need re done all together it's totally worth saving.
This is what I've accomplished this afternoon
Ohhhhh just the high beams. YES they ARE glass but not the low beam/headlights. Sounds like you knew that too haha
Set back down on a set of drift spares to be relocated in the garage.
A shot of the engine bay once everything has been removed. I plan on simplifying the wiring and have some thoughts of deleting the abs module and inserting new brake lines. Rack needs all new bushings, power steering lines and hopefully after a deep clean the bay will be restored. If not I will be painting the bay and cleaning up the other components
I mentioned earlier that my car will be relocated in the garage....well that's because I'm going to be focusing on the engine until it's finished and so that way my friend and I could build mounts for his rx7 build.
here are a few shots of the Rx7 k24 turbo build
This is the k24 engine with the adapter plate used for an Ap1 s2000 transmission
Booty shot (s5 Turbo rx7)
The Rx7 relocated to where my car once was.
Unless you guys have question on the Rx7 that's enough of that. The rest of this thread will focus on my Sc300 and the progress I make
 12-17-15, 03:17 PM