When you click on links to various merchants on this site and make a purchase, this can result in this site earning a commission. Affiliate programs and affiliations include, but are not limited to, the eBay Partner Network.
You found an original 5 speed for $1k?! You lucky bastard..
Killer idea and I love the progress, keep it up man!
Yeah, just have to cruise CL (craigslist not club lexus) pretty regular and not be scared to drive 6 or 8 hours with a wad of cash.
The "new" $1k one doesn't have 2nd gear, so I poor mouthed about what I was going to have to do to get another tranny in it and talked him down to that. So far it's been ok to just skip 2nd so I have been driving it to work. When I send the black car out next week for the cage build, I may tackle this tranny in the red one. I am hoping it's just shifter bushings, but probably wishful thinking.
I'll post pics when I get the black car back from the cage builder. Should be a couple of weeks.
I stripped the driver seat down to just the sliders and back/forth motor. I think it will be cool to have electric adjustable seat in a race car. Once again when the car gets back and I go to work on the seats I'll put up some pics of that too.
which isn't completed yet. Man this baby has miles of wiring in it. Once I figure out what wiring I have to keep and what can come out, it should get 50 pounds lighter. I just have the old driver seat stuck in there so I can drive it on the trailer when I take it to the cage builder Monday.
Cage is in. I will post some pics this week, it turned out really nice. I wasn't sure what the final weight was going to end up at so I had to go with 1.75x0.120 wall tubing per some of the various series rules. Seats and harnesses are in. Power steering and A/C are removed. But, I drove the car on track this weekend and without power steering this monster is a handful, may have to put it back for 2 hour sessions in chump. Removed the post cat and replaced it with one of the supra downpipes off of ebay. Targeting the first race the first weekend in Feb. Did the fenderwell wiring harness relocation, thanks for those that added to that thread.
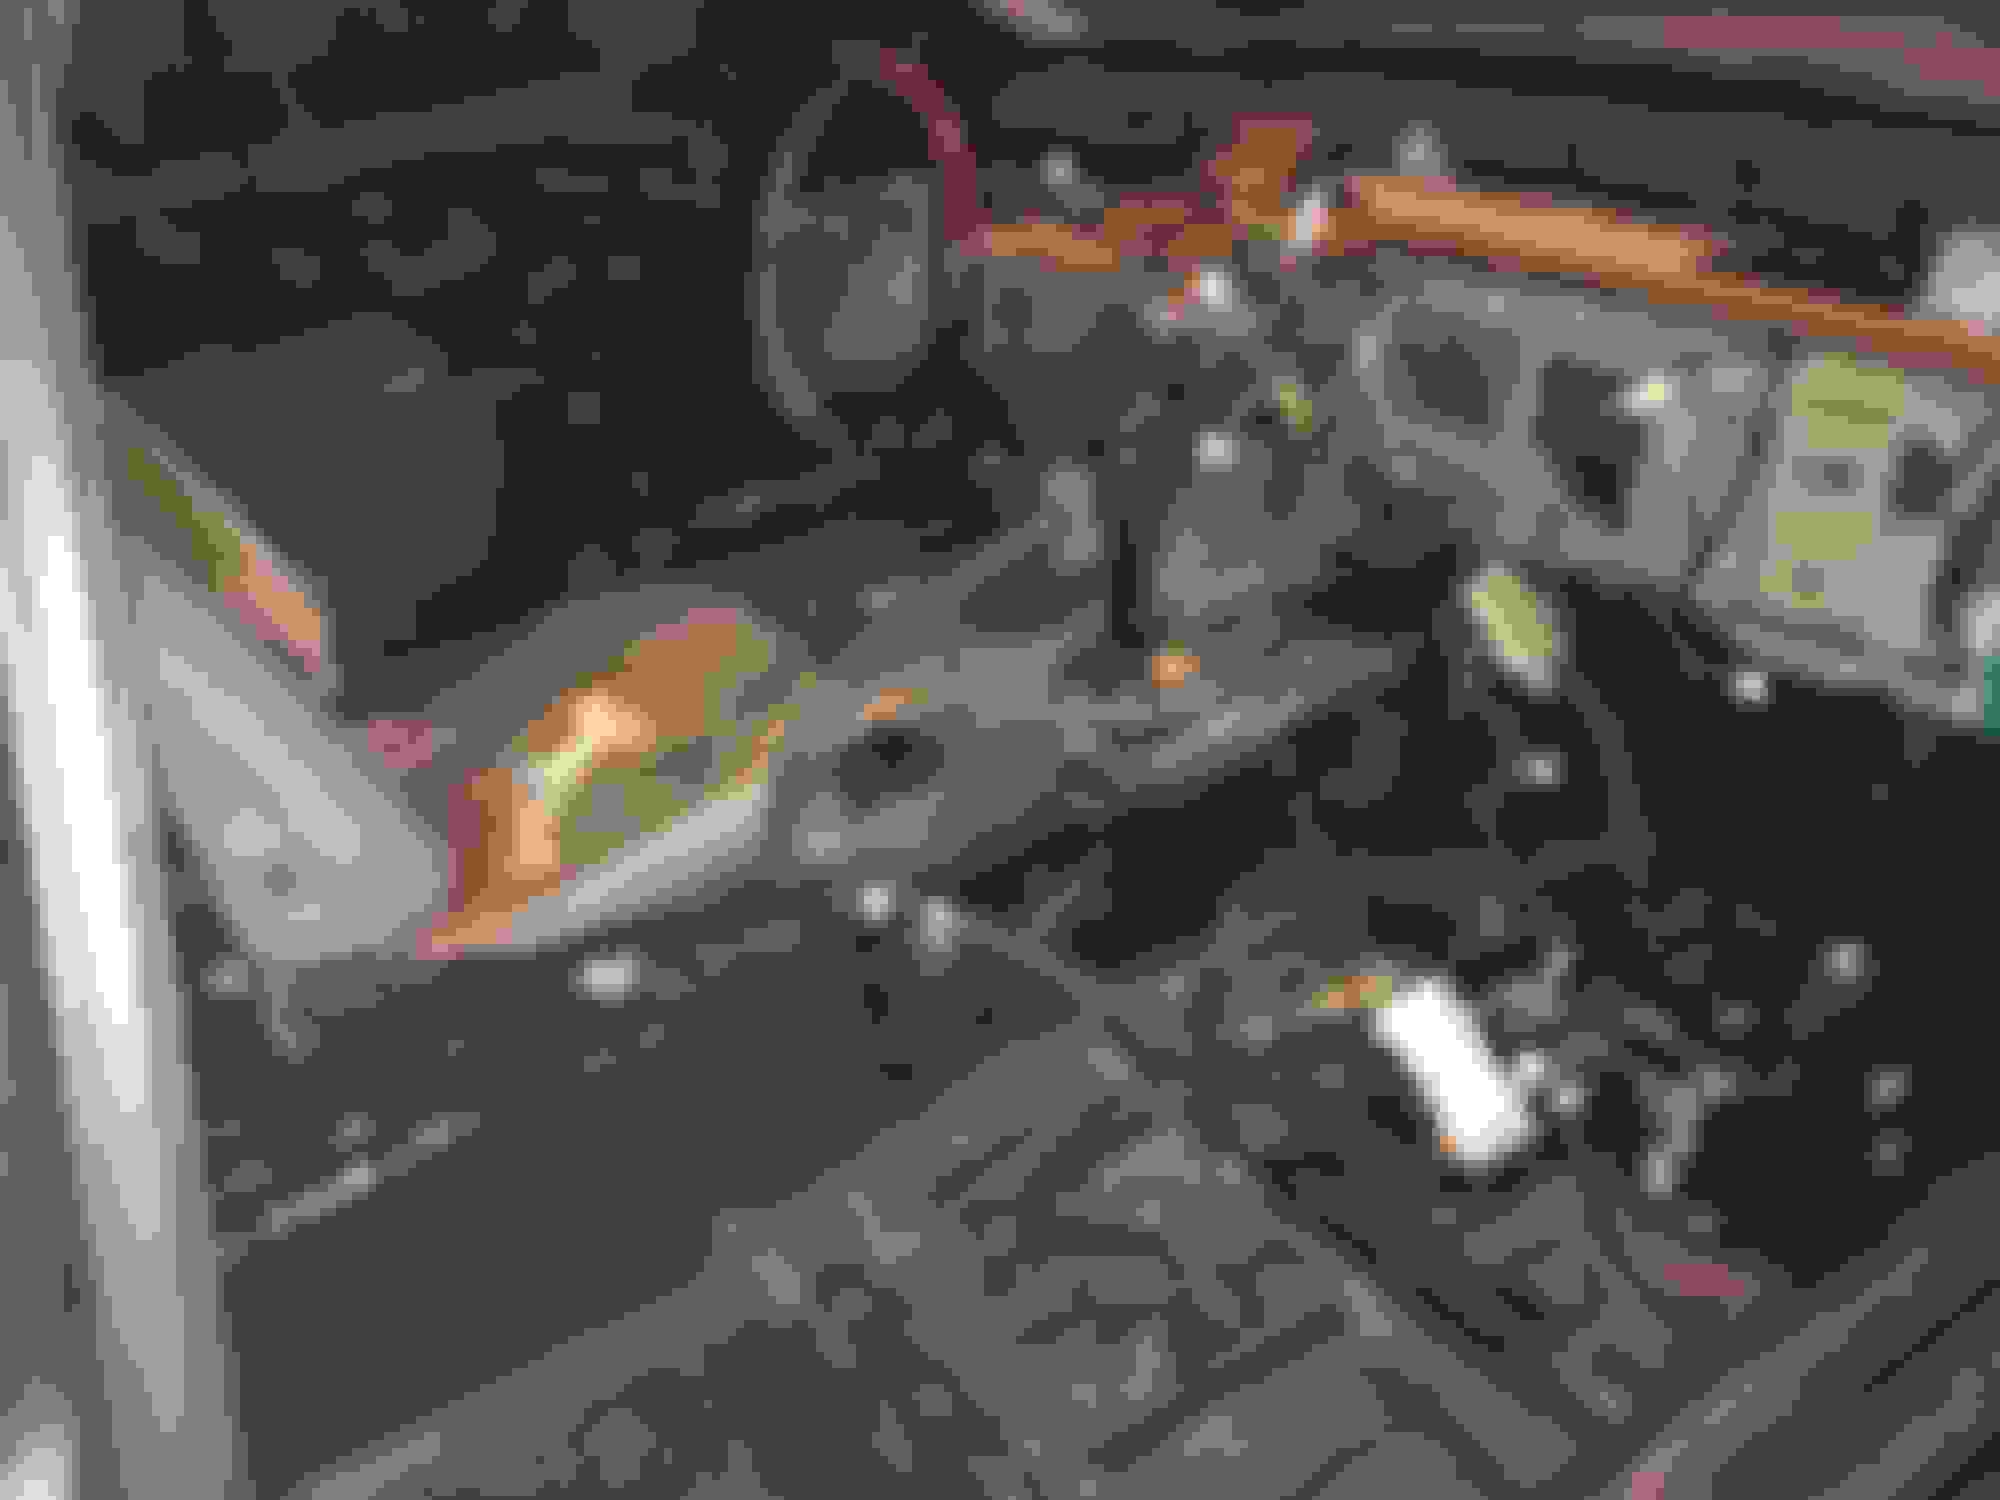
I have a ton of wiring that I need to figure out what is good/needed and what isn't.
Put a 6 puck clutch in, replaced rear main seal with
factory seal from Driftmotion, found out all my engine and trans mounts are busted so ordered them. Put hood pins in. Painted the roll cage. Built a switch panel mounting area. Installed some cheap LED tail lights to replace the Lexus ones, I needed one for my other SC and figured based on past experience they would probably get busted anyway. Ordered and received some new MB wheels from Discounttiredirect.com and had them mount/balance some Nitto NT-05's for free. Got a pretty good rebate, so around $1,000 with free shipping. Whoda thunk it? I bought the 27mm offset which took a little fender rolling, but as you can see it's not like it's going to hurt the looks of the car. They are offered in 17mm offset, but that seemed like it would really rub on the fender.
I replaced the factory flywheel with XTD lightweight unit off of ebay ($200), but after comparing I think I wasted my money. There is just not much weight difference. I don't know what kind of clutch it was, but looked to be of good quality. Found a guy third hand who had bought it a couple of years ago and never ran it, picked it up for $55 (probably a $300 clutch).
Painless Performance switch panel in homemade panel mount
LED trailer lights to replace the factory lights.
MB Wheels with NT-05's from Discounttiredirect.com.
This is so sweet lol.. Are you going to strip out all the extra wiring loom in the dash?
Yes, I need to spend some time figuring out if there is any of it I need to keep, but I know almost all of it can go. There must be 50 pounds of wiring that can go, an exaggeration but you get the picture. This thing is loaded with wiring.
Cage was built by Kirk Racing in Birmingham AL. He does good work, said now that he did mine he can sell a kit for anyone that would want one shipped to them.
Cage was built by Kirk Racing in Birmingham AL. He does good work, said now that he did mine he can sell a kit for anyone that would want one shipped to them.
Do you mind sharing a ballpark figure on what the cost to have a cage built and installed like that? I realized that while I can figure out the cost on all the other upgrades to the car, I have never seen how much a good cage is going to cost.
* Is there any reason to have to have the 3rd 'high' bar on the sides of the cage? Makes it look really difficult to get in and out of the car. I've always wanted to cage my regular street car just for that added safety factor, yet can't see making that hard to get in and out just for groceries.
Custom cage with Nascar bars in both doors made from 1.75" DOM 0.120" wall will cost you around $2k. One of the series I will run it in require 0.120" wall if over 3,000 pounds which I can't see getting below (with driver and fuel).
The 3rd high bar on the Nascar style dosn't make it hard for me to get in the car, in fact it is fairly easy to get in. Now for a daily driver I don't think I would want to have to live with a cage like this anyway regardless of this 3rd bar.
I spent quite a bit of time to clean up a lot of the wiring. Lots and lots of wiring removed but more to go. I sealed up the back firewall to isolate the gas tank from the passenger compartment. I moved the battery to the trunk. Mounted the six post kill switch after routing the battery cable thru the cockpit from the new battery location. Wired up the blower motor to a switch so I will have a defroster (first race is in 2 weeks so may be cold/wet or both. Reinstalled the power steering and made a bracket for A/C delete. Replaced all heater hoses. Deleted the EGR valve and system. Replaced all the motor mounts. Ran a gas tank vent line up and over the tank and out the rear for quick filling. Modified the filler neck also. Mounted gauges for oil pressure, oil temp, water temp, and voltage. Installed a fire supression system. We are just about ready to race.
Theres about 30lbs of sound deadening in these cars.. Just removed it all from mine. Also, the rubber/foam mat behind the HVAC is a good 8lbs. And while youre at it, the steering column with the motors/housing for tilt and telescoping weight about 15 lbs.. A simple 3/4" chromoly column would save you more than 10lbs. And that cover over the ECU is hefty; only a few pounds but its worth removing.
 11-08-15, 08:05 PM