97-SC300 Single Turbo Build Thread


 08-27-15, 12:08 PM
#137

WOW, this looks just like my Supra build. Make sure you tighten the nuts on the 6 bolts on the adjustable am gears higher than the 59 inch/lbs that the Titan manual suggests. That isn't enough and they will slip.
Steve K.
Steve K.
08-28-15, 09:16 PM
#138
Jesus dude, you continue to impress again and again and again....
No one is on your level, the Supraforums guys are all even taking notes. Props to you assembling everything yourself. A lot of these guys just hand their cars over and get back a turn key car, shows that you are a true enthusiast.
No one is on your level, the Supraforums guys are all even taking notes. Props to you assembling everything yourself. A lot of these guys just hand their cars over and get back a turn key car, shows that you are a true enthusiast.
08-29-15, 01:37 PM
#139
Thank you guys.
Steve, thanks for the suggestion, I'll PM you in a second for more details.
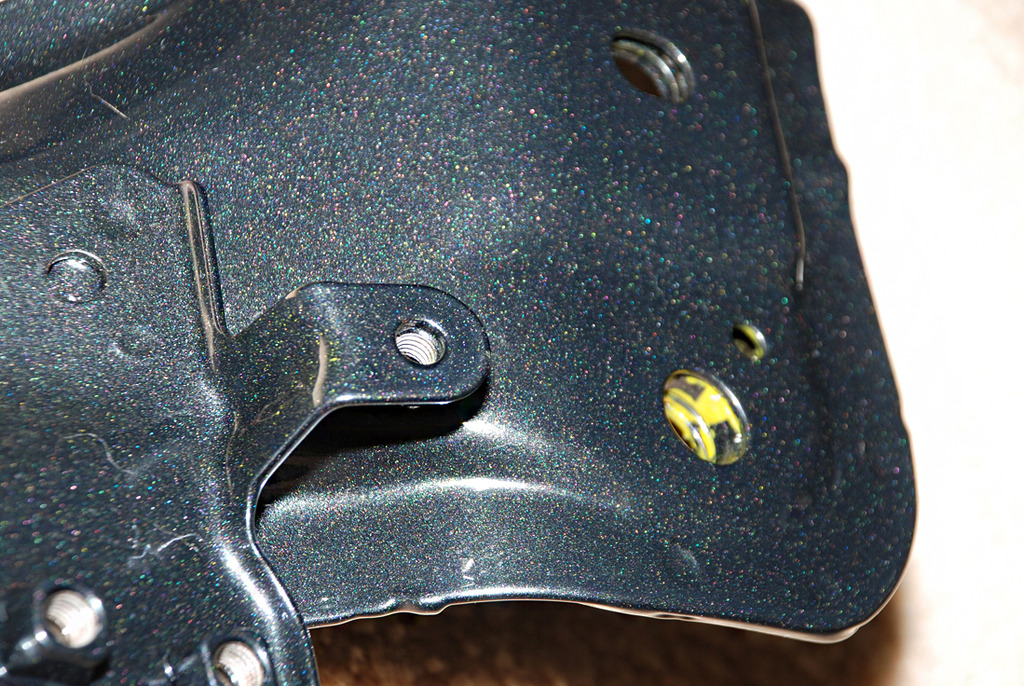
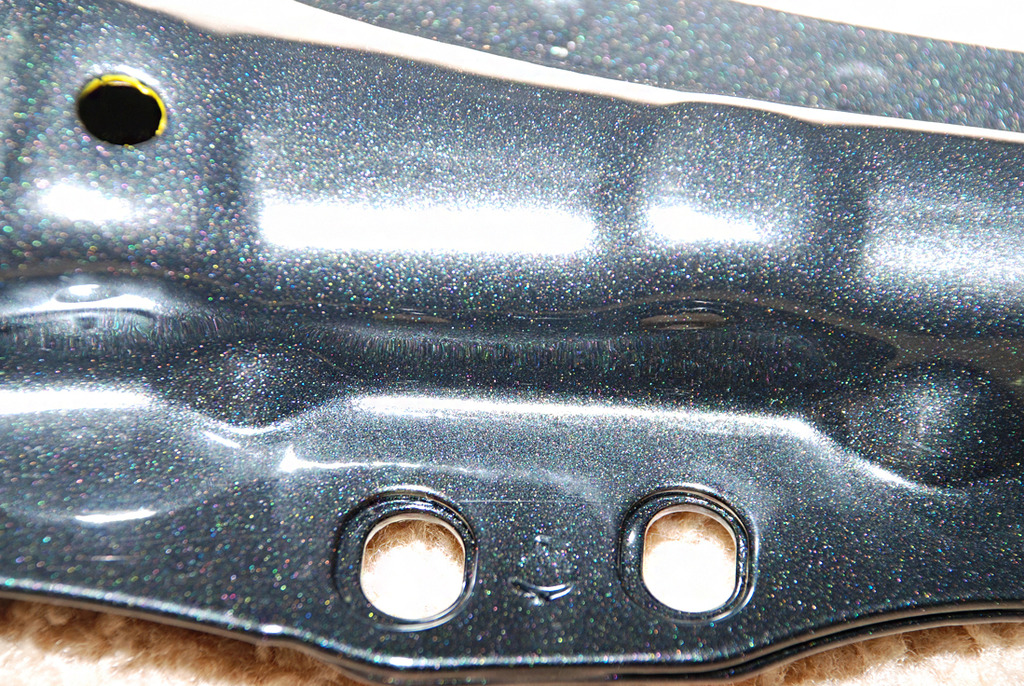
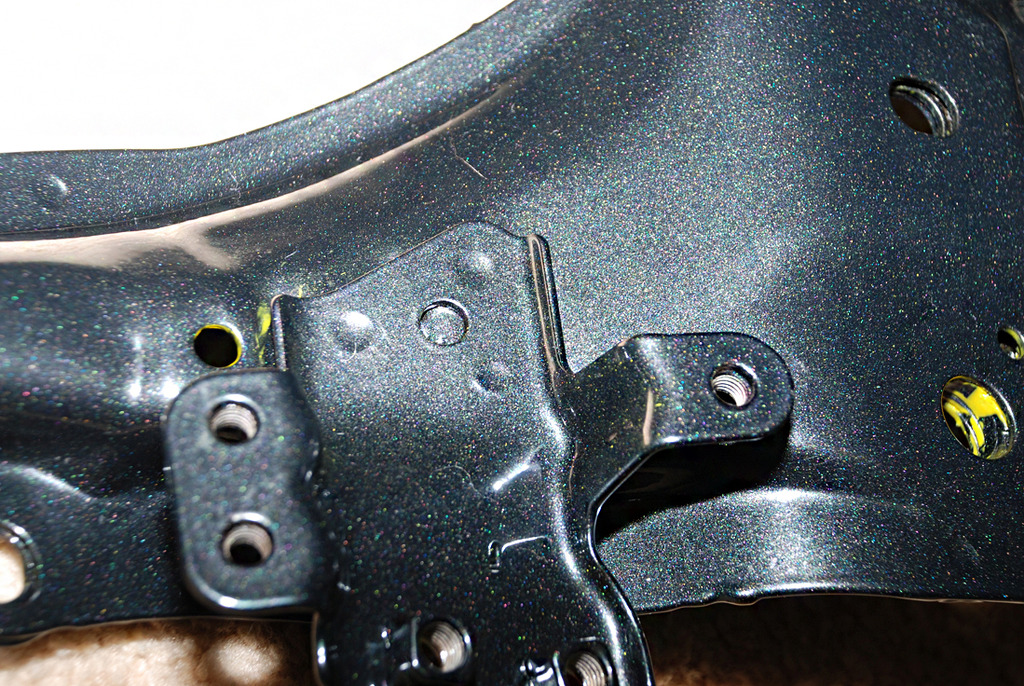
For now, here's the finished front subframe. The color is the same as I had my CCW Classic faces done in. HD Pearl Black with gloss clear. I had the inside of the subframe pressure sprayed (coated) with Cosmoline rust preventative which is that yellowish wax you typically see German automakers use inside chassis and body panels.
Rear subframe is still at the media blasting/stripping place.

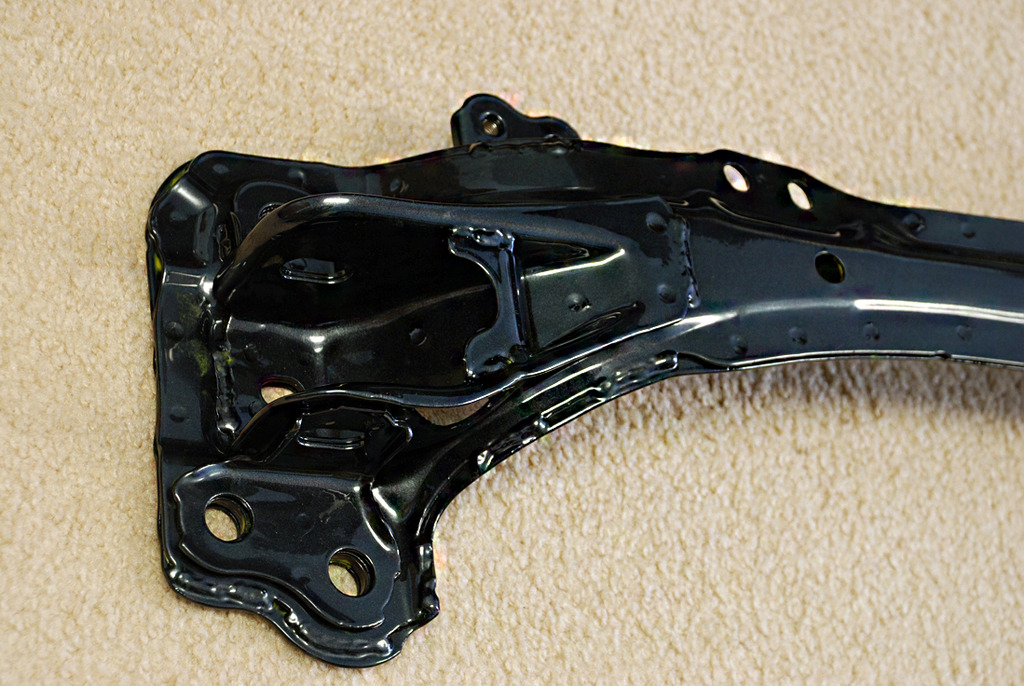


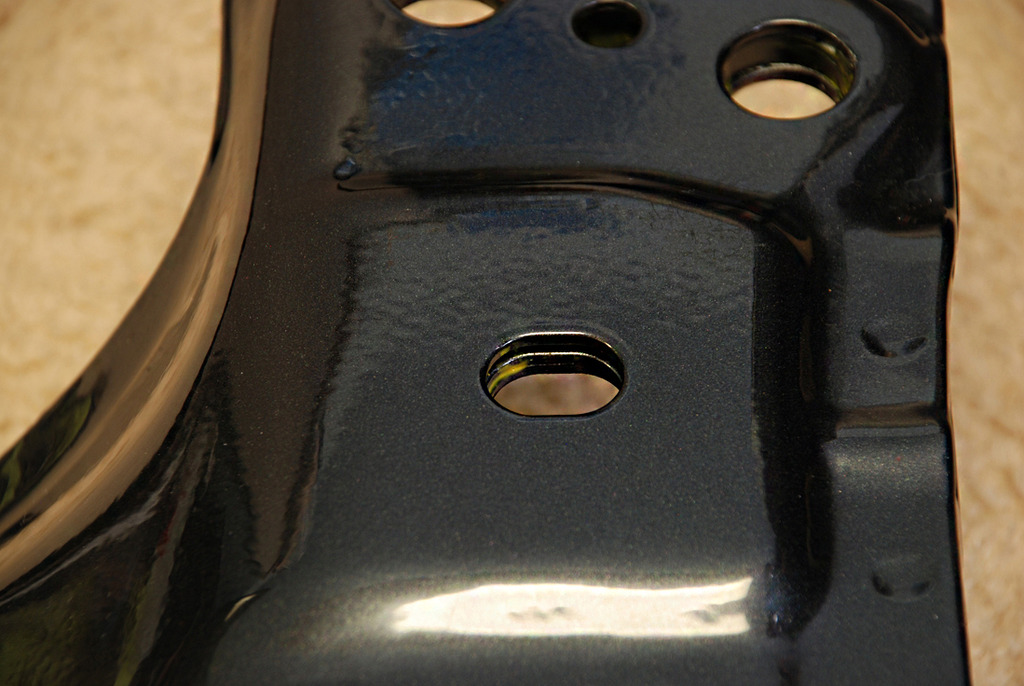
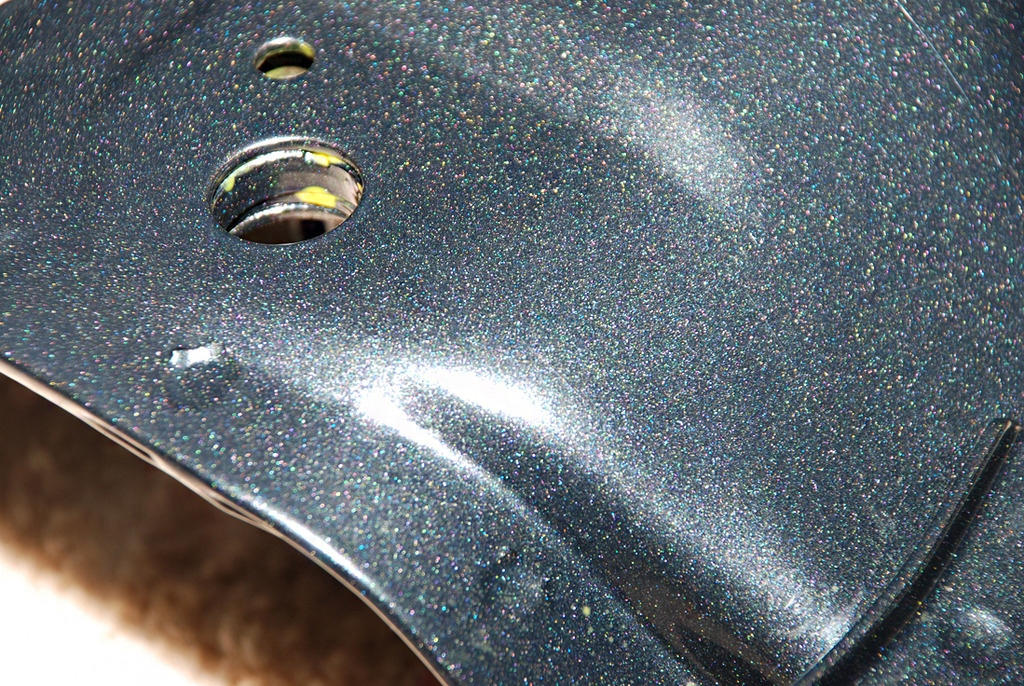
Pearl flake with heavy camera flash:
Steve, thanks for the suggestion, I'll PM you in a second for more details.
For now, here's the finished front subframe. The color is the same as I had my CCW Classic faces done in. HD Pearl Black with gloss clear. I had the inside of the subframe pressure sprayed (coated) with Cosmoline rust preventative which is that yellowish wax you typically see German automakers use inside chassis and body panels.
Rear subframe is still at the media blasting/stripping place.
Pearl flake with heavy camera flash:
Last edited by 97-SC300; 08-29-15 at 02:20 PM.


 08-29-15, 06:35 PM
#141

the double swivel I was talking about is where the fitting swivels where the female side connects to the male fitting and it will also swivel where the hose connects onto the fitting. Once you go assembling the hose and fittings you will see that you will need to clock the fittings correctly or they will not fit right or try to bend the hose a funny way. with a double swivel there is no worries of that.
08-30-15, 07:50 AM
#143
the double swivel I was talking about is where the fitting swivels where the female side connects to the male fitting and it will also swivel where the hose connects onto the fitting. Once you go assembling the hose and fittings you will see that you will need to clock the fittings correctly or they will not fit right or try to bend the hose a funny way. with a double swivel there is no worries of that.
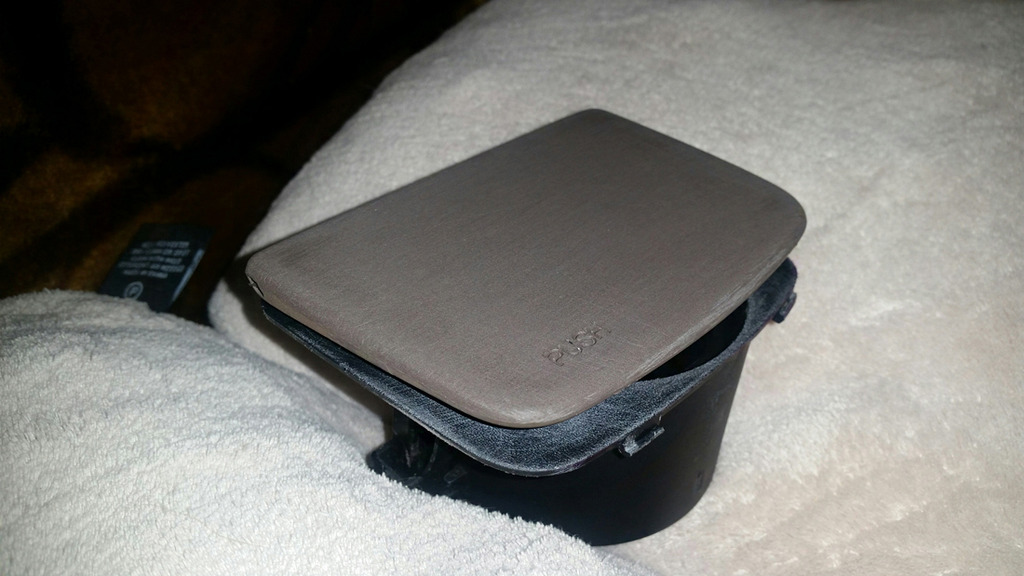
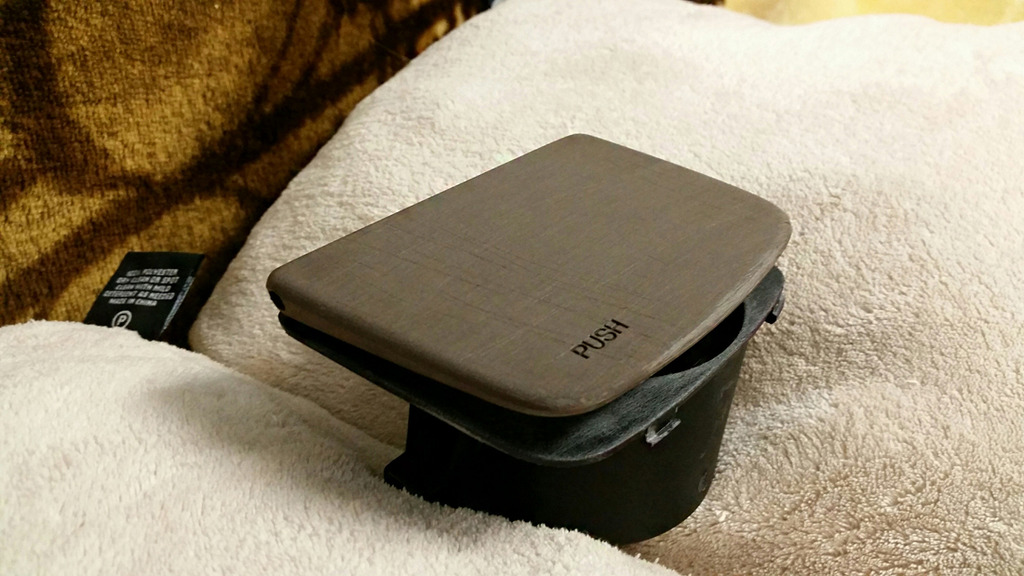
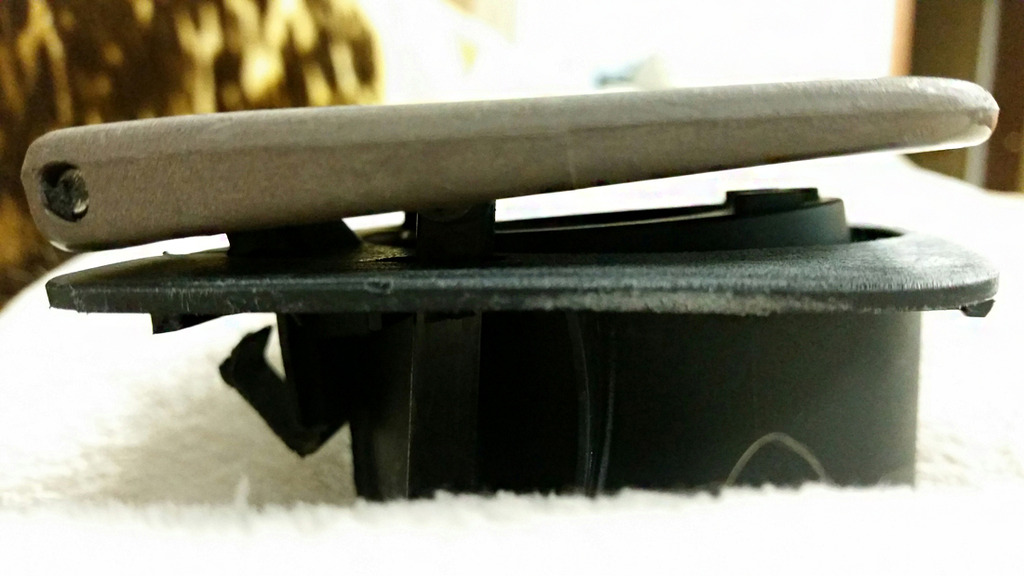
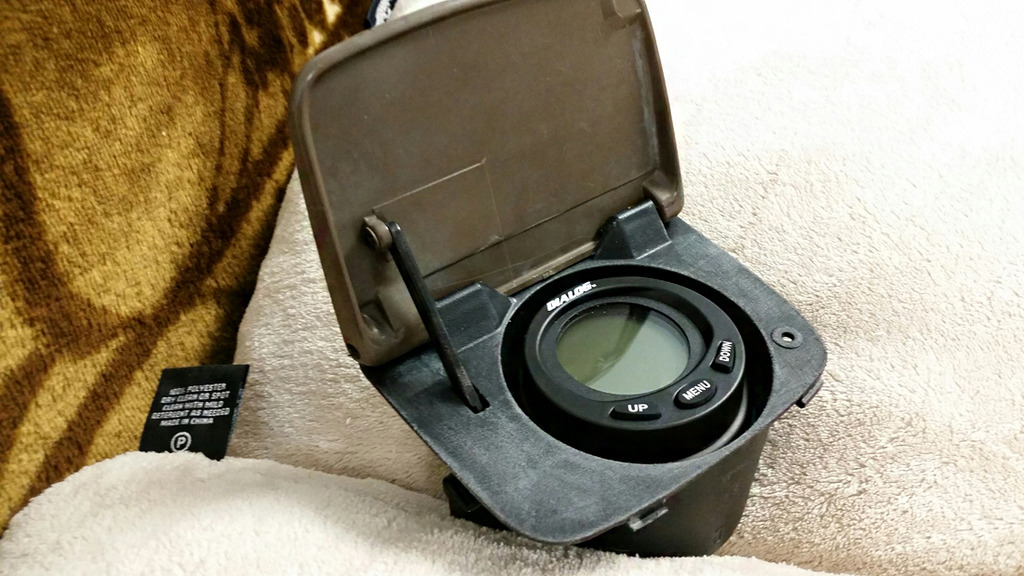
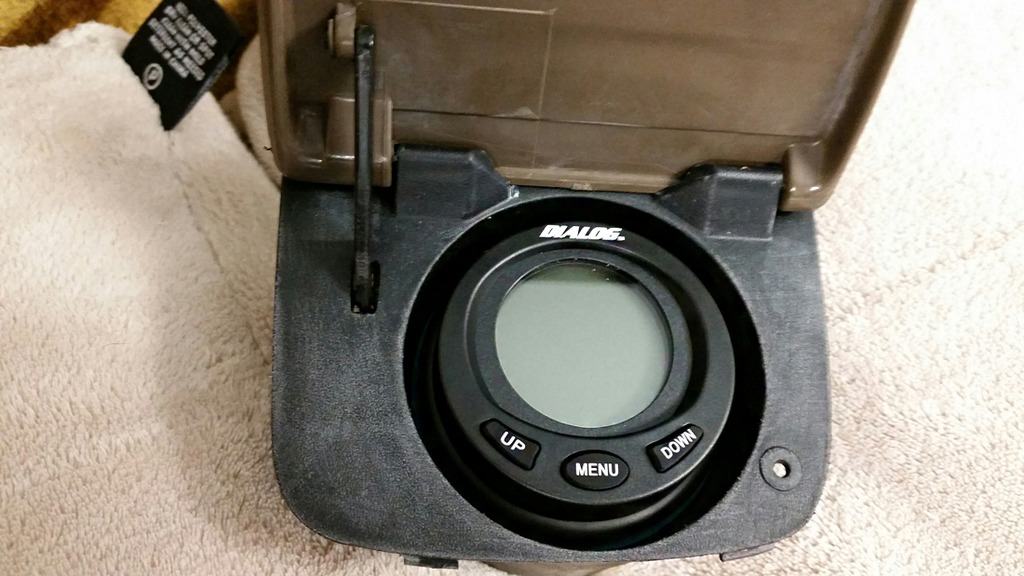
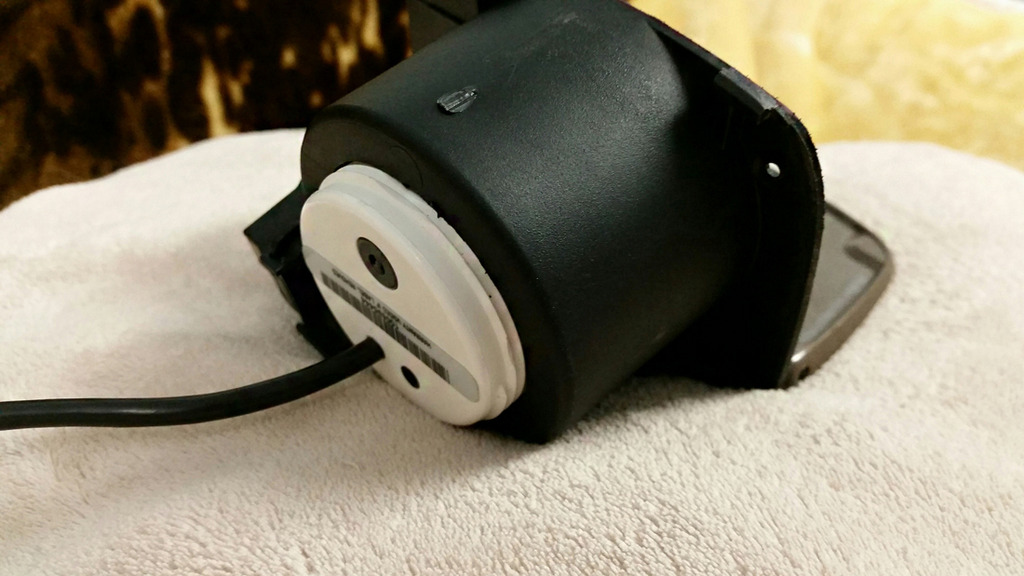
Thanks. I wasn't sure where to mount it. Didn't want it sticking out like a sore thumb and didn't want to get a gauge pod that mounts to the A-Pillar. I made a slightly better mount for it last night, it fills in the gap better between the gauge and cup holder opening. Should look really nice after I paint it this week.

I am planning to pull all the wood trim panels from the inside. I bought a spare set of 97 Wood trim pieces from someone on CL that I plan to have my dad paint in Honda's Crystal Black paint (it's a very low metallic pearl black paint). I already have an extra ashtray assembly and an extra modified 6spd bezel made up that I plan to get painted in that color as well. The new bezel I made so you can easily remove the retainer ring that holds the boot in place, so I can easily switch between a leather boot and a suede boot that I bought to match my center arm rest and arm bars on the door panels. Oh and a new uncracked center vent is going in as well.
Last edited by 97-SC300; 08-30-15 at 07:55 AM.
08-30-15, 10:34 AM
#144
If it were me, and my opinion doesn't matter very much, I'd put that CAN gauge to the left of the steering wheel in that L shaped vinyl piece. That's where I was going to put mine. It could be sunk in and not very noticeable but give you full access.
Shane
Shane
08-30-15, 02:32 PM
#146
I did think about this as well. Actually, when I got my car, the previous owner had that panel drilled to install the little alarm light. When I went back to a factory alarm, I no longer needed that light so I ended up getting a new non-drilled panel to replace it.
If I mount the gauge there, I just don't know how visible it would be, especially when driving. I figured with placing it in the middle, I usually have someone ride with me and at least they can see what the gauge is reading without me taking eyes off the road.
08-31-15, 03:15 PM
#150

absolutely stunning build. I would second not putting the gauge on the L trim to the bottom left, tried it once and could not see the gauge while driving, and if you do try its pretty dangerous. I stuck my 2 gauges in the left vent of the center a/c vent assembly, its not as good as some examples on here of that but its a nice spot that is hidden away, I mean how many a/c vents do you need in a 2 door car, there are so many for some reason lol. Had the pillar gauges before ended up not liking it that much cause any person who can look into your car knows you have something "special" going on, wasn't a fan of that either. The cup holder is pretty sweet but not sure you can see that while driving either.
Last edited by Ali SC3; 08-31-15 at 03:20 PM.

