When you click on links to various merchants on this site and make a purchase, this can result in this site earning a commission. Affiliate programs and affiliations include, but are not limited to, the eBay Partner Network.
99SC42 is correct going USDM is not the " cost effective way to go "… BUT it is the ONLY way to go in So Cal to be street legal… You know that THING called SMOG INSPECTION. The State is REALLY cracking down on places that do HOT SMOGS.. ( Which is how my son got this base car ) and I made the call to be 100 % GROOVY under the hood.. and it is BLEEDING ME DRY !
you can do the fuel pump at any time, shouldn't have any affect on your n/a except you will be returning more fuel than normal. nothing you will notice. I would do this a few weeks ahead of any teardown to verify the pump setup is working.
This sounds like a good plan, Ali. Very doable and less of a burden on my friend's house garage than the engine swap itself. At this point I just need the TT pump and I can start on that.
Originally Posted by Ali SC3
Then I would yank the motor and do it all at once. you could separate it like you have, but chances are you may be redoing some coolant lines and little stuff you did on round 1 to do to get the gte head conversion on round 2. even if you don't you will still want to pull the motor, installing intake and especially twins I have heard is like the worst possible thing to attempt in car. It can be done but I hear the twins are so much easier out of the car. so I guess it comes down to are you comfortable with pulling the motor twice, or just pull it once and get everything on it. with the complexities of the build I would probalby pull this one once and go very slowly and carefully over everything and drop it in and try it.
I was afraid you'd say that, but it makes the most sense. I could do two rounds but I think the most likely way is to do it all at once. But this means having the cylinder head rebuilt and ready, turbos rebuilt and ready and the new engine harness double checked beforehand. Doing it all twice makes less sense, I think.
What about the TT PS remote reservoir? Worth doing separately? I have noticed the factory SC300 horn is located right where it mounts (on the shock tower) and I've been trying to find out where the horn is located on Soarers.
Originally Posted by Ali SC3
the head is not that hard of a job to do, and everything bolts to it. only tricky part is replicating things that go to the actual sides of the GTE block normally, you will have to find the proper places on the GE block, mainly applies to coolant and oil routing. its been done before there is a long thread on SF about it as well. I think it was titled "NA-TT" or something like that.
Oh yes! I am familiar with SupraTico's NA-TT thread. That's where I got my initial list for the conversion parts I'd need. He was painstaking in his description.
Originally Posted by Ali SC3
I am guessing the gte bypass hose will give you the coolant feed for the oil cooler, and you can probably return that coolant to the line by the firewall where the stock GE throttle body coolant lines go back into the system. I think the stock gte system also has the coolant lines going through the throttle body and then the IACV in a dasy chained fashion from pics online, all of those basically end up in the same place on teh return side of the system.
I've got all the GTE coolant bypass and oil cooler parts at this point. What you're saying is how I can do this as a bottom end conversion with my GE head and manifolds still on the engine (as a "stage 1") right? As you mention this it's just making me think I will do it all in one stage now if it's directly engine related.
Originally Posted by Ali SC3
oil feed lines for the turbo's I am not clear where those come from on a gte (probably block but not sure), but there is always the IS300 union you can use to get an oil feed, and return is already stamped on the pan.
I have an IS300 Union bolt that I have put with my GTE oil cooler. That will be what I use for the oil feed. I do need a steel braided line for it though. Unless I have some issue where the twins have their oil feed put in such a way that I can't use them on anything but a true GTE block, which I highly doubt.
The oil pan needs to come off, be tapped and drilled and I have the oil return parts waiting to go on. Since it's also in the way of the oil pump I think the GE VVT-i pump swap will also be necessary at the same time.
...
It's daunting to be honest. I'm still busy collecting a few more parts before I can get to the head rebuild, turbo rebuild and getting a harness.
Ali, yes I have, but I'm glad you posted it here. I was going to add that link to one of the reserved spots on the main page to describe the approach in detail
It's exhaustive, isn't it? I got my initial list of conversion parts there and followed it up with parts from an online visual EPC (which I'd post here but it doesn't work any longer for some reason).
Originally Posted by 99SC42
Type of swap of swap which route to go about doing things, because if you have to buy every little USDM piece for your car to convert it to a USDM setup , it will put a dent in your pocket, it won't be worth it in my opinion.
I am just looking out for you!!
You're absolutely right, and I appreciate this... but I'm well past that point even without having touched the engine. I have so many parts for the stock USDM GTE now it would be crazy to turn back. The dent in my pocket over the last couple of years has been huge.
When I made a decision to buy and convert an R154 it was because I was thinking of going with a 1JZ VVT-i swap or a USDM 2JZGTE legal conversion. Which one depended on whether or not I stayed in Florida. I moved back to Cali, so I started looking and started finding the ECU, the entire turbo system, intake manifold, etc, etc. It started in a mild way until the full scope of it started to set in.
At this point I will be completely honest: I've wanted a turbocharged muscle car for a long time and after getting this far from the beginning of the R154 swap to the collection of all the GTE parts has made me question why I didn't buy a Legacy GT 5-speed or Pontiac GTO 6-speed in 2010 instead of the SC.
Because either one was a 250-300+hp manual Cali legal car (at the time) for about $10k-$15k.
This has occurred to me more than once: what I am doing is financially stupid. But since I have the SC as I do now I really love to drive it, love the way it looks and I've gone through it with a fine tooth comb already. I'm very happy with it... but I still want more torque and at least 300-350 horsepower. And in California there is only one way to do that with an engine that bolts in. Well... there is one other way but it's not worth it at all (a Solstice GXP 2.0L Turbo engine bolts up to the R154 and could theoretically be smog legal with the OBD2 conversion, evap system transferred and far more complex things than a 2JZGTE USDM has to swap over from its emission system).
Which brings me to vigman's post...
Originally Posted by vigman
99SC42 is correct going USDM is not the " cost effective way to go "… BUT it is the ONLY way to go in So Cal to be street legal… You know that THING called SMOG INSPECTION. The State is REALLY cracking down on places that do HOT SMOGS.. ( Which is how my son got this base car ) and I made the call to be 100 % GROOVY under the hood.. and it is BLEEDING ME DRY !
It's the only way that even makes a slight bit of sense (as mentioned above, barring an LS1 swap there is one other really esoteric option that is partly bolt in but requires even more work for less horsepower potential-- which is just theoretical anyway).
But yes, this for all intents and purposes the only way to do it legally in Cali. Since Cali instituted the Star program in early 2013 it's far less possible to do a hot smog and worse yet, since they have actually removed the roller dyno requirement from the testing of cars with model years 2002 and newer we will, gradually over a long time, see less smog shops equipped to test older vehicles in the first place. But that won't happen any time soon. So much money has already been invested now it's easy to find a Star smog shop for your SC or Supra.
I made the same call as you, vigman, and at times I've seriously questioned if I'd made the wrong decision but I'm close enough that I want to try to get to the end goal. I don't even want that much beyond a stock tune at this point it's been so mentally and financially draining on me.
But I have a feeling I won't be doing another project car for a long time since I'm so busy with other things in my life right now. To wait even longer would probably scrape up against the coming shift to electric motors.
And believe me guys, I've looked into that too. I briefly considered a 300hp+ EV conversion but the massive torque threatening even my built R154, battery pack weight, sheer complexity put it out of reach for mere mortals (unless you want a 100-150hp weekend Beetle with 50 miles of range and hours of recharging) for another 10-15 years. And the COST... well, let's just say that even this USDM 2JZGTE conversion is peanuts compared to building a 300+hp EV SC300 that doesn't weigh two tons or more.
-----
Updates so far this week: I noticed one of my sequential turbo VSVs were broken so I picked up a new one from Japan at a good price. Also, same as vigman, I was also missing the dreaded discontinued TT EGR VSV (17630-46060) and found one of those as well... whenever it gets here.
99SC42.... it just never ends with the nickel and diming
Last edited by KahnBB6; 05-11-18 at 12:14 AM.
Reason: grammatical corrections
I think you got everything down pretty much. yeah doing in one stage will just be better, honestly I wouldn't do it in 2 stages if you paid me to. you will have to re-route most things you might as well go to the final configuration all at once, it might be 1 longer session to do it in a borrowed garage, but overall it will be shorter than 2 individual engine pulls and work and final fittings (the most annoying part).
power steering reservoir you can do at any time, just need the TT PS nipple and the o-ring, 5/8 hose for the lower part of the reservoir, some 3/8 hose for the top part (or reuse the factory hose if close enough). alot of people mount it by the fusebox and the horn just use one of the free bolts by the lower frame rail there or make a bracket, wherever the horn harness will reach. I want to say mines just wedged in there between some wires and the fusebox so asking the wrong guy.. lol, I had it bolted to the bottom of the throttle body (FFIM) but it got annoying taking it on and off.
Don't forget when you take off the stock power steering reservoir, to put those 3 bolts back into the pump because they actually hold the pump together. the bracket was just an afterthought. I didn't and I shot power steering fluid out all the seems and all over the hood and the power steering was sketchy for quite a bit then cleared up after having the bolts back in for a while. Its just one of those things you don't think the bolts need to go back in and then you learn the hard way. knowing what you know it should be a walk in the park now =)
is there a reason you are rebuilding the head? I only ask because if its not necessary then do not mill it, have it checked first. some shops when milling can only do a certain minimum thickness (which they tell you about later) and that will increase compression requiring an even thicker headgasket. Ask them to tell them how much they are taking off, they will need to inspect and measure the head. if its in good shape just have it cleaned and valve stem seals changed and bolt it on, I would mess with removing material from it if its in good shape unless you are planning on using a much thicker headgasket, and well the extra compression is not a bad thing then.
I think you got everything down pretty much. yeah doing in one stage will just be better, honestly I wouldn't do it in 2 stages if you paid me to. you will have to re-route most things you might as well go to the final configuration all at once, it might be 1 longer session to do it in a borrowed garage, but overall it will be shorter than 2 individual engine pulls and work and final fittings (the most annoying part).
Yeah, you're right. I don't want to pull the engine twice. I can do smaller maintenance work in my apartment garage (spark plugs, valve cover gaskets, etc.) but the swap will need to be done wherever I move to next with a house garage again.
All these little parts I have are so numerous... I do think unprepared time will be needed to do the final fittings, yes.
Originally Posted by Ali SC3
power steering reservoir you can do at any time, just need the TT PS nipple and the o-ring, 5/8 hose for the lower part of the reservoir, some 3/8 hose for the top part (or reuse the factory hose if close enough). alot of people mount it by the fusebox and the horn just use one of the free bolts by the lower frame rail there or make a bracket, wherever the horn harness will reach. I want to say mines just wedged in there between some wires and the fusebox so asking the wrong guy.. lol, I had it bolted to the bottom of the throttle body (FFIM) but it got annoying taking it on and off.
I have those parts already including the reservoir. I've just been waiting on it. The horn relocation people use is what I needed. Thing is, the reservoir I have has no bushings and the bolts Toyota supplied me with seem to be long enough that I'll need to find some rubber to fit them into.
Originally Posted by Ali SC3
Don't forget when you take off the stock power steering reservoir, to put those 3 bolts back into the pump because they actually hold the pump together. the bracket was just an afterthought. I didn't and I shot power steering fluid out all the seems and all over the hood and the power steering was sketchy for quite a bit then cleared up after having the bolts back in for a while. Its just one of those things you don't think the bolts need to go back in and then you learn the hard way. knowing what you know it should be a walk in the park now =)
Wow! Thank you for mentioning that, Ali! I might have left the holes unplugged if you hadn't mentioned this. I guess the TT pump is the same thing but with no bracket mounting holes?
It sounds pretty straightforward. I will need to drain the existing PS fluid beforehand, correct?
Originally Posted by Ali SC3
Is there a reason you are rebuilding the head? I only ask because if its not necessary then do not mill it, have it checked first. some shops when milling can only do a certain minimum thickness (which they tell you about later) and that will increase compression requiring an even thicker headgasket. Ask them to tell them how much they are taking off, they will need to inspect and measure the head. if its in good shape just have it cleaned and valve stem seals changed and bolt it on, I would mess with removing material from it if its in good shape unless you are planning on using a much thicker headgasket, and well the extra compression is not a bad thing then.
The GTE head I have is completely dismantled. I have the original valves, springs, retainers, etc. dumped unorganized into a box by the previous guy who sold it to me. His reasoning was that he had them taken out to get a new higher performance valve train put in.
I am just assuming I will need it rebuilt since I don't know the condition of the valves, springs and retainers yet. I have a good shop picked out and I've spoken with them about getting a full cleaning and inspection done first. It would be great to be able to reuse the original valve train but I was prepared to be told I'd need to replace things.
I'm not interested in building a higher revving head though. The stock 6800rpm redline is fine with me.
I had not considered head milling being part of the rebuild process. I am planning to use a much thicker head gasket... 2.4mm or 2.0mm. I keep saying I need to refer back to some PMs we exchanged about which was going to be better for near the stock GTE compression ratio and without any head milling I think 2.4mm was supposed to get to about 8.6:1.
You're welcome, Vigman! I'm happy to have been able to help and I was surprised both you and I were able to find EGR VSV's so quickly. So close to your BAR appointment, too. Here's hoping he ships it to you in time
yeah its funny about the pumps the gte is the same thing with no bracket. I didn't drain any PS fluid, I kept a rag around the bottom of the reservoir, unbolted it, and when pulling off I quickly turn it upside down (make sure cover is on well) and it won't leak much, just a little on the pump but not like on the paint, avoid power steering and brake fluid from touching your paint.
Man I can't believe they would take apart the head without actually upgrading it at the same time, very annoying. it would be difficult to reassemble it yourself not having done it before, maybe let the shop do it then. reassembly is separate from the milling though they will only do that if the surface is warped or the finish is messed up, or if you ask them to. a good shop can give you measurements and a recommendation with this, just be active and involved in the process with them so you get what you want. If you want to see in the meantime lay a straight edge across it diagonally and look for any dips or increases towards the middle of the head. there is an acceptable amount of warp but its not much its in the manual.
generally a non-blown head that has been removed only needs to have the mating surface cleaned up and it can be put back on with a new head gasket as it shouldn't be warped. the block is usually not warped as its Iron, and the aluminum head is usually the first to warp. do you know if it came off a running motor? if so then its likely its just a simple cleaning and reassembly job. either way you will get new valve stem seals which is a nice bonus.
I forgot what headgasket you needed to use exctly but can look it up. I wouldn't go thicker than a 1.3 but I really wouldn't recommend going thicker than a 2.0, no one will know what your compression is later, just build that part how you want to. 2.0mm will be plenty sufficient to cope with 91 gas and bpu levels, you can even keep the boost a little lower and make the same power.
Ali, I will be very careful about not letting the PS/ATF fluid get on my engine bay paint. I knew about brake/hydraulic fluid but of course I will be creating a well contained safe zone around the PS pump.
The GTE head:
Yes, somewhat annoying. Maybe that's why I got it for a good price ($600). I did ask the seller if it was damaged or wraped in any way and he said it wasn't-- he just abandoned his plan to build up the head for his GTE engine. His family was in tow so maybe life priorities was the real reason. Nonetheless I do need to have it inspected and cleaned to determine what I'm dealing with. I've got some straight edge measuring tools I can put against the mating surface to see if any abnormalities show up.
The shop I want to use is FSR Motorsports and they're about an hour's drive from me with traffic. Very reputable and they quoted me a sight-unseen estimate for a normal head rebuild at $1,200 (which I'm aware is just an estimate). New valve stem seals will also help with emissions numbers A simple cleaning and full inspection by them is not very expensive ($100 or so) and I'll be able to have a solid idea of what needs to be done.
I can (and probably should since this is a build thread) add some pictures of it and the disassembled valve train.
I do recall you weren't thrilled about the 2.4mm head gasket thickness. 2.0mm was probably the right one but I will run into gray area with the BAR if there is some reason I can't achieve anything close to 8.5:1. I know you are right that the most sensible solution will be fine for 91 octane. I'm just trying to follow the BAR guidelines as much as possible.
Vigman doesn't have the same issue of course because he has an Aristo GTE block. The Cali BAR has in the past flip-flopped on whether or not "JDM engines" are eligible for approval or not but the bottom line as I understood from my last conversation with a senior member of that department is that if you have paid FULL attention to all of the original functional emissions equipment from an eligible engine your car is allowed to use and the engine block is the one thing that isn't USDM... it's their call in the end... but all other things being equal and the block having the same compression ratio it is passable. Assuming you've followed the rules to the letter everywhere else.
Vigman's JDM GTE block is just a matter of saying yes or no since it's functionally the same exact thing they are looking for. In my case, I have to do my best to make my *nearly-the-same* GE block get to that compression ratio. Unless I want to find a GTE block or rebuild a 93-95 JZ block with 8.5:1 pistons.
Either route will still pass the emissions and visual tests required apart from block number checks. You can understand why I am looking into pushing the limits of a thicker head gasket to try it this way rather than get into a new engine block.
... Although as we've already covered, either way an assembly has to happen with an engine out of the car before it goes in :P
I guess the prices are higher on the head cause its USDM. with assembly and all you could have bought a jdm gte motor for those pieces alone. too bad you can't just slap the US intake and egr on a JDM motor and have it pass for certain, that would have been much easier.
I guess the prices are higher on the head cause its USDM. with assembly and all you could have bought a jdm gte motor for those pieces alone. too bad you can't just slap the US intake and egr on a JDM motor and have it pass for certain, that would have been much easier.
^^ Absolutely. Hell, I'd actually be very happy with a clean 1JZ VVT-i swap for the same as what I've put in already.
The JDM 2JZGTE heads have an area where the EGR port would have been but nearly everyone on SF is wary of trying to correctly machine that port without permanently damaging the head. So for people needing EGR the prices are higher. More people choose to delete the EGR with a block off plate anyway.
Other than also needing a USDM ECU and possibly switching out the high impedance injectors it's the EGR that is the most annoying thing to get. And I am still shocked that Toyota/Denso no longer produce half of the parts in the TT EGR system.
It is what it is at this point. But an engine as popular as the Ford and Chevy small block V8's should have more special support from Toyota.
Then again, 90% of the 2JZ turbo builds anywhere in the USA are not conceived with the intention of "stock" or "smog legal" in mind.
I've revised Post #3 on page one with the updated/reorganized parts list. I still have to go through my receipt records to add in a good handful of used parts that should have been included.
--Used TT EGR VSV arrived today
--Another of the sequential VSVs is on order (to replace a broken one I have)
--TT EGR modulator on order (backup in case the one I have fails)
--GTE M/T belt tensioner is coming in soon
--new clamps for the top of the sequential turbo pressure system (where the two visible symmetrical rubber ribbed hoses are)
--new TT coolant sensor for the upper water pump neck to the cylinder head
--A couple of GE VVT-i oil pump o-rings
--New A/C drier for upcoming A/C service on order (TXV and evaporator replacement)
--New Denso TT fuel pump on order
There are still a fair amount of small parts to go before I can tackle the biggest chunks of the swap but it's getting there.
Some of the recent deliveries and below that I've got a couple of redundant questions about 2JZ-GE VVT-i oil pumps:
New cylinder head cam sensors:
Used EGR VSV with bracket:
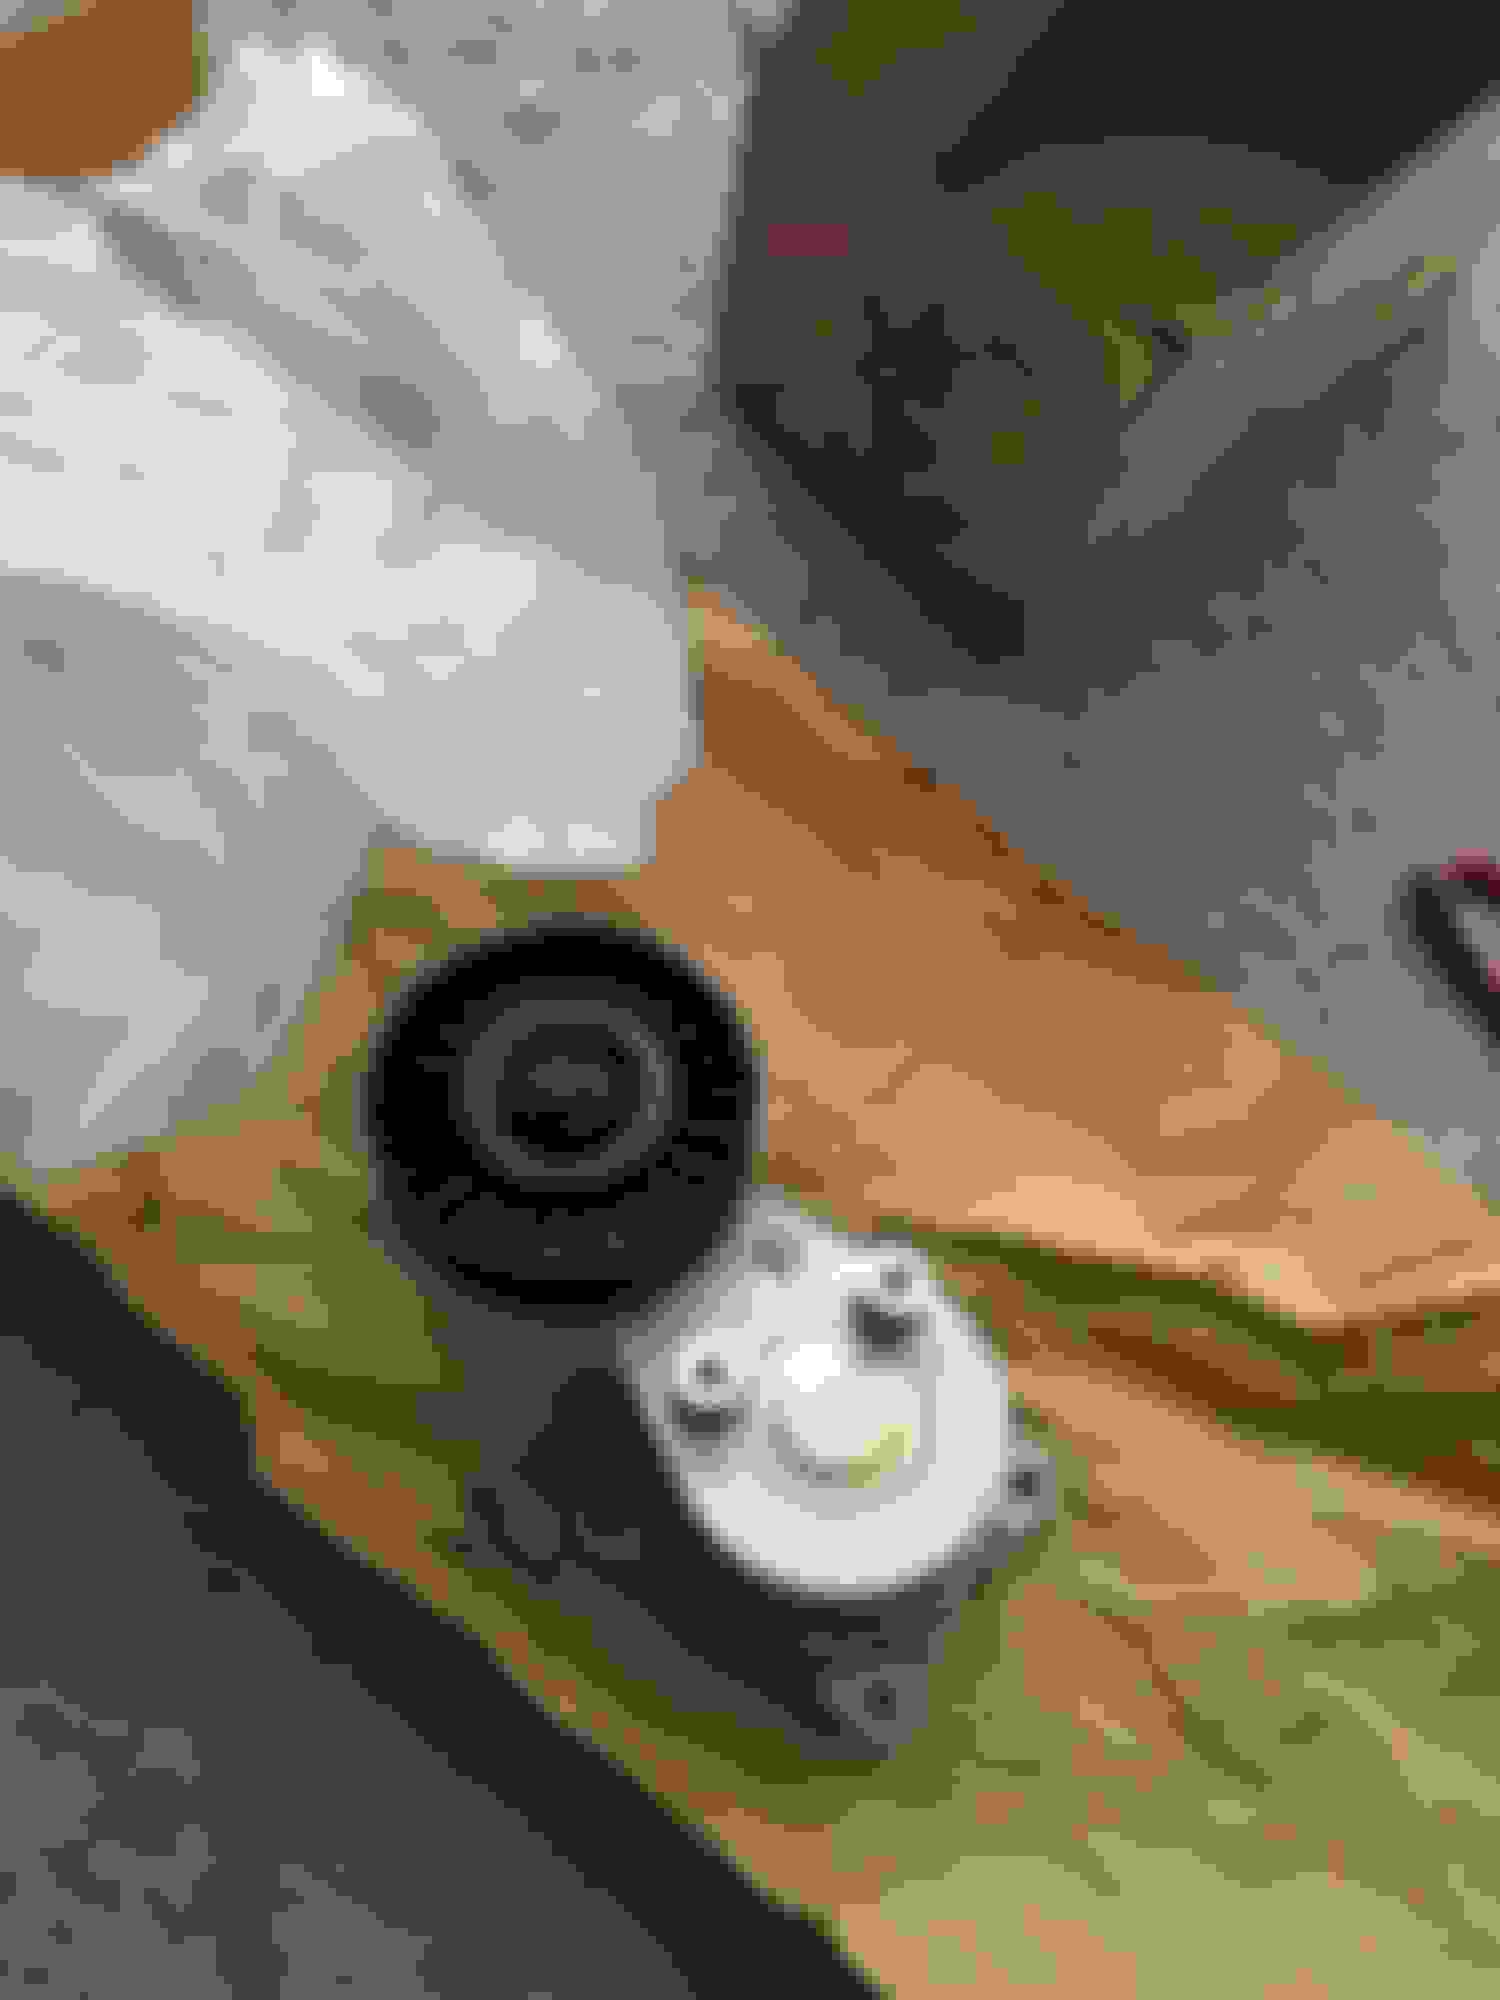
New M/T accessory belt tensioner (shock absorber version):
New Denso TT fuel pump:
And then there's a conundrum I have. I've been interested in the 2JZ-GE VVT-i oil pump specifically to use the crank sensor provision. I believe this same pump was as early as 1996 for OBD2 emissions ECUs.
Since everything in this swap is expensive I try not to overspend if I can avoid it. Does anyone see a reason why I shouldn't go for the Aisin version of the 2JZ-GE VVT-i oil pump rather than the Toyota branded version? It's an extremely critical engine component and I don't want anything second rate.
Here's my reasoning: Toyota's GE VVT-i oil pump is $250 or more. However, the Aisin pump for the same 98+ model years is a mere $90 (at RockAuto). Driftmotion says they can also source the Aisin oil pump but that they also recommend a "THR modified" 2JZ-GTE oil pump with a siphoning valve that limits the overall oil pressure.
Not using a GTE oil pump, in all my research, has been directly related to front main seal blowout issues if a GE block is the basis. The extra pressure that would go to oil squirters supposedly can be too much for NA blocks, but athough a majority agree with this not everyone does (relating the front main seal blowout cases to improper engine builds).
My gut feeling is to go with the GE VVT-i pump with the crank sensor and trust that the GTE pump has too much oil pressure.
Addendum: I think this is also needed. The crank gear that allows the GTE/GE sensor to get a reading.
—13521-46040 "pulley, vvti"
Here's a picture of the Aisin OPT071 for reference:
There is also an Aisin 070 model for 1995 and older vehicles which should have no crank sensor mounting area.
Since I have all the major components to perform the TT Denso pump and TT Fuel ECU swap (in lieu of the 12V Bypass modification), I'm looking into the wiring for this. A bit daunting to me at the moment.
Three things occur to me for further investigation:
-- I need to verify if Supra MKIV NA's and TT's used the same gauge wire to their respective fuel pump ECUs. Curt Aigner at Elmhurst seemed to think they were the same gauges since that's what his inventory computer listed for replacement wire.
-- I probably do need to run a separate wire for the EFI2 function from either the fuse box under the hood or under the dash. Not sure which at this point. And I have no idea if the 2JZ-GE M/T NA ECU even allows this to function (whereas the GTE ECU definitely does).
-- I know the NA fuel ECU has five main critical function wires, while the TT fuel ECU has eight wires, only five being critical... and the other three are supposed to be "additional accessory functions". Not sure what that refers to yet.
Currently, my research is confined to this thread grouping. More as I can devote time to wrap my brain around it.
 03-03-15, 11:08 AM


 I have an IS300 Union bolt that I have put with my GTE oil cooler. That will be what I use for the oil feed. I do need a steel braided line for it though. Unless I have some issue where the twins have their oil feed put in such a way that I can't use them on anything but a true GTE block, which I highly doubt.