
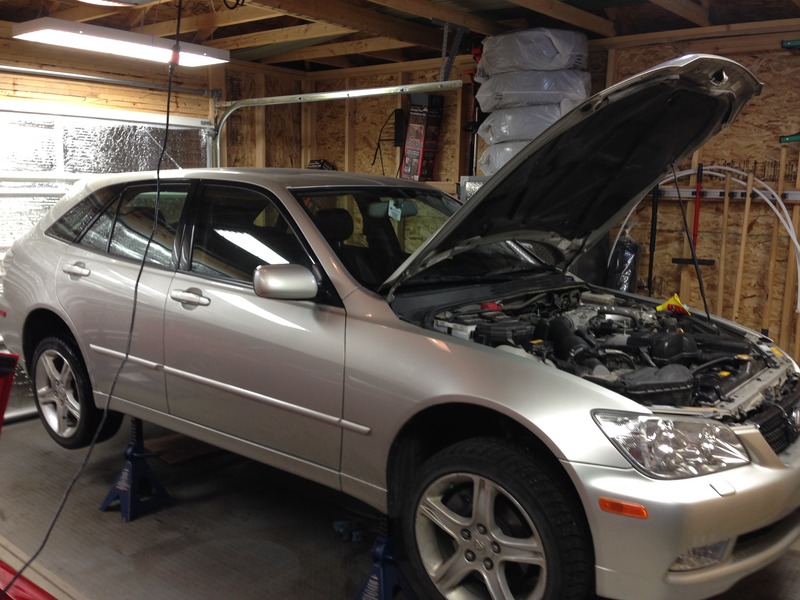
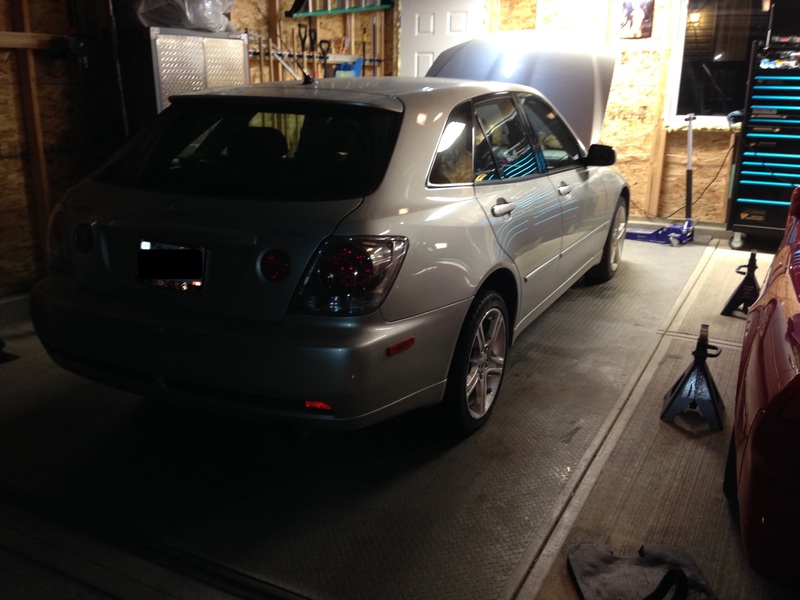
2002 Lexus IS300 Sportcross Maintenance Log
 11-20-15, 09:46 PM
#46
Pit Crew
Thread Starter
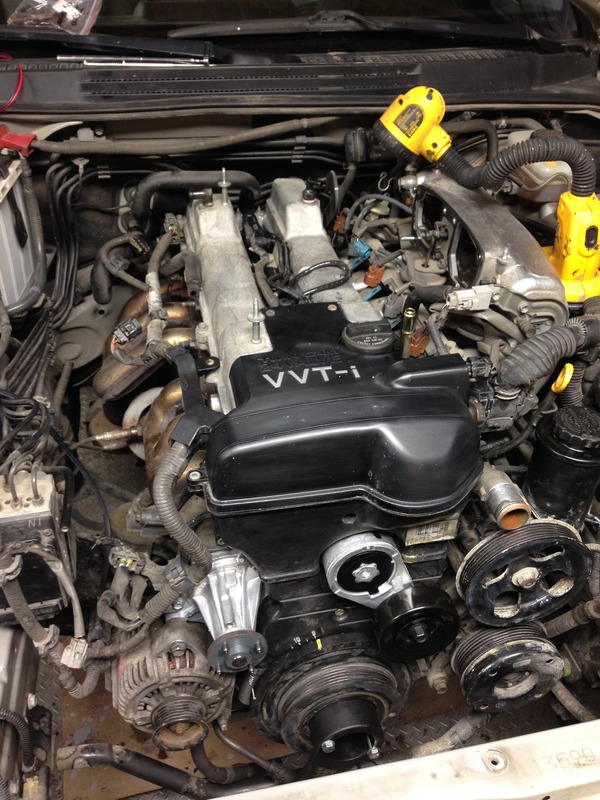
I might be the only person that torques down timing cover bolts (75 in-lb by the way)
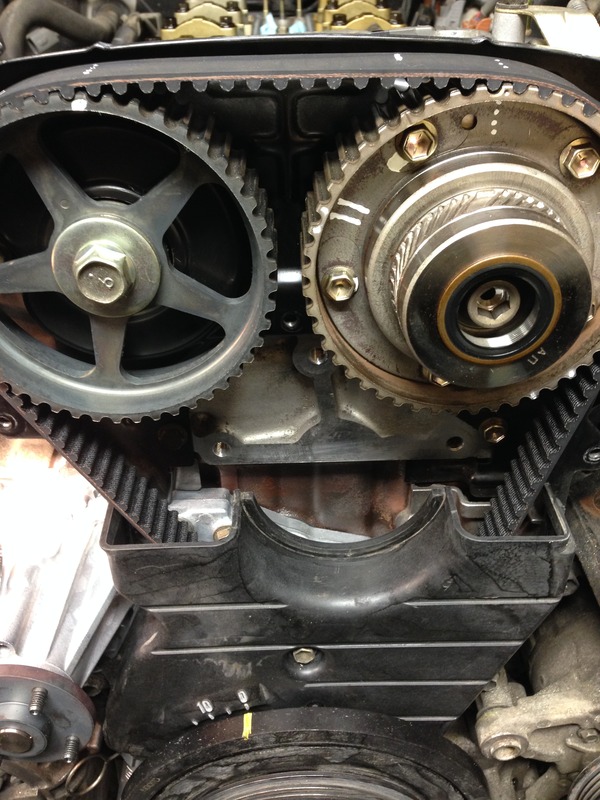
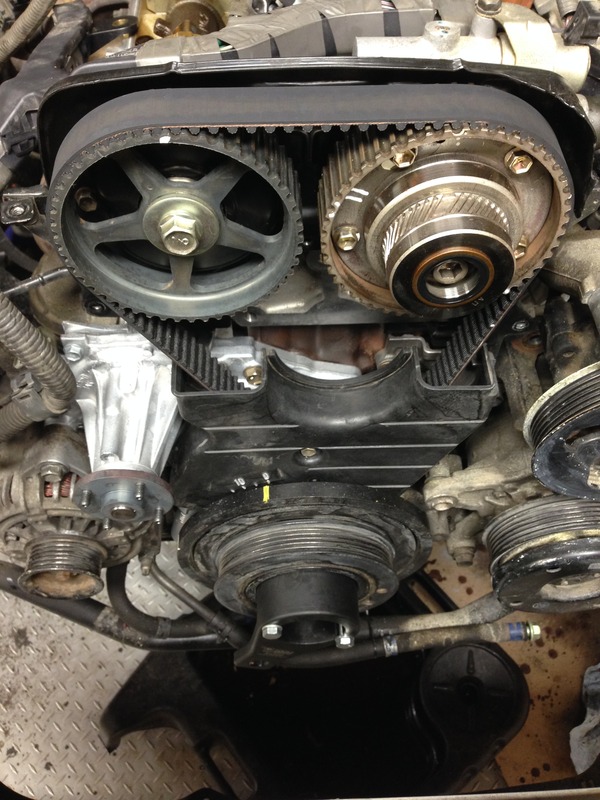
Slide cover and crank pulley back on and be happy crank hasn’t moved
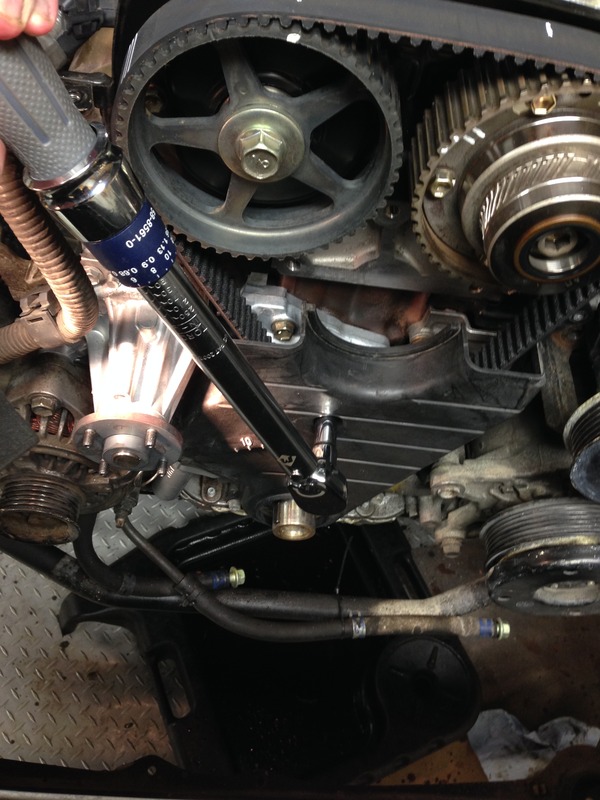
Re-install the crank pulley holder tool
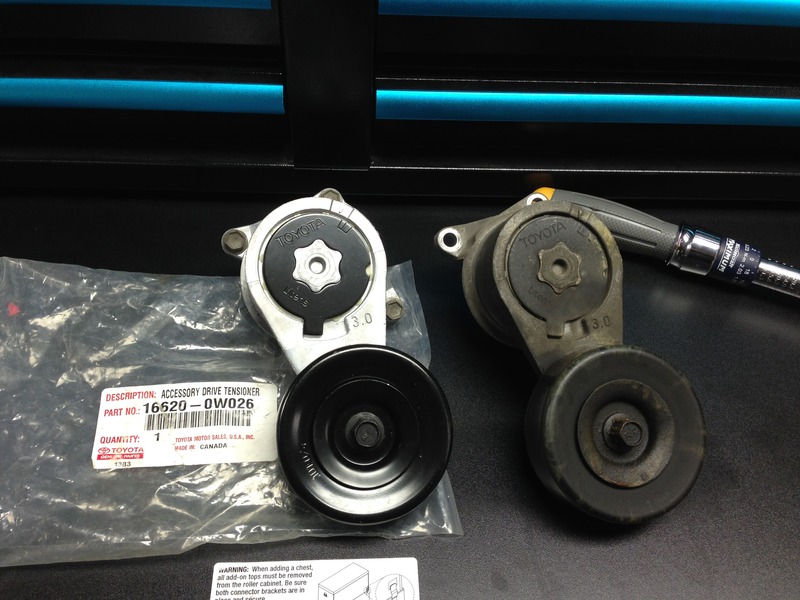
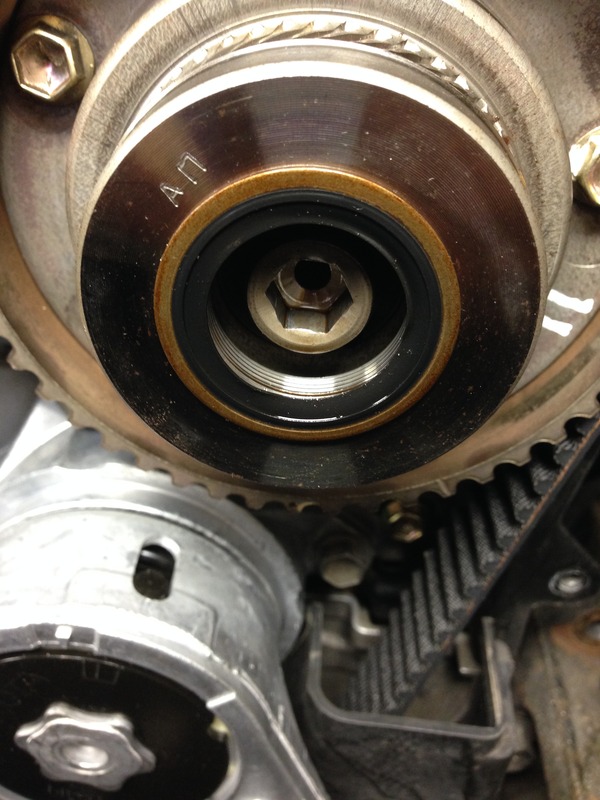
Install the new tensioner
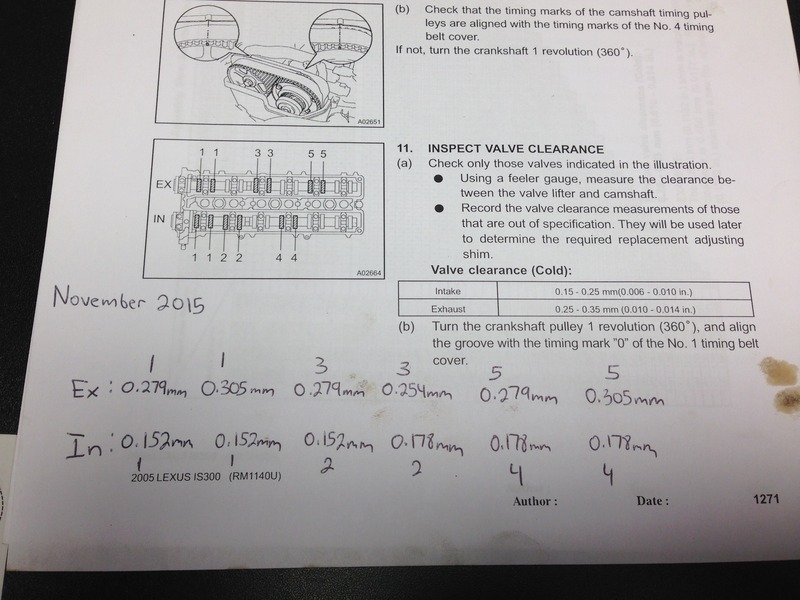
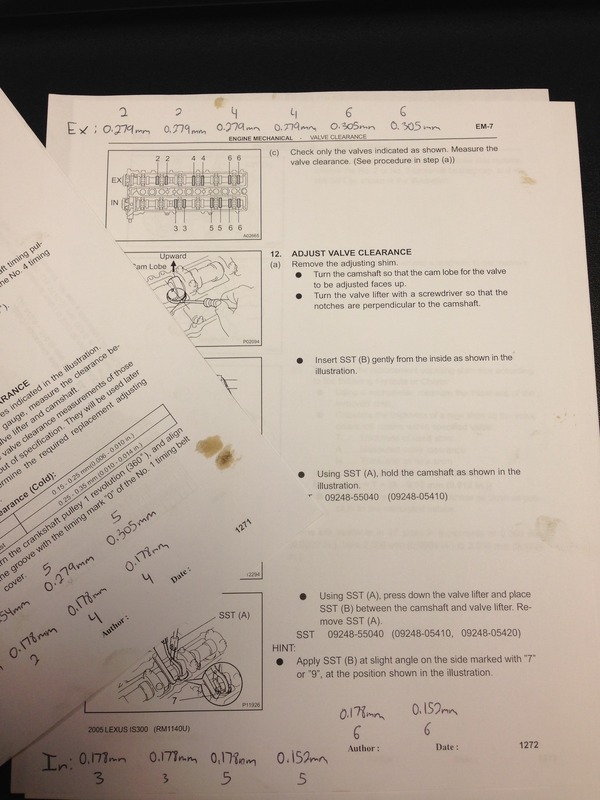
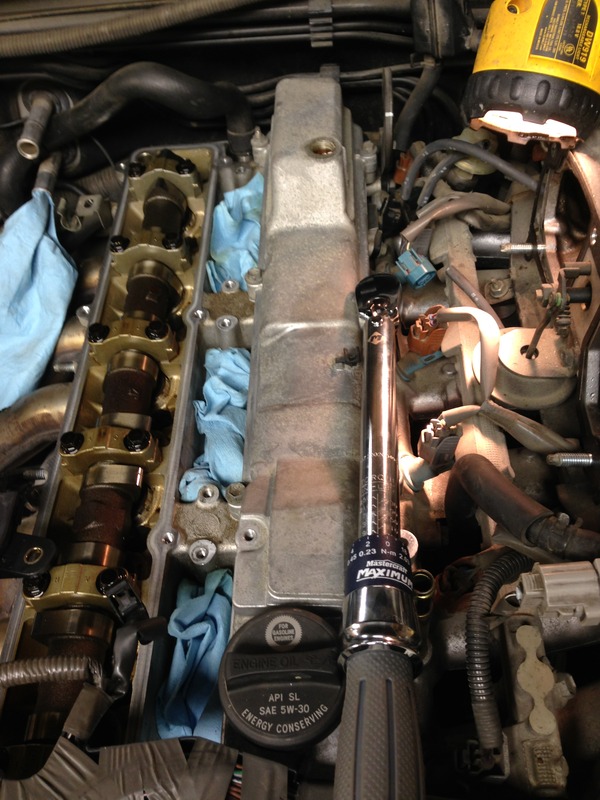
While you’re at it measure the valve clearances. All of mine were in spec (barely)
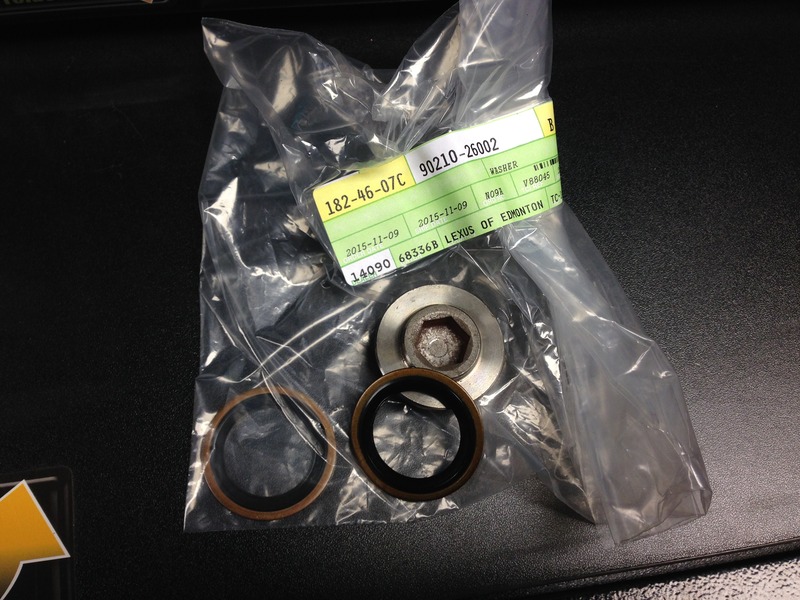
Install a new vvti oil cap gasket

Slide cover and crank pulley back on and be happy crank hasn’t moved

Re-install the crank pulley holder tool

Install the new tensioner

While you’re at it measure the valve clearances. All of mine were in spec (barely)


Install a new vvti oil cap gasket


 11-20-15, 09:47 PM
#47
Pit Crew
Thread Starter
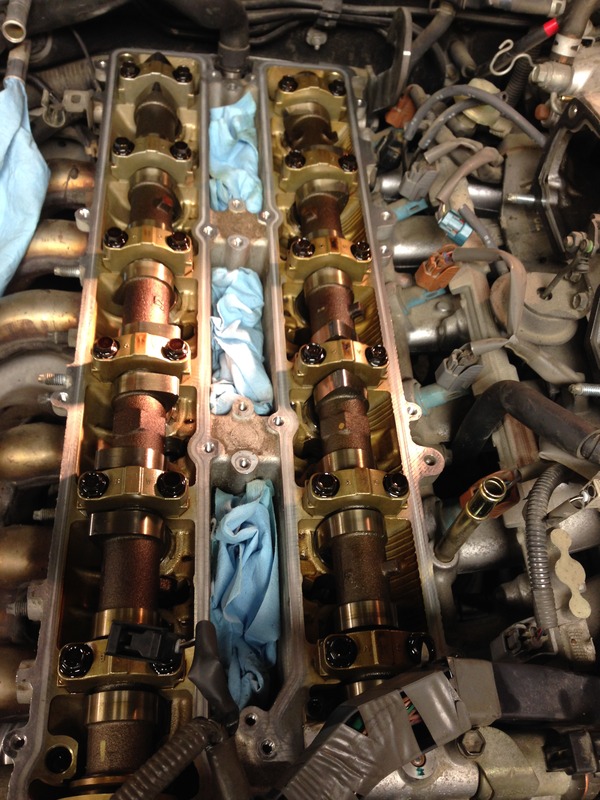
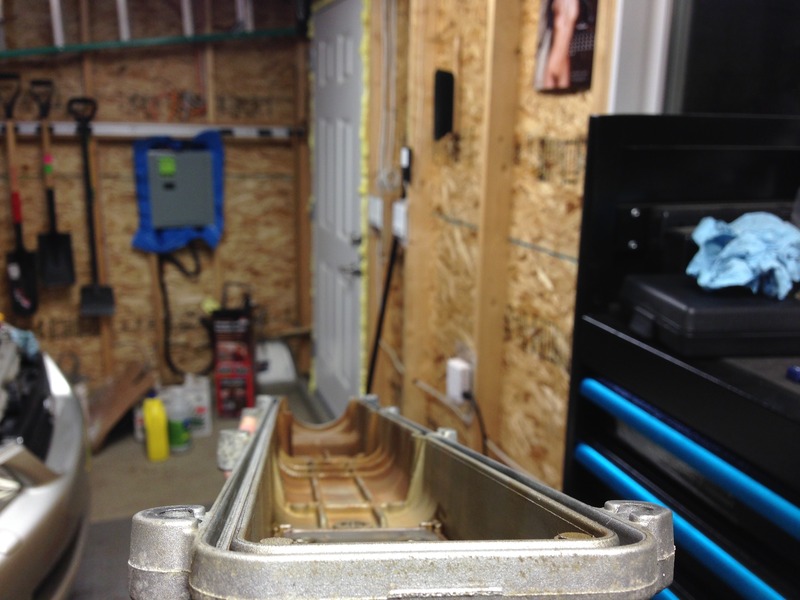
Clean the valve covers for re-installation
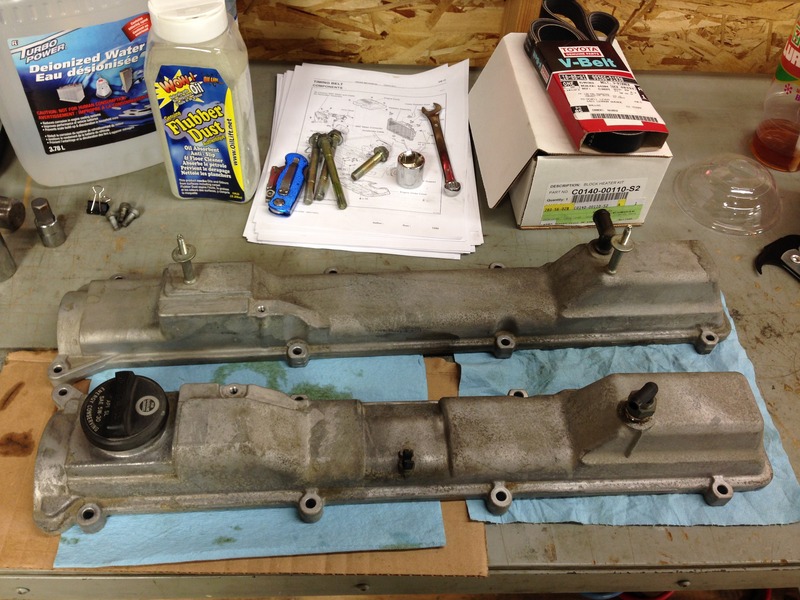
Use new gaskets
Clean the engine side really good especially around the corners
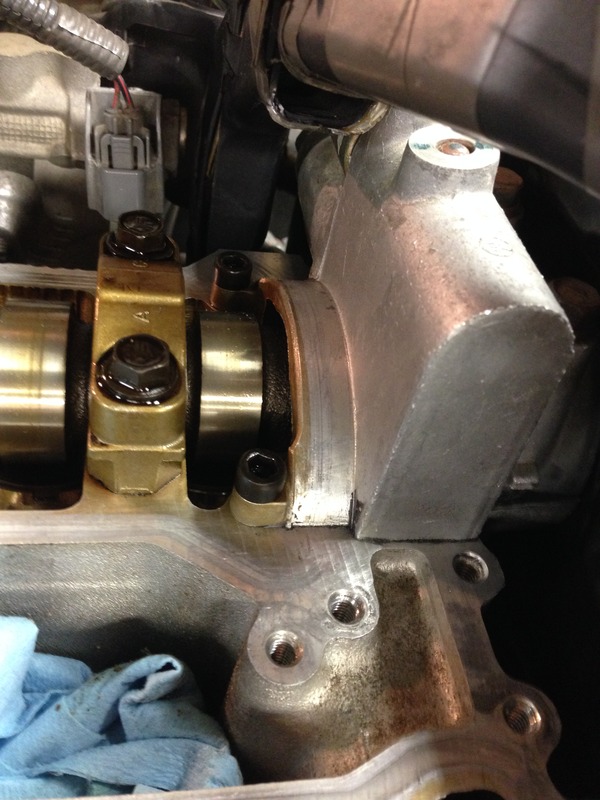
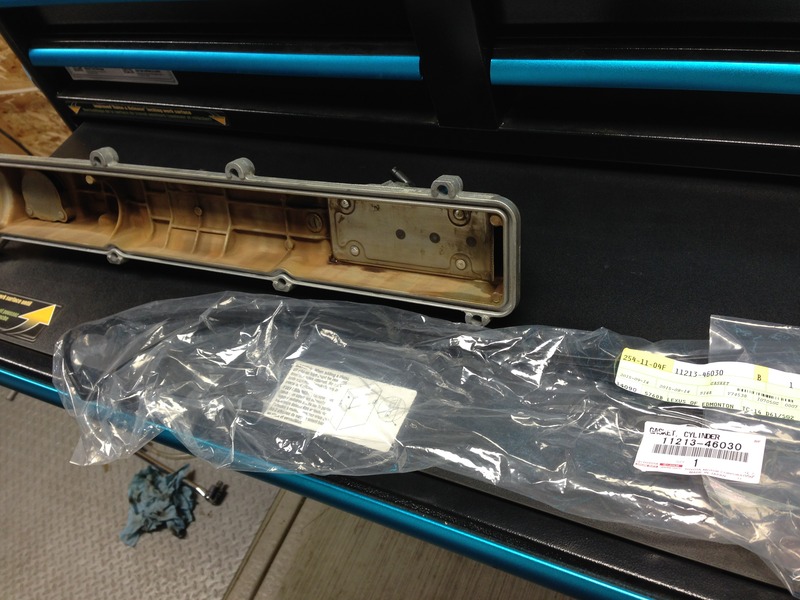
Everyone always gets in a dither about over torqueing the valve covers down. It’s not possible on these valve covers since you’d strip the aluminum threads longs before you crush the spacers on the bolt holes. What’s more important is the tightening sequence.
See spacers around bolt holes here
Put intake cover on
Realise your double nuts won’t work to get the valve cover studs back in so I had to go buy an E5 socket
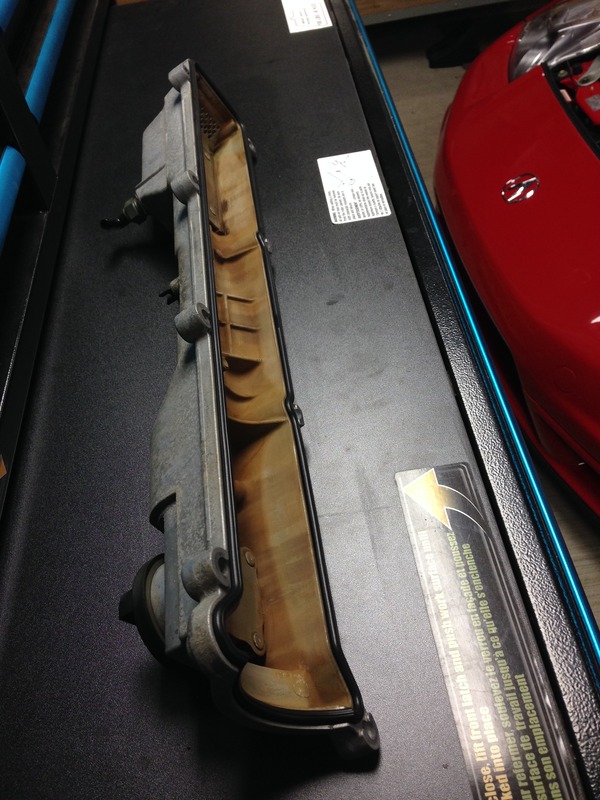
Both valve covers on

Use new gaskets


Clean the engine side really good especially around the corners


Everyone always gets in a dither about over torqueing the valve covers down. It’s not possible on these valve covers since you’d strip the aluminum threads longs before you crush the spacers on the bolt holes. What’s more important is the tightening sequence.
See spacers around bolt holes here

Put intake cover on

Realise your double nuts won’t work to get the valve cover studs back in so I had to go buy an E5 socket

Both valve covers on
 11-20-15, 09:48 PM
#48
Pit Crew
Thread Starter
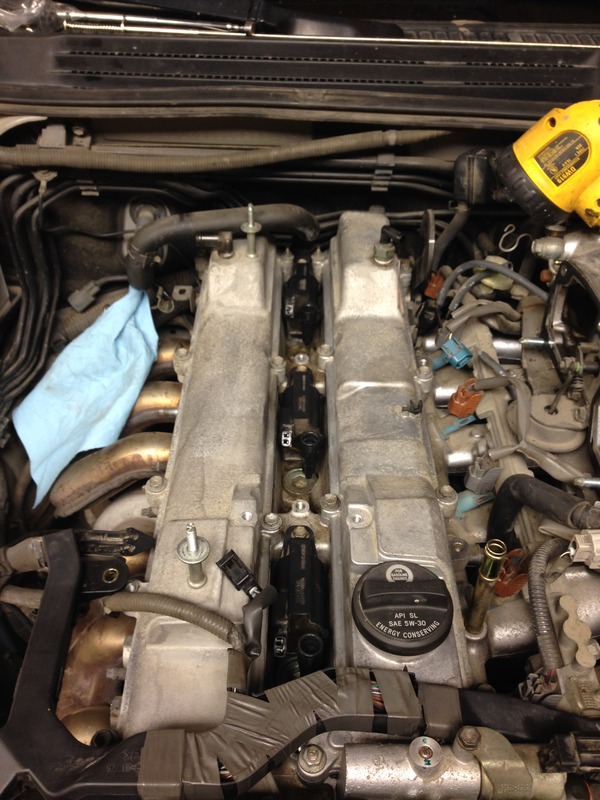
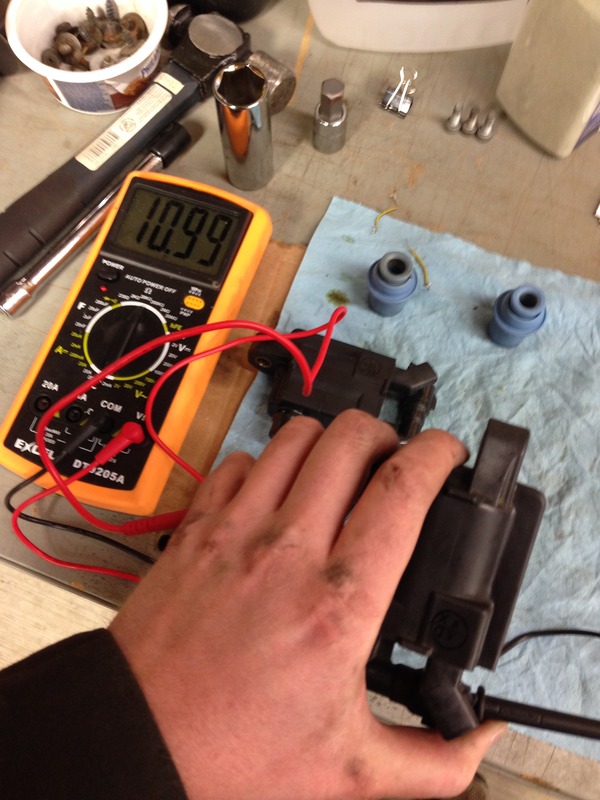
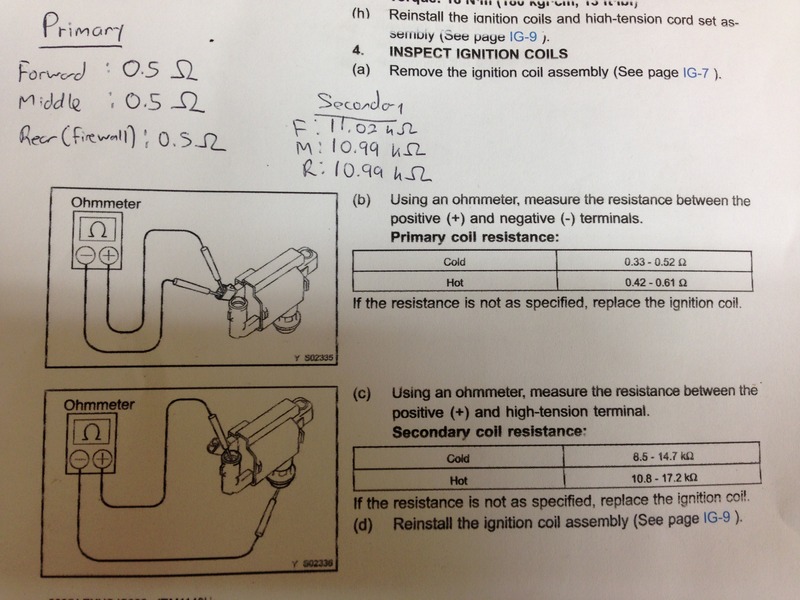
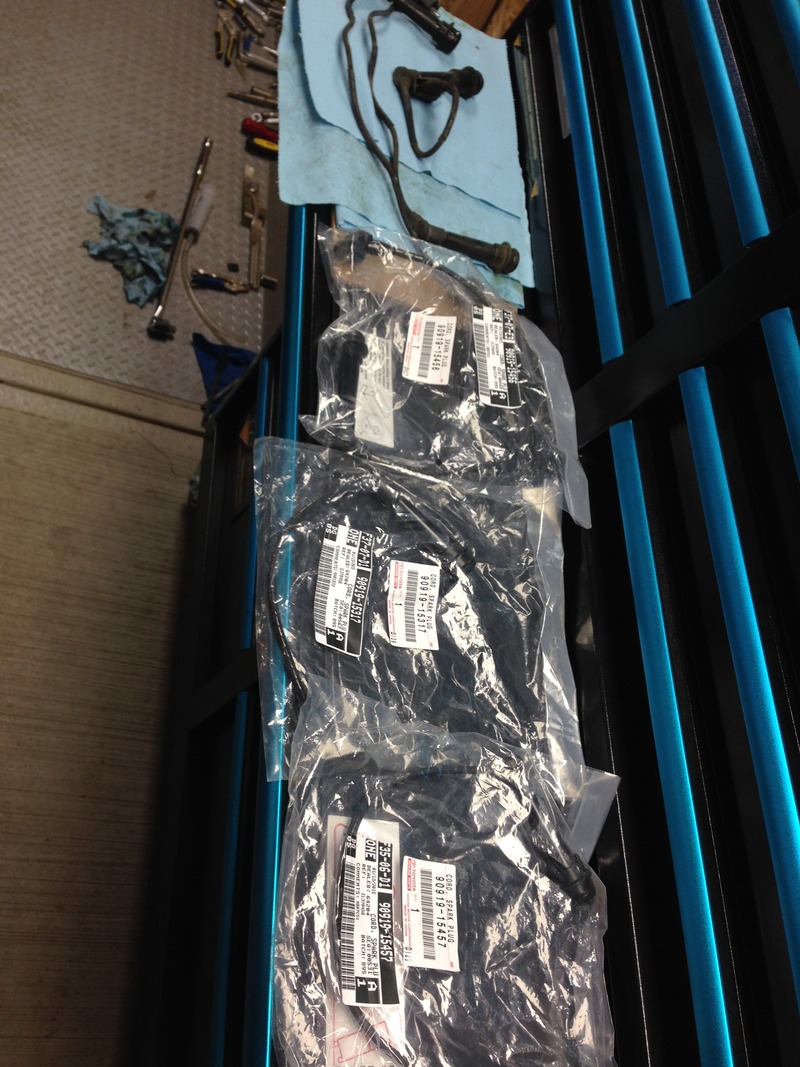
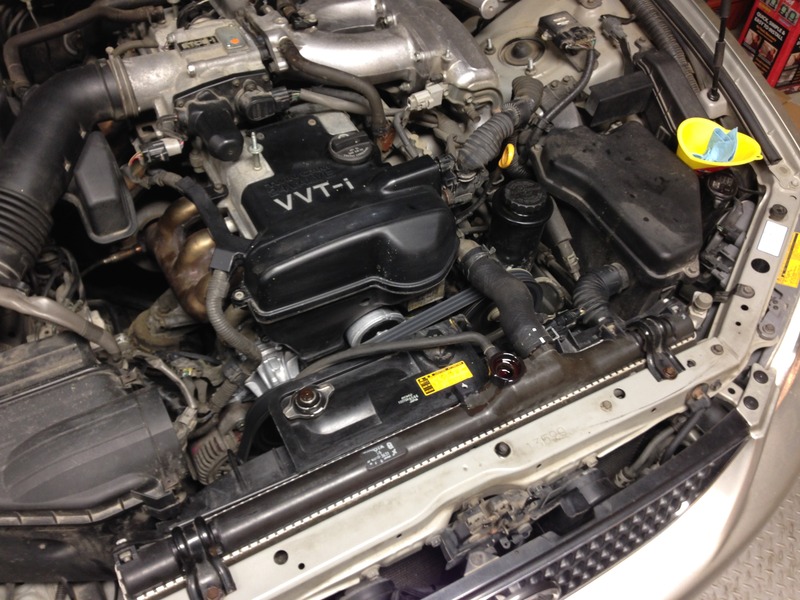
After they’re on start on the spark plugs and coils
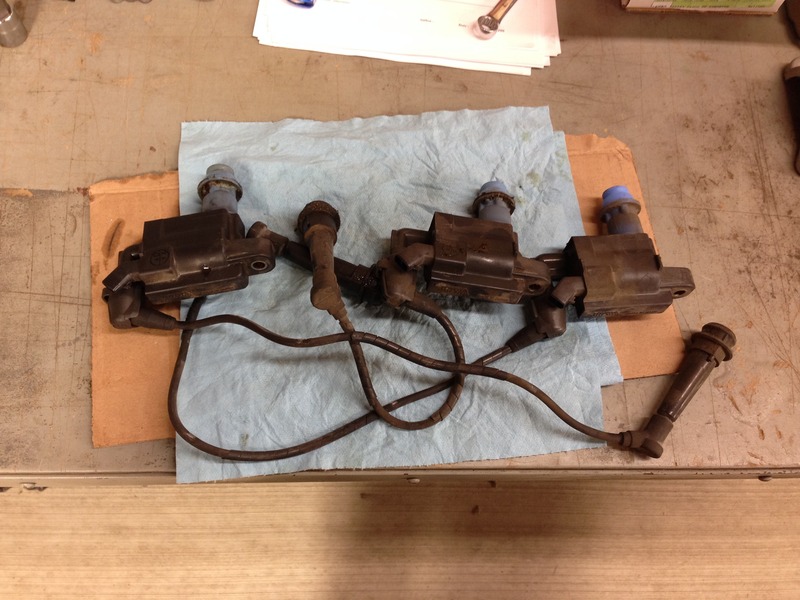
Clean them off
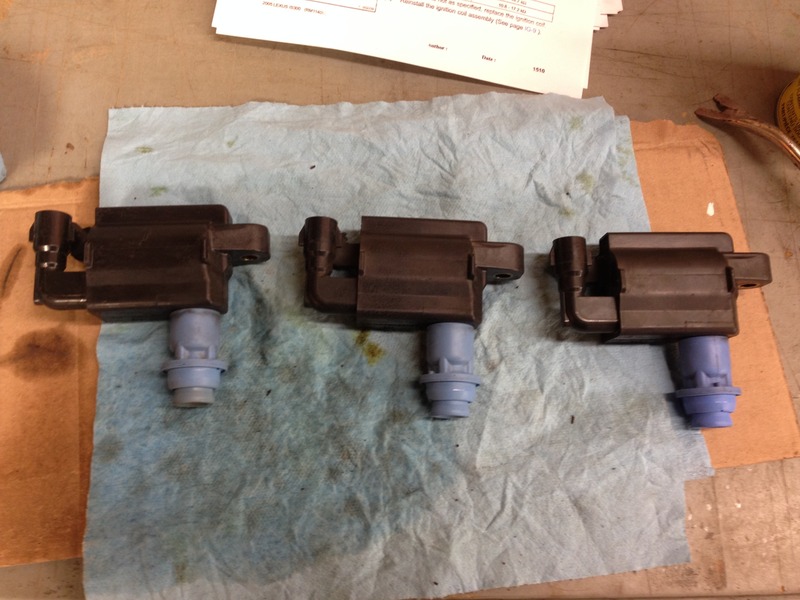
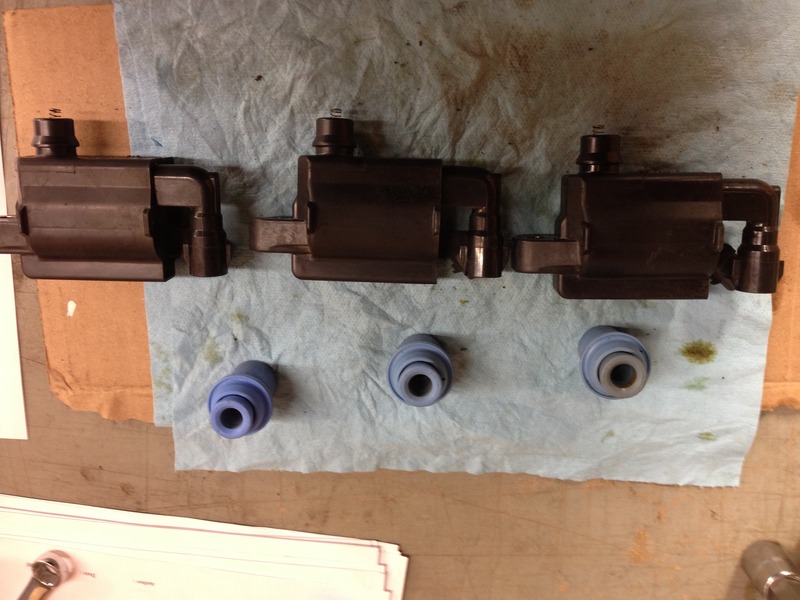
I didn’t want to spend $300 (CAD) on the coils so I’m happy they tested okay
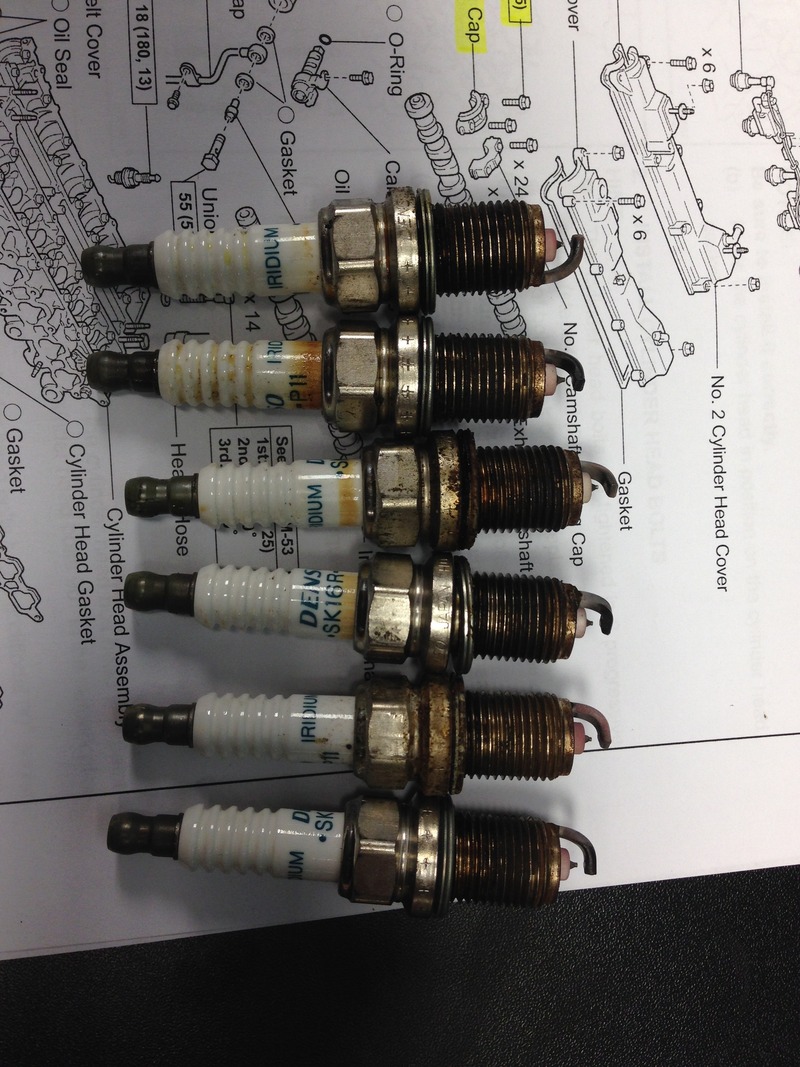
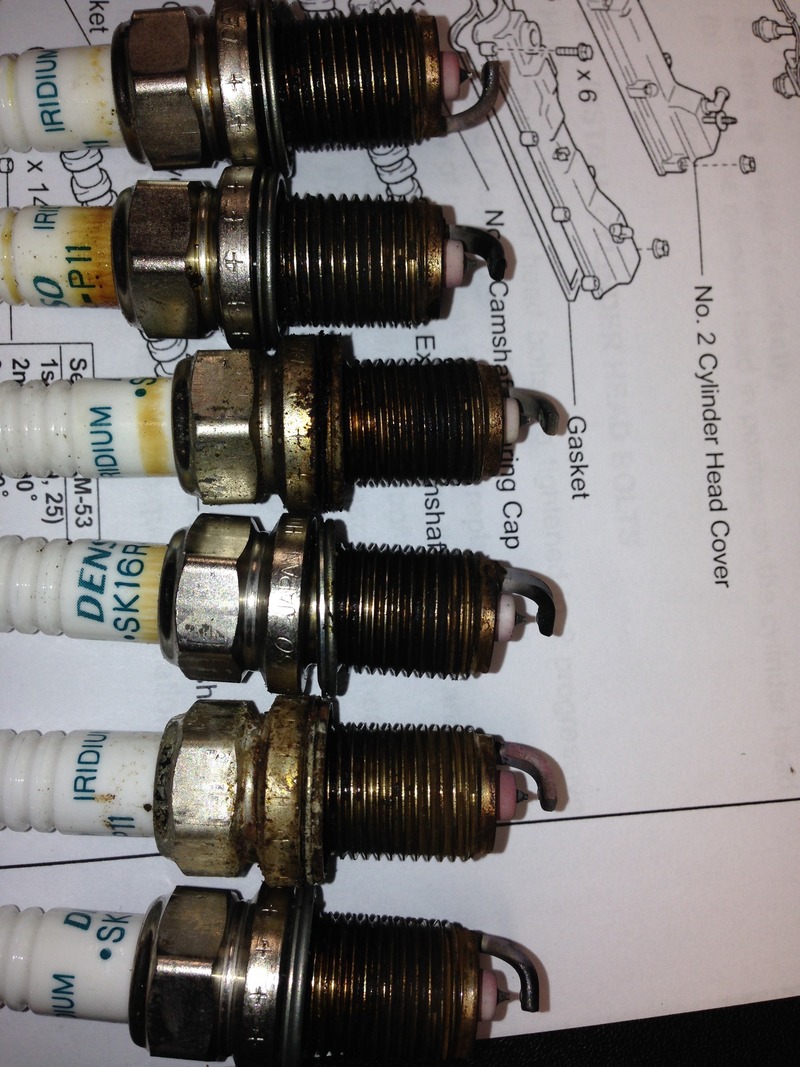
The plugs came out pink for some reason. I use Shell 91 gas only. No extra additives
Put new plug wires on since they’re cheap

Clean them off


I didn’t want to spend $300 (CAD) on the coils so I’m happy they tested okay


The plugs came out pink for some reason. I use Shell 91 gas only. No extra additives


Put new plug wires on since they’re cheap

 11-20-15, 09:50 PM
#49
Pit Crew
Thread Starter
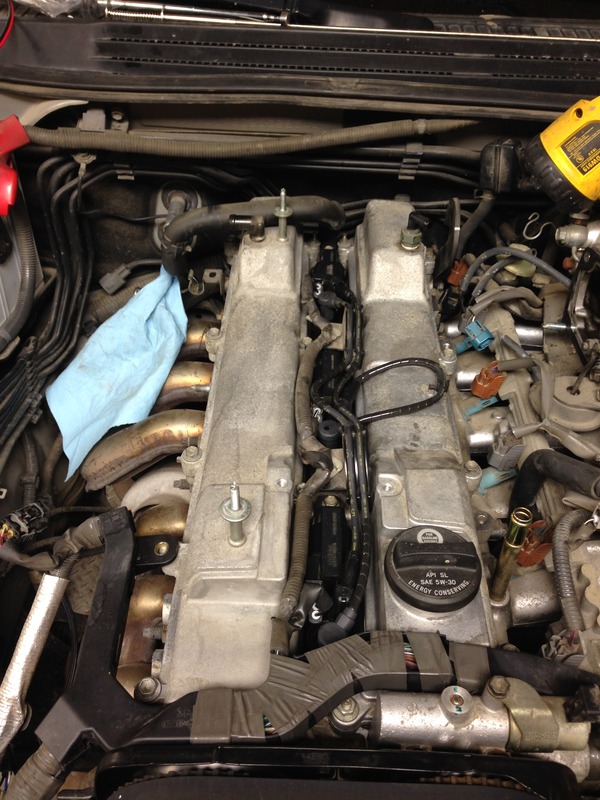
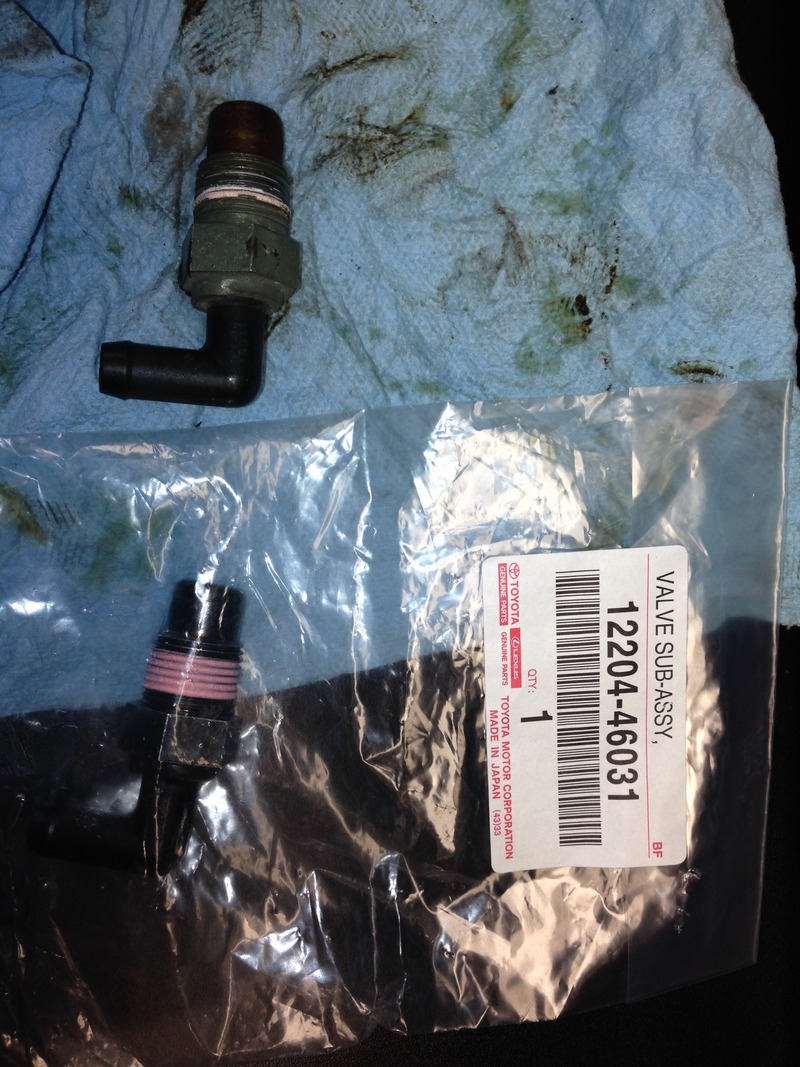
Change out the pressure control valve
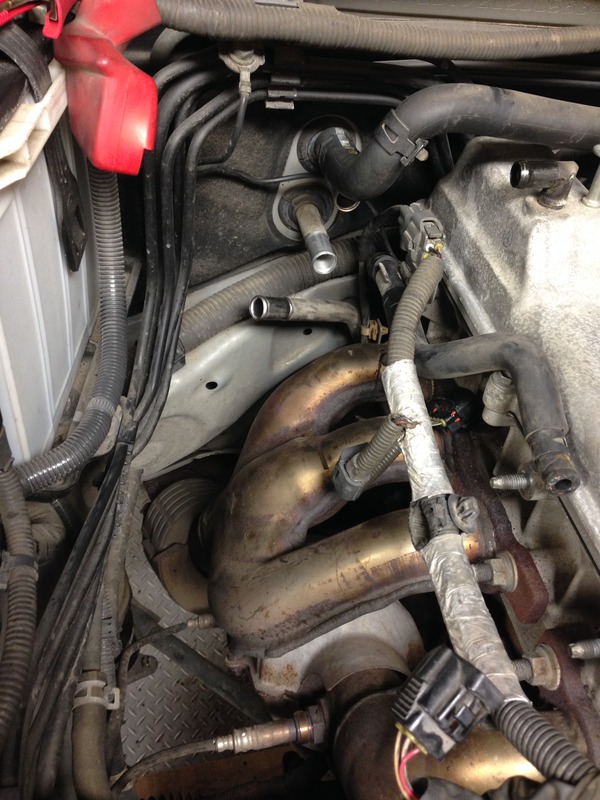
Start hooking tubes back up and putting covers back on
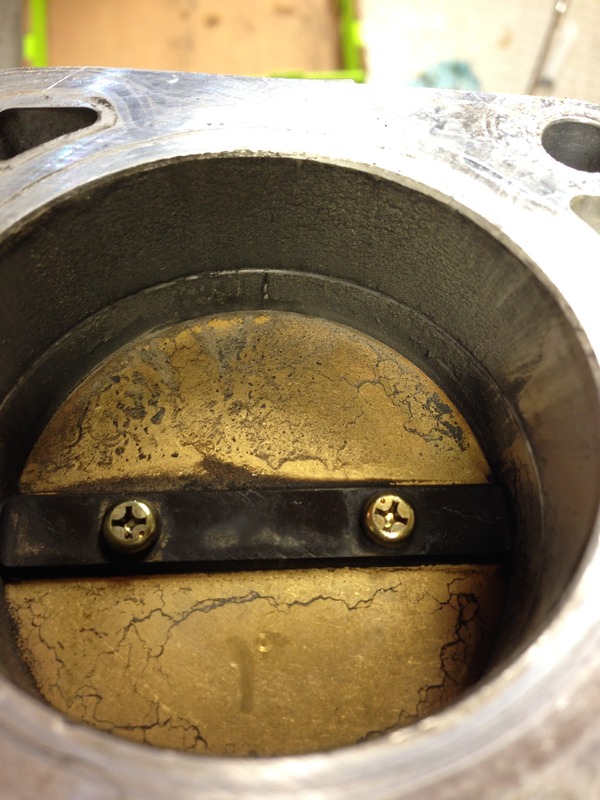
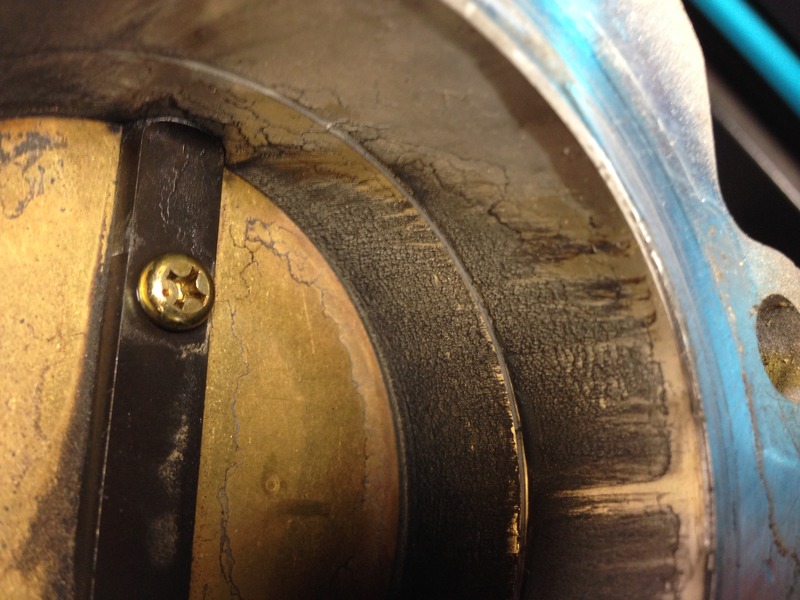
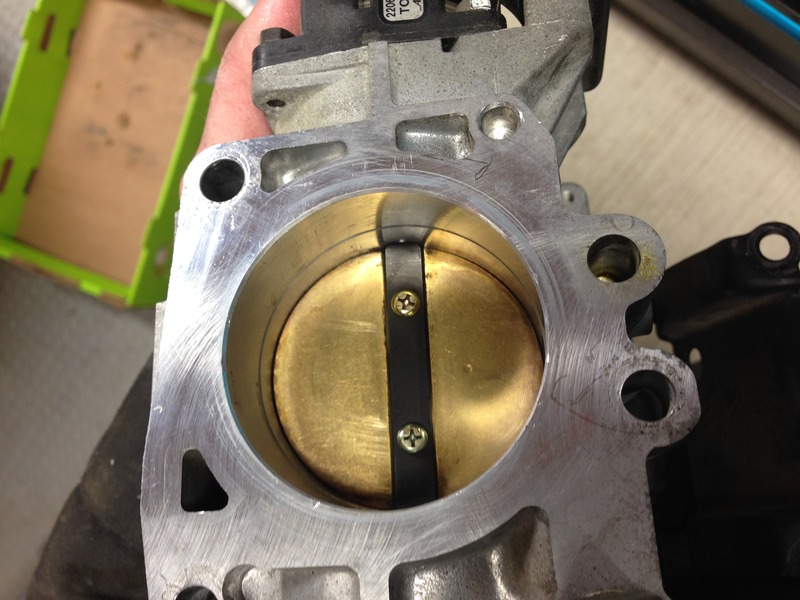
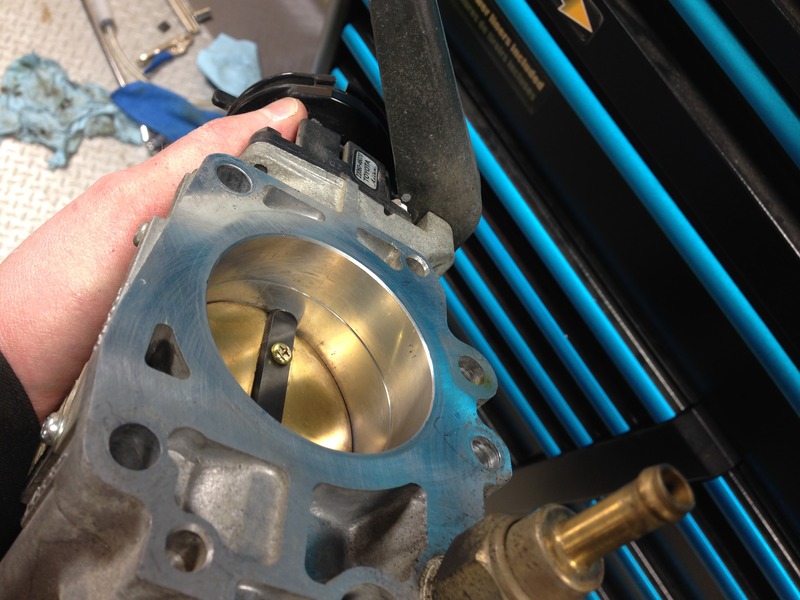
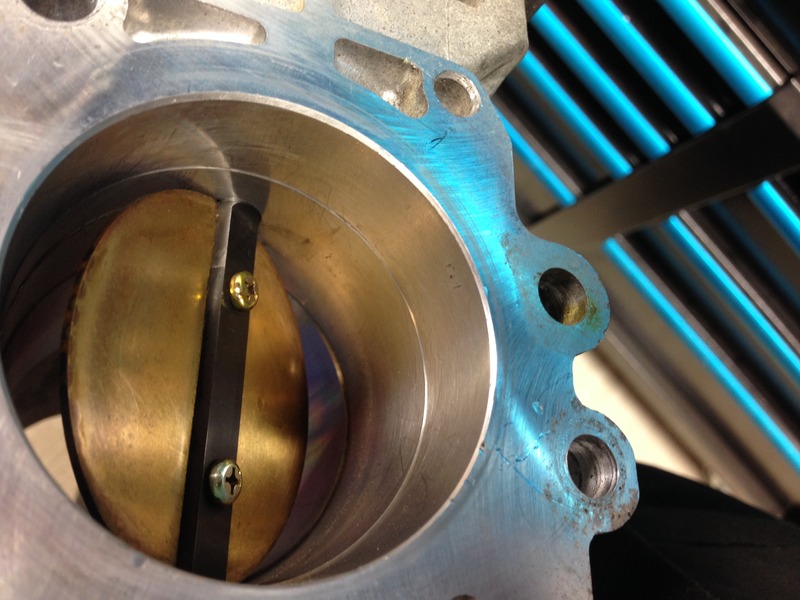
The throttle body only opens half way with the mechanical linkage. The rest of it is opened by the electric motor when you hook up power to the car
Before installing the throttle body clean it out. I couldn’t believe how much crap was in there. I had a stumble at initial throttle when the engine was cold which has completely cleared up now. I’m guessing the dirt was the problem

Start hooking tubes back up and putting covers back on


The throttle body only opens half way with the mechanical linkage. The rest of it is opened by the electric motor when you hook up power to the car
Before installing the throttle body clean it out. I couldn’t believe how much crap was in there. I had a stumble at initial throttle when the engine was cold which has completely cleared up now. I’m guessing the dirt was the problem


 11-20-15, 09:51 PM
#50
Pit Crew
Thread Starter
Install new y-pipe gasket

Put accessory belt on. At first I cursed the dealership for selling me an aftermarket belt (Mitsuboshi). I then realised it also said Toyota on it. Double the price well spent…….NOT (Borat voice)
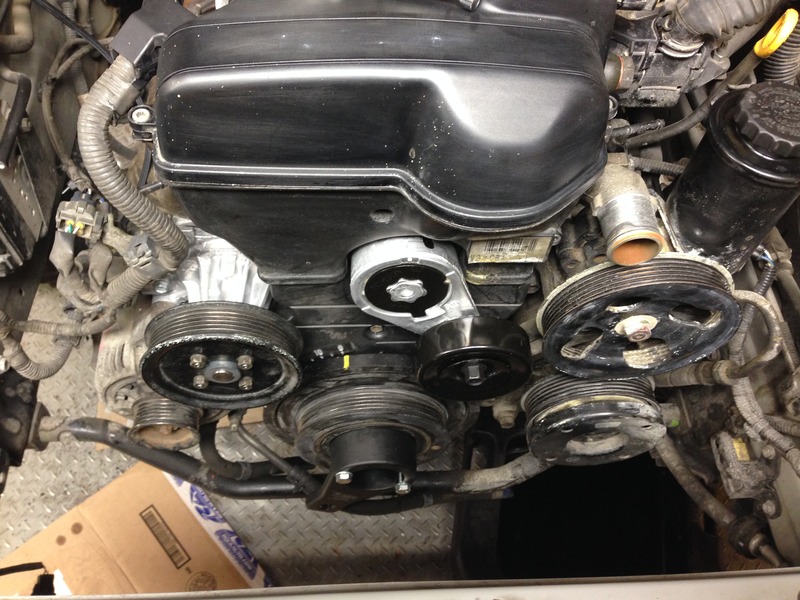
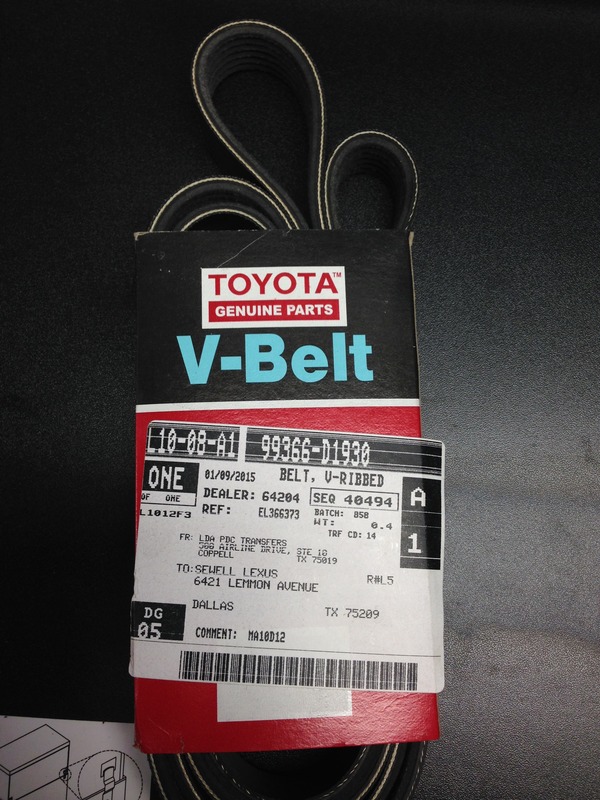
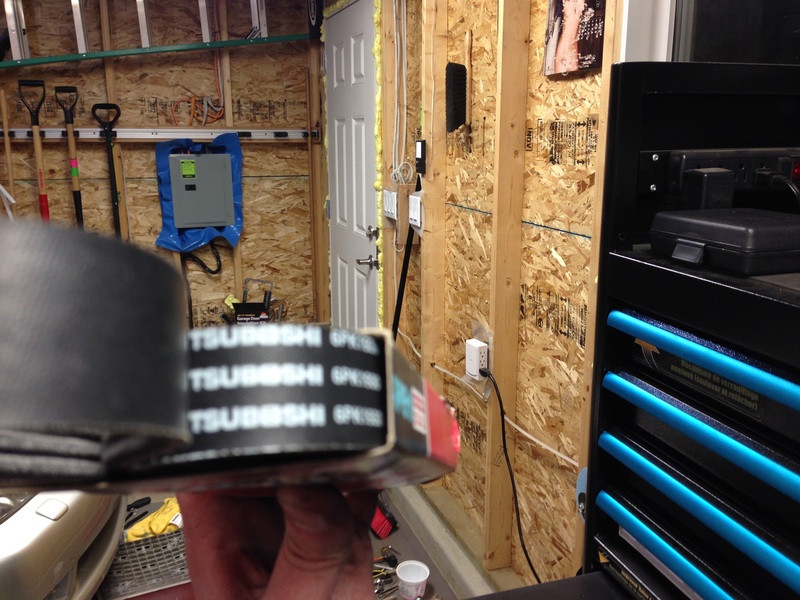
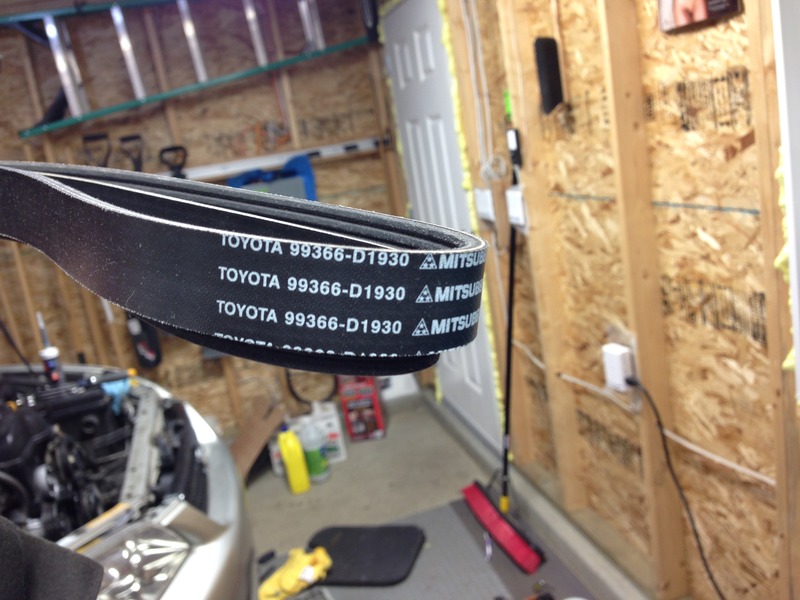
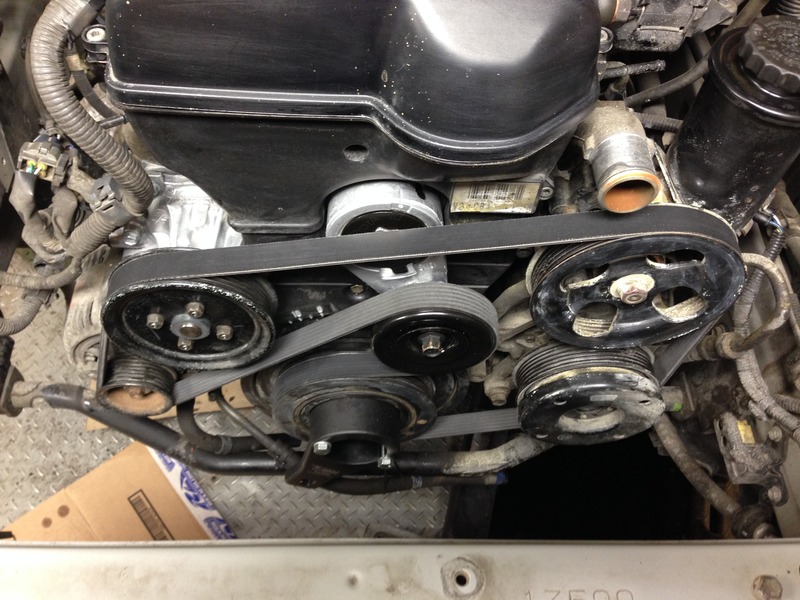


Put accessory belt on. At first I cursed the dealership for selling me an aftermarket belt (Mitsuboshi). I then realised it also said Toyota on it. Double the price well spent…….NOT (Borat voice)


 11-20-15, 09:52 PM
#51
Pit Crew
Thread Starter
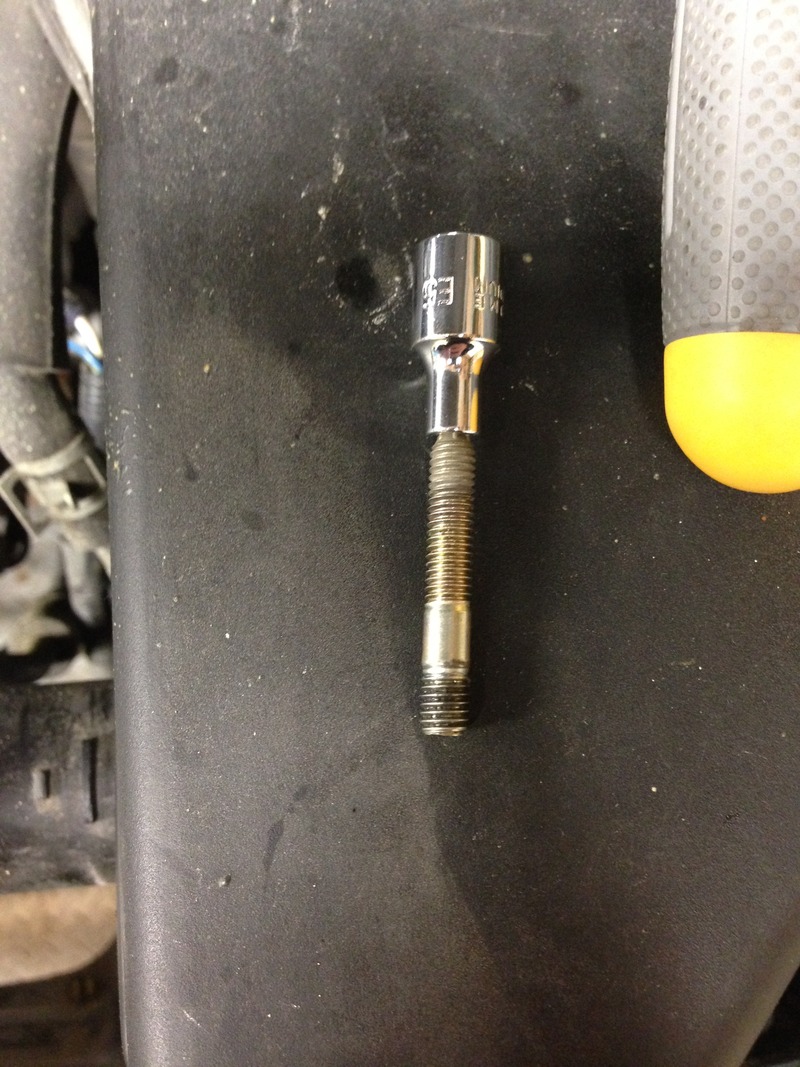
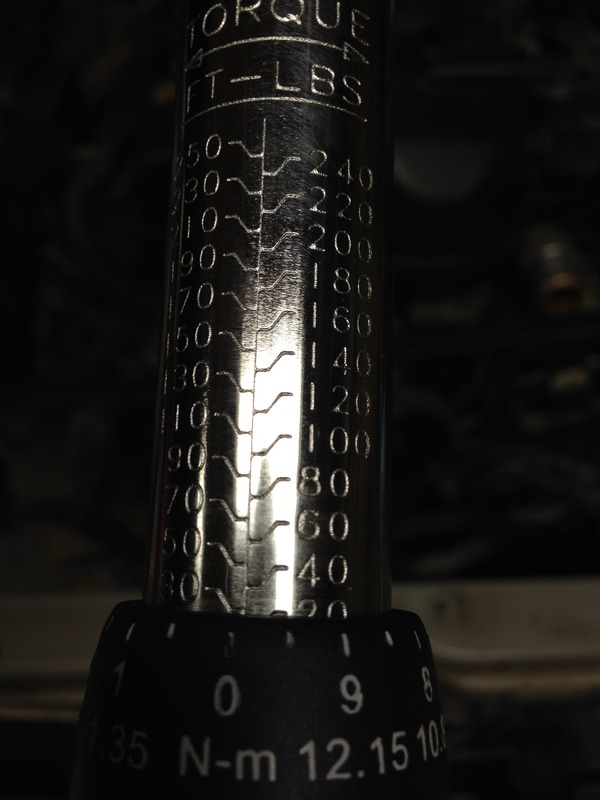
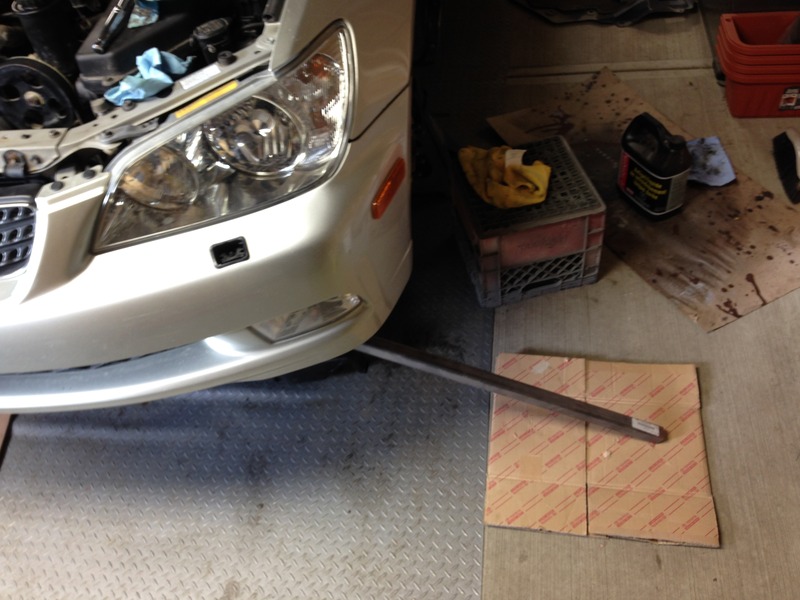
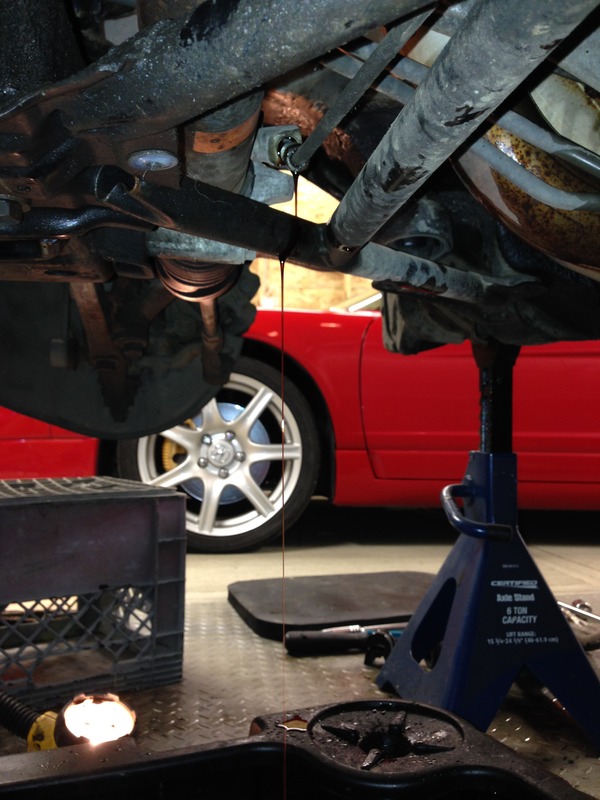
Then torque the crank pulley bolt to 243 ft-lb. Standard ˝” wrenches can do it. I made the same setup as removing the bolt just on the opposite side of the car. I never understood people’s fascinations of resting it against the frame rail where there are a bunch of wires and sensors. Just rest it on the ground people!

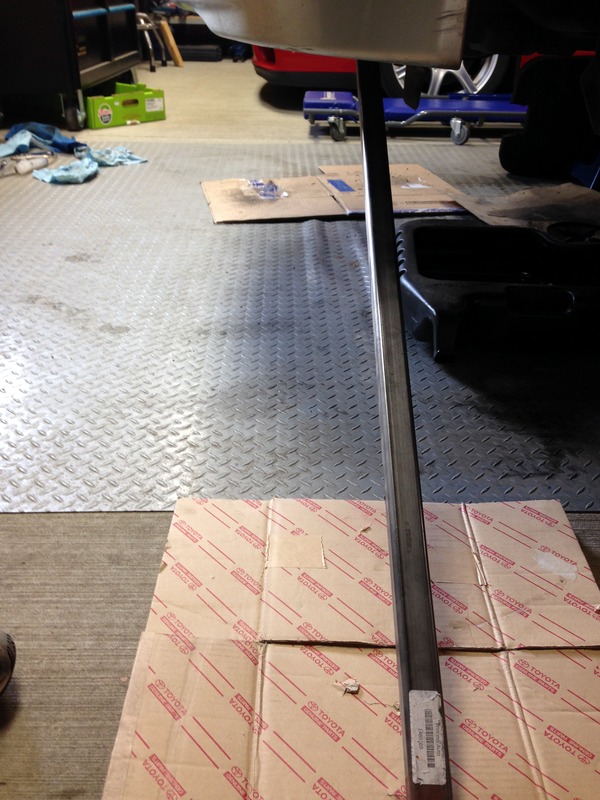
I pushed away from me which was a bit of a pain at the higher torque but still very manageable
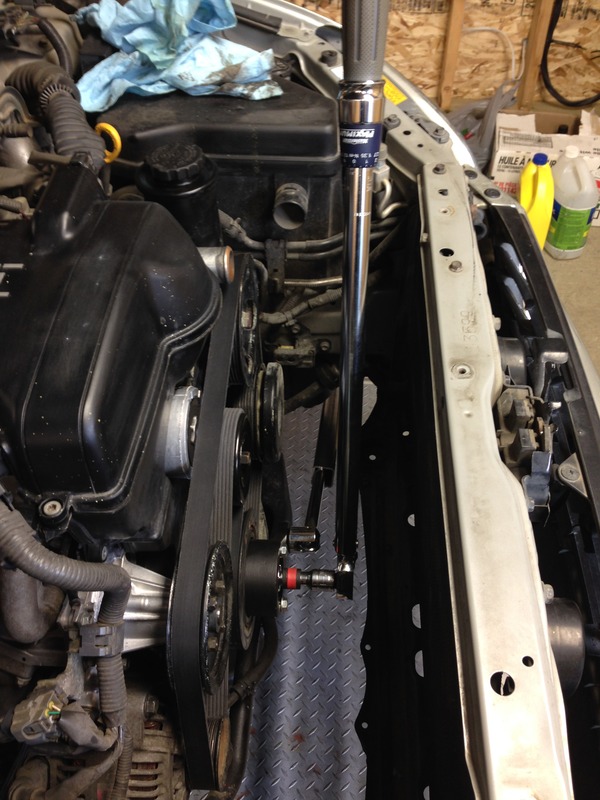
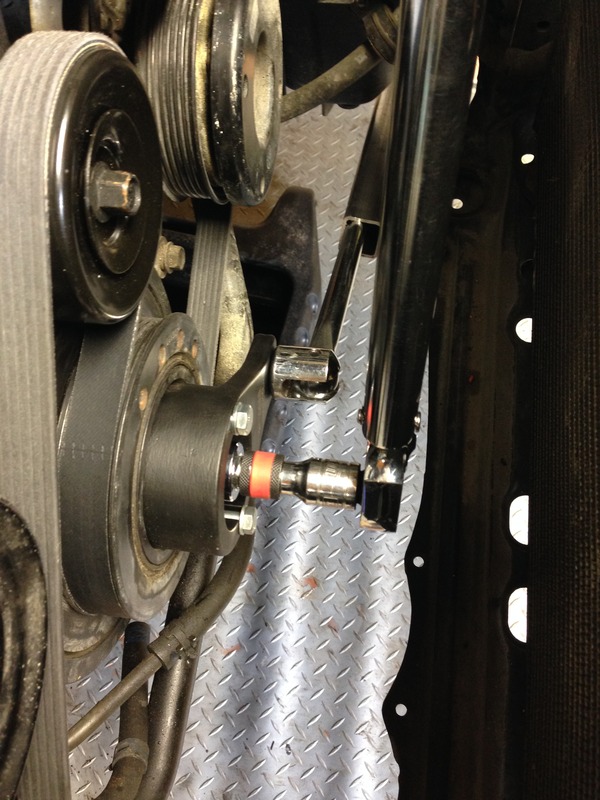
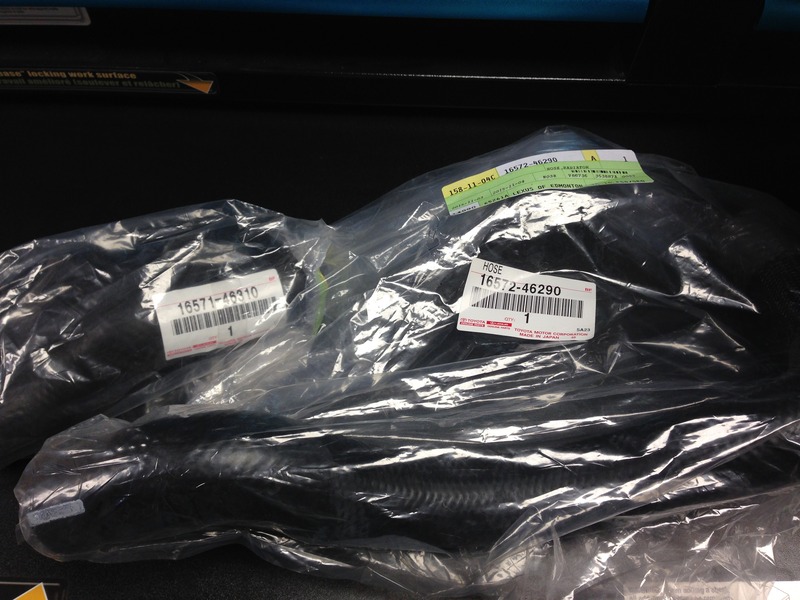
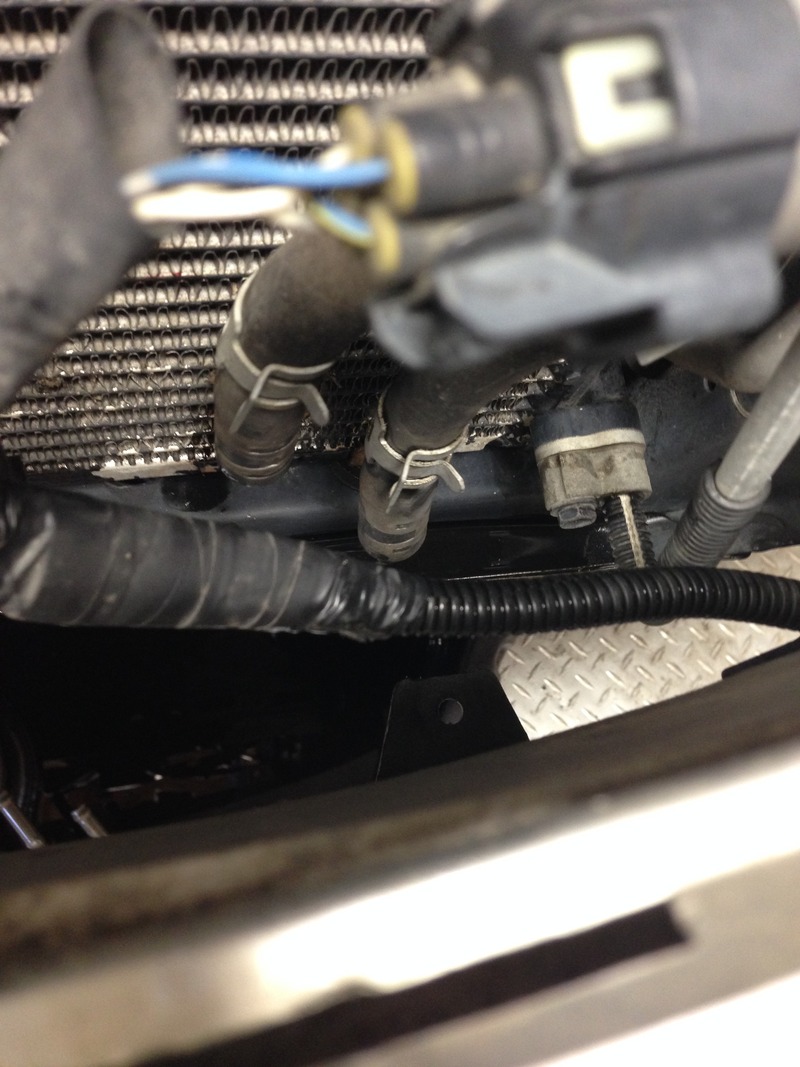
Re-install the radiator and hoses. The bottom radiator mount was surprisingly in good condition
New hoses


I pushed away from me which was a bit of a pain at the higher torque but still very manageable


Re-install the radiator and hoses. The bottom radiator mount was surprisingly in good condition

New hoses
 11-20-15, 09:52 PM
#52
Pit Crew
Thread Starter

Install them with the lines matching on the car side


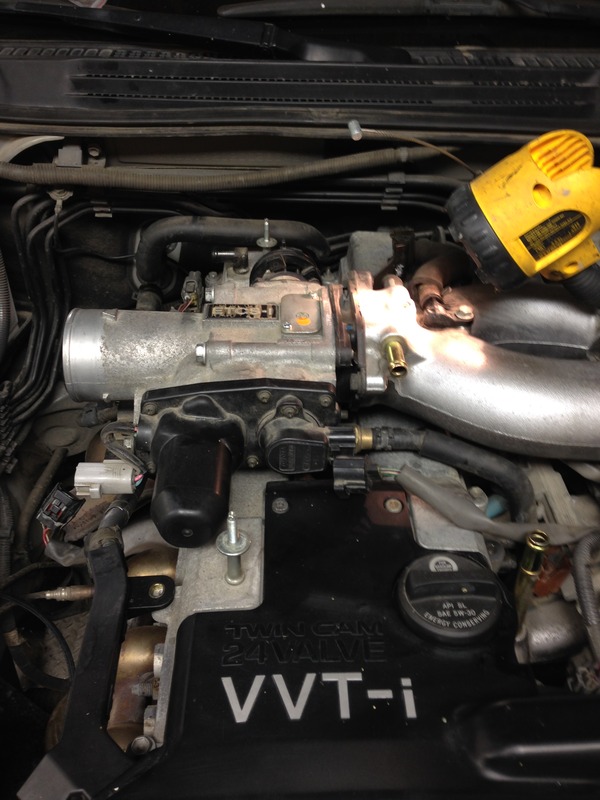
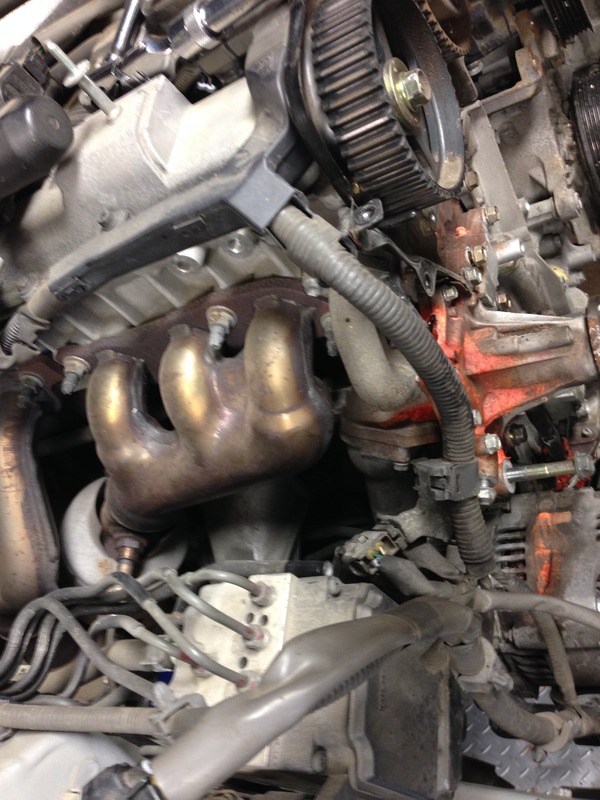
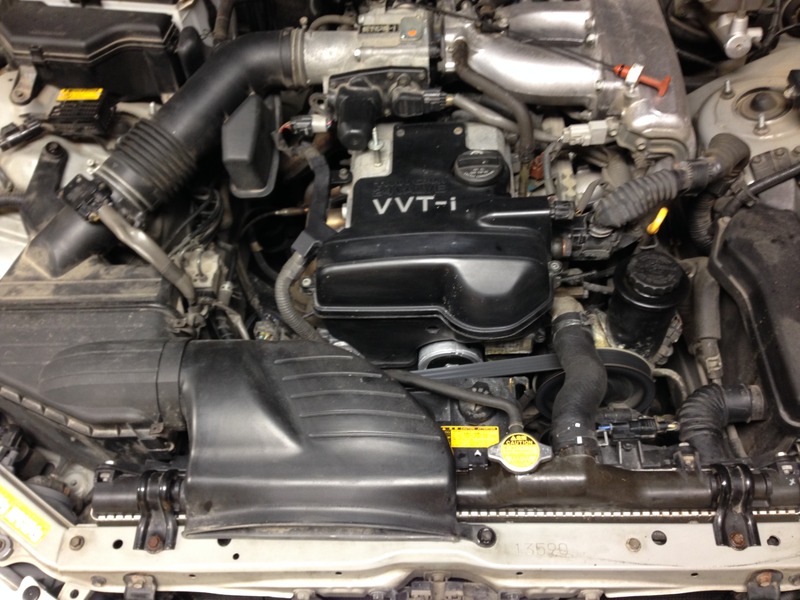
Re-install the airbox and whatever the hell this sensor is


Re-install the air tube and you’re basically done
 11-20-15, 09:53 PM
#53
Pit Crew
Thread Starter
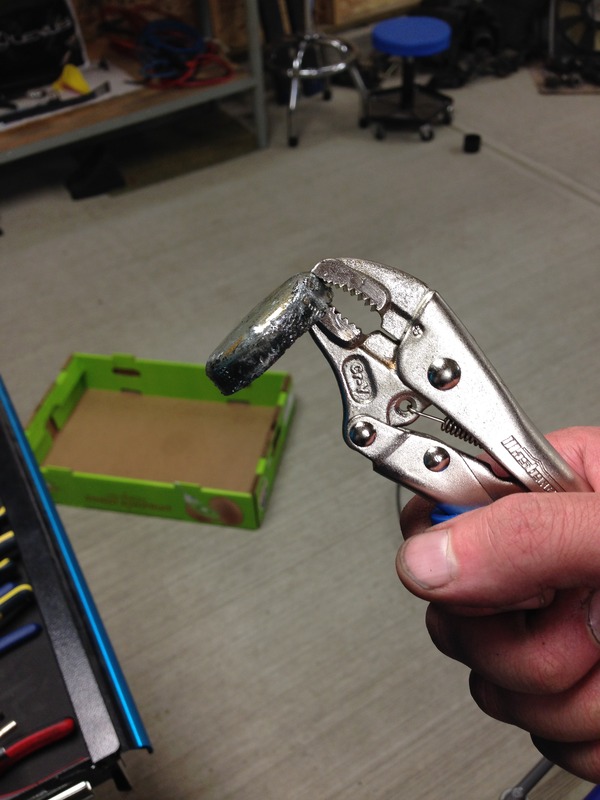
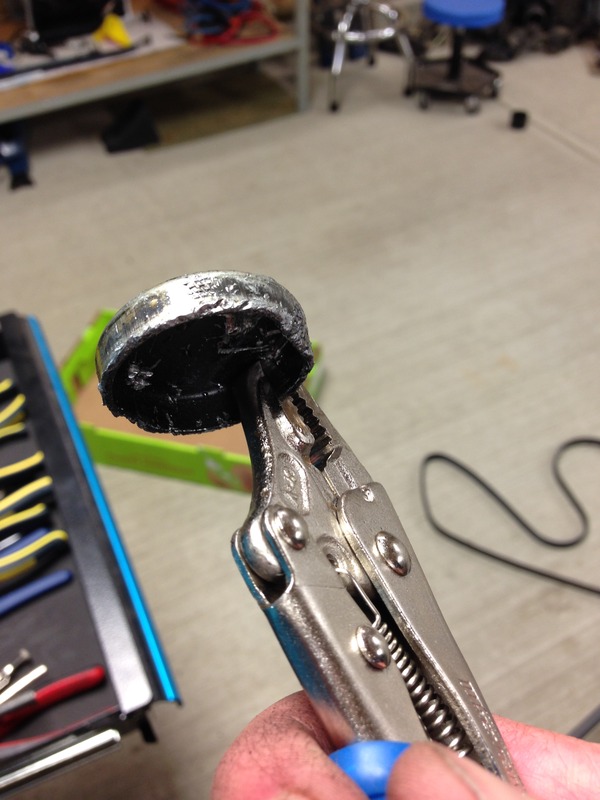
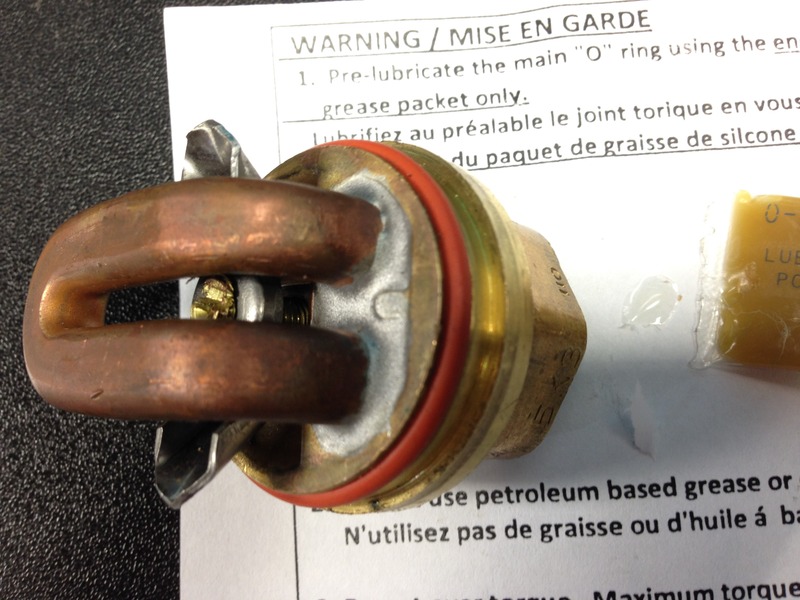
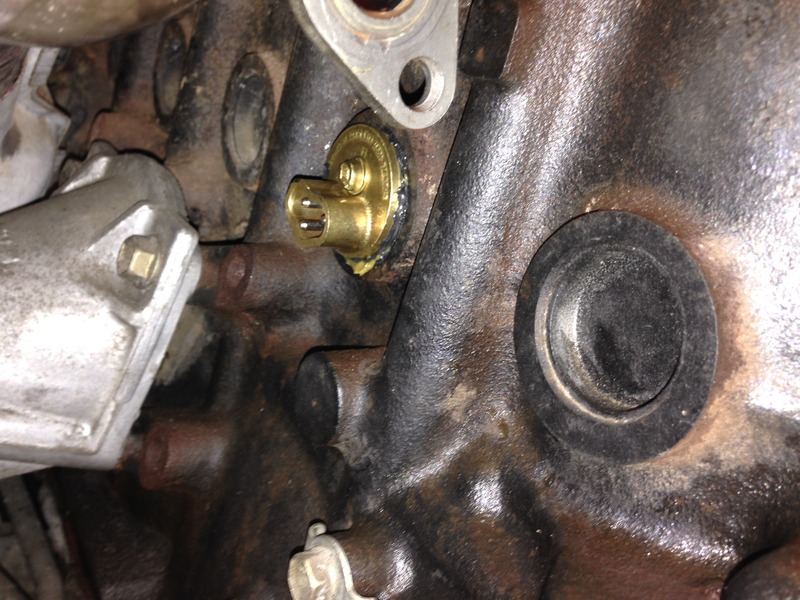
Block heater. The car didn’t have one so I bought the OEM kit from Toyota as mentioned in earlier posts. Fairly easy install except for that damn frost plug that pushed into the engine on me. I spent much time trying to get it out.

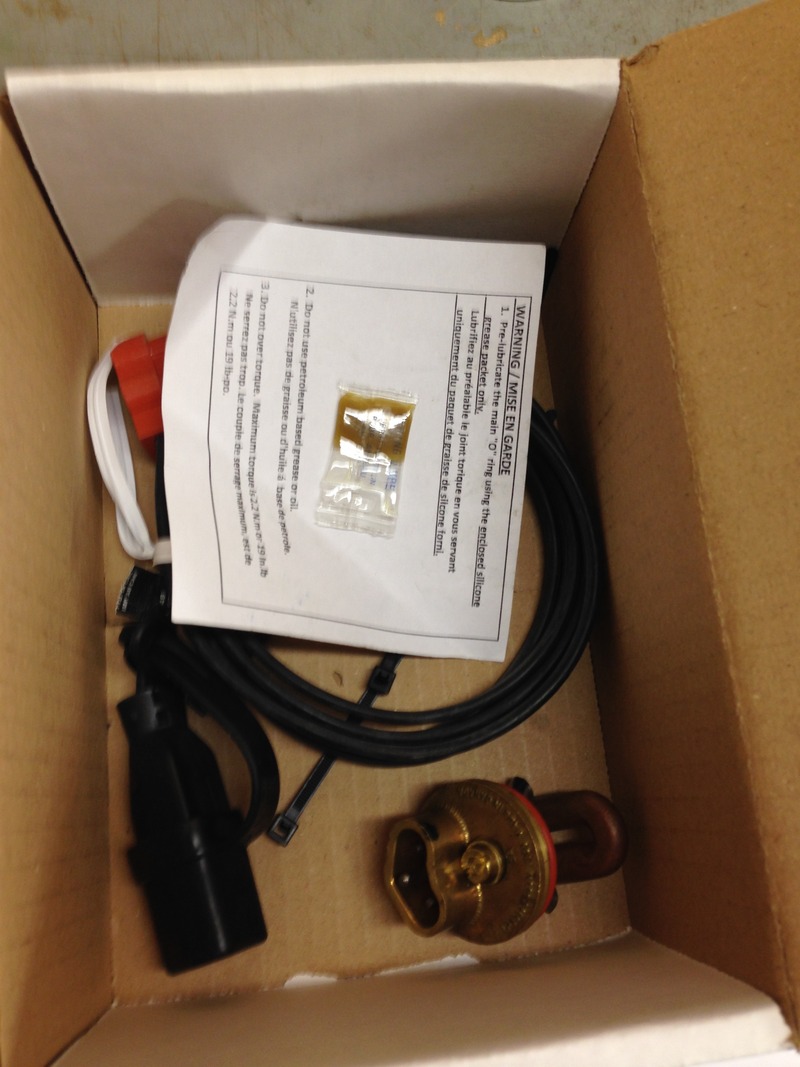
Frost plug goes sort of behind the water pump so very easy to do if you’re completing any of the above engine service
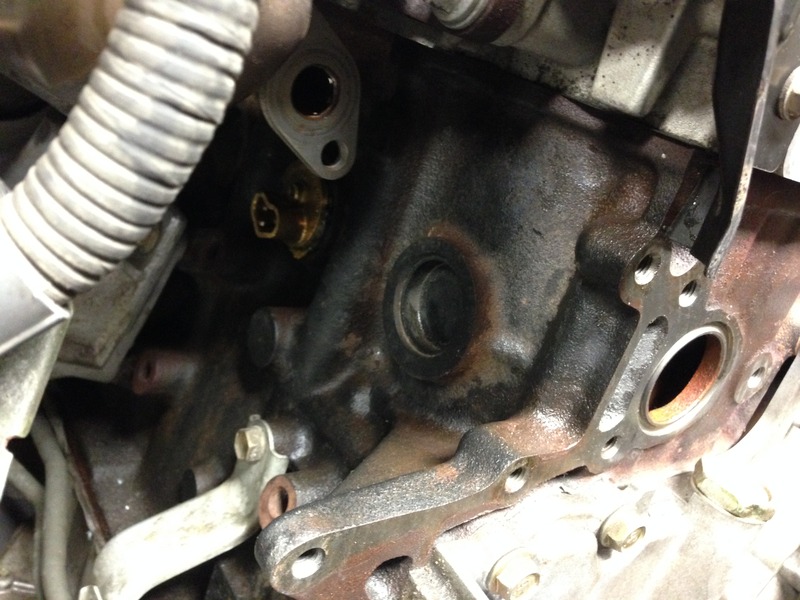
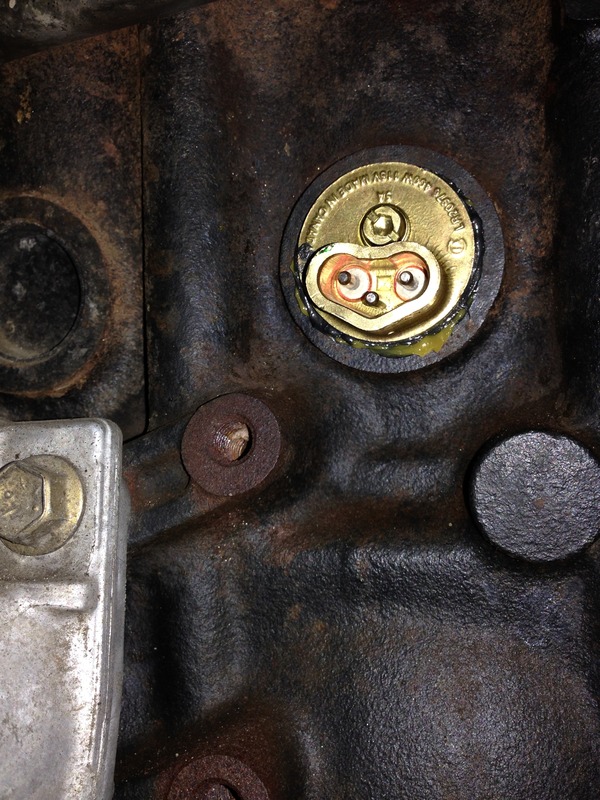
The black circle is what you want to hammer and chisel out
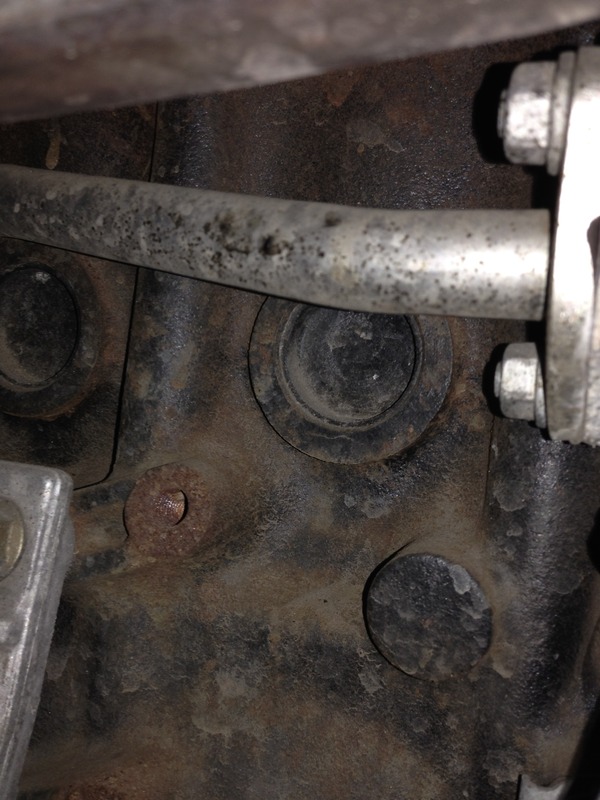
It is not the easily accessible one in plain view. That would be too easy. It’s the second one.
Le frost plug


Frost plug goes sort of behind the water pump so very easy to do if you’re completing any of the above engine service

The black circle is what you want to hammer and chisel out

It is not the easily accessible one in plain view. That would be too easy. It’s the second one.

Le frost plug

 11-20-15, 09:54 PM
#54
Pit Crew
Thread Starter
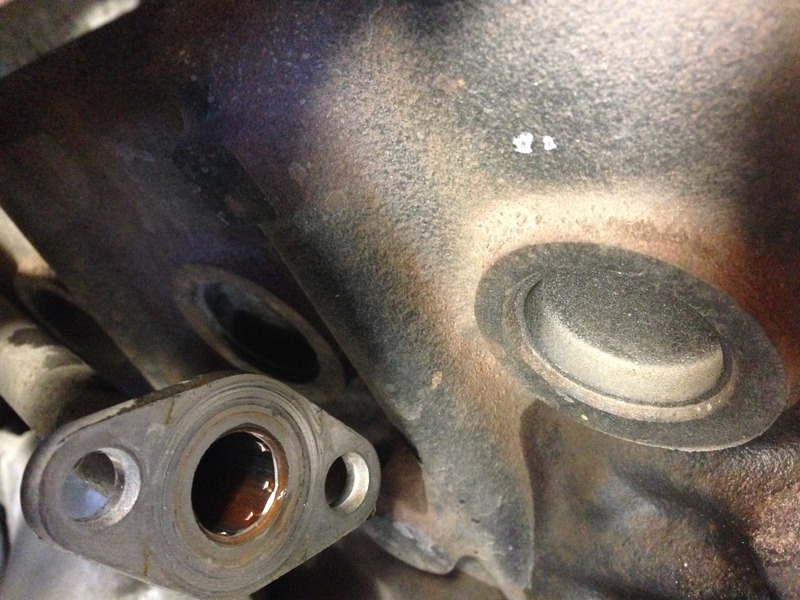
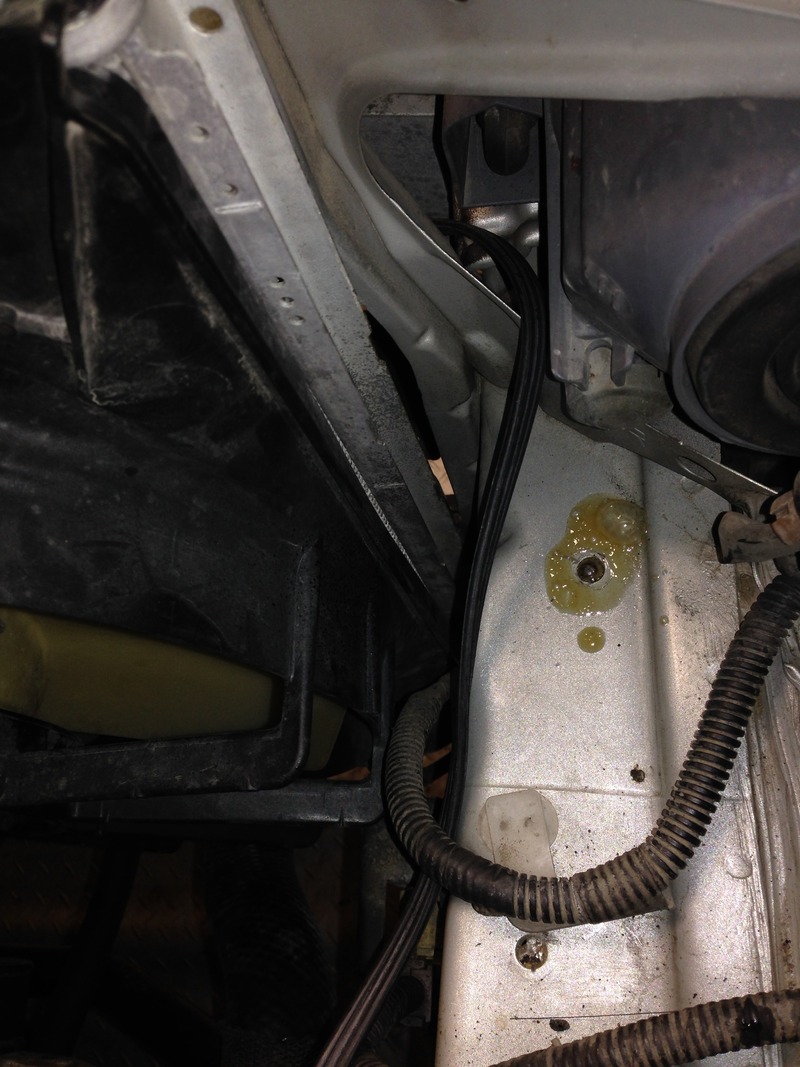
Here is the gaping hole. I marred it up a bit so I’ll put some of The Right Stuff on the flange while trying to keep the grease only on the o-ring
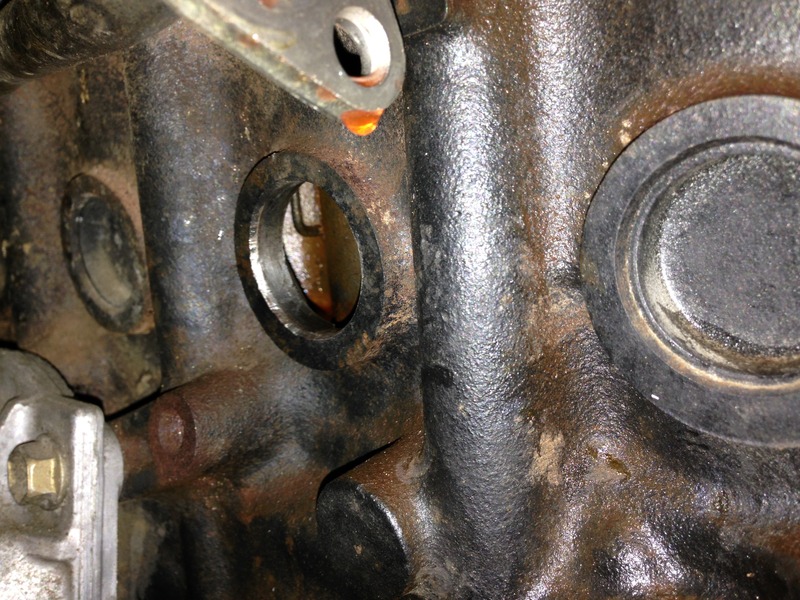
There is decent cord clearance
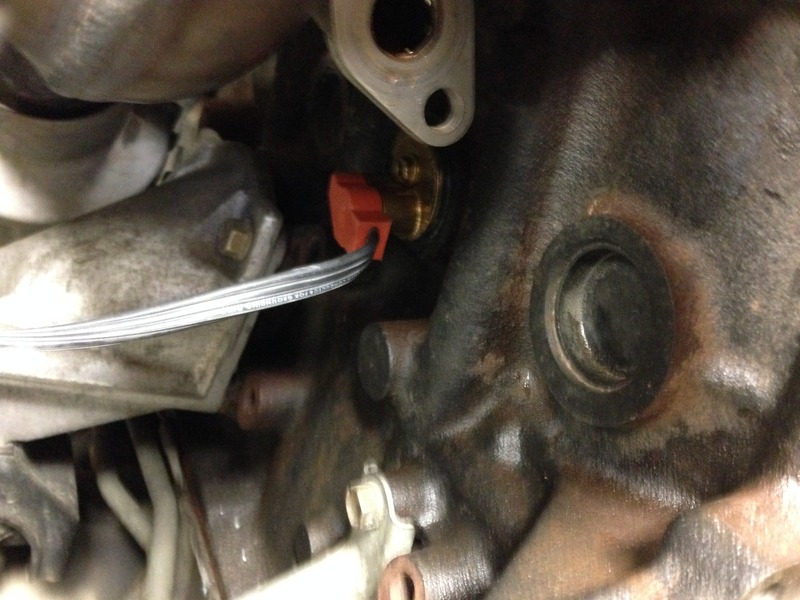


There is decent cord clearance

 11-20-15, 09:56 PM
#55
Pit Crew
Thread Starter
I tied it off on the oxygen sensor wires and then ran it through the headlight hole
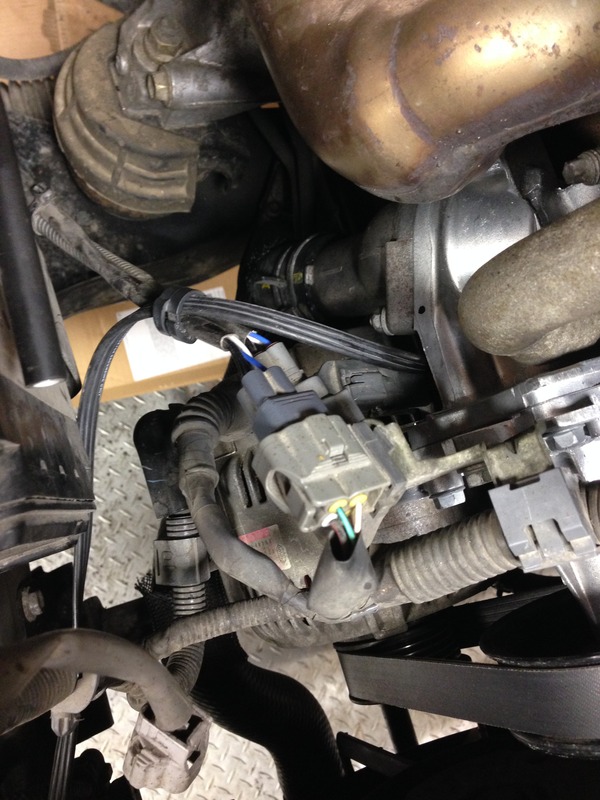
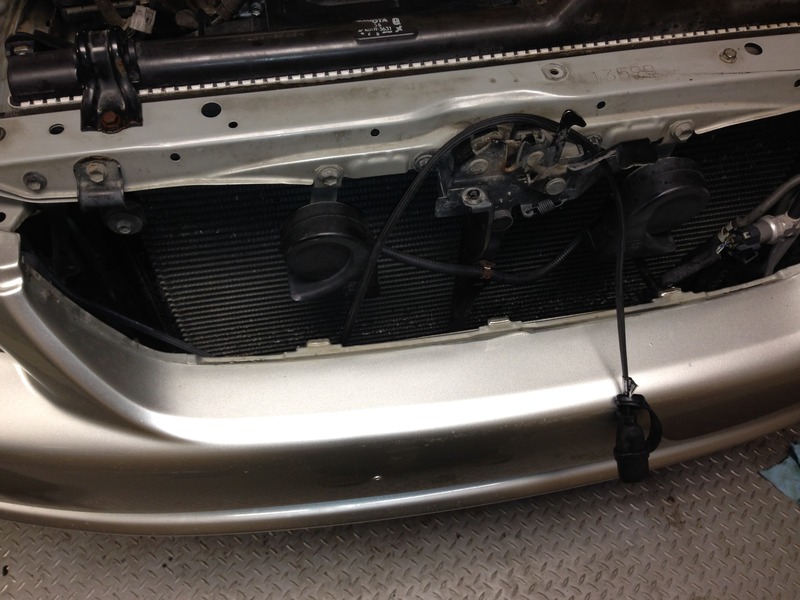
I’ll tie it off on the grill somewhere
My car was also due for a power steering flush. I cracked the lowest accessible line I could find. It doesn’t look like it but there was plenty of room with a simple 12 mm wrench to get this union off
I also took off the cooler and drained it to get the most amount of fluid out
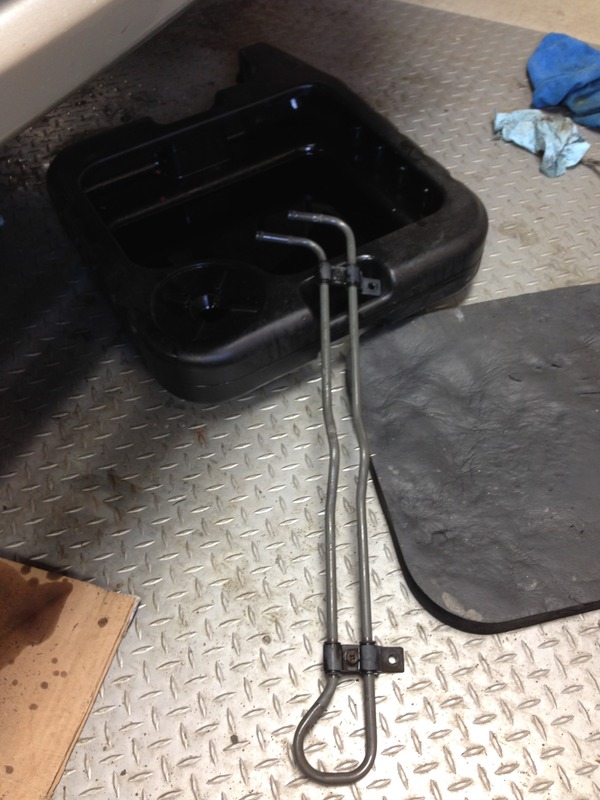
The hoses look nice and accessible but they will cut the **** out of your arms reaching in there


I’ll tie it off on the grill somewhere

My car was also due for a power steering flush. I cracked the lowest accessible line I could find. It doesn’t look like it but there was plenty of room with a simple 12 mm wrench to get this union off

I also took off the cooler and drained it to get the most amount of fluid out

The hoses look nice and accessible but they will cut the **** out of your arms reaching in there
 11-20-15, 09:57 PM
#56
Pit Crew
Thread Starter
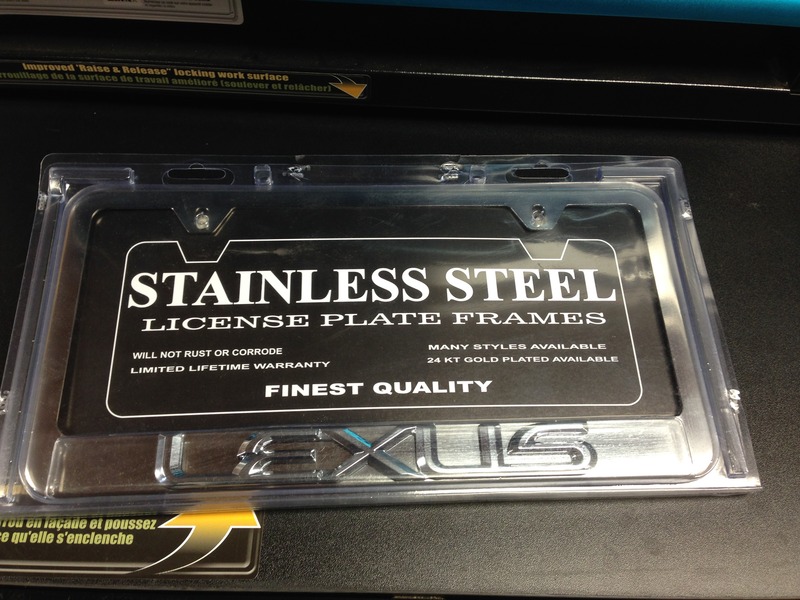
Before I finished with the car I did a few other things. I had some nasty bumper holes in the front from the previous owner (BC car). I bought a vanity plate that matches the plate holder closely. Many people don’t like them but I think it looks better than the screw holes I had
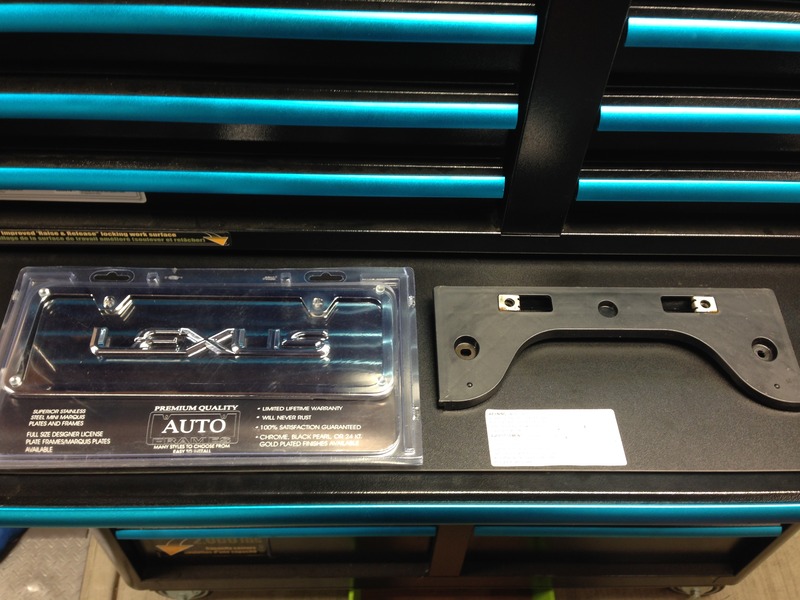
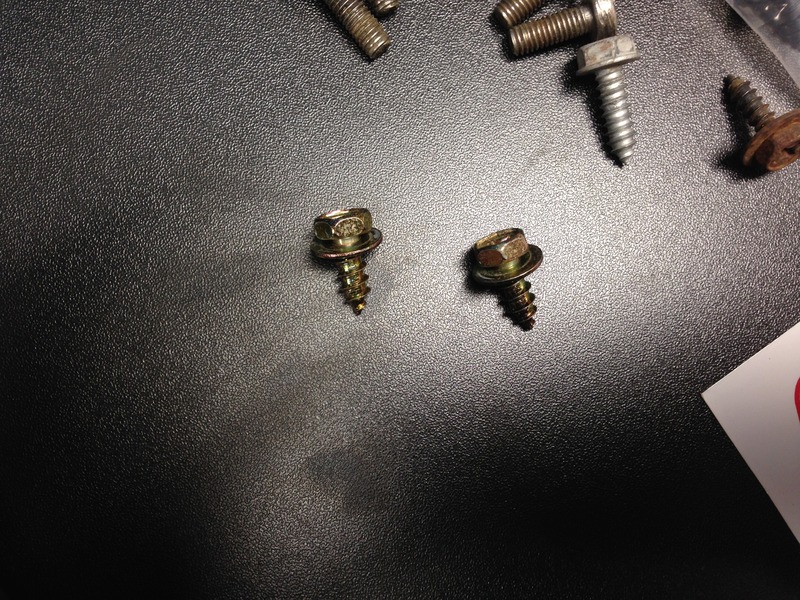
Get some new screws…that you will never see
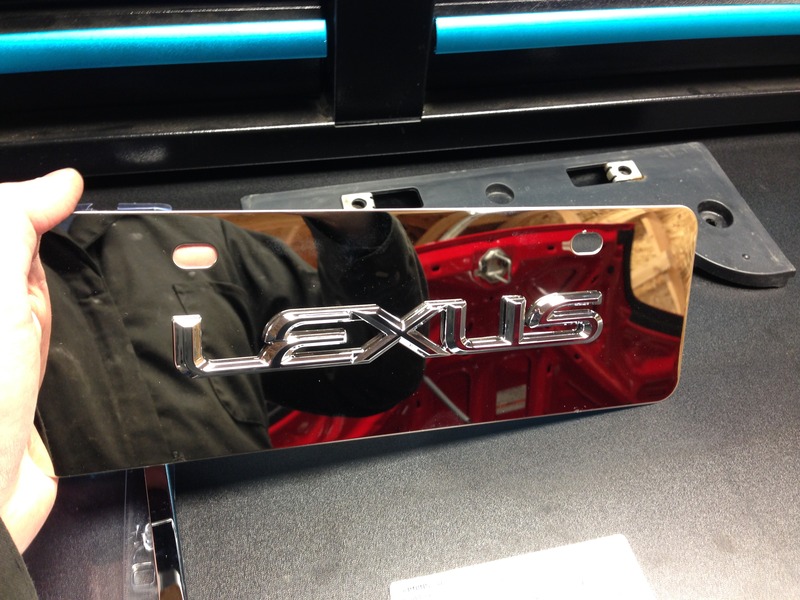
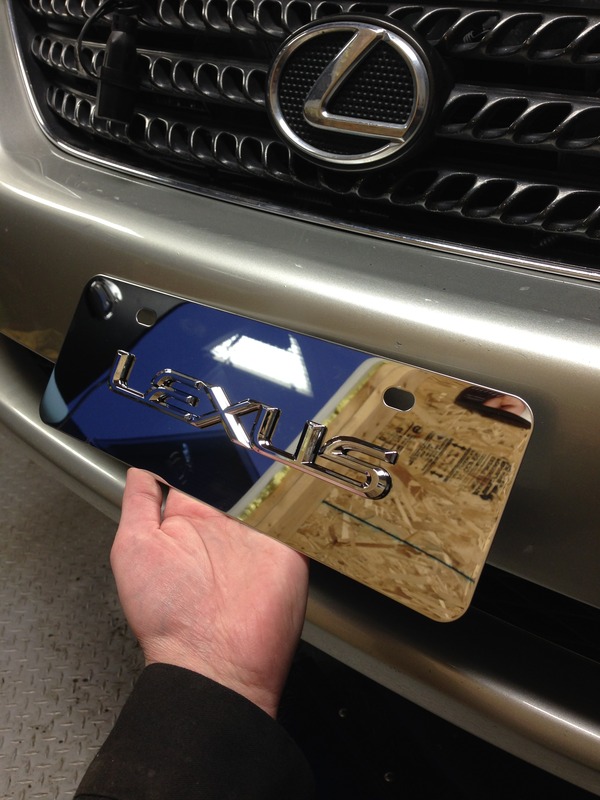
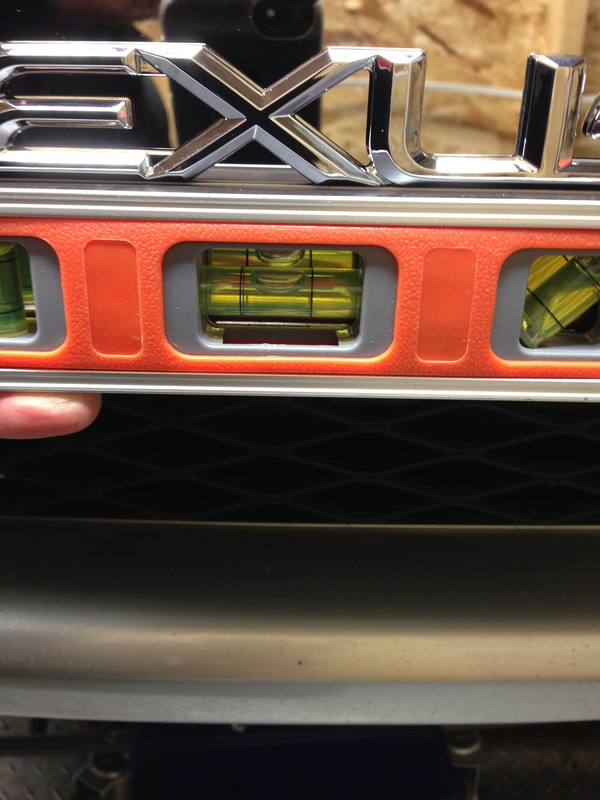
Depending on your level of **** make sure it’s level
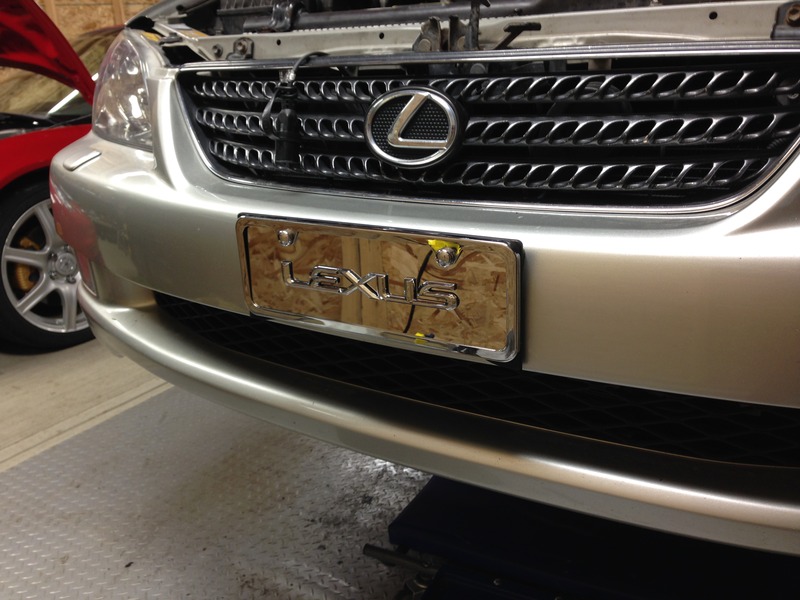
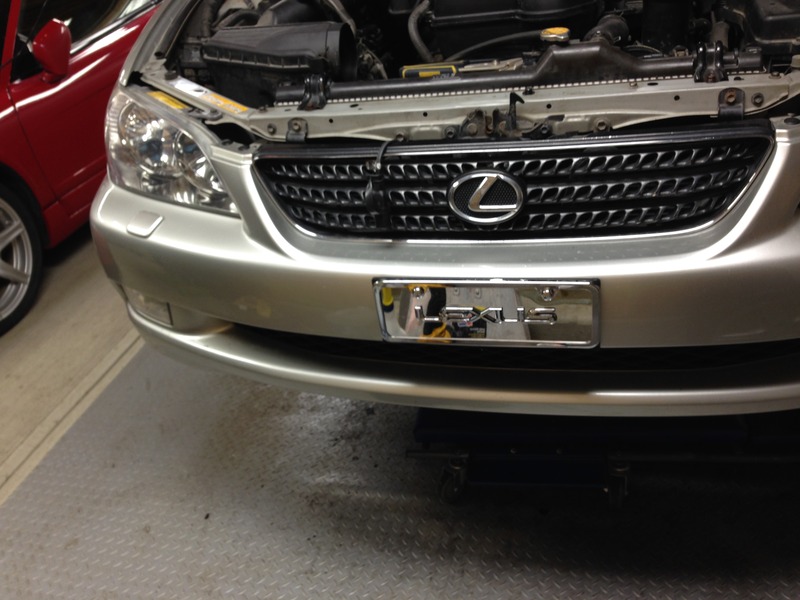
I did the same for the rear

Get some new screws…that you will never see


Depending on your level of **** make sure it’s level


I did the same for the rear
 11-20-15, 09:58 PM
#57
Pit Crew
Thread Starter
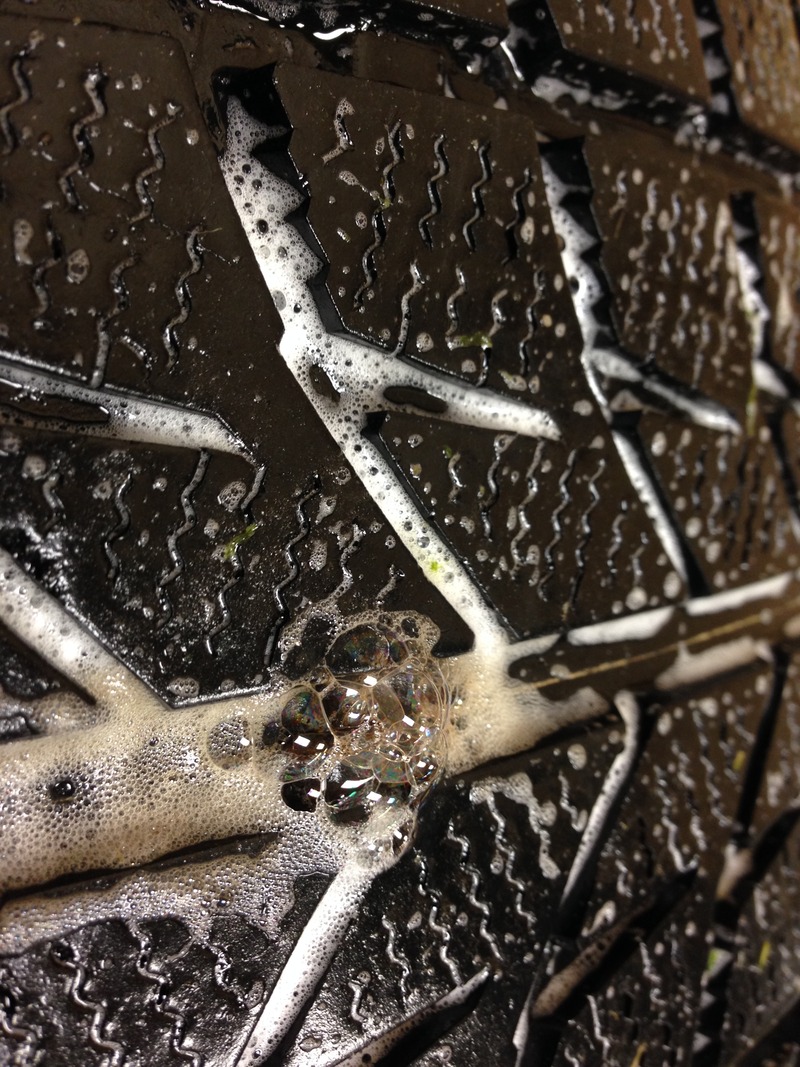
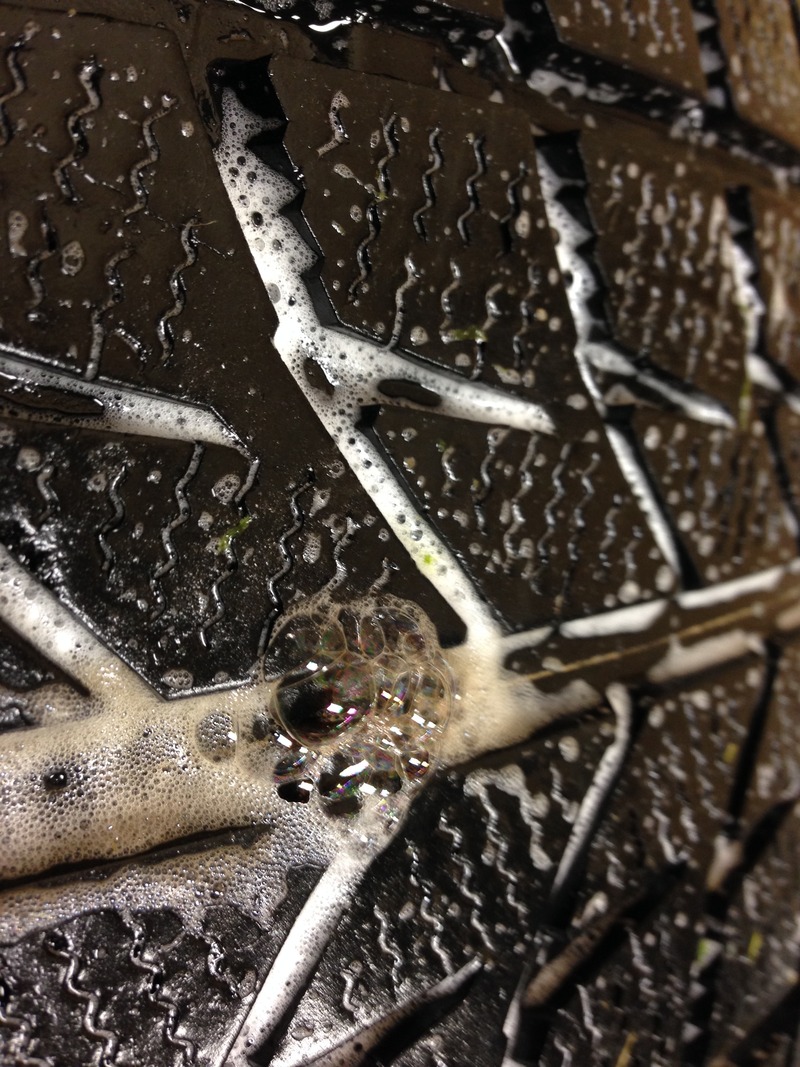
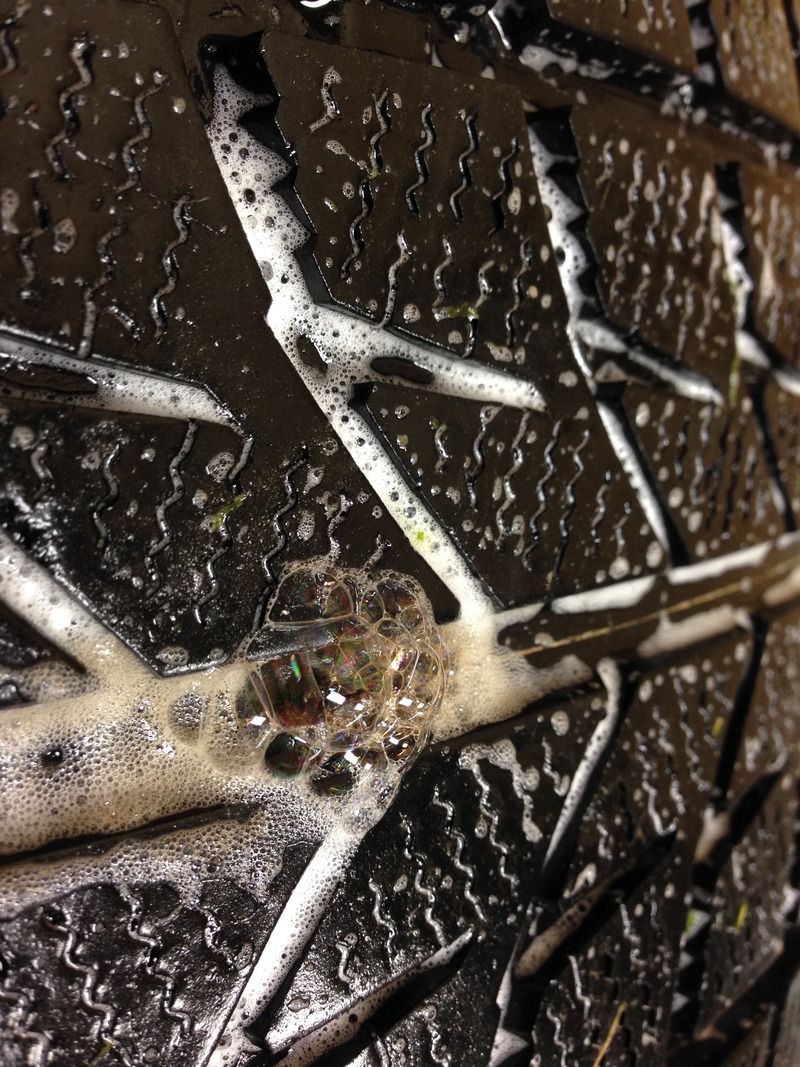
I installed my winter tires while I was at it and of course one was flat
Drop the car down and start it up
Put the air ram thing on and you’re done
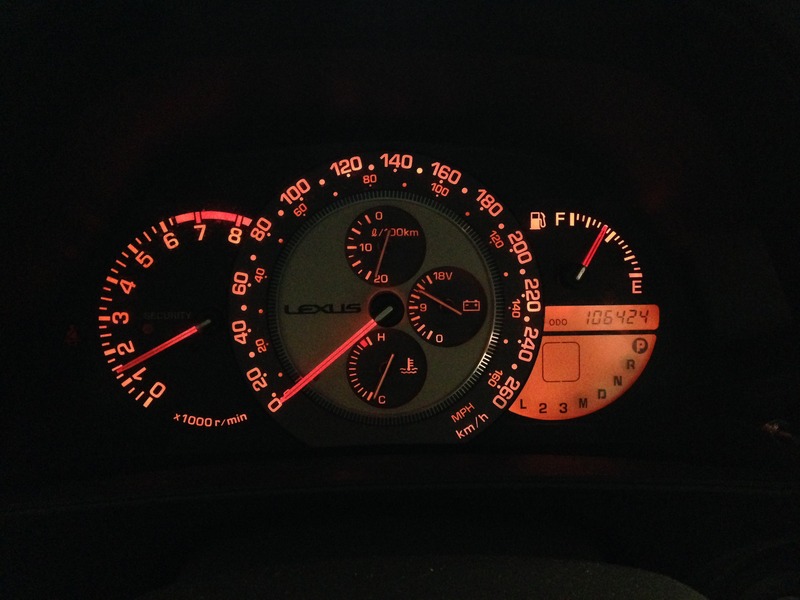
Note the kilometers and put the timing belt sticker on.
Start it up and let it bubble


Drop the car down and start it up


Put the air ram thing on and you’re done

Note the kilometers and put the timing belt sticker on.

Start it up and let it bubble

Thread
Thread Starter
Forum
Replies
Last Post