When you click on links to various merchants on this site and make a purchase, this can result in this site earning a commission. Affiliate programs and affiliations include, but are not limited to, the eBay Partner Network.
Hey guys, I think it's about time that I have a build thread.
I think my view over styling might've changed over the time I've been on here. No judgement, do whatever makes you happy. Have something good to say then say it, have something bad to say, then think twice before letting it out.
Here we go.
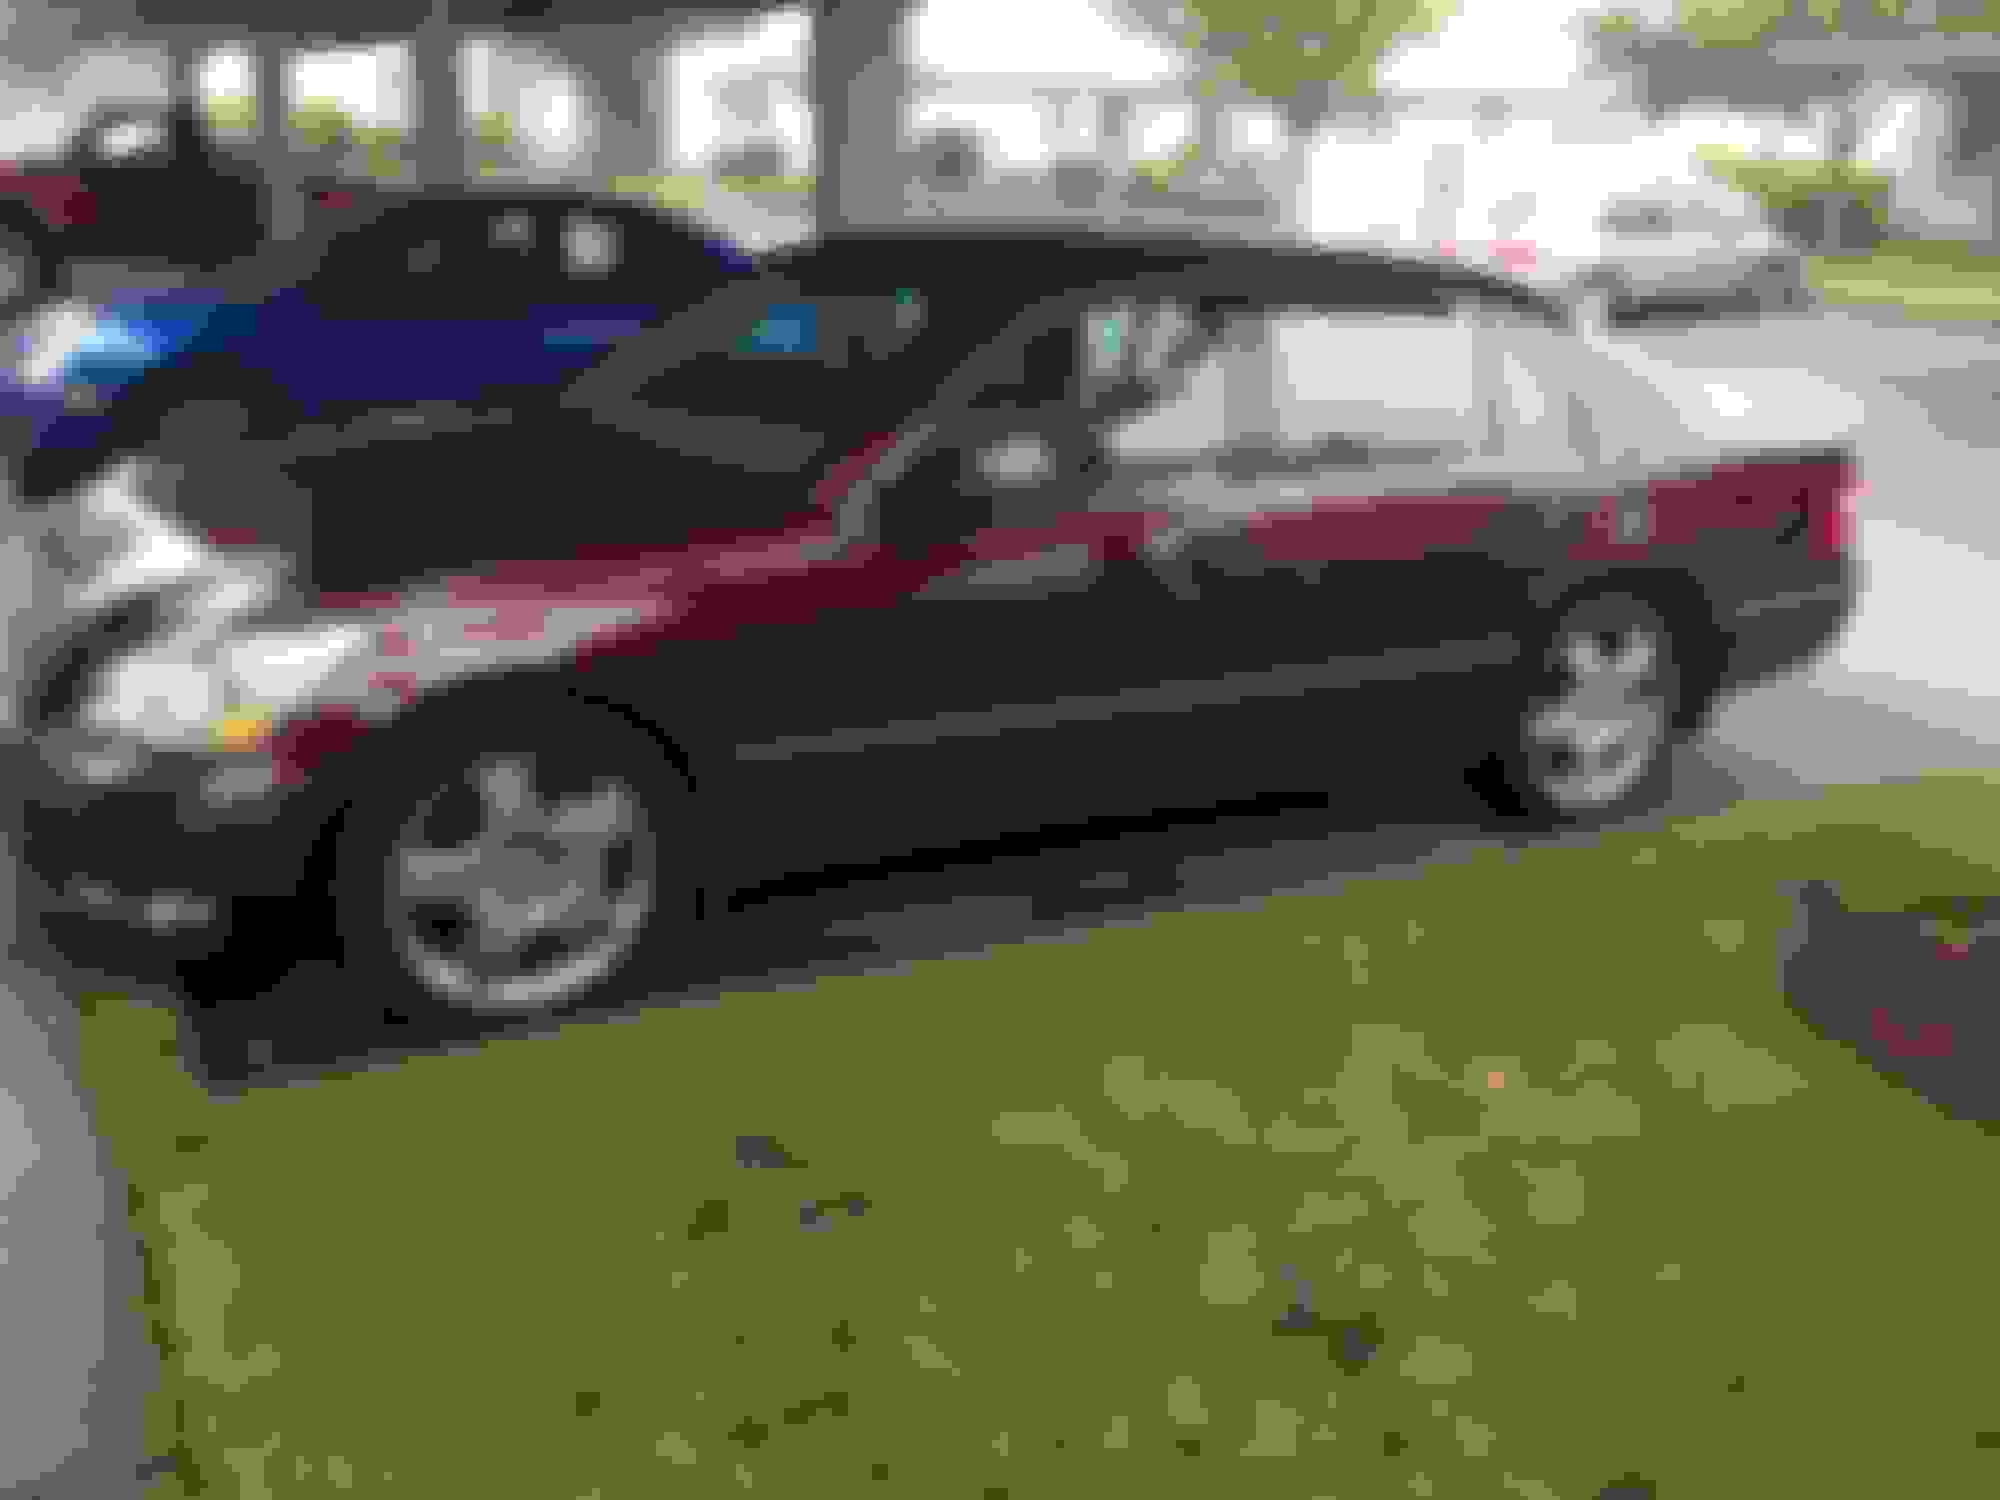
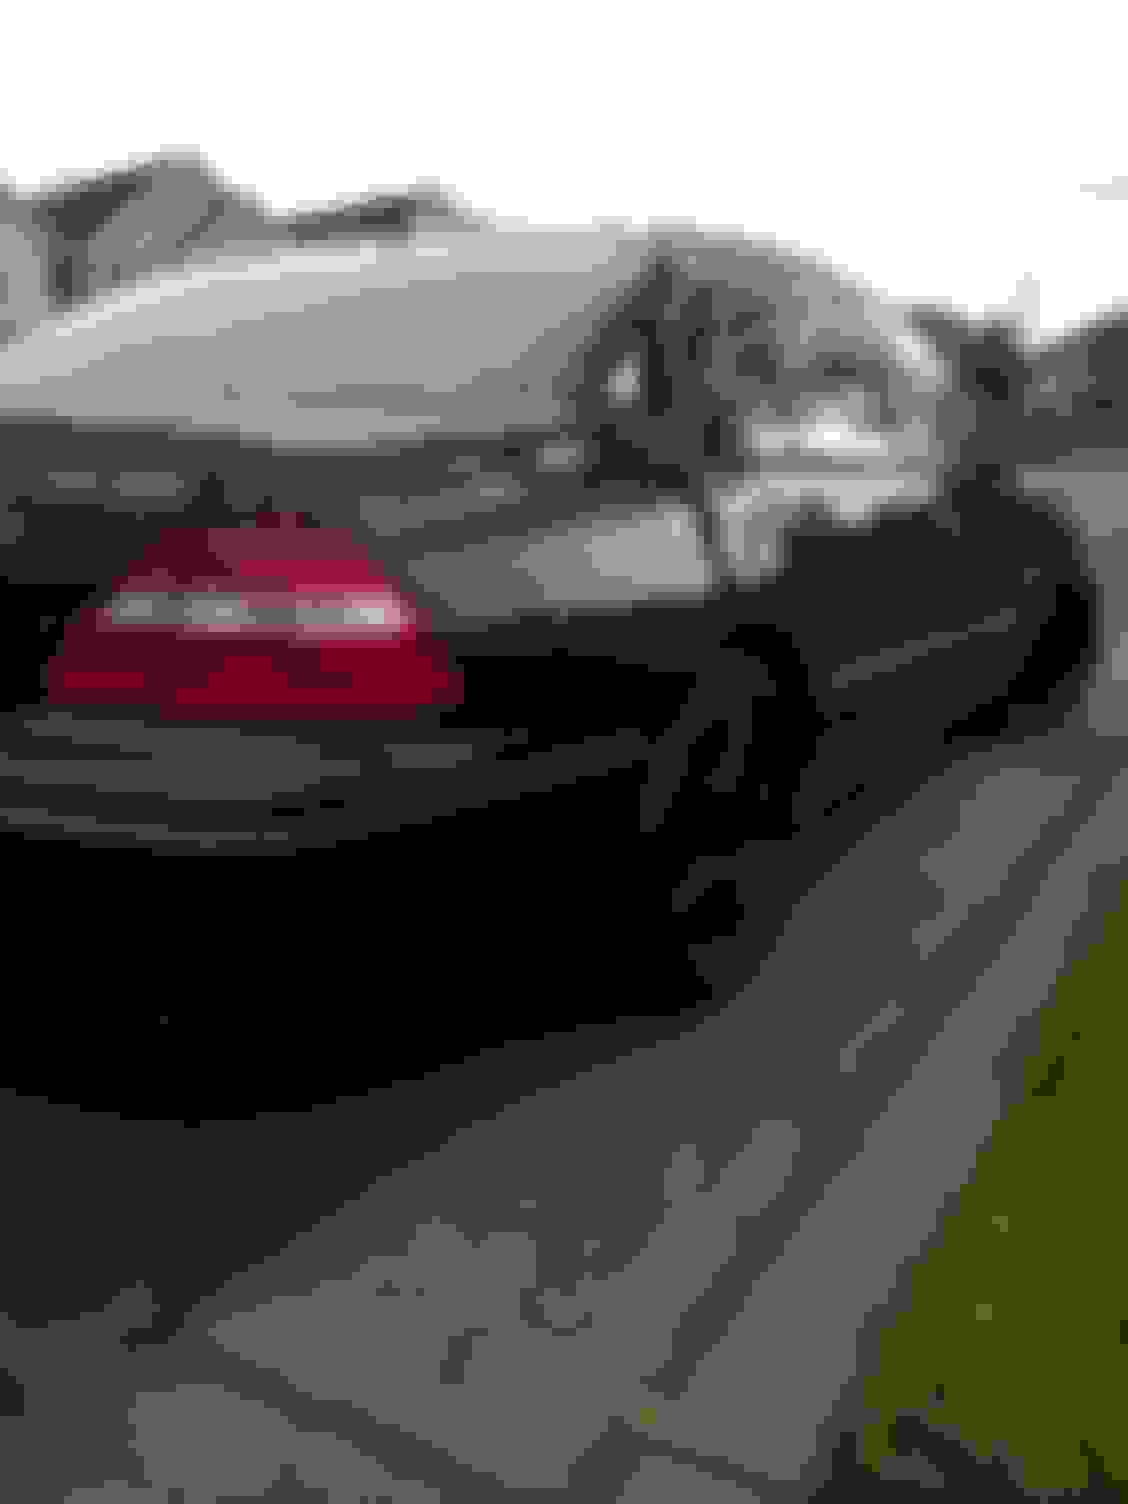
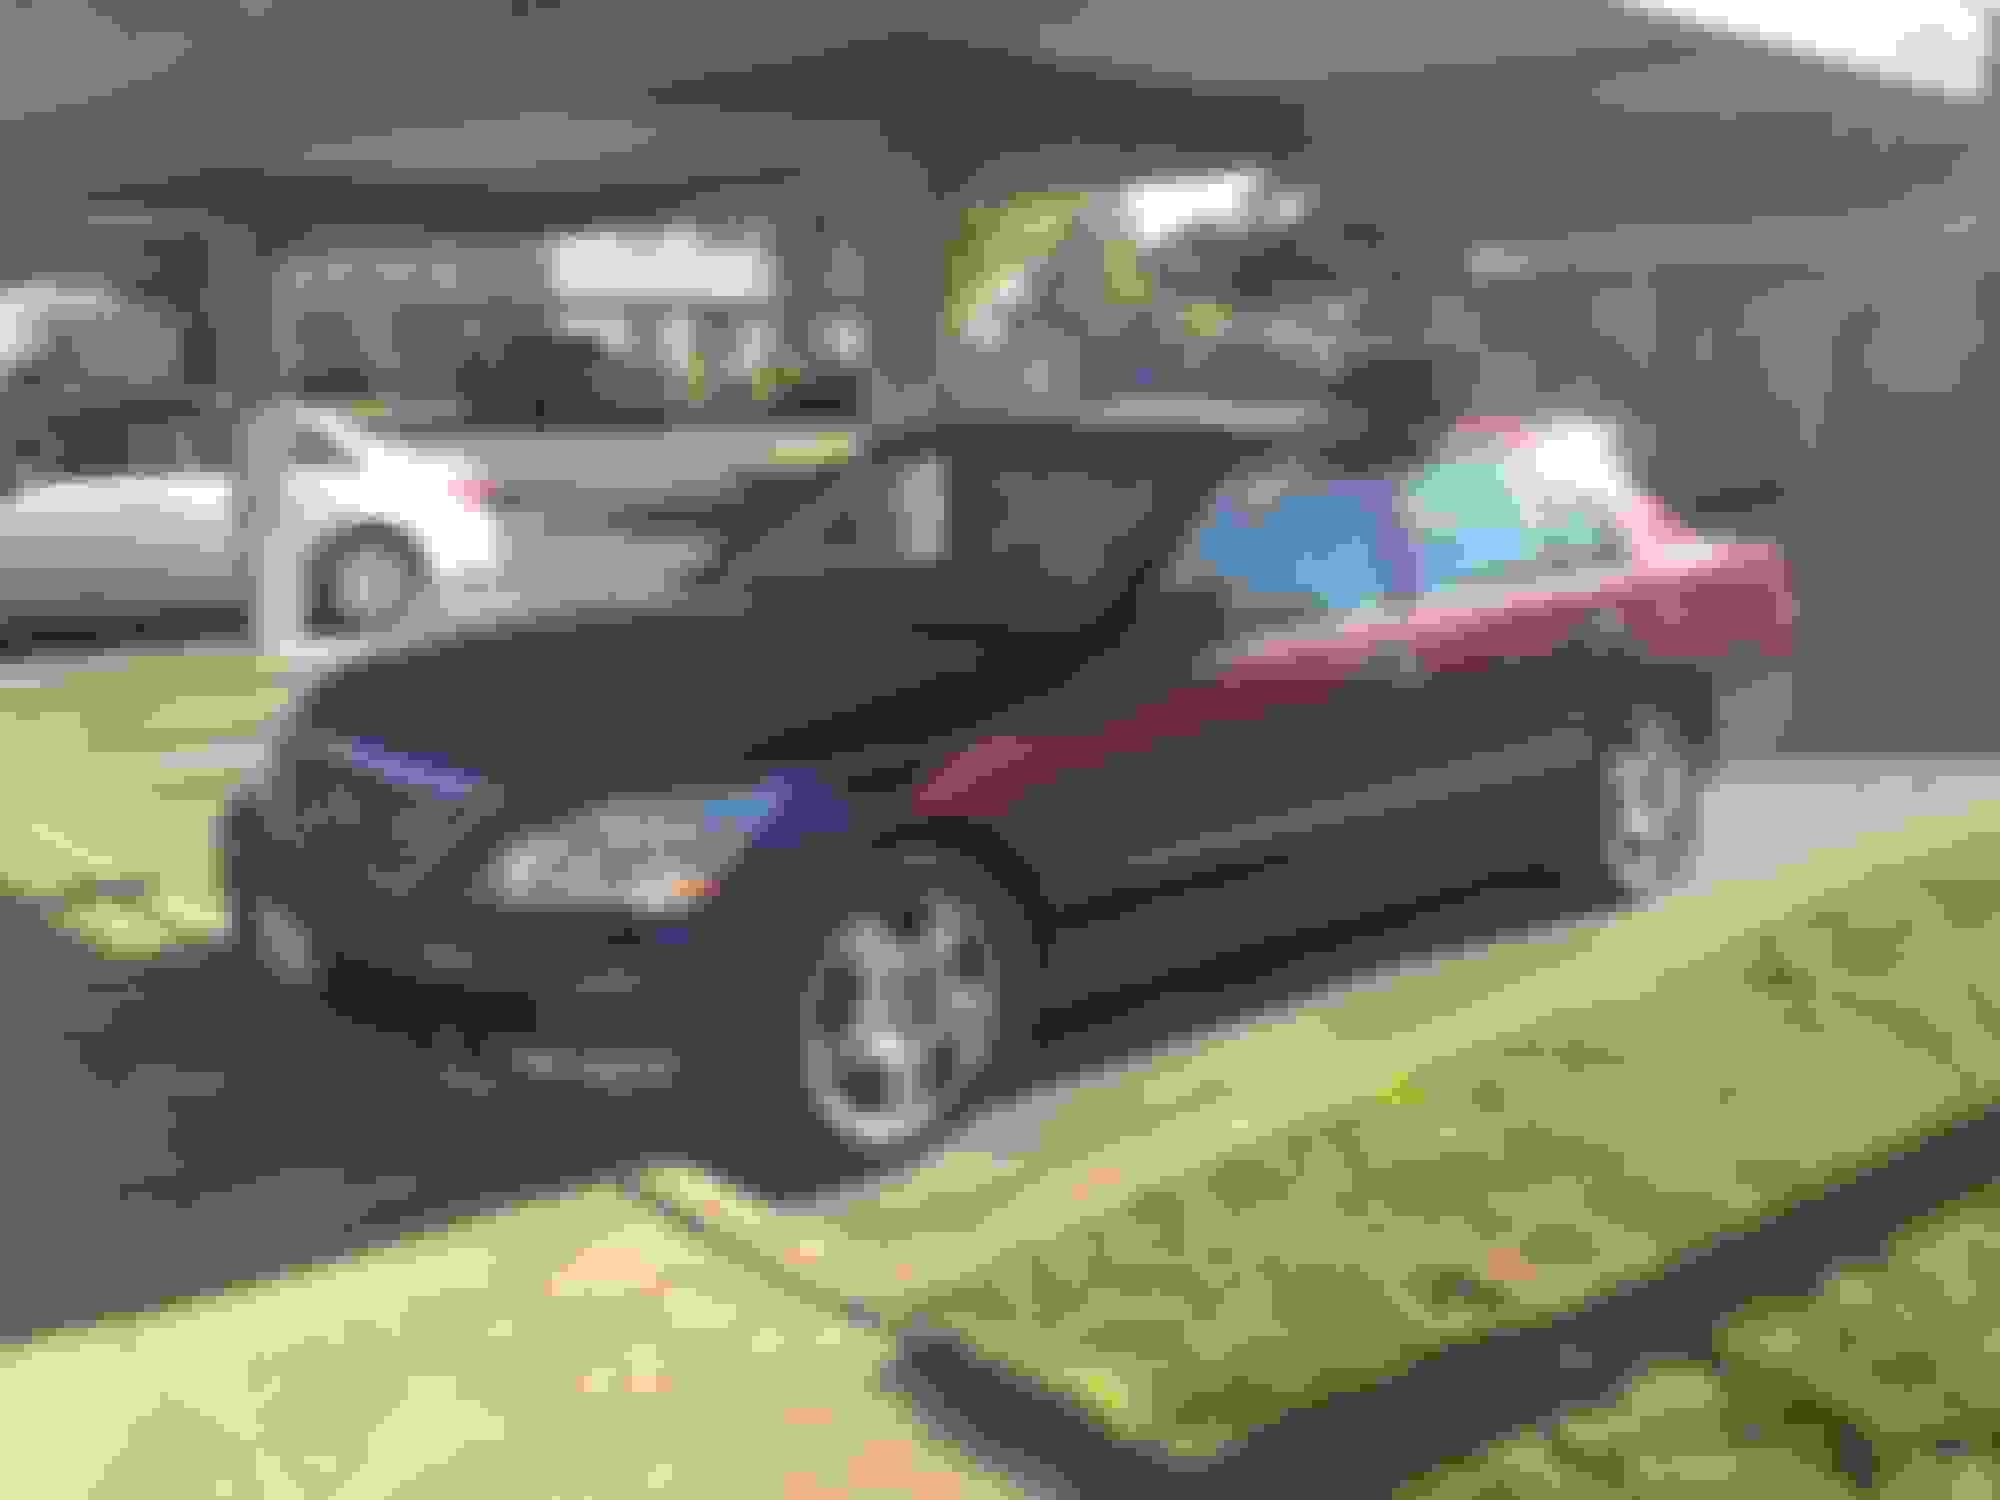
First day I got her.
---
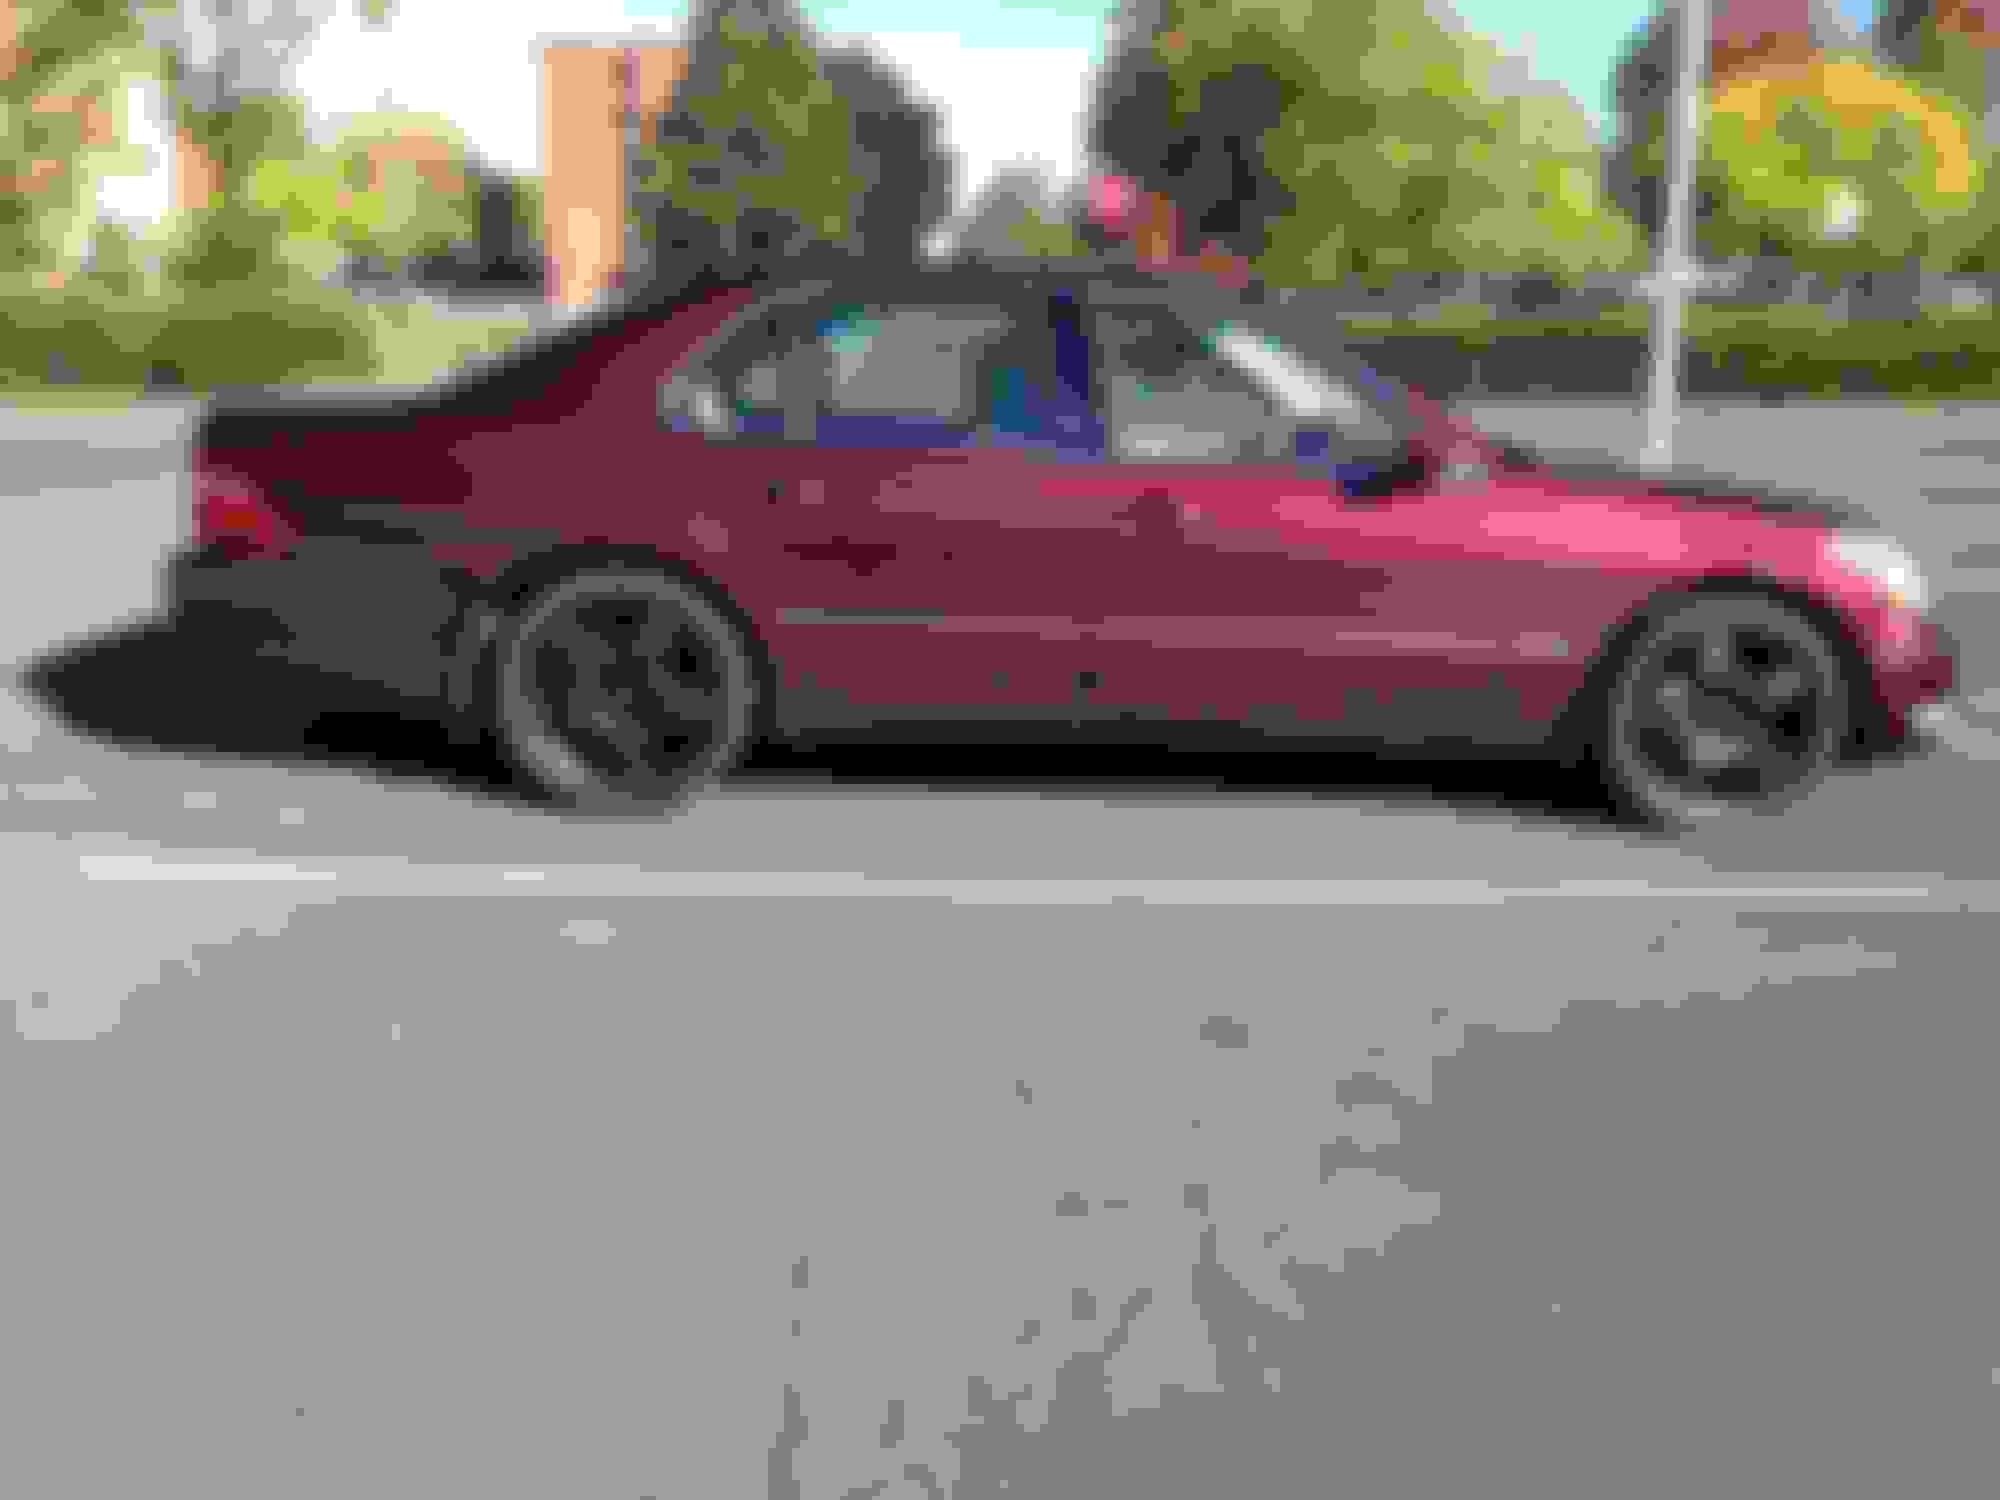
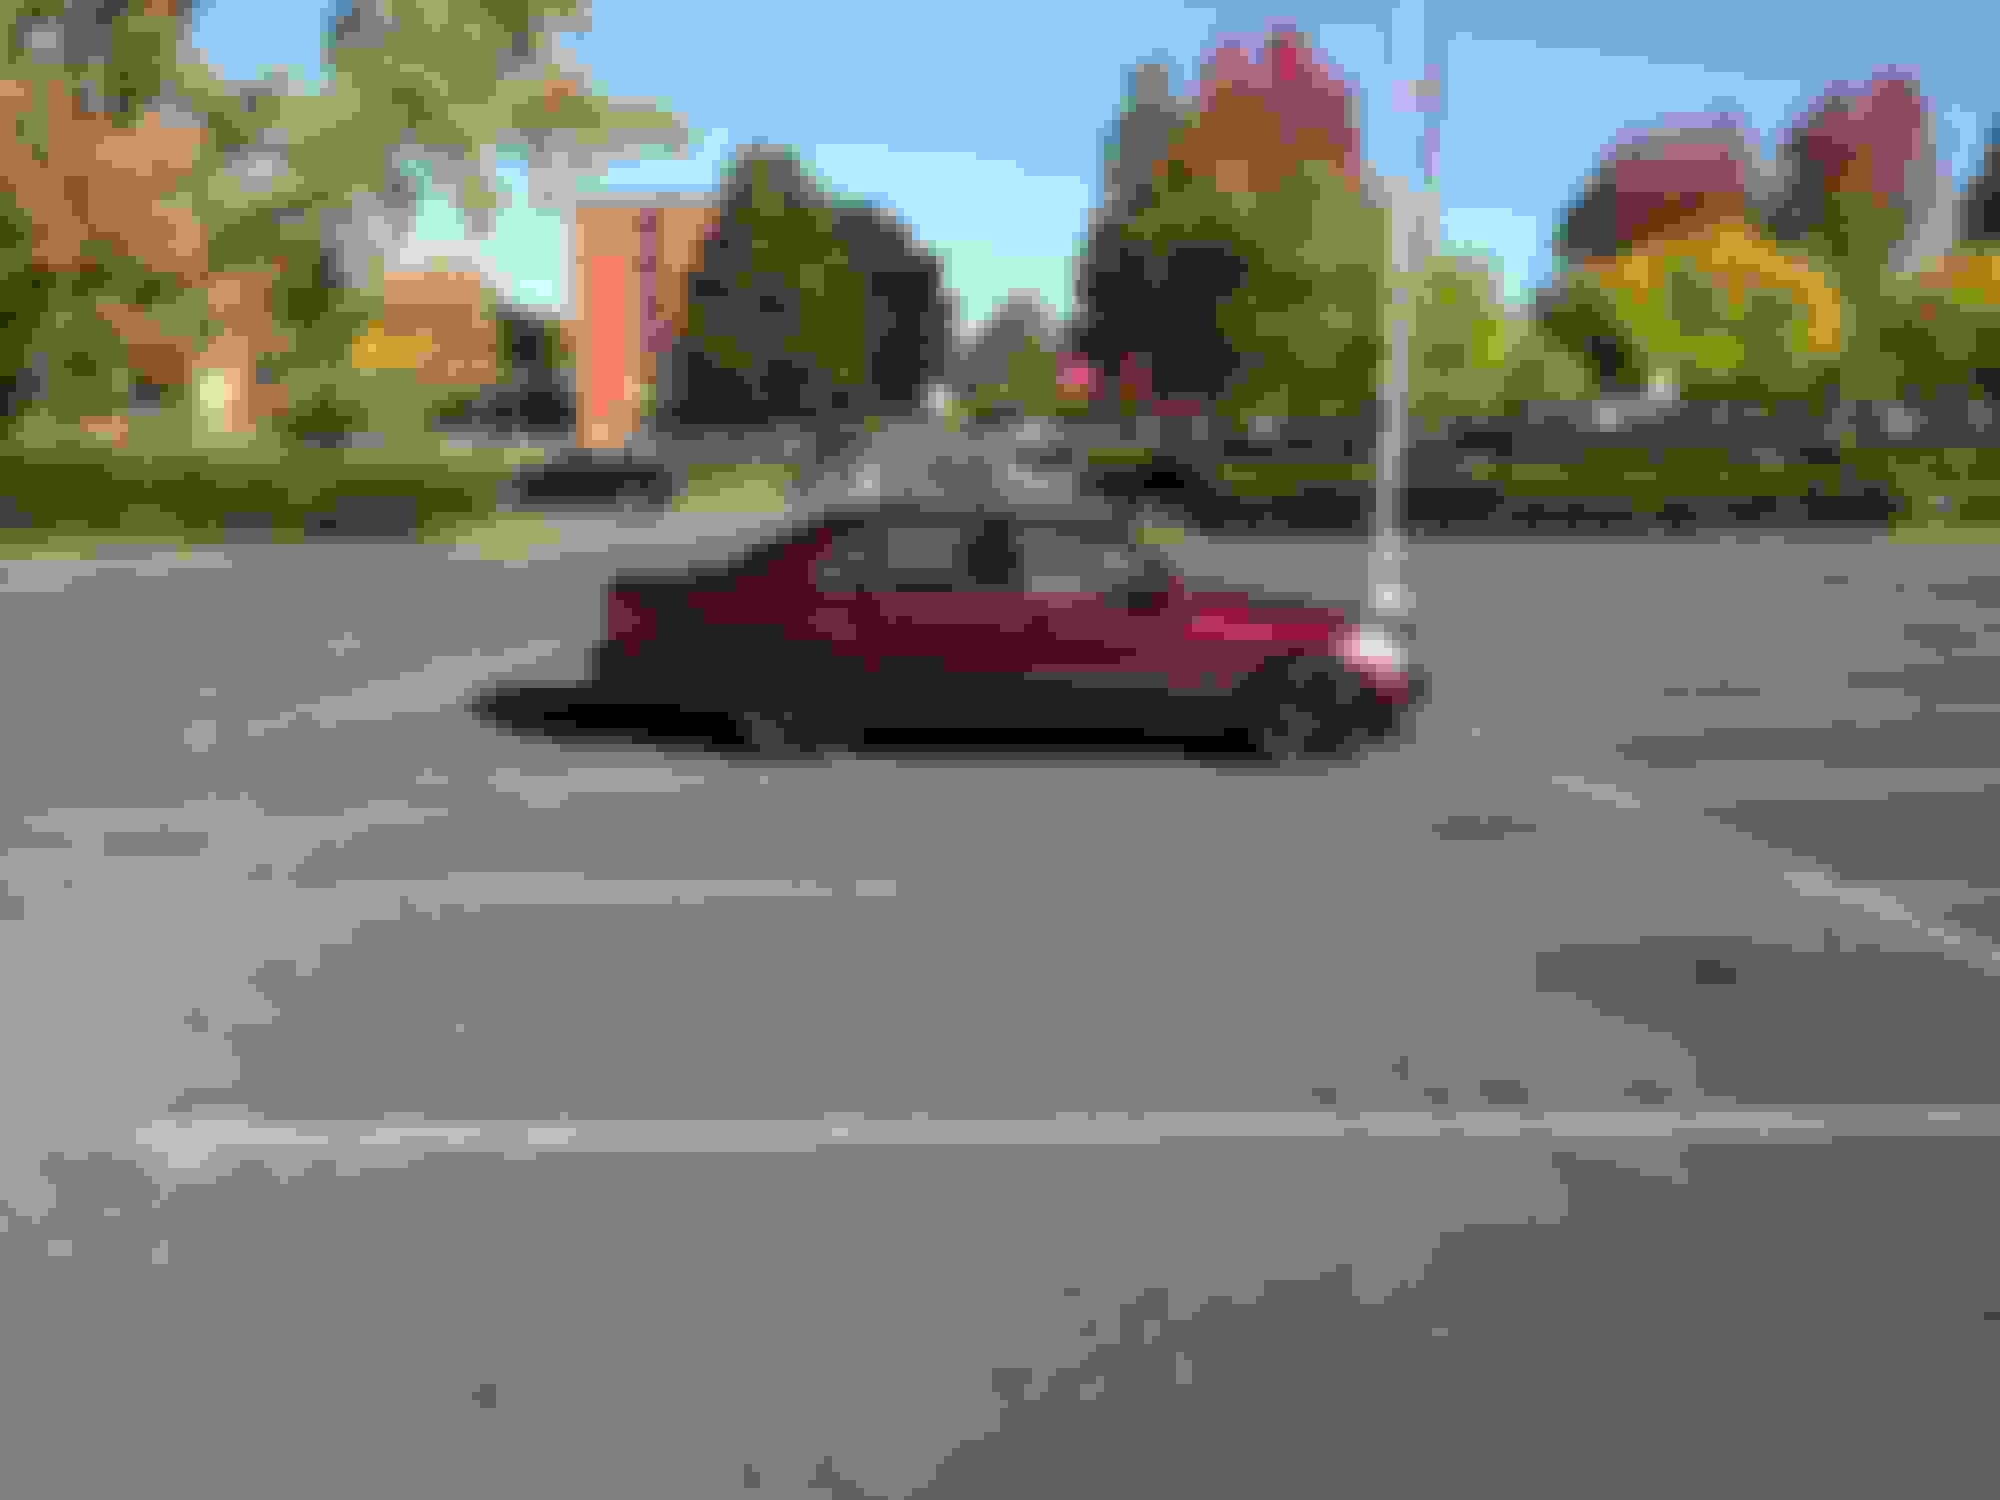
Kept it clean and nice for 5 months, then I had to get loose and go higher than 40 mph here and there. Then I got some mud flaps, I thought they looked great, and gave the car that subtle "more stable" look. Easily installed 'em myself.
Mudflaps
Mudflaps
Mudflaps
--
After that, I was watching a lot ofPlasti Dip videos. I didn't wanna dip the whole car, because I adored the color. So I thought I'd start with matte black rims and grill.
----
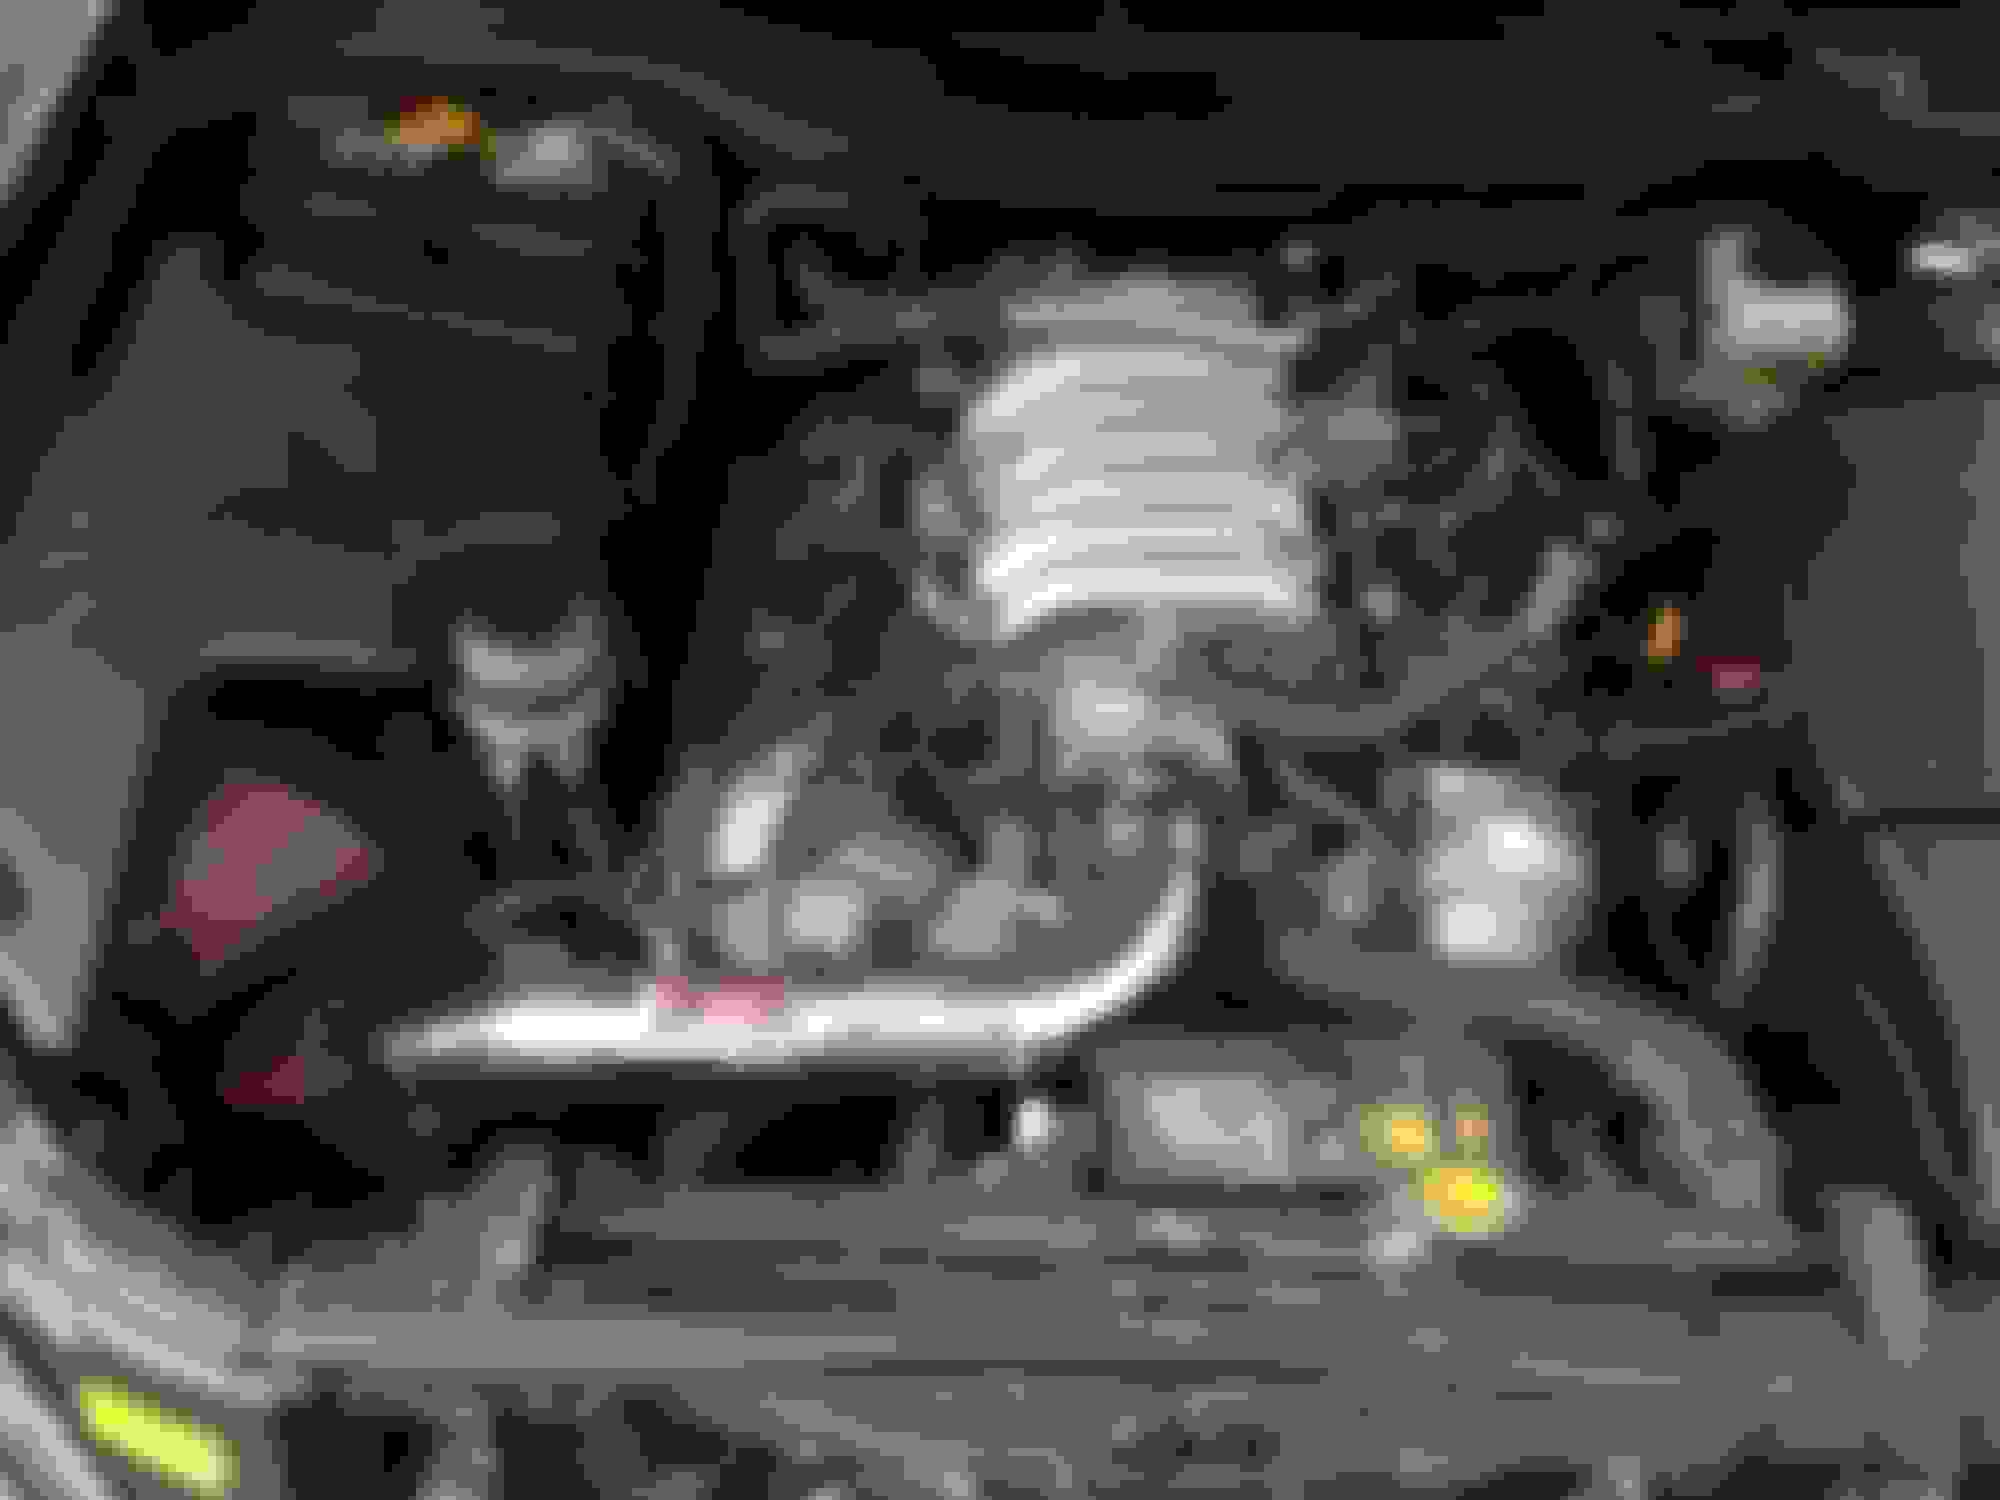
Something I dig in cars is sound. So I thought why not, let's get out of this grandpa phase and have some fun. LET ME GET AN INTAKE!
Decided that the intake wasn't enough, hearing that V8 rumble only with throttle made me sad.
I wanted to unleash the beast. So I went around asking everybody about exhaust systems and what not. I found a lot of the cat-back systems ranging in between $2000-$3000! No way was I willing to pay that amount in that time.
Then I thought about slapping some Magnaflow's on her. But then I realized that I will loose the quietness and peacefulness that the LS430 was made for.
I do travel over the weekends on 1-2 hour trips, so I knew that wouldn't be a bright idea. I'd have a headache before I would've made it to my destination.
Doing more and more research, I found something really really awesome. ELECTRIC CUT-OUTS!
They can be quiet and stock when you want them to, and they can unleash a nasty roar when asked politely.
I faced some criticism at first, everyone was explaining to me how cutouts are made and were supposed to be put on trucks and off-road vehicles..
I couldn't just sit there and keep thinking about it, I decided to take a risk.
So I went ahead and bought a QTP Low profile cut-out, and I got it's remote with it so I don't have an ugly switch laying around inside the car.
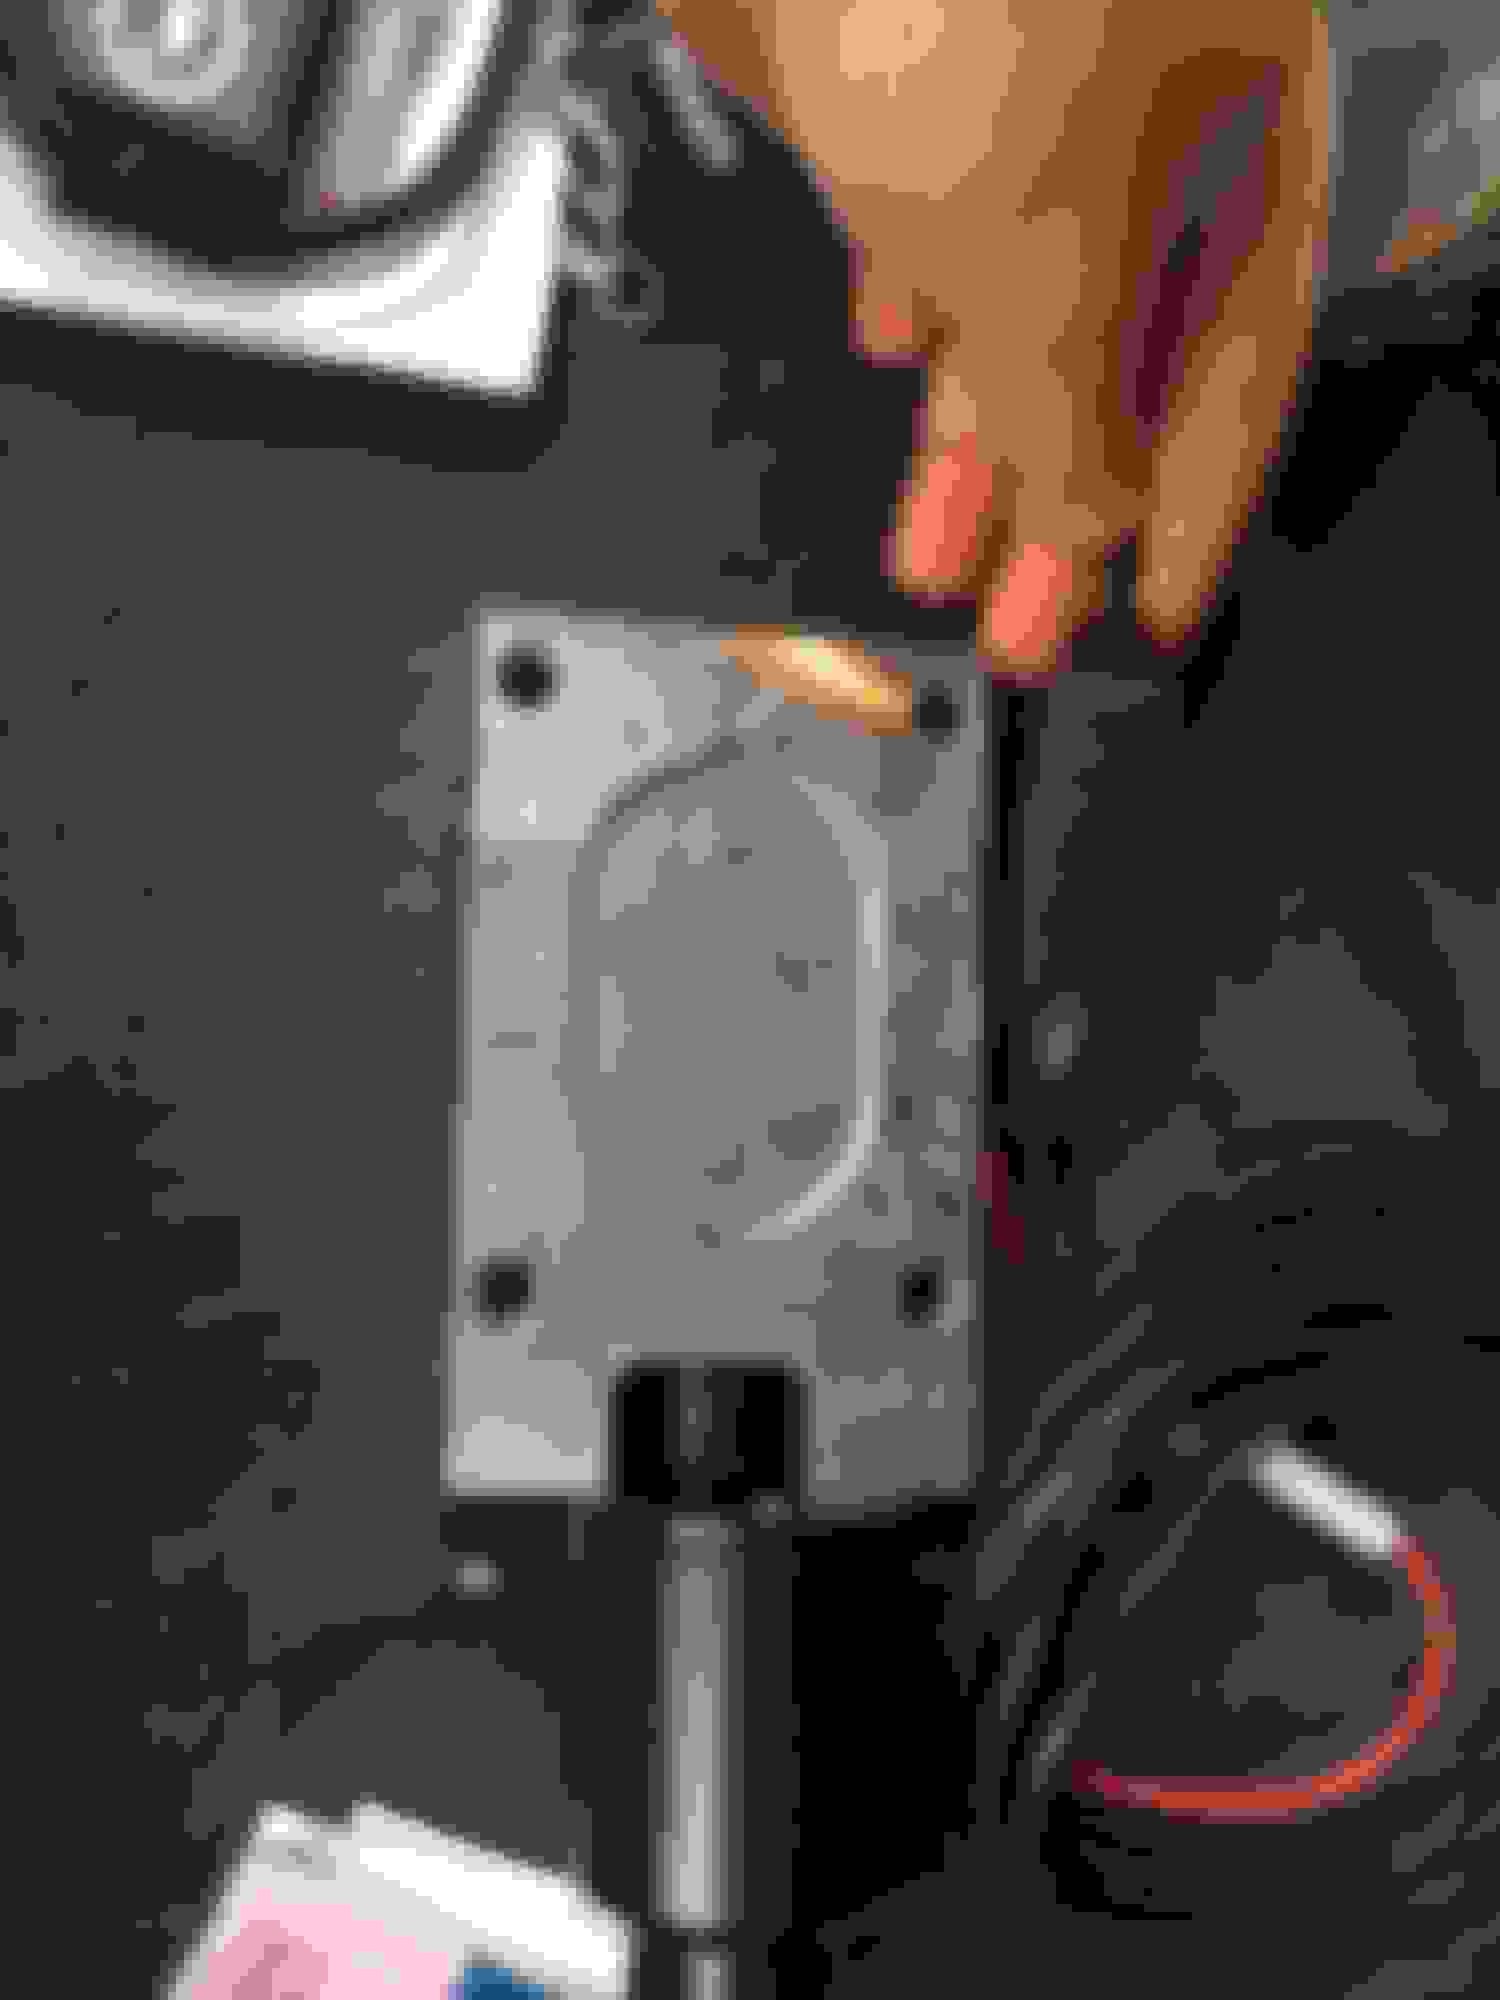
This is how the cut-out looks like.
2 wireless remotes.
Everything needed regarding the cutout. Cutout itself, remotes, wireless receiver box, some cool stickers from SummitRacing.
Cutout - this is the switch that comes with it. It looks fugly, never used it. That's because of the remote I paid I got, and I paid around $70 + for them.
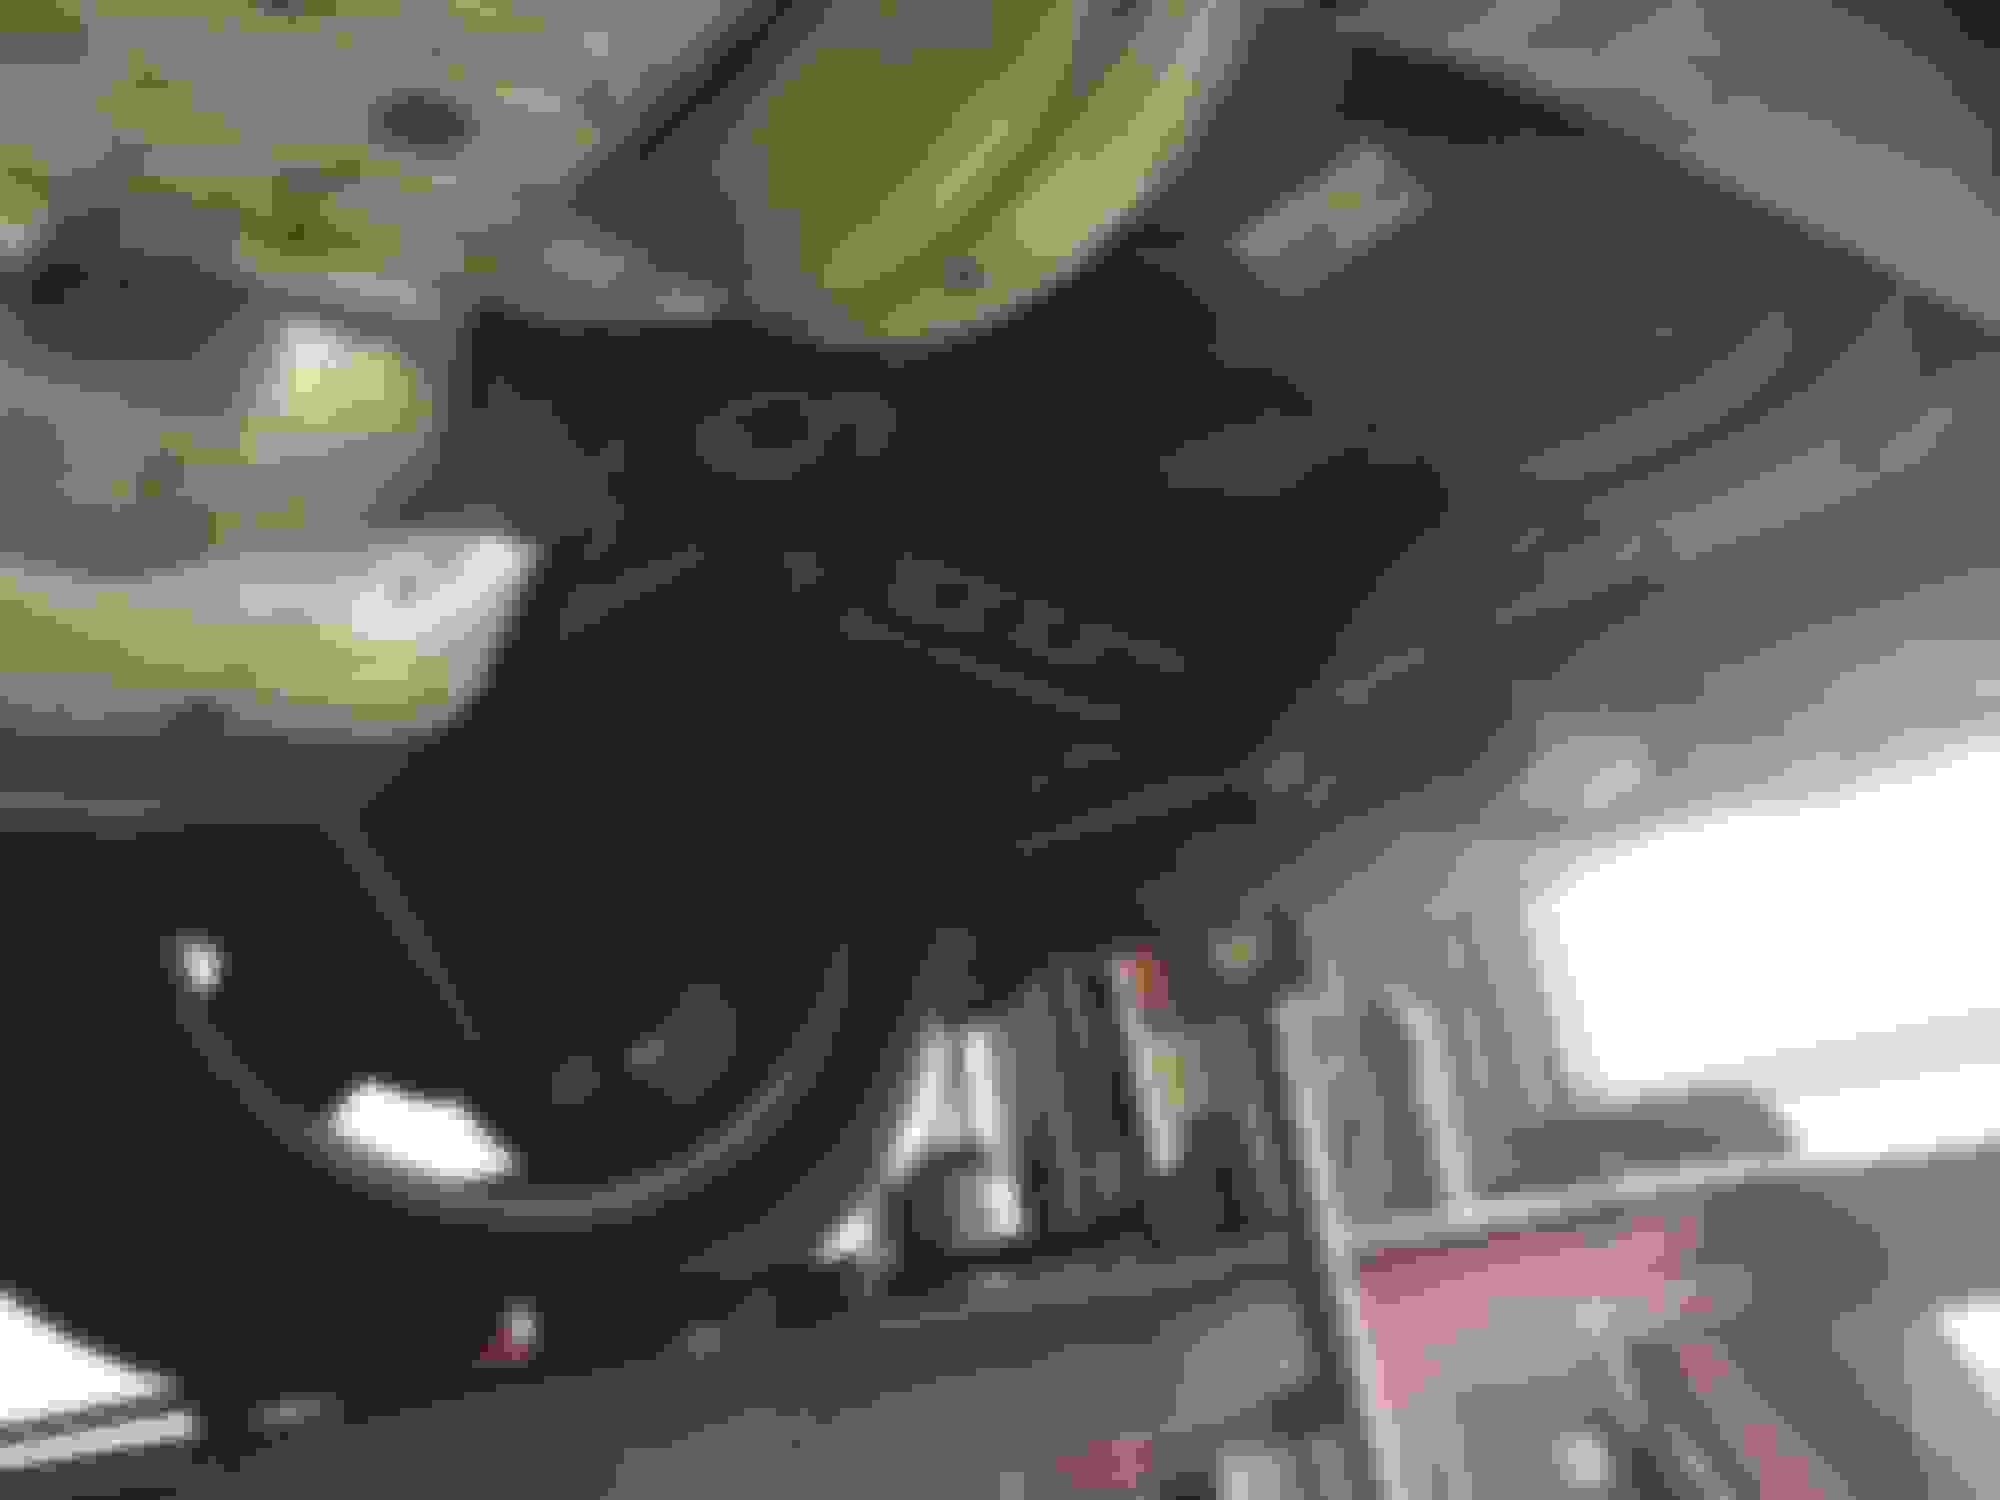
This is where I installed the cutout. Right before the mufflers and to the passengers side. NOTE: Since I was trying this for the first time, and being scared it would fail horribly after paying $~400 ..<br/>I just went with one cutout, and not 2. I also did it on the passengers side to keep the drivers area more quiet.
Here is the same pipe leading to the mufflers, but you can see how it has been cut at 2 location for the cutout to fit in between.<br/><br/>The LS430 should have 2 cutouts because of the 2 pipes coming down from the headers. <br/>Next week I'll be adding my second cutout right next to it's sister.
Cutout on with a custom pipe, almost as if it was a y-pipe.
Cutout from the outer angle. I could have had it to point down, but then it would've been eating the road as I moved, this was the best angle to have it to not have any problems with bumps and what not.
Cable harness.
Cable being hidden behind the heat shield.
I moved it all the way from under the car, till it reached the passenger floor. There I found a drain hole, which I was able to get the cable into.<br/><br/>This wiring was done to get the wireless receiver box next to a 12V output. I used the one next to the gear shift. Removed the panel there and split into it. Don't worry, you see nothing. Everything is hidden and thank god I have the remotes to use the cutout. IF they didn't have this feature I would've never thought of going on with it.
This is where I came up, from under the passengers seat.
I have no idea what those small dots are, but they never seemed to come off with the caliper cleaner. I just painted right over them and they weren't a problem. Glad they're hidden now.
I am playing with the 3M Carbon Fiber Vinyl, and I have an idea of using it on the door handles(painted part, not chrome)
Then go around the whole chrome trim around the windows and on the lower part of the doors.
Maybe the mirrors, maybe, I'm feeling that will be a little too much.
How does the plastidip work w/ the parking sensors? I heard simple incorrect paint thickness can throw them off or disable them.
I love my Briarwood Pearl- but this is an interesting solution when the paint gets bad.
Do you mind my asking approx what a body paint job costs? I assume your door jams and the like are still stock color?
I was worrying about the same thing. But apparently, plasti dip is a magical coating. The parking sensors work absolutely fine.
It costed me around $725. That is with labor and parts. And 3/4 of that was just supplies(plasti dip).
A good dipper would still dip those parts, so that the plasti dip doesn't peel off if accidents happen. Only engine bay will show original color.
I strongly advise to get them done.
Good question, I never thought about it till I saw the car.

 10-10-14, 09:51 PM

 Then I got some mud flaps, I thought they looked great, and gave the car that subtle "more stable" look. Easily installed 'em myself.