My 13 Year OCD Build in the pursuit of perfection - GS300
 12-09-14, 06:22 AM
#61
Lexus Champion
Thread Starter

So if i'm wire tucking, I need to shave everything as well.
You can tell this was a while back since they dont make the good AMP anymore, its all that stevia crap instead of the good ol'fashion high frucose corn syrup we grew up on.


I shaved the name placard, vacuum ports and brace mounts after masking off which items I wanted to rid the manifold of.
This gave me an idea when I was getting close enough to stop filing and sanding.


The large boss was a *****


Got the holes all welded up and sanded the manifold down. And re-filed the contours


You can tell this was a while back since they dont make the good AMP anymore, its all that stevia crap instead of the good ol'fashion high frucose corn syrup we grew up on.
I shaved the name placard, vacuum ports and brace mounts after masking off which items I wanted to rid the manifold of.
This gave me an idea when I was getting close enough to stop filing and sanding.
The large boss was a *****
Got the holes all welded up and sanded the manifold down. And re-filed the contours
 12-09-14, 06:23 AM
#62
Lexus Champion
Thread Starter
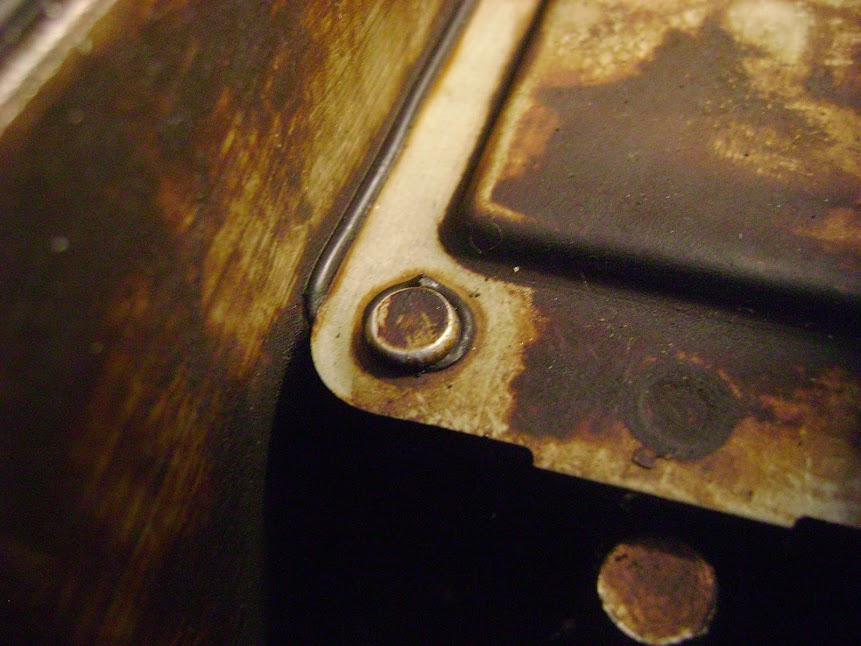
Need to clean up the valve covers right ?
I drilled out the oil baffles with the spot weld remover, fit perfect
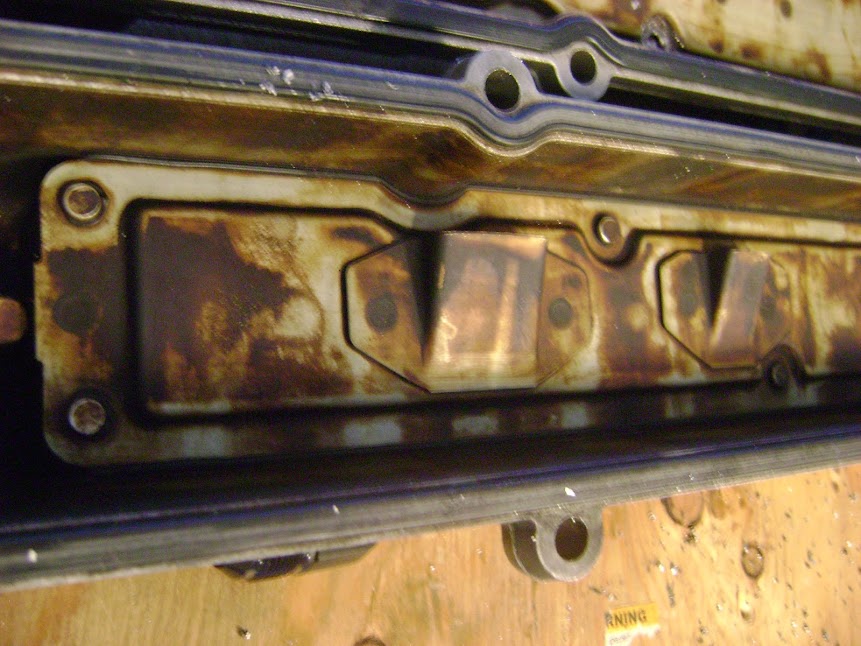


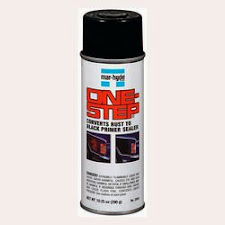
Strip them with aircraft paint stripper. Either Jasco or the aerosol Mar-hyde version from an auto parts store.


I drilled out the oil baffles with the spot weld remover, fit perfect
Strip them with aircraft paint stripper. Either Jasco or the aerosol Mar-hyde version from an auto parts store.
12-09-14, 06:25 AM
#63
Lexus Champion
Thread Starter
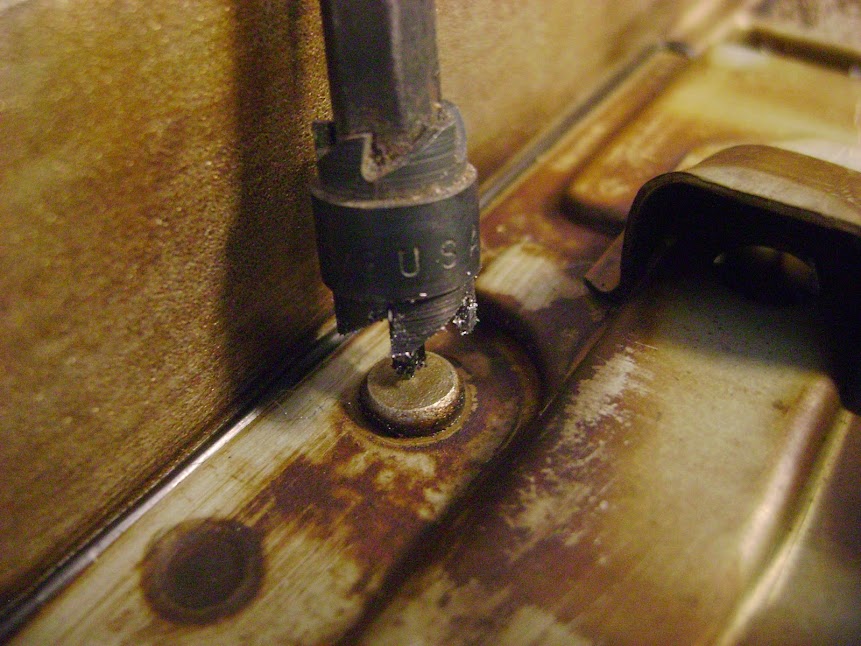
Prep them for the new breather setup I have in mind. This is out of order from the paint stripper above...
Pull out the existing 90* and the Check Valve with vice grips.
The key, if you dont want to heat them up; is to twist them back and forth as you pull straight out a little at a time.


Grab a tap of whatever size fitting you want. You might be able to go with a size larger than 3/8" npt but this is what I used

Used a little rapid-tap which helps with the process greatly


The other side, I had to add aluminum by tig process, since the hole was smaller than 3/8" - I cant find those photos right now

Now, I would prefer sweeping angles but I want to hard line and its a **** to find fittings I like the look of. So this is it for these fittings... for now


Pull out the existing 90* and the Check Valve with vice grips.
The key, if you dont want to heat them up; is to twist them back and forth as you pull straight out a little at a time.
Grab a tap of whatever size fitting you want. You might be able to go with a size larger than 3/8" npt but this is what I used
Used a little rapid-tap which helps with the process greatly
The other side, I had to add aluminum by tig process, since the hole was smaller than 3/8" - I cant find those photos right now
Now, I would prefer sweeping angles but I want to hard line and its a **** to find fittings I like the look of. So this is it for these fittings... for now
12-09-14, 09:32 AM
#64
Racer
AN fittings on the valve cover looks clean, real sweet. I see why people just weld them in since you're lacking metal behind. Once I upgrade to a single turbo setup I need to install a legit catch can like your setup!
I've only gotten a few pages into your raptor build in my spare time, but I saw you fitting the motor into the frame and got excited! Do me a favor, install a hitch on your GS and lets some day do a quad trip to the dunes! Lmao!
Also for sure gotta get you to ride in my car. I'm gonna upgrade my fuel pump and wiring over Christmas but its quite fun with the twin turbo and vvti, its constantly boosting and whistling lol..
12-10-14, 12:22 PM
#65
Lexus Champion
Thread Starter
 12-10-14, 12:24 PM
#66
Lexus Champion
Thread Starter
Come on guys - Lets get some more group participation on the thread !
So... I drive in traffic... ALOT - Like a 13 mile commute is between 45min to 1hr 15min average.
So back when the TH400's were popular, because even the built toyota autos were known for grenading; I decided to do a 4L80e with paddle shift... to be different, and have overdrive with a semi-bulletproof setup
I picked up a trans from a parted out Cintas Delivery box van
Top of the pic is the 4L, bottom is an A340e
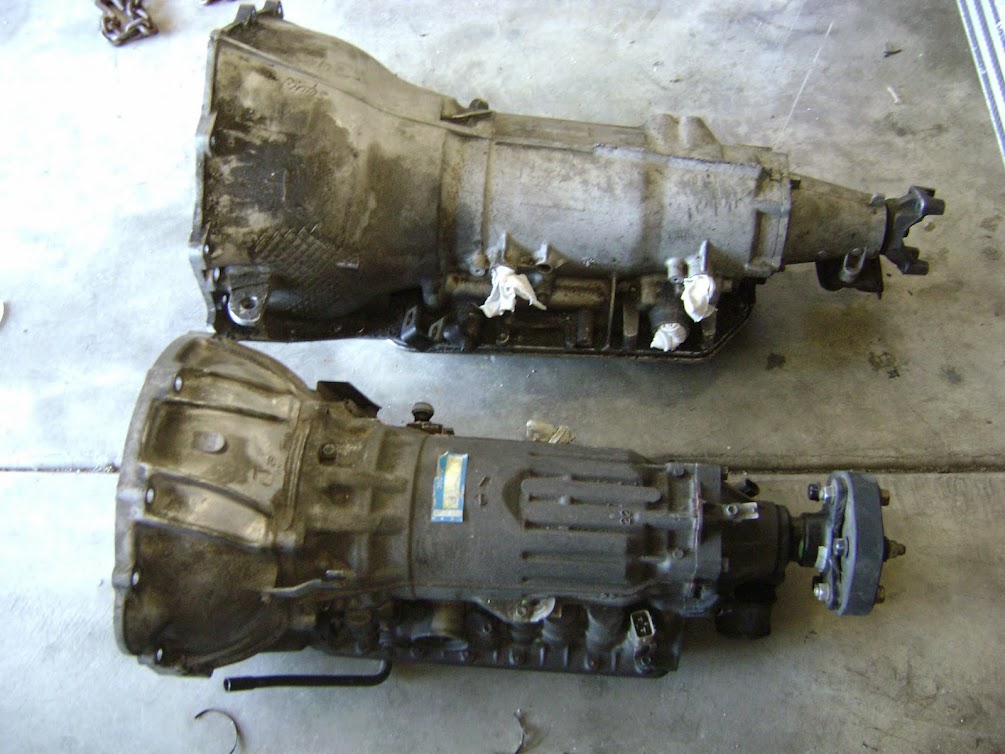
Other views


Decided on the ATF flywheel/flex plate adapter that mimics the older RMR. Not sure who created it originally, but its sick

The trans adapter

Both together

So... I drive in traffic... ALOT - Like a 13 mile commute is between 45min to 1hr 15min average.
So back when the TH400's were popular, because even the built toyota autos were known for grenading; I decided to do a 4L80e with paddle shift... to be different, and have overdrive with a semi-bulletproof setup
I picked up a trans from a parted out Cintas Delivery box van
Top of the pic is the 4L, bottom is an A340e
Other views
Decided on the ATF flywheel/flex plate adapter that mimics the older RMR. Not sure who created it originally, but its sick
The trans adapter
Both together
12-10-14, 12:26 PM
#67
Lexus Champion
Thread Starter
There is a reason to use the toyota housing... this GM thing is a massive beast and needs some serious re-work of the tunnel in a GS3
Some areas required minor "clearancing"

while other areas... no so minor. Nothing a little duct tape, bailing wire and jb weld wont fix ;-)


Some areas required minor "clearancing"
while other areas... no so minor. Nothing a little duct tape, bailing wire and jb weld wont fix ;-)
12-10-14, 12:27 PM
#68
Lexus Champion
Thread Starter
After discussing torque converters with 6 of the well known manufacturers, I decided on the FTI 10" billet lockup with a 3800 stall for extra beastmode

The backplate is the billet portion. Its this vs the welded bolt tabs commonly found


The backplate is the billet portion. Its this vs the welded bolt tabs commonly found
12-10-14, 12:29 PM
#69
Lexus Champion
Thread Starter
NOT SURE WTF IS GOING ON WITH THE QUALITY OF THE IMAGES. They are old and I must have used a sh1tty camera... work with me here
This 4L80e had a fixed yoke which wouldnt work in this application so I had a local company fab up a 3.5" DL with a slip yoke and 1350 u-joints.
Should be sufficient for some good launches. The GS has the 3 flange differential yoke, so to make this all work I picked up the driftmotion adapter.
Its a nice piece.

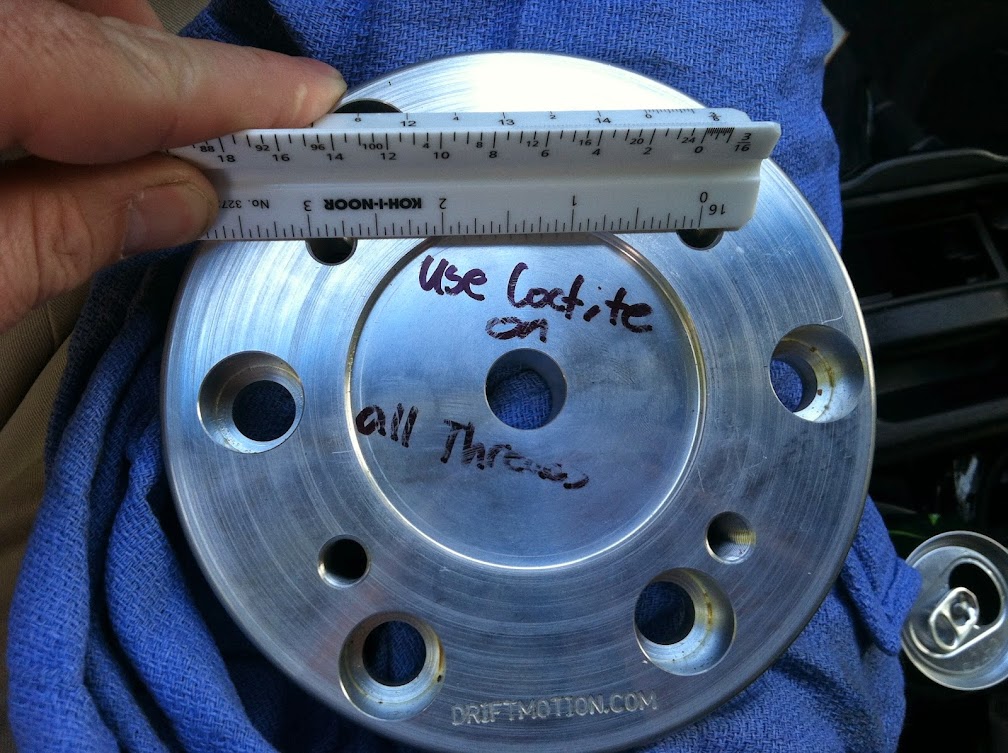


(This is my brothers car in the pic, just doing a t-belt and water pump service when it was taken)

I have no idea, other than in the name of overkill - why I picked up this driveshaft safety hoop...

This 4L80e had a fixed yoke which wouldnt work in this application so I had a local company fab up a 3.5" DL with a slip yoke and 1350 u-joints.
Should be sufficient for some good launches. The GS has the 3 flange differential yoke, so to make this all work I picked up the driftmotion adapter.
Its a nice piece.
(This is my brothers car in the pic, just doing a t-belt and water pump service when it was taken)
I have no idea, other than in the name of overkill - why I picked up this driveshaft safety hoop...
12-10-14, 12:43 PM
#71
Lexus Champion
Thread Starter
So they'll only work when I tell them to. There's also manual override to lock the converter, change the shift strategy and aggressiveness.
12-10-14, 01:51 PM
#73
Pole Position
iTrader: (1)

Join Date: Apr 2012
Location: KS
Posts: 205
Likes: 0
Received 0 Likes
on
0 Posts
That's a lot of work! Wish I had a garage so I could do a fraction of this work. That 4L is enormous compared to the A340E. I can't wait to see the paddle shifters, It would definitely be different.
12-11-14, 06:37 AM
#74
Lexus Champion
Thread Starter
Thought I would get some cam gears from a vendor on fleebay. I would not make the mistake of installing these on the motor.
The timing belt did not fit properly. Not sure if they were just not machined properly, but a friend has the gears from Tomei and they fit much better


They appear nice enough, but i'm not willing to risk throwing the belt and ruining the whole motor...

I realize the belt is intended to only touch a portion of the cam gear, and from installing the belt over the OEM gears; the pattern was much different

The timing belt did not fit properly. Not sure if they were just not machined properly, but a friend has the gears from Tomei and they fit much better
They appear nice enough, but i'm not willing to risk throwing the belt and ruining the whole motor...
I realize the belt is intended to only touch a portion of the cam gear, and from installing the belt over the OEM gears; the pattern was much different
12-11-14, 06:38 AM
#75
Lexus Champion
Thread Starter
Since everything is going to be hard-lined, I needed the 37 degree flare tool. I had an assortment of tubing benders already.
Here's a few of the tube nuts/sleeves and misc fittings I ordered, in the first order of what would be many.


Here's a few of the tube nuts/sleeves and misc fittings I ordered, in the first order of what would be many.