When you click on links to various merchants on this site and make a purchase, this can result in this site earning a commission. Affiliate programs and affiliations include, but are not limited to, the eBay Partner Network.
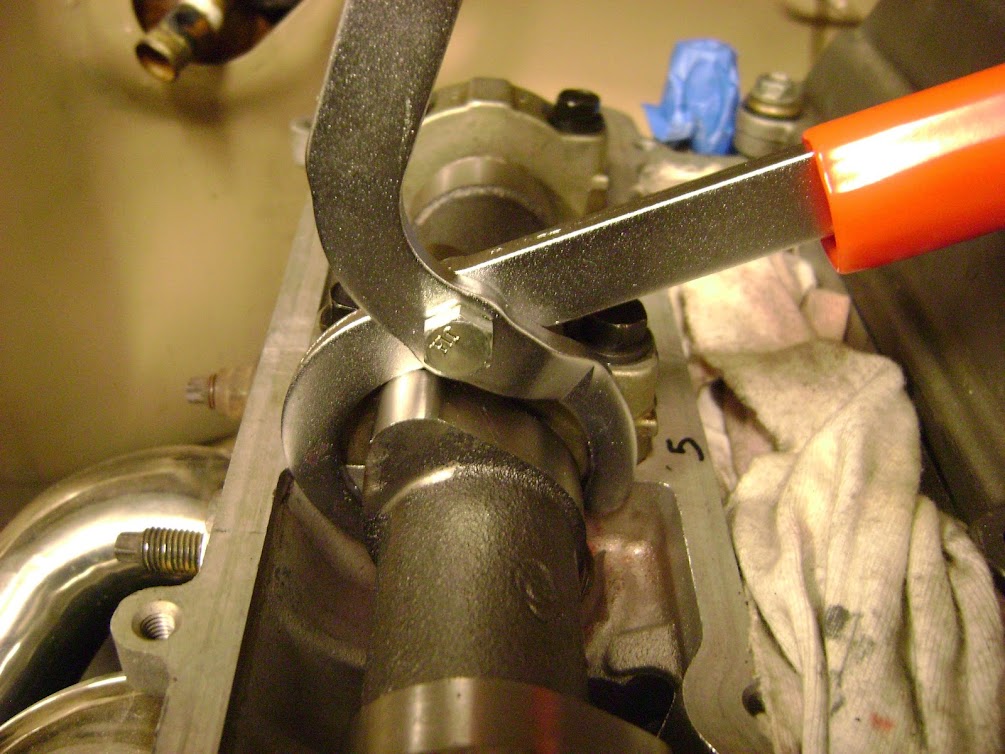
Cam install was straight forward, but the process is a pita. I purchased some lame aftermarket tool to remove the shims from the buckets, w/o removing the cam.
I'm sure the genuine Toyota tool works like a champ.
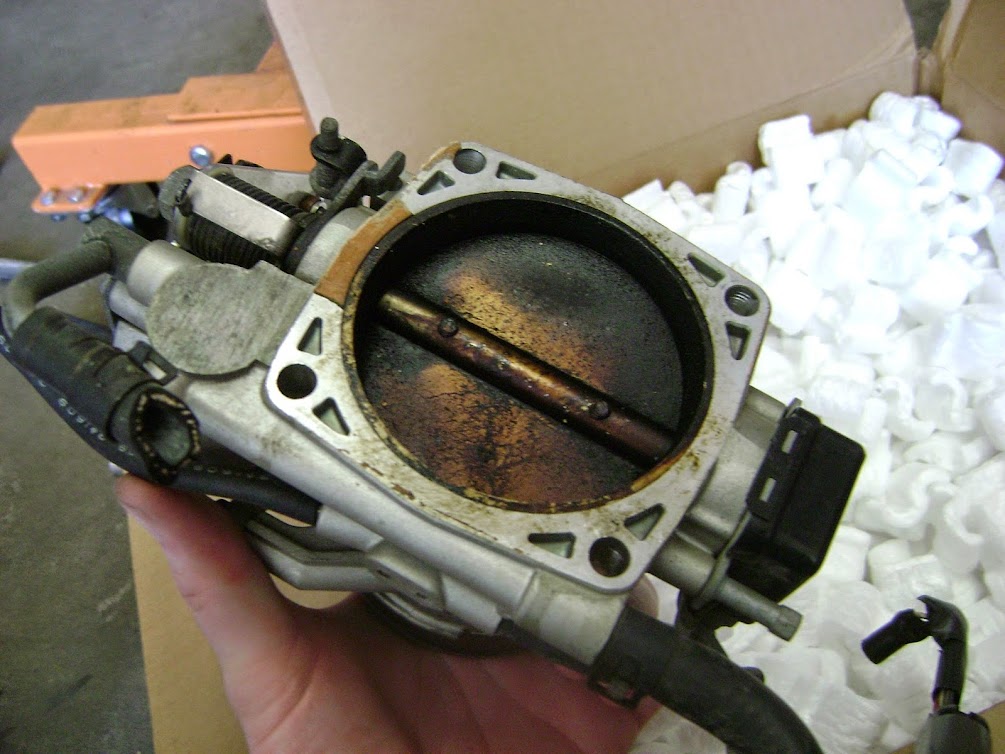
Clean up the cam caps in the solvent tank, because they looked like this
Use lots of lube - that's what she said
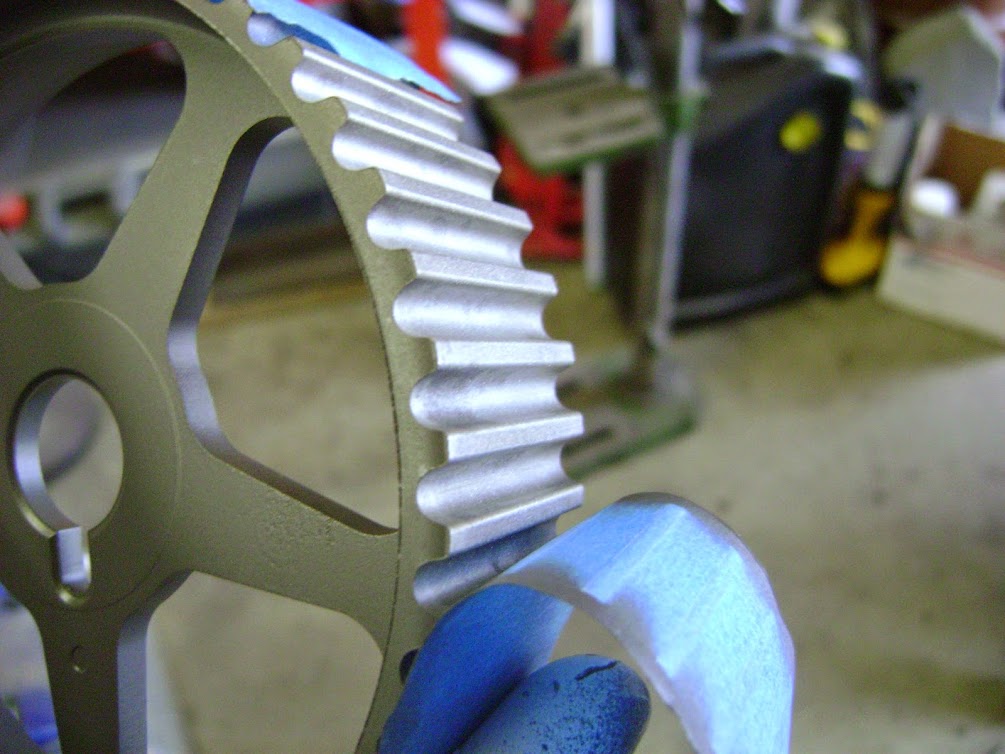
I threw the cam pulleys in the blast cabinet because they looked like this
Masked them off with tape to protect the belt surface
All painted
Cleaned up the back of the timing belt shield
Mount the pulleys
Paint the crank pulley also
This is about the time I decided to sell the veilside knockoff manifold and kill my veilside knockoff build thread. Looking back, the veilside was a knockoff, of a knockoff. The absolute worst reproduction ive ever laid my eyes on.
Here it is in case you forgot how heinous from earlier in the thread
By this time we're looking at moving because the new neighborhood we moved into as the first house, 8 years prior; was turning into a *****hole with people letting weeds take over thier lawns and people parking on the lawn, rat infested neighbors houses because they stored trash in their backyard.
Remember, i admitted earlier that I'm kind of a house snob. So its at this time that I believe I put the motor on hiatus until we moved, so everything went into storage for a bit.
We moved and I immediately sold this - which coincidentally continued to hold up progress on the GS on an annual basis, and was a large paper weight.
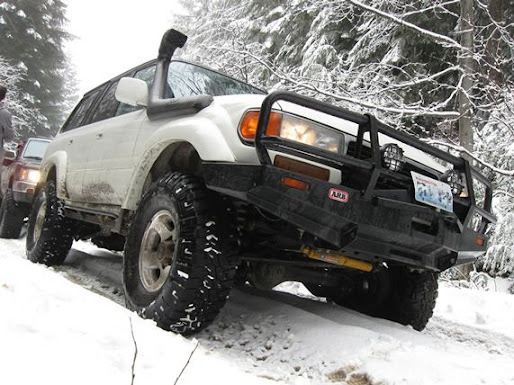
And built this - with a 4.7L 2UZ from a wrecked tundra. Complete build thread in my sig. I had built at least 12 cars, and bought and sold at least another half dozen daily's between the start of the GS3 and the beginning of this cruiser project.
Here she is - In car mockup V1.1 Quite a few versions since this pic - Progress stopped for a while so I could unpack what was left after over a year of living here in a mess.
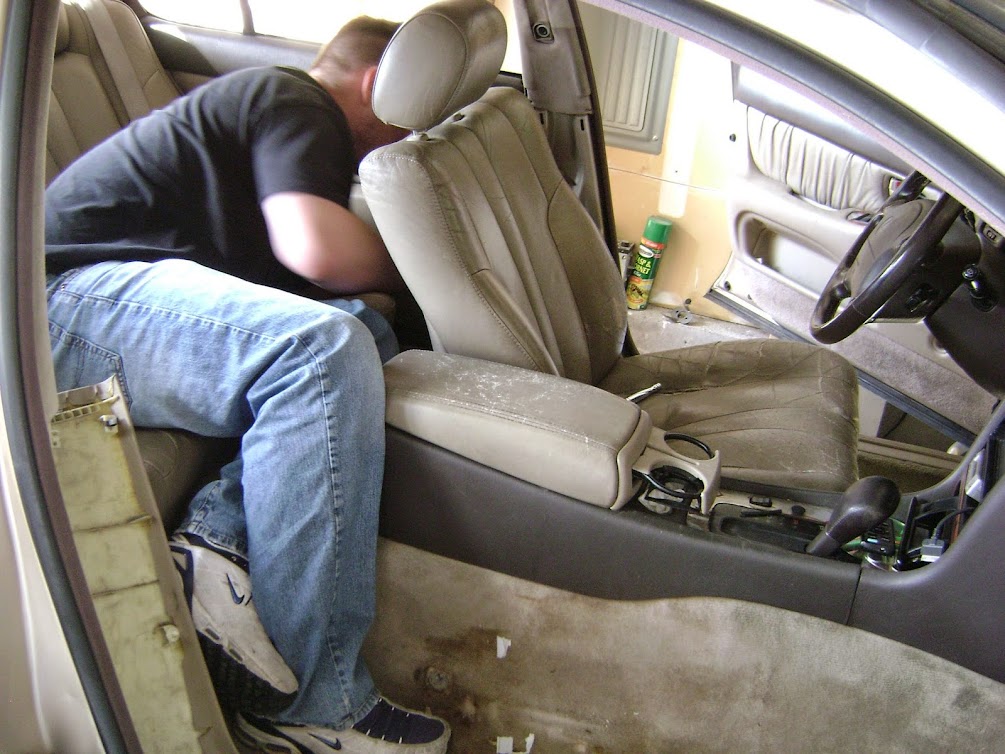
Gut the interior and cleanout all the random stuff I lost into the abyss over 9 years -
I don't think I mentioned it earlier in the thread - Originally I was planning on doing the aristo motor and trying to make the swap look 100% factory, but hog out the turbos like Stu Hagen did to make it a sleeper.
At some point I got carried away, as I do in all of my projects - But after seeing so many wire tucked projects going on from SEMA and internet scene... The rest is history...
I'll be doing hardlines for fuel, and air in the car. I took the fuel rail and modified it for some 75lb domestic o-ringed injectors
I thought it would be cool to use braided sheathing instead of flex look so I picked up some of this at a local electronics store
Next up is the generic 24x4x10 intercooler mockup with some leftover china j-bends
An aluminum radiator for a MKIV since I couldnt find one for a GS300 at the time, except for the fluidyne one for $650...
This one is pretty nice, good welds. Nice shape on the tank, not like the boxy square ones.
Back before I had my torchmate, I cut these tabs to weld to the headlight stay. This crappy thing is that this wont do **** to hold the thing in place.
So they are likely getting the axe later in the build...
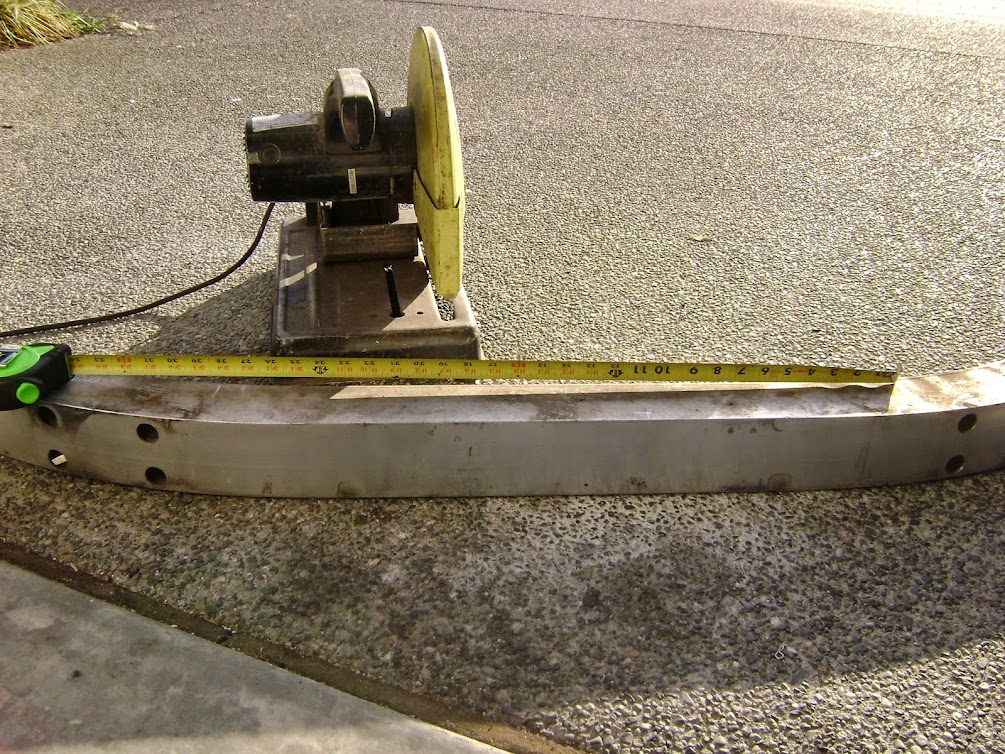
The bumper reinforcement needs to stay, but also needed to be modified to do so. Its a shame with this much modification, most of the core wont even get airflow.
I may do a spray bar later. Not sure yet.
Markup the center
I realized with the upper core support being tied into the headlight and bumper stay, it too needed to be modified.
Alright peeps. So I decided long ago that I wanted to do a black themed engine bay and parts.
Different textures and sheen's to breakup the look... so it doesnt look like a painted long small block chevy with all one color coating gaskets and other parts. That **** drives me nuts.
So I was on the hunt for as many anodized fittings that fit that criteria that I could find, within my budget. The AEM BDFPR was the next item on my list.
I mentioned that I was running hard lines thruout - I modified the vacuum port so it doesn't need a rubber hose.
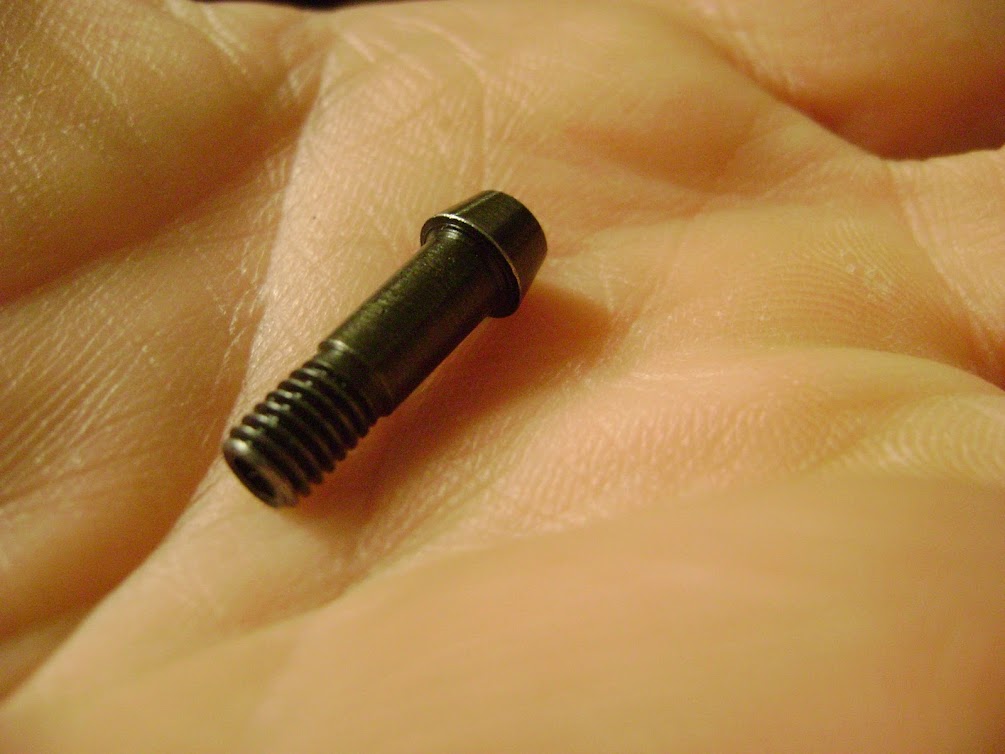
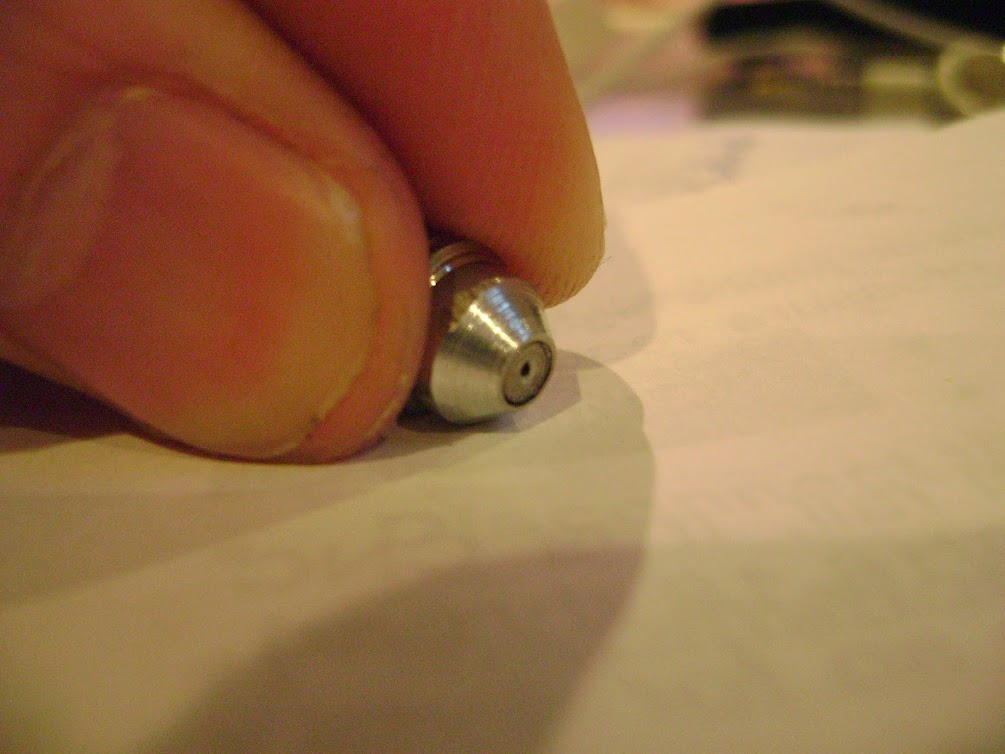
This is the vacuum port fitting that needed to get modified since it acts as a restrictor. Otherwise I suppose you could drill and tap the port size.
And this is the port in the FPR
The plan is to Mate these two items together
Take a little off on the lathe
Match up the size of the fitting to an undersized bit
Hog out the center of the fitting
Looks like this
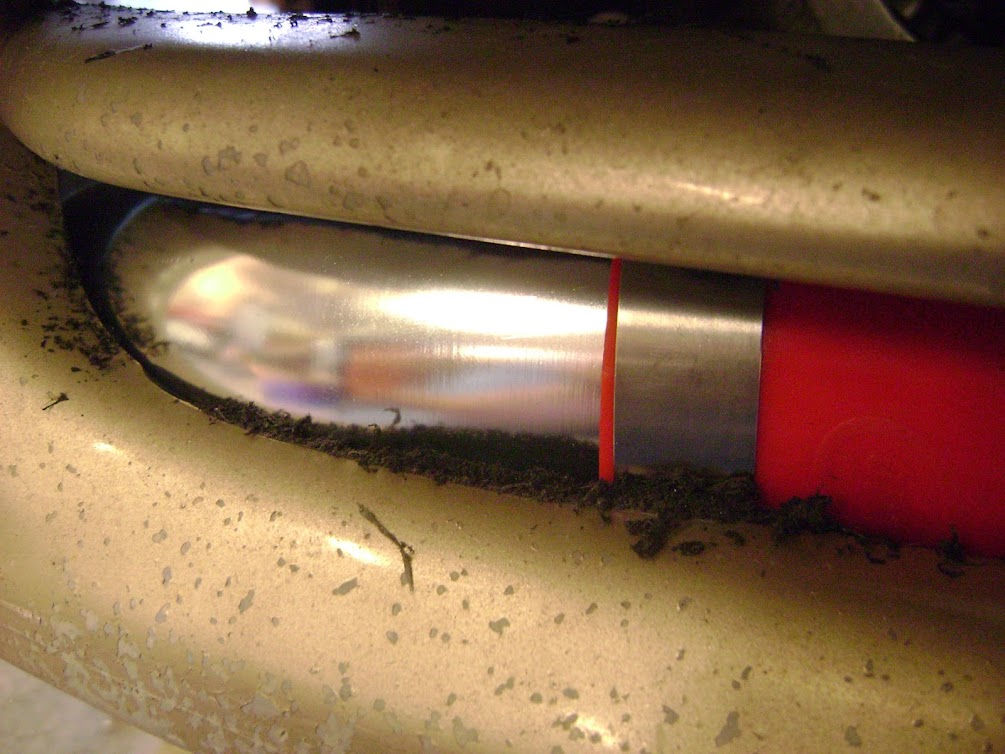
Press them together with a little loctite sealant like so -
Voila - Cut off the 1/8" NPT end and use some more loctite to screw it in like this.
 12-05-14, 08:15 AM