When you click on links to various merchants on this site and make a purchase, this can result in this site earning a commission. Affiliate programs and affiliations include, but are not limited to, the eBay Partner Network.
Nice build. On the fluid damper ,every one I have installed including mine I just did 2weeks ago has the timing mark wrong on the pulley. Its the 2 nd mark to the left of where you have it would be the correct mark for it to be tdc ..if I was you ,I would pull pulley off ,set crank by dot on pump then install pulley ..if you've done that already that means fluidamper has corrected the issue but mine was bought last year and mark was wrong
Thanks for bringing this up. I did have everything lined up when I installed it. I will definitely keep this in mind though and will be sure to double check before I fire the thing up. Also, was your pulley really tight going on the crank? I had to take a piece of 320 grit to the inside of mine and sand the coating off to get it to go on.
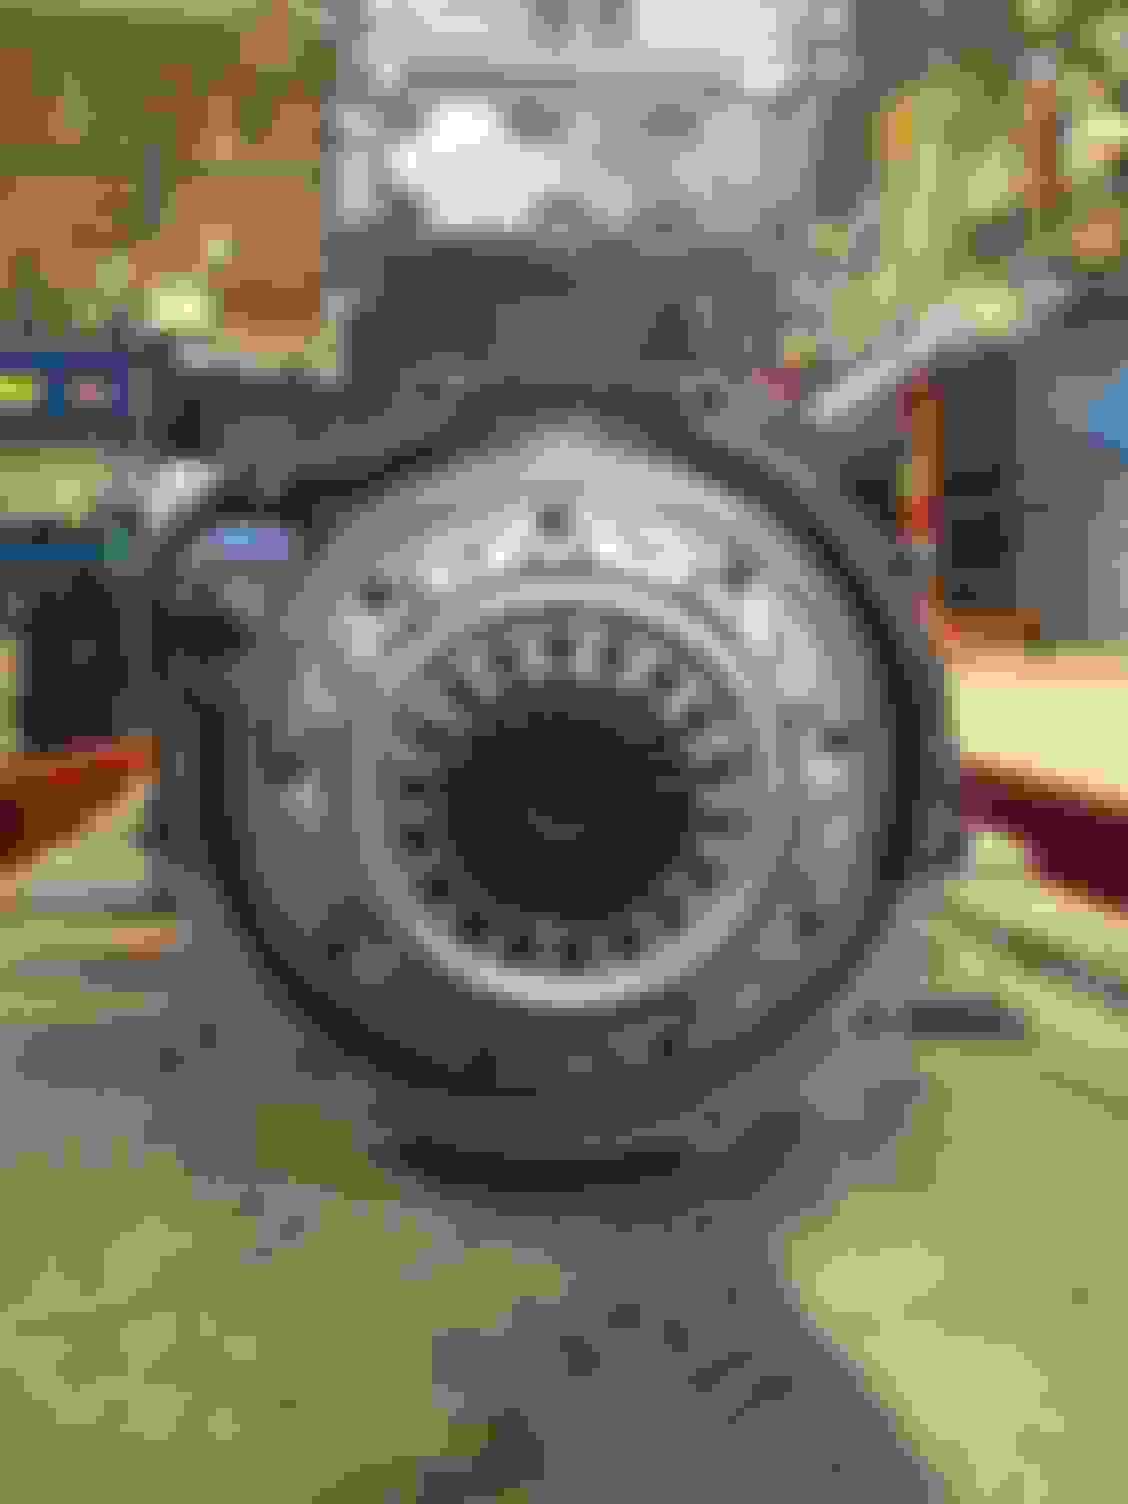
Motor is in! got everything buttoned up and stuck it in on thursday. Gotta make new hole in trans tunnel for the shifter on the trans, and it looks like I may have to swap out compressor covers on my s366 due to clearance issues. Now the fun begins haha. Thinking about deleting ABS aswell, but we will see. Stay tuned for more updates.
Had some time to work on the car today, got the trans crossmember in, and trimmed my new shifter hole, i was a moron and centered my hole about 1 inch too far back so the shifter isnt in the center of the hole, but i did trim to get it to fit nicely. going to use the factory trans boot bracket (without the boot) and just tack weld and seam seal in a piece of 16ga sheet metal to use as a cover for the factory hole.
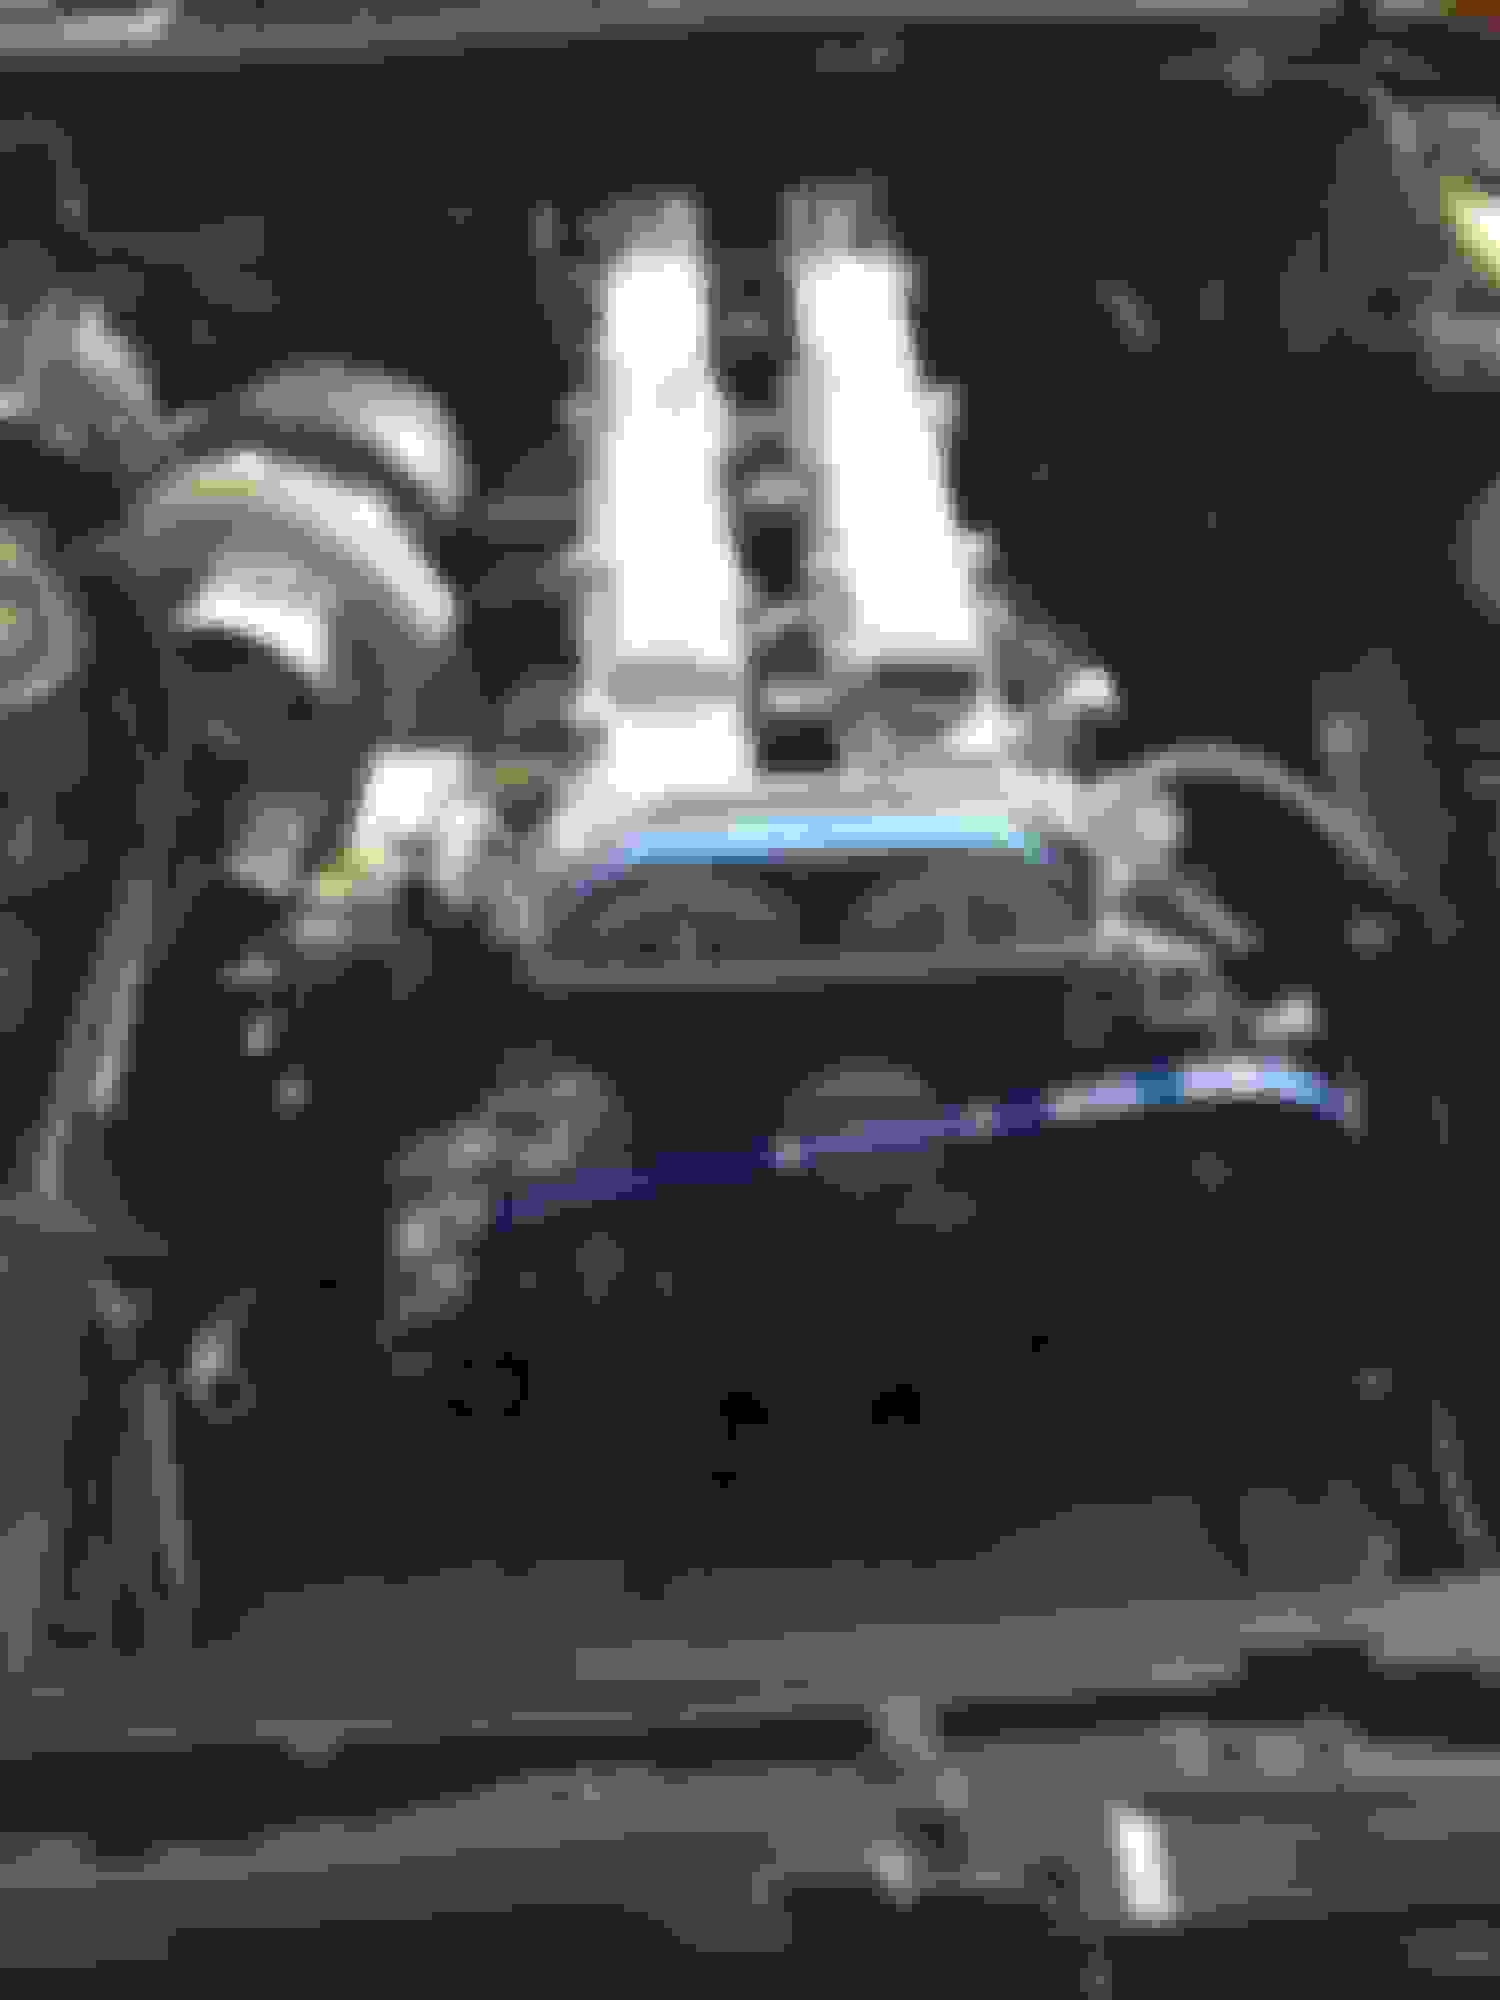
I also got a chance to mock everything back up in the engine bay to check clearances. With some clocking of the compressor housing I was able to get it to fit but man that **** is TIGHT. I think the best route is going to be rotating my thermostat housing 180deg. and running the WG dump between the IC pipe and where the lower radiator hose is going to be.
Heres what Im working with on the exhaust side, I think im going to cut and re-weld the heater hose hard pipe so that it sticks upwards more to make more room for the DP, originally was hoping I could squeeze a 4", honestly thinking about 3.5" now, and even thats gonna be tricky i think.
Intake manifold clearance isnt that much better lol, but i kinda knew that would happen. I did find a way to comfortably reach the oil filter by moving the little relay box by the brake master out of the way and reaching down from the side.
hey just noticed your lq9 coils.. Did you happen to order those of ebay? Reason I ask is because I see that they have the black epoxy on them which is a sign of the china coils that are crap, sorry to say. My tuner along with others on SF have ran into major spark issues with the black epoxy china lq9 coils.... Something you might want to consider sending back and getting the correct lq9 coils with the yellow epoxy around the heat sync.
Its an honor being plastered all over the homepage! Ive gotten really positive feedback from alot of people on the build and it really makes all the late nights and busted knuckles worth it. I will correct the article on the statement of having 40 years experience because im only 24, and despite my best efforts, could never attain that sort of knowledge in my lifetime. I am learning though!
Anyways,
At the moment, what the car lacks to run is the following:
-Complete fuel system install (modify hanger, install lines, pumps, and regulator)
-Modify wiring harness (adding coil packs/sensors , swapping injector clips, removing un needed wiring, extending tps)
-Turbo back exhaust
-Intercooler/piping
-driveshaft
-radiator
-install aem and gauges
hey just noticed your lq9 coils.. Did you happen to order those of ebay? Reason I ask is because I see that they have the black epoxy on them which is a sign of the china coils that are crap, sorry to say. My tuner along with others on SF have ran into major spark issues with the black epoxy china lq9 coils.... Something you might want to consider sending back and getting the correct lq9 coils with the yellow epoxy around the heat sync.
Just looking out!!
Damn Really??? I bought these off of ebay, they came from an ACDelco parts supplier, in their own ACDelco box, with ACDelco logo and part number BSC1251 engraved in each coil. Honestly, im gonna be pissed if these things act up lol. Good to know though, just in case I do have issues.
also, Im gonna PM you here before too long about what you did to your factory fuel hanger.
Yes, just last week my tuner Lawrence had a supra he was tuning with the black epoxy lq9 coils and they ran into some major issues with ignition. Also brand new from Ebay in an acdelco box. Swapped them with a set of used OEM coils and all ignition related issues were gone. There is just something with the black epoxy coils that are junk sorry to say but just for future reference if you run into ignition issues If it isn't to late, I would send them back and get a refund
Damn that compressor outlet is awfully close to the external wastegate.. But other than that, this setup looks clean (even with the tight fit!). And yeah, I had to rotate my waterneck as well as it was a bit too close for my comfort. Looks good
Honestly, Ive been on the fence about getting one of the sound performance quick spool valves, which would raise the turbo up about a half inch... but at the moment 500 bucks is sorta not in my budget considering the cost of everything else I need to get the car running. I think ill be able to fit everything, i put the wastegate on earlier and i definitely have enough room to slip on a coupler and clamp. I might even heat wrap that small area just to make sure.
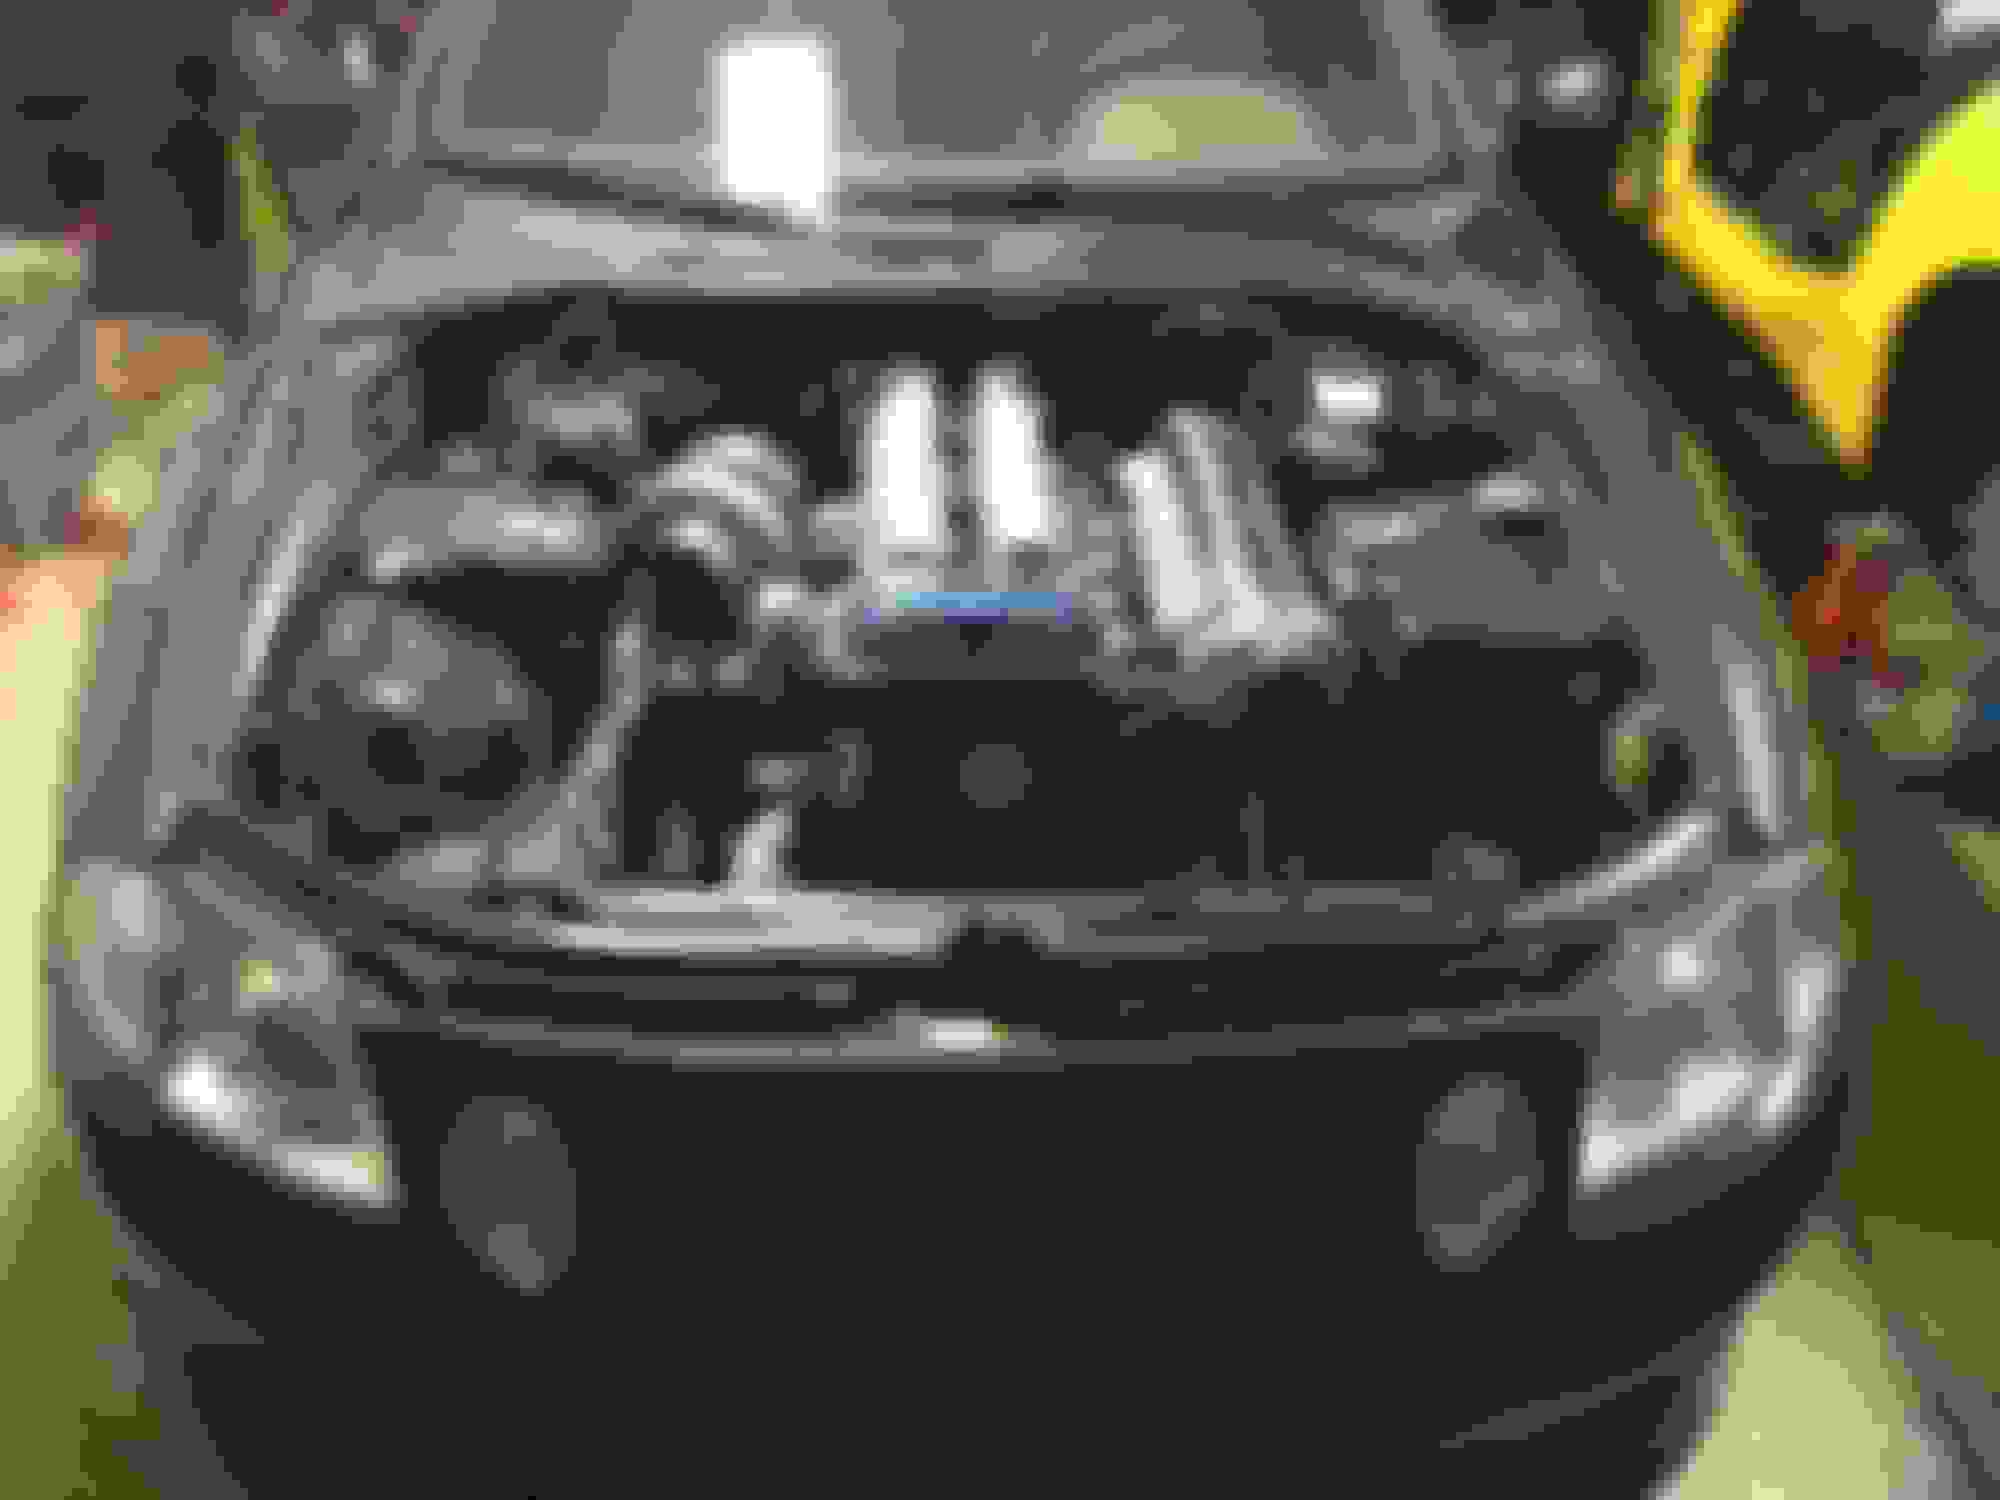
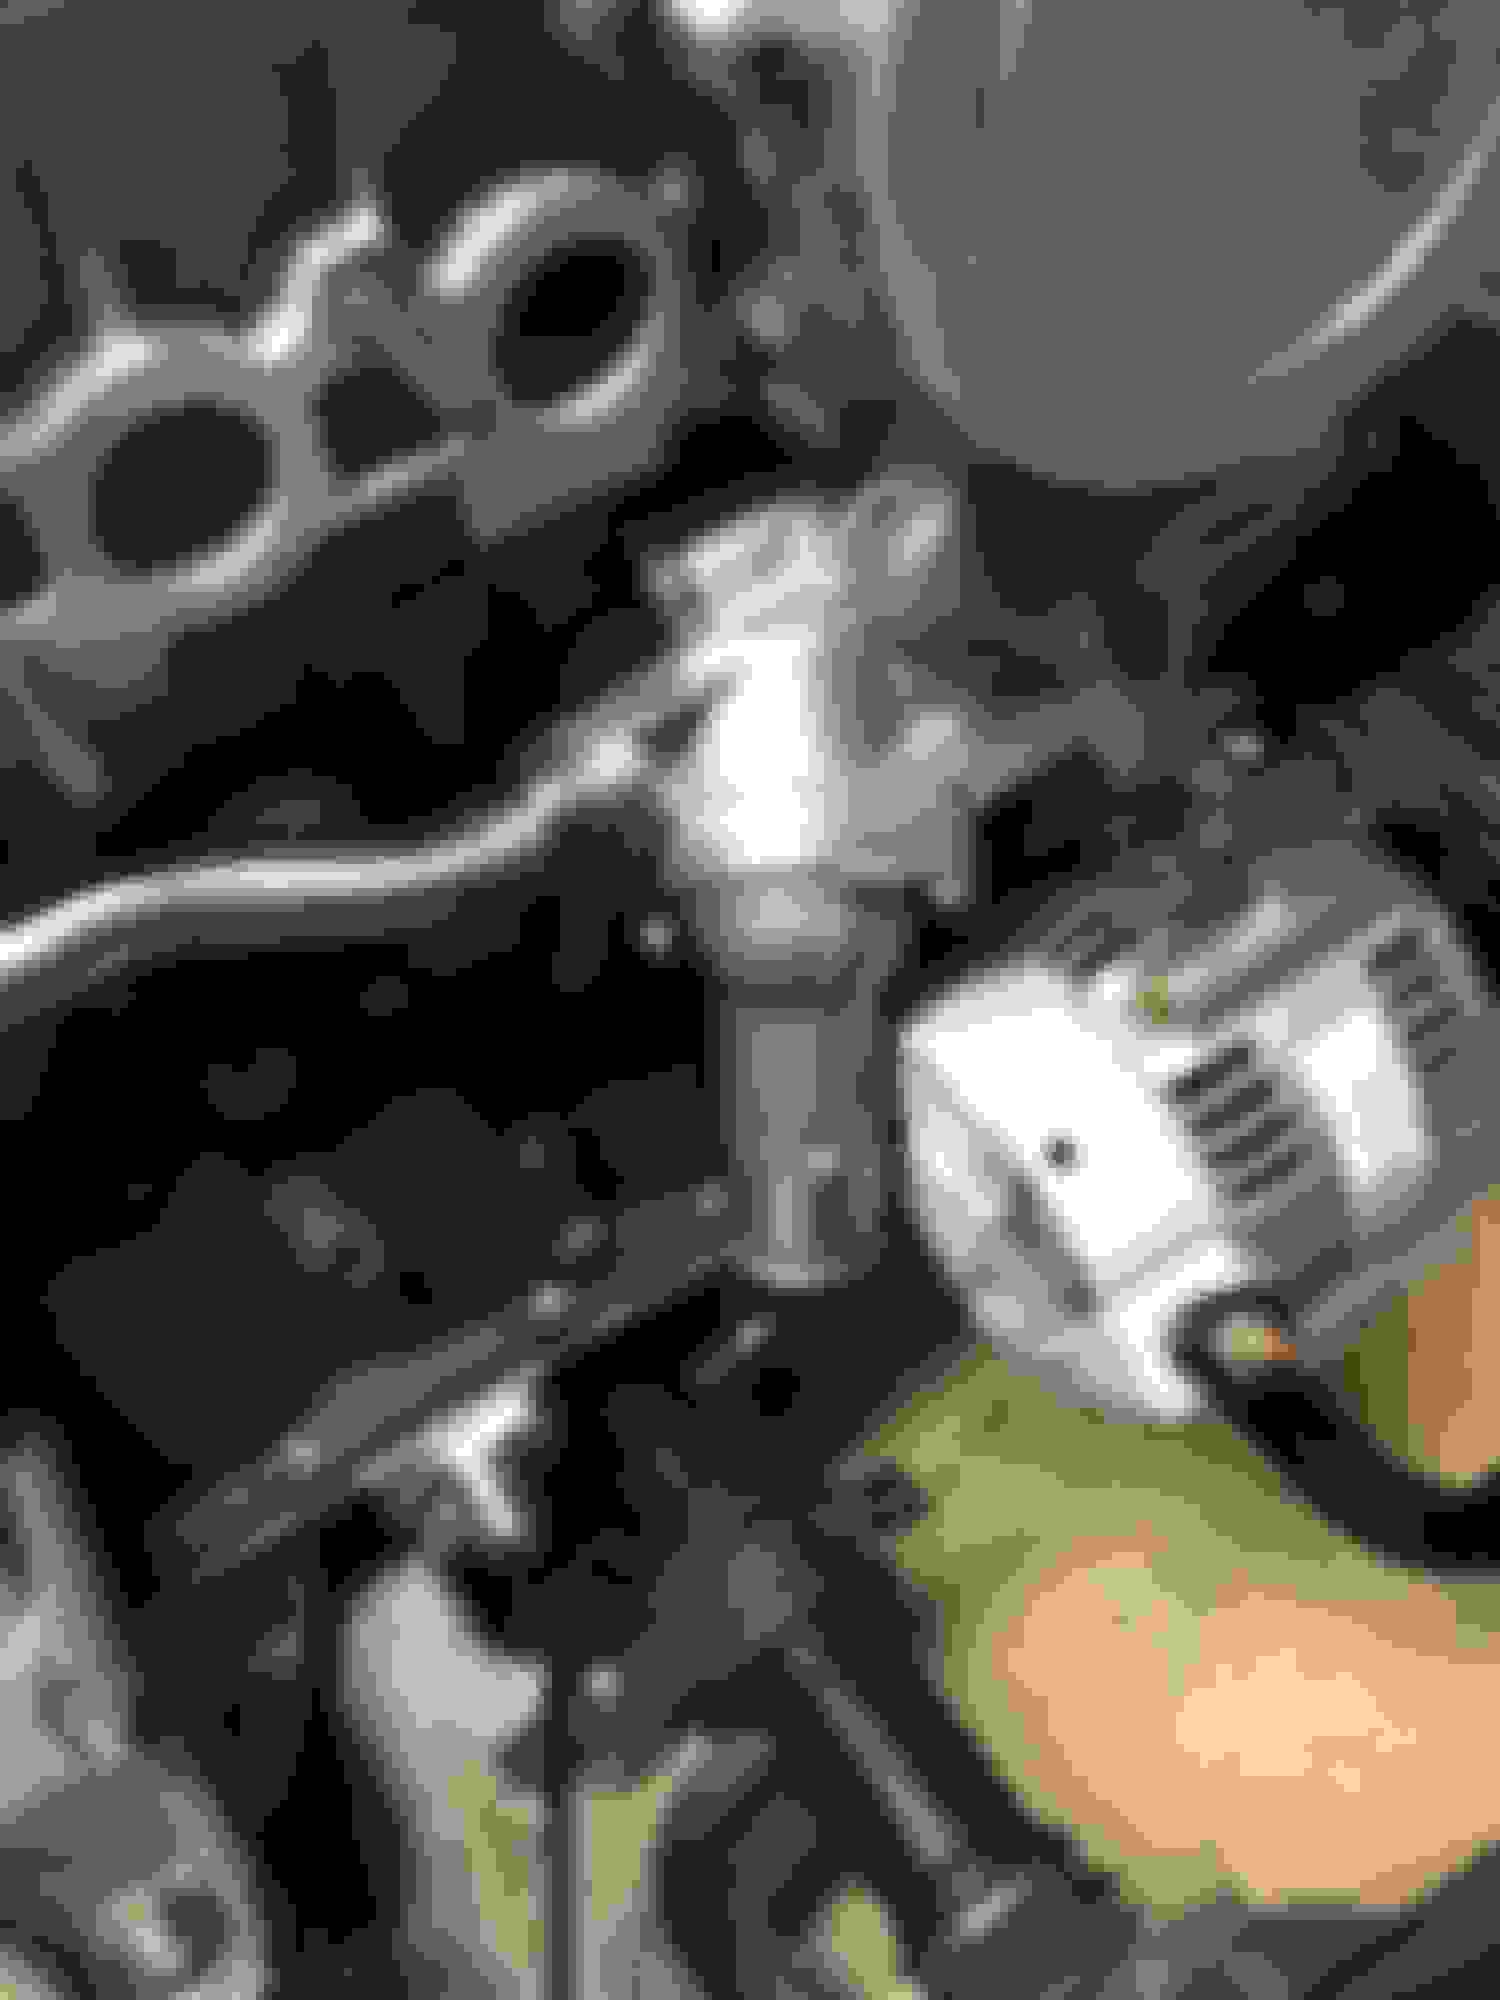
So I ended up flipping my t-stat housing around, gained an ample amount of room for the wastegate dump and also modified the coolant hard pipe to get some more room for the downpipe. Just cut off the small nipple (used to be for the throttle body i think?) and welded it shut and then cut and rotated the end upward a bit to match up to the factory heater hose. I put on the manifold for the final time, had to trim one stud and had a really hard time with one nut but got it tight so good to go! And today, I built the turbo feed line, and got half way with the drain line (gotta get a gasket from work before I finish it). Also, I bolted up the A/C compressor and P/S pump with the lines from the PHR kit.
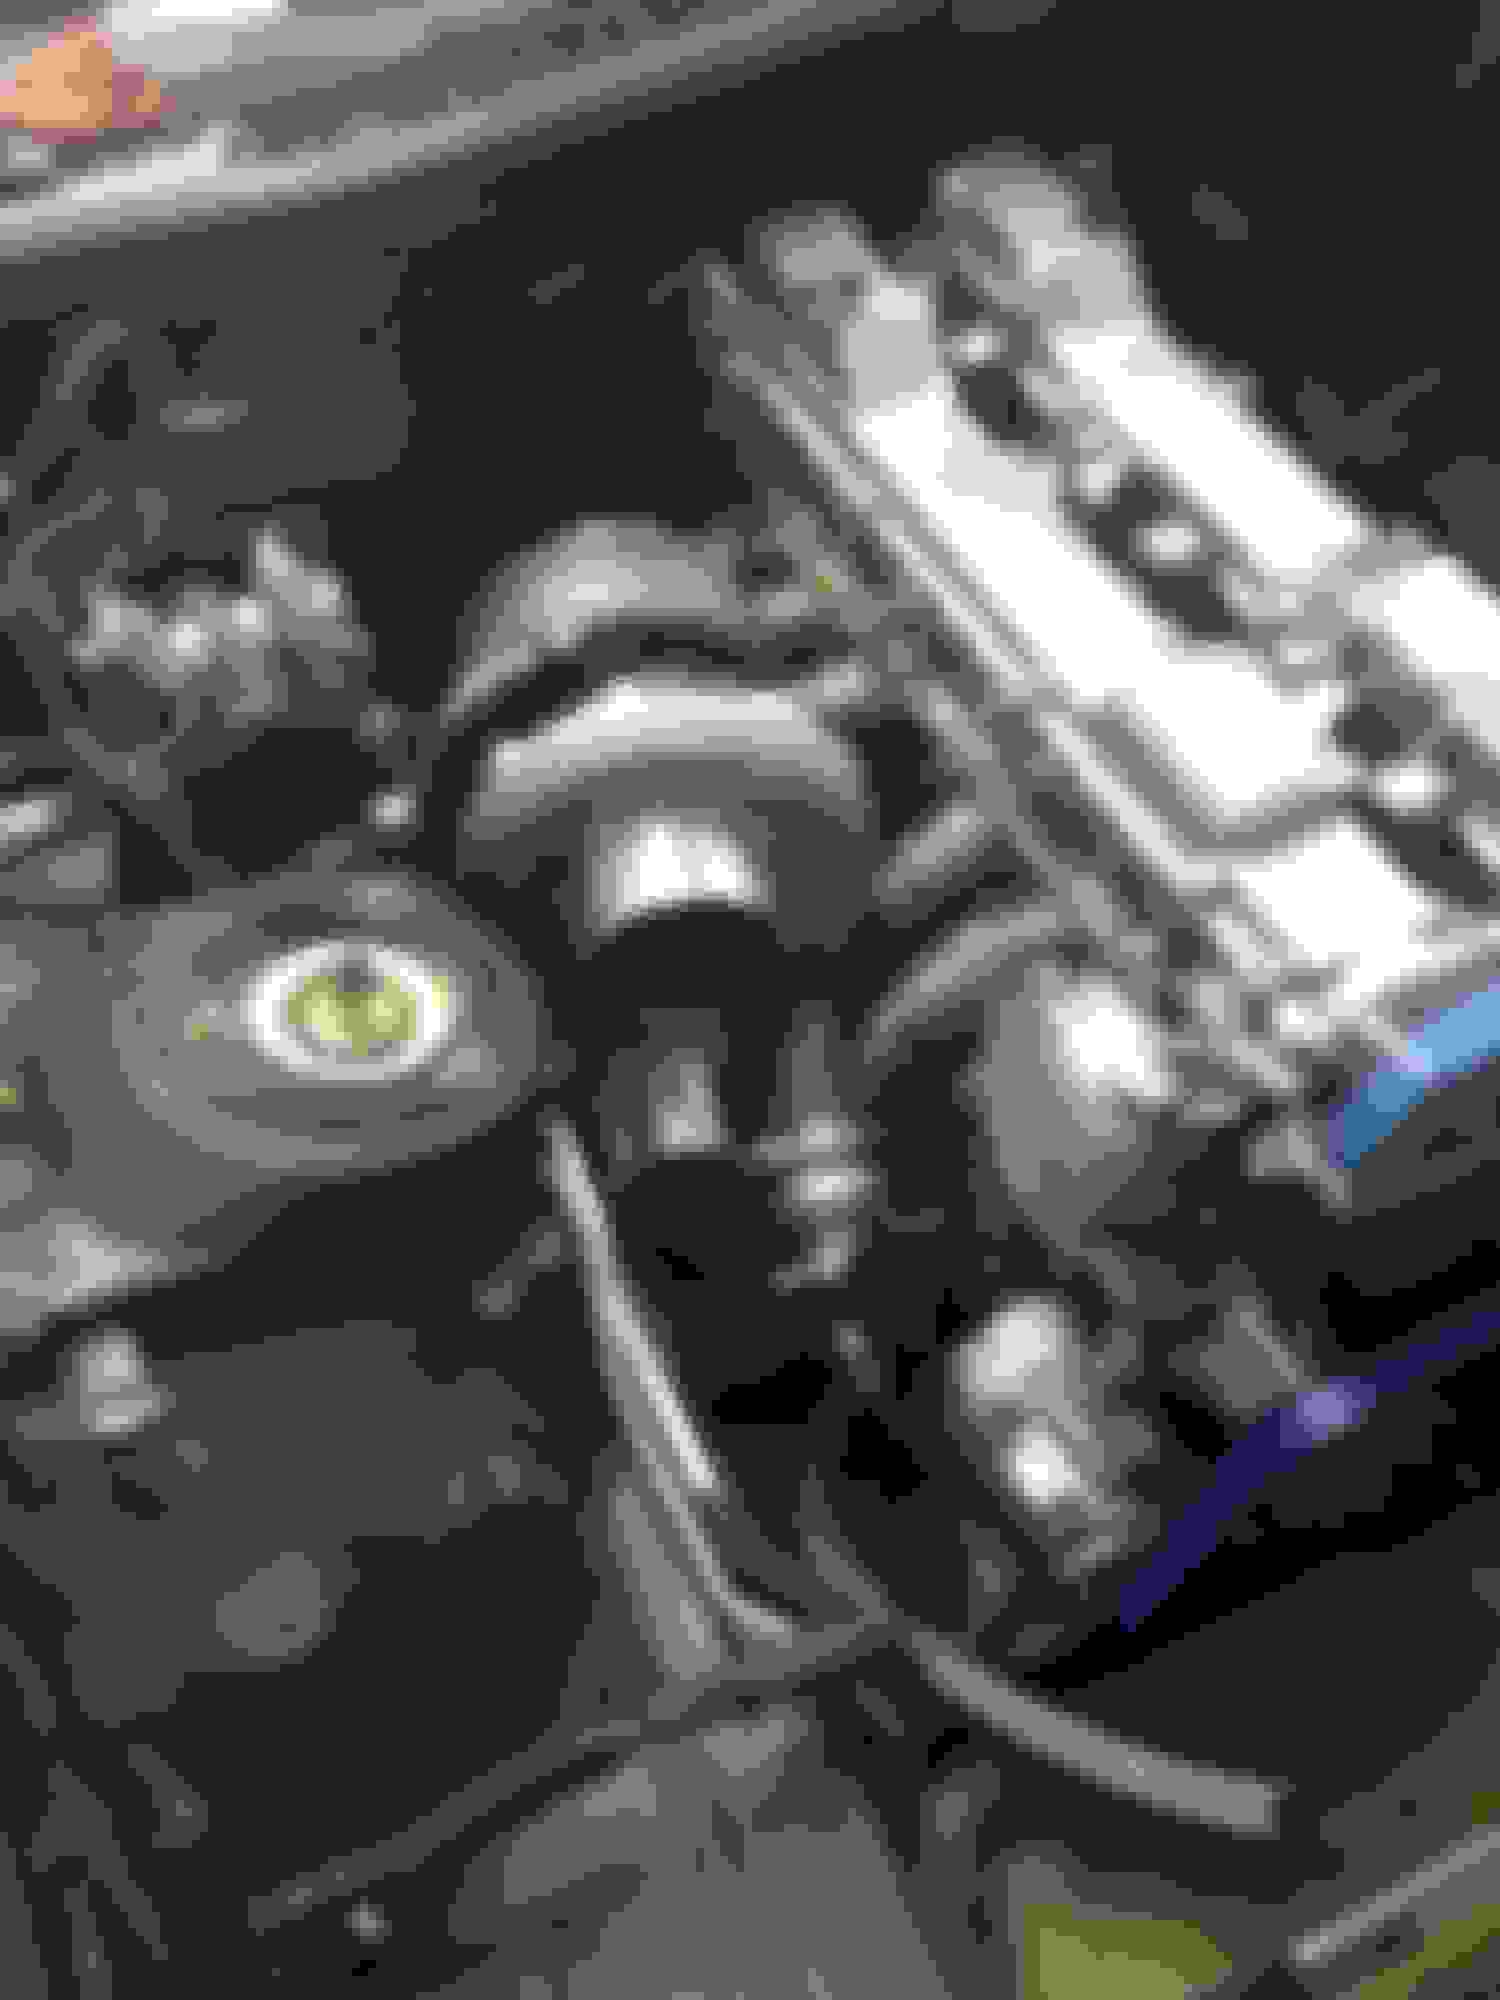
I used my miller synchrowave 210 with some 308 stainless rod to weld the coolant pipe, turned out decent for such thin material. And heres the intake side of the engine and the lines and whatnot. I feel like I may shorten the p/s suction hose though, its really long. Im using all XRP lines and fittings. The feed line is -4 with 90deg on each end 48" in length and the drain is -10 with 30deg fittings, to cut the stainless lines im using a sharpened masonry chisel against a block of aluminum. A couple whacks with a decent sized hammer and it works like a charm, no fray at all.
 04-18-15, 06:56 AM


 sorry to say but just for future reference if you run into ignition issues
  If it isn't to late, I would send them back and get a refund
 ")


 and the drain is -10 with 30deg fittings, to cut the stainless lines im using a sharpened masonry chisel against a block of aluminum. A couple whacks with a decent sized hammer and it works like a charm, no fray at all.