When you click on links to various merchants on this site and make a purchase, this can result in this site earning a commission. Affiliate programs and affiliations include, but are not limited to, the eBay Partner Network.
ALRIGHT .. I AM HERE TO CRUSH ALL THE QUESTIONS ABOUT OBDI / OBDII INJECTORS AND LOWER RUNNERS..
WHAT WORKS??
WHAT DOESN'T WORK??
AND PLEASE, ASK AS MANY QUESTIONS AS YOU CAN CAUSE I HAVE DEDICATED THIS ENTIRE LAST WEEK TO FIGURING ALL OF THIS OUT FOR US
First, if you are planning on turbo-ing your SC then you probably already know that Injectors will need to be in the mix. Weather they are 440cc's to work with the JDM/Aristo ECU's or 550cc's for the USDM.. Or even Bigger to help make more power.
Personally I cannot believe no one has done a write up (as far as I can find) on what injectors work with what runners and so on.
TO START **** OBDI AND OBDII FUEL RAILS ARE AN EXACT MATCH!!!! ****
So.. to save the day for us OBDII guys here it is.. NO MORE HEADACHE
If you are an OBDI car, your lower runner as you may know is different in one HUGE aspect.. You do not have an AIR-ASSIST chamber, No hose running to the throttle body, and have a Denso Style 11mm, High Impedance, Top-Feed, 310cc Factory Toyota Injectors.
This is perfect for you OBDI guys !! because of this almost every manufacturer of aftermarket Injectors has something for you to upgrade too..
Here is the most basic combo for OBDI cars:
CHANGE NOTHING!!
GO TO RC ENGINEERING WEBSITE
FOR JDM/ARISTO ECU'S THAT REQUIRE 440cc's YOUR PART NUMBER IS
***** RC SL9-0440 **** be sure to order EV1 Style Pigtails
FOR U.S.A. SPEC ECU'S THAT REQUIRE 550cc's YOUR PART NUMBER IS
**** RC SL9-0550 **** be sure to order EV1 style Pigtails
congratulations, you have successfully added the correct Injectors to your OBDI Lower Runner..
For anyone of us running an OBDII car, we all have come across a lot of info on what works.. in theory.. no one has actually confirmed anything that works for an OBDII Lower Runner..
BECAUSE NOTHING DOES !!!
Your OBDII factory set up is as follows, You have an AIR-ASSIST camber built into you lower runner, there is a GIANT HOSE running from the Lower Runner to the Throttle Body connected by a stepper motor. You also have a Denso Style, 11mm, High Impedance, Top Feed, 370cc Factory Toyota Injectors.The reason for the slightly higher CC's is due to the air-assist camber adding vortex-ed air to help atomize your fuel better, thus improving gas mileage.. also known as C.A.F.E. standards..
There are no Confirmed upgrades of Injectors that are aftermarket drop ins. I have spent several days on the phone, and Emailing people at RC Engineering to come up with something for us OBDII guys..
some of the engineers and reps have come to this conclusion
**** RC SL4-440D (NOT LISTED ON THEIR WEBSITE) ARE THE CORRECT "DROP IN" UPGRADED INJECTORS FOR OBDII LOWER RUNNERS ****
**** HOWEVER ... NO ONE ON EARTH HAS ATTEMPTED TO TRY THESE AS THEY ARE
1. NOT IN-STOCK
2. A SMALL FORTUNE COMPARED TO OTHERS REGULARLY AVAILABLE STYLES
3. NOT EVEN LISTED ON THEIR WEBSITE, SO YOU WOULDN'T EVEN KNOW THEY EXISTED
4. NO CONFIRMATION OF FITMENT
5. YOU STILL NEED TO DELETE THE AIR-ASSIST
6. THERE ARE NO REFUNDS WHEN ORDERING CUSTOM INJECTORS
ACCORDING TO RC ENGINEERING
**** EVEN IF YOU RUN THE RC SL4-440D IN YOUR OBDII RUNNER, YOU WILL STILL NEED TO DELETE YOU AIR-ASSIST FOR PROPER SEALING ****
Deleting the AIR-ASSIST on your car will not set a Check Engine Light (CEL)
Respectively, I took the safe route, and I also advise you to do the same. I swapped out my lower OBDII runner for an 95 (or earlier) OBDI style lower runner
. *** THIS IS THE ONLY 100% CONFIRMED FITMENT AND SUCCESSFUL UPGRADE FOR YOUR OBDII CAR ****
so here we are..
.. as some may have read in the TT-ECU Mod Thread.. there was some talk about how some people were running Upgraded Injectors in their OBDII cars.. I remember reading a post that said, "you can run OBDII Seals and O-rings on your aftermarket Injectors and they will fit. They will KIND OF seal and work for lower HP car"
^^^ TOTAL B.S. HERE ^^^
**** There is NO .. I repeat.. NO!!!!!!!! Safe way to install any sort of aftermarket injector into an OBDII Lower runner !!!!!!!!!! ****
The only combo any of us OBDII guys should be running is a swapped OBDI runner with the injectors listed above for that runner
AND HERE IS HOW I KNOW
Here, side by side you can see the drastic difference between an OBDI Injector (pictured LEFT) and OBDII Injector (pictured RIGHT)
NOTICE THE SEALS & THE LENGTH DIFFERENCES ..
The top of the injector you can see the same 11mm o-ring used, body construction is very similar until you reach the half way point of the injector
The OBDI Injector DOES NOT HAVE A SECCONDARY LOWER SEAL
OBDI Injectors only have the upper 11mm o-ring, the Toytoa/Honda style step seal and the Toyota/Mitsubishi style lower seal
OBDII Injectors have the 11mm o-ring, the Toyota/Honda Style step seal, The Toyota/Lexus Lower Air-Assist seal, and another 11mm lower o-ring
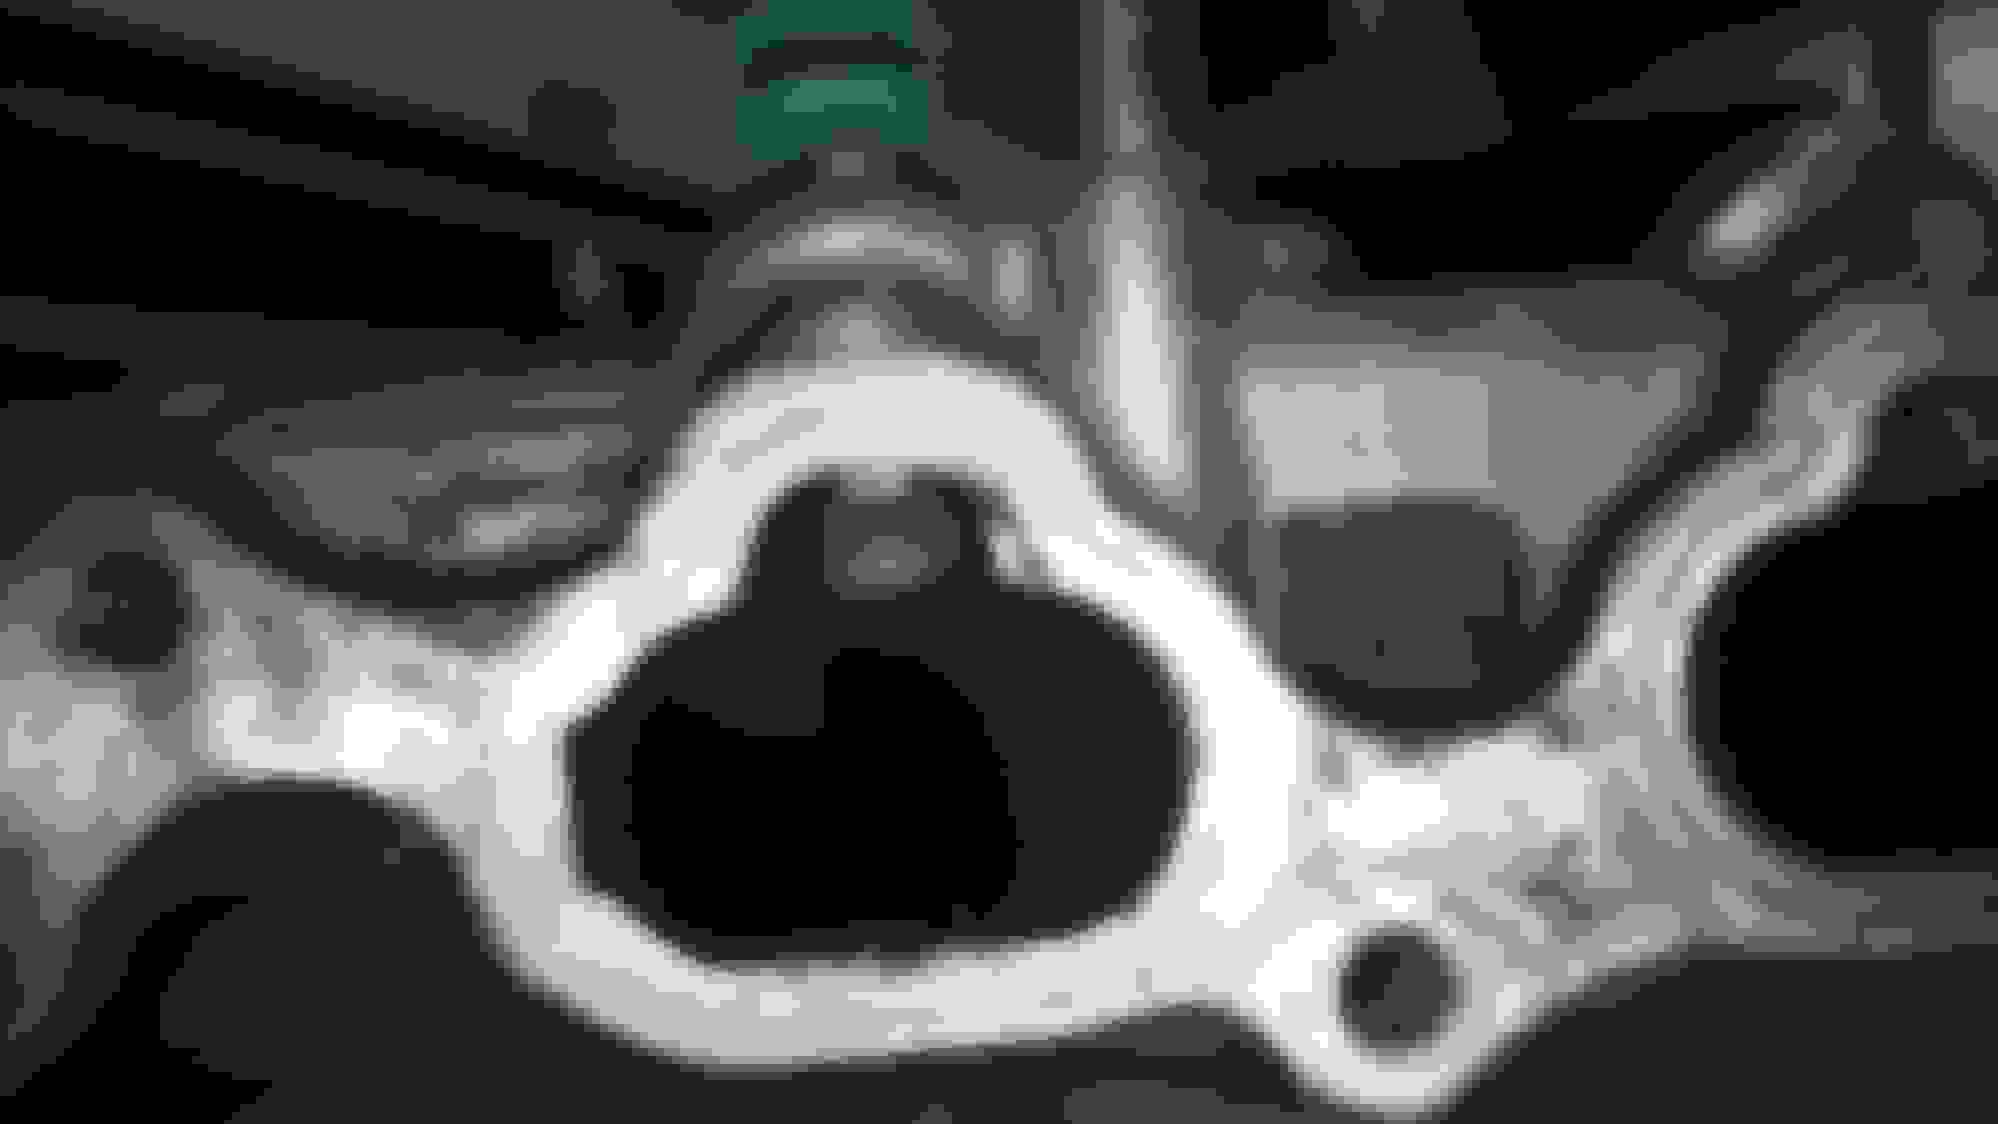
Here is an OBDII lower runner, Notice how LARGE the hole is and how it tapers down to the next seal. This is because of the air-assist chamber sits between these two seals. The OBDII injectors runs an 11mm upper seal and a 11mm lower seal, PLUS the air-assist chamber seal pictured before.
Notice how the air-assist seal on the OBDII Injector is almost completely invisible when installed into the OBDII lower runner
also take note of the OBDII Injector Spray tip positioning in the runner and how close it is..
and here is a picture of the OBDI Injector in an OBDII lower runner. As you can clearly see the fitment is NOT!! I attempted swapping the OBDII Injector seals to the OBDI Injector and seeing if they would fit.. The answer is NO!!
Notice the positioning of the OBDI Injector spray tip into the OBDII lower runner. Its fitment is also NOT!!
So the weekend is here again and I have a ton more pictures to upload of things that were done and things that are still in progress
lets start here
Finally got around to cleaning and painting the upper plenum
inside the plenum before cleaning and painting
Upper Plenum Painted to match the rest of the intake components
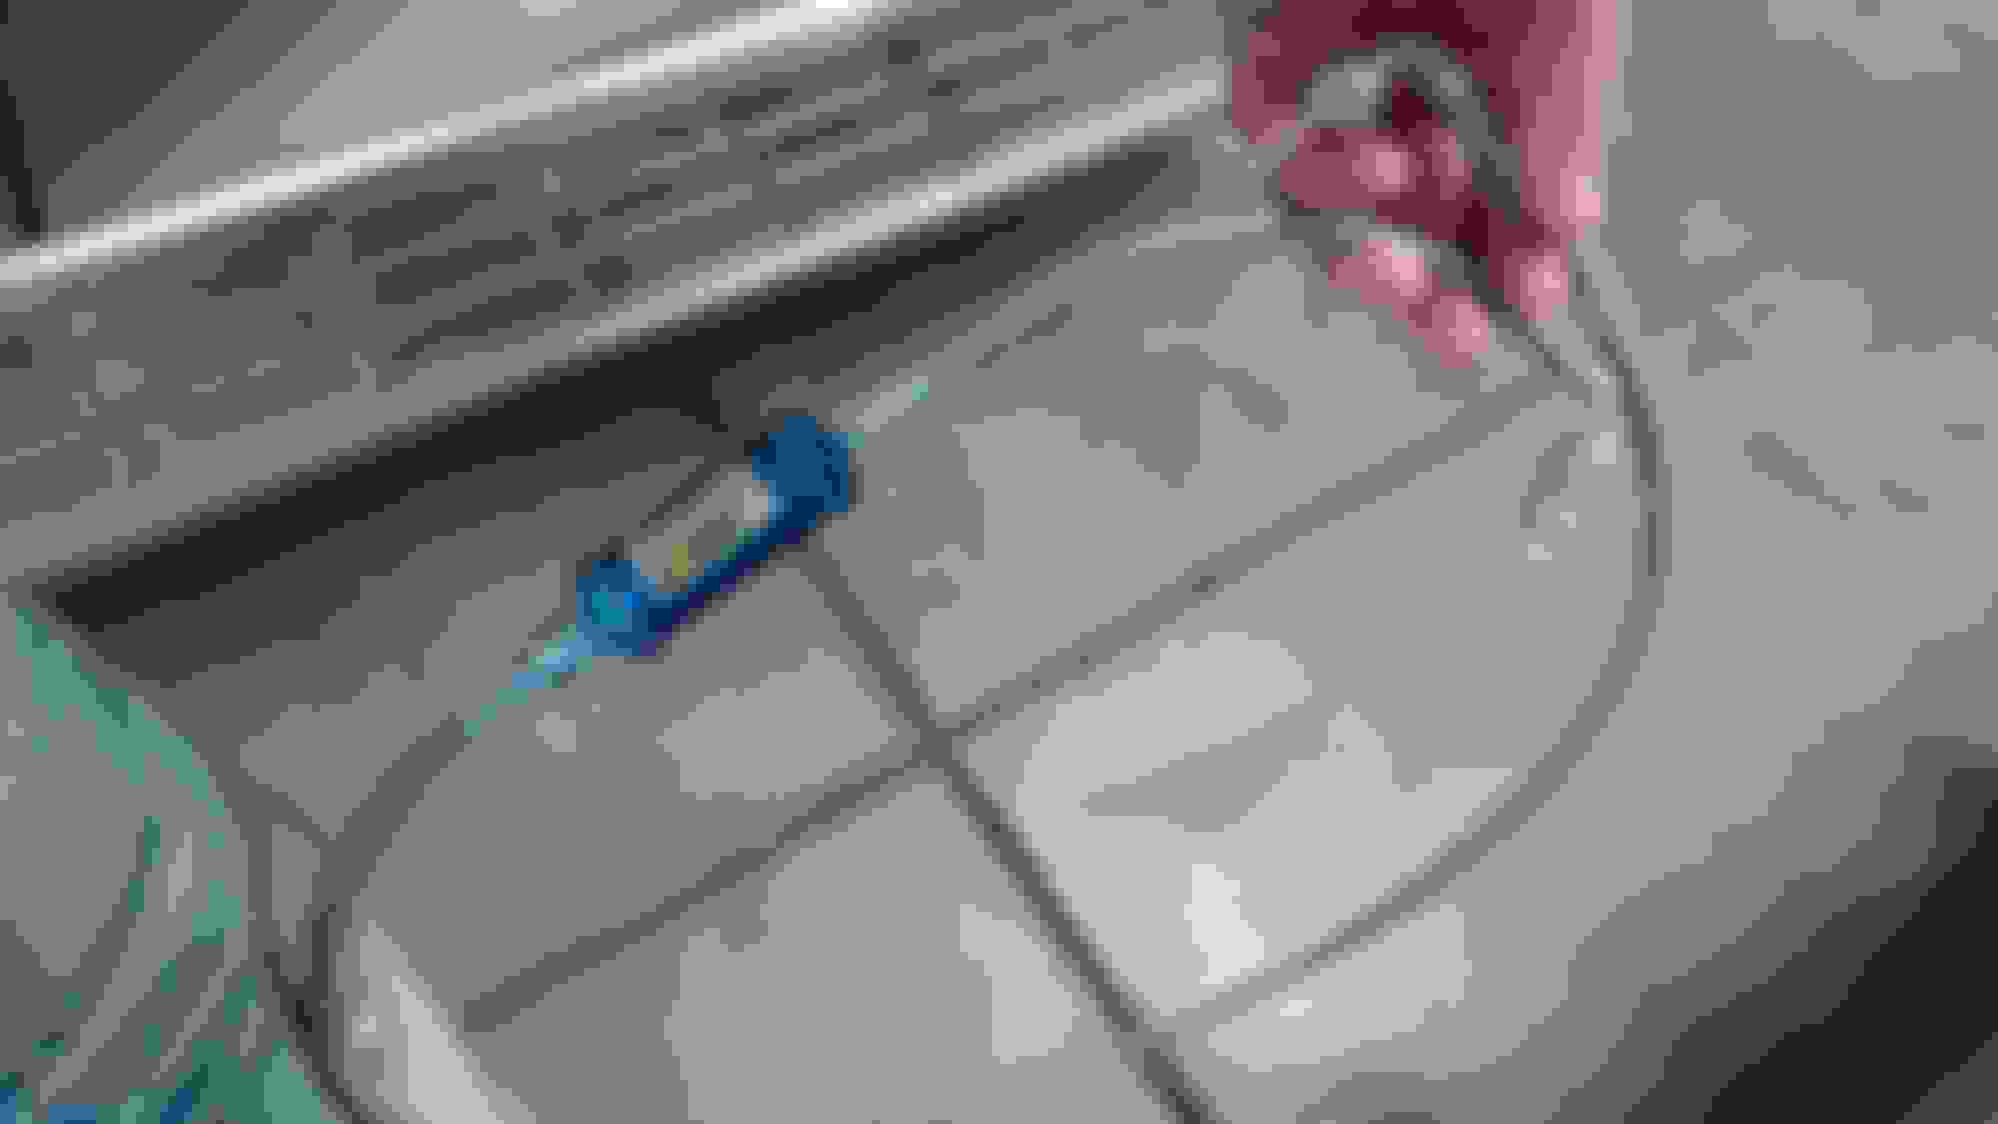
Check this baby out. Finally found a shop that can custom build me a turbo feed line. I went with a -4 AN SS Braided Line, with two 90 Degrees split 9 inches off the union bolt and a Erals 140 micron inline oil-filter.. I went this route for security reasons. I didn't want to risk having any small particles eating up my bearings and seals of the turbo since the Union bolt is pre-filter. It seemed like a smart idea
Started to get some things done throughout the week. lets take a look at what all I can show you on the progress so far
Here is a quick shot of the Oil pump housing (Lower Intake Plenum Removed) with the Union bolt and -4 AN turbo feed line installed
Snagged this little puller to get the crank gear off to swap out the crank seal
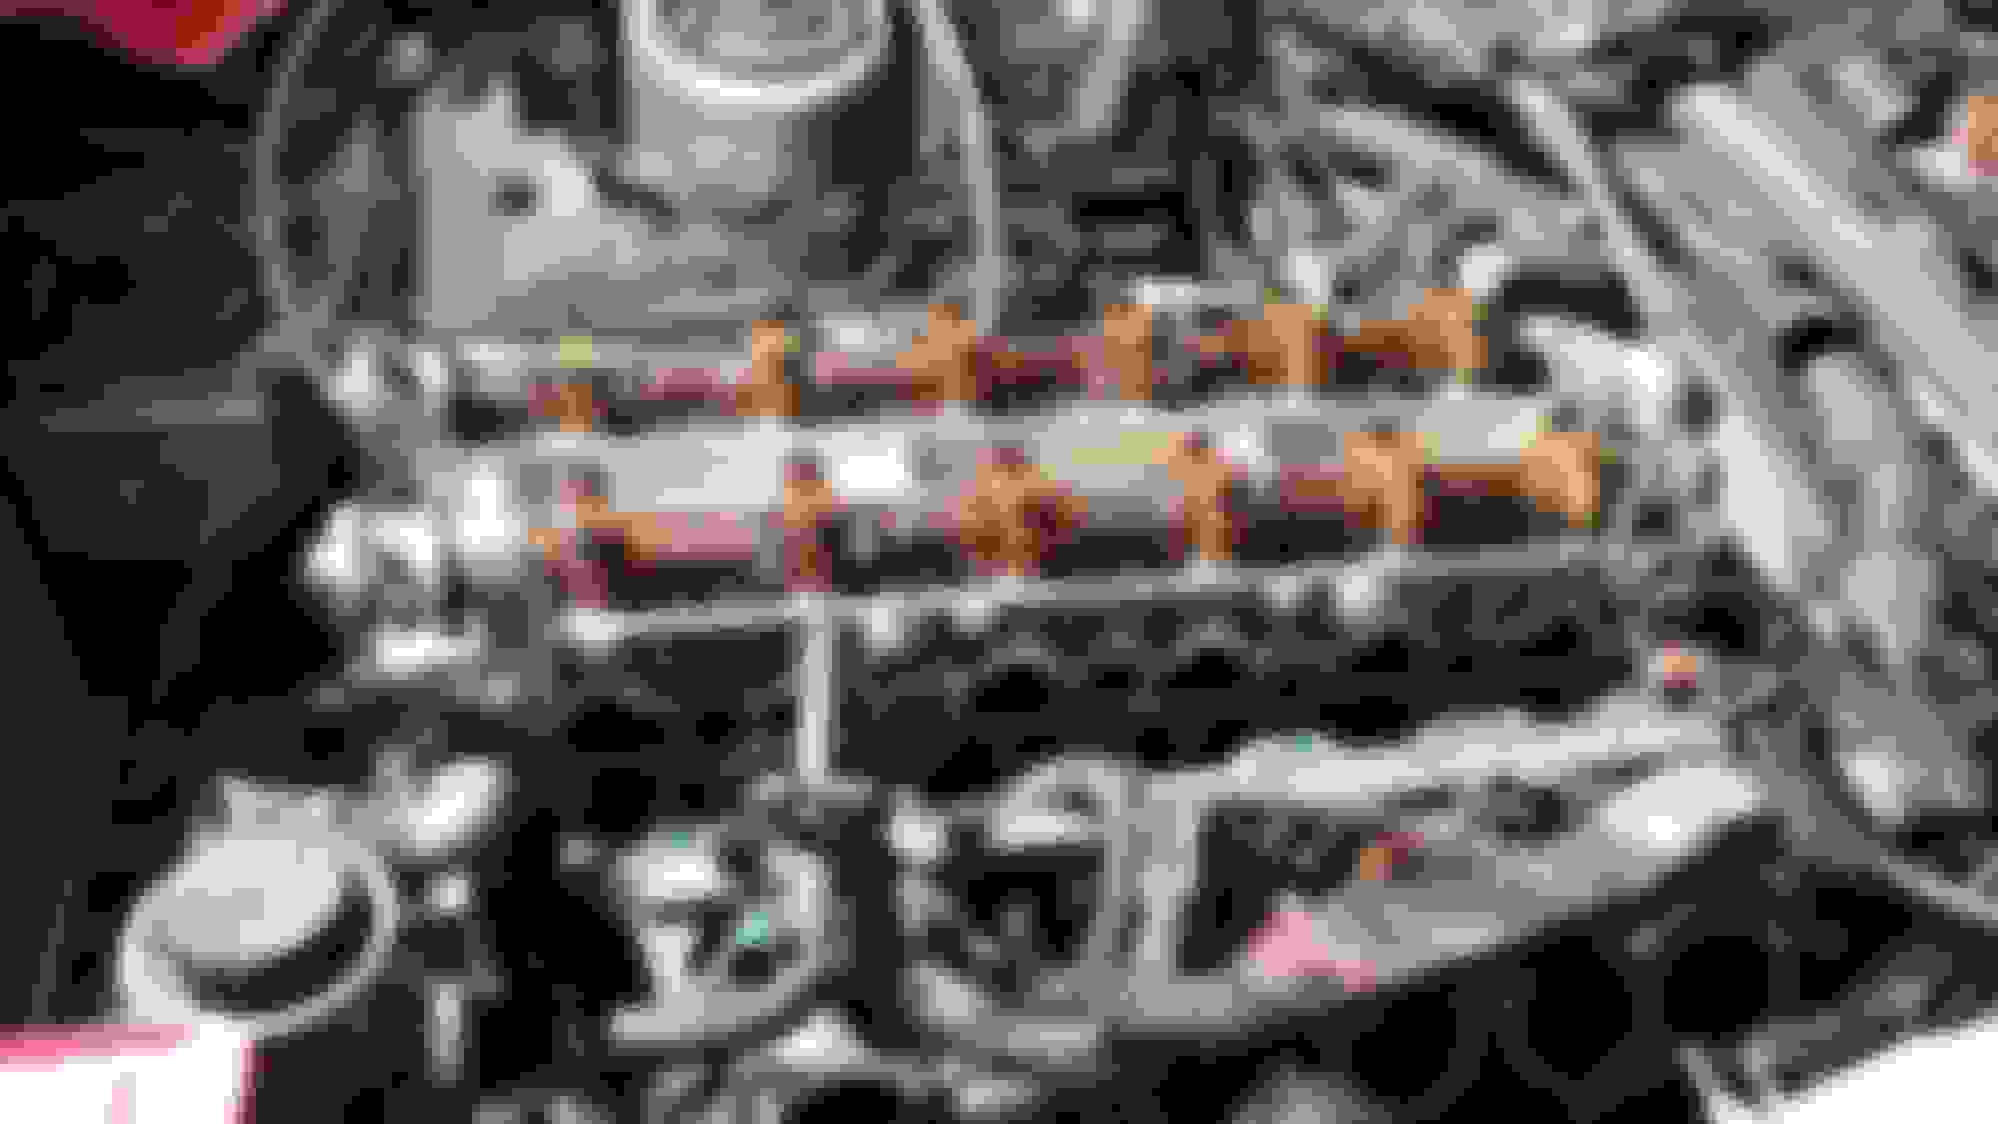
Got the TT-Head Gasket and Cylinder head back on and torqued down
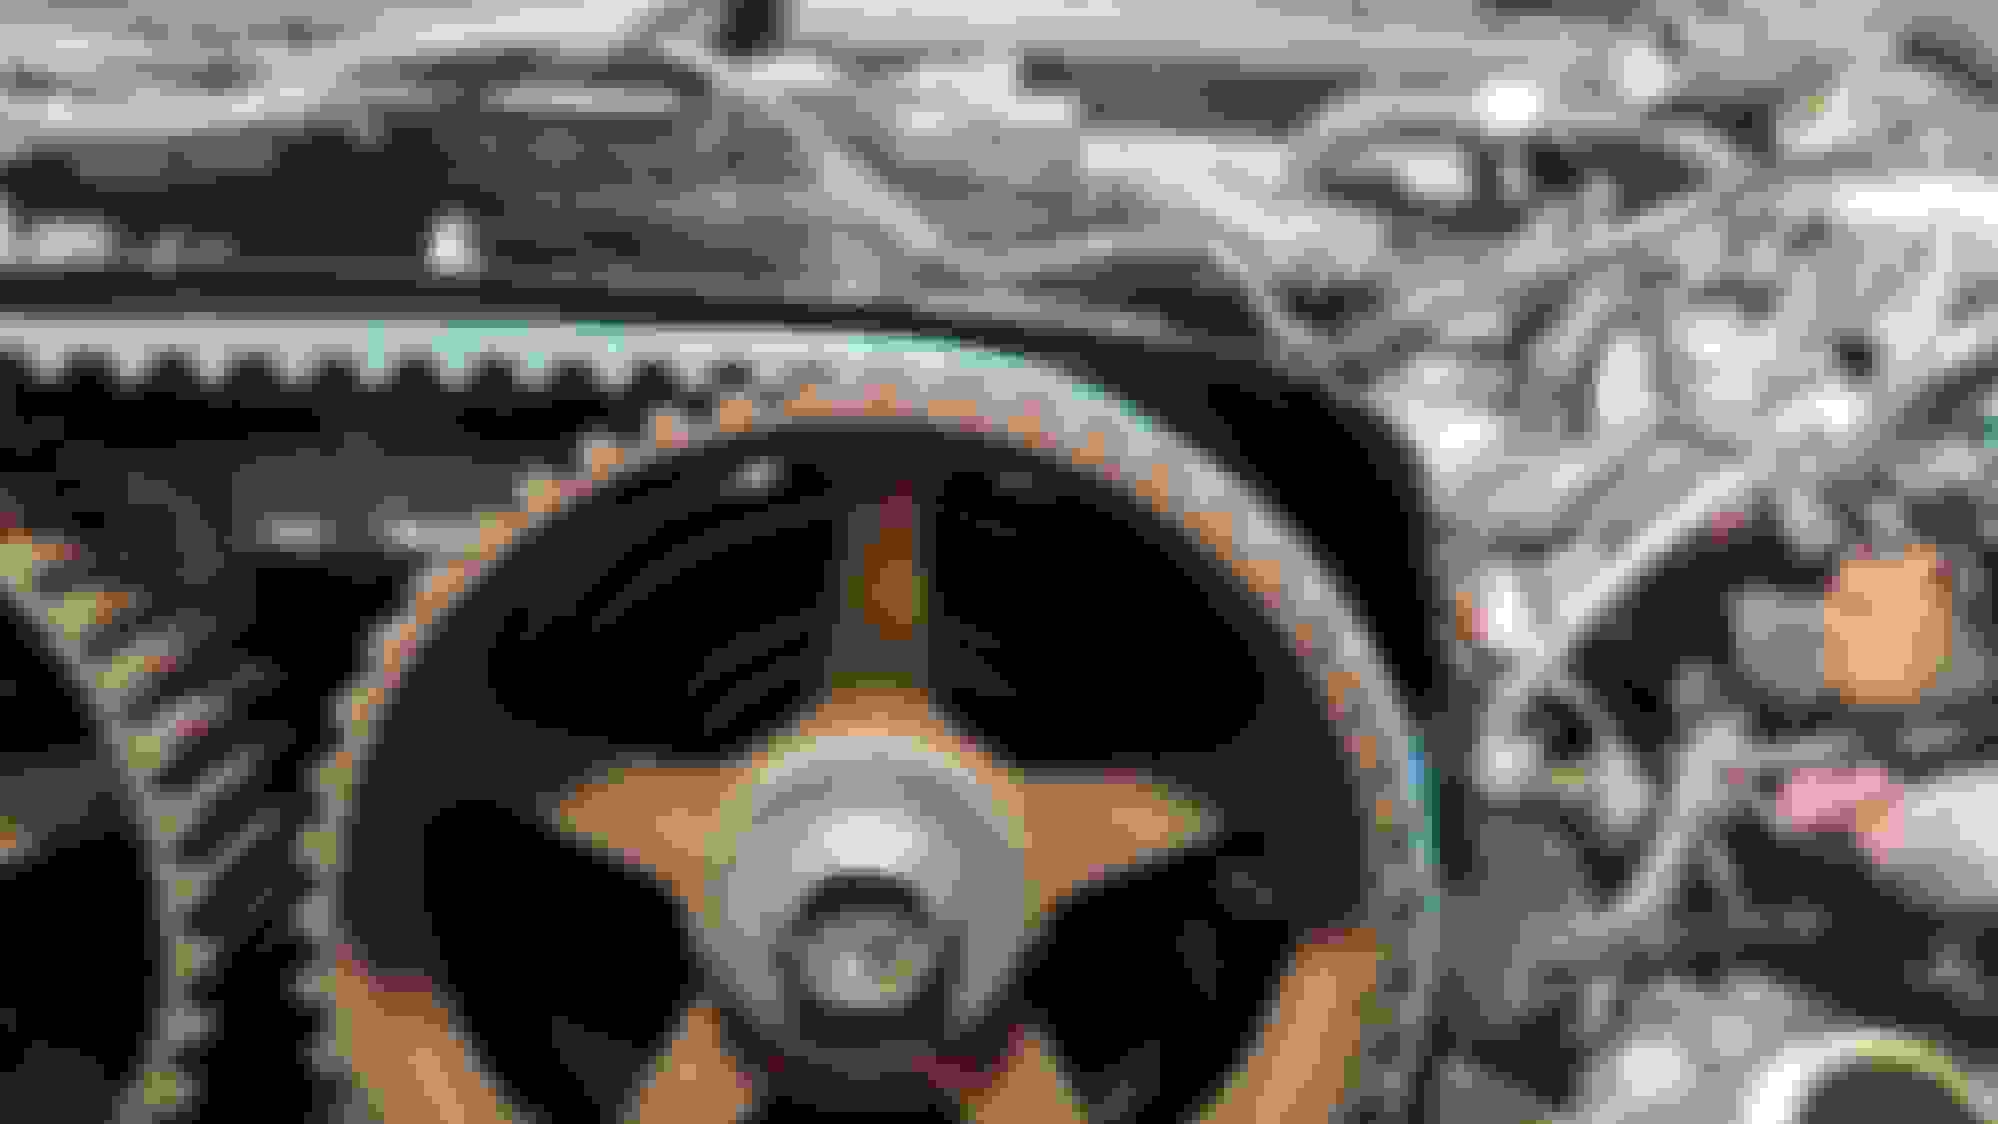
Put the rear timing cover, and Cam Gears back on and Torqued
I must say.. this is the HARDEST TIMING BELT to put on EVER.. Gates Racing belts are the only way to go. They are made with Kevlar to help prevent stretching at high RPM's and are so grippy it took two people to put it on right..
Showing the Intake side Timing Mark
Showing the Exhaust side timing mark, it appears off in the picture but it is definitely perfectly timed
Here is a quick teaser pic of the Painted lower intake runner being installed with the Blue Driftmotion Heat exchanger gaskets/spacers. You can also see the cam lifters and cam lobes being soaked in new oil to prevent oil starvation on initial start up
finally got all the cam caps torqued down.. what a sequence that was
Pere is a pic showing the lower runner installed, heat exchangers/spacers, T-belt, and the -4 AN Earls inline oil filter
I love all the info on the injectors with part numbers, great work. We really need threads with this kind of info and example pictures to illustrate what you're talking about. It's like a Chiltons/Helms for NA-T lol.. Subscribed
My only question, do you plan on using the factory intake manifold permanently? If so how come/or why not, either way.
looking good, the injector info is very handy also. I would add though that the stock clips are "denso" clips and you will need an adapter or re-wire for ev1 clips. everything else looks spot on and nice work so far. haven't seen the heat exchanger gasket before will have to look that one up.
Check this baby out. Finally found a shop that can custom build me a turbo feed line. I went with a -4 AN SS Braided Line, with two 90 Degrees split 9 inches off the union bolt and a Erals 140 micron inline oil-filter.. I went this route for security reasons. I didn't want to risk having any small particles eating up my bearings and seals of the turbo since the Union bolt is pre-filter. It seemed like a smart idea
I am probably wrong but I firmly believe that the top of that lexus union bolt which is the center of the housing is POST FILTER. Supply to that area is coming from the center of the filter.
looking good, the injector info is very handy also. I would add though that the stock clips are "denso" clips and you will need an adapter or re-wire for ev1 clips. everything else looks spot on and nice work so far. haven't seen the heat exchanger gasket before will have to look that one up.
Ali I did let everyone know that they would need the EV1 style clips but failed to mention they will need wiring in lol. You should be able to see it next to the Injector Part numbers I listed
Originally Posted by gerrb
I am probably wrong but I firmly believe that the top of that lexus union bolt which is the center of the housing is POST FILTER. Supply to that area is coming from the center of the filter.
That is definitely good to know gerrb, I wasn't sure so that is why I wanted one, for only $40 I figured a little extra filtration before the turbo never hurt
Alright guys, getting closer with every day that passes. Unfortunately I ran into a slight problem, the CXRacing Manifold and Downpipe wasn't the right ones , they actually sent me parts for an IS300 NA-T setup instead of an SC300 so now there is a little set back because I am talking with them to try and correct everything..
Fingers crossed !! Hopefully they will ship this stuff quick and I can get back at it soon. In the mean time I will be posting pics of progress of other areas.. like Gauges install, drilling and tapping the oil pan for the return line, and finishing wiring the ECU pins.
Here are a few teaser pics with the WRONG parts Mocked up.. More to come
Very few things left to do at this point, looking pretty good. Can't wait to get the right parts from CXRacing and get this bad boy started
here you can clearly see that the manifold is for and IS300 because the wastegate dump tube cannot be seen. On the SC300 one it faces forward
CHECK OUT THAT CLEARANCE !!!!! not even close to touching the Throttle Body and TONS of room to clear the Distributor..I would say this kit is probably on point fitment wise once I get the right parts.
here you can see some of the fitment issues with the turbo and manifold. When I clock the turbo it creates the gap seen at the Manifold/turbo flange.
how much space is there (in inches) between the turbo exhaust housing vband to the firewall with that manifold ?
I wonder if there is enough space for a 3" / 4" down pipe. Can't you clock the turbo compressor housing outlet towards 8 or 9 o'clock and get the turbo to seat properly on the manifold ?
The manifold seems to be nice in keeping the turbo exhaust housing away from intake manifold piping and have less heat for intake air and it clears that distributor pretty well.
looks great. lots of clearance as you guys mentioned but that downpipe area might be tight against the firewall.
Maybe wrap the heater core hoses with some thermal wrap.
also before you go boosting around, bypass the blue vsv on the fuel pressure regulator, just take the 2 vacuum lines and connect them together. you don't want this vsv when you are turbocharged, after a hot start it opens the FPR to atmosphere (that round filter looking thing on the end of the vsv is an open filter, when vsv is actuated it closes the FPR off from vacuum/boost and lets it see open air through filter) for a few minutes, and if you boost you wont get the extra fuel pressure anymore, basically its designed for hot start fix on a n/a car but messes with turbo cars that make higher loads then atmosphere. don't want to boost a minute after a hot start and lean out and blow the motor you know, cause the fpr would only give you fuel pressure for 0 psi basically (even if you are at 14+ psi) = not good.
how much space is there (in inches) between the turbo exhaust housing vband to the firewall with that manifold ?
I wonder if there is enough space for a 3" / 4" down pipe. Can't you clock the turbo compressor housing outlet towards 8 or 9 o'clock and get the turbo to seat properly on the manifold ?
The manifold seems to be nice in keeping the turbo exhaust housing away from intake manifold piping and have less heat for intake air and it clears that distributor pretty well.
Well unfortunately this was the wrong manifold. They sent me an IS300 manifold and down pipe, so it didn't clear ish! The only other way I could clock it would have been 6:30 down, and then I wasnt able to tighten the compressor housing bolts or put the couplers on. The kit has a 3" V-Band Down Pipe that bolts up to the factory exhaust after the cat, I'm kinda happy I put a 2.5" system on it from the rear O2 sensor back.. that means I will get a little back pressure due to reduction just after the down pipe for like three inches and back up to 2.5".. I'll post pics of that when I finally get it on too.
Fingers crossed, I think I should have it running by next weekend if parts get here soon enough
I would toss that manifold in the trash and look for a quality FFIM. You've done a lot of work so far, and it will just solve all of your clearance issues. Plus, it just looks better
 04-25-15, 08:40 PM


 , they actually sent me parts for an IS300 NA-T setup instead of an SC300
  so now there is a little set back because I am talking with them to try and correct everything..