Build Threads Details on Club Lexus 3IS owner vehicles

specONE Build Thread

Thread Tools
 
Search this Thread
 
Old 03-17-15, 12:17 PM
  #91  
shirosan
Driver
 
shirosan's Avatar
 
Join Date: Feb 2015
Location: FL
Posts: 117
Received 4 Likes on 3 Posts
Default

It's turning out really nice!
Old 04-06-15, 10:24 PM
  #92  
specONE
Racer
Thread Starter
iTrader: (3)
 
specONE's Avatar
 
Join Date: Jan 2008
Location: SF, California
Posts: 1,987
Received 487 Likes on 246 Posts
Default

did some cheap free mod.
hate the way the LED amber in headlight lights up at night right under the side reflector in headlight so i figured out which PIN wire it was and disconnected it, Completely reversible if i want to fix it. Bumper had to be removed for the front.


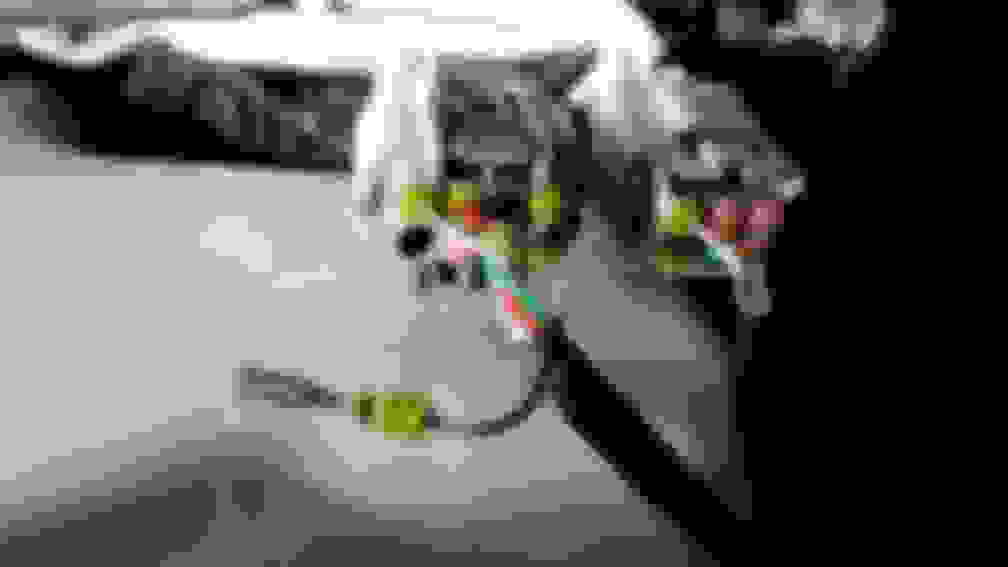
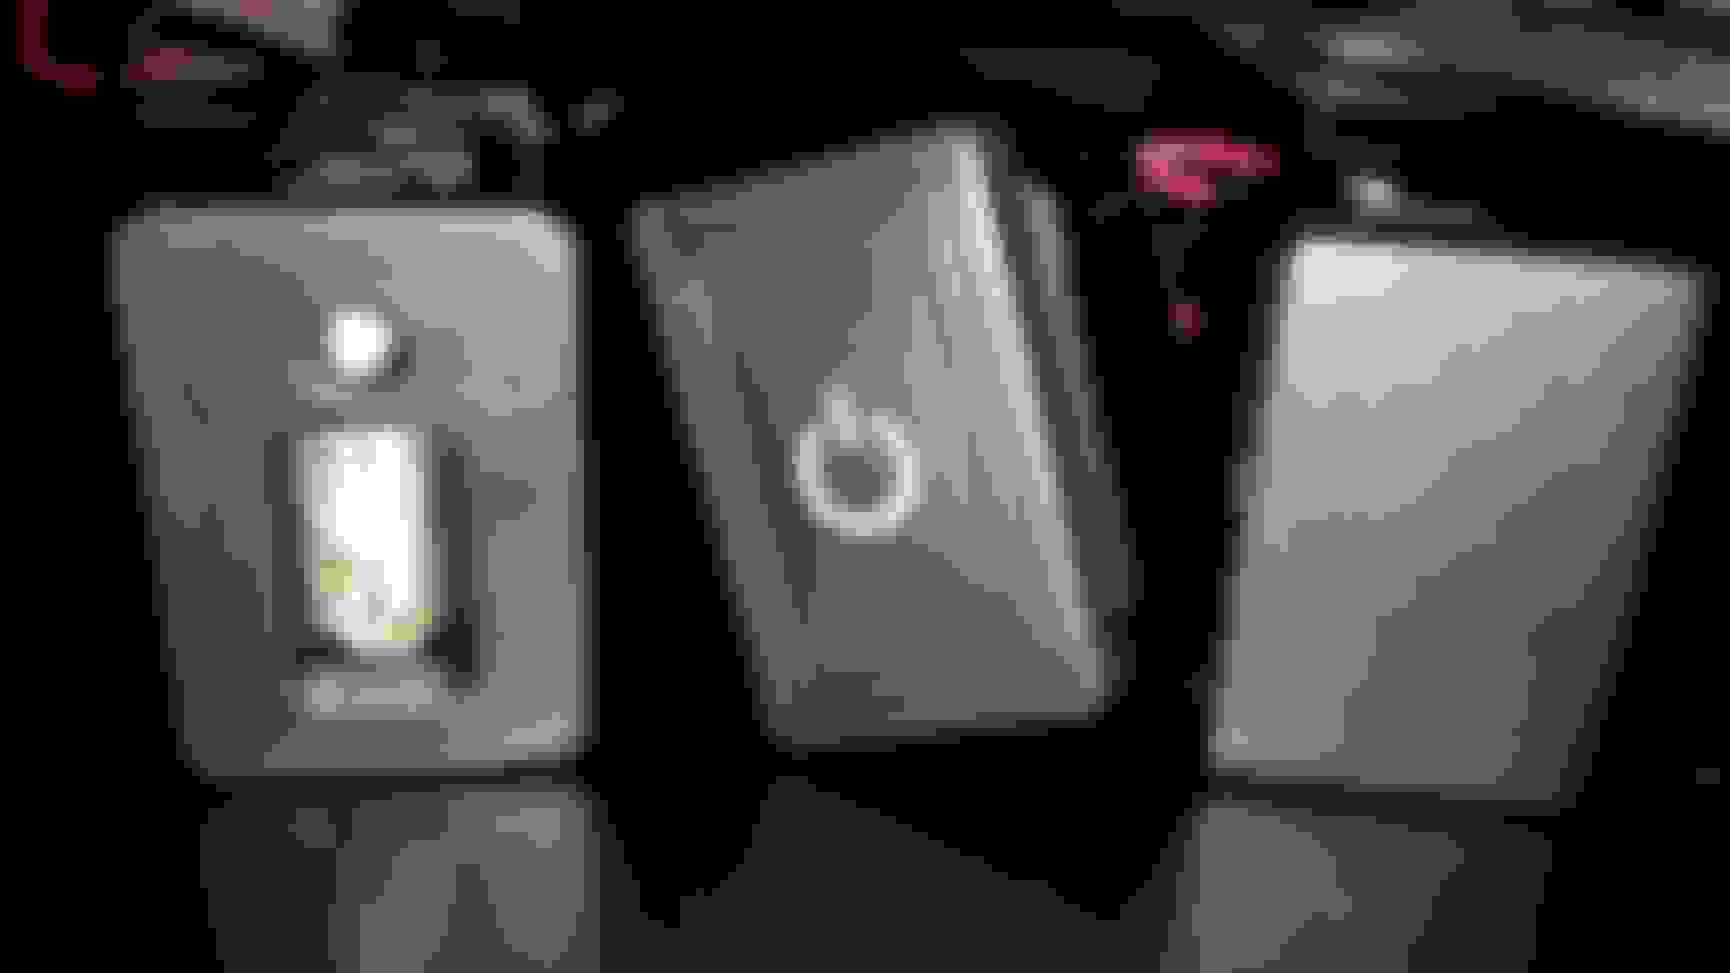
Black wire unpinned from Headlight Connector, Disabling the Amber LED portion. Driver side I believe


Passenger side also
Forgot to grab pictures of how to unplug unpin the wire without damage. You have to unplug the connector and then from the pin side you remove white plastic retainer with a pick and put it aside and then you will see you have to press tab to release pin wire in question and then reversal by putting white retainer back


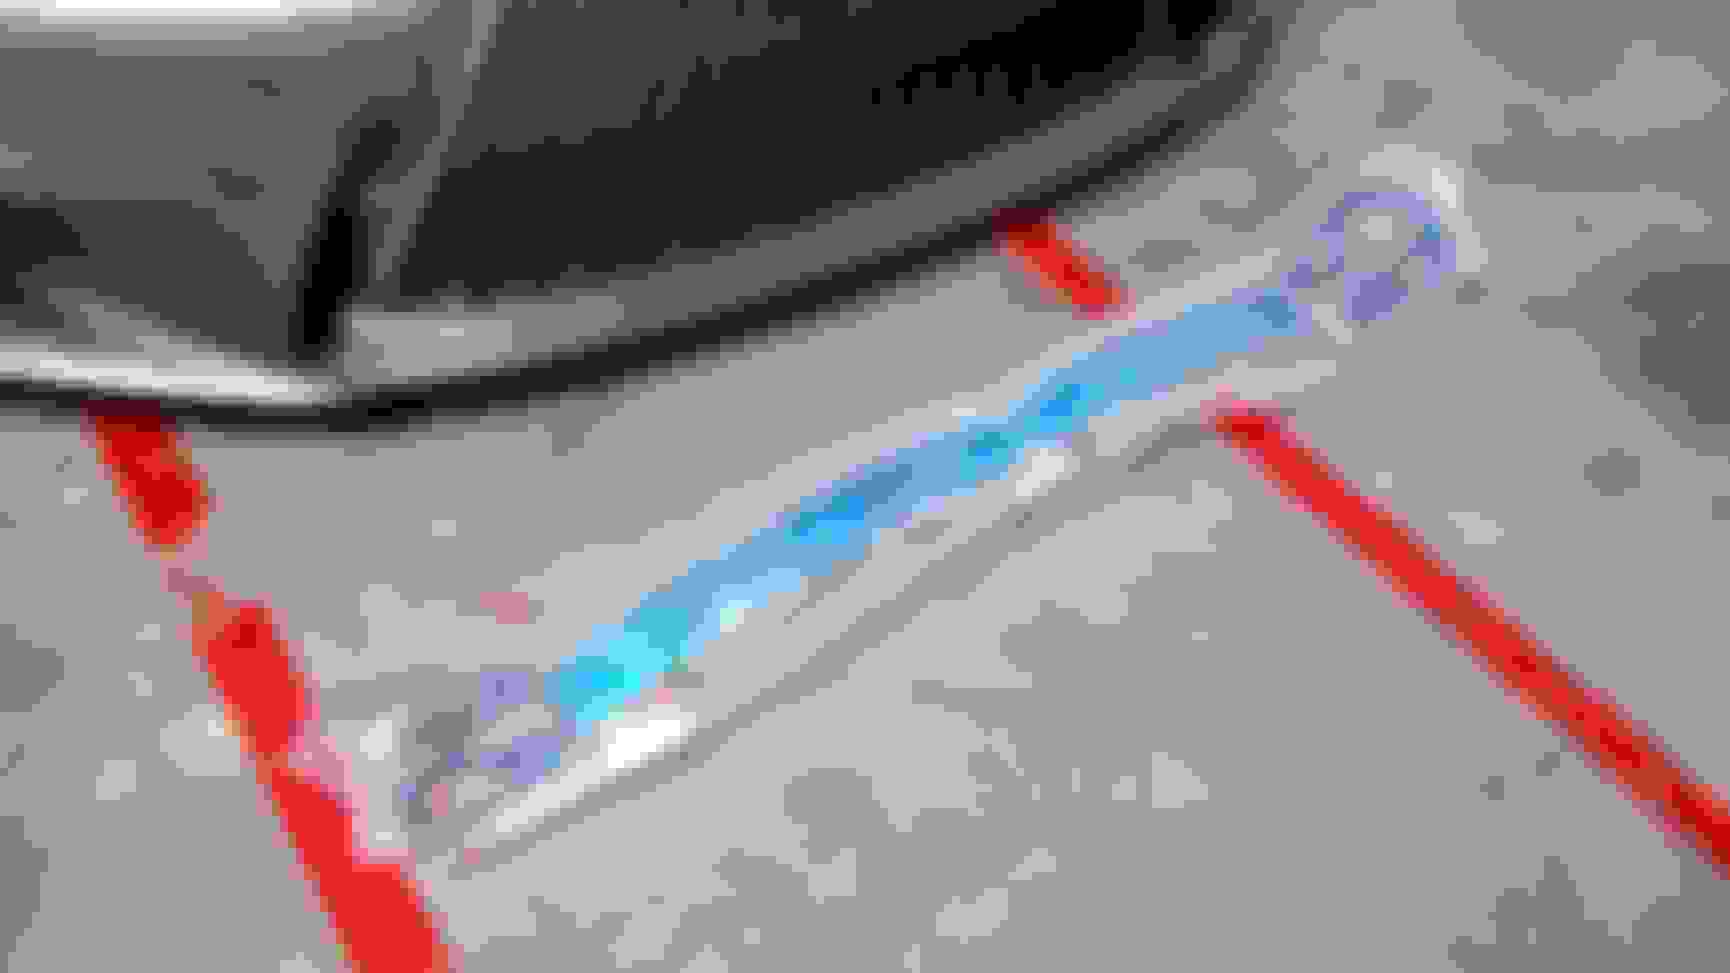
Heat Shrunk Pin to protect it from the elements.


Blue taped wire down so it does not move around.


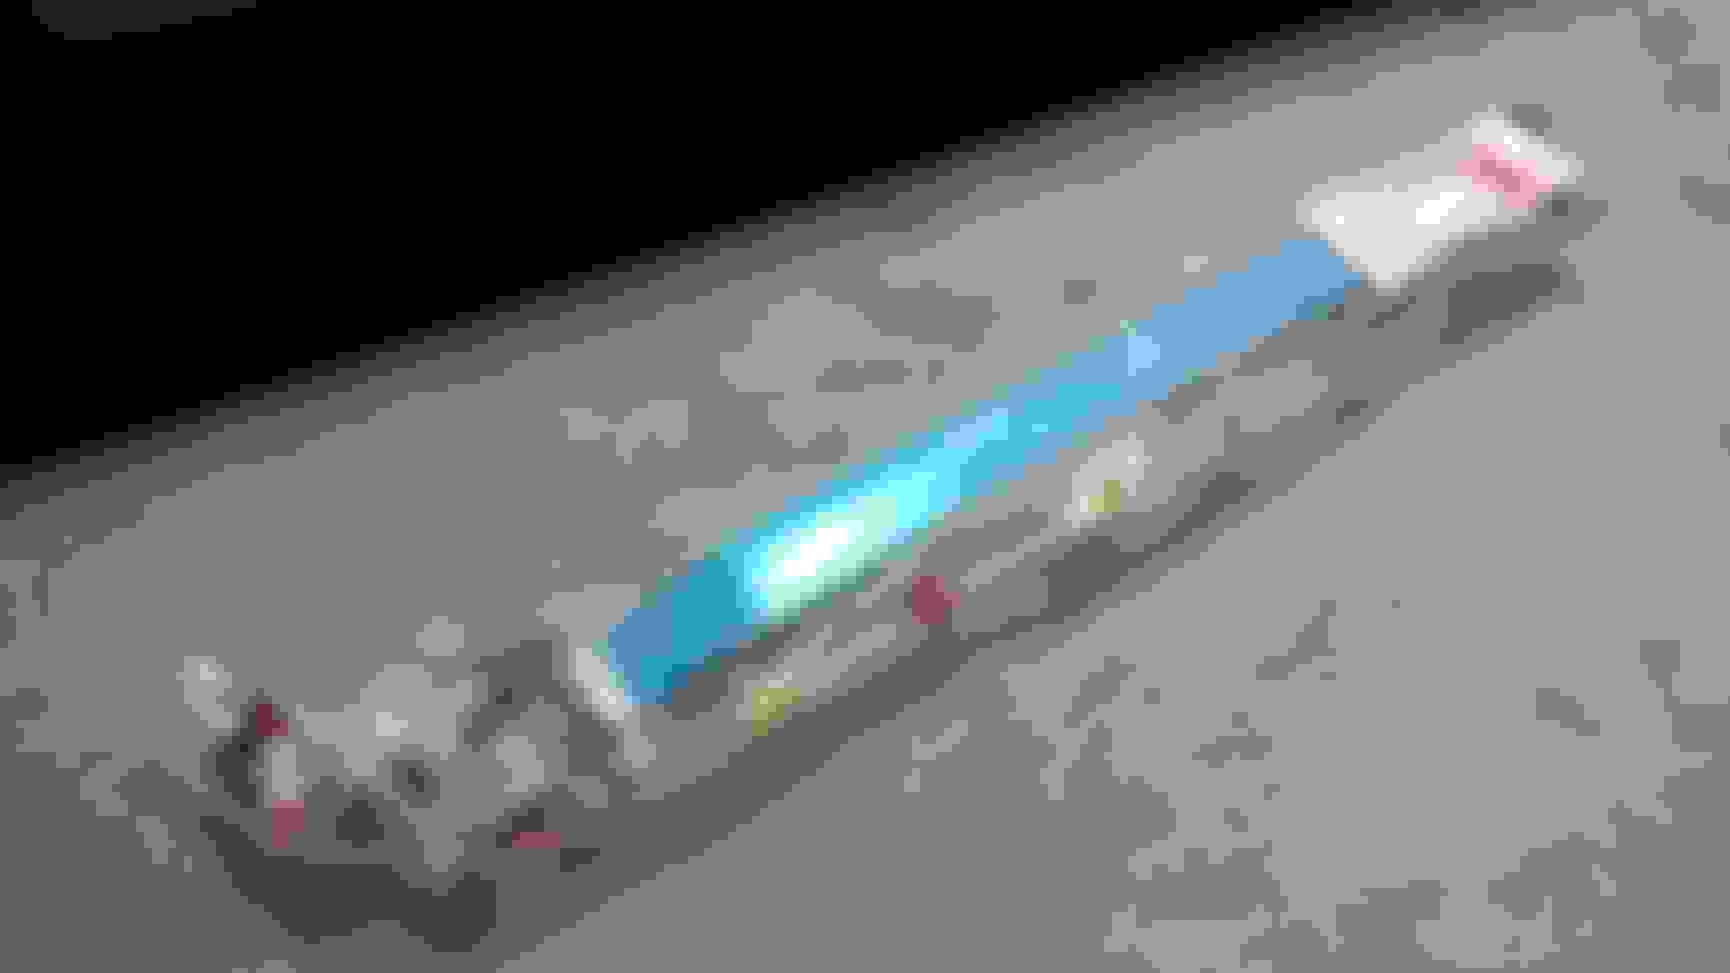
Other side Blue taped as well


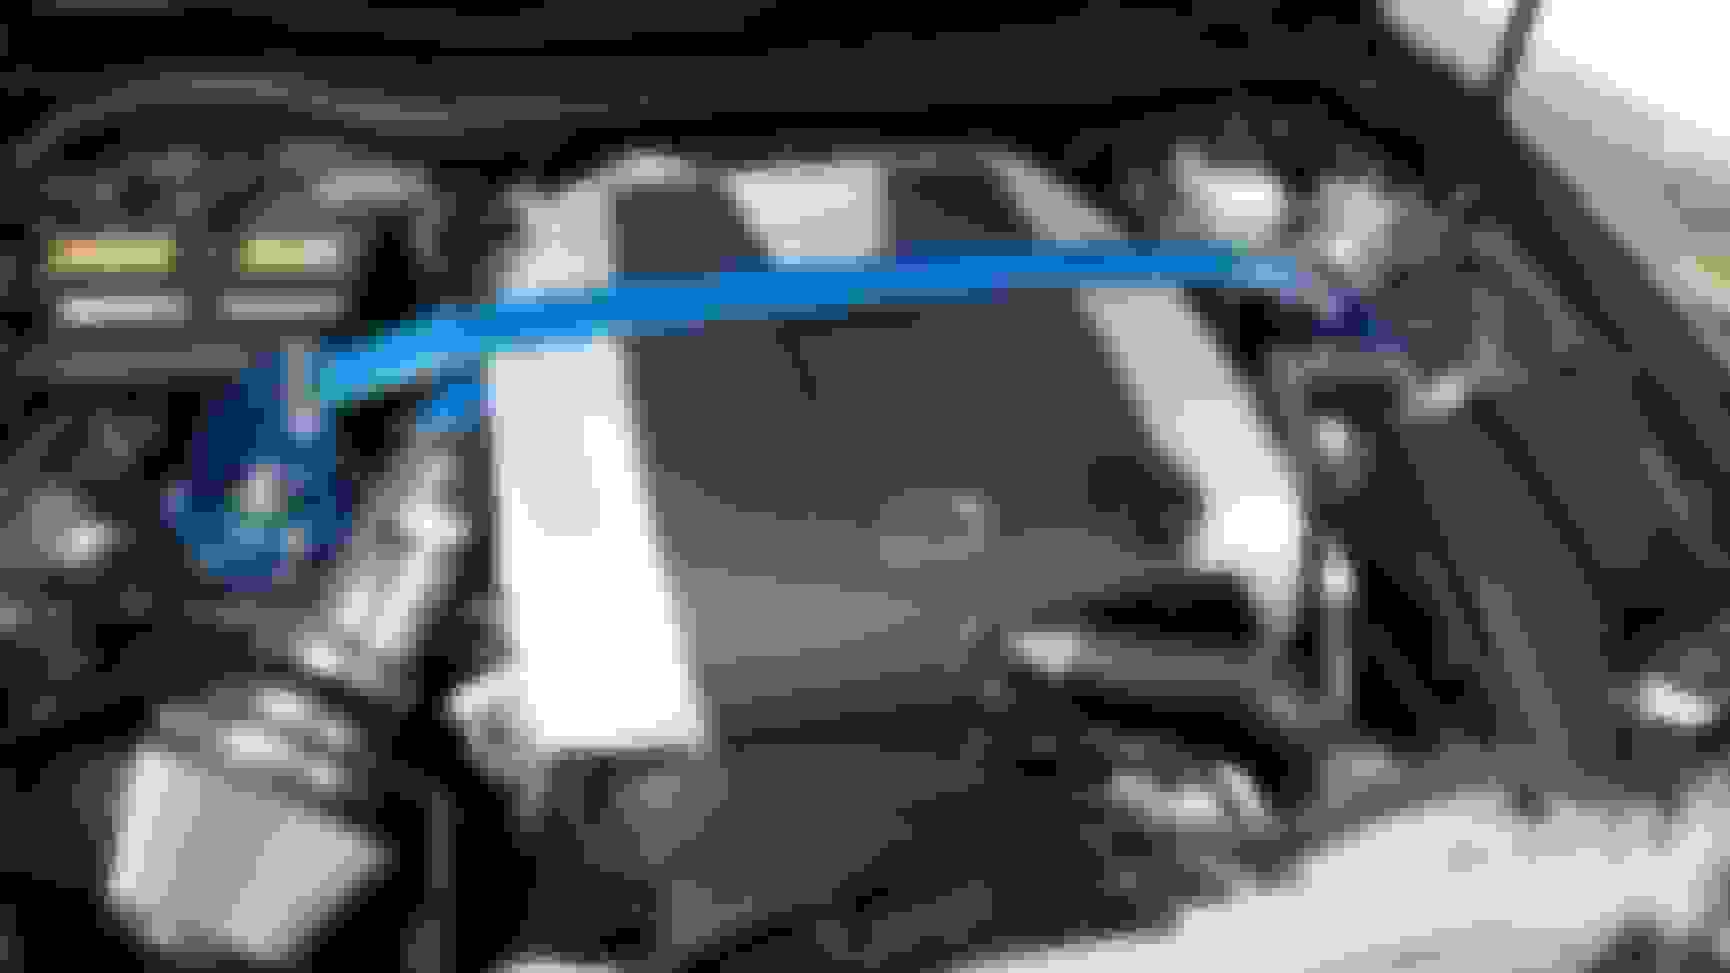
Sample of Headlights with no more Amber LED lights. Front end is all White lights, i.e. Lexus DRL checker and Projector LED. Still amber turn signal bulb though but only when signals are on.


Decided to tackle the rear as well. I love how the taillights look at night but that one portion of RED for the Side Red reflector that breaks apart by way of turn signal portion just kills me everytime i see it light up at night.


stock Taillamp showing the portion that lights up and does not flow at all


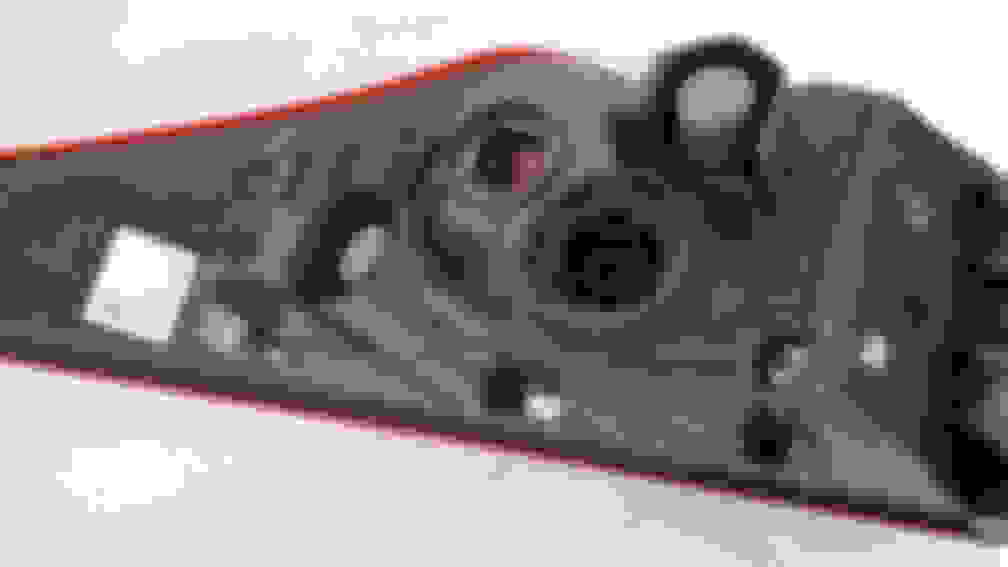
Now with the side portion of taillamp removed we see what it looks like.


Upon further inspection, it was not gonna look easy since the circuit board inside. But what is that? "I see you", That's probably it!


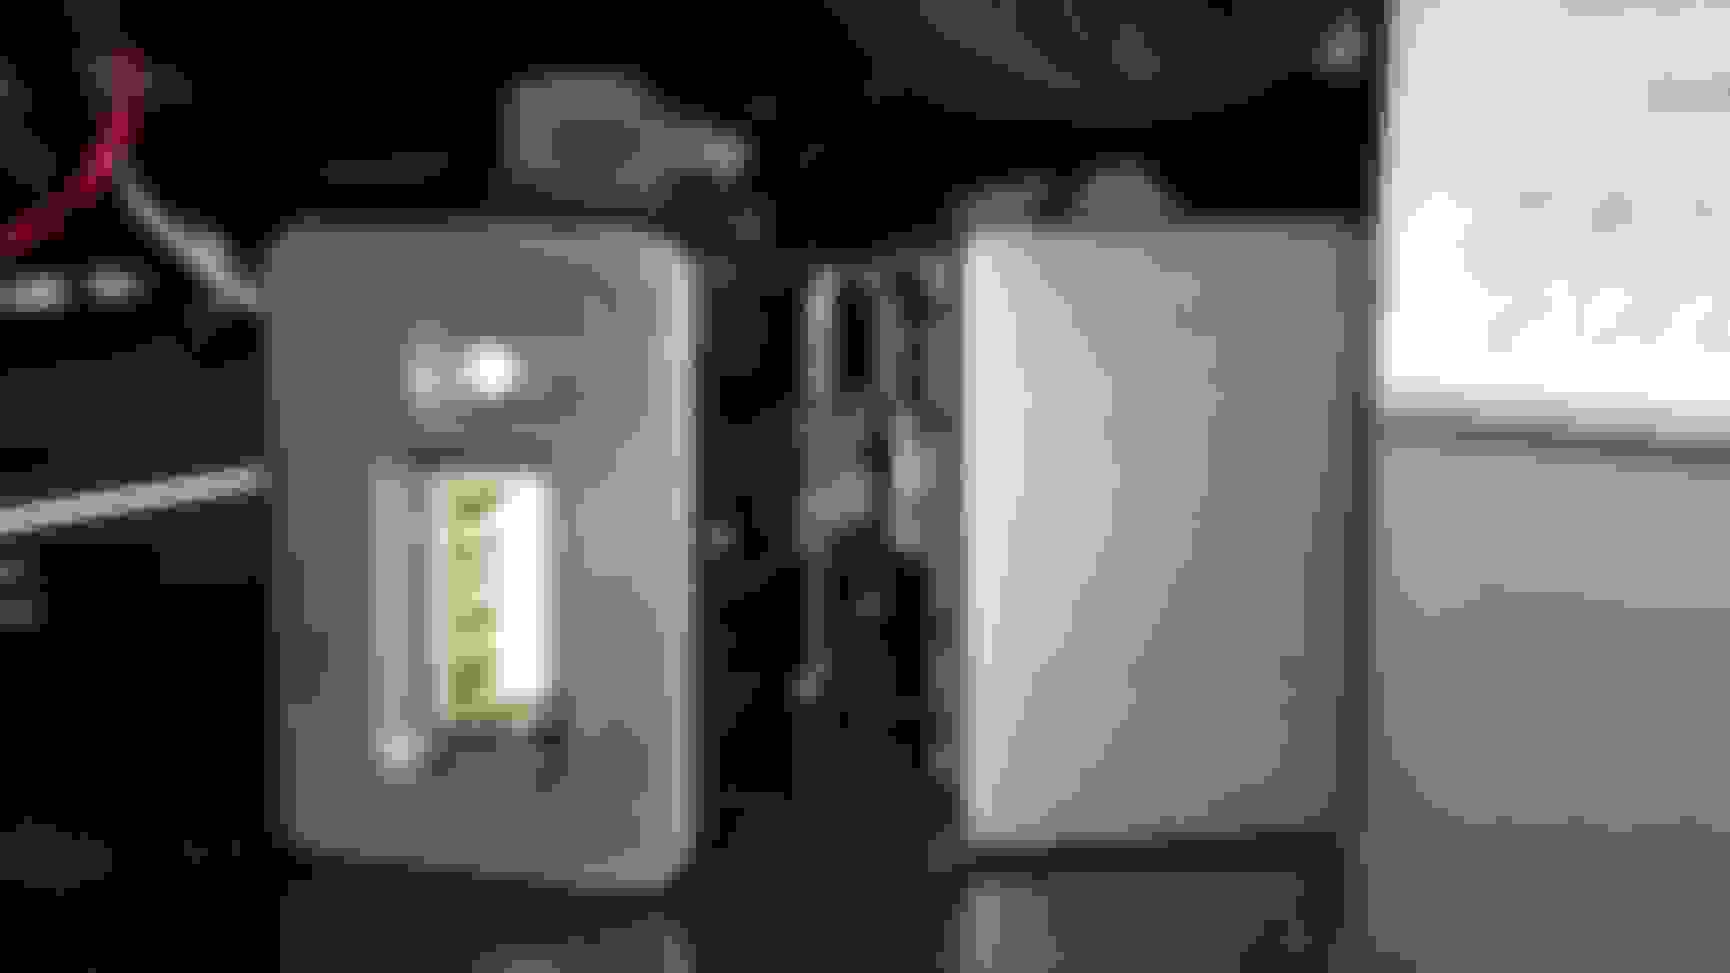
Better angle of the Connector, This factory Connector Slightly unplugged it and brought i back to the car and YES that was it to disable the side lights.


Connector fully unplugged and just sitting there. Reversible also but may take some finesse and patience to get it back plugged in. To unplug this, I needed to use small right angle Pick and small Flat head screwdriver.


It is OFF and stays OFF!


Now the car looks 10x better at night when lights are ON!!!!

Last edited by specONE; 04-12-15 at 10:37 AM.
Old 04-07-15, 06:08 PM
  #93  
VMRWheels
Former Sponsor
 
VMRWheels's Avatar
 
Join Date: Feb 2015
Location: CA
Posts: 873
Likes: 0
Received 1 Like on 1 Post
Default

Haha nice touch! Definitely worth it
Old 04-07-15, 06:52 PM
  #94  
lexi90
Lexus Champion
 
lexi90's Avatar
 
Join Date: May 2014
Location: CT
Posts: 1,746
Received 23 Likes on 20 Posts
Default

Your curiosity interests me! Just little things that you can do that nobody else would notice or think of
Old 04-11-15, 08:49 PM
  #95  
criticalgt
Pole Position
 
criticalgt's Avatar
 
Join Date: Jul 2014
Location: Glenview, IL
Posts: 295
Likes: 0
Received 12 Likes on 8 Posts
Default

I really dig what you've done. Can the pins on the headlight leds be accessed by removing the front wheels and pulling the fender liners perhaps? Trying to avoid removing the bumper...
Old 04-12-15, 10:34 AM
  #96  
specONE
Racer
Thread Starter
iTrader: (3)
 
specONE's Avatar
 
Join Date: Jan 2008
Location: SF, California
Posts: 1,987
Received 487 Likes on 246 Posts
Default

Originally Posted by criticalgt
I really dig what you've done. Can the pins on the headlight leds be accessed by removing the front wheels and pulling the fender liners perhaps? Trying to avoid removing the bumper...
It might be but I've never tried. You'd be reaching blindly trying to unplug it but with my photos it may help. But angle you have to do to unplug it may also give you some trouble though
Old 04-14-15, 09:51 AM
  #97  
cp2
Racer
iTrader: (1)
 
cp2's Avatar
 
Join Date: Mar 2015
Location: CA
Posts: 1,490
Received 326 Likes on 195 Posts
Default

nice build! a lot of work and it's paying off. I had a question about the factory spoiler. is it bolted on or is it just taped/glued on there? just wanted to know for future mod reference. I do like the oem spoiler...kinda wish mine came w/ it.


thanks in advance
Old 04-14-15, 11:07 AM
  #98  
Dmance
Rookie
 
Dmance's Avatar
 
Join Date: Dec 2014
Location: hawaii
Posts: 95
Likes: 0
Received 0 Likes on 0 Posts
Default

i might do the headlight mod you did. awesome write up by the way.
Old 04-14-15, 01:15 PM
  #99  
anthonys2r
Advanced
iTrader: (1)
 
anthonys2r's Avatar
 
Join Date: Nov 2014
Location: CA
Posts: 626
Received 24 Likes on 22 Posts
Default

Originally Posted by cp2
nice build! a lot of work and it's paying off. I had a question about the factory spoiler. is it bolted on or is it just taped/glued on there? just wanted to know for future mod reference. I do like the oem spoiler...kinda wish mine came w/ it.


thanks in advance
2 screws + 3M-type adhesive.
Old 04-14-15, 01:29 PM
  #100  
cp2
Racer
iTrader: (1)
 
cp2's Avatar
 
Join Date: Mar 2015
Location: CA
Posts: 1,490
Received 326 Likes on 195 Posts
Default

damn...so they have to drill into the trunk? thanks for the reply
Old 04-14-15, 06:13 PM
  #101  
specONE
Racer
Thread Starter
iTrader: (3)
 
specONE's Avatar
 
Join Date: Jan 2008
Location: SF, California
Posts: 1,987
Received 487 Likes on 246 Posts
Default

Originally Posted by cp2
damn...so they have to drill into the trunk? thanks for the reply
I myself did not bolt it down. I popped the thread stud part off spoiler and then only double sided taped it on the trunk. Its solid and not going anywhere. Its pretty light plastic material
Old 07-30-15, 08:06 PM
  #102  
starbai
Intermediate
iTrader: (1)
 
starbai's Avatar
 
Join Date: Aug 2002
Location: Orlando, FL
Posts: 272
Likes: 0
Received 0 Likes on 0 Posts
Default

car looks fantastic.. any updates?
Old 07-30-15, 09:35 PM
  #103  
Driverseat
Rookie
 
Driverseat's Avatar
 
Join Date: Mar 2008
Location: North Carolina
Posts: 68
Received 0 Likes on 0 Posts
Default

Originally Posted by 97AcuraCL
car looks fantastic.. any updates?
agreed!! 😍😍
Old 08-03-15, 10:56 PM
  #104  
specONE
Racer
Thread Starter
iTrader: (3)
 
specONE's Avatar
 
Join Date: Jan 2008
Location: SF, California
Posts: 1,987
Received 487 Likes on 246 Posts
Default

not much updates yet. Just waiting on parts to arrive. Here's some little ones with pictures


finished prepping alarm/remote start but have yet to have time to get it in.<br/>


started buying JDM switchs that fit the OEM blank panels


here's USB charging port


side by side with OEM panel


picked up a off and on toggle as well


all three together


test fitting it in the car


=========================================================================================================================


Picked up a CUSCO Front strut bar
Made for 2IS but known to fit 3IS from all the people that have tried
Cusco part no, 983 540 a
(Link to buy https://rover.ebay.com/rover/1/711-5...%26_osacat%3D0 )


before strut bar


after strut bar, still with protective film on


finally removed the film after 2 weeks


some wheels on loan that were tossed on the car for a car show. they are Mtechnica Directional


they have been since removed from vehicle. now to wait for my wheels and lip kit to arrive.

Last edited by specONE; 10-23-17 at 02:51 PM.
Old 08-04-15, 08:46 AM
  #105  
Imprezario
Lead Lap
 
Imprezario's Avatar
 
Join Date: Sep 2014
Location: Moscow
Posts: 434
Likes: 0
Received 5 Likes on 5 Posts
Default

Cusco bar looks great! Any installation/fitment issues? Doesn't it interfere with the engine cover or the hood insulator?


Quick Reply: specONE Build Thread


All times are GMT -7. The time now is 01:02 AM.