When you click on links to various merchants on this site and make a purchase, this can result in this site earning a commission. Affiliate programs and affiliations include, but are not limited to, the eBay Partner Network.
great job, but can you edit what you meant to say right under the comparison pics? I can't make out what you mean? also, what was the reason for removing the back for? couldn't you just add the connector to the wires w/o removing the back cover? if it's okay w/ you, I'd like to get w/ you offline to discuss your work. I want to do the same set up as you, but am need of assistance...aka wiring diagram...haha! thanks and again, great job!
yes I could have wired the connector on without removing the back cover but it was already off from me adding the film inside the lens. The back cover takes hardly any effort to remove
i also wanted to keep the lower gauge wires inside hidden and protected from getting caught up on something. With just the higher gauge wiring of the connector visible, it looks nice and tidy like the way it should have been
dropped off the car yesterday evening at the SF Autosalon show within the SF Autoshow for the week.
snapped some photos of it during setup before i left.
dropped off the car yesterday evening at the SF Autosalon show within the SF Autoshow for the week.
snapped some photos of it during setup before i left.
I saw your car at the auto show. Amazing! Really classy-looking, clean and not over done.
Your car is definitely show quality. The most beautiful build I've seen so far. Everything just flows. The colors are consistent and you kept the chrome trim.
did some cheap free mod.
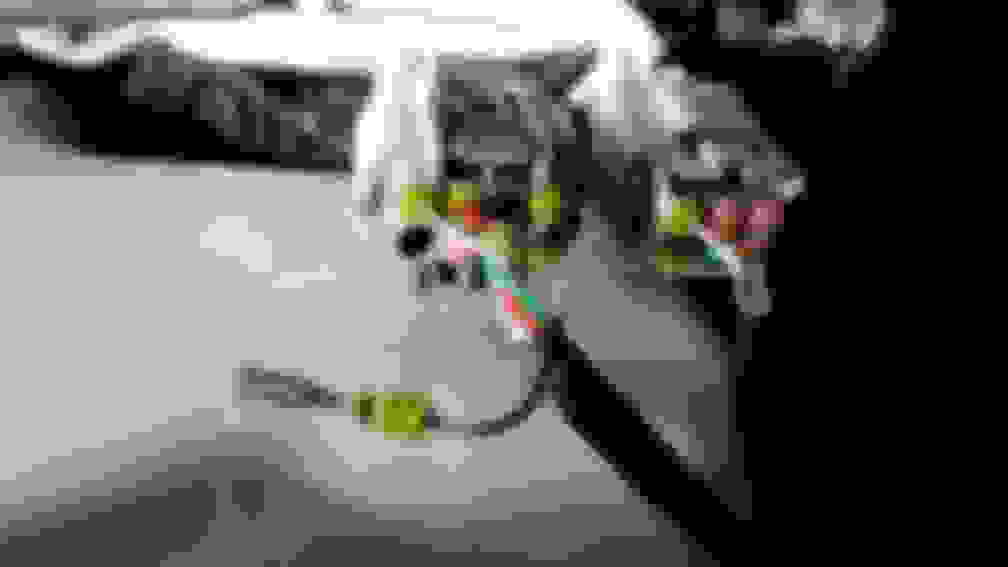
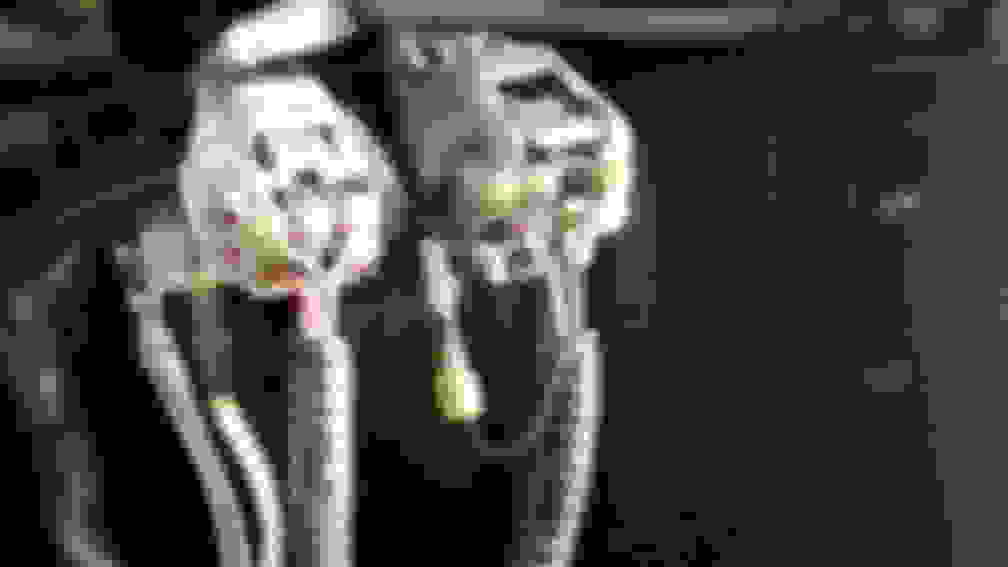
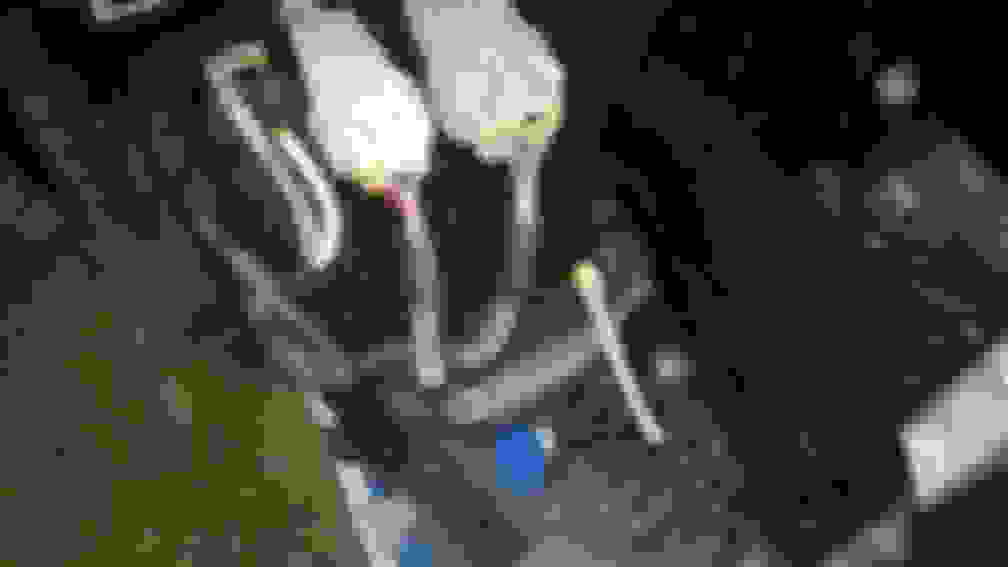
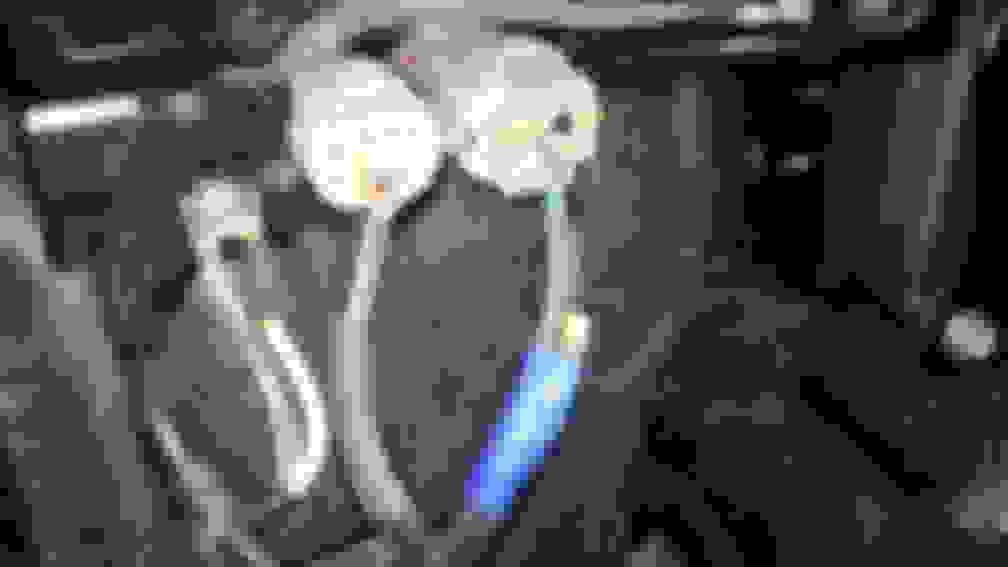
hate the way the LED amber in headlight lights up at night right under the side reflector in headlight so i figured out which PIN wire it was and disconnected it, Completely reversible if i want to fix it. Bumper had to be removed for the front.
Black wire unpinned from Headlight Connector, Disabling the Amber LED portion. Driver side I believe
Passenger side also
Forgot to grab pictures of how to unplug unpin the wire without damage. You have to unplug the connector and then from the pin side you remove white plastic retainer with a pick and put it aside and then you will see you have to press tab to release pin wire in question and then reversal by putting white retainer back
Heat Shrunk Pin to protect it from the elements.
Blue taped wire down so it does not move around.
Other side Blue taped as well
Sample of Headlights with no more Amber LED lights. Front end is all White lights, i.e. Lexus DRL checker and Projector LED. Still amber turn signal bulb though but only when signals are on.
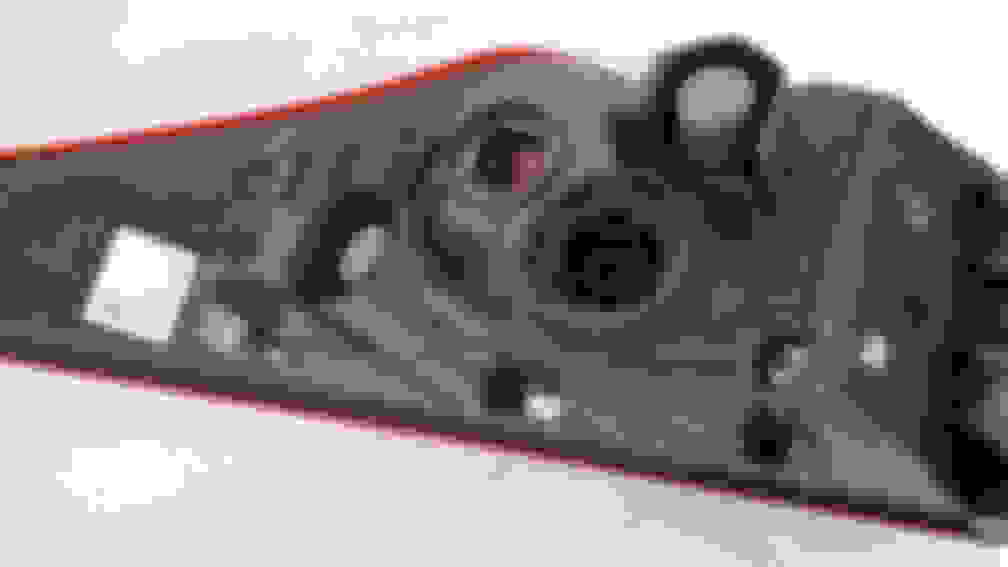
Decided to tackle the rear as well. I love how the taillights look at night but that one portion of RED for the Side Red reflector that breaks apart by way of turn signal portion just kills me everytime i see it light up at night.
stock Taillamp showing the portion that lights up and does not flow at all
Now with the side portion of taillamp removed we see what it looks like.
Upon further inspection, it was not gonna look easy since the circuit board inside. But what is that? "I see you", That's probably it!
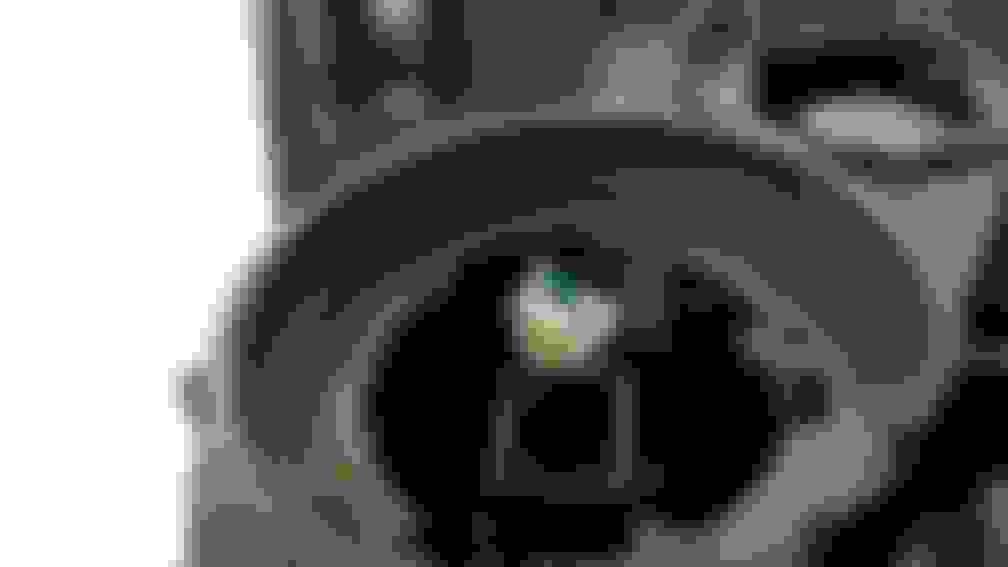
Better angle of the Connector, This factory Connector Slightly unplugged it and brought i back to the car and YES that was it to disable the side lights.
Connector fully unplugged and just sitting there. Reversible also but may take some finesse and patience to get it back plugged in. To unplug this, I needed to use small right angle Pick and small Flat head screwdriver.
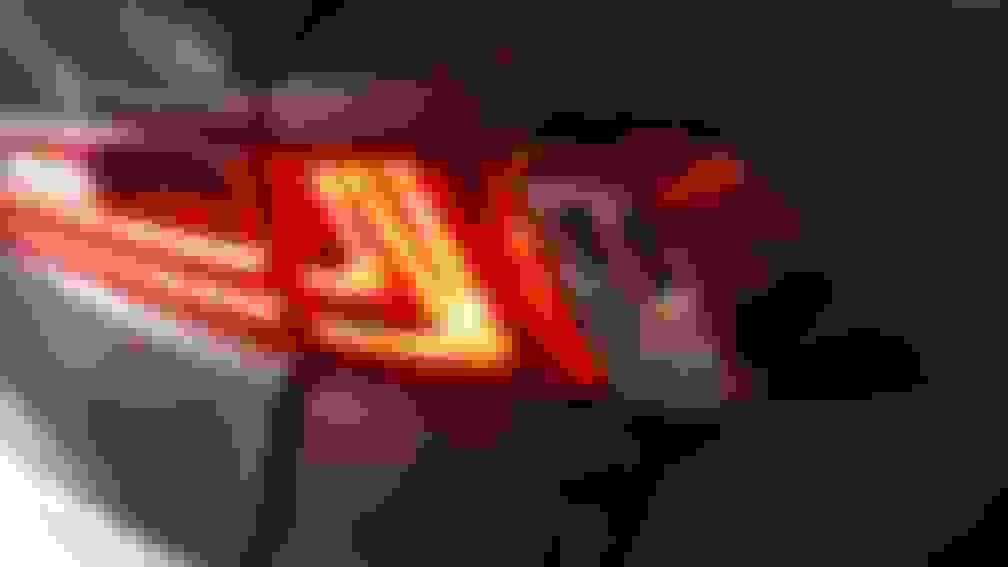
It is OFF and stays OFF!
Now the car looks 10x better at night when lights are ON!!!!
Does disconnecting the side LEDs on the taillights throw an error code?
thought i'd toss a little update from the last two months
For those of you running Airrex or any other Air bags that are bellow style, You may want to take a look at your rear swaybar endlinks to see if it is rubbing bag. I caught mines early but i can see that this can be a big headache if it rubs through
When the bags are filled with air, one side rubbed the bag while the other side was fine. I'm sure over time it would also rub the opposite when the sway bar shifts towards that direction
I couldnt even put a piece of paper through in between the endlink and bag. They were literally rubbing slightly.
Figured out a easy fix. I removed the endlinks from the vehicle and then took the pressed on Washer off so it gives me that exra couple of mm clearance.
Also This car has some odd suspension issues in the rear, It seems like it is more biased to the driver side of the vehicle.
When Airing out I see that the tire is touching and making horrible noise with a small tab on driver side of bumper.
When looking where the wheels sit in relation to body quarter panel it looks like wheel sits much closer on driver side. This is probably not noticed on a factory height car but definitely noticed when you are much closer in tolerance when lowered a lot or on Air so you can see the relationship. I do not think this is issue with just my car as I have spoke with others with 3IS and they also point that they also seem to have issues on driver side more so. So in order to get rid of the horrible rub noise from the tire and bumper, I decided to install SPC Rear Camber arms even though it wasnt part of the plan. But I rather not hear any noise when dropping the car on the Ground.
I also ended up installing the Seibon Rear diffuser and did not like how the Fsport exhaust was sunken in from the cutouts so I will end up selling it and keeping it stock for now until i see something else come up that I may like more. Didn't seem to have snapped a photo because my mind changed so fast when I reinstalled the bumper with the diffuser. It was literally 1 minute on and then right off.
Here are some out in its natural habitat. Will finally start driving it a bit more rather than just letting the car sit in the garage for weeks on end.
Next coming months, I will finally start the custom Subwoofer enclosure in the trunk.
and maybe wire up my remote start alarm 2-way pager soon as well since majority of the exterior cosmetics are done.
 11-16-15, 01:43 PM