When you click on links to various merchants on this site and make a purchase, this can result in this site earning a commission. Affiliate programs and affiliations include, but are not limited to, the eBay Partner Network.
Project Make it Stick! (mini handling build) Warning: No Coilovers/Swaybars!
I know the typical answer for how to make a car handle better around here is coilovers and swaybars. Eventually this car will likely be on some sort of aftermarket spring/shock & swaybars, but I'm taking a slow pragmatic approach to the suspension, so I'm starting with something that will make more of a difference.
I've had my '08 IS350 for almost a year now. When I originally bought the car I knew I was going to have to overhaul the suspension to get what I wanted out of the car. Overall I want more grip and the confidence to use that grip. For this initial installment there were a couple of things I wanted that the factory setup doesn't do all that well, so this little build will begin to address those things:
So, in a nutshell this is going to be all about alignment and tires. Here is the list of parts I chose to get there and why I chose them:
A) FIGS Front Lower Control Arm Rear Mounts This mainly helps with 3 above but also helps with 2. Why did I make this such a priority? First I think the dynamic toe changes designed into the front end of the car is horrible, and second I typically buy the stickiest tires I can get away with, (think 10,000 mile treadwear) and I don't want to replace tires at 5,000 miles. I bought these within 2 days of FIGS putting the bushings/brackets on the website. I do as much work on my cars as I can, and I didn't want to wait for someone to press in the bushings while the car was sitting on jackstands.
Contrary to popular belief camber isn't just a tool to help you tuck ridiculously oversize wheels under a car. I could have gotten the alignment I wanted with the above parts, but I chose to add these two as well:
D) Megan Racing Rear Adj. No.1 Upper Arms
E) Megan Racing Rear Toe Control Arms
I chose to throw these in for a couple of reasons. First the five link suspension on the back of these cars is relatively complex, adjusting one of the upper arms can have an effect on the other arms, and I don't want any binding. Second the toe adjustment on the back of a 2IS makes minute adjustments pretty difficult. My new alignment guy would have put me on his people to kill list if I would have asked for "0" toe on the back and expected him to get there with the stock cam bolts.
F) Last, but most importatly, Michelin Pilot Super Sports This was actually the hardest decision, and it really came down to the sizes available.
First of all I am one of the handful of us left on planet earth that don't think bigger (diameter) wheels are better, so the minute I found out that 17" wheels fit on an IS350, that was the size of wheel I decided to run.
Second, If possible I wanted to stay close to the stock 18" diameter tires (front and rear) but I knew I was going to run the same width tire front and rear. Staggered width tires on a car with ~50/50 weight distribution is just plain dumb. I get it, attorneys are involved in these kinds of decisions, so Lexus made sure that between the skinny tires and the sloppy bushing on the front of the car, it understeers. That doesn't mean I have to live with what the attorneys want.
So the sizes I ended up using are 245/40-17 front and 245/45-17 rear. That gives me tires that are within 3/8" of an inch of the diameter of stock 18" tires, and gives me the same width front and rear. I wanted something stickier than the PSS, but the sizes just weren't very available. I'm pretty happy with the PSS so far though, driving away from the tire store I was greeted by my favorite summer tire noise: the sound of the tires picking up every piece of sand in the road and flinging it at the wheel well liners.
Enough writing, on to the install pics, along with a couple of little adventures I had along the way.
First the FIGS bushings. This was basic nuts and bolts. The only thing that makes this difficult is a little lip in the front subrame that makes it a bit difficult to get the brackets in and out.
The offensive bushing removed:
Old & Busted vs The New Hotness:
There it is, all buttoned up:
I installed these about a month ago, I was still running snow tires when these went on. Even by themselves these bushings do make a noticeable difference in how the car behaves. Less fighting the steering wheel when you get on the brakes, and the steering feel is just a bit better.
The rest of this whole mess all went on at once. Thursday new tires. Friday & Saturday install all the Megan stuff. Monday got an alignment.
Starting with the rear end of the car, Megan upper arm #1, and adventure #1.
Hmmm, who was the idiot who installed this bolt from this side? I suppose when you are just building the subframe in the factory the frame rail isn't in the way... Not so much the case when the sub-frame is installed in the car. Getting this bolt out almost required dropping the whole subframe!
But eventually I did get this arm out, and the new #1 arm in. Took ~1.5 hours for the driver side arm, and 30 minutes for the passenger side arm where the bolt was in the right way.
Now on to the Camber (#2) arms. No adventures with misplaced bolts, so just nuts and bolts here:
Last on the rear end, the toe arms. Again no adventures with these arms. The only note I have is that there is no place on the Megan toe arm to attach the wiring like there is on the stock arm. I'll be ordering a rubber coated band clamp for that in the next day or two. Also notice here the puddle of dirty water under the car, and that this is much cleaner than the previous two pictures. I try to clean everything I can when I do an operation like this.:
Why I ended up with just the toe arm being pink is a mystery, especially since that was the first part I bought!
Now on to the front end, and adventure #2.
First rule for removing the stock upper control arms: buy a 14mm ratcheting wrench. If you have to drive an hour to a store and back to pick one of these up you will still save time. There isn't room (with the stock springs) to get a socket on the bolts, and there isn't a-lot of room to turn a normal wrench either.
Rule #2 for removing stock upper control arms, don't take the ball joint nut all the way off when you are pressing the ball joint out of the upright. This rule applies if you use a ball joint press like me, or a 5lb sledge like a-lot of people do. I did take the nut all the way off as seen here:
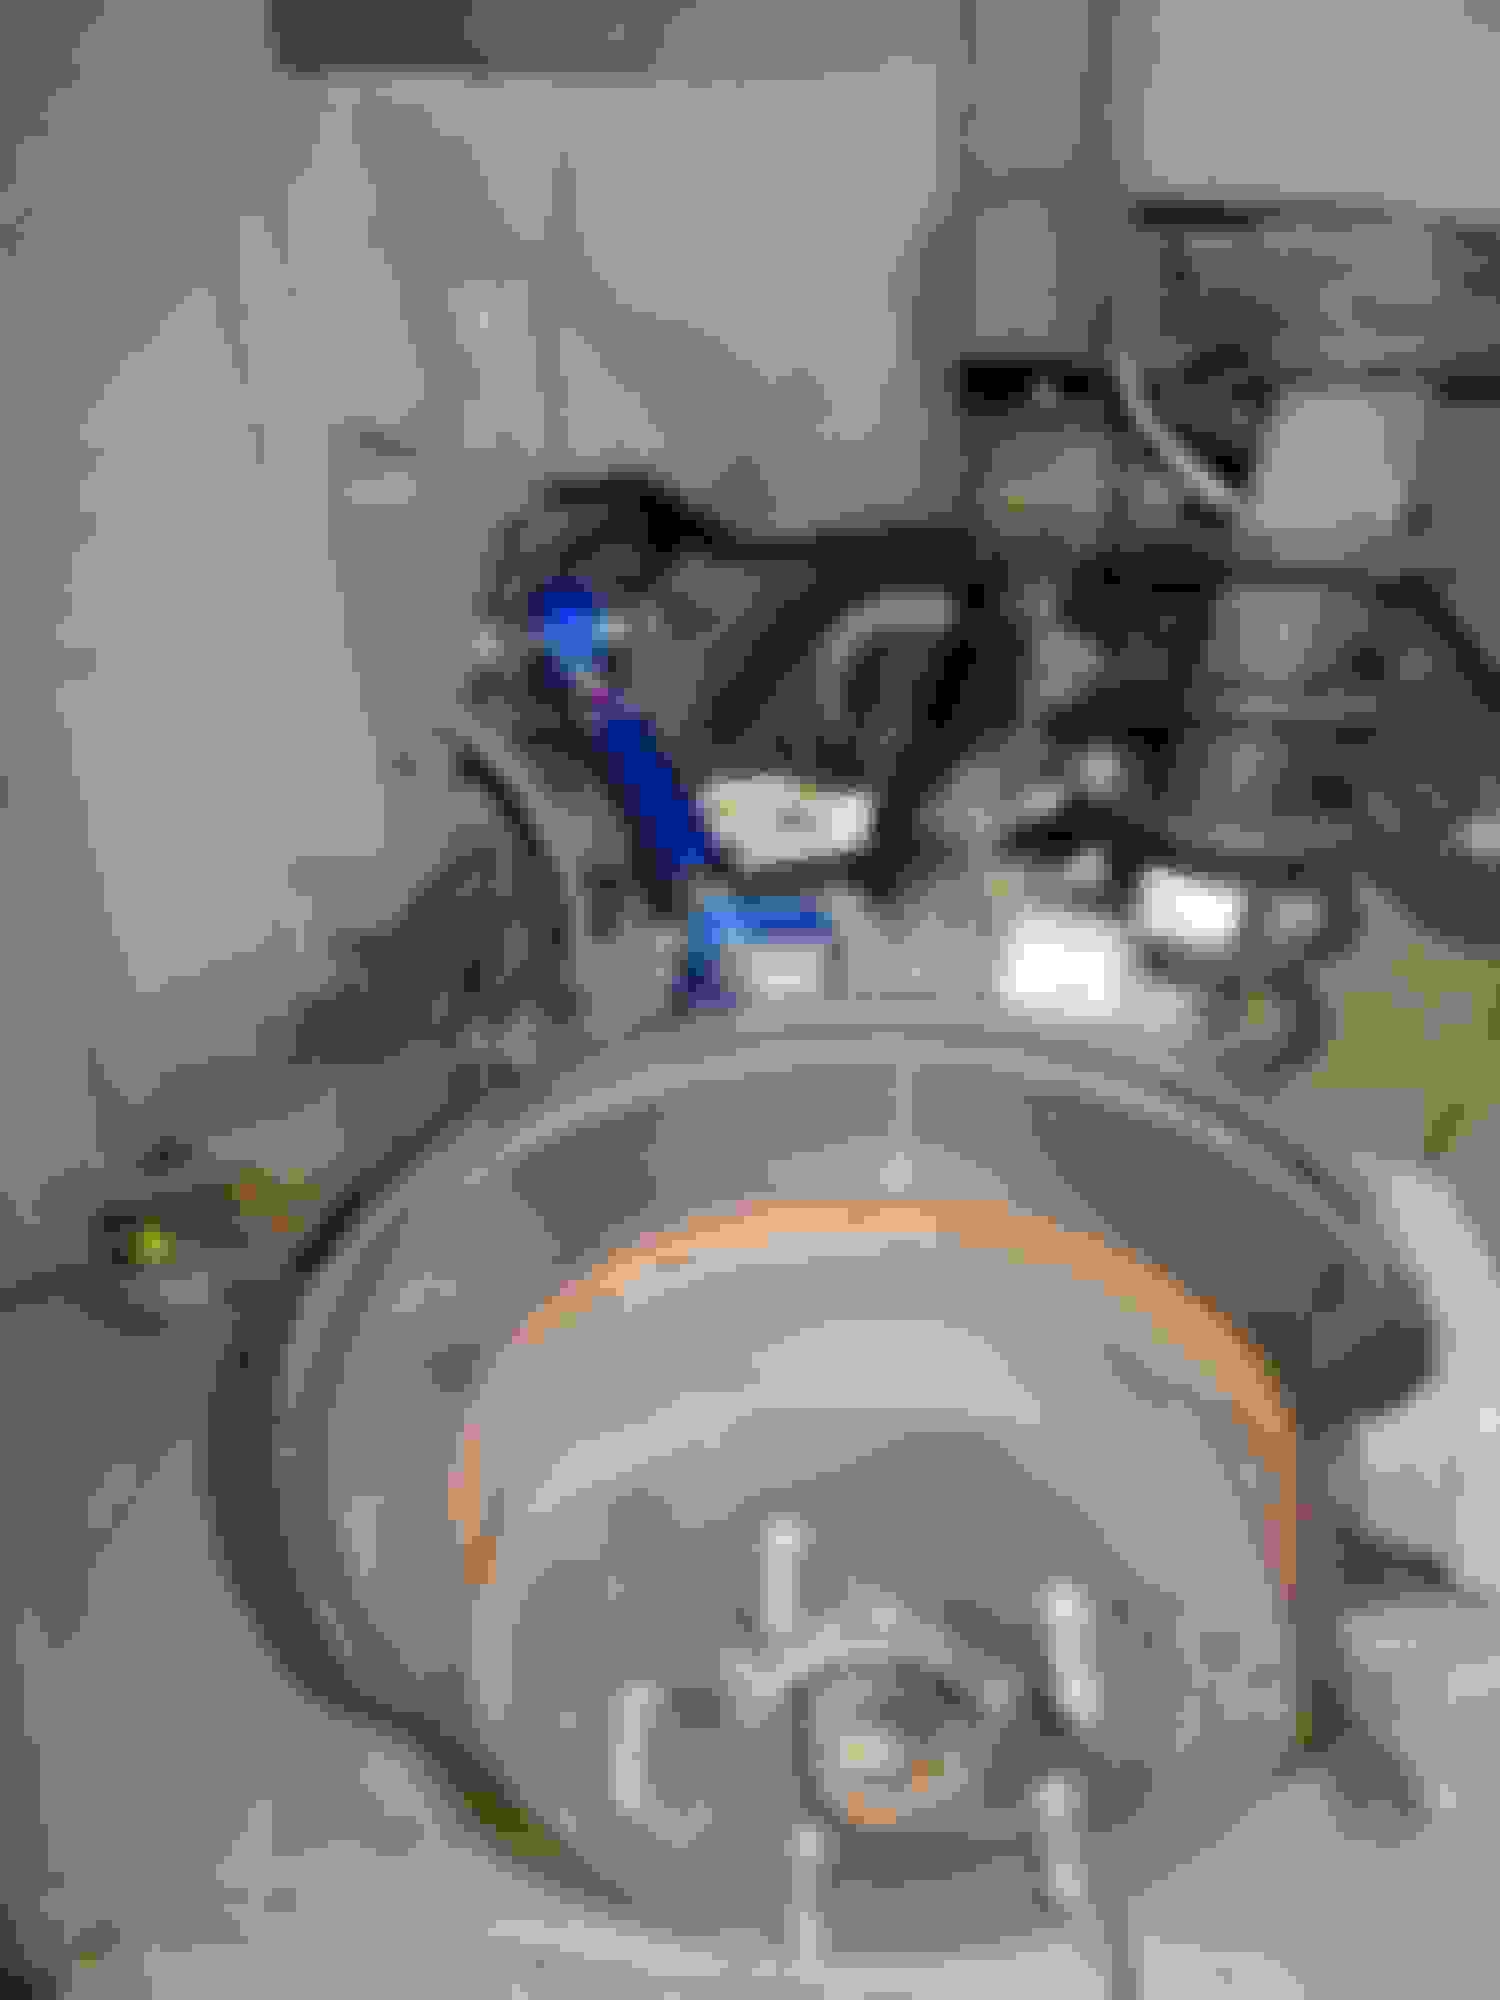
The result of that mistake was when the ball joint popped free it came all the way out of the upright, the upright then tried to kill me because there was nothing holding the top of it in place. After jumping out of the path of the would-be-assasin suspension I found this:
That would be the wiring that goes to the sensor in the middle of the hub. Ouch. Well, I wasn't about to let this stop me, and I wasn't going to run to the dealer and have a coronary when they told me how much this wire cost, so I rounded up the soldering iron and some heat shrink tubing and fixed it:
After fixing that the rest was (thakfully) uneventful. Here's the money shot with the adjustable arm and the new tires:
So since the point of all this adjustable nonsense was to get a good alignment, the time had come. I've never been happy with how all the regular chain stores do alignments. Very few of them will listen to what you want, they just want to spend 20 minutes banging on whatever they can in oder to make the computer screen green. Lucky for me I found "a guy". The shop where I bought some of the Megan stuff from is run by a guy who is a racer at heart, he sells parts and turns wrenches to pay the bills. Aligning a Lexus was a bit mundane compared to the real race cars he usually works with, but he was very patient, and spent the time necessary to get the car where I wanted it. Seriously, he spent SEVERAL HOURS doing the alignment. I have no fancy computer generated printout to show you before and after, because there was no computer involved in the process. It was awesome. Just a guy with a good set of tools, and the OCD necessary to get it right.
Final specs for my alignment:
Front
-1.6 degrees camber (I wanted -2.0, but since the car is at stock ride height, that would put the ball joint at an angle that would likely wear it out prematurely)
1mm toe out
Rear
-1.0 degree of camber
0 toe (it ended up somewhere around 0.05mm toe in)
The result of all this fun? I don't have any pictures of the whole car, but really, you guys can imagine what a starfire pearl ISx50 looks like at stock height and on stock 17" rattle can-painted rims look like.
I haven't pushed this new setup anywhere near the limits, but the increase in steering feel is dramatic. It is way more of a change than I was expecting. There is way more grip available, but the tires aren't broken in, and again I haven't driven near the limit yet. I'll update this thread in the future with better impressions of how the car behaves. The plan is to take the car on a little outing to the track in a month or two.
As far as the future the next mod will be a set of dedicated summer wheels (the rattle can stockies will then be used for winter tires only). I haven't decided if the the wheels will be 17 x 8.5 or 17 x 9.0.
After that I don't know if I will be getting an IS F steering ECU, or a set of F-Sport swaybars.
This is a great write up, thank you for sharing! Looking forward to what you have in store next. Rarely do we see people go function > form anymore nowadays.
I just got new tires and also got an alignment. Im about -2.0 camber all the way around because of my H&R springs. I really don't want my tires wearing out on the inside of the tire like they did before. What do you suggest I do?
^^ The front tire wear on a 2IS has very little to do with the camber settings, it has to do with the toe. That is why these cars eat inside front tire tread even on factory suspension setups. If you are serious about preventing tire wear, you need to do two things:
1. Install a set of the FIGS bushings like you see in the first part of my post above, this will reduce the dynamic toe changes while you drive the car.
2. Get the car aligned again and make sure the toe on the front end is minimal, 1/16" or less (toe in will help the car turn in better, toe out will make the car more stable in a straight line). This is a case where being within the sloppy factory settings isn't going to be good enough.
If you are really serious about preventing uneven wear you can also consider reducing your camber. 2 degrees of camber is (IMO) reasonable, but can wear the inside edges of your tires if you do a-lot of straight line driving on the highway. Also 2 degrees front and rear is not ideal for handling, in every case I know of you want more camber on the front than on the rear. (For kicks google pictures of Formula 1 cars and compare the amount of camber front and rear.) .5 degrees in the back and 1.0 degree in the front will still have an effect on making the car corner better, but will minimize the wear. But again, camber doesn't have near the detrimental impact on tire wear that toe does so you will likely be ok of you leave the car the way it is.
I'm happy to see another handling performance oriented build like this. Please post up your progress with pictures. Are you going to bring it to autocross/track ? You will drive it at the limit in autocross/track with so much fun that way. Subscribed.
The alignment specs came from a combination of past experience and research (For a street/track setup MANY cars do well with ~2 degrees in the front and ~1 degree in the rear). Toe setting came straight from Lobuxracer's alignment thread.
And, yes the car will be making an appearance or two at a racetrack.
Nice almost full suspension build. I had. Many of these same products (not for racing) but you used them specifically what they're designed for. Just wondering why you didn't go with Figs rear toe arms over Megan? I found them to be a better quality part.
^Yes, I'm sure you are right about the toe arms, the Megan saved me a few bucks, and they came from the same place that did the alignment. Hopefully I won't have any problems, and it helped build a relationship with a good local shop, which I'm sure you understand has a lot of value.
Hey nice write up, Thanks for sharing. Im actually in the process of doing the same set up. Just trying to find a good shop and where to buy all the parts for a good price. What are the factory specs on the front camber. Do i need the Front upper camber arms or will the #2 bushing be sufficient since the toe is what causes that horrific inner tire wear?
For better or worse, I stopped paying a-lot of attention to factory alignment specs, so I don't remember what they are. I think somewhere in the range of 0 to -1.5 degrees for camber?
Whether or not you need front camber arms depends on a number of things:
How the car is set up now, what kind of driving you do, how you want the car to behave, and what kind of tradeoff of handling vs tire wear you are willing to live with.
More front camber (and about half as much rear camber as front) will give the car more grip in the corners. Camber can wear out tires (but not near as much as toe, which you are correcting with the bushings) but if you don't do a-lot of straight line highway miles you may find that a reasonable amount of camber will make your tires last LONGER!
I was thinking about -1.0 to -1.4 camber in the front and -0.5 to -0.7 in rear. I want the most even tire wear and longevity of the tire. I drive mostly highway for the commute to work and back.Would those numbers be effective?
Along with the front bushings, there is an adjuster for toe in the front..? So that will be corrected by those two factors. Correct?
Originally Posted by WylieKylie
For better or worse, I stopped paying a-lot of attention to factory alignment specs, so I don't remember what they are. I think somewhere in the range of 0 to -1.5 degrees for camber?
Whether or not you need front camber arms depends on a number of things:
How the car is set up now, what kind of driving you do, how you want the car to behave, and what kind of tradeoff of handling vs tire wear you are willing to live with.
More front camber (and about half as much rear camber as front) will give the car more grip in the corners. Camber can wear out tires (but not near as much as toe, which you are correcting with the bushings) but if you don't do a-lot of straight line highway miles you may find that a reasonable amount of camber will make your tires last LONGER!
 04-15-14, 12:17 PM


 I could have gotten the alignment I wanted with the above parts, but I chose to add these two as well:


 Getting this bolt out almost required dropping the whole subframe!