When you click on links to various merchants on this site and make a purchase, this can result in this site earning a commission. Affiliate programs and affiliations include, but are not limited to, the eBay Partner Network.
Thanks! I just hope that it´ll start after all the work
1jz´s first visit in the Engine bay
Test fitting with the w58, to get the correct position/angle for the motor. It worked when I test fitted the BMW tranny on the 2 jz, but I wanted to measure on the 1jz as well, so that I´m certain that everything is ok when I finally put on the BMW-tranny.
[QUOTEKahnBB6 Lettut, the engine looks great now! What was your process and what type of paints did you use to restore engine parts? ][/QUOTE]
Thanks! After washing with water and degreaser,I used a steel brush grinder, and then applied a thin layer of heat resistant zink metallic paint. Quite a damp climate here in Stockholm, so there´s no Point going for polished aluminium . After a couple of months you have oxidation on it again. Hopefully the zink paint will protect it for a while.
Adapter plate and clutch:
I´ve tried to document all the details in this step. Maybe it can be of help for other clublexus members going this route? I´ve never done a clutch job Before, but the instructions that came with the kit was pretty straight forward. Also got some advice via mail from Roberts at ABC-clutch in Estonia. Good and Quick support there.
Here´s the instructions that came with the kit:
Torque specifications in Nm.
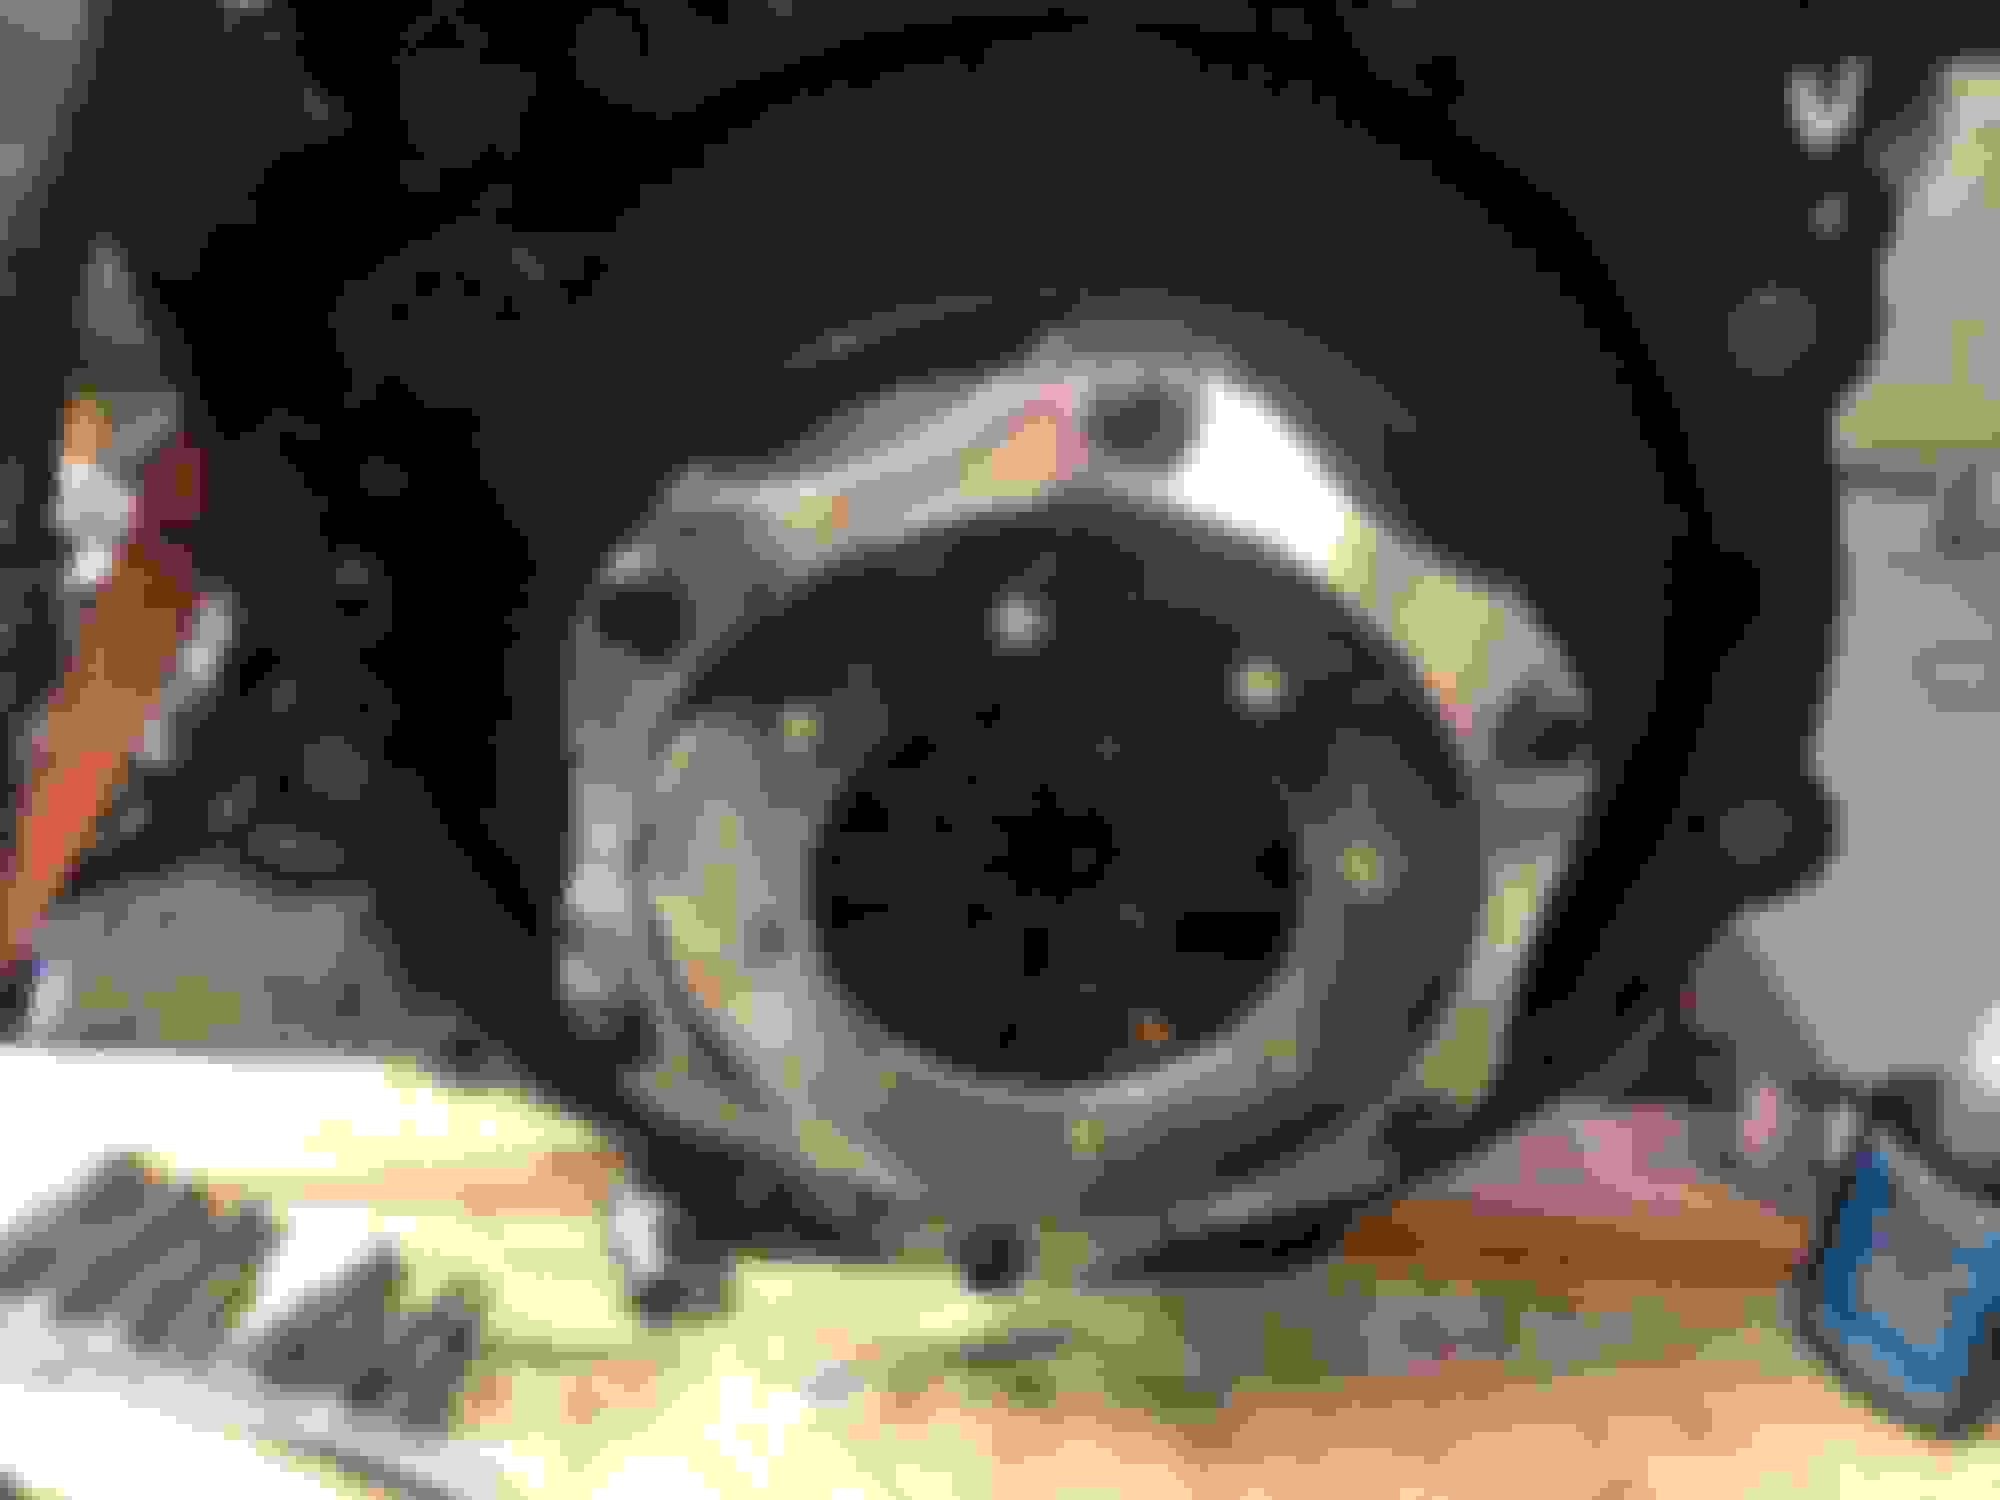
Flywheel with the pilot bearing built in:
I reused the stock bolts with red loc tite.
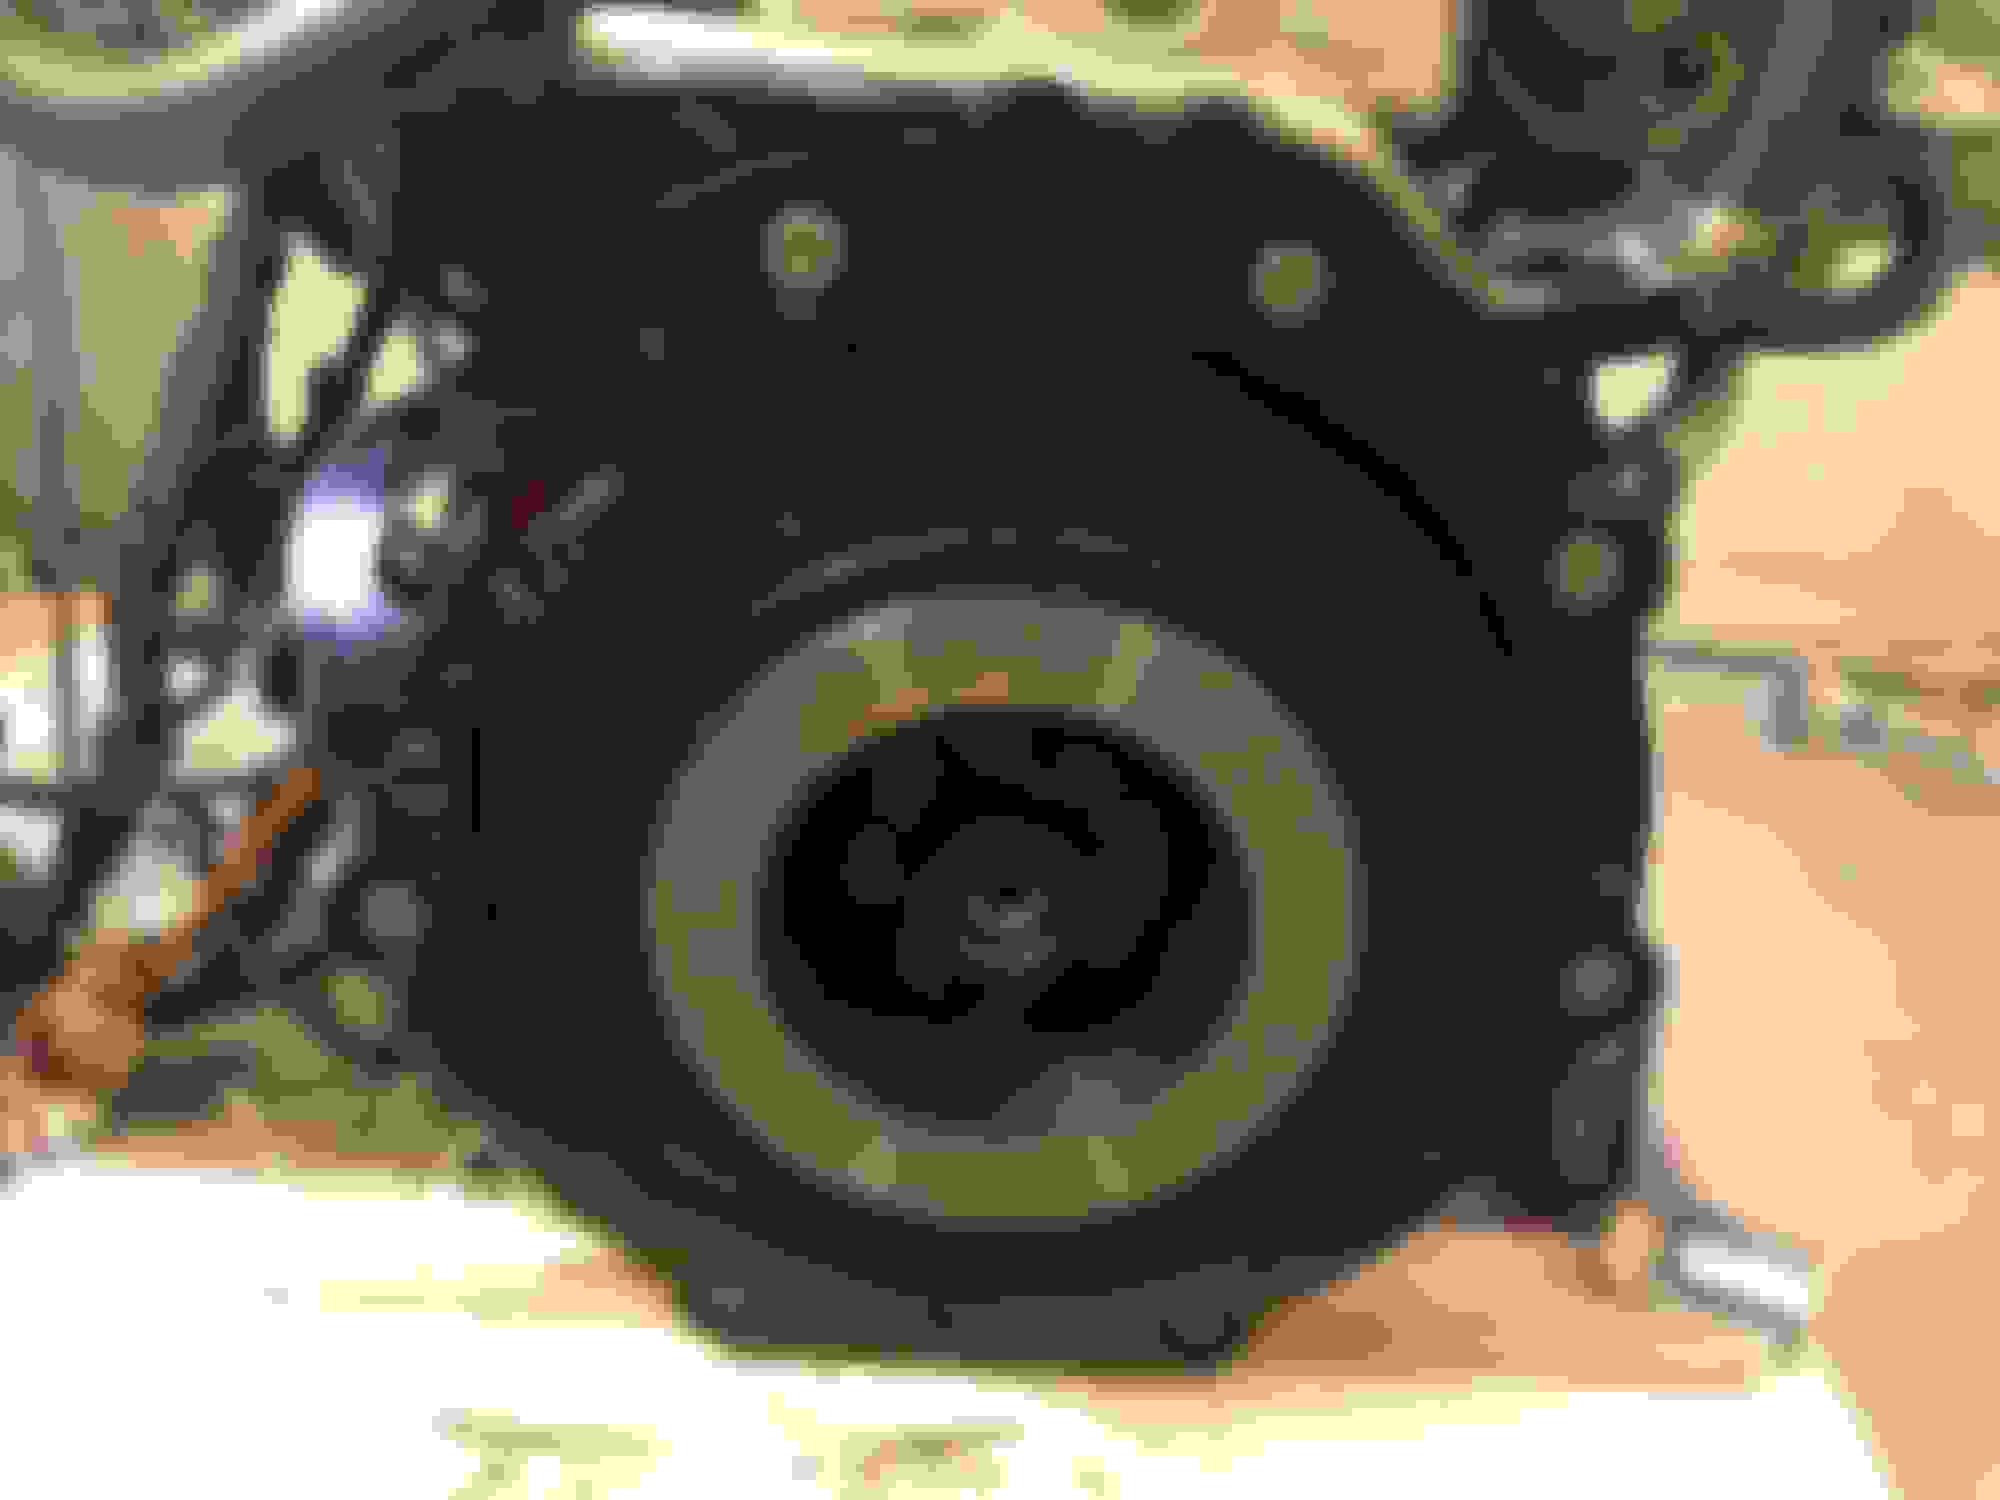
On the 1jz, the water pipe is in the way for the adapter plate:
To solve this, I loosened the bolt holding the water pipe on the right side of the block to make it more mobile, and able to slide a bit upwards and away from the adapter plate.
Despite this , the pipe was slightly compressed a couple of millimeters when I torqued the adapter plate in Place. There should´nt be any risk of leakage as far as I can see.
The 1jz starter (to the left) did´nt fit. I guess it could be modified to fit by removing the cover, but I used the 2jz starter instead.
The front bearing retainer had to be shortened 15 mm to fit the tilton clutch:
The new throwout bearing in Place:
The Tilton Twin plate clutch with pressure plate:
The alignment of two plates was kind of tricky. I had this universal alignment tool, but it did´nt align the inner plate, so I wrapped some duck tape around it to get the correct diameter. Took me a couple of hours Before the tranny was bolted on.
that engine looks like factory new. what did you use to get that spottiness and salty look off the intake? i would like to make my intake shiny like yours.
BiGEZ That is some awesome work there my friend. Nice progress
oldManTan that engine looks like factory new. what did you use to get that spottiness and salty look off the intake? i would like to make my intake shiny like yours.
scENFORCER Wow this build is impeccable. Looks great! And glad the steering wheel worked out for you, that looks great as well!
Thank you guys! Your positive feedback really makes me glad!
To Clean up the intake, I used a steel brush grinder and then applied a thin layer of heat resistant zink metallic paint.
Yeah, I´m very happy with the RX steering Wheel. Made a big improvement ,I Think. Thanks for the tip scENFORCER!
Motor and tranny is in the engine bay, but there´s been some delay on a couple of details over the last weeks.
The oem BMW shifter extension parts (not sure what you really call these parts in English) had to be shortened 14 cm to fit my set up. I´m not skilled to weld aluminium, so I got help from a professional welder with this. My instructions must have been a bit vague, because he made the "shifter arm" a bit too long the first time. Took Another week Before he had redone it with the correct length
First attempt unmodified bmw shifter extensioner to the right)
Second attempt: Now with the correct length:
Another problem:
The tranny-prop shaft-adapter was too wide, so it got in the way for the "shifter arm"
Had to go back to the machine shop to get help. They reduced the diameter ca 15 mm, which solved the problem
This nut had to go as well to make room for the shifter parts:
The 1jz AC-compressor didn´t fit to the ac lines, so I had to change it. 1jz on the top.The 2jz compressor has smaller bolts for attaching the lines
1jz Power steering reservoir in Place
Extending the plug for the heater Control valve
The new position for the ECU after connecting all 4 plugs. I didn´t extend the ecu-plugs, just the body plugs.
Still not sure what I should do with the ABS connectors and the extra White plug, which I Think is for the TRC?


 08-22-14, 12:27 AM


 unmodified bmw shifter extensioner to the right)