When you click on links to various merchants on this site and make a purchase, this can result in this site earning a commission. Affiliate programs and affiliations include, but are not limited to, the eBay Partner Network.
Glad you changed your mind, keep it up. You've made a lot of progress and done all the dirty work already, body work is the worst!
it really is, when i first started my arms were killing me from sanding everyhting. don't have any sort of sander so everything was sanded by hand lol.
no real updates since i've been broke cz of crap happening. but got some LEDs to put in the buttons in the interior, tried hooking the start button up, figured out where the wires are but the button was broken in it's stupid little relay box. the people on ebay want me to pay 3 more dollars for shipping for a replacement so idk if i should just tell em to Eff off or complain to ebay or something.
probably just let it go and hook the start button up to the volume ****, which i broke, so hopefully the junkyard still has the interior in that SC4.
still can't figure why my air isn't blowing, it blew once and then stopped again randomly.
big update is though. 222,222 Miles! 222,257 now but this happened yesterday. runs like new still but the PS pump won't stop whining and there's plenty of fluid, so idk why that's going on. gonna start modelling and trying to print the LED housings i'll be making, gonna make a separate thread for that though.
another little boo boo happened. was delivering at work and was in a neighborhood that was all really bumpy gravel cz it was getting repaved im guessing. bottom out really hard in one of the holes and busted a hard line. it was hissing for a few hours afterwards and i've figured it's an AC dye line so i wasn't too worried. i never use the AC anyways but another thing i'll have to fix, probably just JB weld it. now the problem is how will i refill this thing cz that's where the hardline was connected.
the canister was cold but the liquid coming from it was green so i'm not sure what it could be? any ideas?
thought of a crazy stupid ricey idea for a push start and will try to make it happen lol. i'll get so much hate for it but it will be fun lol.
its your filter/dryer and yes like you said its from your AC
ditch the starter imo
thanks for the input. the starter i will do no matter what anyone says. i'm just doing it for *****s and giggles, it will be fun to laugh at with friends, i'll probably get annoyed of it eventually and revert it back to stock lol but who cares!
the funniest part will be handing the keys to someone and let them try to start the car. oh i can't wait.
i should post pictures of the roof. finally done and no leaks, everything fixed. now just have some minor chips and onto plastidip! just need to save up for it.
going to the junk yard tmr. hopefully get another dash cluster, volume and temperature *****, and some other stuff. i think there's 2 SCs there now so we'll see wat i can scavenge.
roof is finally the way i want it to be. redid it like 3 times cz it just wasn't up to my standards and kept leaking, so now it's done i think. just saving up for the plastidip kit which will probably take a month or so and then get a nice coat of dip for the winter. just wanna do some more body stuff.
gonna delete the side markers on the bumper. cut the cross grill out of the bottom of the bumper in the middle, and fix up all the dings in both the bumpers. car is completely rust free now too lol. pretty great for a 22 year old car.
I saw the headlight idea, it's intriguing.. I'm not sure how the sharp edges of the "L" will turn out when everything else is round but I think it'll come out mean. Almost anything is better then the basic lined headlights. Good work man.
I saw the headlight idea, it's intriguing.. I'm not sure how the sharp edges of the "L" will turn out when everything else is round but I think it'll come out mean. Almost anything is better then the basic lined headlights. Good work man.
well the thing is, changing the design is a matter of a few minutes and reprint. the only problem is going to the library which is 40 minutes away since it's in the city and i live in the suburbs. lucky me, i go to school in the city, so before and after class i got plenty of time to do test printing. i'm hoping tuesday i'll have one test print.
so went to the junk yard yesterday and got the volume and temp ***** module, and a slightly better shifter. gonna try to fab somehting up with the old one cz i really hate the shifter these cars have. most updates will come next week since it's finals now and i'm buckling down and just chugging away at these projects. so i won't be on at all this week. cya soon guys.
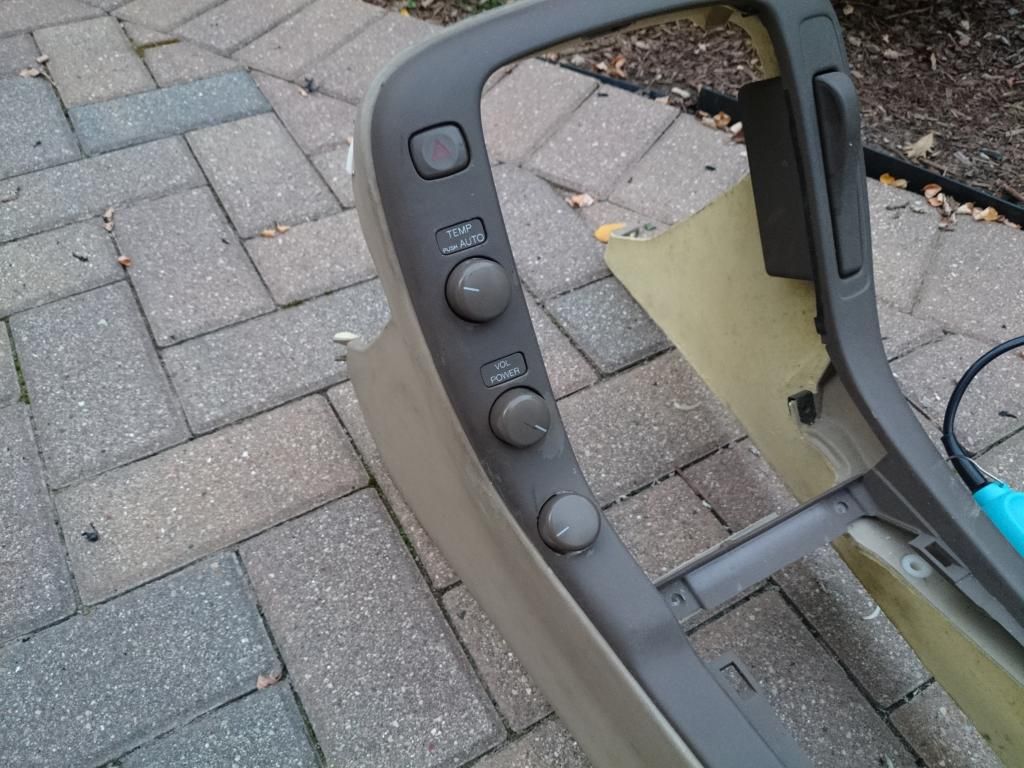
been doing little things lately. got new ***** for the air and volume from the junk yard, new shifter, and wanted to get a dash but they wanted 100 bucks for it so i passed on that. wasn't even working at all.
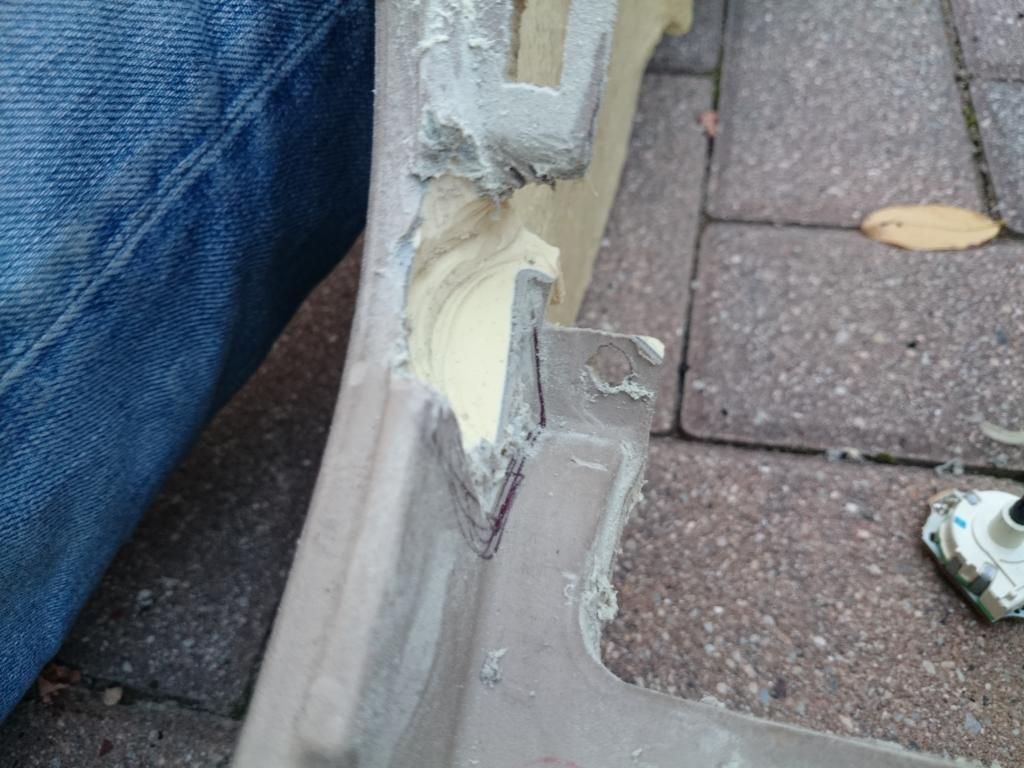
here's what i did today. installing a 3rd spare button as a starter button
did some grinding and cutting and it fits perfectly and snug, just need to figure out some sort of bracket to mount it so there's not chance of it going anywhere or getting stuck.
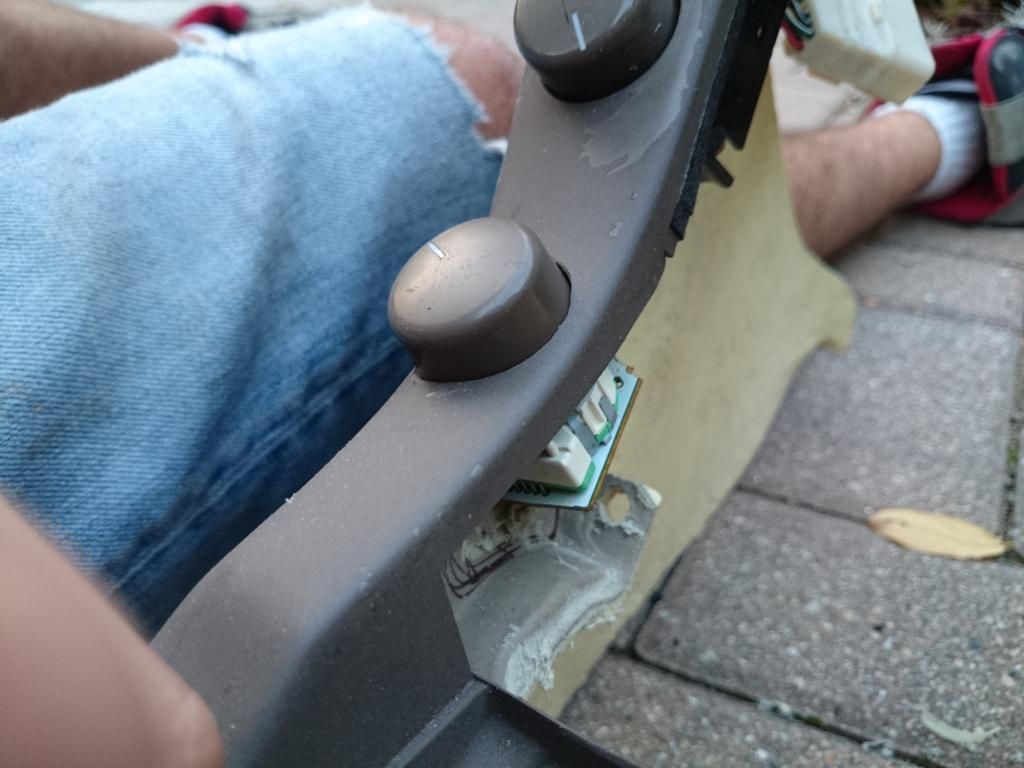
and how it looks from the seating position i guess
that piece will get painted and made to look nice so i'm not worried about scratches or anything right now.
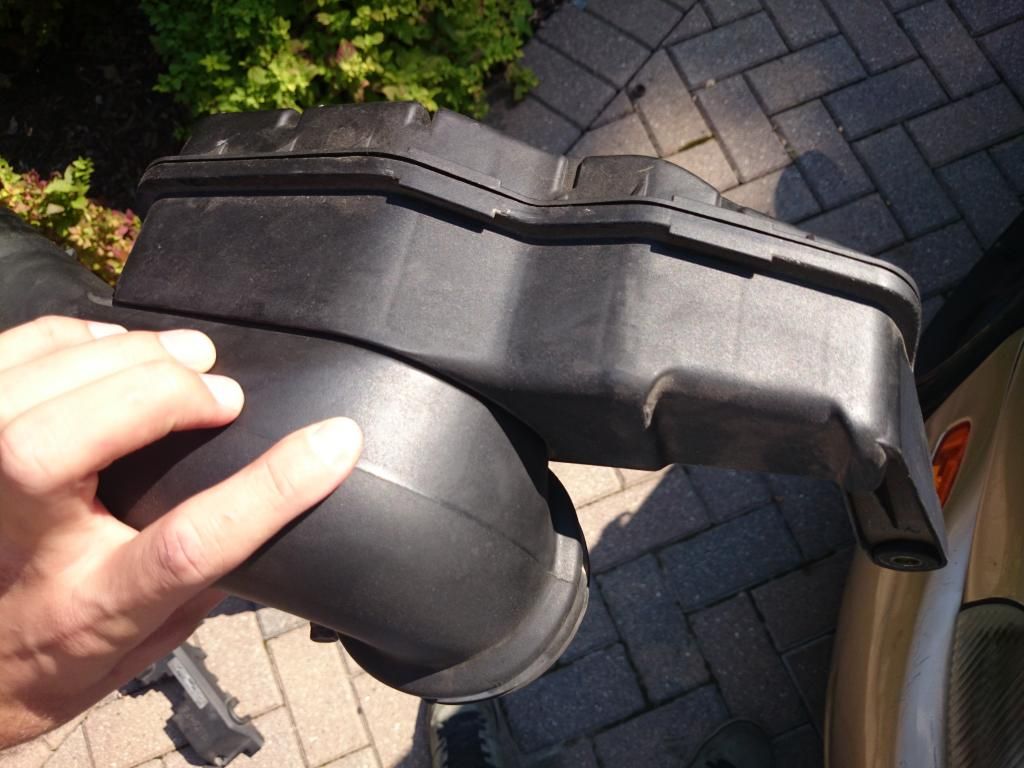
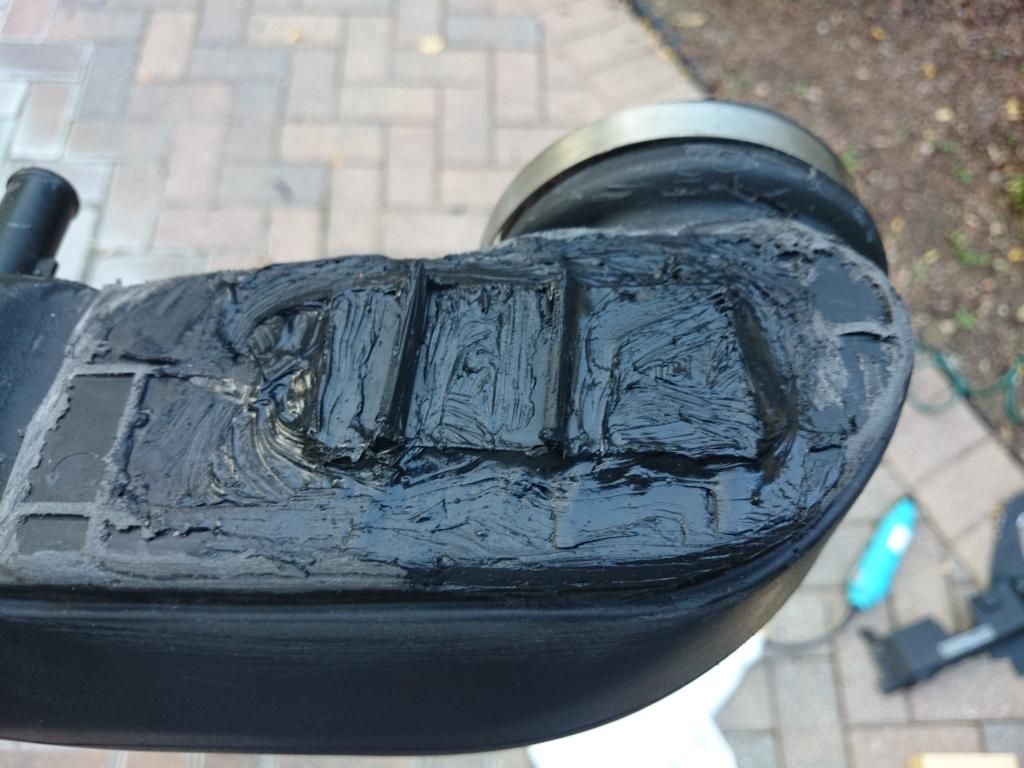
i also decided to cut whatever is on the bottom of the intake pipe, i've seen another member do it and decided to do it myself. nothing beautiful to see here, cut it off and cut a spare piece of flat plastic off the remaining piece and gorilla glued it on and sealed it with silicon, if it doesn't hold and i have a problem i'll fiberglass the hole shut, but i'm not worried right now.
BEFORE
AFTER
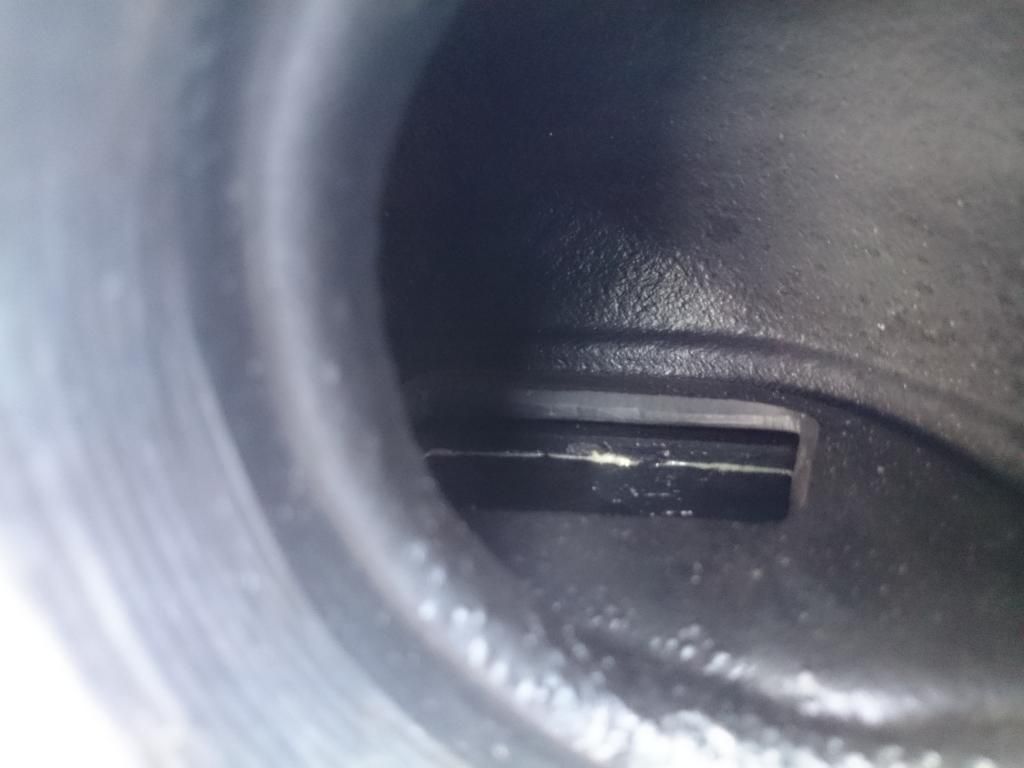
and inside of the intake
will finish up the button tmr, wire it up and maybe finally try to put the Front TT rotors in the rear since i'm still running stock 400 rotors with TT brakes in the rear and the pads are wearing with a lip.
so the intake has no leaks and sounds freakin awesome, or maybe it always sounded like that but i dont think so. the button i still haven't figured out how to mount to the dash piece. also cut the middle cross in the bumper, i like it better that way, looks meaner i think. gotta get the button done tomorrow cz i got work so the interior needs to come together tomorrow. i'm thinking i'm gonna fiberglass it to the top bezel piece so it will come off with it and have no problems, but if i fiberglass it, i won't be able to take it out so i'm trying to make some sort of little table or mount to stick it onto, i have a little idea already. the button works though but i'm gonna wire a safety switch because you can use the starter and it won't ignite while the key isn't on and i dont like that.
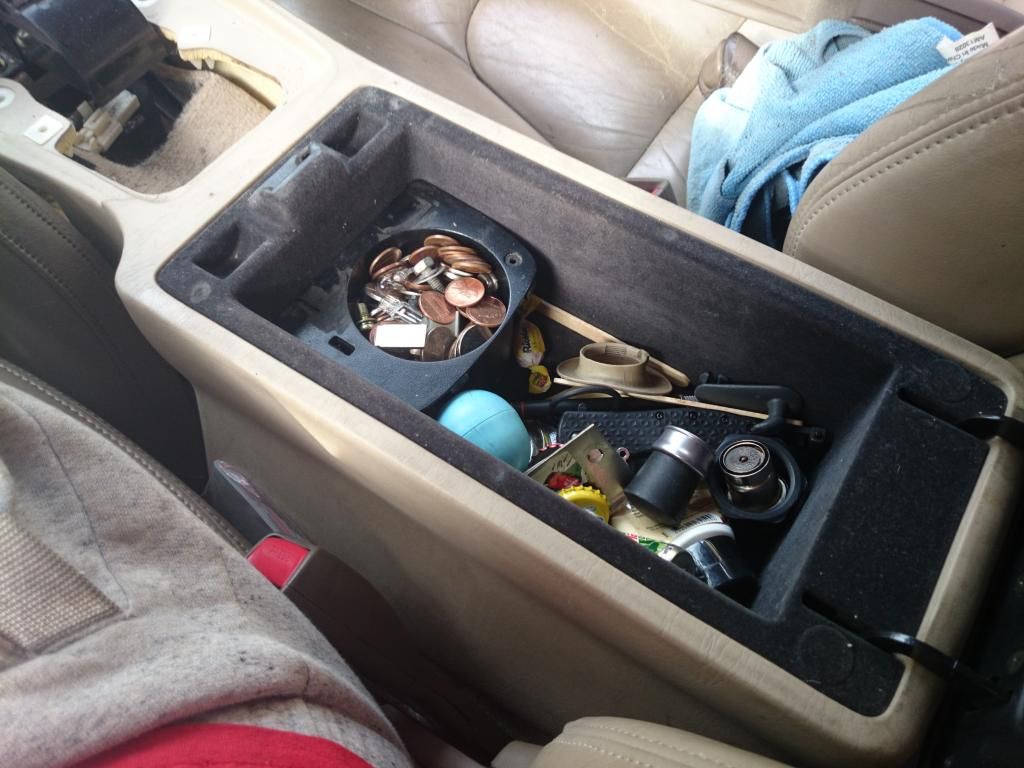
also the cup holder is a direct fit in here so gonna stick my spare one in there for coins and stuff
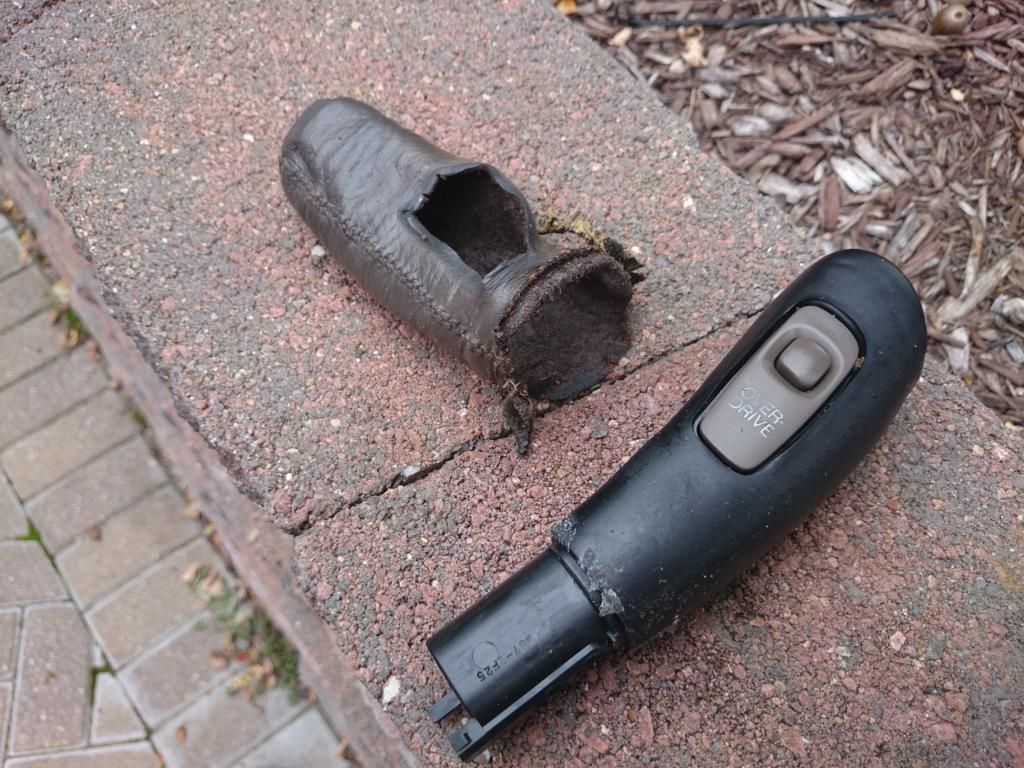
gonna also try to do something with my spare ugly shifter, this really needs to change

 08-27-14, 09:55 PM