The Albatross Build Thread

 10-29-14, 02:04 PM
#47
Yeah let me know when you got time. I found a little scratch on the back right fender once I got home but I buffed most of it out. you gotta be closer and look for it now.
I'll definitely use him when I get more work done cause im sure that was just whoever washed it not being careful.
I'll definitely use him when I get more work done cause im sure that was just whoever washed it not being careful.
10-29-14, 03:33 PM
#48
Yeah let me know when you got time. I found a little scratch on the back right fender once I got home but I buffed most of it out. you gotta be closer and look for it now.
I'll definitely use him when I get more work done cause im sure that was just whoever washed it not being careful.
I'll definitely use him when I get more work done cause im sure that was just whoever washed it not being careful.
I ordered my 102mm throttle body today, and the new wheels will be in tomorrow, so I may have some time this weekend. May go grab a new GoPro to finally replace my old one. Ill keep you posted


 11-15-14, 01:05 PM
#54
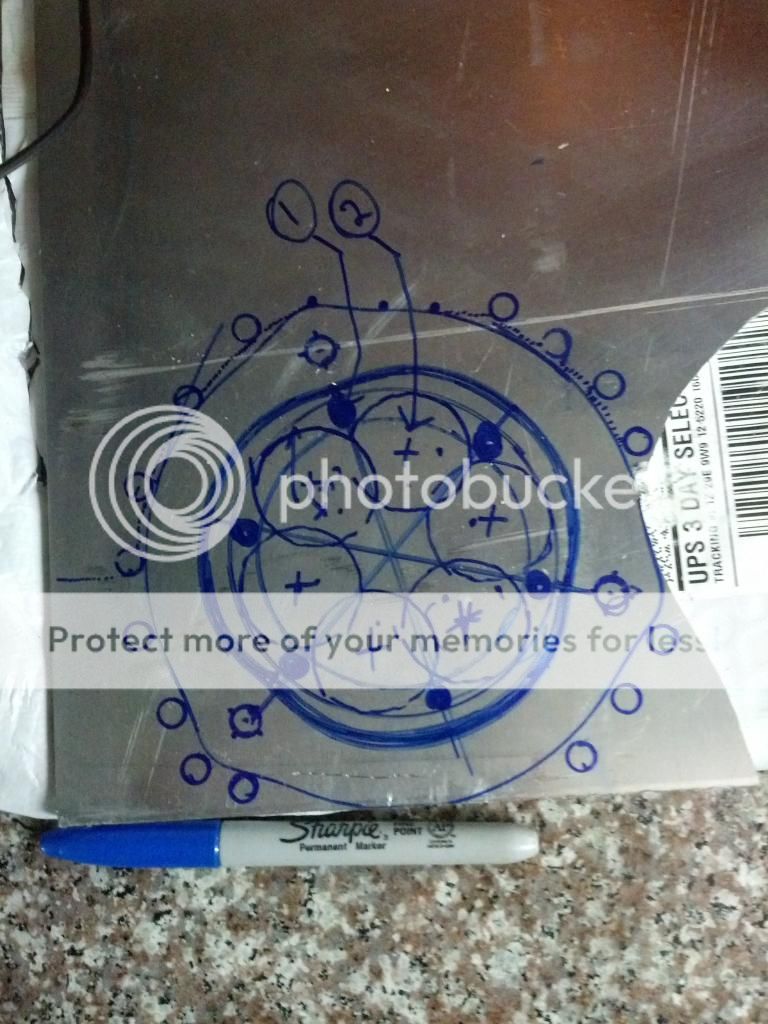
Finally figured out I had a distributor and water pipe o ring leak. its good to just do these around 100K anyhow at the same time. It was super easy (the water pipe is right behind the dizzy).
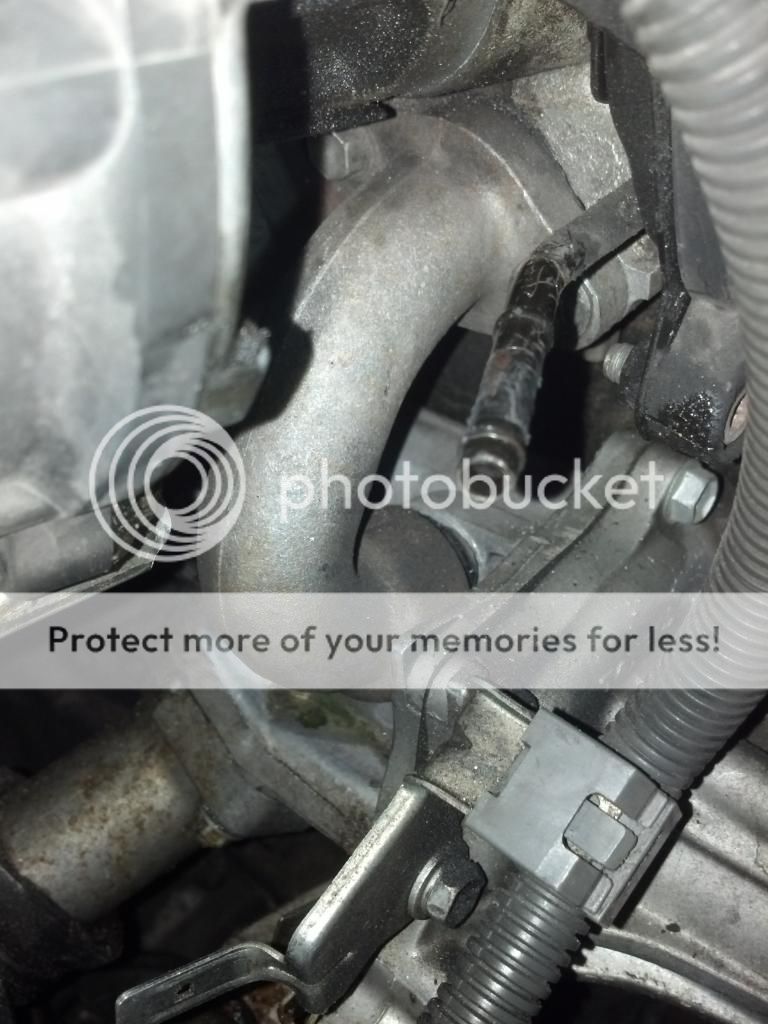
marks i made for easy reference.
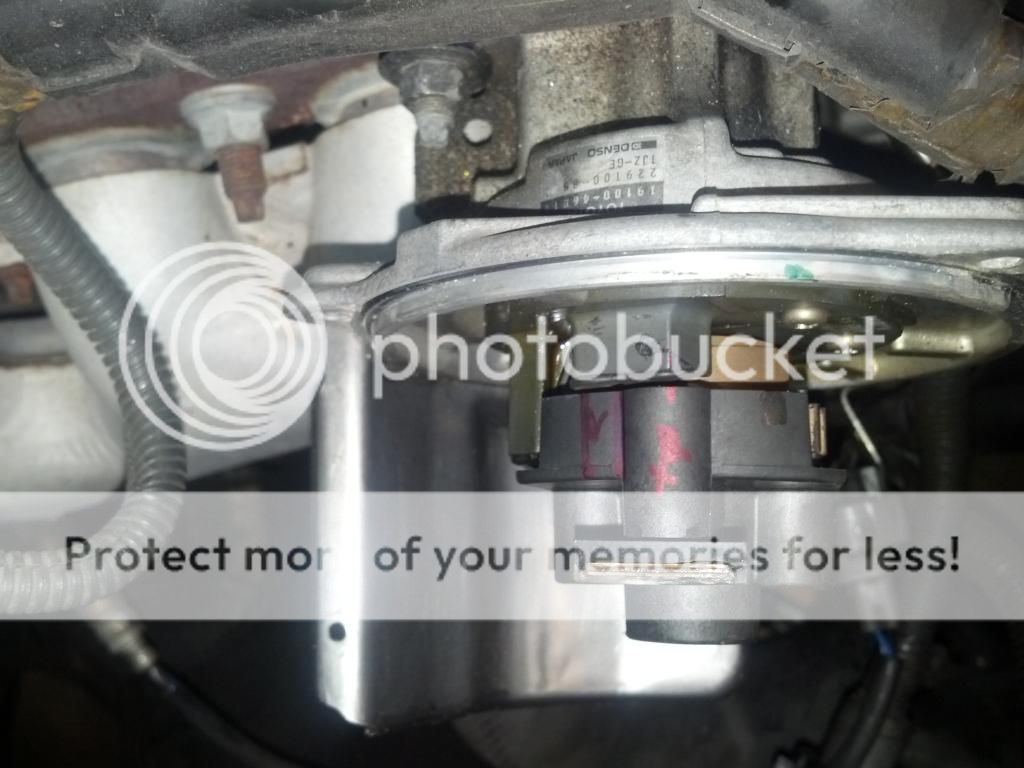
when you pull it out just line up the marks and stab the dizzy until you get them right. it took a few tries but i didn't have to set my timing or anything.
now 2 fewer leaks and a cleaner engine bay.
marks i made for easy reference.
when you pull it out just line up the marks and stab the dizzy until you get them right. it took a few tries but i didn't have to set my timing or anything.
now 2 fewer leaks and a cleaner engine bay.
Last edited by Albatross; 01-19-15 at 06:35 AM.
12-23-14, 09:03 AM
#55
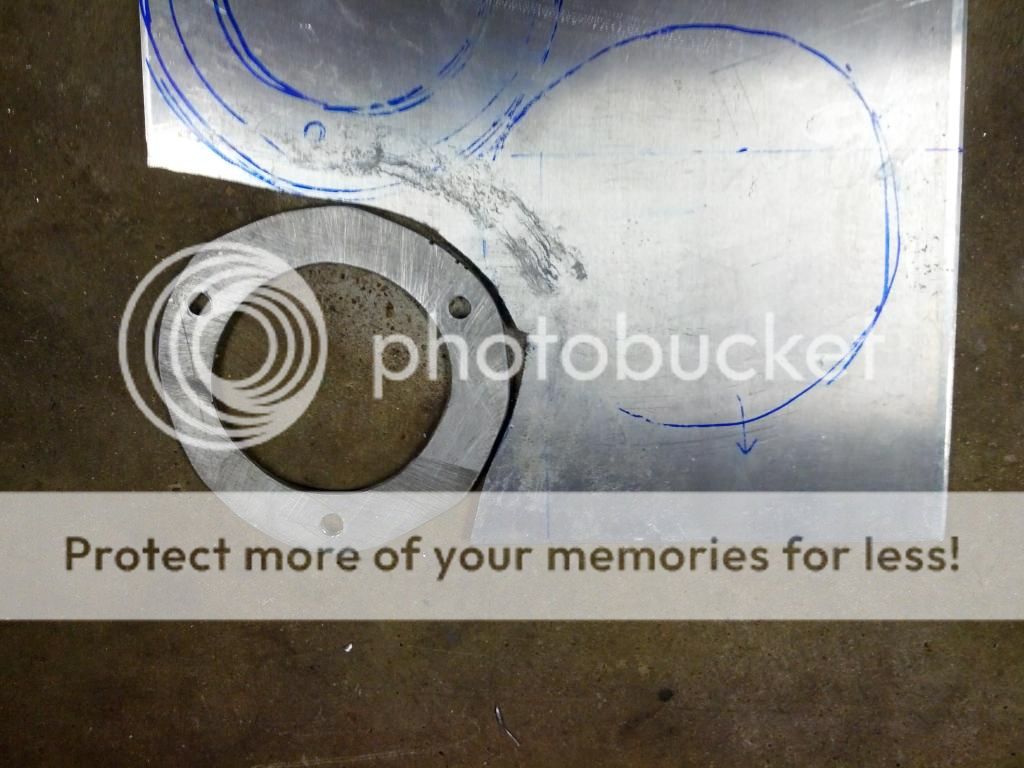
With the eibach springs and supra struts the front suspension just didn't have the travel it needed. With the eibachs the ride improved over the megan racing coilovers but its so low the tires tucked just a hair, hence the lack of travel and slight rubing. so, I made some quarter inch spacers for the front out of aluminum.
problem solved

here is the spacer i made for the rear.
after doing this i learned that rally guys do this ALL the time. they even use HDPE (high density polyeurethane) and longer strut bolts.
Just remember that due to the angle of the struts adding 1/4" of spacer doesn't work out to 1/4" of lift, its more like 3/8" to 1/2" at the fender. 1/4" is all you can do up front with the stock studs, while the rears can have like half an inch without issue.
I'm thinking of adding another 1/8" in the rear just to get a little more travel and some more camber adjustability back there. Its not VIP slammed but the car is comfortable AND handles even better now that the front suspension can actually do its job.
problem solved
here is the spacer i made for the rear.
after doing this i learned that rally guys do this ALL the time. they even use HDPE (high density polyeurethane) and longer strut bolts.
Just remember that due to the angle of the struts adding 1/4" of spacer doesn't work out to 1/4" of lift, its more like 3/8" to 1/2" at the fender. 1/4" is all you can do up front with the stock studs, while the rears can have like half an inch without issue.
I'm thinking of adding another 1/8" in the rear just to get a little more travel and some more camber adjustability back there. Its not VIP slammed but the car is comfortable AND handles even better now that the front suspension can actually do its job.
12-28-14, 07:24 AM
#56
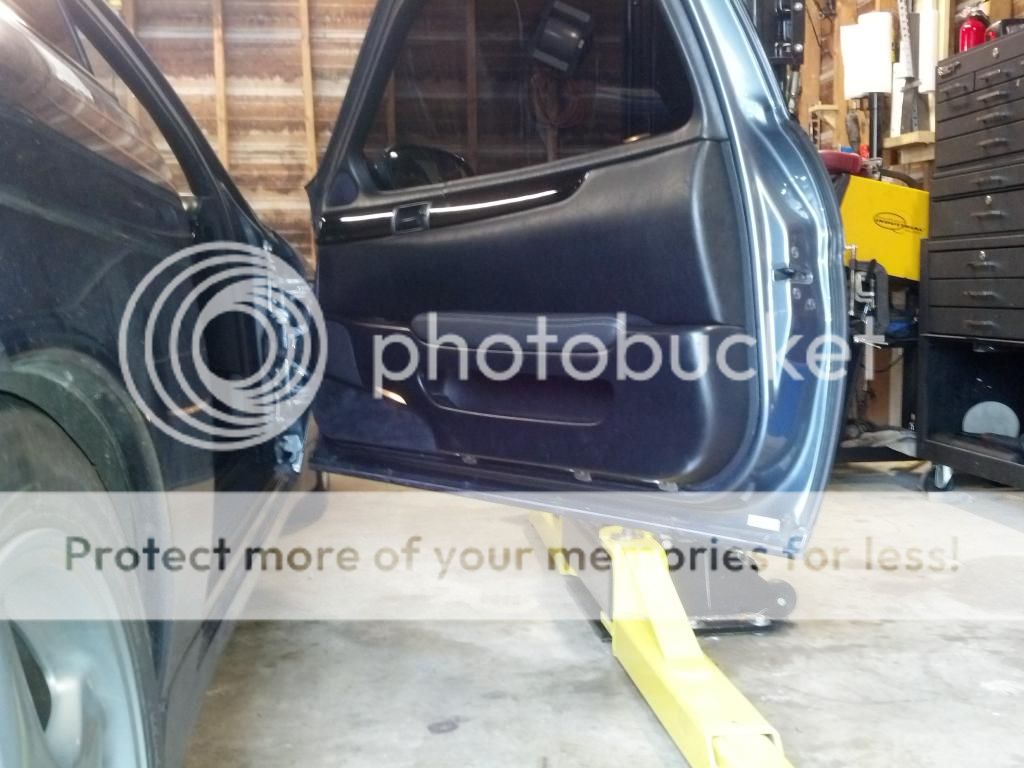
Well its christmas vacation so that means the car can be in pieces for a while. That also means its time to fix some rattles. IT HAS BEGUN!
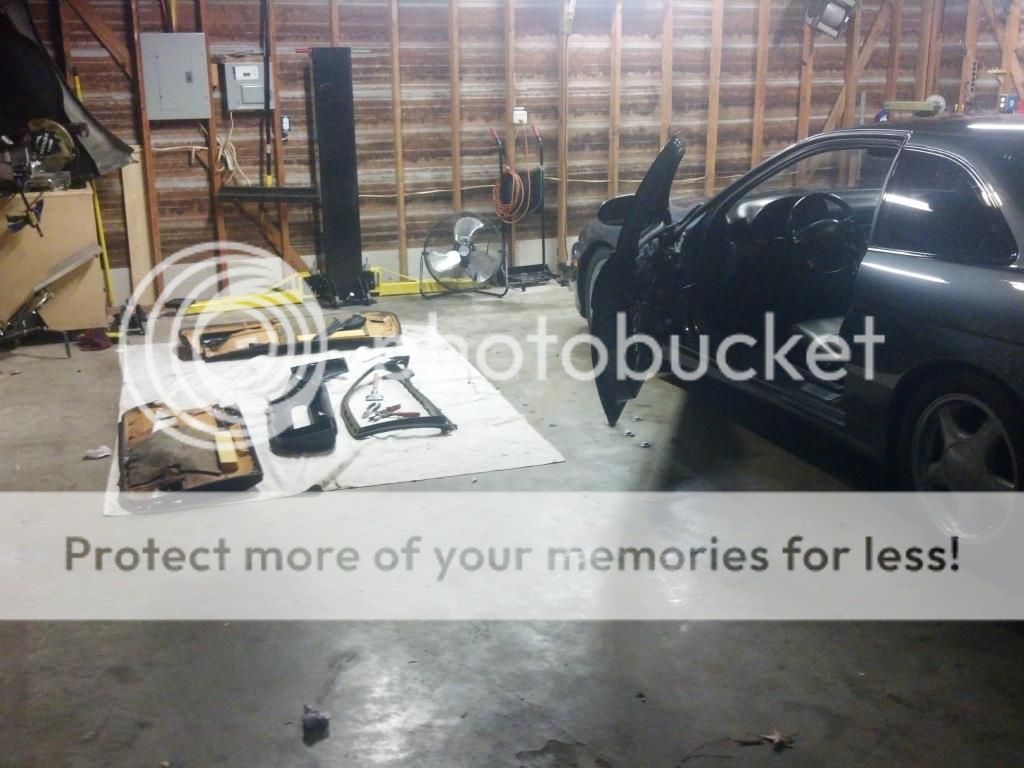
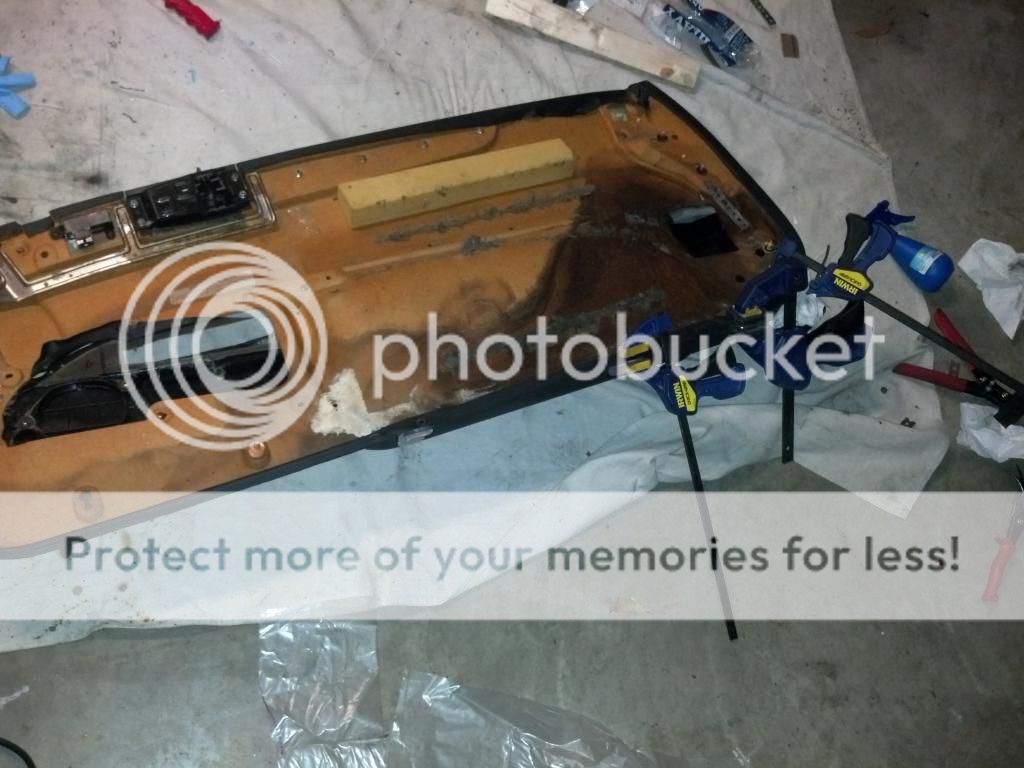
This is my first attempt at fixing the driver's side door control area. it was old and cracked so I stacked some quarter inch MDF layered with liquid nail then clamped all of it together. Its been sitting for about 20 hours. hopefully this pans out.
These are pieces of aluminum to reinforce the bottom of the doors which also cracks due to age.
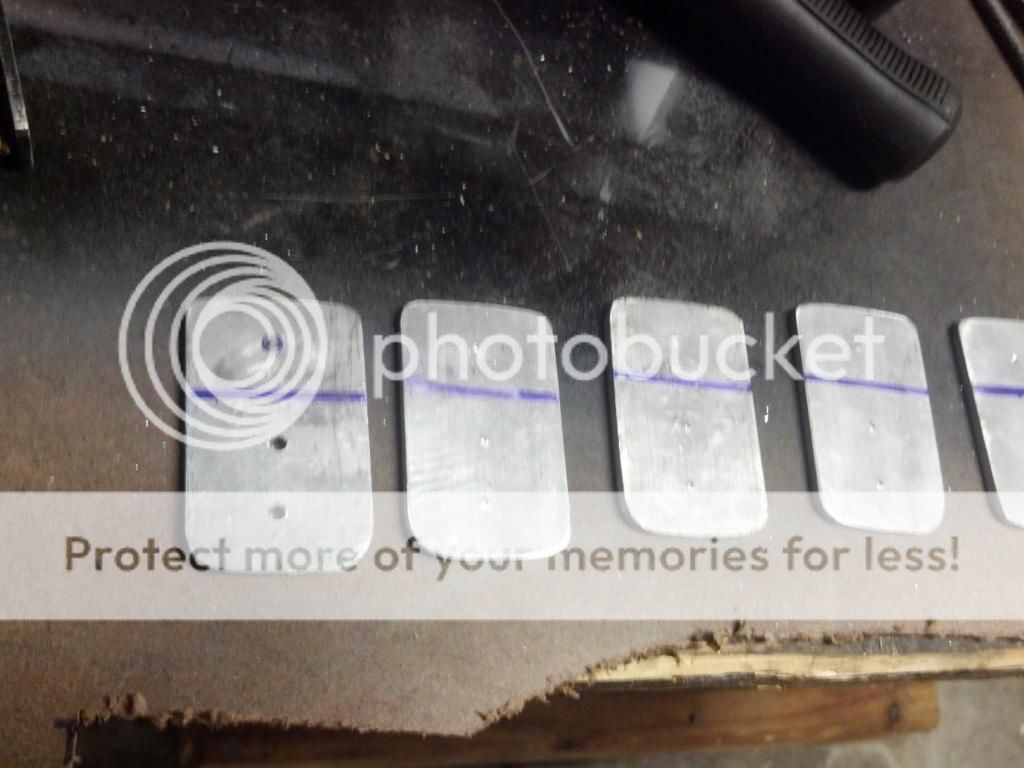
Like this
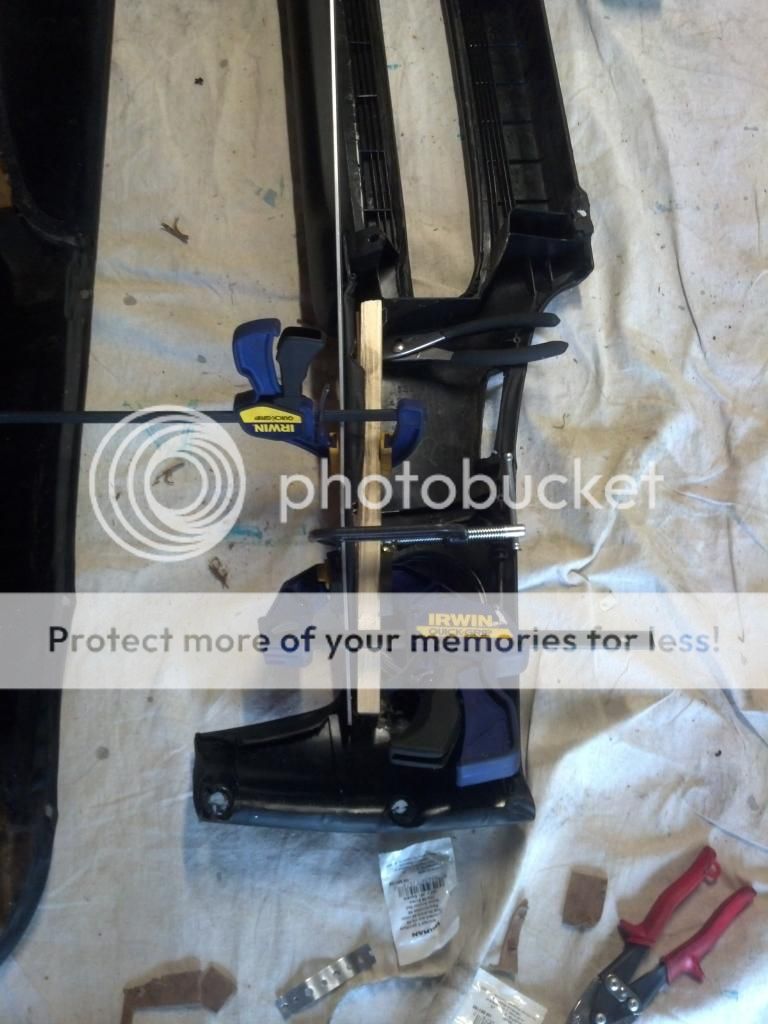
This is how I'm attempting to fix the passenger side cracked window trim (And prevent the driver's side from doing the same). Its a bit of angle iron and I filled the channel with liquid nail.

The center vents were cracked and fell apart while trying to remove them.
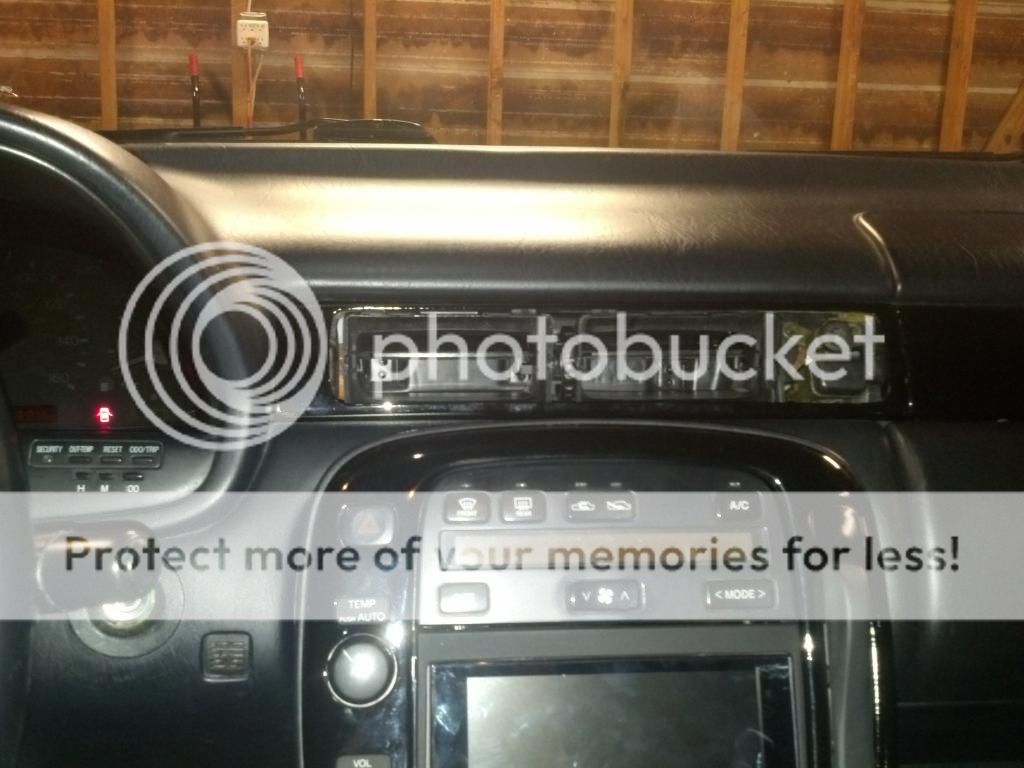
Consequently I decided to make my own using some hotrod AC vents. Still deciding ont he look but I'm leaning towards this:

This is my first attempt at fixing the driver's side door control area. it was old and cracked so I stacked some quarter inch MDF layered with liquid nail then clamped all of it together. Its been sitting for about 20 hours. hopefully this pans out.
These are pieces of aluminum to reinforce the bottom of the doors which also cracks due to age.
Like this
This is how I'm attempting to fix the passenger side cracked window trim (And prevent the driver's side from doing the same). Its a bit of angle iron and I filled the channel with liquid nail.
The center vents were cracked and fell apart while trying to remove them.
Consequently I decided to make my own using some hotrod AC vents. Still deciding ont he look but I'm leaning towards this:
12-28-14, 10:24 AM
#58
I'm still deciding. I may rivet some aluminum to the tabs and add a pice of angle iron to the door panel. we'll see how much the mdf helps to stop the flex of the panel.
I'll post more pics when I decide. I've also pretty much come to the conclusion I need to make a piece to connect the front 2 screw holes on the door panel.
I'm leaving all of the aluminum pieces raw on account of I think it'll look kinda cool.
I'll post more pics when I decide. I've also pretty much come to the conclusion I need to make a piece to connect the front 2 screw holes on the door panel.
I'm leaving all of the aluminum pieces raw on account of I think it'll look kinda cool.
12-29-14, 12:04 PM
#59
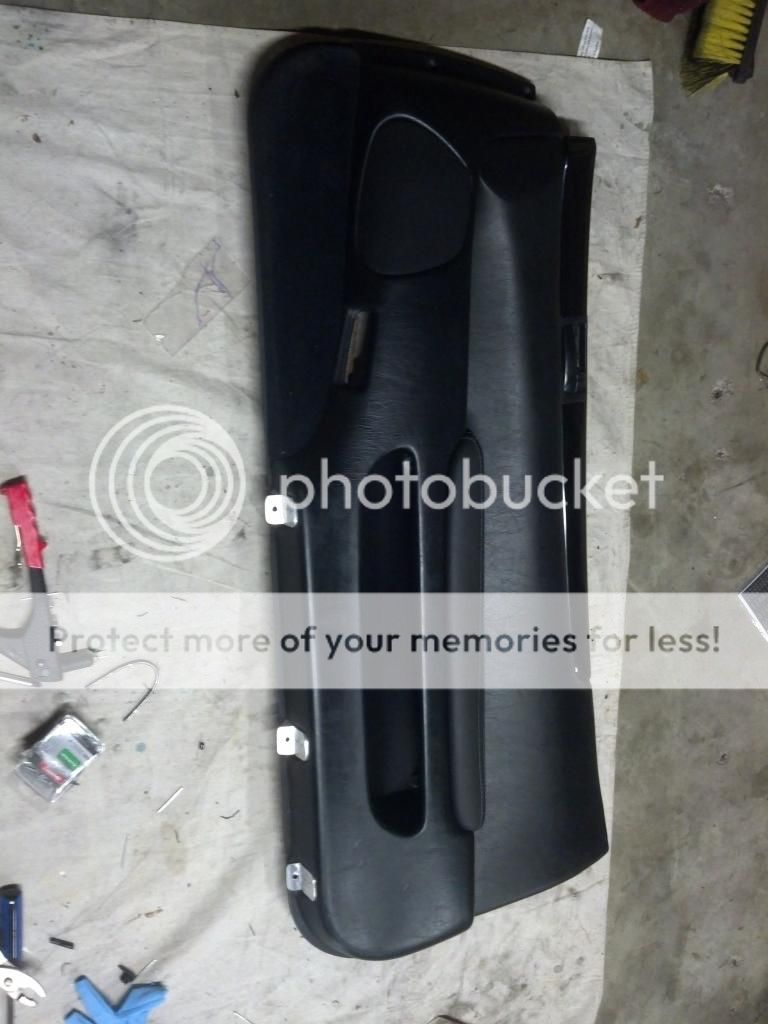
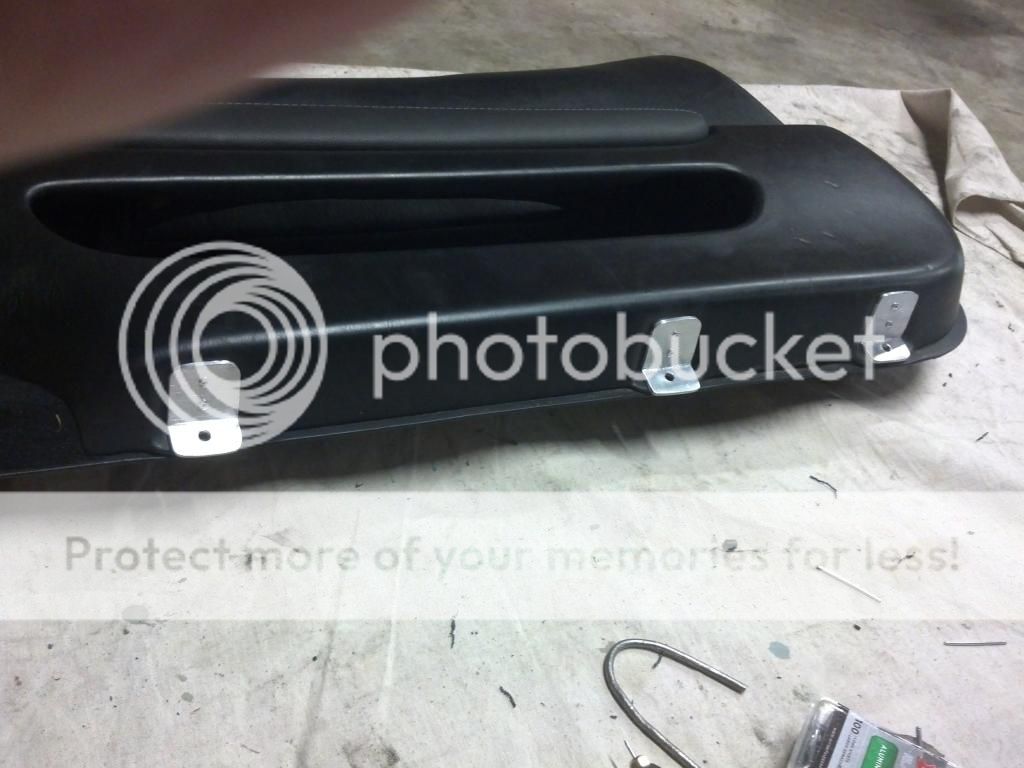
Instead of washers I made this little bracket to sandwich the door since the screw holes are broken.

close up of the bracket. It is very secure.
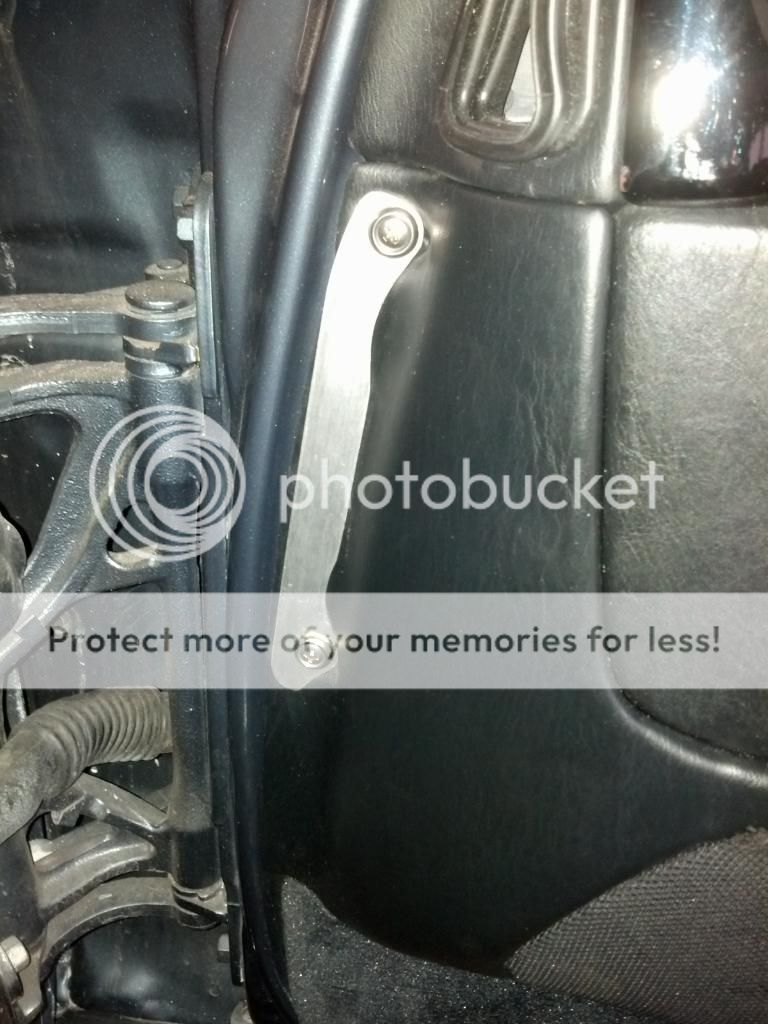
water damage because some retard deleted the plastic sheeting between the door and the panel. trying to fix it.
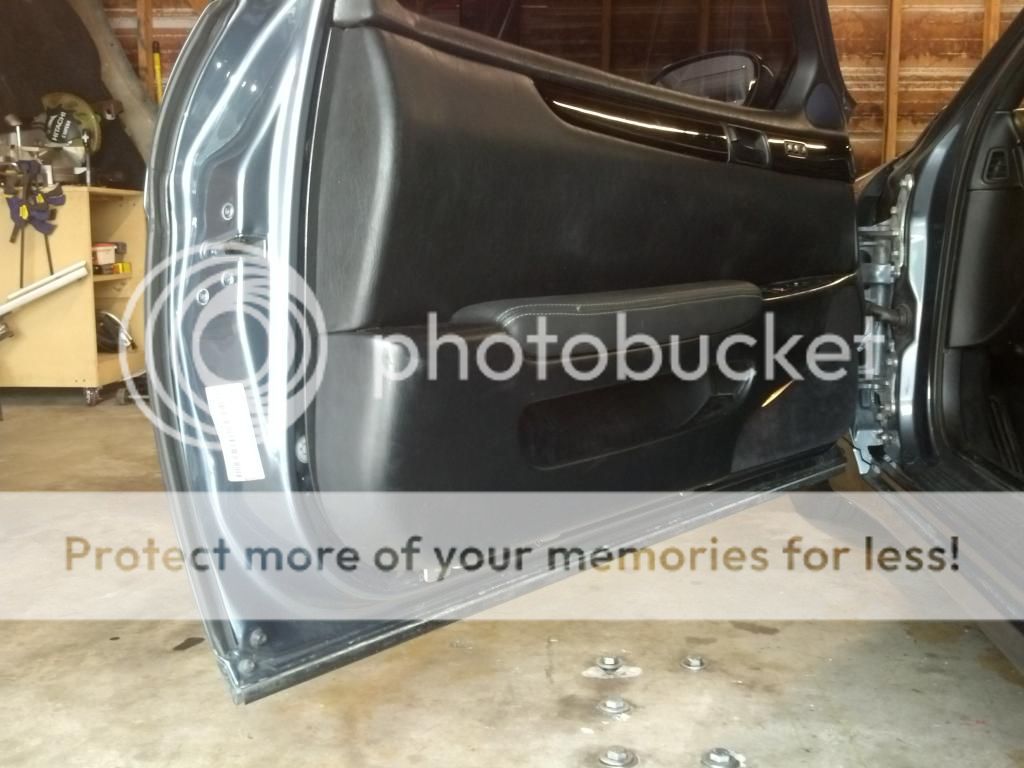
didn't get perfect but its pretty close.
close up of the bracket. It is very secure.
water damage because some retard deleted the plastic sheeting between the door and the panel. trying to fix it.
didn't get perfect but its pretty close.
