When you click on links to various merchants on this site and make a purchase, this can result in this site earning a commission. Affiliate programs and affiliations include, but are not limited to, the eBay Partner Network.
Right now she's waiting on the new rear toe link. The old one had a bad ball joint that either failed completely shortly after/during install or I missed it entirely when I inspected the arms. The part was supposed to be here friday so hopefully it arrives monday and my suspension woes are in the past.
Oh and i rebuilt the power steering pump. a few less leaks to worry about
Finally got the car back on the road and it is an absolute beast in corners now. Precise, smooth, and just grippy as all get out.
Current suspension setup:
Supra struts
Super Eibach springs
Prothane bushings in rear
R2/Prothane kit in the front
Superpro supplemental inserts in rear (yes these did make things better)
Figs Engineering Rear toe links (note: they are 3/8" longer than the stockers so if your setup needs more toe in and can't stand to lose at much per side of adjustment tell them so they can make you shorter ones).
New rack
Freshly rebuilt power steering pump
Thanks man! I updated the project plan cause I realized it was a bit chaotic. I'd like to wrap up phase 1 in the next few months. The car does drive extremely well now. The front suspension doesn't have enough travel but seeing as how I got them as a trade for coilovers that were killing me I'll live with it till I can assemble a gixxer drew setup. It could also use some beefier swaybars at this point, too.
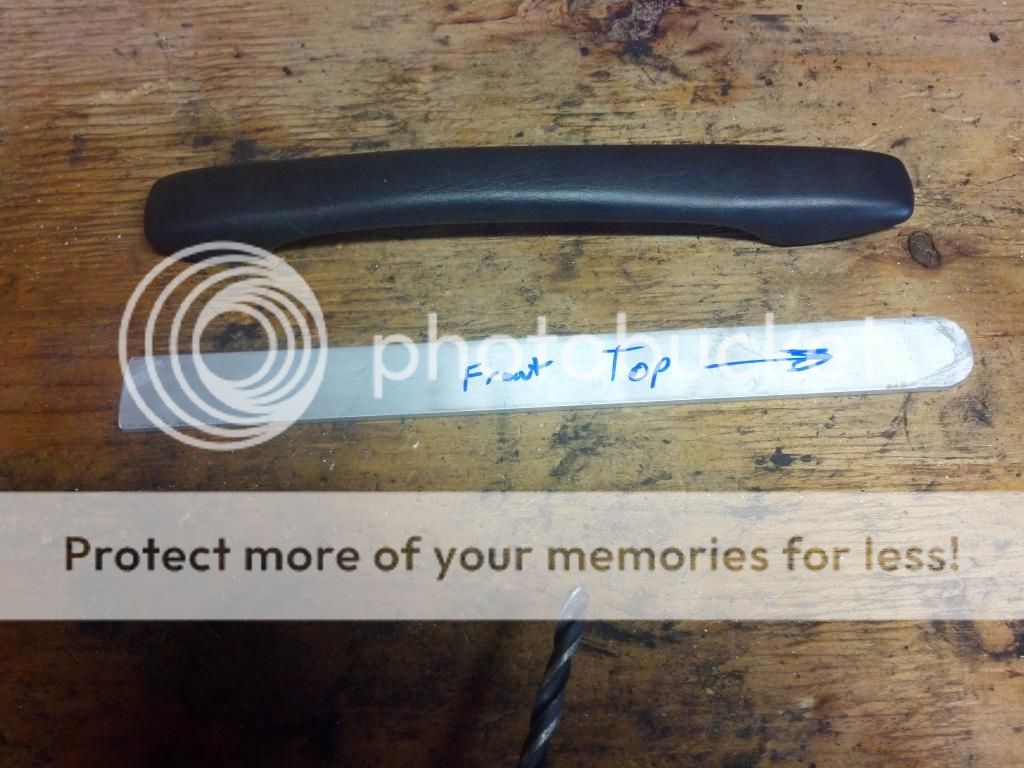
The timing belt cover was looking pretty rough and the BFI install I did was a little flimsy so I made a new cover out of aluminum and painted it all with wrinkle black.
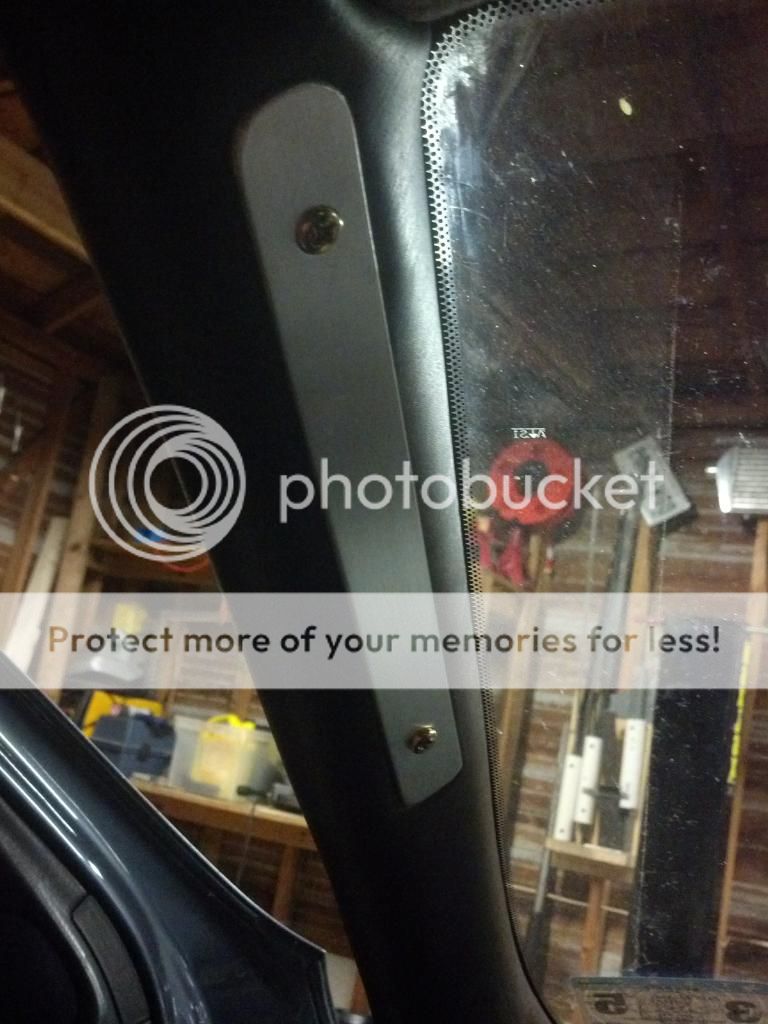
Very nice looking sc you have going I love the suspension with the tt wheels. Interesting handle mod haha never really thought anything about those in general. But you made it look clean, nice job
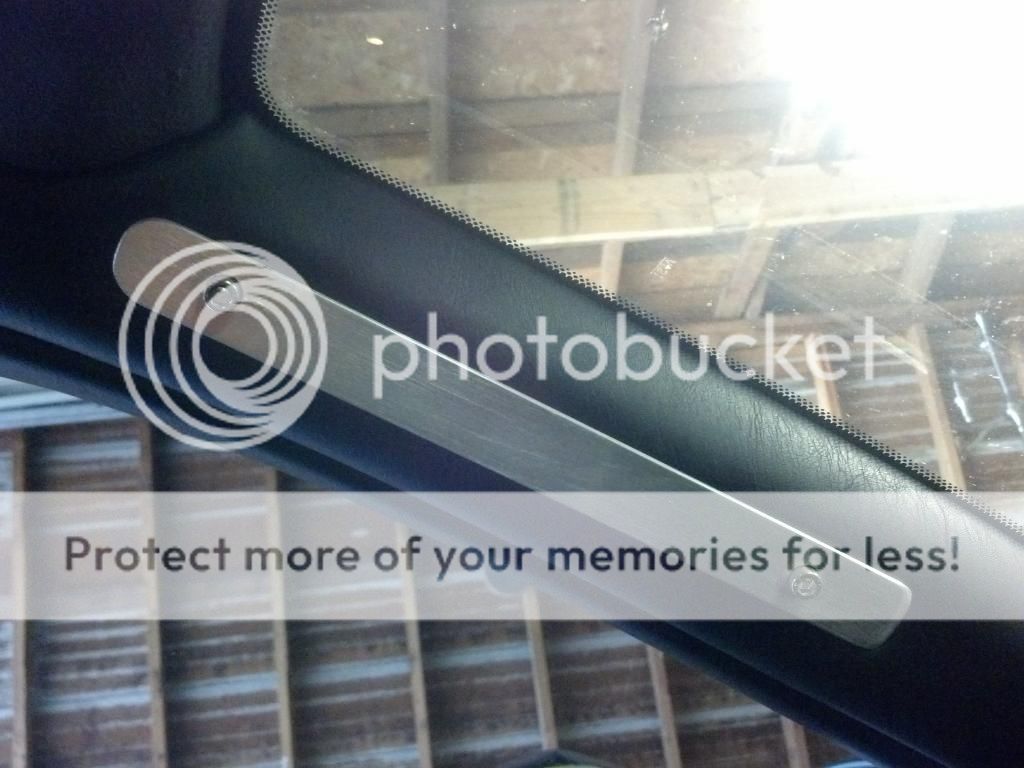
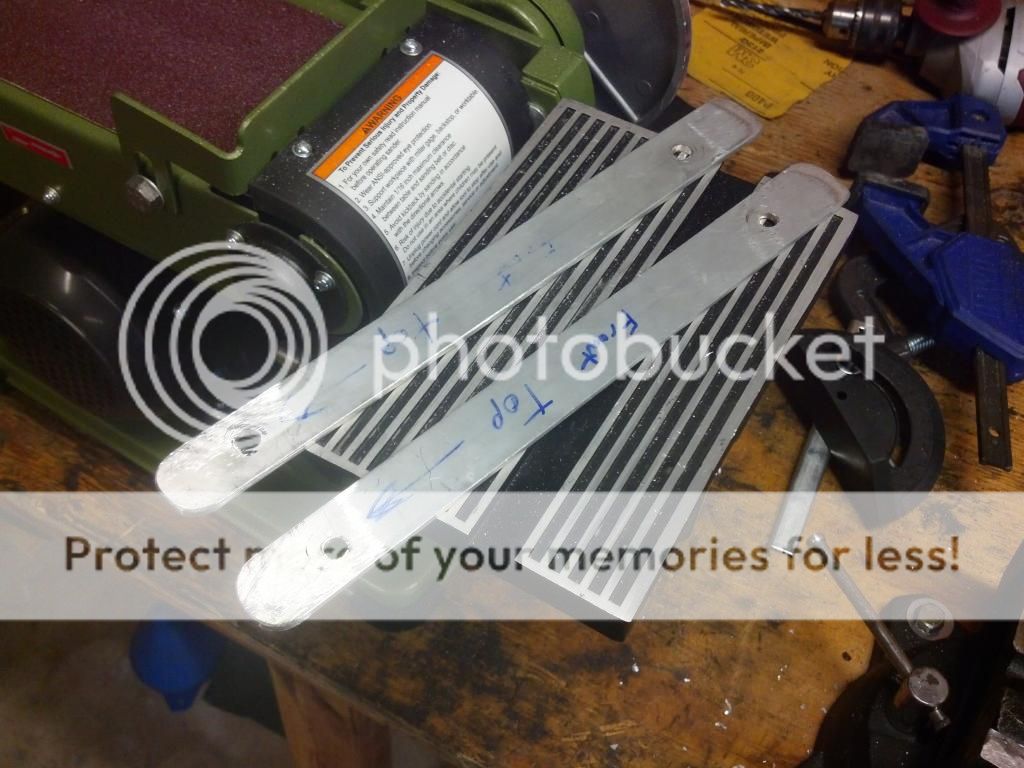
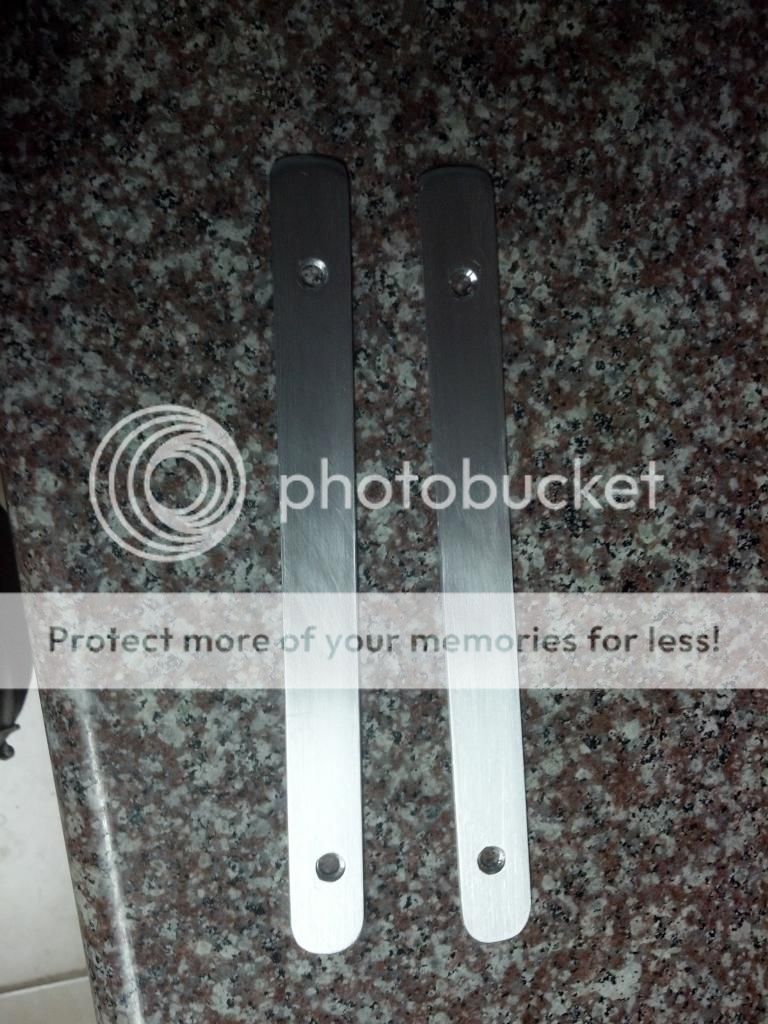
I believe they still serve as handles, just without the big bulge of the other ones?
Or maybe to simulate the look of a handle, but they actually just cover the holes from the new one? Because now that I look at it, wouldn't the handle have to slide under the bolt in order to come out and be functional? Rather than an exact fitting hole?
-----
I'd paint them, make them blend in more. Or wrap them. Something.
Last edited by BeaksSC; 08-31-14 at 01:12 PM.
Reason: added quote
 07-01-14, 04:57 PM


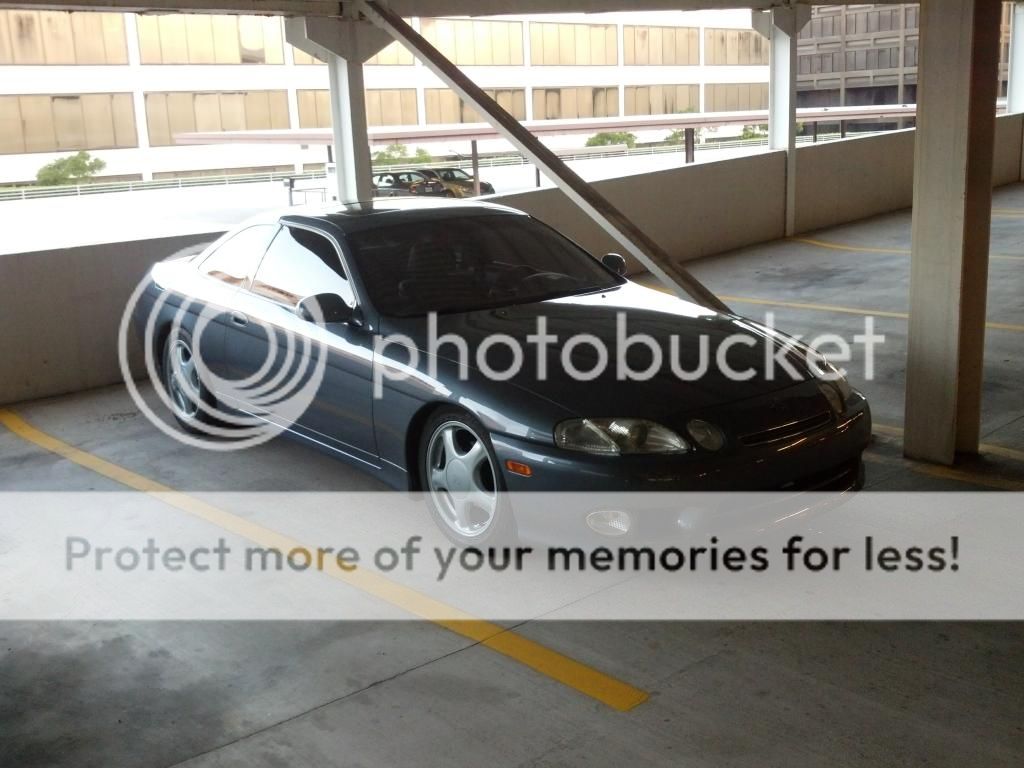


 I love the suspension with the tt wheels. Interesting handle mod haha never really thought anything about those in general. But you made it look clean, nice job