GS400 2JZGTE Build in the Mitten State
 05-14-14, 12:35 PM
#61
Driver

Join Date: Oct 2013
Location: nc
Posts: 153
Likes: 0
Received 0 Likes
on
0 Posts
I would def. suggest getting a wide band. Def a must have with a turbo car. Keep up the good work. Thanx for the clutch pedal pics. Could u take one of the bracing u made if possible. Might be too late now
 05-28-14, 08:12 PM
#62

___________________________________________________________________________
Sorry about the lack of updates! I haven't had the time to sit down and post.
I picked up my painted Ganador Mirrors from Superior Collision. I always use the same body shop for all of my projects and they do a really nice job for me considering the price. I�m pretty happy with how they turned out:
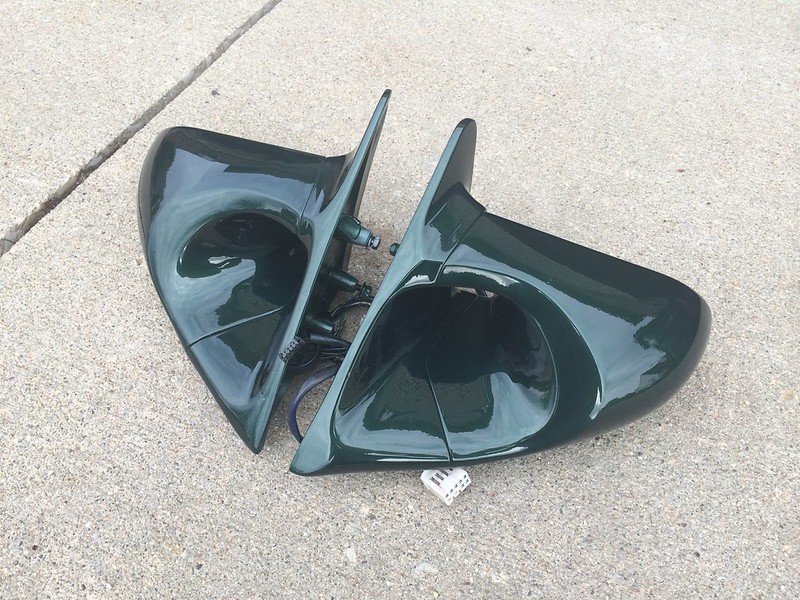
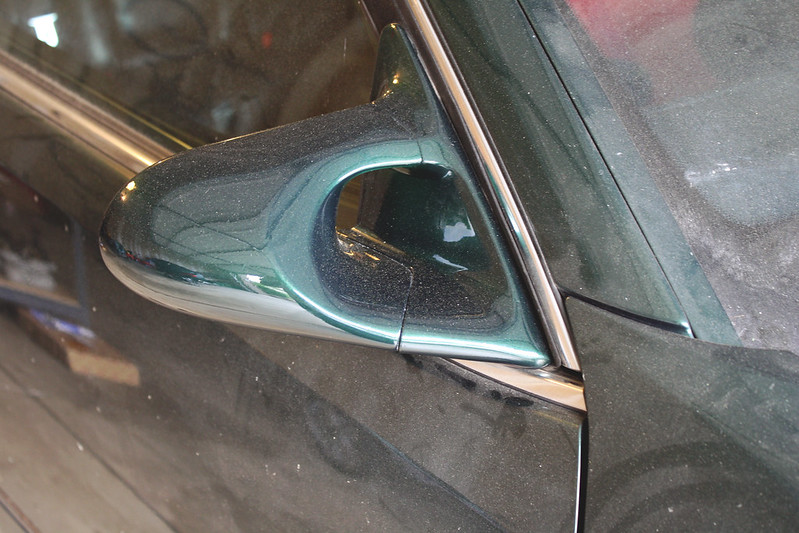
Ganadors just manage to make any car look so much cooler, haha:
I received my shifter housing and linkage back from Ben at Freed Engineering. The turn around time was less than a week on this work- very impressive! Ben was great to work with and the welds look top notch. I had them extend the housing and linkage 2.5″ to center it in what will now be the manual transmission center console. Still need to install the Marlin Crawler bushings when the assembly goes back together.

It seemed like the shifter was going to be too short and sunken down into the Lexus� beefy center console, so I picked up a cheap shifter extension on eBay. Not normally the route I go with my parts, but it seemed like a fairly tough thing to mess up. I�ll have to try it when the transmission is back in the car to see if I like it.
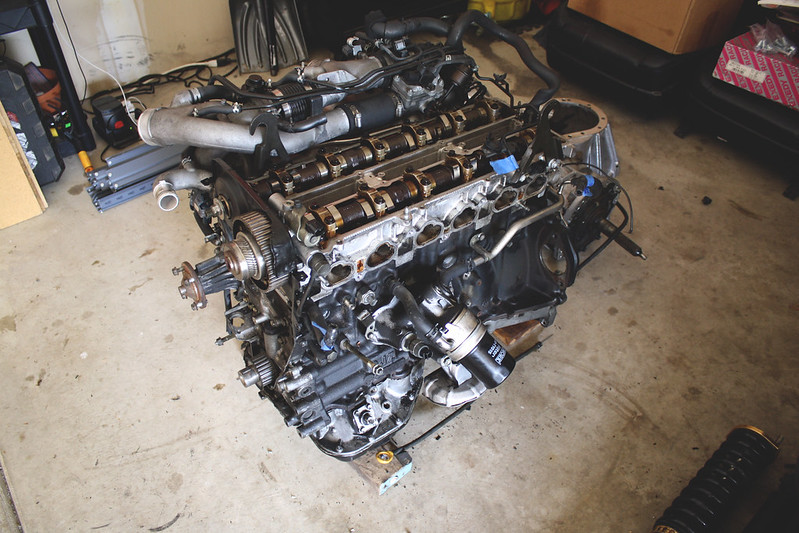
Next, I tore into the engine to begin the routine maintenance work. When I removed the front cover, I found a decent amount of oil had been leaking from the cam seals. After taking it apart further, I decided it was best to completely tear the engine down to replace a number of the aging components and reseal things as nicely as possible.

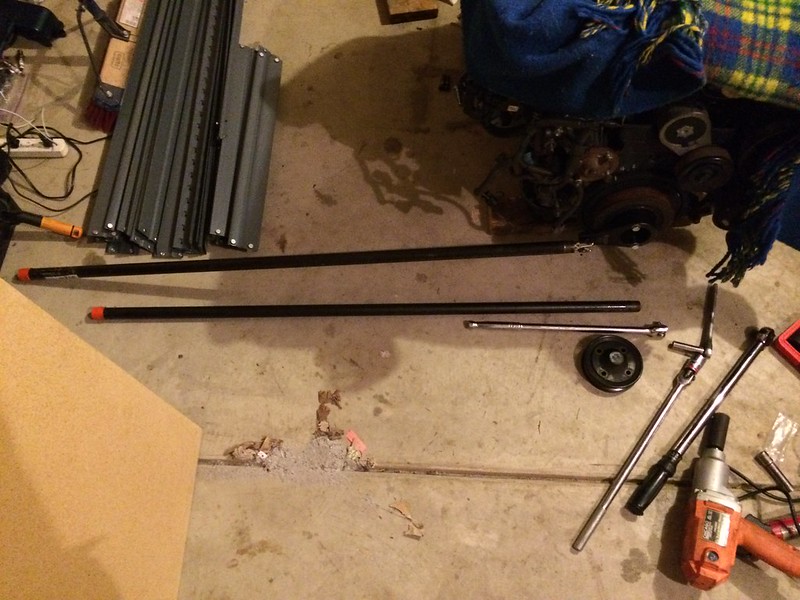
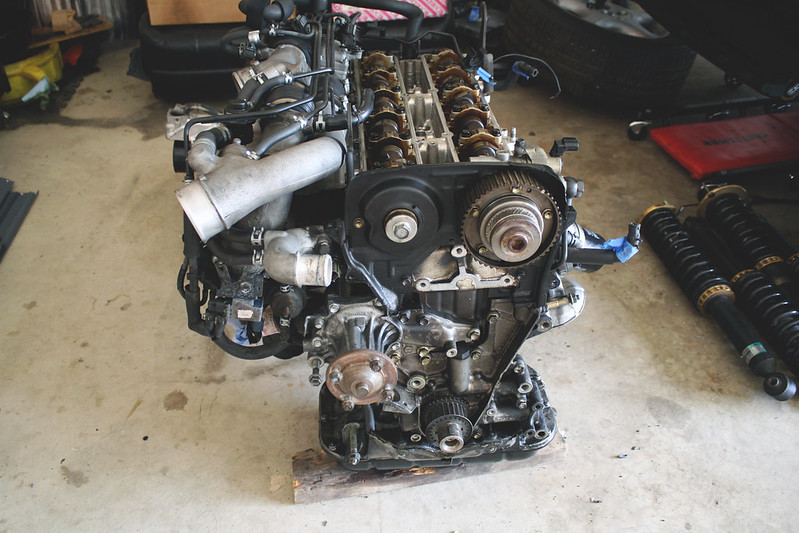
The crank pulley was giving me a hard time when I tried to remove it on my own, so I ended up picking up a pair of pipes from the hardware store. I used one as a cheater pipe and the other as a brace against the floor on the crank pulley removal tool and that allowed me to break it loose. Forever Alone, haha.
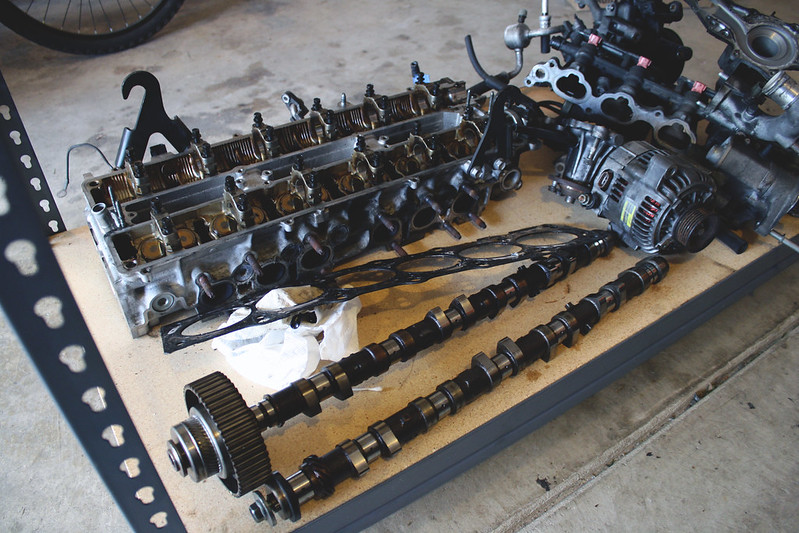
From that point, I went ahead and removed the camshafts and pulleys. I was not able to break the VVTi pulley loose and nearly stripped the nut holding it on, but fortunately I was able to remove the cam with the gear installed. The pulley is showing signs that the internal o-ring may be bad anyway and I wouldn�t mind a set of Tomei Poncams, so I might just replace the whole assembly- but we�ll see about that down the road.
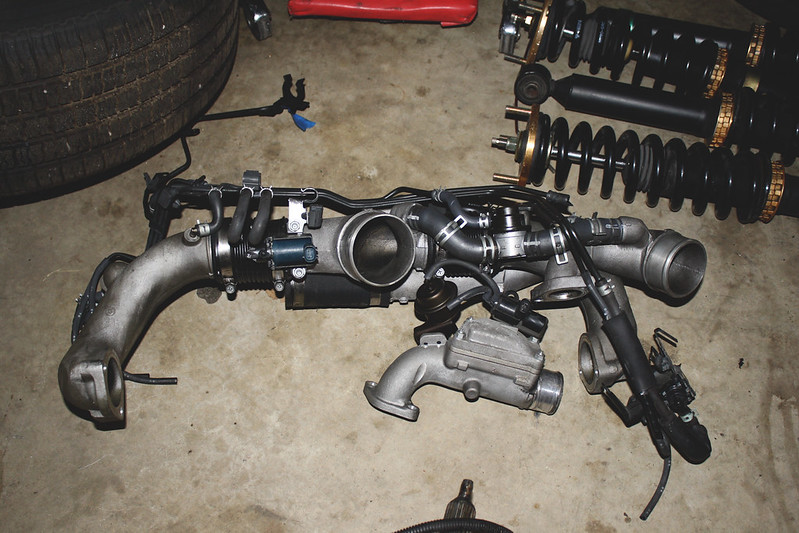
Next I removed the wiring harness, intake manifold, fuel injectors, AC compressor, and power steering pump. But the worst part of tearing down this engine has got to be removing the twin turbo assemblies. I seriously can�t imagine doing this while the engine is in the car! I was hoping to find that the turbos were in decent condition, but sadly they have seen better days. I found a pretty hefty amount of shaft play in each of them. With the amount of time it took me to remove them, there is just no way I am putting those back on the car.
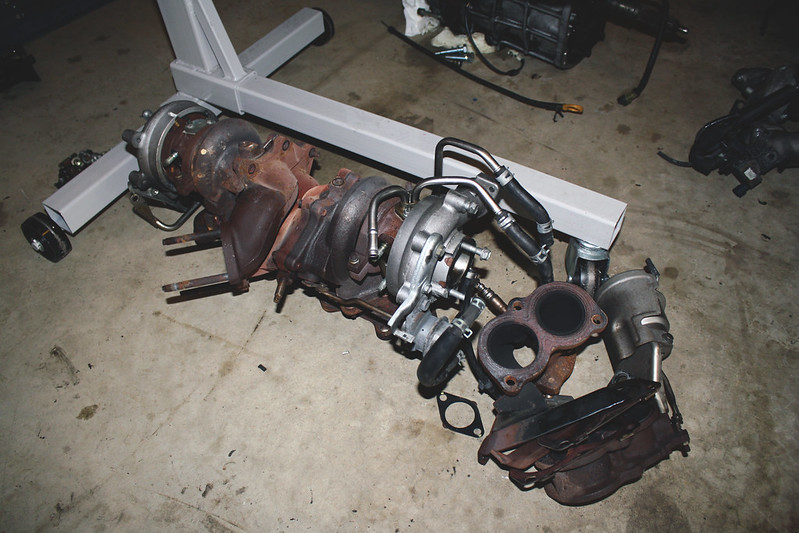
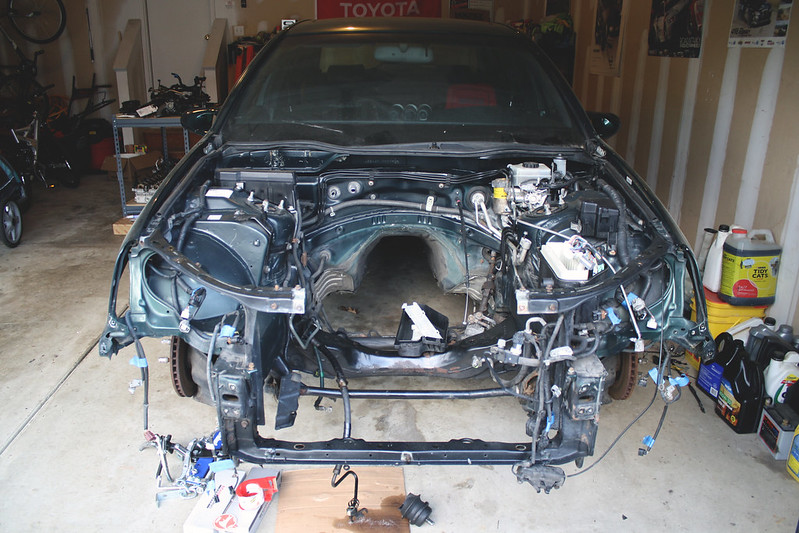
After tossing the turbo assemblies across the garage, I was finally able to put the engine back on the stand. From there, I removed the head studs and lifted the head off of the engine. Here are a couple shots of how the engine is sitting at this point:
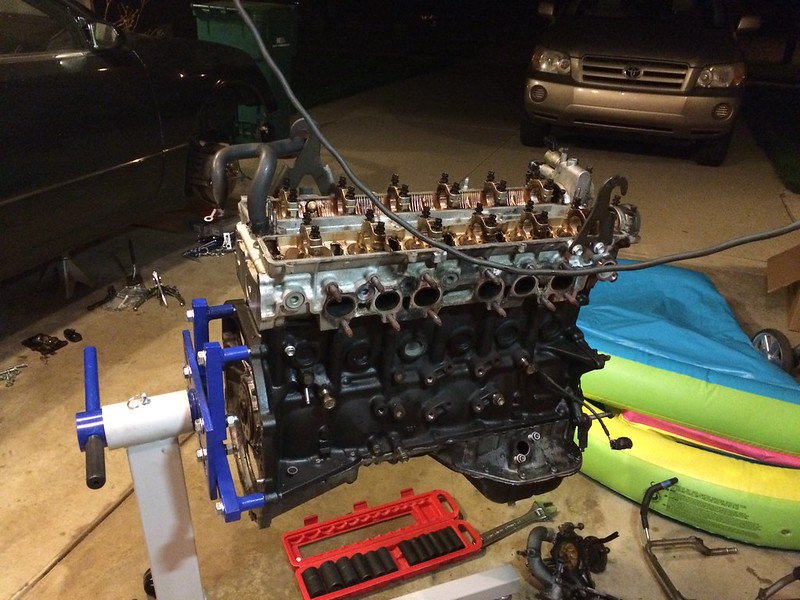

Next I need to remove the lower and upper oil pans, replace the oil pump and strainer when it arrives, and inspect the main bearings. Hopefully the bottom end is in good shape because I really don�t want to get into messing with that portion of the engine.

Will all of this add a decent chunk of time to the build? Yes. But will the car be more reliable and better off for it in the end? Man, I sure hope so. I am getting into a little more engine work than I had originally anticipated, but what else is new? I�m glad I am taking the time to learn the ins and outs of the drivetrain so that when problems do arise down the road I will have a better understanding of what the culprit may be. It�s annoying to have to take longer now, but hopefully it will pay off in the long run much like it did with my SR20.
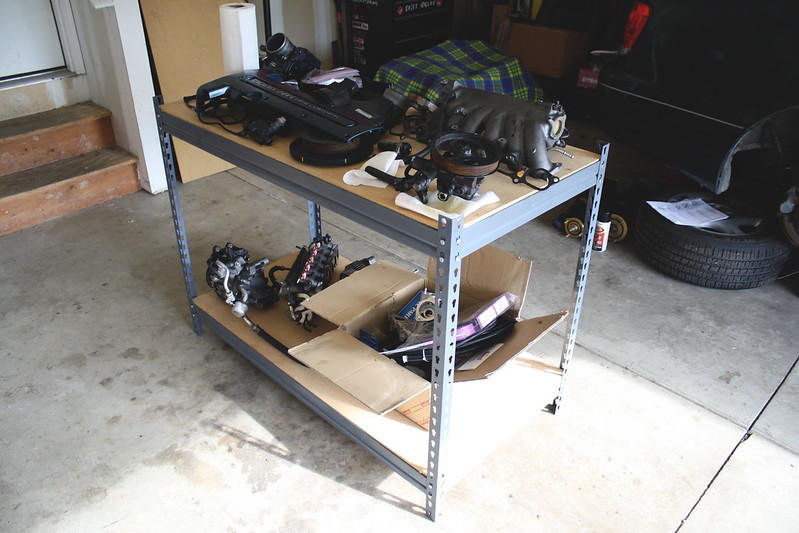
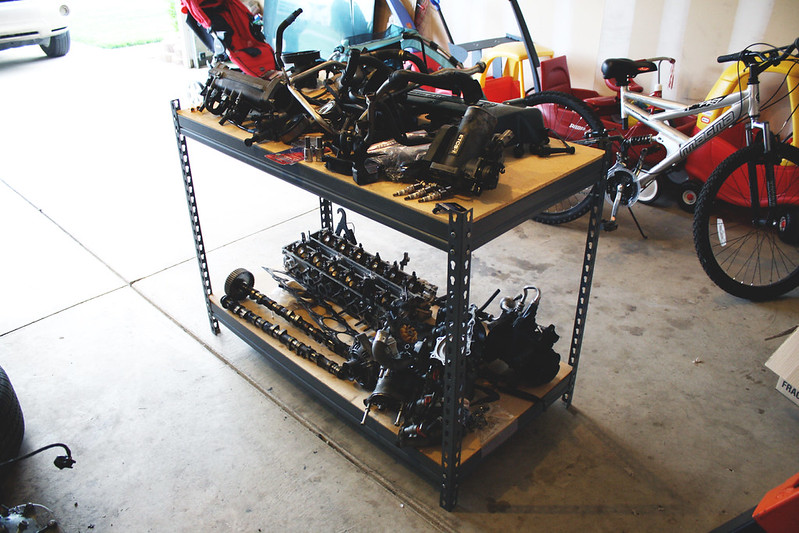
I picked up a couple of shelving units from my in-laws to get our basement organized, but I ended up using one of them in the garage to keep track of all of the engine parts and hardware during the rebuild process. Fortunately my wife doesn�t mind if I park her car outside for a while. At least the snow is gone for a few months!
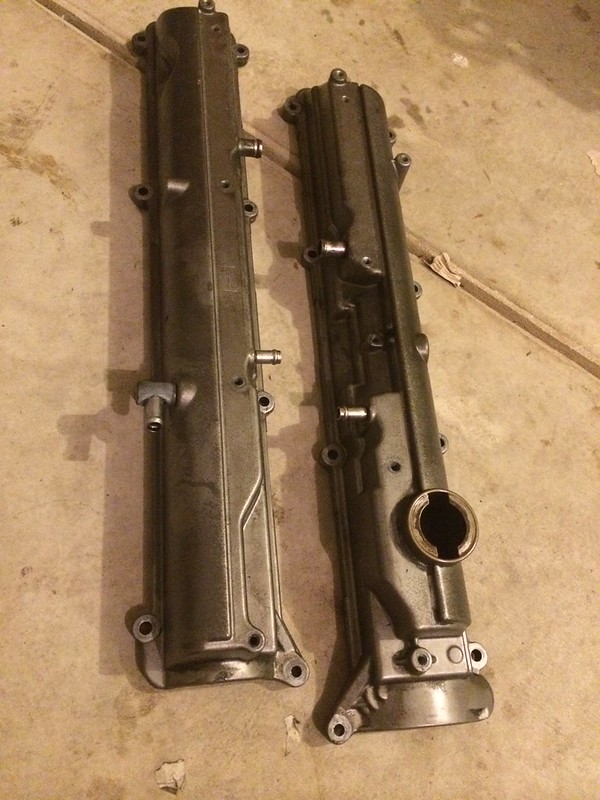
My cousin was gracious enough to take my valve covers in to a connection he has through his work to have them powdercoated, so those should be cleaned up and ready in about a week or so.
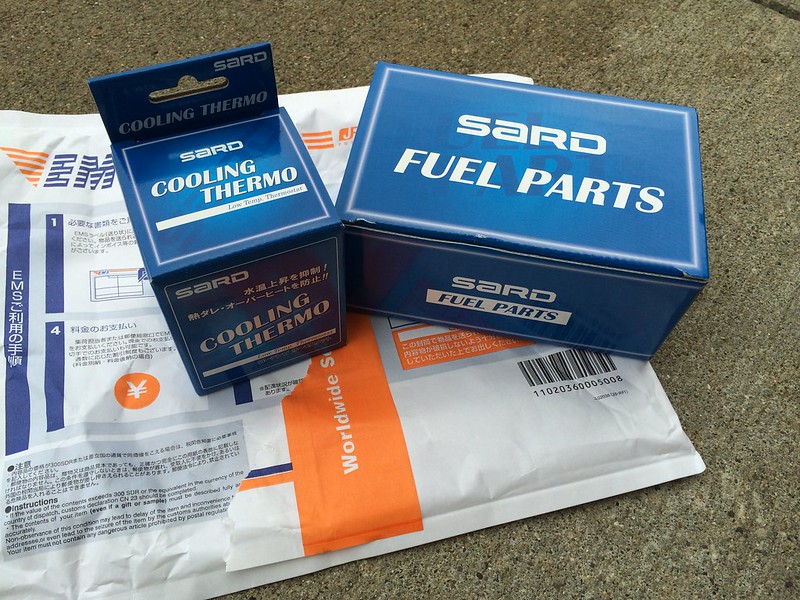
I had a few other necessary parts show up during the last week or so, including my SARD jet pump killer and low temp thermostat. I still don�t have a solid handle on exactly what the jet pump killer does, but I know it has something to do with the split design fuel tank and preventing fuel starvation. Not to mention it sounds �killer� on the mod list. heh� heh�
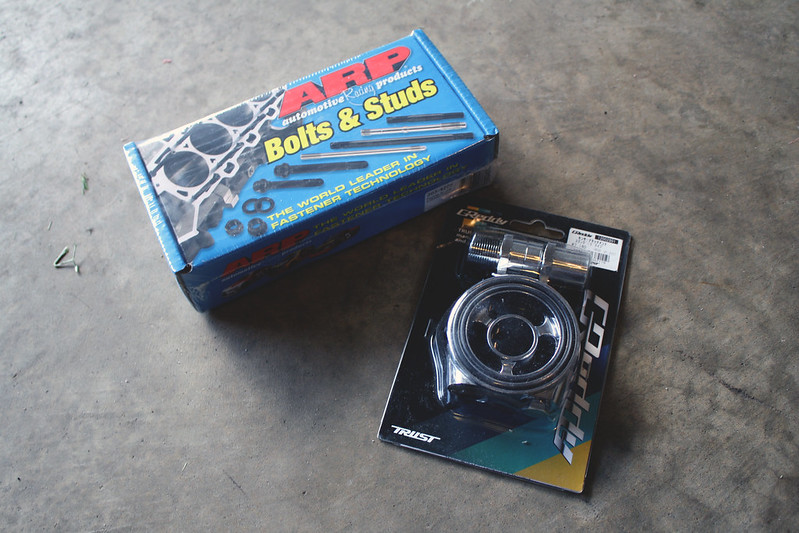
My ARP head studs and GReddy oil adapter plate also arrived from BaoHouse Tuning. It�s great to have things arrive so quickly- kudos to you sir!
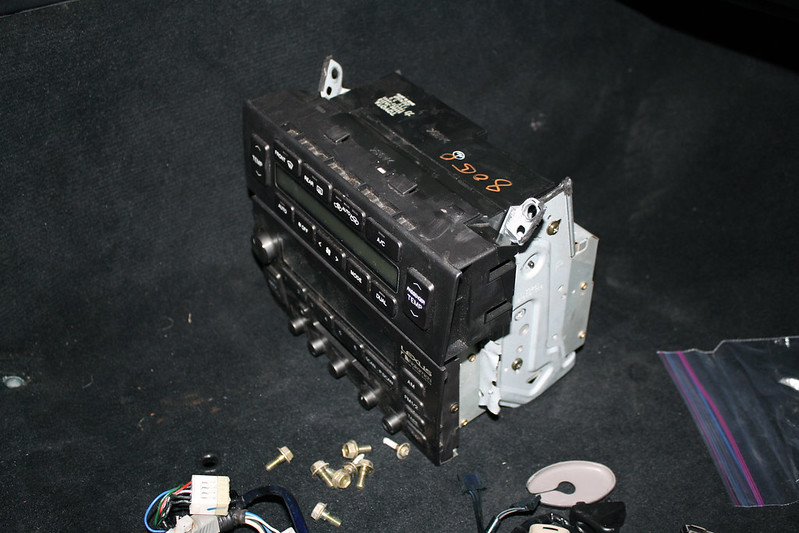
I picked up a pair of radio and climate control mounting brackets since my car was missing these pieces when I got it, so now I can bolt those items in. I haven�t even touched the car itself in the past couple weeks with all of the engine and transmission work going on.
Tonight my OEM oil pump arrived, as well as a couple new resistors that should hopefully get my tail lights working when the time comes:

So that just about brings this up to speed. Hoping to have the necessary items to start getting the engine put back together in about a week or so!

 05-29-14, 08:50 AM
#67
Thanks guys, definitely a lot going on but it's not too terrible to manage if you make a list and stay as organized as possible. I'm usually ADD and jump between different projects within the build, but at least it keeps my interest up haha.
I'm a graphic designer for a living, so all of the engine knowledge has come from tons of internet research and help from friends over the years. Definitely not something I have schooling or background in- just something I was interested in and began to pursue. So it can definitely be done! It's tough with two little ones at home to find the time and I am still far from a mechanic, but it's something I really enjoy.
I'm a graphic designer for a living, so all of the engine knowledge has come from tons of internet research and help from friends over the years. Definitely not something I have schooling or background in- just something I was interested in and began to pursue. So it can definitely be done! It's tough with two little ones at home to find the time and I am still far from a mechanic, but it's something I really enjoy.
05-29-14, 04:17 PM
#68
Driver

Join Date: Aug 2012
Location: Illinois
Posts: 103
Likes: 0
Received 0 Likes
on
0 Posts
Thanks for the updates! when you do the fuel pump modifications can you please get that on here too? I have a 99 GS400 and will be doing the swap myself. I just cant gather enough info explaining how to go about modifying the fuel system (Fuel Pump, Jet killer, Fuel Return, Fuel Cut Defencer) to have it function with the 2jzgte. Thank you so much!
Last edited by 99GS400HP; 05-29-14 at 04:27 PM.
05-31-14, 08:44 AM
#69
Thanks for the updates! when you do the fuel pump modifications can you please get that on here too? I have a 99 GS400 and will be doing the swap myself. I just cant gather enough info explaining how to go about modifying the fuel system (Fuel Pump, Jet killer, Fuel Return, Fuel Cut Defencer) to have it function with the 2jzgte. Thank you so much!

 06-03-14, 10:47 AM
#72
Thanks for the updates! when you do the fuel pump modifications can you please get that on here too? I have a 99 GS400 and will be doing the swap myself. I just cant gather enough info explaining how to go about modifying the fuel system (Fuel Pump, Jet killer, Fuel Return, Fuel Cut Defencer) to have it function with the 2jzgte. Thank you so much!
I've been out of town for a few days but I should have an update tomorrow!
06-05-14, 01:57 AM
#75
Driver School Candidate
Join Date: May 2014
Location: California
Posts: 2
Likes: 0
Received 0 Likes
on
0 Posts
Awesome Build! I remember your build on Zilvia as I too am a S-chassis guy. Instead the gs300 is my daily and s-chassis as my track car.
Very excited to see what the finished product will be!!!
Very excited to see what the finished product will be!!!