
SK's 2008 LS460L Build
 02-13-14, 07:53 AM
#1
Rookie
Thread Starter
Decided I had better put all of this in one area that is easy to find..
Build over view:
The build is more for a daily driver and not getting too radical or changing up too much that will Make the vehicle difficult to drive and enjoy.
We are at the point in our lives where we need a 4 door more for the convenience and the luxury than we need it for the baller status.. LOL
The wifee will drive this car on an average of only a few miles per week as she works from home but it will be the primary cruiser used on the weekends when we are not in the Beastly Z06.
The Plan:
Stance is important so to not beat a dead horse we will need to get the car at the right level that will be pleasing to the eyes. An air suspension module should do the trick here and still give us the flexability to drop it when needed and cruise at the stock height on long trips. The windows will all be tinted except the front. Looking at 30% all around. What build could be called a build without new shoes. In my own Eye this car needs 22's to look correct and fill up that big wheel well with the proper height and width to look clean and still carry an executive attitude. The body will need a few items to keep the lines flowing correctly and give a little touch of sport. A new roof and trunk spoiler color matched and the right lip will complete the exterior. On the inside the car is used so it will need new floor mats a detailed shampoo and cleaning. The factory sound can stay as is with an upgrade for Ipod and Iphone compatability with the possibility of streaming music via bluetooth. Their will always be the small items to come but this is the major items for this build.
The platform:
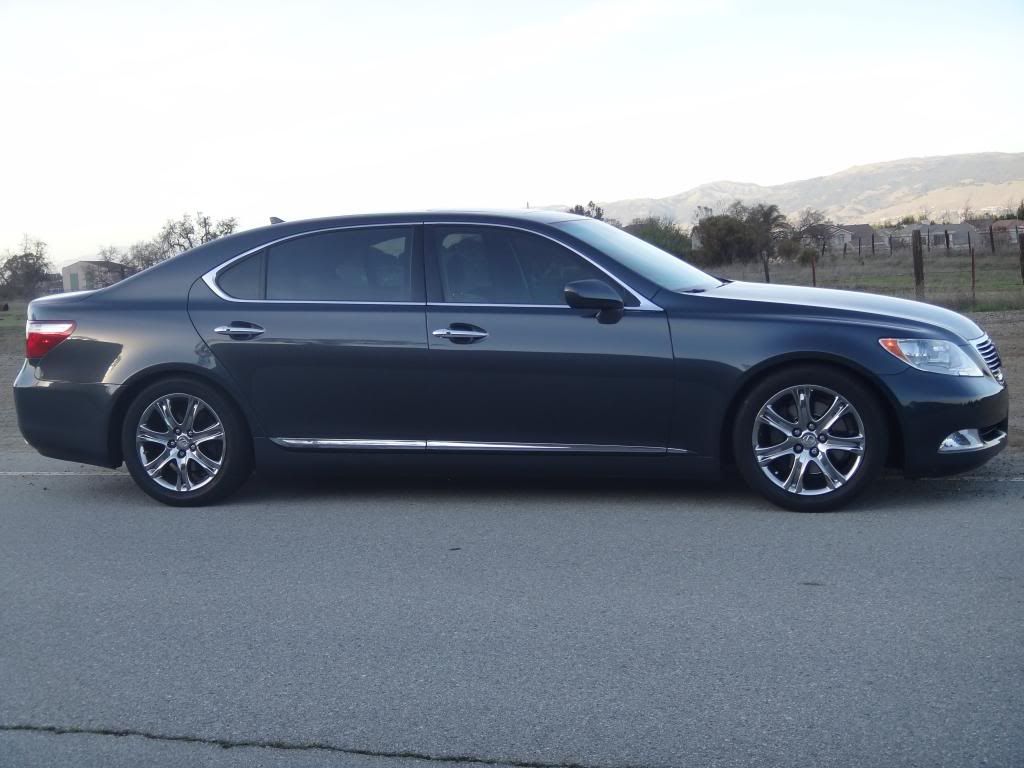
2008 LS460L in Smoky Granite Mica exterior and light gray leather with ash gray wood toned interior. Premiere Package.
First things first is the ride height...
Well the first of the Mod parts showed up ..
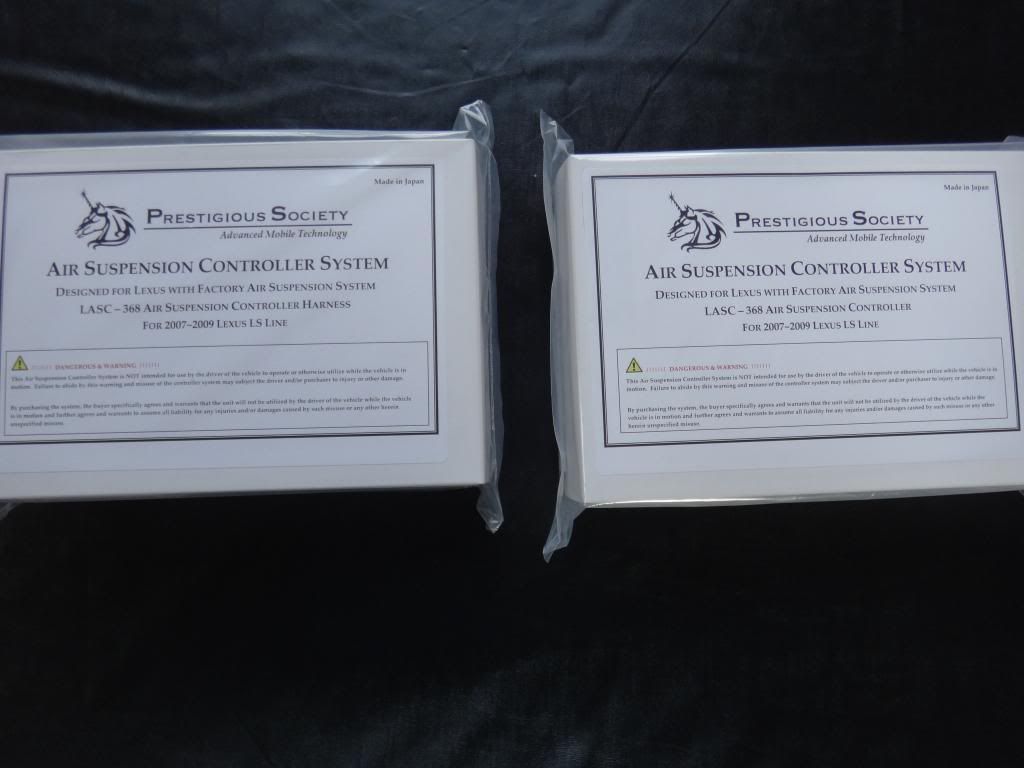
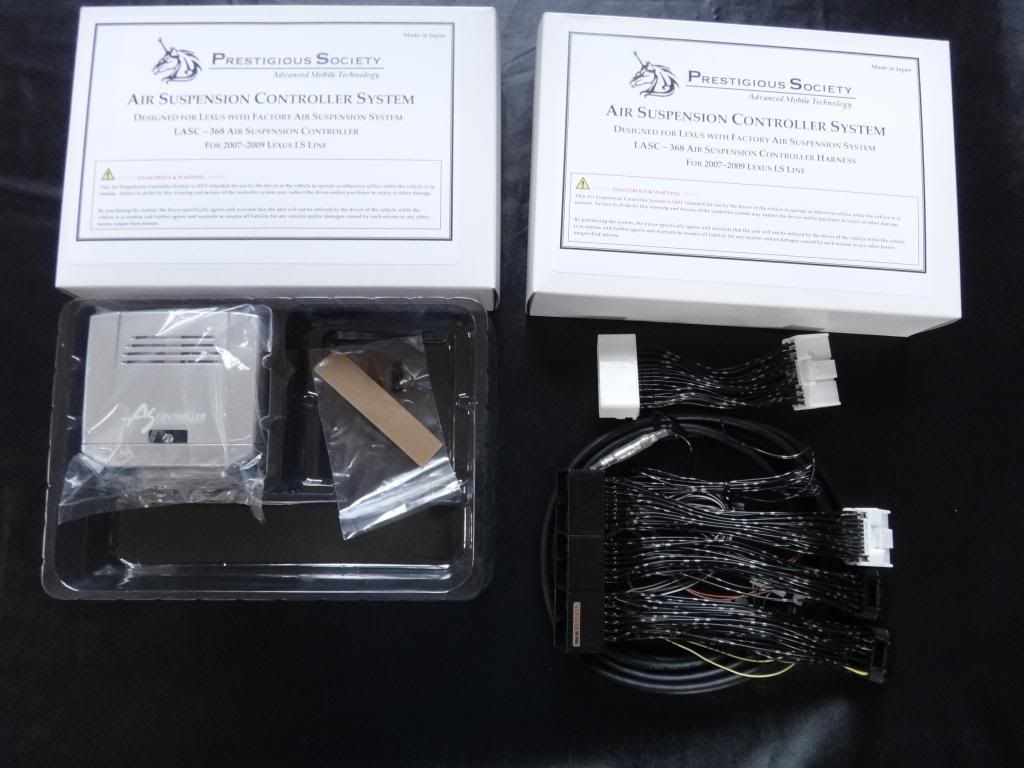
Pretty fast shipping and packaged very well..
Read the instructions in about 5 minutes and started to get set up for the install...
Disconnect the negative on the battery..
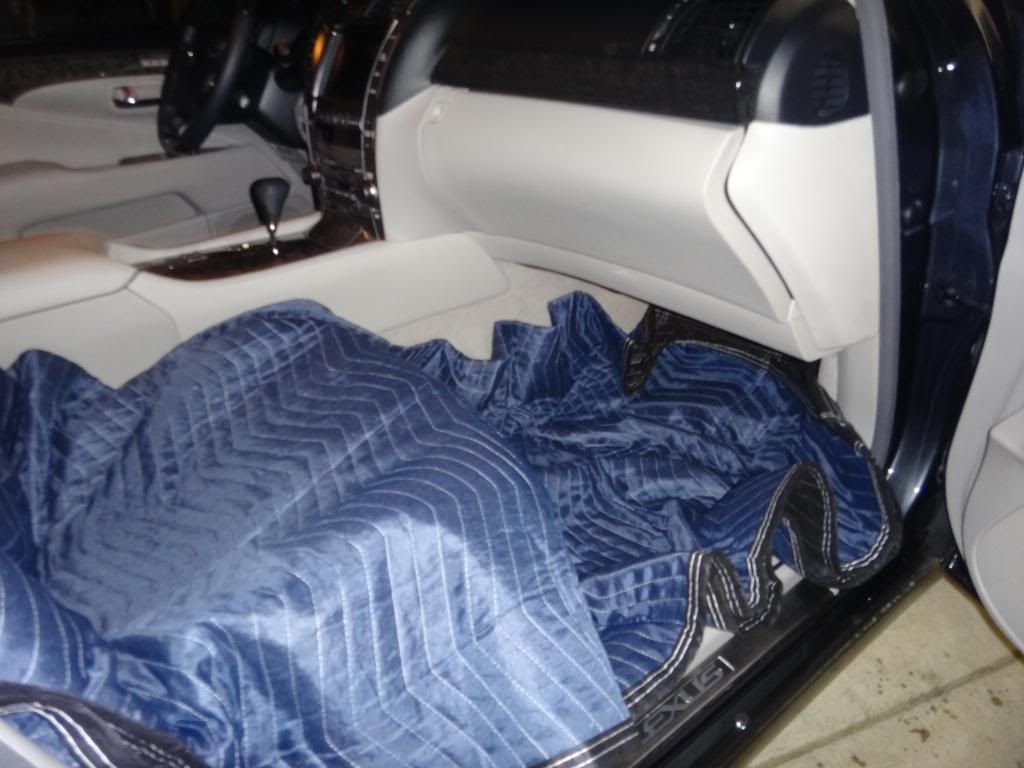
First was to get the brand new packing blanket out to cover the seat and floor.
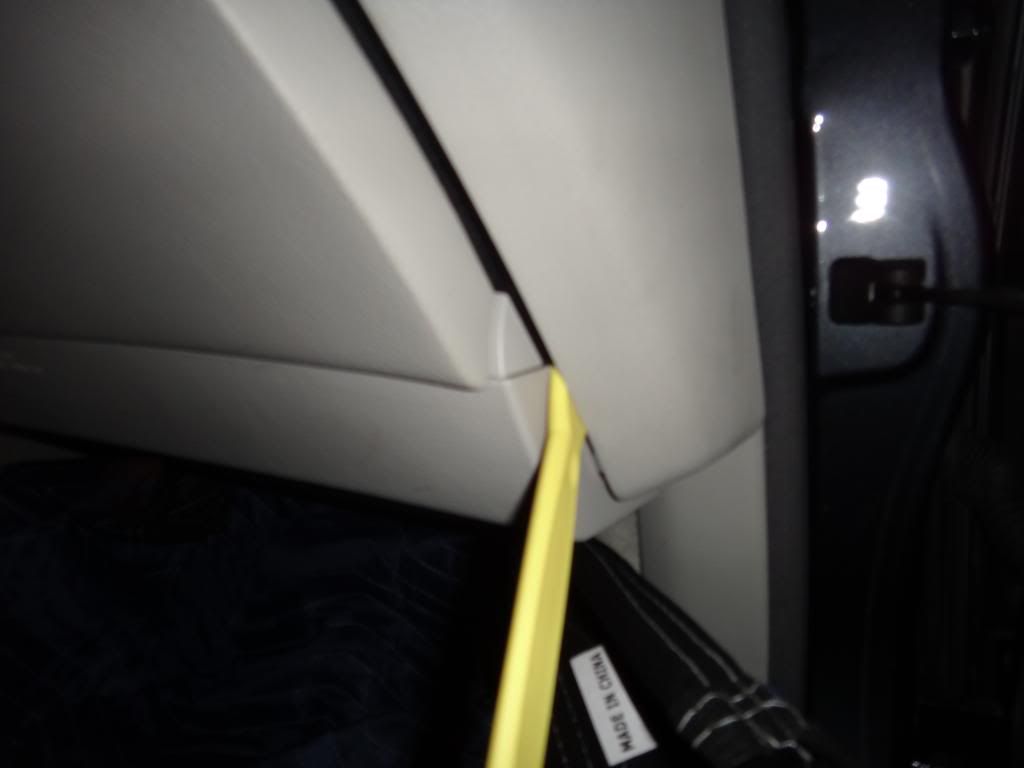
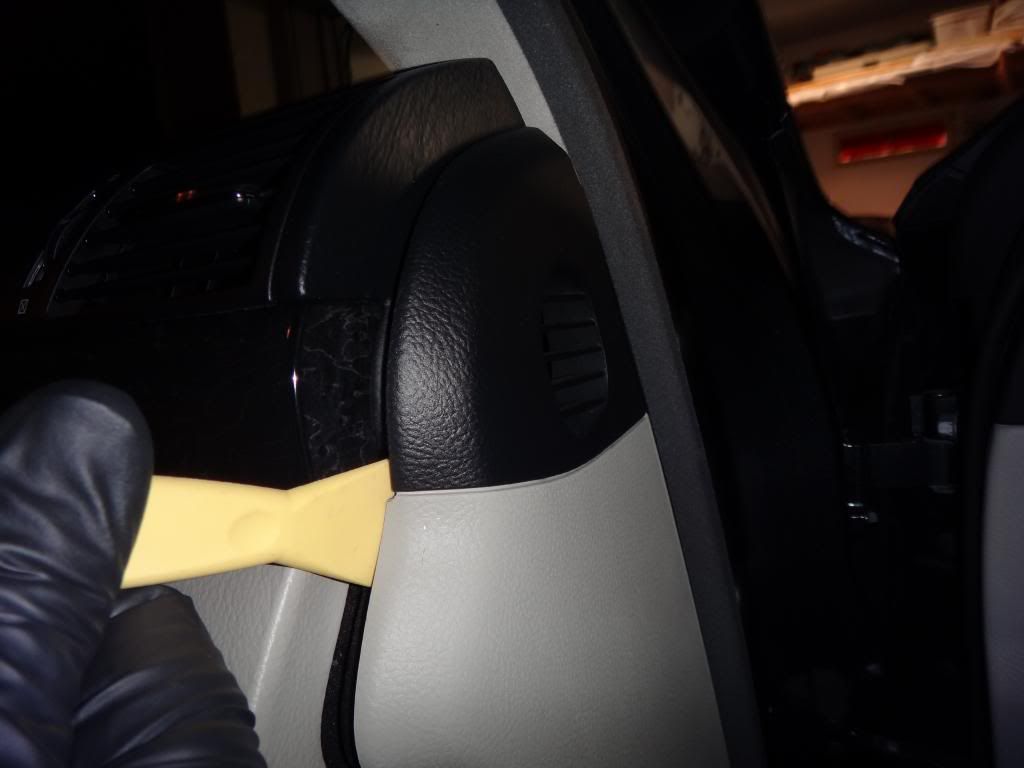
The instructions say to pull off the trim pieces being careful to pull them off in a straight motion so that the clips are not damaged.
I like to use the trim tools designed for this type of work

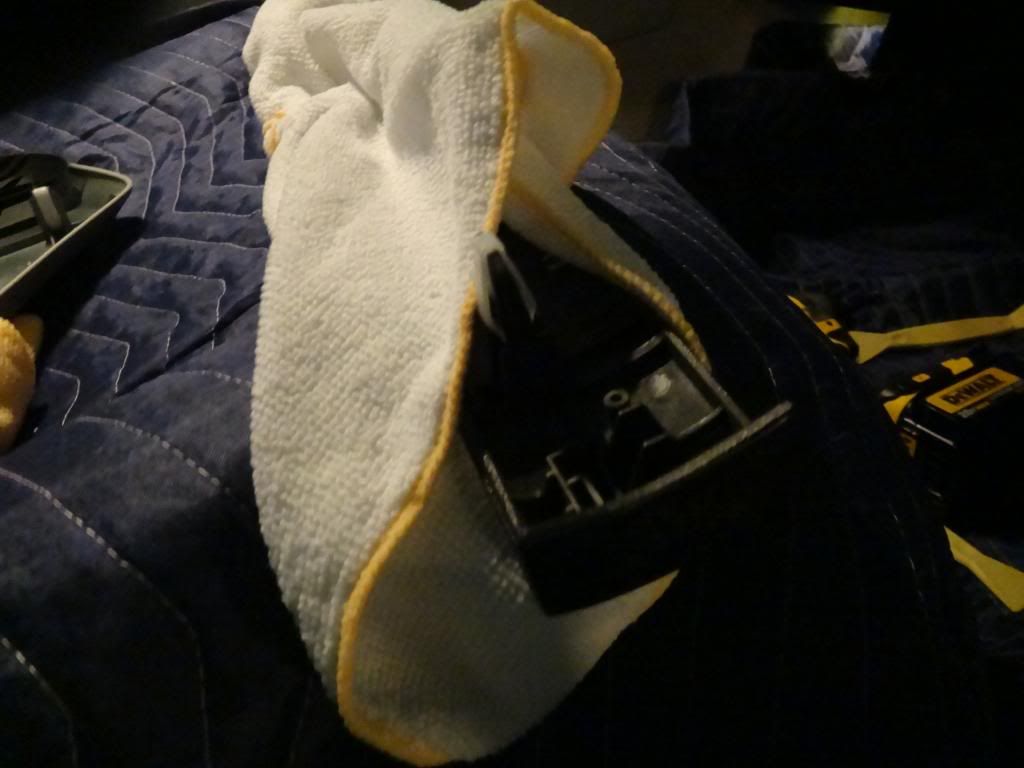
I wrapped up the trim pieces in clean micro fiber cloths to avoid scratches and damage
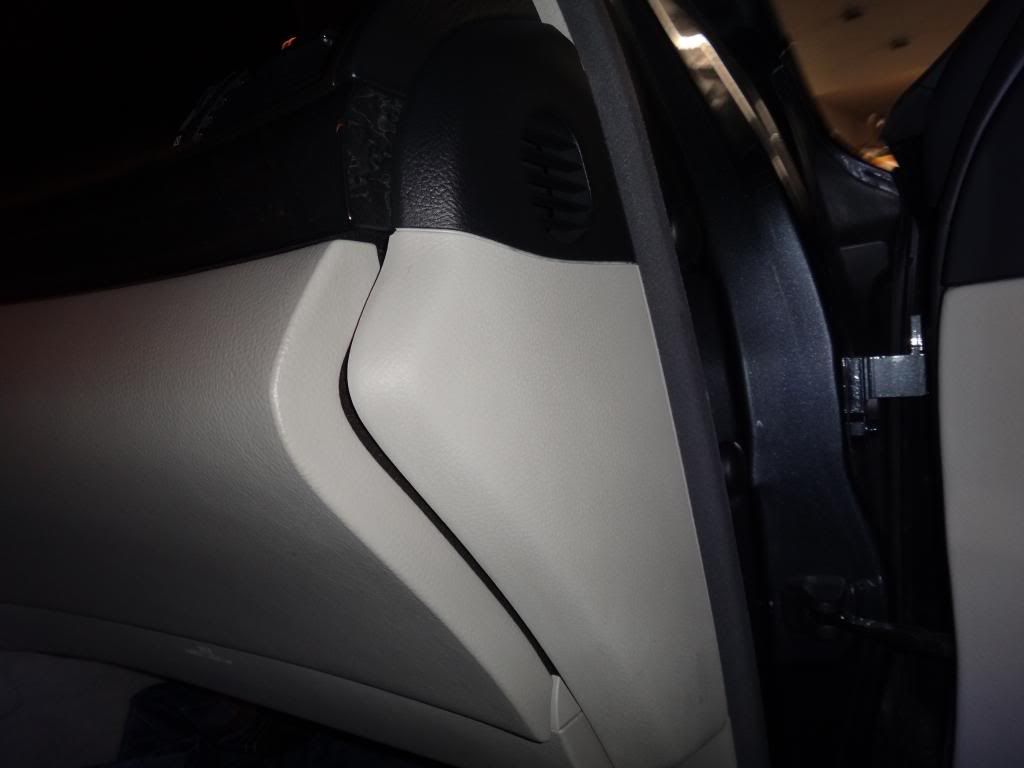
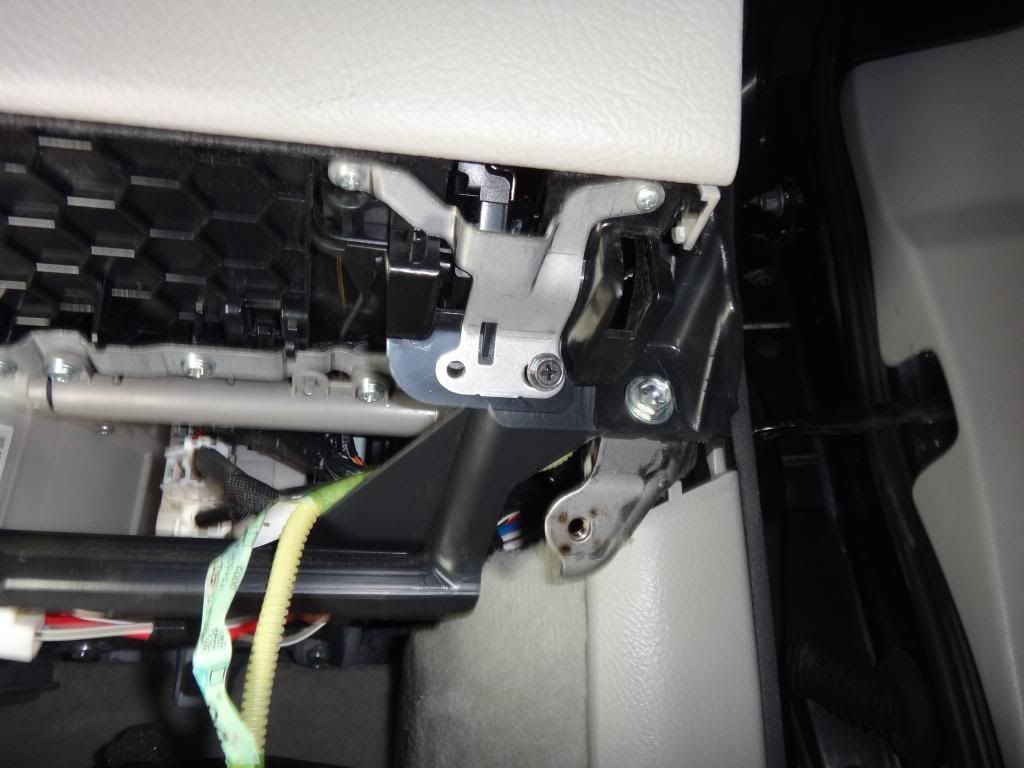
The small panel next to the knee air bag takes quite a bit of pressure to remove..
It does provide access to one of the 10mm bolts that need to be removed..
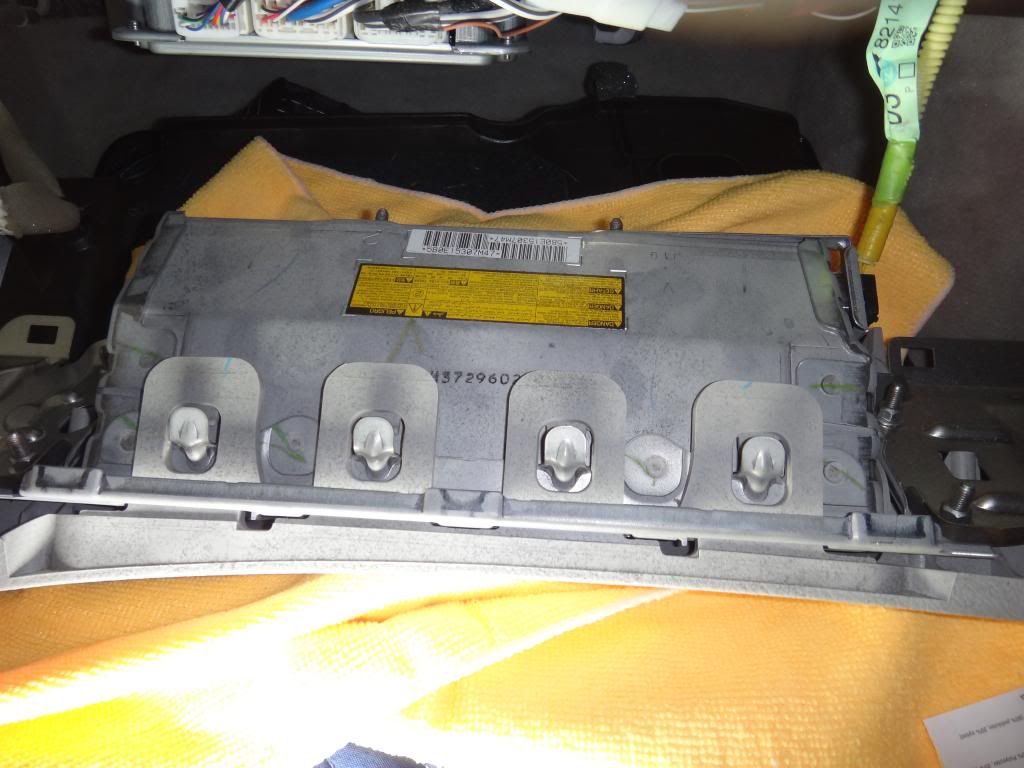
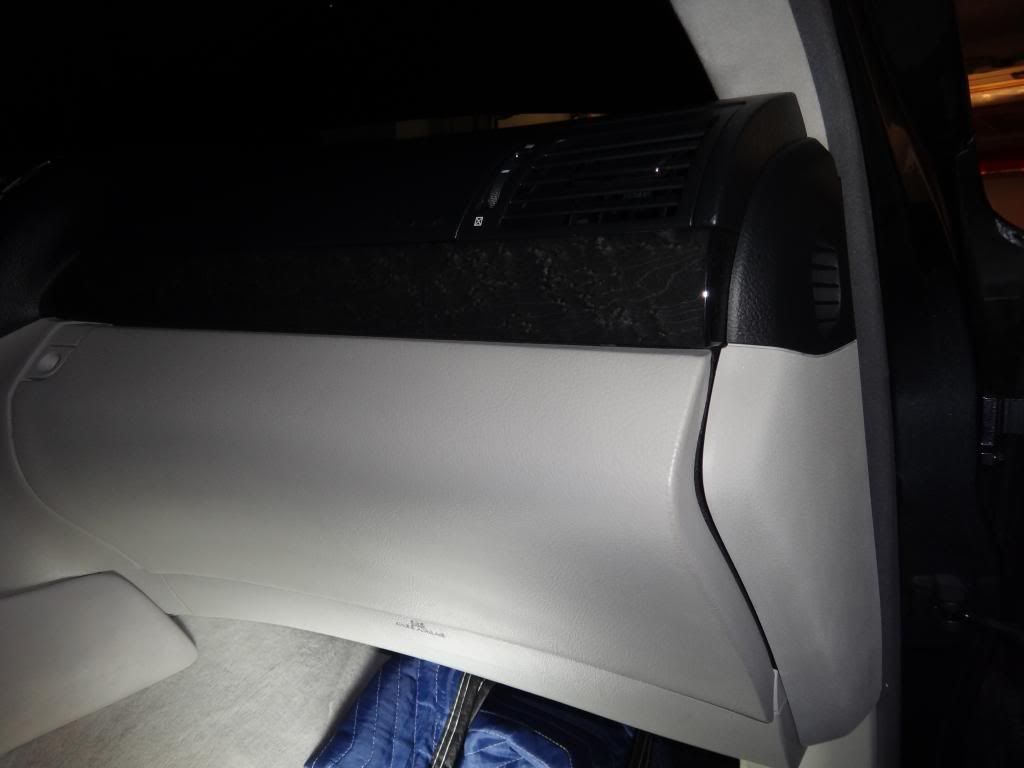
Glove box comes off with 5 screws like this.. 2 bottom 3 top
You can see I se all of these on the floor because they have wires connected to them and you never want to disconnect the air bags.. Just put some soft cloths between the pieces so nothing gets damaged..
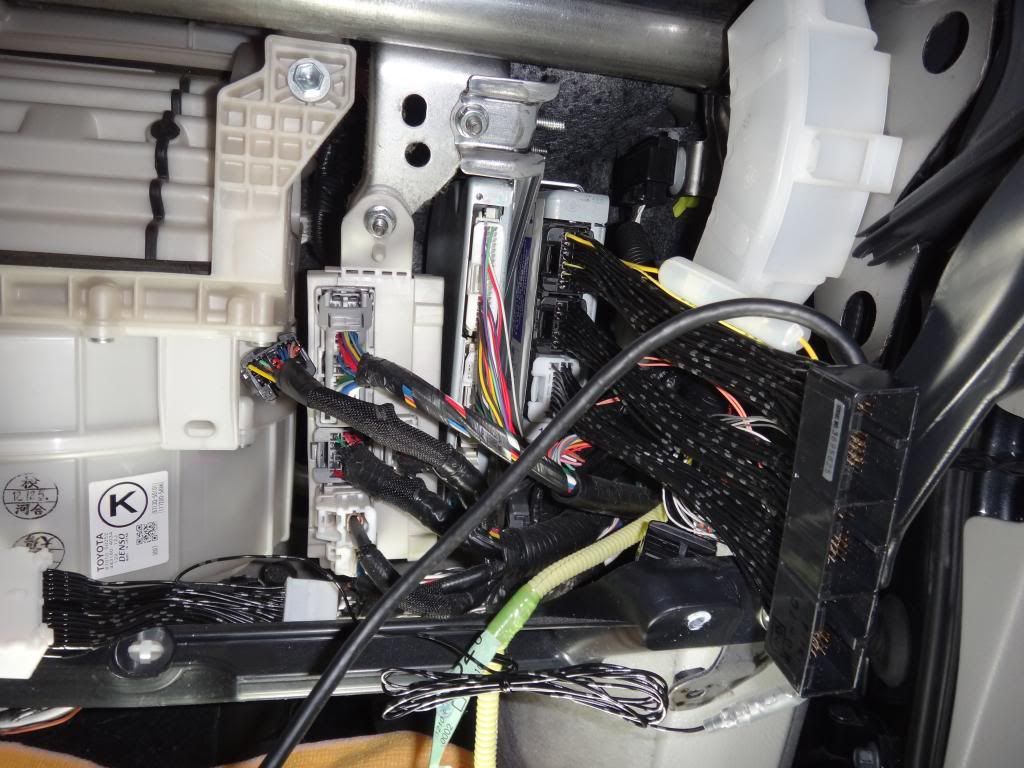
At last we find what we have been looking for
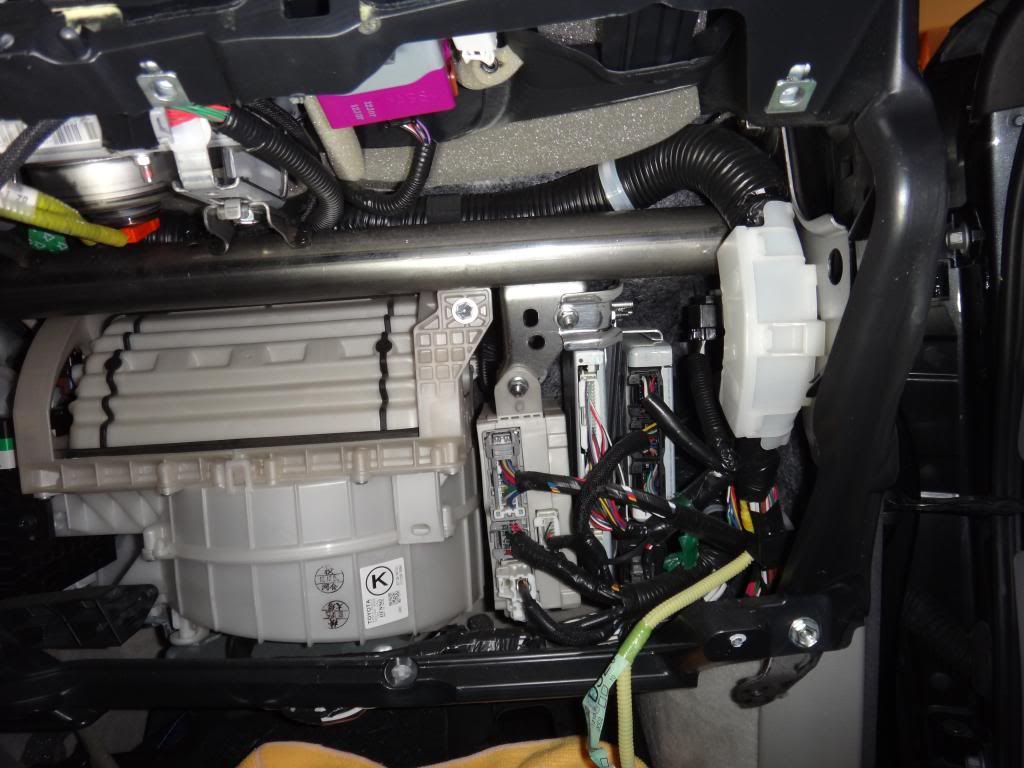
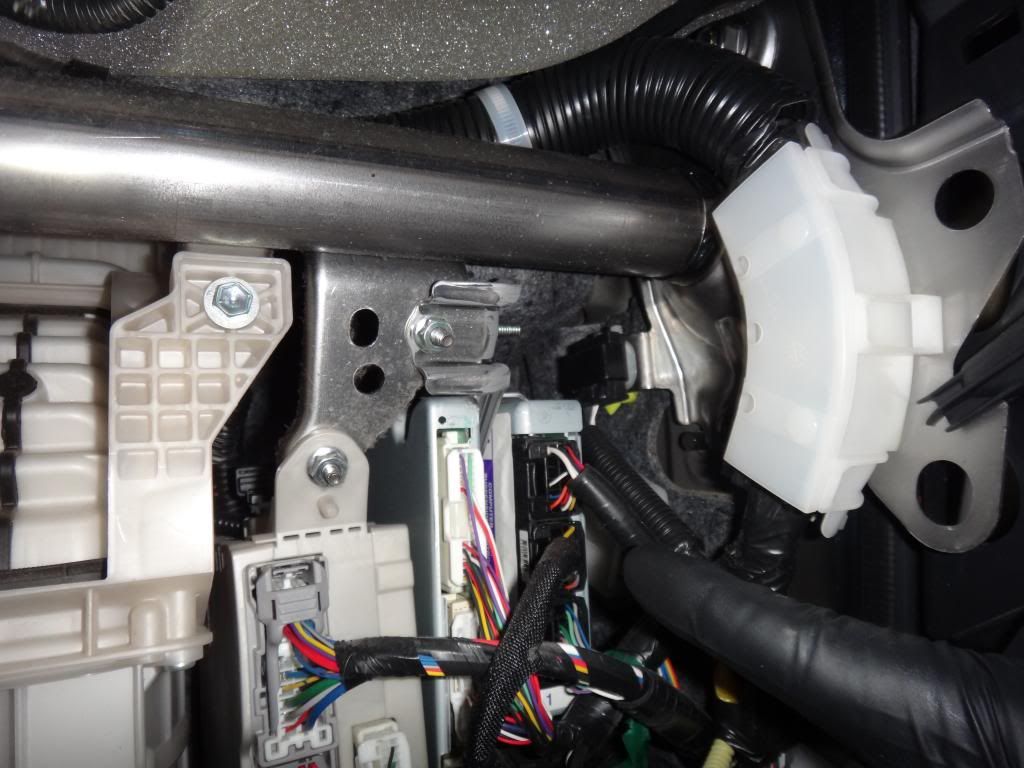
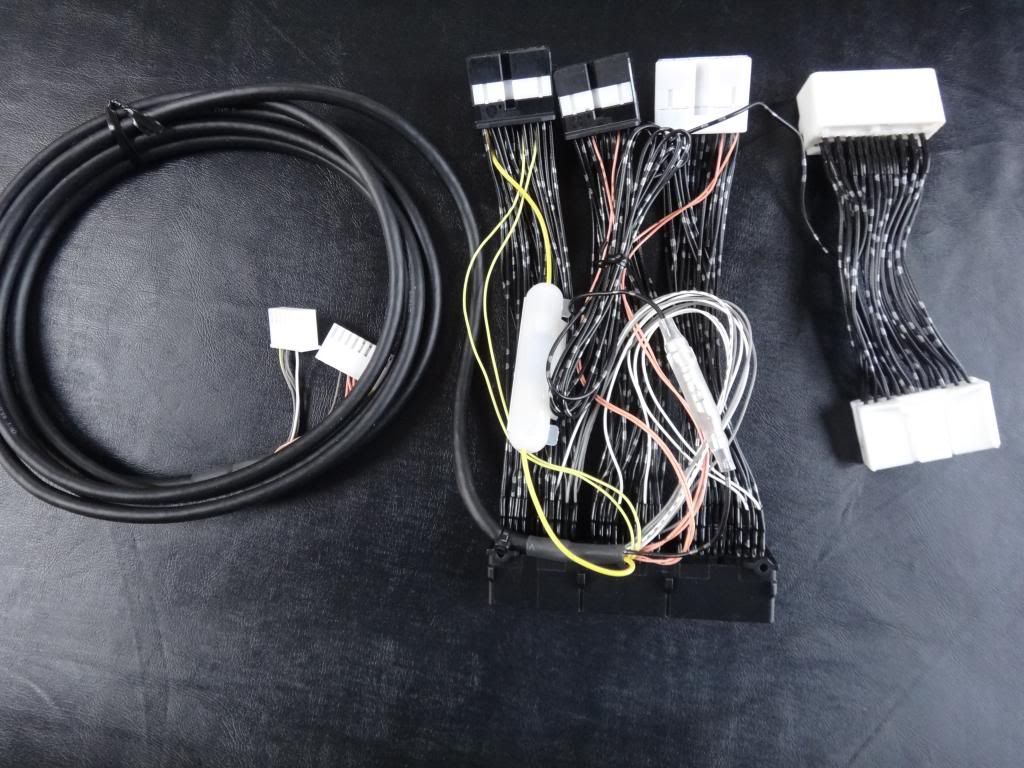
Disconnect the plugs and start plugging in the harness
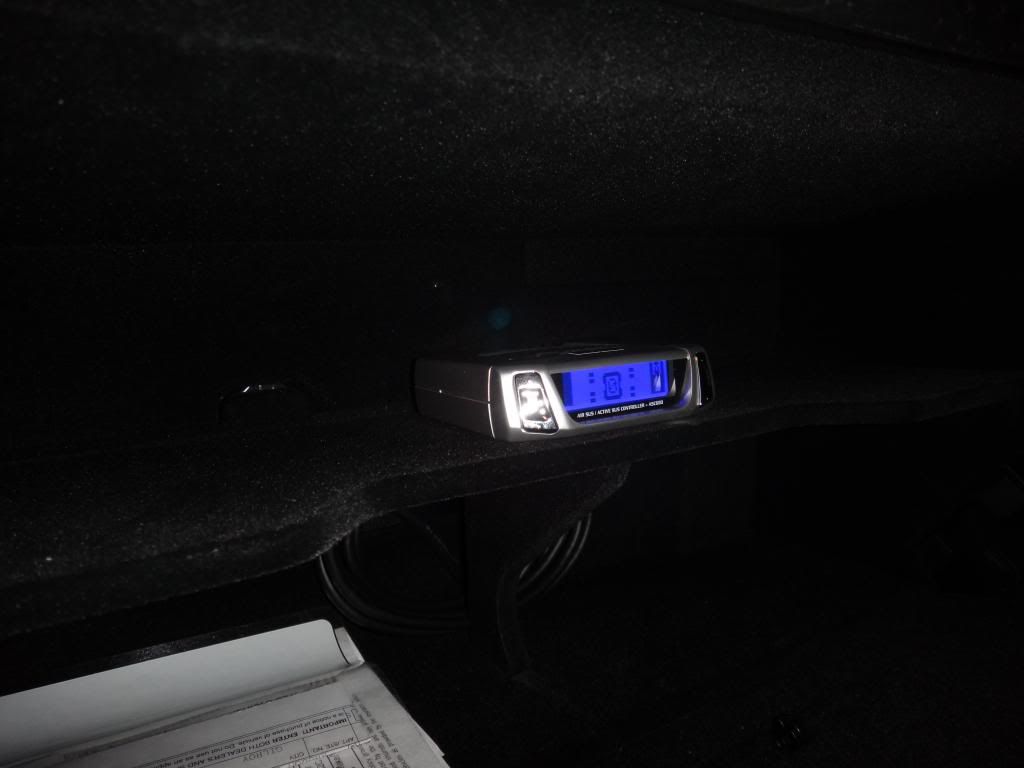
There is a hole in the back of the glove box that you can put the cable for the controller in

Put everything back in the reverse order
After I reconnected the battery and touched the start button.

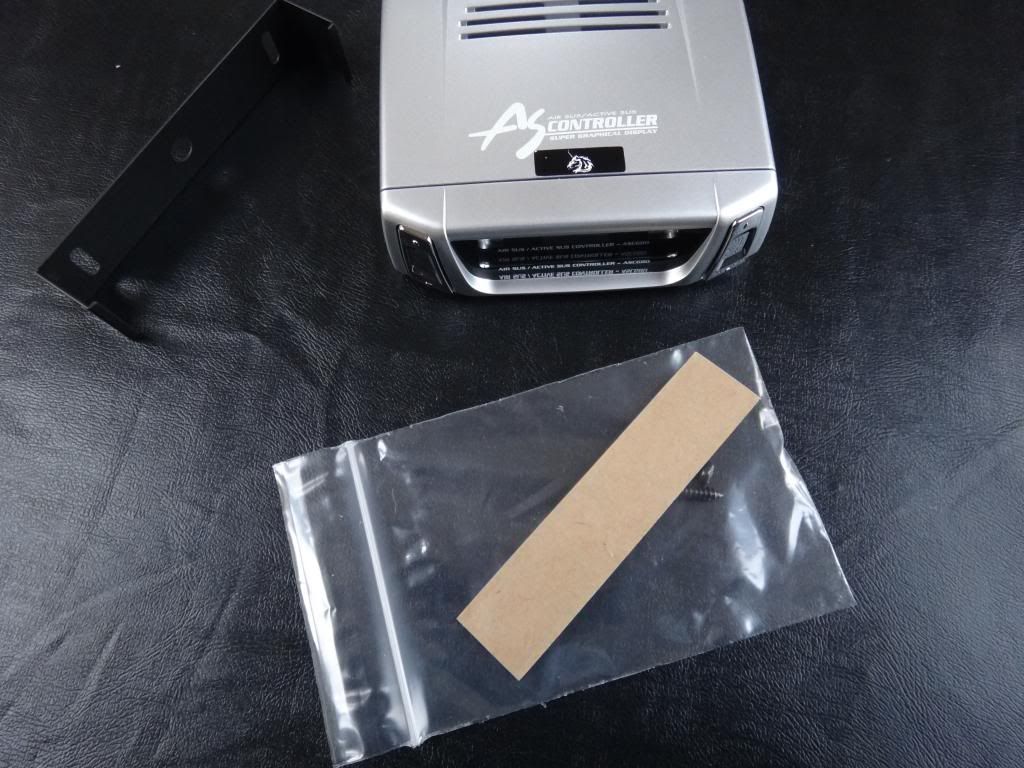
And the unit is installed
Total time including stopping to take pics along the way 40 mins
Followed the instructions and set the system up with 5 pre sets of differing combinations...
Build over view:
The build is more for a daily driver and not getting too radical or changing up too much that will Make the vehicle difficult to drive and enjoy.
We are at the point in our lives where we need a 4 door more for the convenience and the luxury than we need it for the baller status.. LOL
The wifee will drive this car on an average of only a few miles per week as she works from home but it will be the primary cruiser used on the weekends when we are not in the Beastly Z06.
The Plan:
Stance is important so to not beat a dead horse we will need to get the car at the right level that will be pleasing to the eyes. An air suspension module should do the trick here and still give us the flexability to drop it when needed and cruise at the stock height on long trips. The windows will all be tinted except the front. Looking at 30% all around. What build could be called a build without new shoes. In my own Eye this car needs 22's to look correct and fill up that big wheel well with the proper height and width to look clean and still carry an executive attitude. The body will need a few items to keep the lines flowing correctly and give a little touch of sport. A new roof and trunk spoiler color matched and the right lip will complete the exterior. On the inside the car is used so it will need new floor mats a detailed shampoo and cleaning. The factory sound can stay as is with an upgrade for Ipod and Iphone compatability with the possibility of streaming music via bluetooth. Their will always be the small items to come but this is the major items for this build.
The platform:
2008 LS460L in Smoky Granite Mica exterior and light gray leather with ash gray wood toned interior. Premiere Package.
First things first is the ride height...
Well the first of the Mod parts showed up ..
Pretty fast shipping and packaged very well..
Read the instructions in about 5 minutes and started to get set up for the install...
Disconnect the negative on the battery..
First was to get the brand new packing blanket out to cover the seat and floor.
The instructions say to pull off the trim pieces being careful to pull them off in a straight motion so that the clips are not damaged.
I like to use the trim tools designed for this type of work
I wrapped up the trim pieces in clean micro fiber cloths to avoid scratches and damage
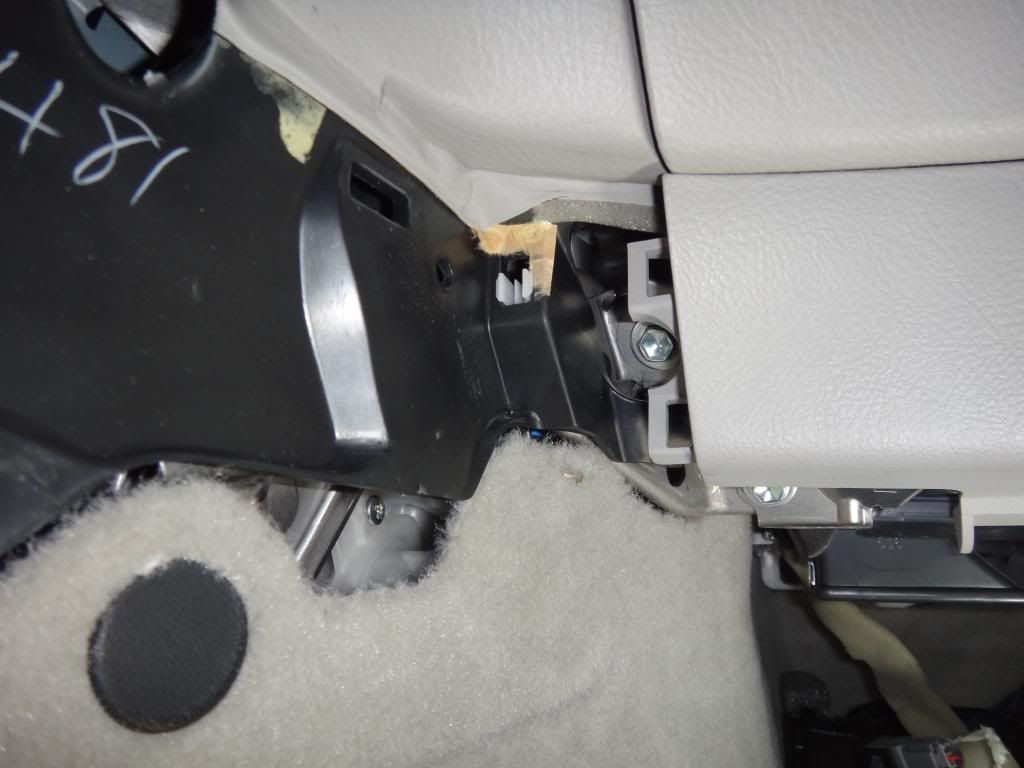
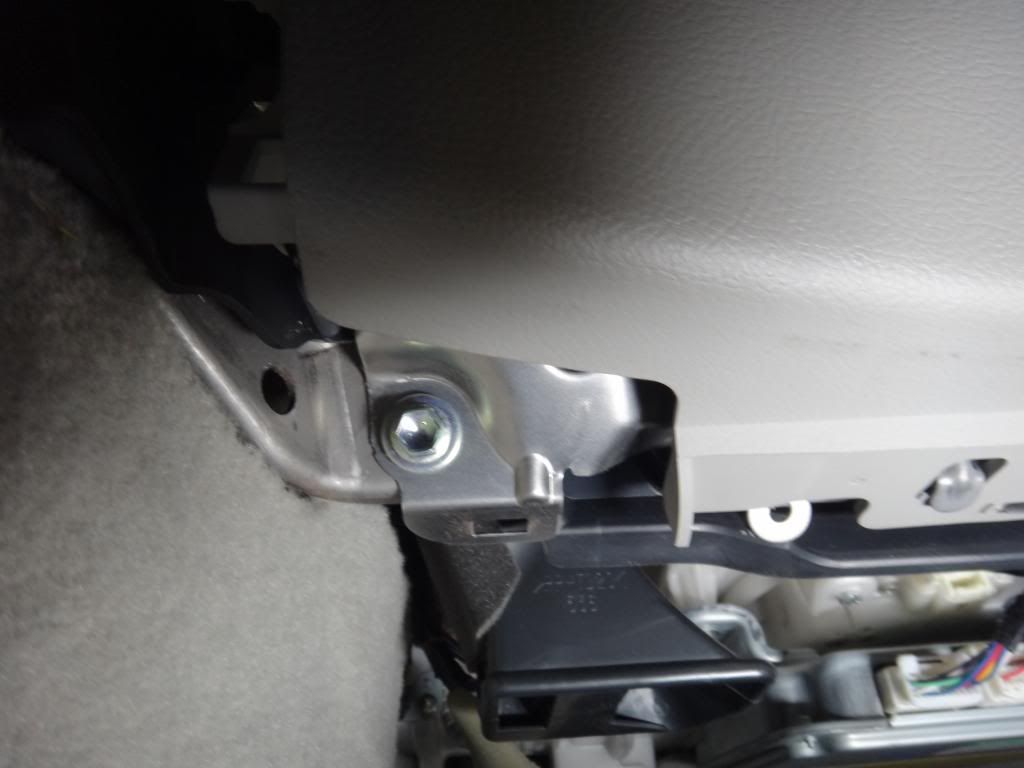
The small panel next to the knee air bag takes quite a bit of pressure to remove..
It does provide access to one of the 10mm bolts that need to be removed..
Glove box comes off with 5 screws like this.. 2 bottom 3 top
You can see I se all of these on the floor because they have wires connected to them and you never want to disconnect the air bags.. Just put some soft cloths between the pieces so nothing gets damaged..
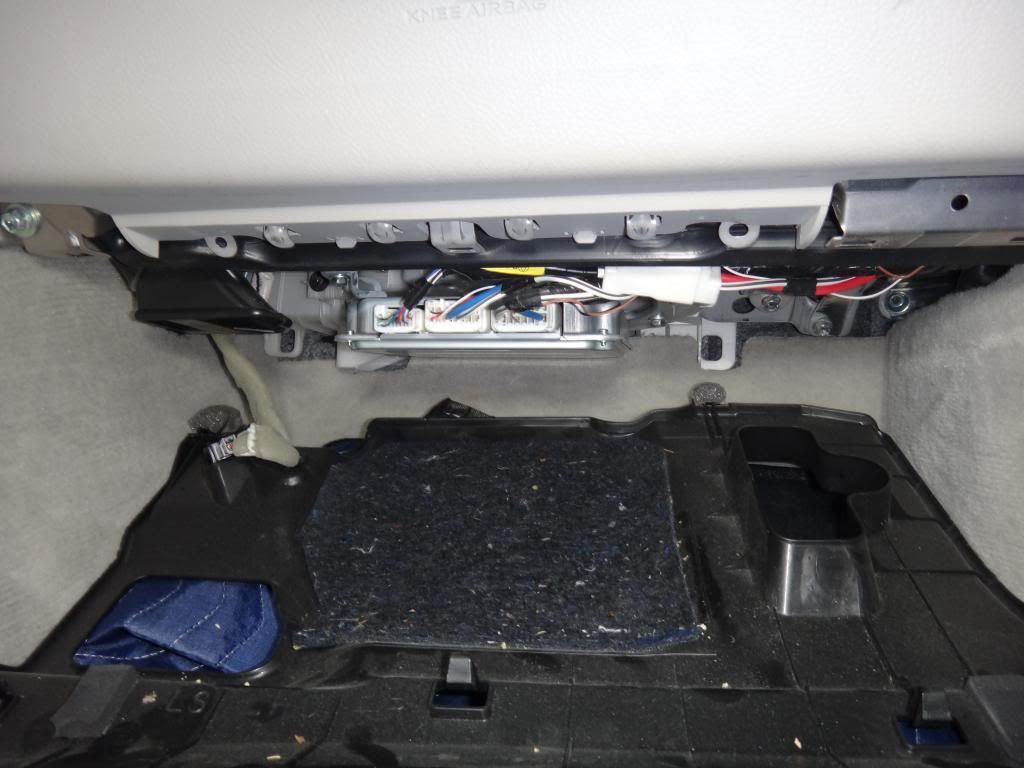
At last we find what we have been looking for
Disconnect the plugs and start plugging in the harness
There is a hole in the back of the glove box that you can put the cable for the controller in
Put everything back in the reverse order
After I reconnected the battery and touched the start button.
And the unit is installed
Total time including stopping to take pics along the way 40 mins
Followed the instructions and set the system up with 5 pre sets of differing combinations...


Trending Topics
02-17-14, 05:03 AM
#11
Lexus Test Driver
I by know means what to make it seem as though i'm rushing you! 
I just get so excited with any new builds, as its something i would love to do, but would get killed for. lol
I built up my LS430 that you can see in my albums and now my family wants me to be "satisfied" which is impossible! haha
I just get so excited with any new builds, as its something i would love to do, but would get killed for. lol
I built up my LS430 that you can see in my albums and now my family wants me to be "satisfied" which is impossible! haha
02-19-14, 08:09 AM
#12
Rookie
Thread Starter
Update 2/19/14
Dropped off the car yesterday at California tint and polish in Campbell at 7:00 am. This makes the 4th car I have had tinted by this same shop. Fortunate for me the same guy has tinted each of my cars over the past 10 years. I like consistency.
I get a call at 8:05 am. The owner tells me the car has a few minor scratches on the glass that they can see but it should be no big deal when completed. We discuss the tint levels and I settle on 30% sides and 25% rear... He says car should be ready by 4:30.
The wifee and I show up at 4:00 and they say it should only be a few minutes.. in 15 minutes they pull the car out, wipe it all down inside and out.. It looks amazing.
So happy with the tinted look of the car. have to say that the 30% is just what i wanted. A nice tint without the attention grabbing blacked out look. The back windows appear a little darker due to the back glass being 25%... Perfect.
As for the tinting process and work performed. Flawless. they showed me the tiny scratches and they were almost too small to see. When they perform the tinting process thy remove all of the side glass from the car and tint the entire piece of glass from edge to edge. Then they bake the film for an hour or more to cure it. Their is no need to wait three days to roll down a window as other shops often do. They use the Madico line of tints with Ceramic coating and warranty them for as long as I own the car. I am not going out on a limb here and saying that everyone should run down to California tint to have their tint done just explaing that I have had a good experience and only provide them as a reference that is why their is no address or phone number included. If you would like to use them use Google search..
Pictures to follow..
 03-13-14, 08:16 AM
#14
Rookie
Thread Starter
I have been quiet for the past few weeks due to a small hiccup in my build.
The wife came home from shopping and says she had a little accident. It turns out she parked the car next to a median strip and did not notice it upon leaving. I know I was thinking the samne thing... You didn't notice it?
Upon leaving she drove over it and the car was stuck on the median strip to a point but came off the opposite side back onto the parking lot surface.
I looked the car over that night and yes the lower front of the bumper had a small tear in it but nothing too bad.
The following morning I went out and really looked the car over. Both rocker panels damaged beyond repair. Front bumper torn and damaged beyond repair, Rear bumper valance scratched. Under car was difficult to see but I could tell all of the small cover plates or little shields looked scratched...
Fast forward... Took the car to my neighbors shop (German Auto body) Only authorized dealer to work on Porsches and Mercedees and factory trained for BMW repair. They look the car over and confirm all of the above is damaged and one inner fender liner has a small crack.
$6,800.00 dollars worth of damage..
So we had the adjuster come out right away and look at the car He says the same and write up the estimate. Shop orders the parts calls and syas the parts came in we are giving priority to this vehicle. They call yesterday and say your car is complete where can we deliver the vehicle for you?
All in all the car is repaired and done right with nothing but OEM "New" parts. Yes it sucks to deal with but nobody was hurt and the car looks better than it previously did.
BTW.. They dropped the car off at California Wheels for me...